Chromebook is one of the systems that little by little has been taking a wide field in millions of users due to its versatility, security and simplicity of use, but perhaps one of the things that complicate the use of Chromebook is (or was) the difficulty to record the screen, this is ideal for presentations, support and tasks that involve graphic evidence of these..
Since the Chrome OS 89 version, the Chromebook screen recording tool has been integrated which is available in the Quick Settings panel and with it it is possible to capture screenshots and record videos in high quality, this is an advantage since it avoids the use of third-party applications for this, let's see how to record the screen on Chromebook in a simple way.
To stay up to date, remember to subscribe to our YouTube channel! SUBSCRIBE
How to record screen on Chromebook without programs
Step 1
The first thing to do will be to validate the version of Chrome, to do this, open the quick start.
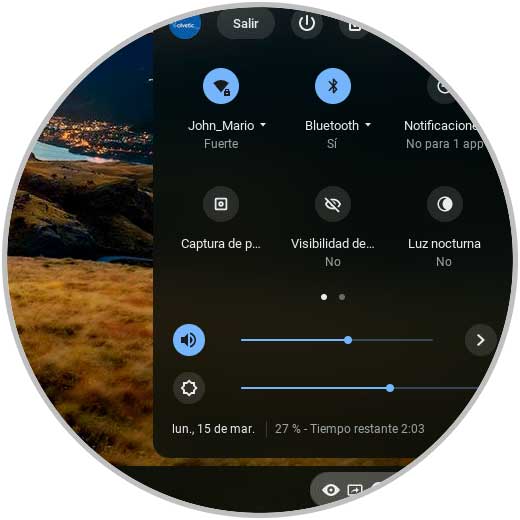
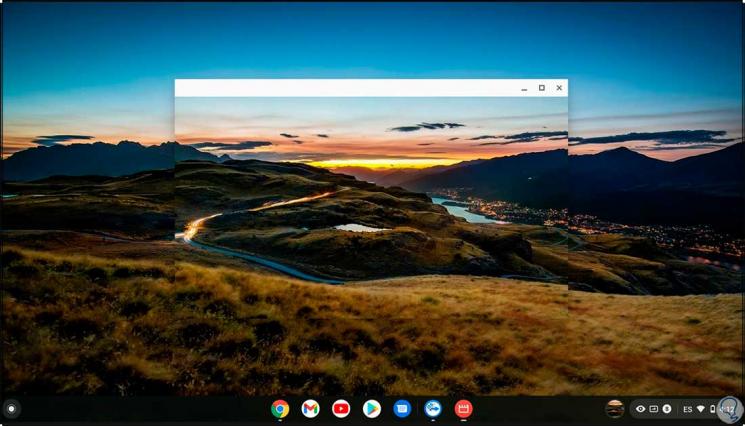
Step 2
Click on the gear icon that you will see here to go to "Settings" :.

Step 3
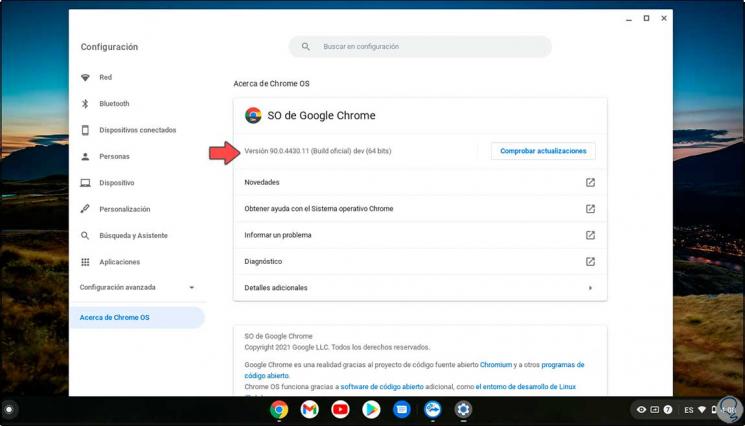
In the displayed window we will go to the section "About Chrome OS" "where we see the current version used:
Step 4
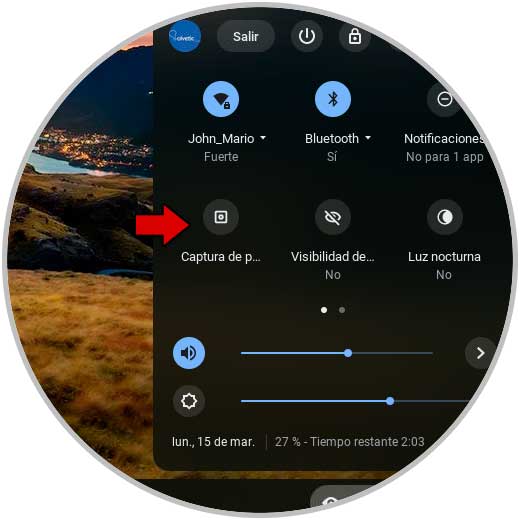
In case of being a version prior to 89, we must update the system. Once this has been validated, we open Quick Start and click on "Screenshot":
Step 5
The following will be displayed:
Step 6
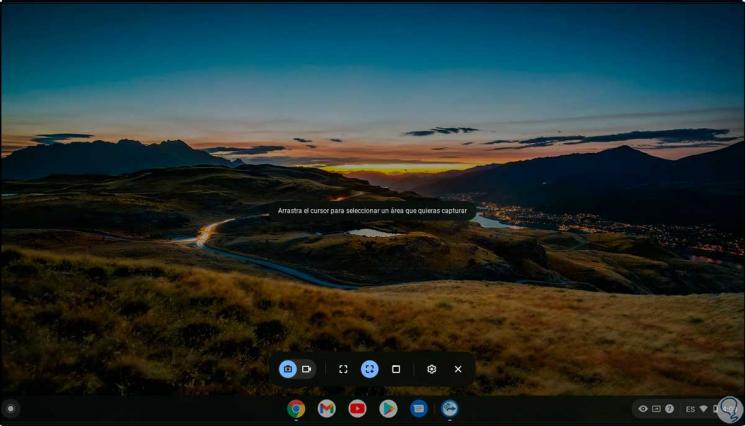
By default the screenshot in photo is enabled, in the bar we change to the record section where we will see the following:
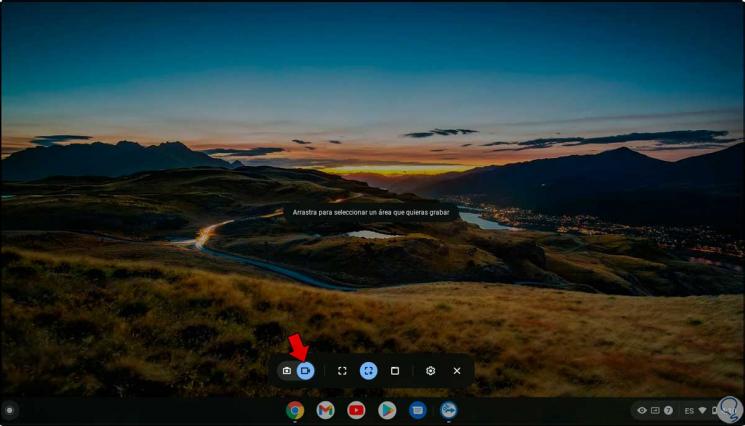
Step 7
In the central panel we have three options to record our screen on Chromebook, these are:
- Full screen: with this option we click anywhere on the screen to start recording
- Partial: when selecting this option, it is necessary to drag the mouse to select the area to be recorded and then click on the "Record" button.
- Window: with this option we click on the window or area of the screen to be recorded to start recording
Step 8
In this case we select the area to record on the Chromebook screen:
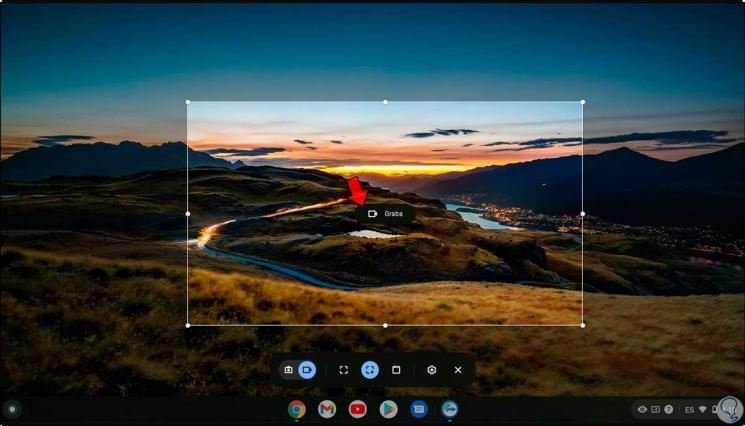
Step 9
Click on the "Record" button to start recording:
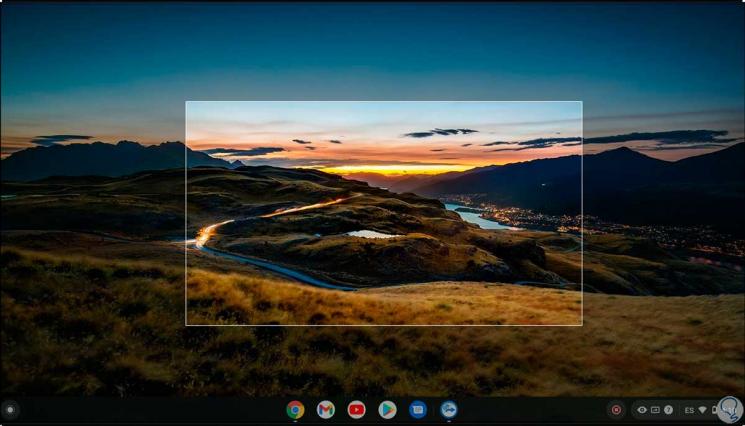
Step 10
At the bottom right we find the record button, at the end we click on this button to finish it, we will see the following message:
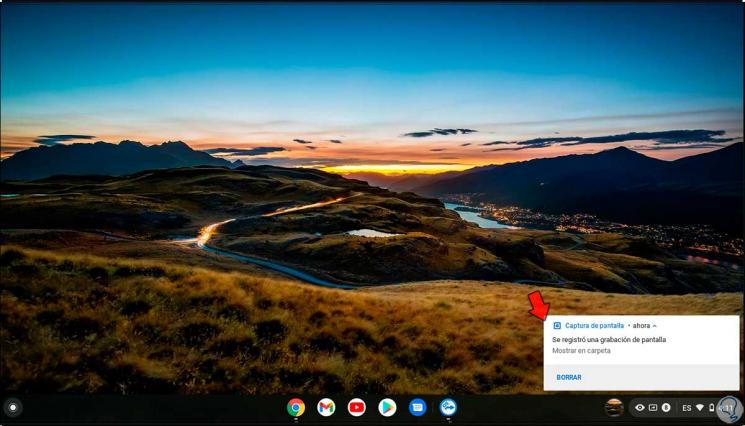
Step 11
The recording can be accessed from the Chromebook bar:

Step 12
There we can reproduce the recording to see its status and quality:
Step 13
In Screenshot we click on Options and it is possible to enable or not the microphone:

That simple is the tool integrated in Chromebook to record the screen with various options..