Administering Red Hat (RHEL) can become a complex task due to the way the system is structured, but in the same way, tools have been developed to make the administration as complete and dynamic as possible, there Webmin comes into play..
Webmin is a web-based interface with which it is allowed to administer Unix systems , browsers that are compatible with tables and forms are allowed for this administration, there is Java for the File Manager module, this makes it easier for Webmin to configure accounts Username, DNS, File Sharing, and more.
Webmin works with hundreds of standard modules to manage many aspects of the system and thus have full control..
Managed systems
Webmin can be used to manage operating systems such as:
Now we are going to see how to install Webmin on RHEL 8 and thus centrally manage the system and its components.
To stay up to date, remember to subscribe to our YouTube channel! SUBSCRIBE
How to install Webmin on RHEL 8
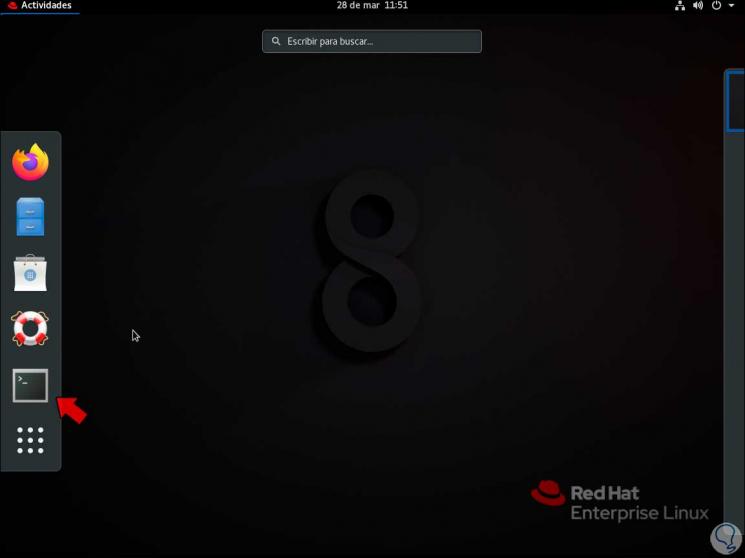
Step 1
We access the terminal in RHEL 8:
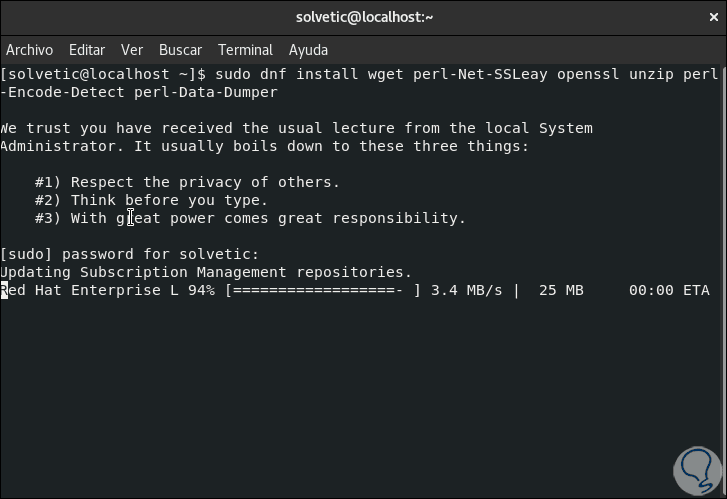
Step 2
There we are going to install the necessary packages:
sudo dnf install wget perl perl-Net-SSLeay openssl unzip perl-Encode-Detect perl-Data-Dumper
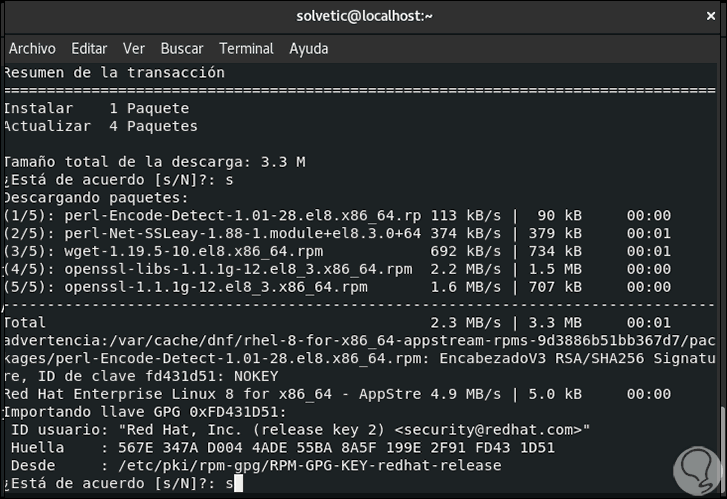
Step 3
After this analysis we will see the following:

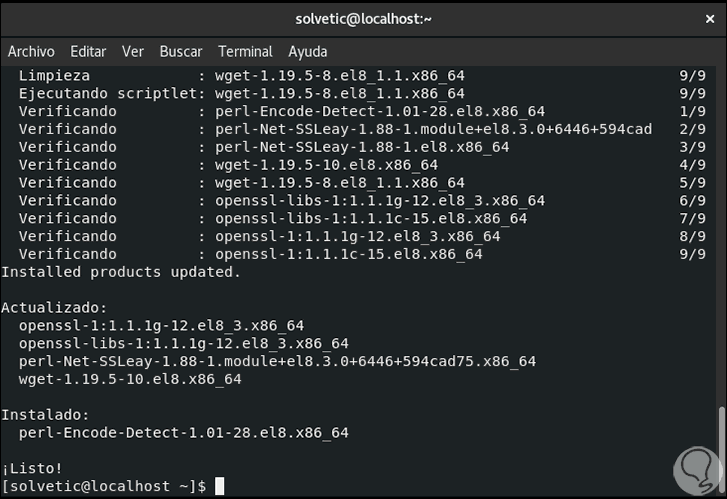
Step 4
We apply the changes by entering the letter s, during the process we must confirm some extra processes:
Step 5
At the end of the installation we will see the following:
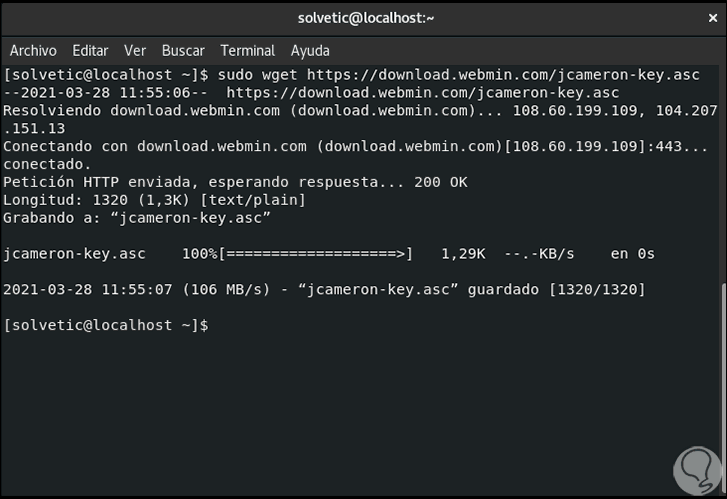
Step 6
Now we are going to download the Webmin GPG key with the following command:
wget https://download.webmin.com/jcameron-key.asc
Step 7
We import the GPG key with the order:
sudo rpm --import jcameron-key.asc

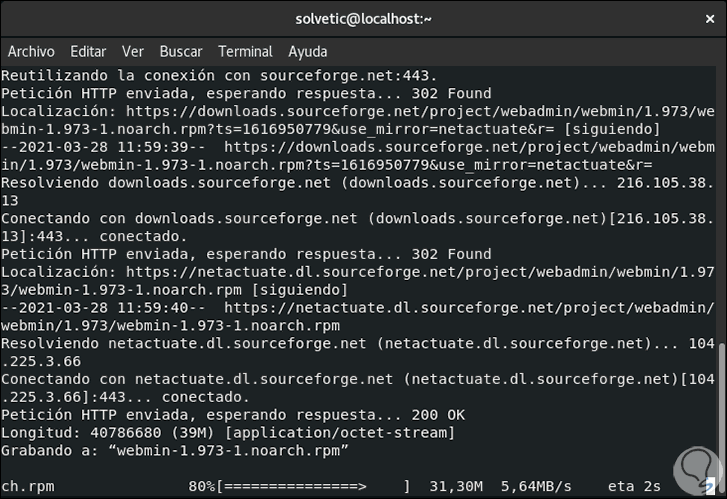
Step 8
Download the official Webmin package (the route is different today):
sudo wget https://sourceforge.net/projects/webadmin/files/webmin/1.973/webmin-1.973-1.noarch.rpm/download
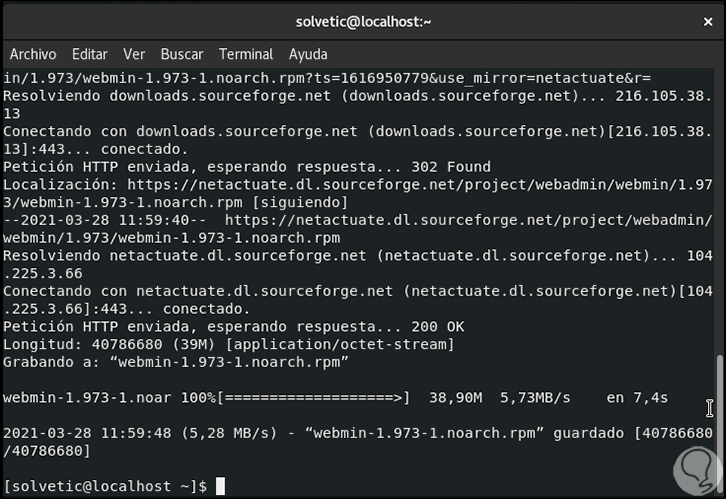
Step 9
At the end we will see this:
Step 10
Previously the following path was used:
wget https://prdownloads.sourceforge.net/webadmin/webmin-1.970-1.noarch.rpm
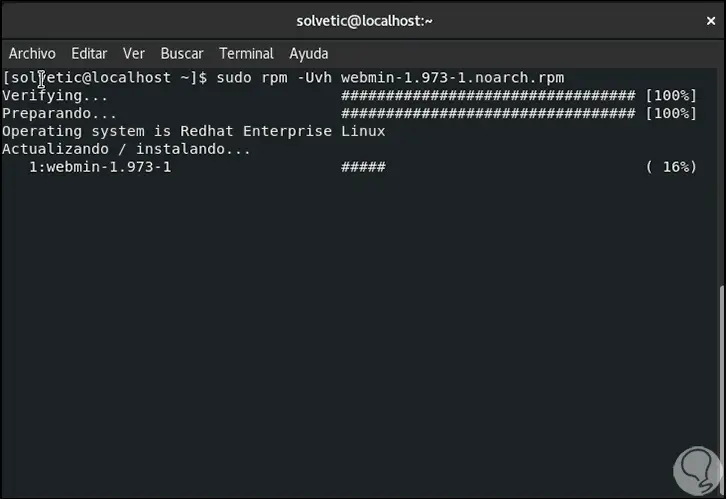
Step 11
As of this latest version of Webmin, adjustments have been made. Now we are going to install Webmin with the following command:
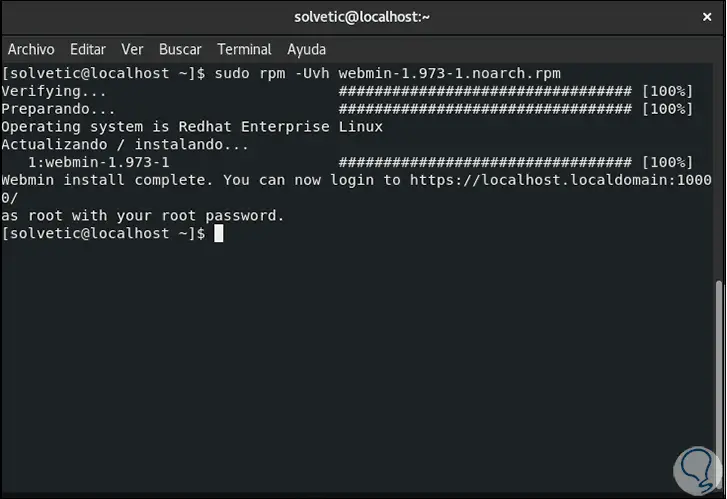
sudo rpm -Uvh webmin-1.973-1.noarch.rpm
Step 12
At the end of this process we will see the following result:
Step 13
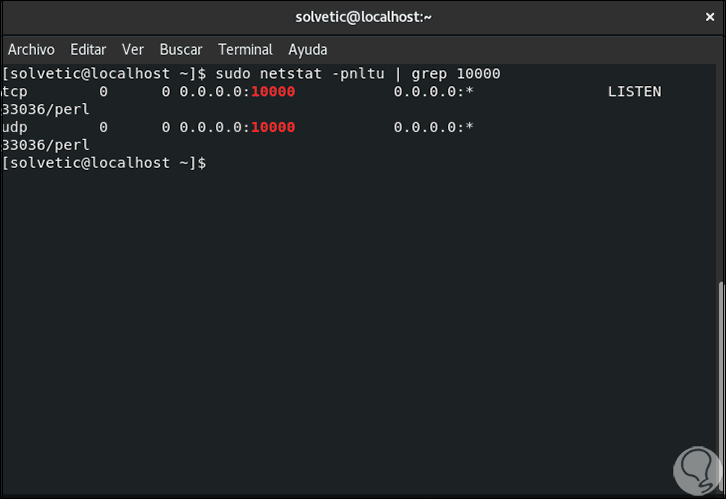
There we can see the structure that we must use to access Webmin from the browser and it is mandatory that this be done as root user. We check the Webmin port:
sudo netstat -pnltu | grep 10000
Step 14
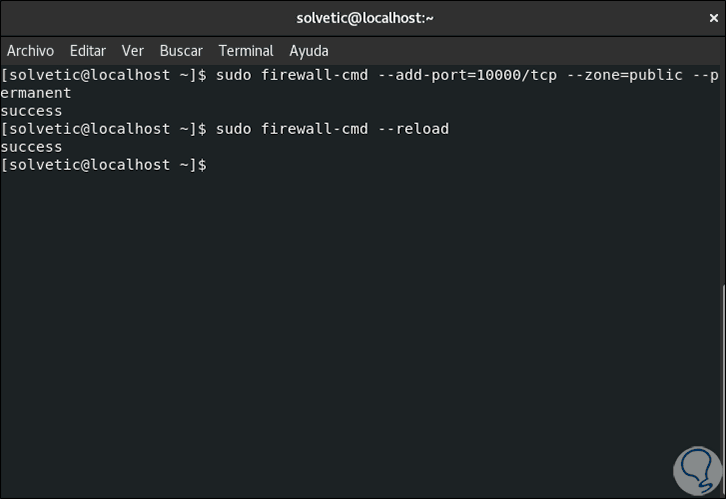
Now we are going to grant the permissions in the Firewall for access to Webmin:
sudo firewall-cmd --add-port = 10000 / tcp --zone = public --permanent sudo firewall-cmd –reload
Step 15
From a browser we access Webmin using the IP or name of the device:
https: // IP: 10000 /

Step 16
There we must go Advanced and allow it to be redirected to the Webmin page, we will see the following:
Step 17
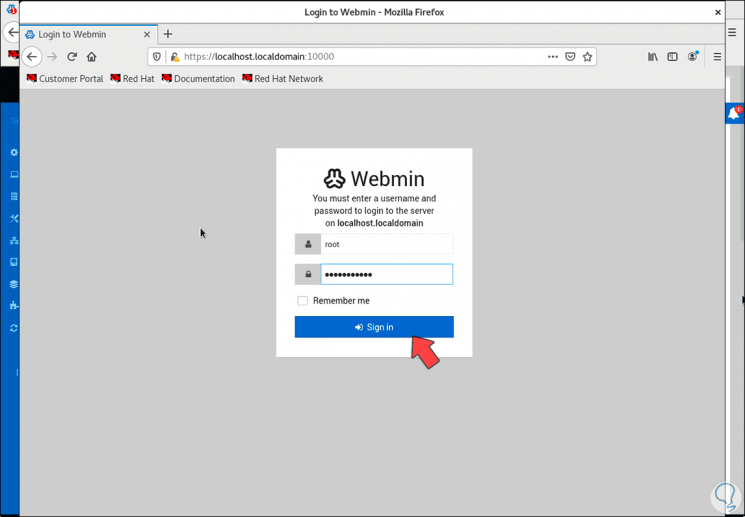
Enter the credentials of the root user and click Sign in to access the Webmin platform:
Step 18
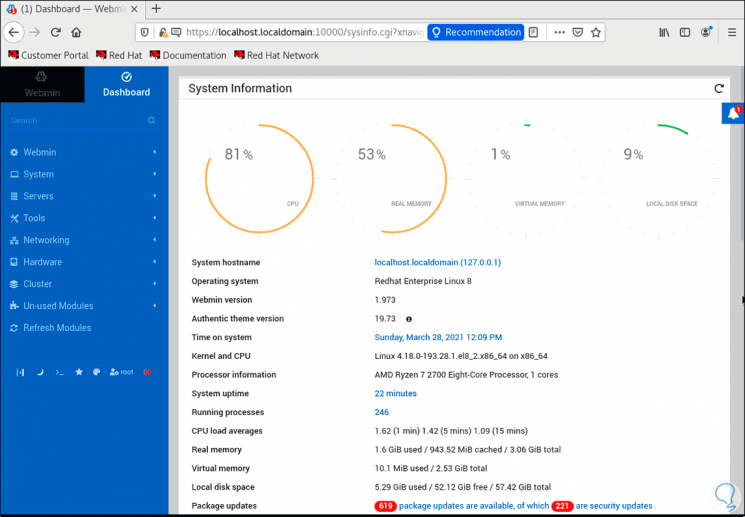
On the main page we have access to details such as:
- Graphics of the status of CPU, RAM, virtual memory, etc.
Step 19
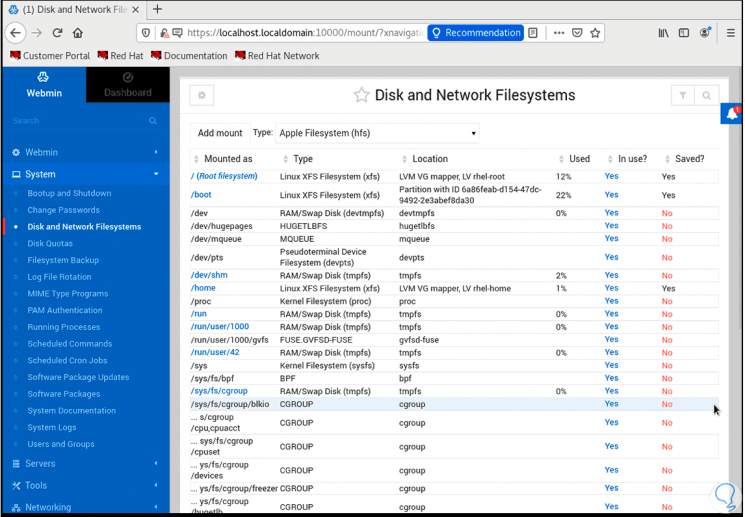
We can navigate through the different options for using Webmin:
Step 20
Each of them provides us with key information and options to edit their values:
Step 21
This is a valuable tool for the administrator as in one place you have access to real-time details of RHEL 8:
Step 22
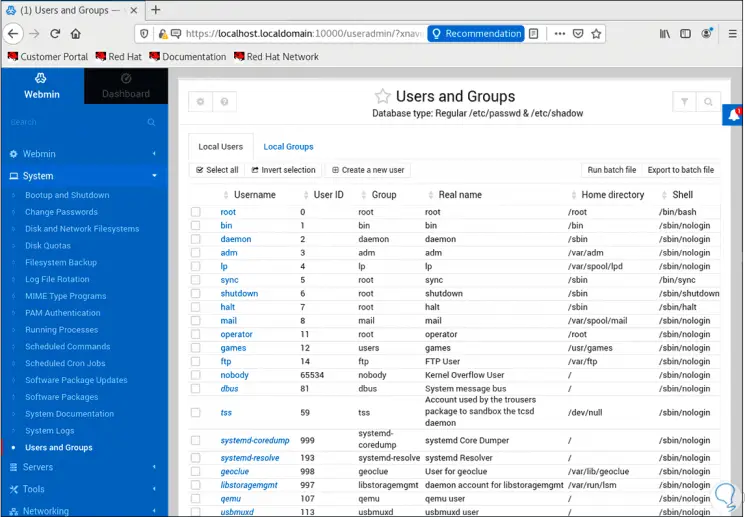
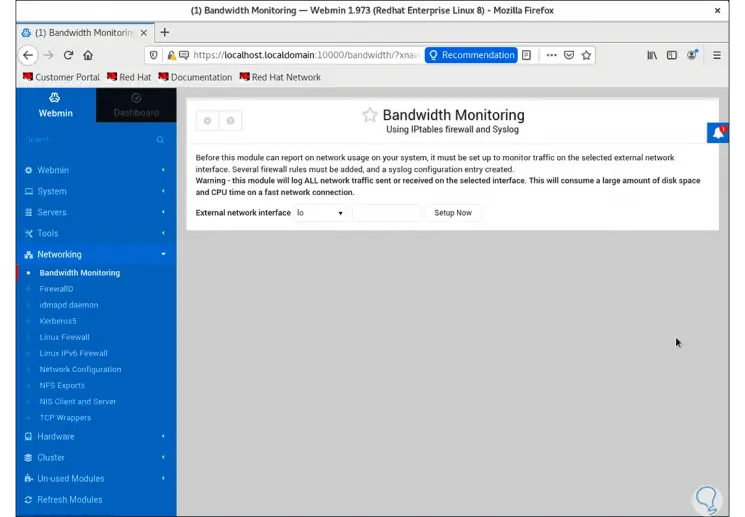
Some of the actions that we can perform with Webmin are:
- Webmin configuration globally
- Webmin user configuration
- History of actions carried out by the user or the applications
- View current server or computer processes
- View and update software packages
- View system users and groups
- Open tools such as VPNs, terminal consoles, HTTP tunnel and more
- RHEL Network Interfaces General Settings
Each of these tasks will make it easy to manage RHEL 8 users, services, applications and processes all in one place thanks to Webmin..