Fedora is a popular Linux distribution that is characterized by giving the end user various options to manage data and having the best options in safe and dynamic environments. It is precisely for that reason that Fedora is offered in various desktop environments (called spins) so that we can decide which one best suits our needs with environments such as GNOME 40, which is the most recent version of the environment or we can use the environments KDE Plasma or Xfce..
That is why Fedora i3 has been launched as a solution to have a minimalist environment focused on the use of the keyboard, ridding the mouse of popular tasks. It may sound difficult to work everything in Fedora only from the keyboard but with the process that we will explain you will see that it is not something from the other world and you can feel more fluid.
Fedora i3 gives us the i3 mosaic window manager which gives us lightweight applications for web browsing , text editors and media playback so that we do not feel in a strange world. One of the great advantages of this manager is its little storage space and low memory usage, optimizing other extra tasks..
With this in mind we will learn to use Fedora i3 in two independent ways:
- From scratch using the ISO image
- Updating Fedora directly to this administrator
To stay up to date, remember to subscribe to our YouTube channel! SUBSCRIBE
1. Install Fedora i3 from ISO
Step 1
We download the ISO image of Fedora i3 at the following link:
Fedora i3
Step 2
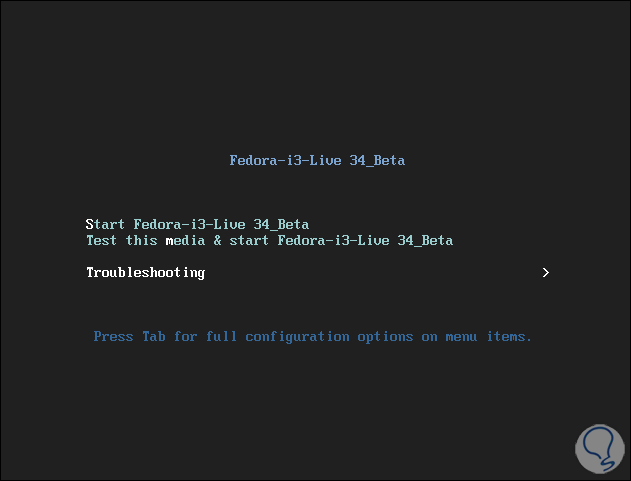
On the computer where it will be installed we configure the BIOS or UEFI to start from there, we will see the following:
Step 3
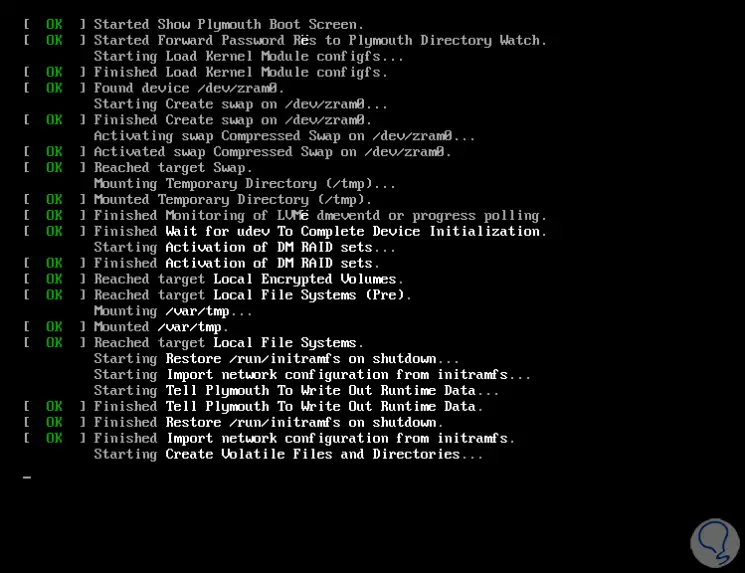
We select the option "Start Fedora-i3-Live 34_Beta" to proceed with the boot:
Note
Fedora i3 is associated with the new Fedora 34 version.
Step 4
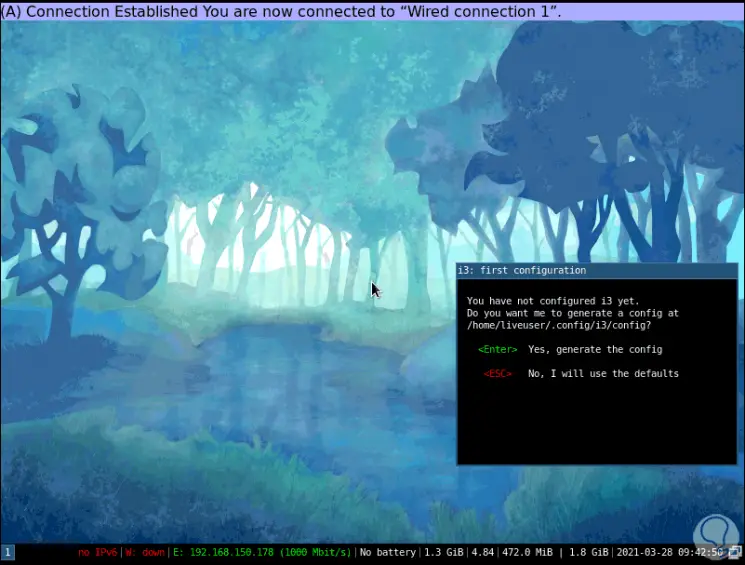
When starting (in live mod) we will see the following:
Step 5
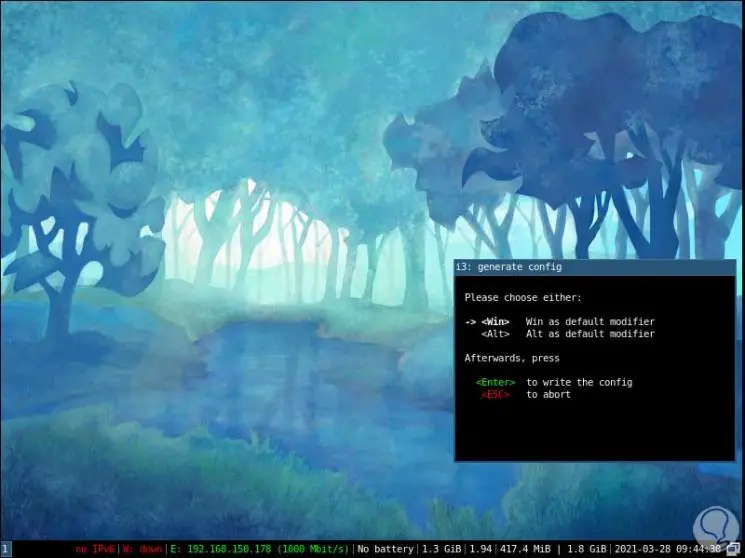
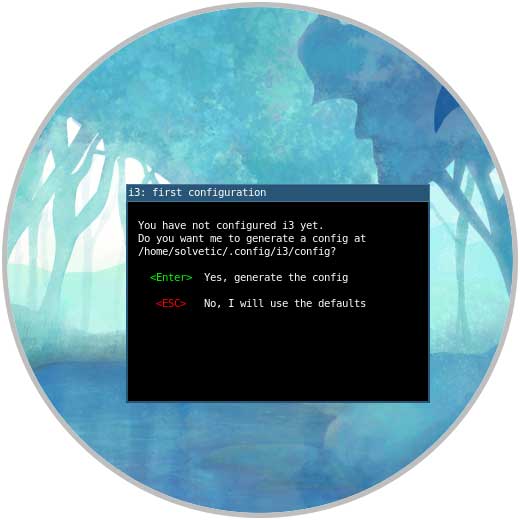
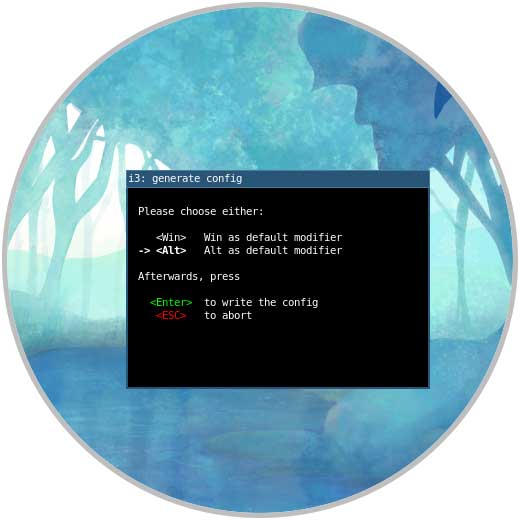
There we press Enter to create the configuration file and then select the mod method (Windows or Alt):
We talk about two key aspects of Fedora i3:
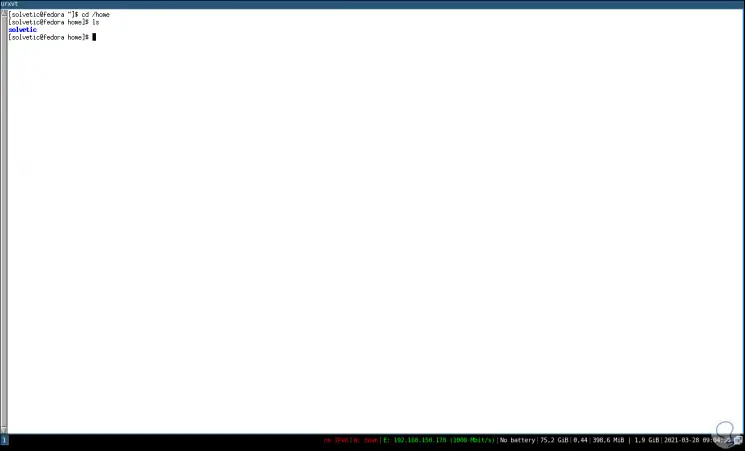
- At the bottom we have a bar with specific details such as IP4 and IP6 address, network speed, amount of used and total RAM memory, battery status and system date and time
- The Mod key (mode) can be the Windows key or the Alt key of our physical keyboard to execute the commands in Fedora i3
By default when the mod key has not been configured we see the option to select, this can be modified at any time from the / etc / i3 / config directory.
Step 6
We access the window using "mod + Enter":
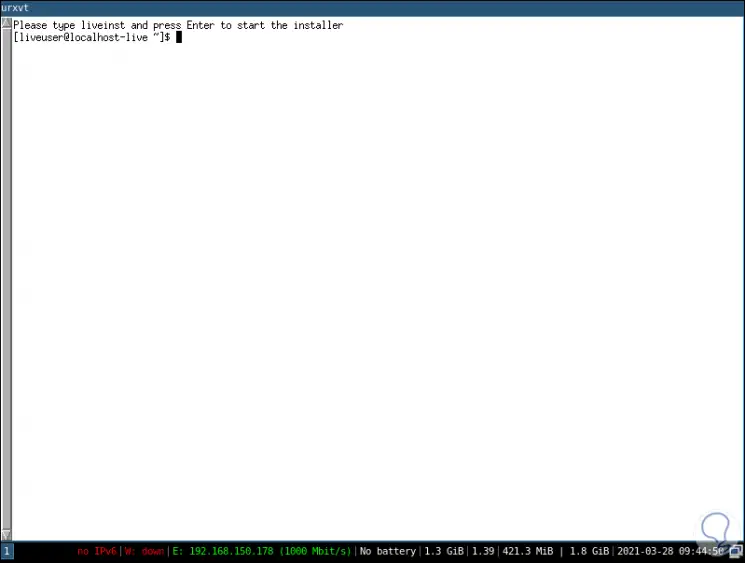
Step 7
We can see the default message for the environment installation, we install the i3 environment by executing "liveinst":
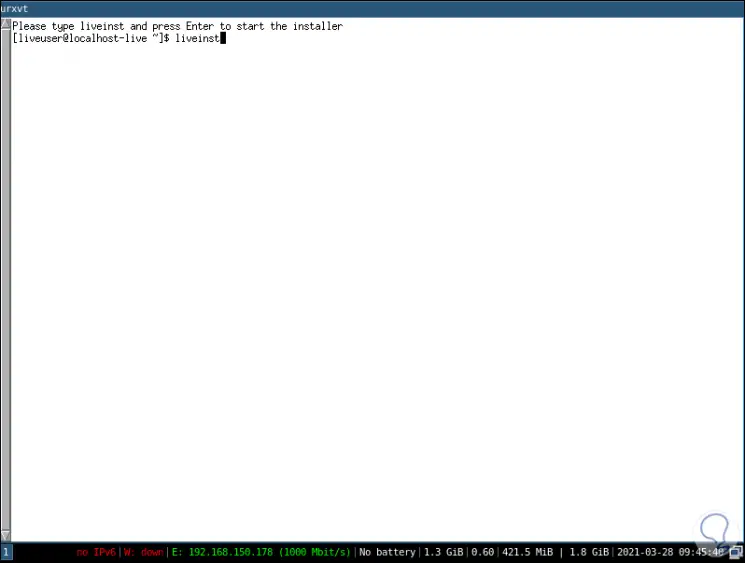
Step 8
Pressing Enter will load a series of variables:
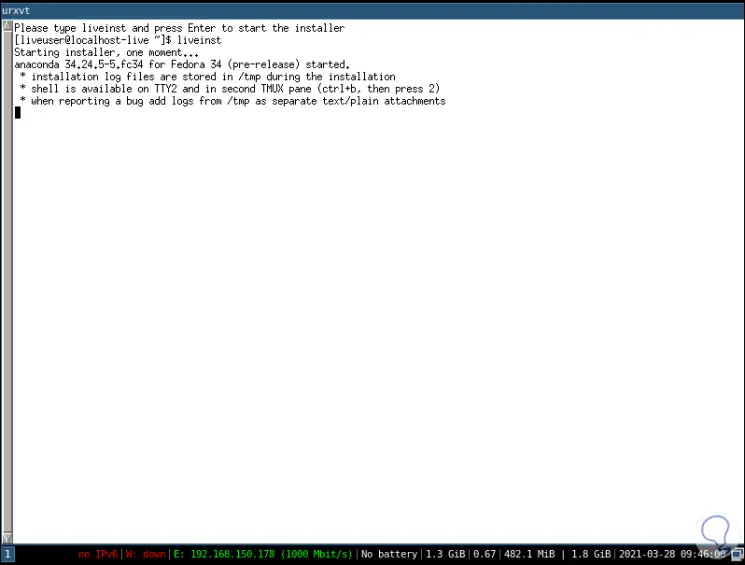
Step 9
A new window will be created where we complete the Fedora 34 i3 installation process:
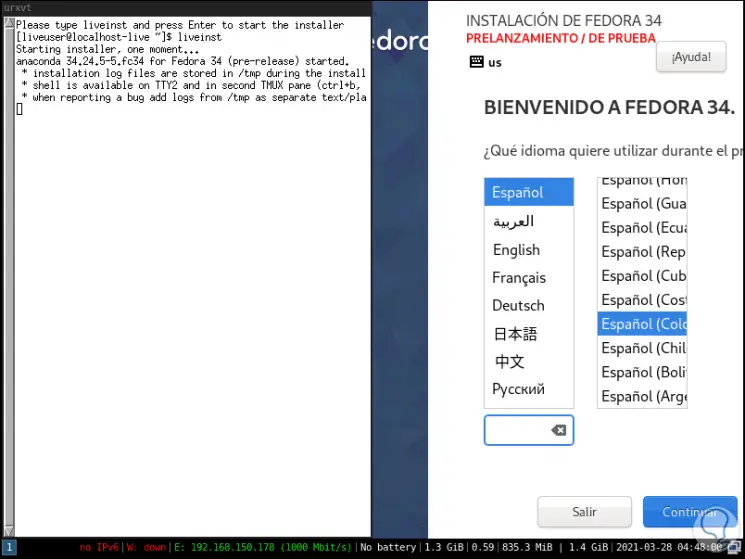
Remember that in this system everything is handled in windows and only with a keyboard.
Step 10
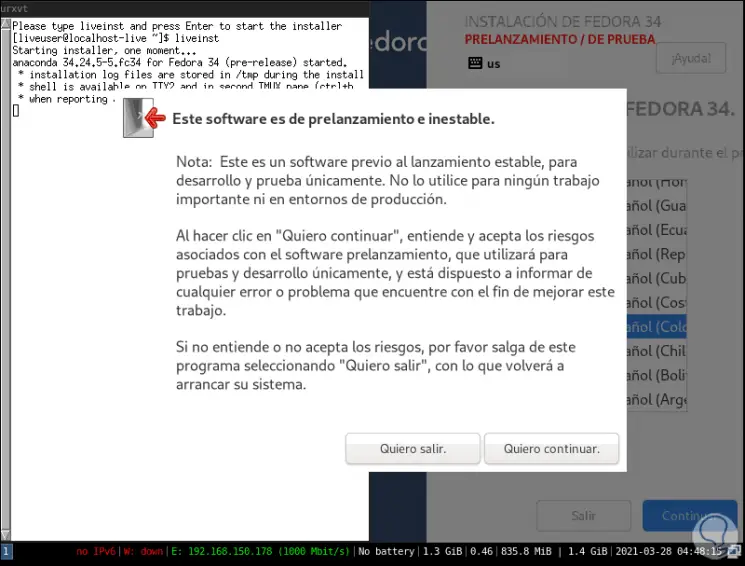
There we select the language and click on Continue to see the following message:
Step 11
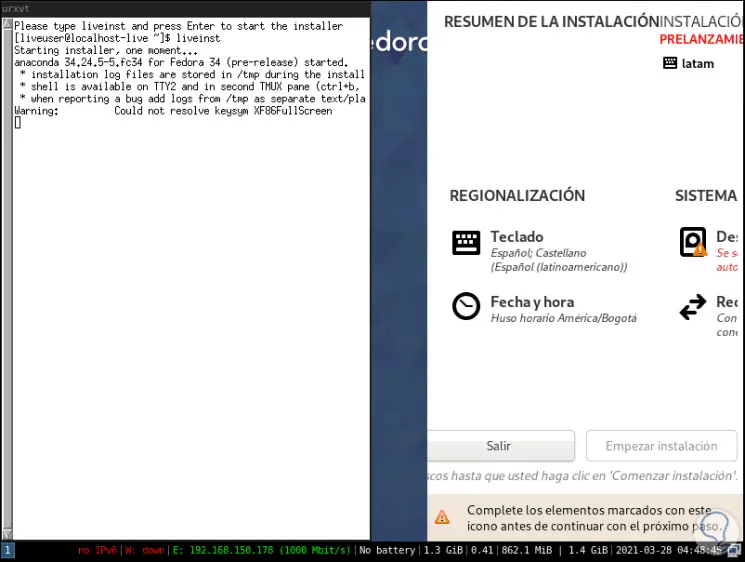
This is because Fedora 34 is still a beta system (testing), we click on "I want to continue" to see the following:
Step 12
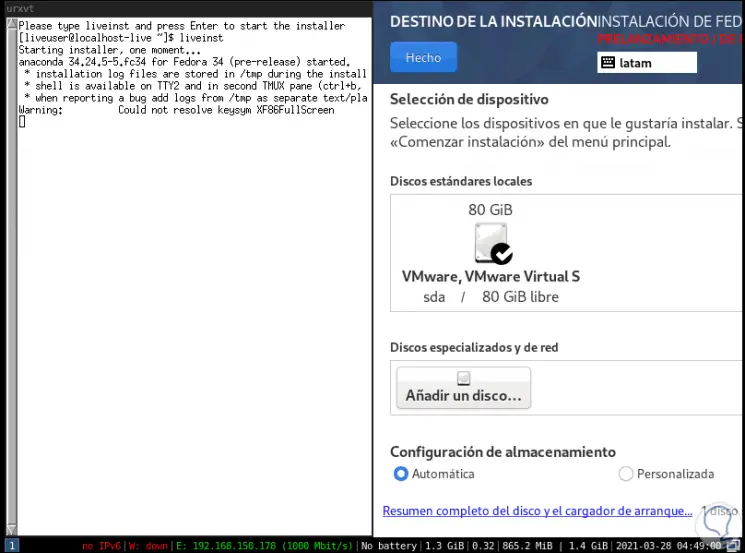
There we must if or if to complete the marked fields, first we select the destination of the installation:
Step 13
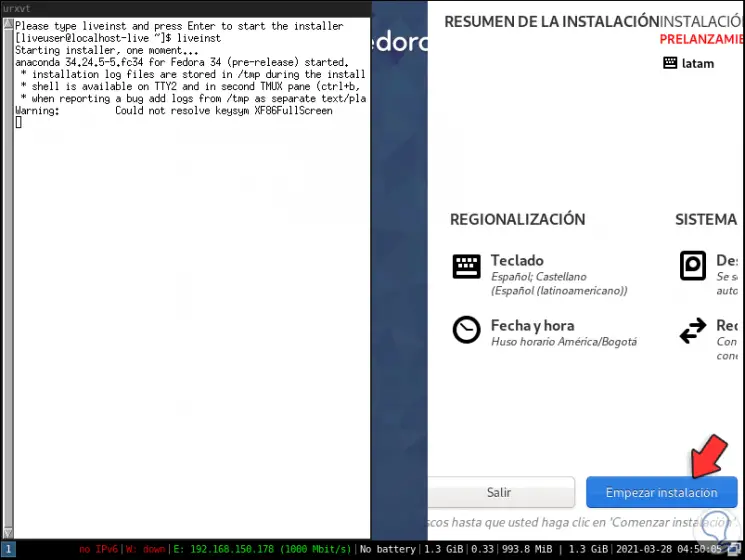
Then we complete the root password and establish the administrator user, finally we see that the option to install Fedora 34 i3 is activated:
Step 14
We click on "Start installation" to give way to the local installation of the system:
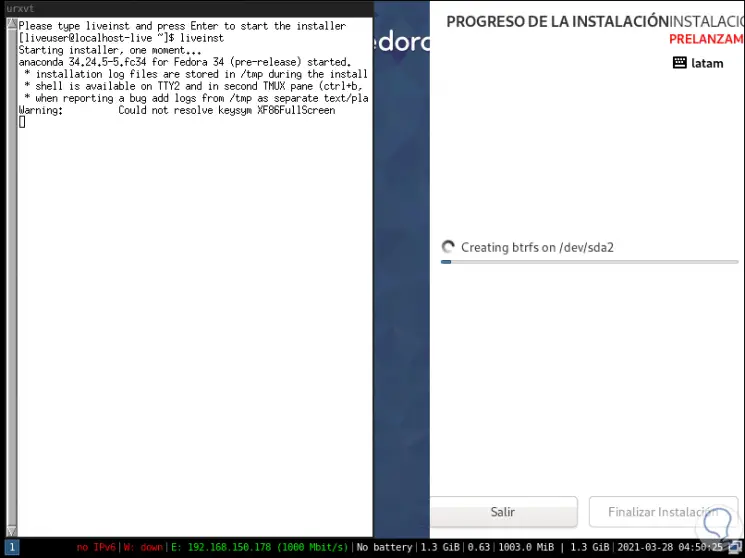
Step 15
The Fedora installation process will proceed:
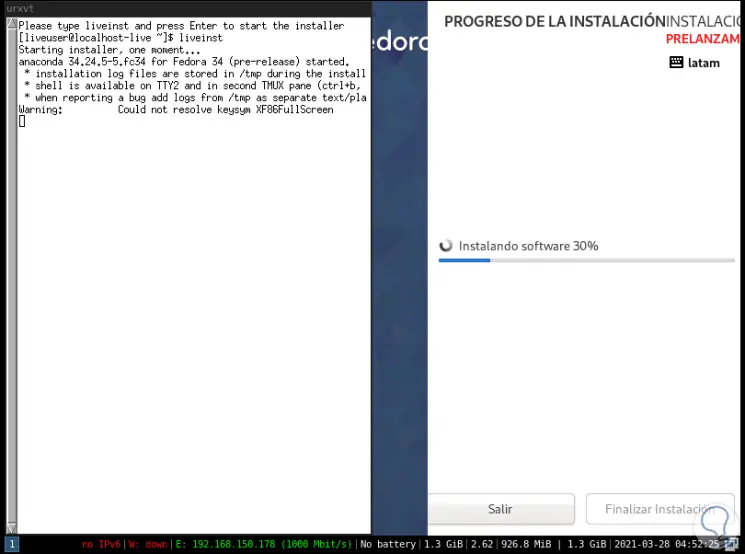
Step 16
The bootloader will be configured:
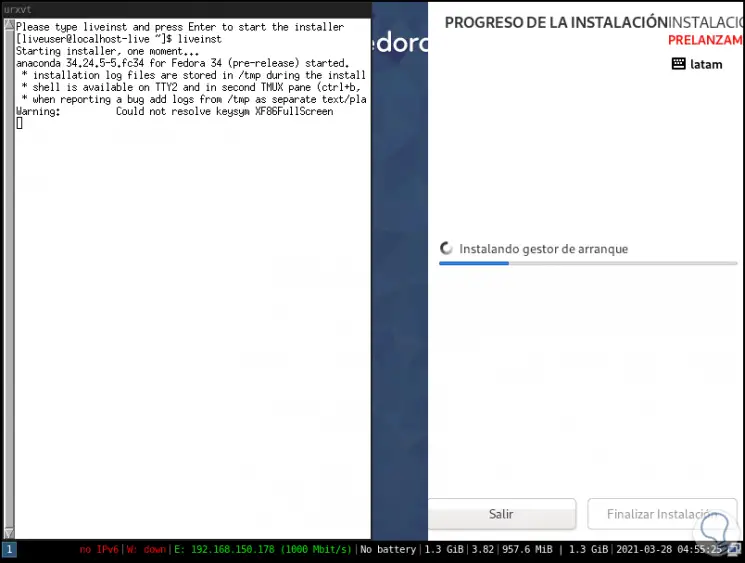
Step 17
Some extra steps will be completed:
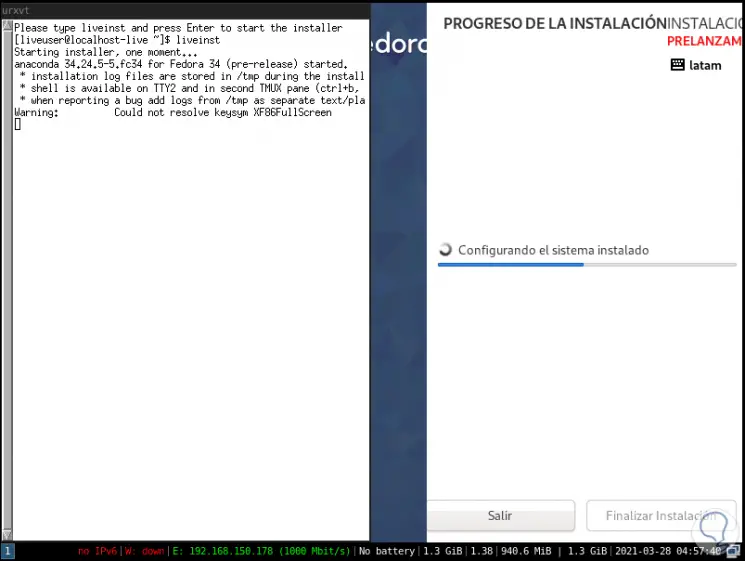
Step 18
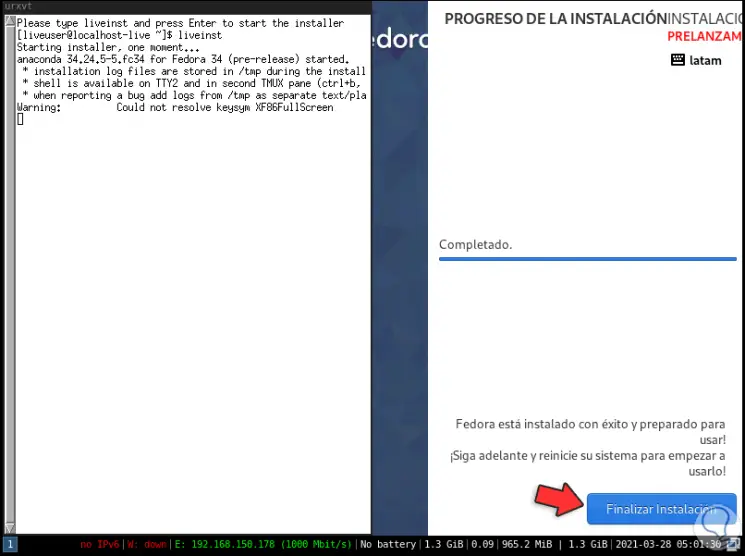
At the end of the process we will see this:
Step 19
We click on Finish installation and the window will close:
Step 20
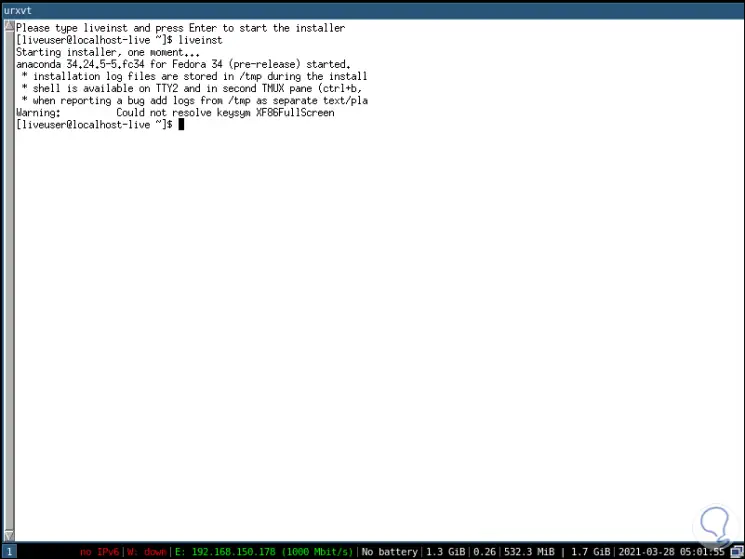
We exit the installer and the system will restart automatically:
Step 21
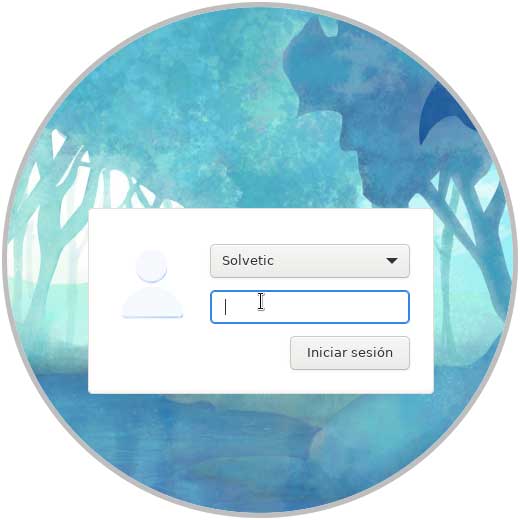
We access the lock screen:
Step 22
We log in and when we access we press Enter to create the configuration file:
Step 23
Now we select the mod method (Windows or Alt):
Step 24
There it is possible to use "mod + Enter" to open the necessary windows:
Step 25
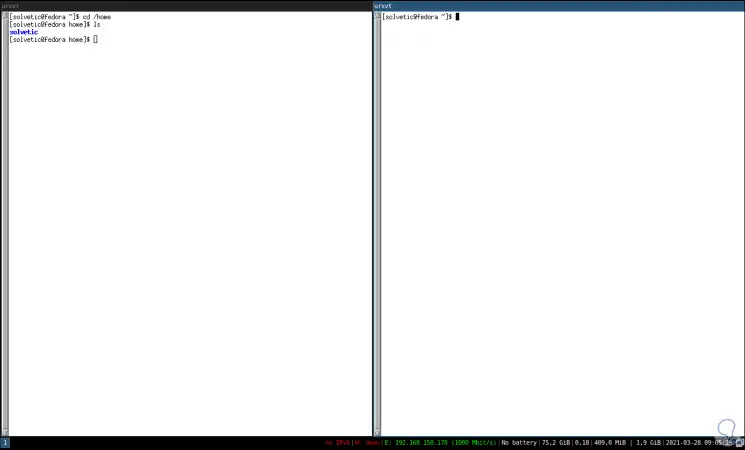
We can navigate as required:
Step 26
There we can run Fedora's own commands:
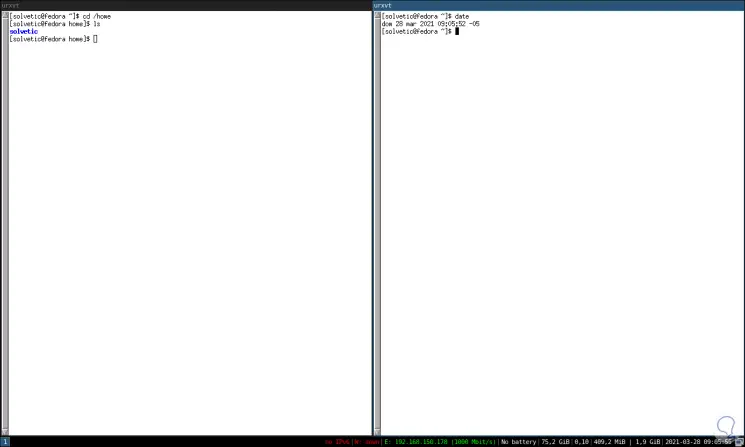
Step 27
Use "mod + d" to open applications or programs on the system:
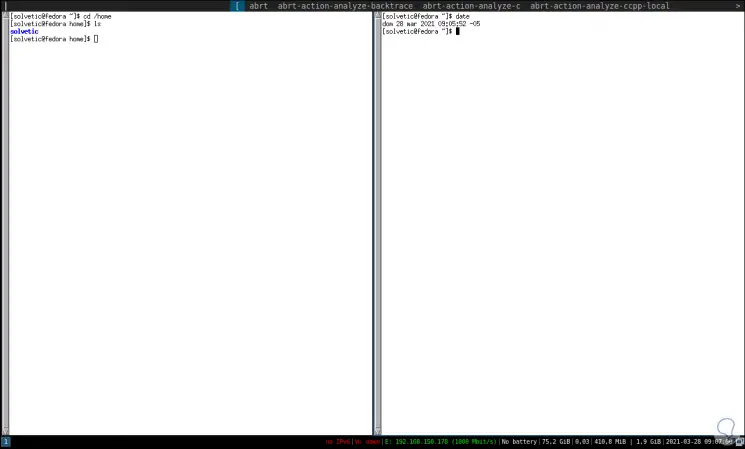
Step 28
We enter the name of the application and press Enter to open it:
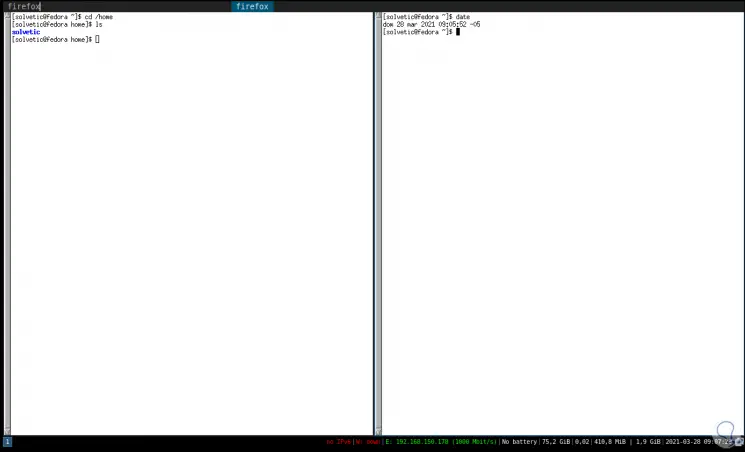
So far is the method to use Fedora i3 from a clean install..
2 . Install Fedora i3 by updating the system
Step 1
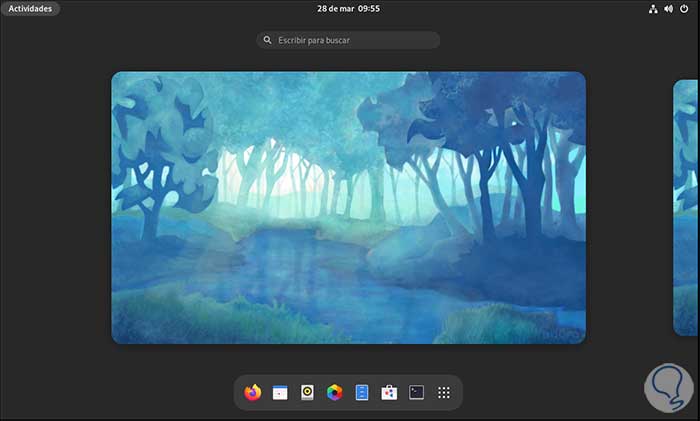
Now let's see how to use Fedora i3 in an already installed system, in Fedora we open the terminal:
Step 2
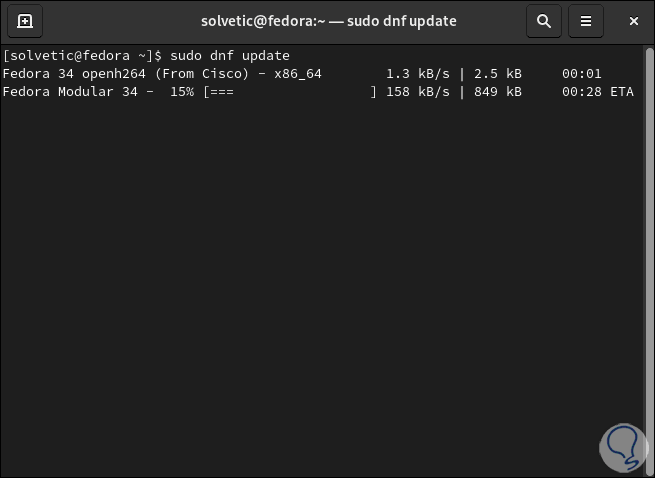
We update the system:
sudo dnf update
Step 3
After the analysis we will see the following:
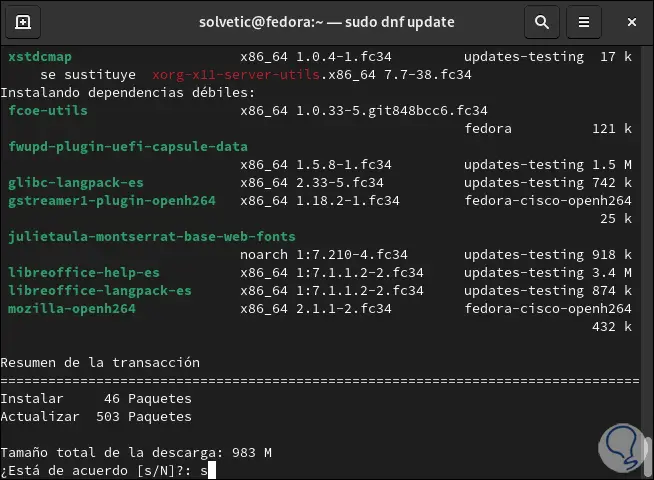
Step 4
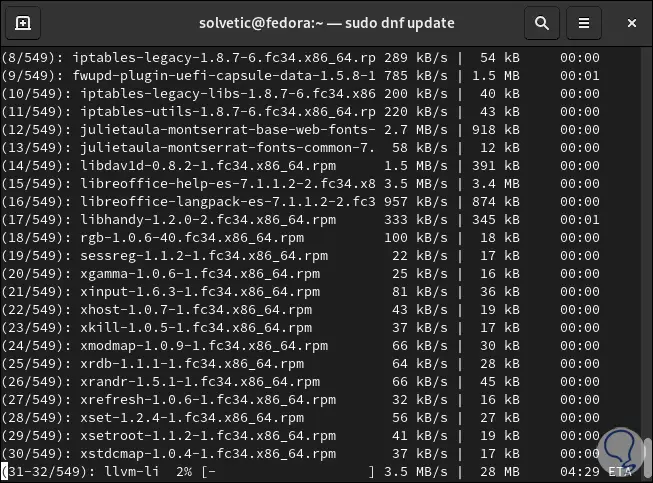
We apply the changes by entering the letter "s":
Step 5
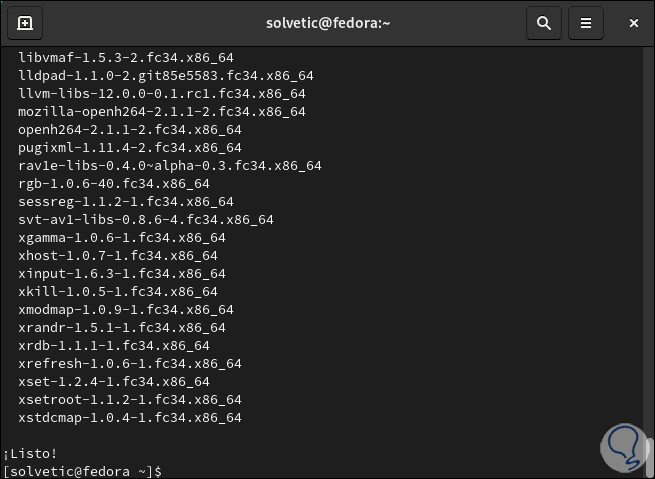
At the end we will see the following:
Step 6
Now we install i3:
sudo dnf install i3
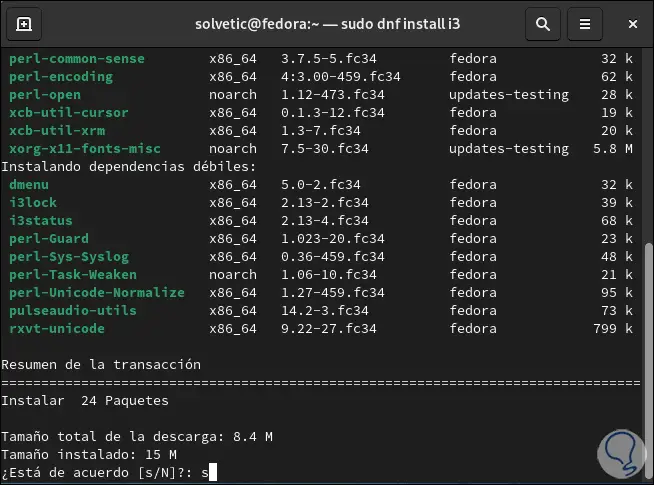
Step 7
Apply the changes by entering the letter s:
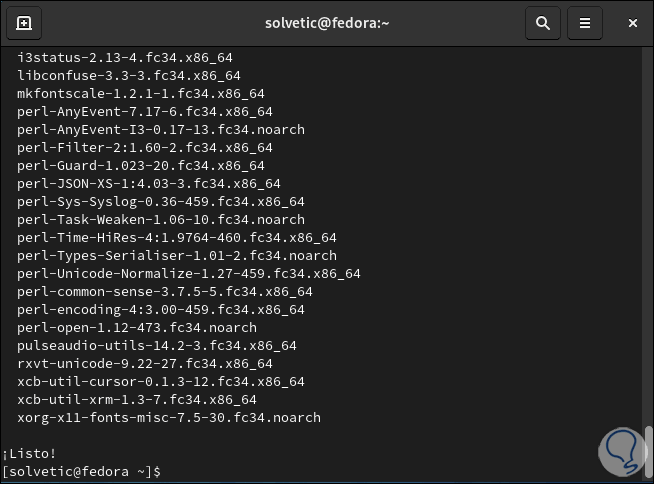
Step 8
After this restart Fedora:
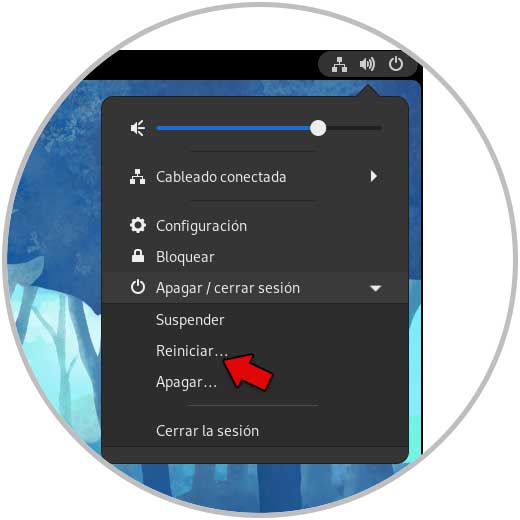
Step 9
The system will be rebooted:
Step 10
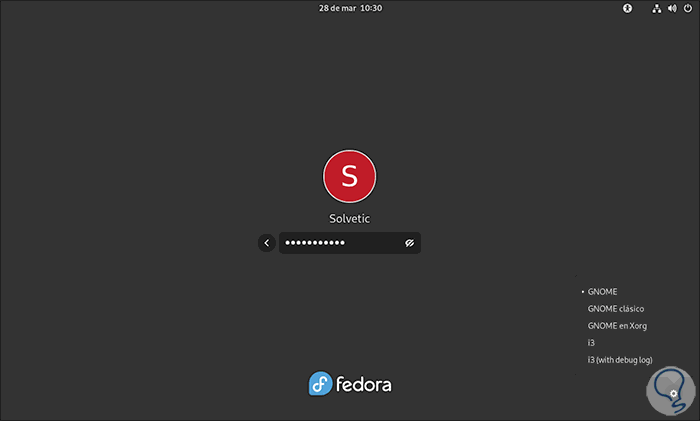
When accessing we select the user and in the environment manager we select i3:
Step 11
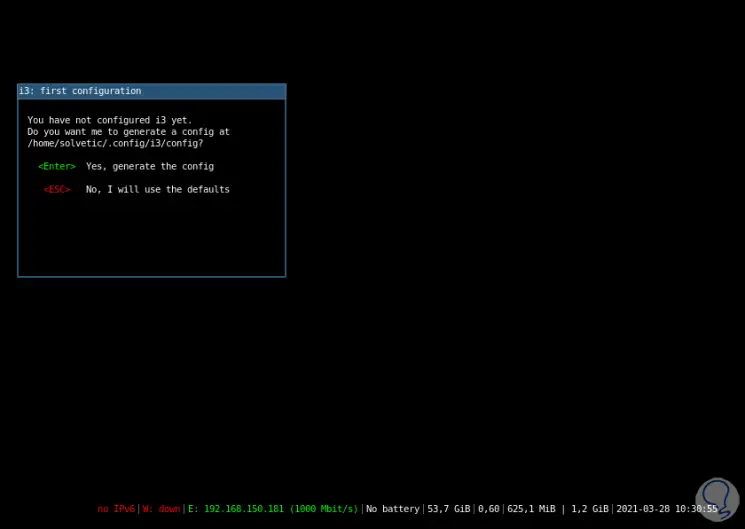
Login and hit Enter to create the configuration file:
Step 12
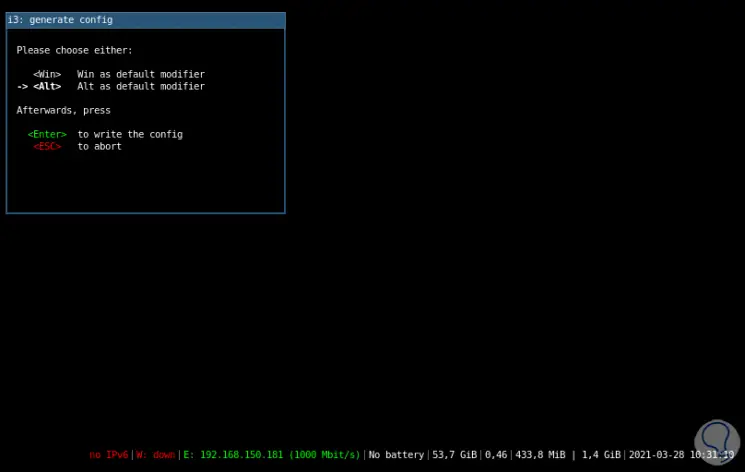
Then select the mod method (Windows or Alt):
Step 13
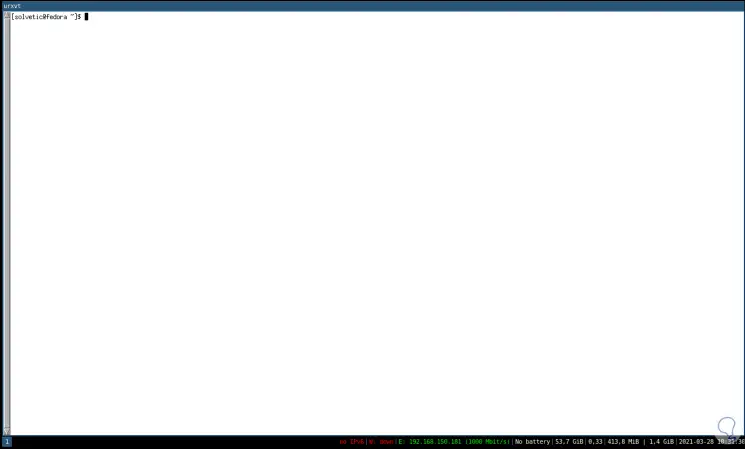
We use "mod + Enter" to open the required windows:
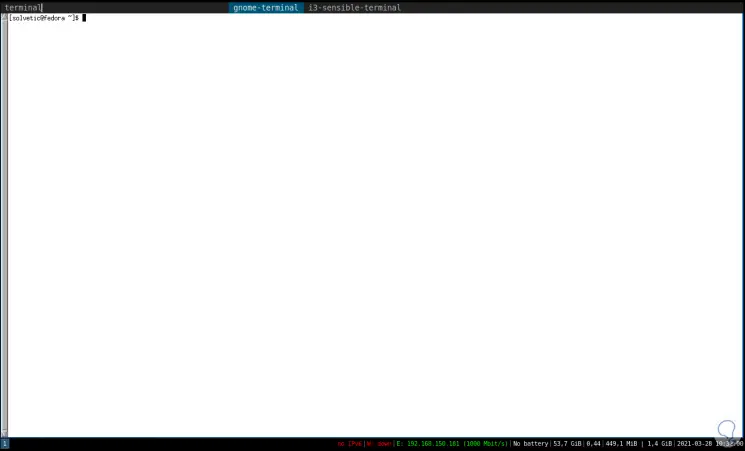
Step 14
We use "mod + d" to open applications, we enter the name and it will appear at the top:
Step 15
We press Enter to open the application:
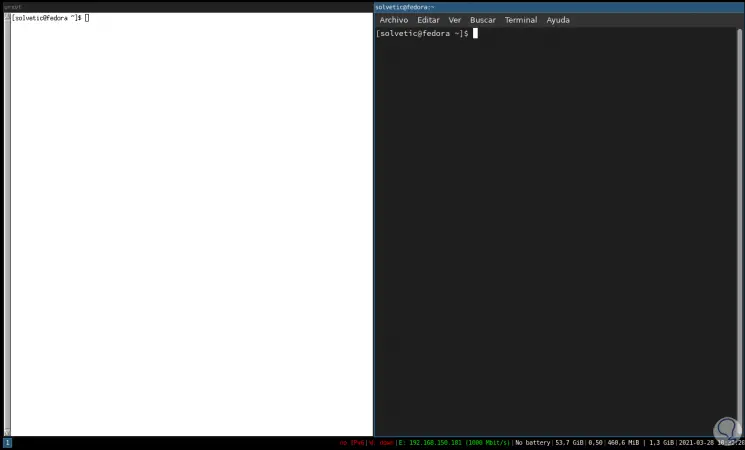
This has been the process to update i3 on an already installed system.
TechnoWikis will give you a list of mod commands that you can use for a more complete interaction in Fedora i3:
- Mod + Enter: Open the management terminal
- Mod + q: Close the window
- Mod + d - dmenu: Allows you to execute commands or programs
- Mod + j / k: allows browsing the windows in opening order
- Mod + Space: make the selected window the master (or change the master with the second)
- Mod + h / l: Change the width of the master window
- Mod + z / Z: Increase or decrease spaces
- Mod + Shift + Space: Allows you to float a window
- Mod + b: Show the toggle status bar
- Mod + B: Allows toggle the floating window in the lower left corner
- Mod + N: Allows toggle the floating window in the lower right corner.
- Mod + t - Tile mode (active by default)
- Mod + f: Full screen mode
- Mod + u: Center the master window
- Mod + o: Center and float the master window
- Mod + i / I: Increase or decrease the number of master windows
- Mod + Enter: build terminal (default terminal is st, we can run man st for more help)
- Mod + h / j / k / l: Allows us to move to different windows
- Mod + H / J / K / L: Move a window to the side
- Mod + Y / U / I / O: Resize windows
- Mod + s / S: Increase or decrease the internal spaces
- Mod + z / Z - Increase or decrease the outer spaces
- Mod + T: Restore spaces to defaults
- Mod + Space: change the focus from a floating window to a non-floating one (or vice versa)
- Mod + x: Lock screen (requires password to access)
- Mod + X: Off (request confirmation)
- Mod + Shift + Backspace: Restart
- Mod + Shift + Escape: Exits the graphical environment (requests confirmation)
- Mod + F1: Open the document
- Mod + Shift + F1: Toggle the LARBS welcome message
- Mod + F3: Select screen / display to use
- Mod + F4: Hibernate (request confirmation)
- Mod + F5: Reset the network manager to search for new networks
- Mod + F6: Open the torrent streaming client (cli)
- Mod + F7: Enable or disable streaming client via dmenu
- Mod + F8: mail check, only if mutt-wizard is installed
- Mod + F9: Mount a USB drive / HDD or Android
- Mod + F10: Disassemble a non-essential drive or Android
- Mod + ': Select an emoji to copy to clipboard
- Mod + Insert: Show clipboard content
We can see how using Fedora i3 with a window manager will not be a difficult task, we just have to get used to it but we will have hardware improvements and resources that will help with extra tasks.