VirtualBox is one of the most used virtualization platforms today and not only because it is free but because of its wide set of features and functions that will make the management of virtual machines as complete as possible, in VirtualBox it is possible to virtualize Linux systems , Windows and macOS with complete integrity of its services and specifications, VirtualBox can be downloaded for free at the following link:
VirtualBox
In the system where you install VirtualBox , it will host the virtual machines created in the user's local folder, in Windows 10 it will host them in the path C: \ Users \ [user] \ VirtualBox VMs, in the case of macOS it will be in the Home folder This is a default value, but based on the system used in each virtual machine, the size of the disk may be affected (this if we use small disks)..
Some machines can be more than 10GB in size and the most comprehensive solution for this is to install a VirtualBox machine on an external drive. This allows us to use the virtual machine at any time, but without taking up space on the local disk of the computer, let's see in this tutorial how to install a VirtualBox virtual machine on an external disk, in this example we will install Windows 10 on a Windows computer.
To stay up to date, remember to subscribe to our YouTube channel! SUBSCRIBE
How to install VirtualBox VM on an external hard drive
Step 1
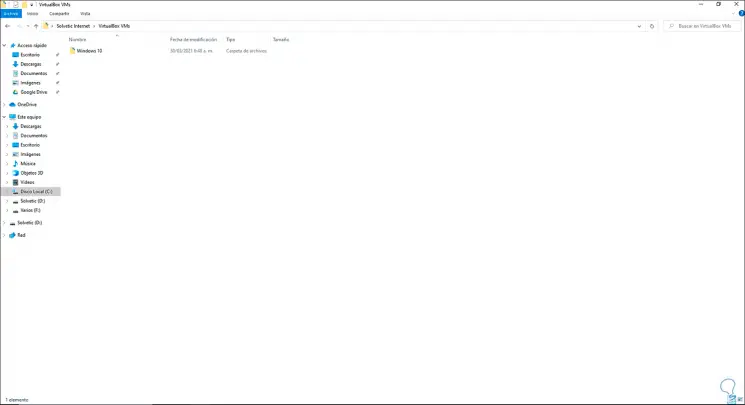
First, we will open the local location where VirtualBox stores virtual machines to check:
Step 2
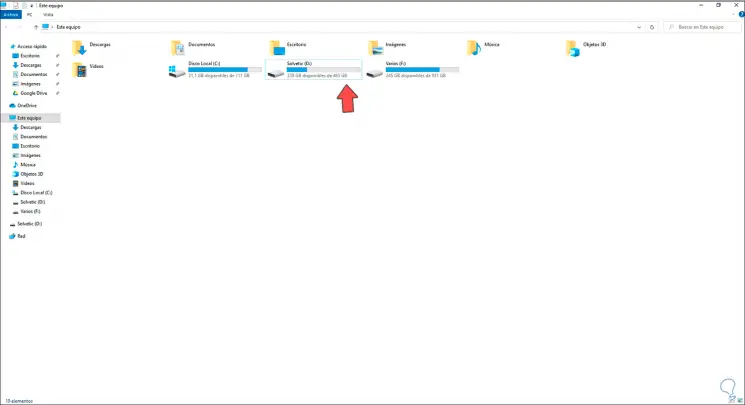
We see this machine in VirtualBox, now in Explorer we check the external hard drive. In this case the external disk is D.
Step 3
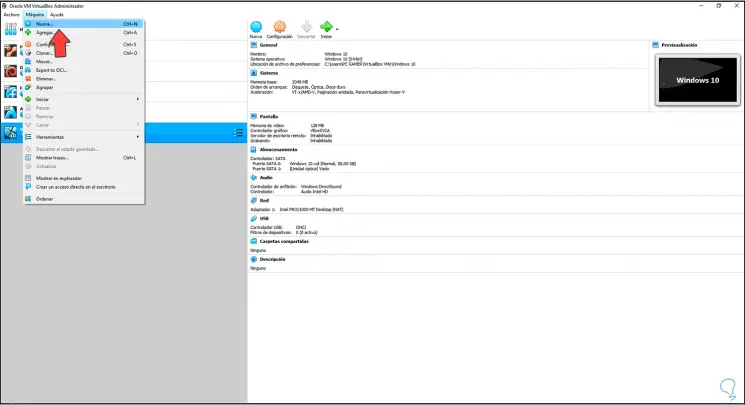
Open VirtualBox, there we are going to create a new virtual machine using any of the following options:
Ctrl + N
- From the Machine - New menu
Step 4
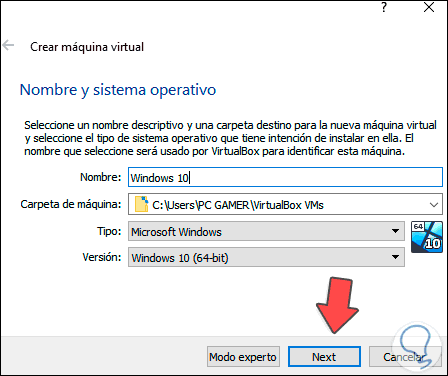
The following window will be displayed:
Step 5
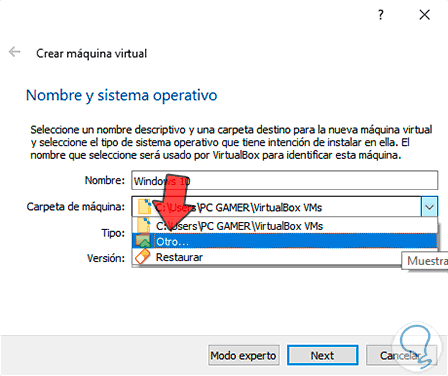
There we enter the name of the virtual machine, as well as the type and version of the system, in the field "Machine folder" we select "Other":
Step 6
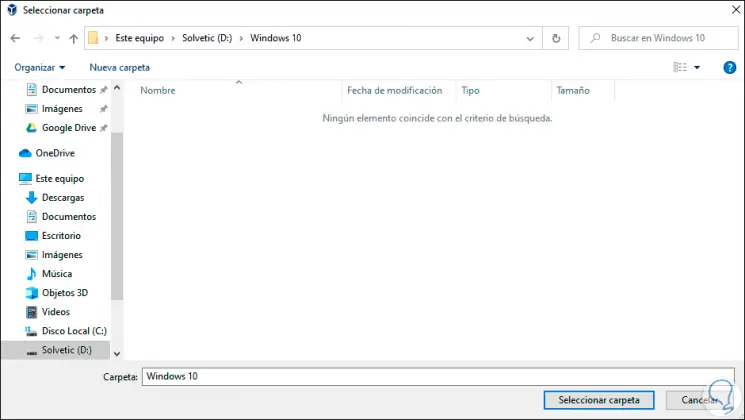
Select the external hard drive and create a folder for the virtual machine, we apply the changes:
Step 7
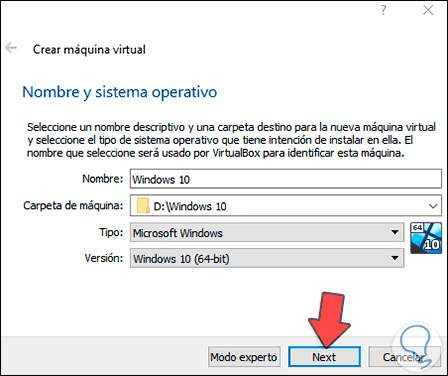
In VirtualBox we can see that this is the path where the virtual machine will be hosted:
Step 8
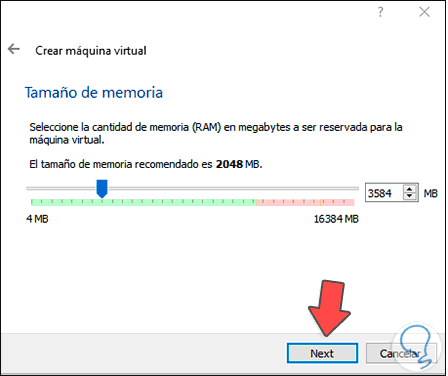
We click Next to define the RAM memory:
Step 9
In the next window we are going to create the virtual hard disk:
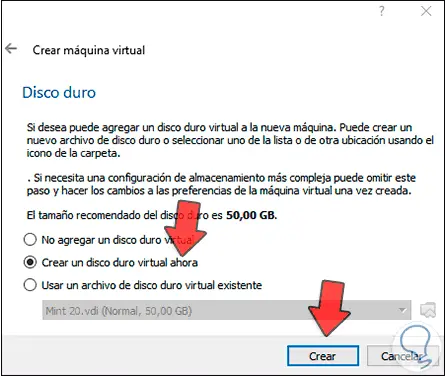
Step 10
We click on "Create", we define the type of hard drive:
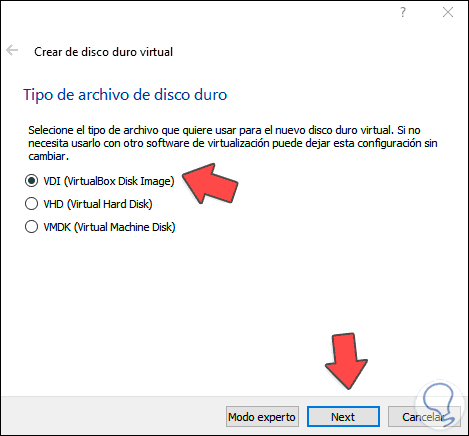
Step 11
Now we set the disk space:
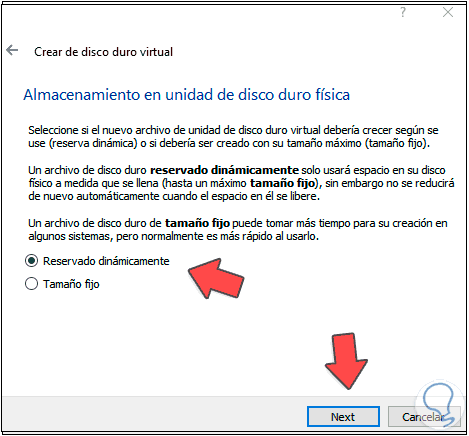
Step 12
In the next window we establish:
- The size of the virtual hard disk
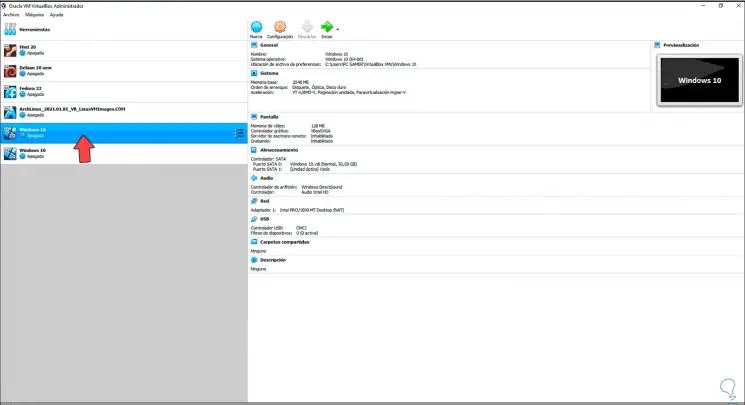
- The path where the virtual disk will be hosted, by default it will be on the external hard disk
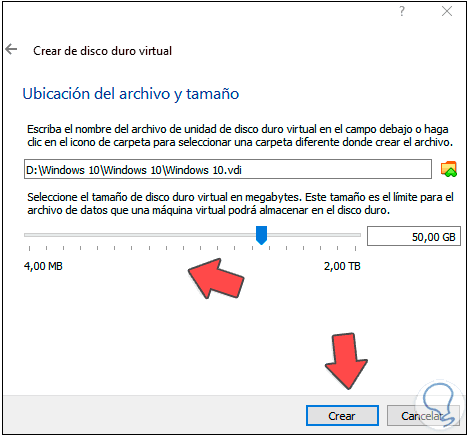
Step 13
We click on Create to complete the process.
Step 14
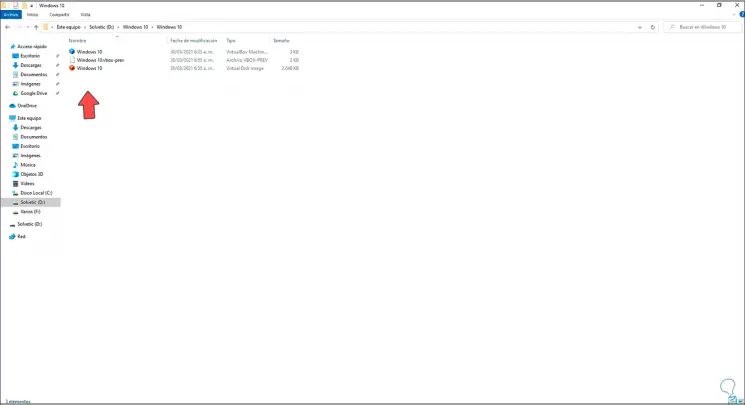
We validate on the external disk that the virtual machine files have been created:
Step 15
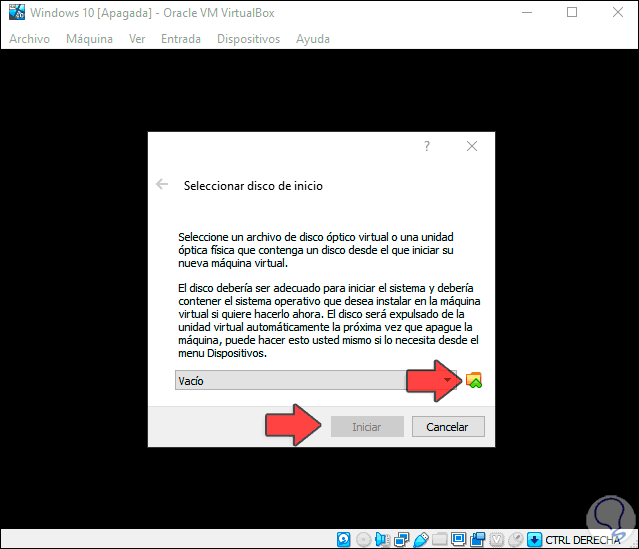
In VirtualBox we click on Start and we will see the following:
Step 16
There we select the ISO of the selected system to continue with the process:
Step 17
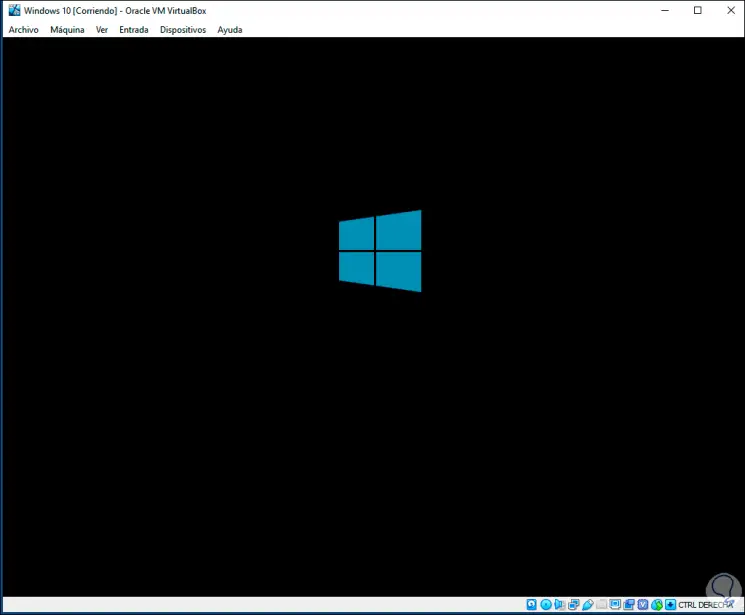
In this case we will see the following:
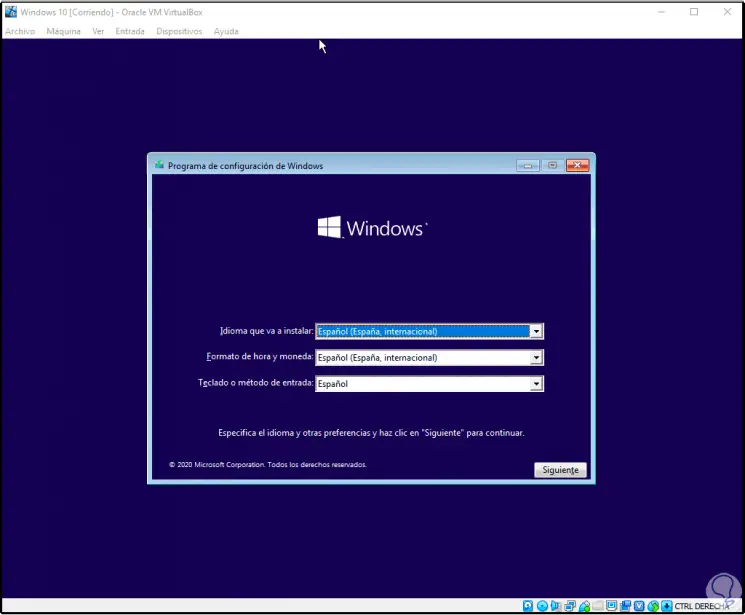
Step 18
Click Next and then click "Install Now":
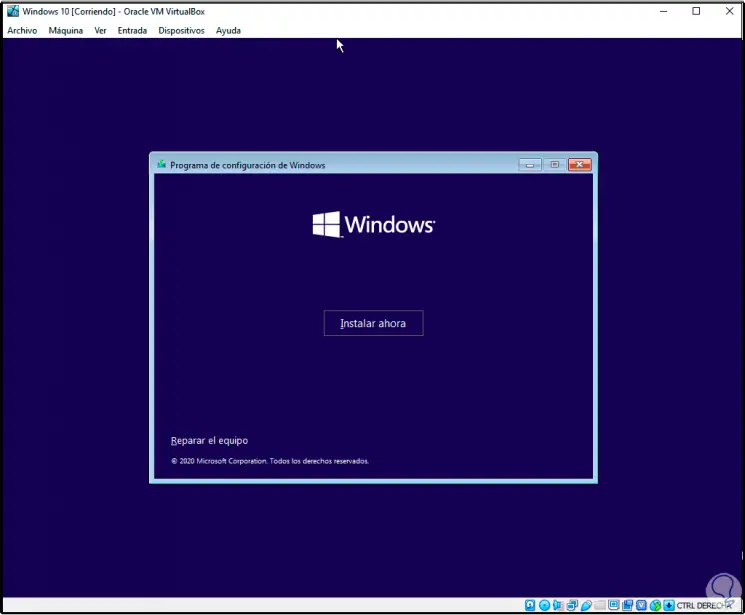
Step 19
We will see this:
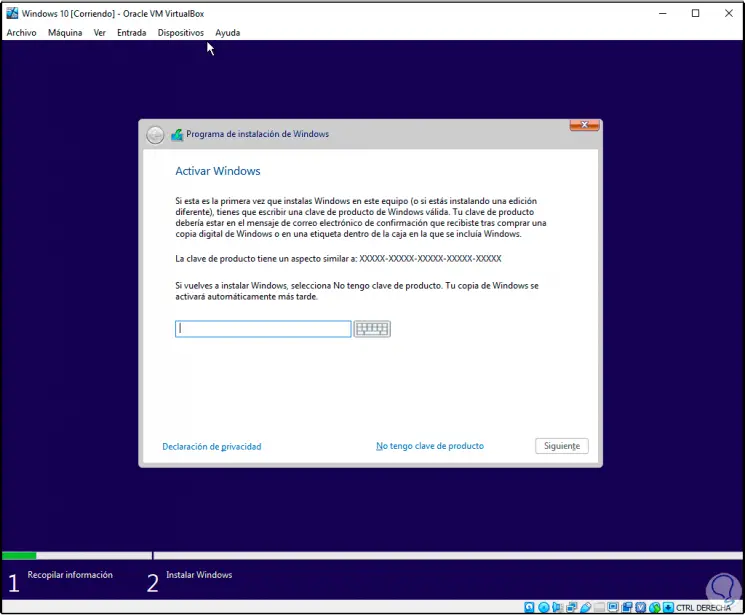
Step 20
We enter (if we have) the key and then select the version to use:
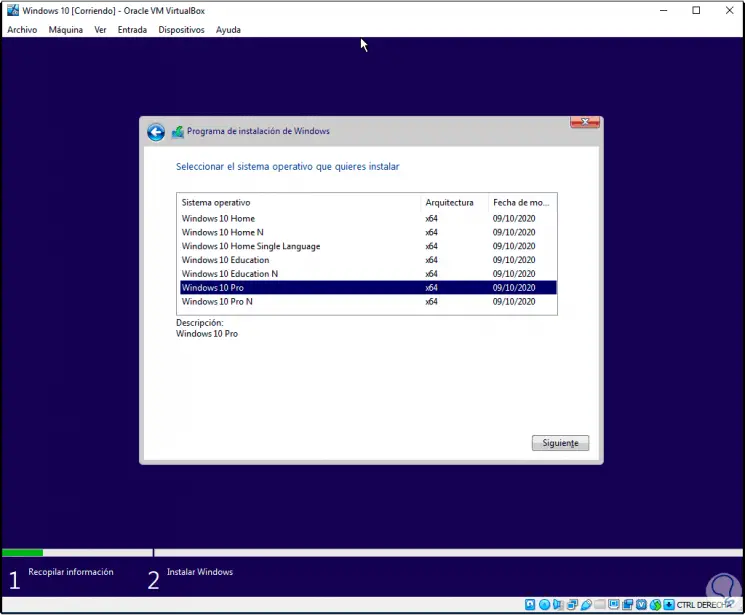
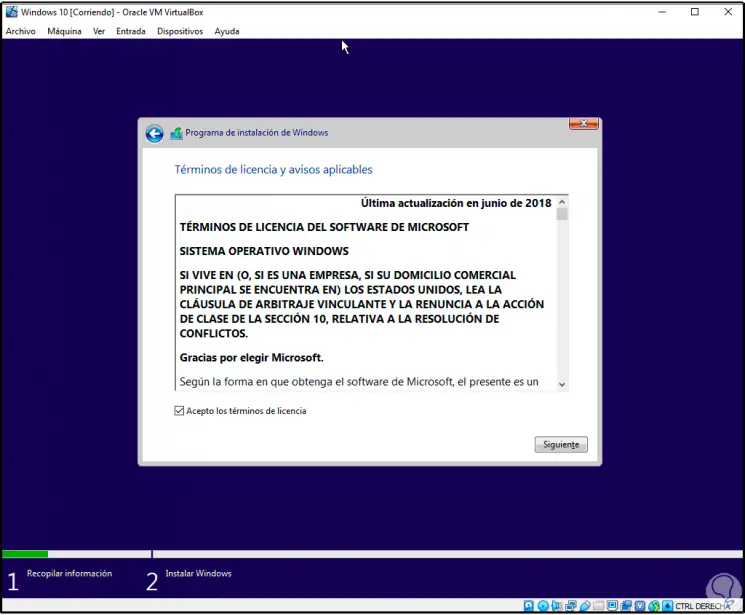
Step 21
We accept the license of use:
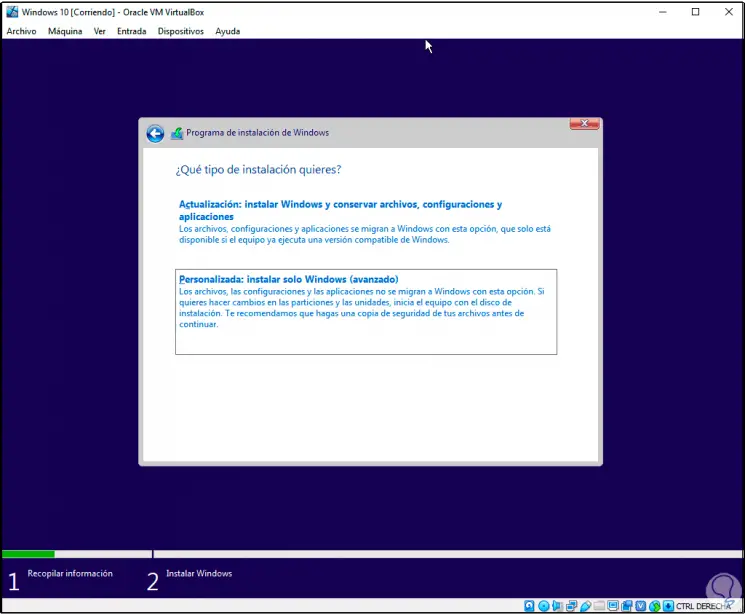
Step 22
Then we define the type of installation:
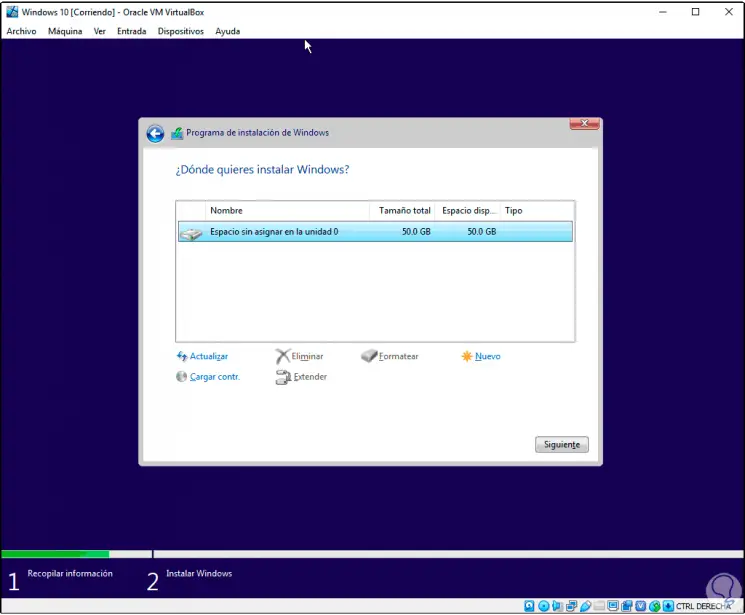
Step 23
Select the disk where the system will be installed:
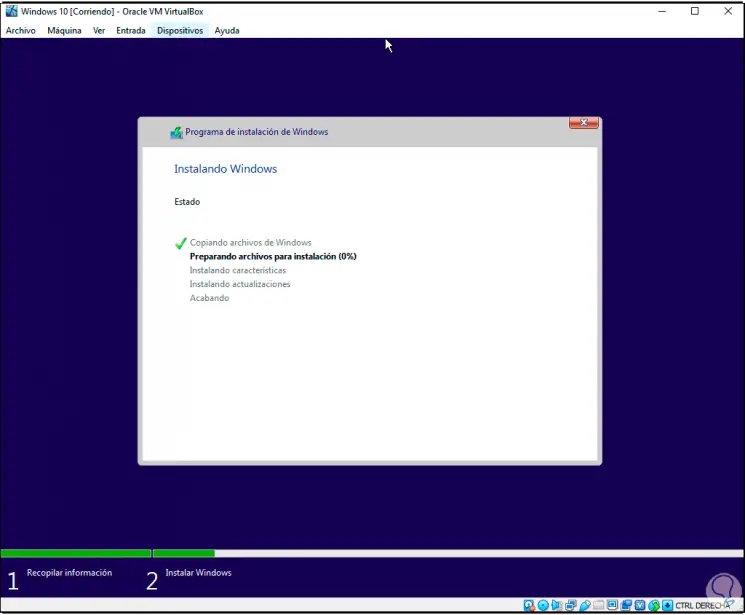
Step 24
Click Next to start the installation in this case of Windows 10:
Step 25
After this the system will reboot:
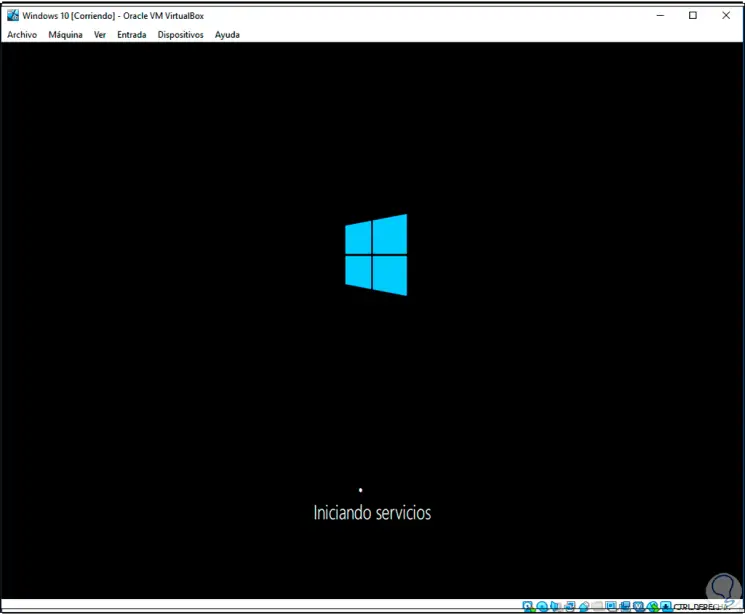
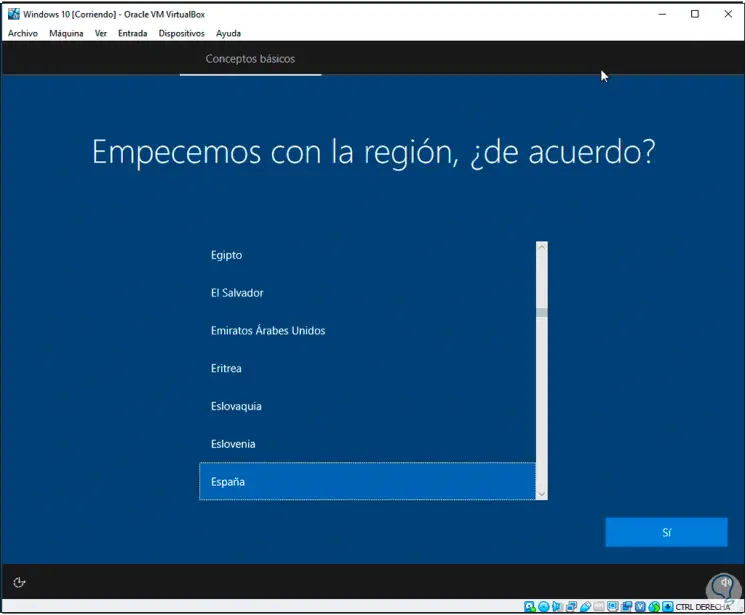
Step 26
Select language:
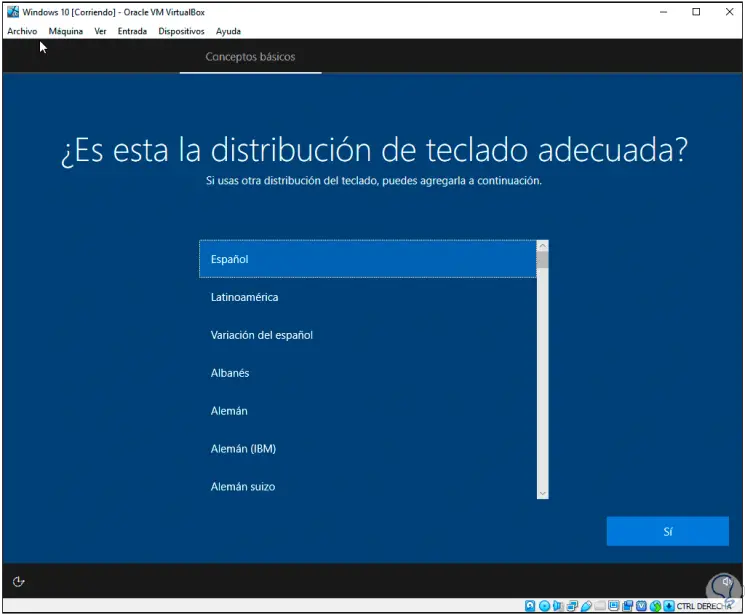
Step 27
Define the keyboard:
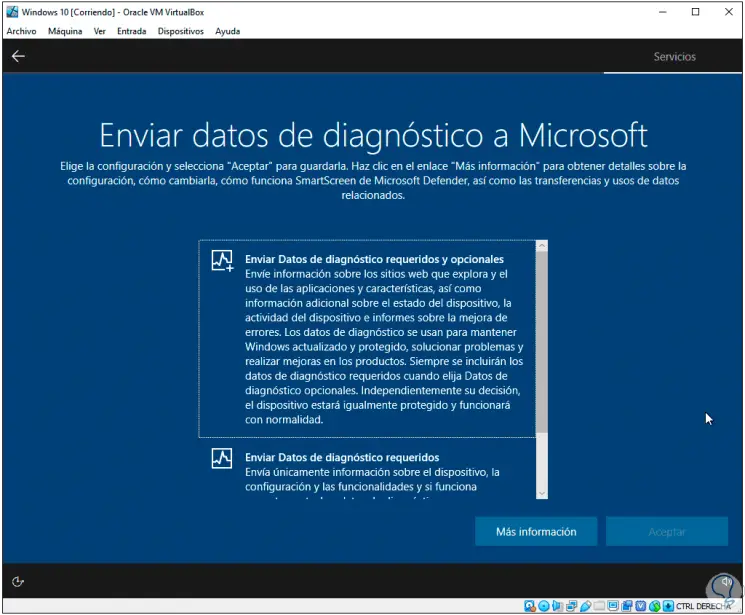
Step 28
Complete all the required process:
Step 29
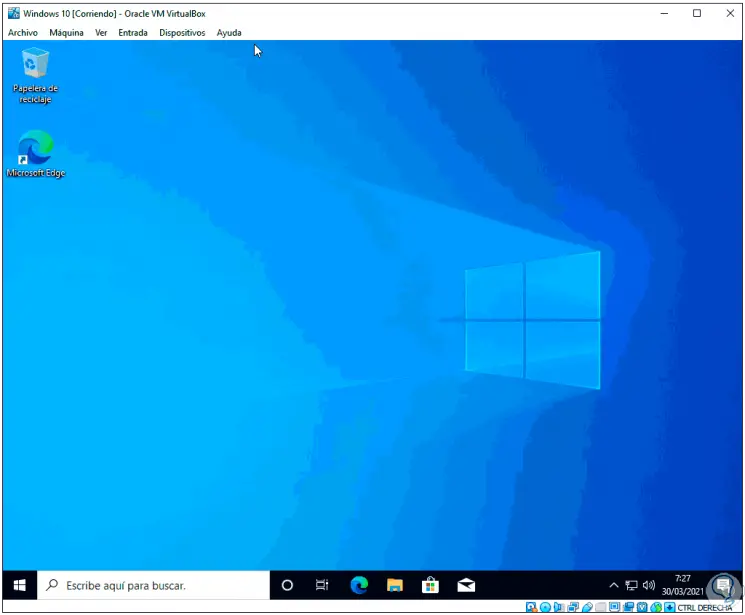
Finally, the system will be installed in VirtualBox on the external disk:
Step 30
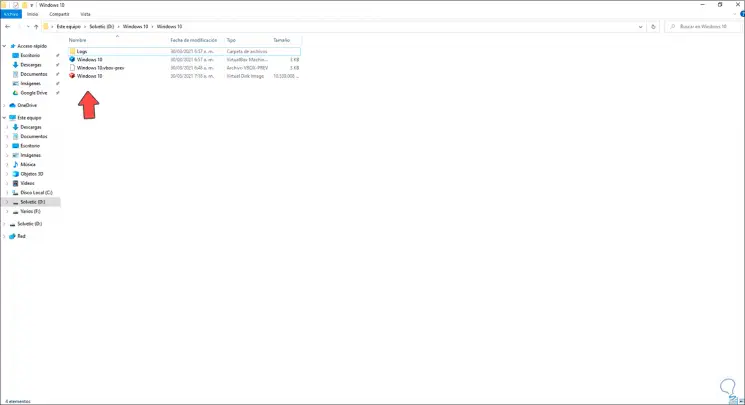
Again check that the virtual machine files are on the external hard drive. Now simply when we are going to use this virtual machine we must connect the external hard drive to the computer and start the virtual machine from VirtualBox.
This is how simple the process is to install a VirtualBox machine on an external disk to save local space..