Currently we have the possibility of creating bootable or bootable USB media with which it is possible to carry some of the modern operating systems (macOS, Windows or Linux) on a USB and with this be able to install the system from scratch or perform built-in administration tasks at system startup..
Creating a bootable boot media reduces the task of loading various DVDs with the ISO image of the system and for this we have various special tools for this task and through this tutorial TechnoWikis will explain how to create a bootable USB of Windows 10 in Linux, despite the fact that they are operating systems with very different file systems, thanks to these tools it will be possible to create this bootable medium.
Let's see how to create the Windows 10 bootable USB in Linux in this case it will be in Ubuntu..
To stay up to date, remember to subscribe to our YouTube channel! SUBSCRIBE
1. Create bootable USB Windows 10 on Linux with Ventoy
Ventoy is an open source utility with which it is possible to create a bootable USB drive compatible with ISO, WIM, IMG, VHD (x) and / EFI files. By using Ventoy, it will not be necessary to format the disk multiple times. This is one of the advantages of this utility, it will only be functional to copy the ISO, WIM, IMG, VHD (x) or EFI files directly to the USB drive and run them immediately.
It is possible to copy multiple files simultaneously so that Ventoy offers a start menu to select which one to start with, Ventoy is compatible with x86 Legacy BIOS, IA32 UEFI, x86_64 UEFI, ARM64 UEFI and MIPS64EL UEFI, as if this were not enough, too It is compatible with operating systems such as Windows, Linux, Unix, VMware, etc.
Ventoy Features
Among its characteristics we find:
- MBR and GPT partition styles supported
- Allows installation on USB, local disk, SSD, NVMe and SD Card
- Supports Legacy BIOS x86, IA32 UEFI, x86_64 UEFI, ARM64 UEFI, MIPS64EL UEFI
- Automatic installation on RHEL7 / 8, CentOS7 / 8, SUSE, Ubuntu Server systems
- ISO files larger than 4GB in size are supported
- Native boot menu style for Legacy and UEFI
- Dynamic boot configuration file replacement
- Non-destructive data during version update and more
Step 1
We open the Ventoy URL at the following link:
Ventoy
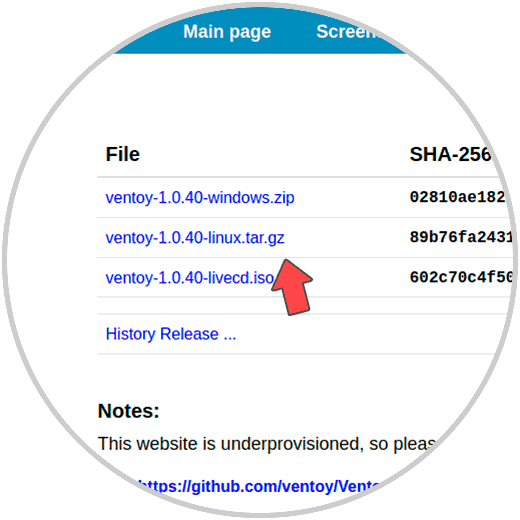
Step 2
We download the Linux option by clicking on the tar.gz file, then we will be redirected to the following window:
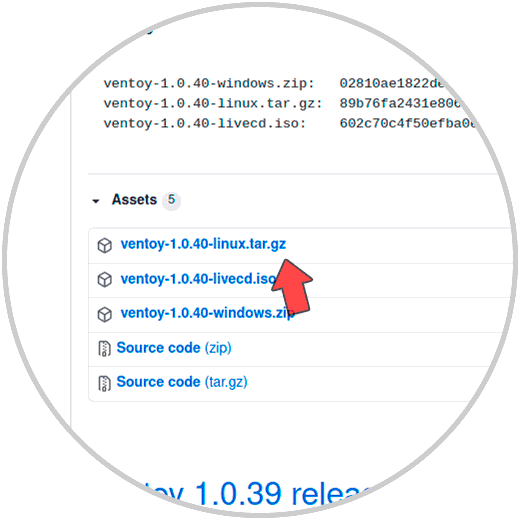
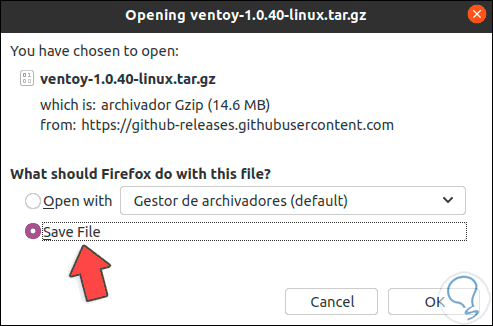
Step 3
We again click on the Linux tar.gz file and save the file locally:
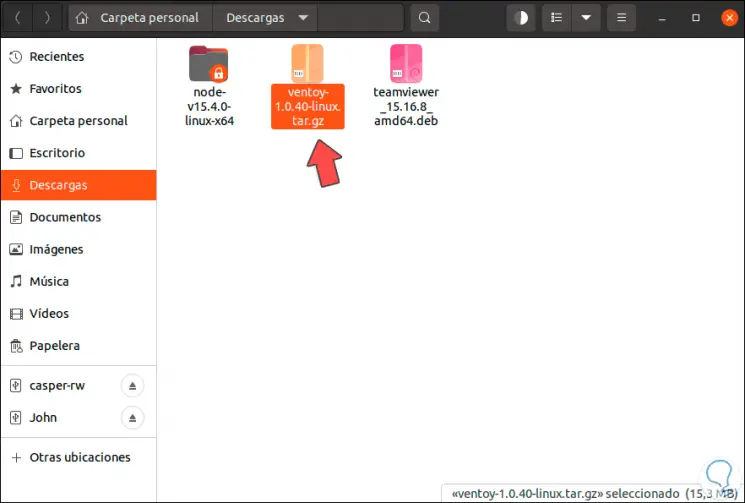
Step 4
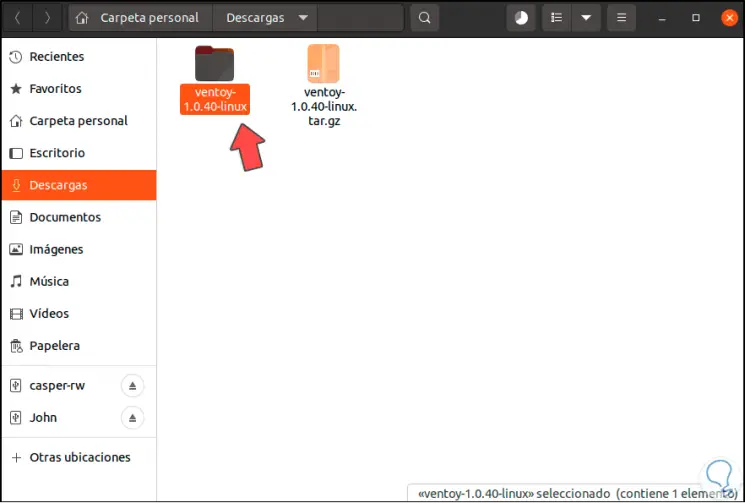
Once saved, we access the folder to validate the download:
Step 5
We right click on the file and select the option "Extract here":
Step 6
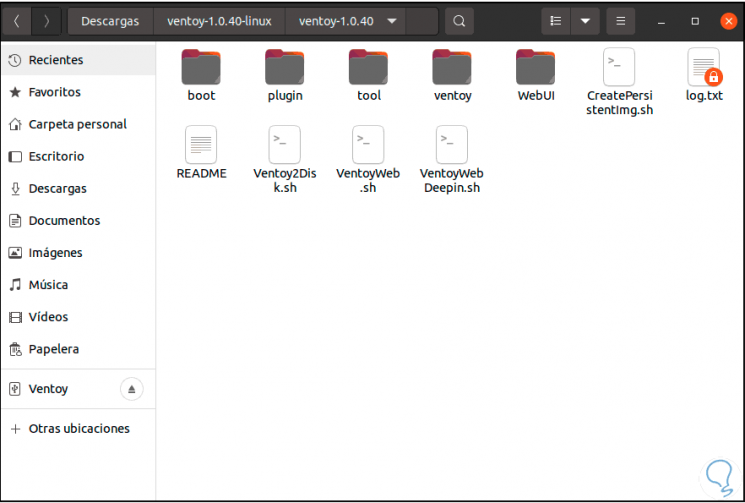
Once extracted we will see the folder:
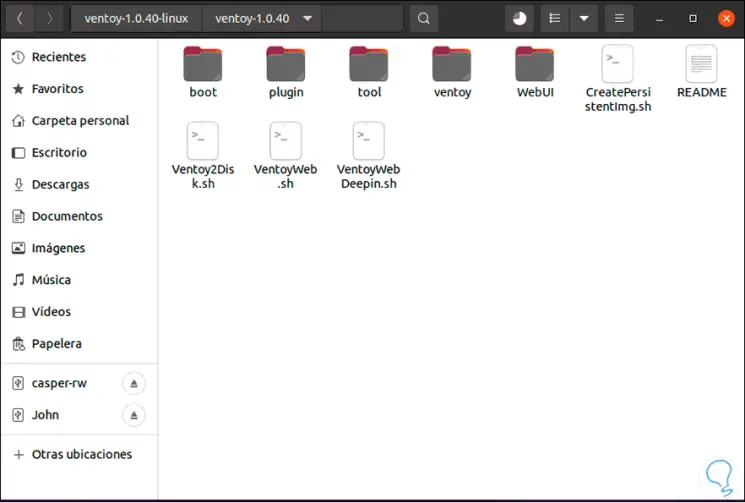
Step 7
We access the extracted files:
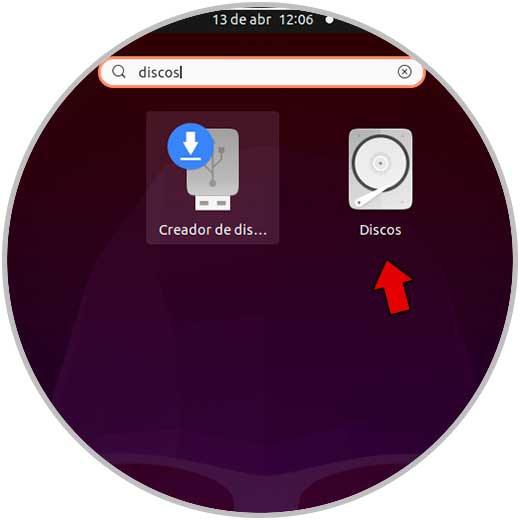
Step 8
The next step is to access the Disks utility from the Linux browser:
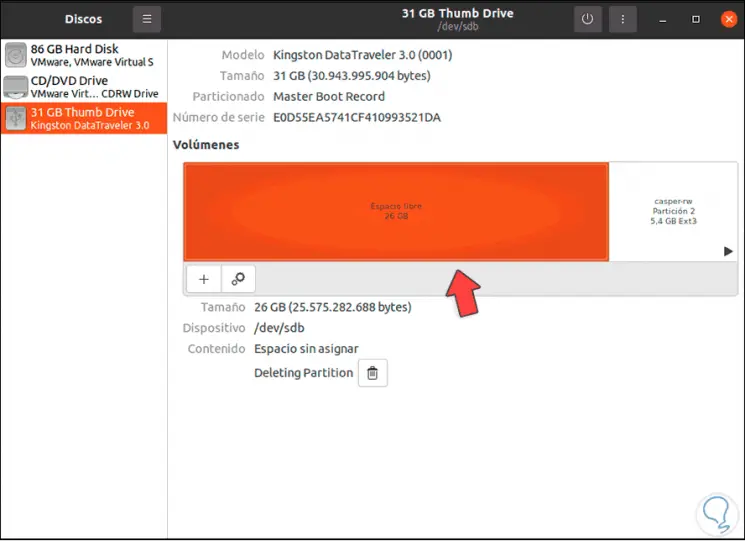
Step 9
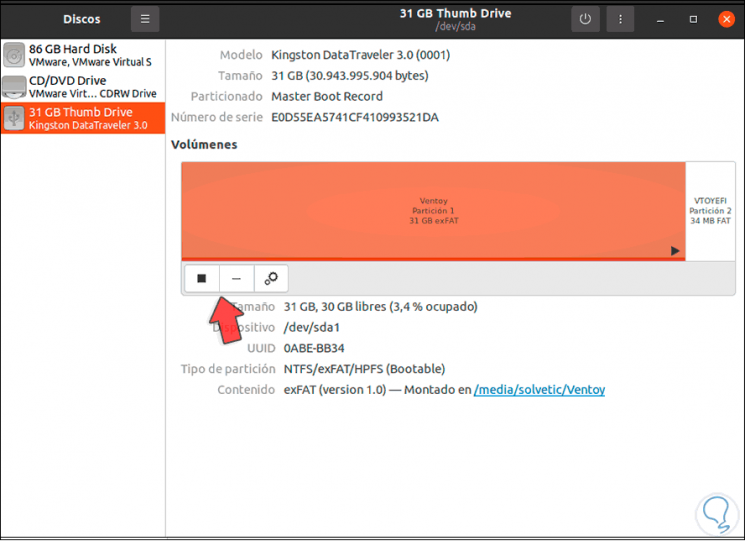
In the Disks window we select the USB where the boot will be created:

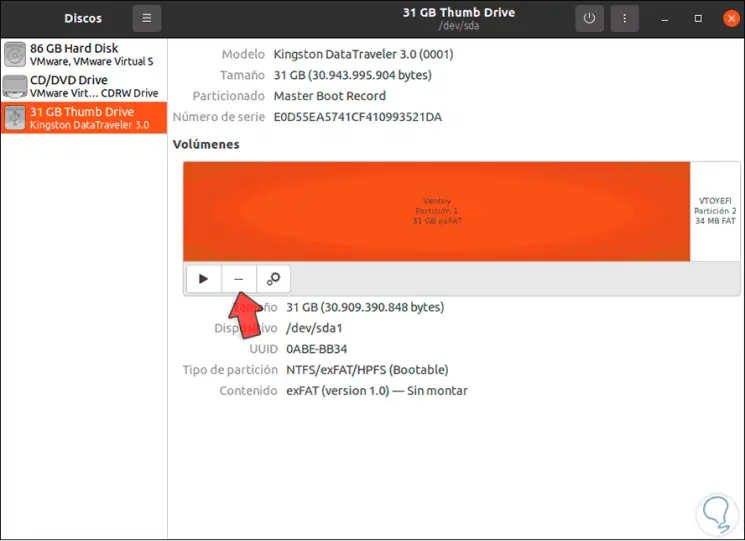
Step 10
Click on the sign - to delete the partitions from the USB, the following message will be displayed:
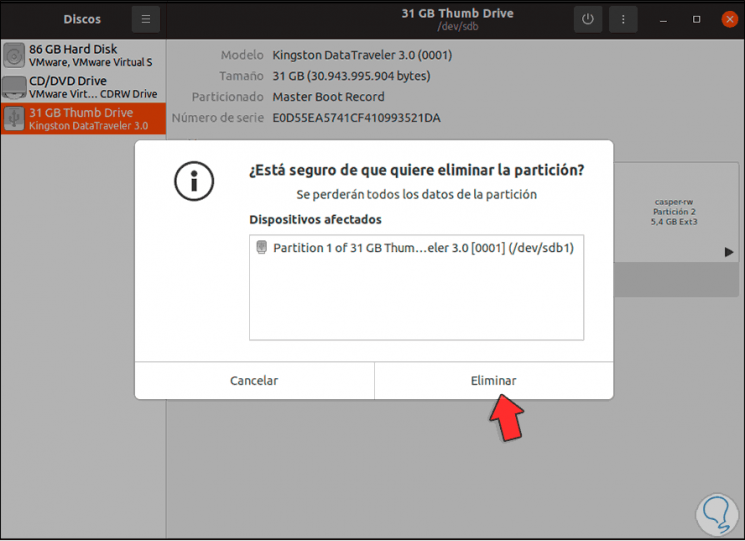
Step 11
We apply the changes by clicking on "Delete", this will leave the total space on the USB:
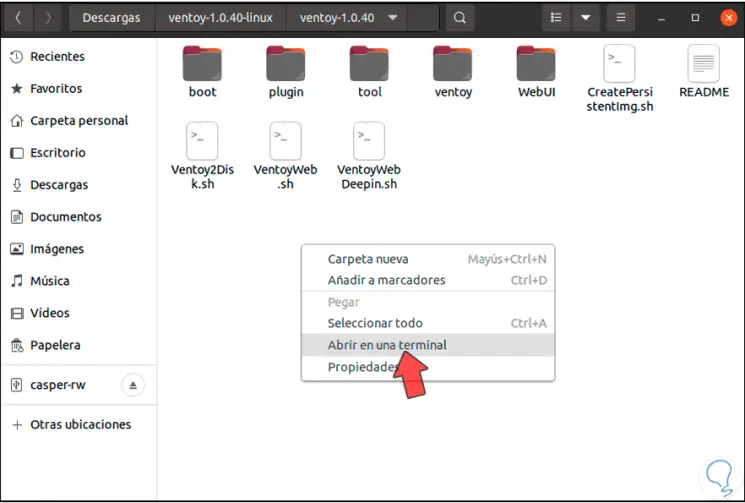
Step 12
We right click on the Ventoy folder and in the options displayed we select "Open in a terminal":
Step 13
When the terminal opens, we will execute the following syntax:
sudo sh Ventoy2Disk.sh -I / dev / sdb
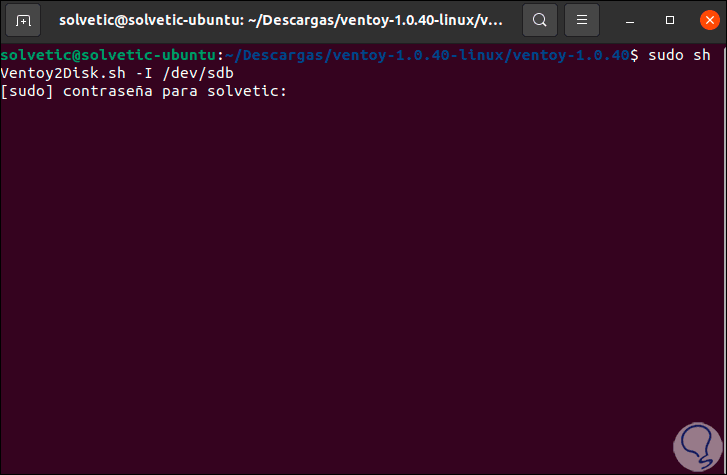
Note
We validate the sdb value in Disks when selecting the USB.
Step 14
We enter the administrator password and Ventor will detect:
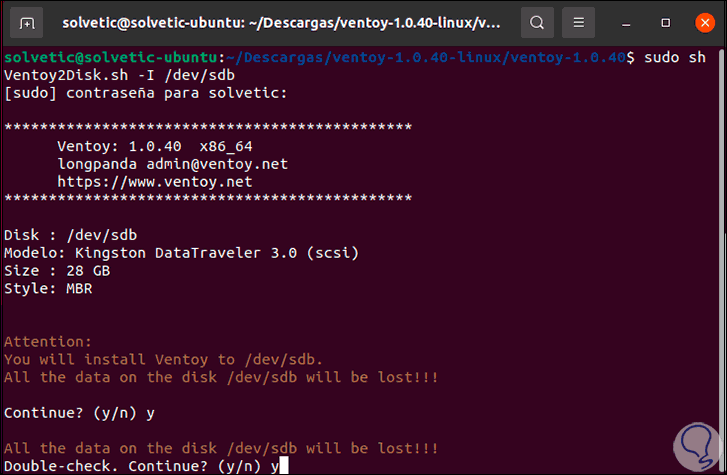
Step 15
There we must apply the changes by entering the letter y, this is to erase the data from the USB, after this we will see the following:
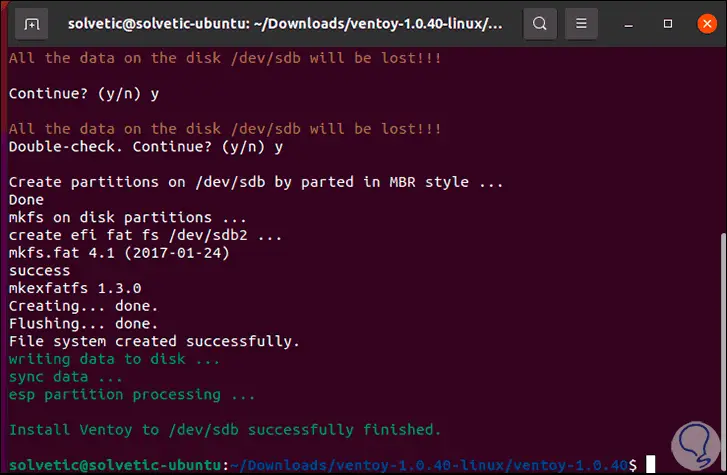
Step 16
We can see that the process has been completed correctly, the necessary boot files will be created on the USB:
Step 17
The last step is to copy the Windows 10 ISO to the USB Ventoy:
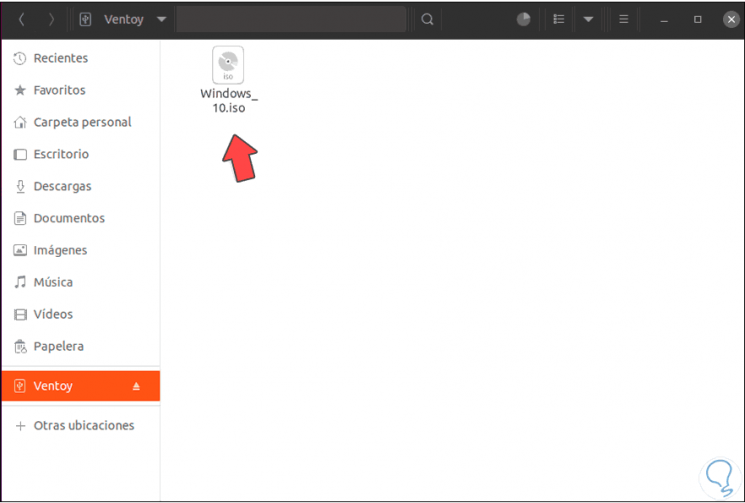
Step 18
This will make that when starting the equipment from there we select the desired system.

2 . Create bootable USB Windows 10 on Linux with WoeUSB
WoeUSB is a utility developed to create bootable USB (bootable) being compatible with all versions from Windows Vista and which supports both 32-bit and 64-bit architectures and Legacy and UEFI modes, although it is one of the traditional options in Nowadays it has lost support and as such native WoeUSB is not possible to use, but this does not mean a general discard since TechnoWikis will explain how to use some WoeUSB variables to create the bootable USB.
Step 1
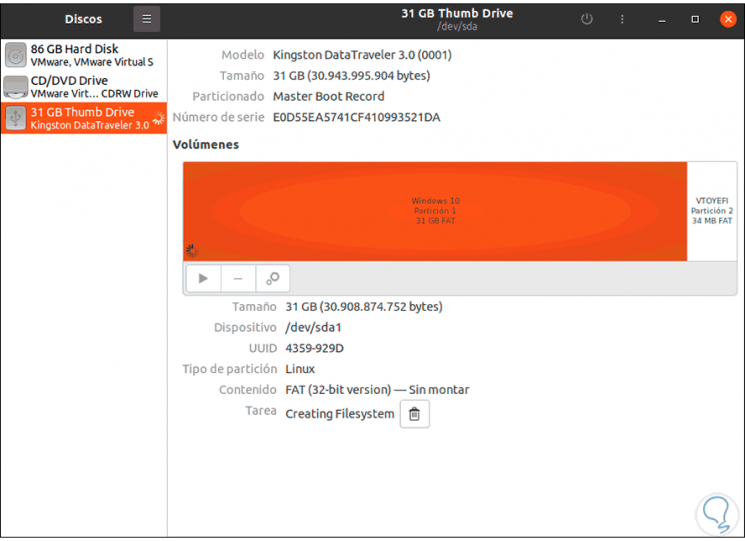
For this the first thing will be to access Disks from the search engine:

Step 2
In the Disks application we select the USB and click on the stop button to unmount it:
Step 3
Once disassembled we will see the following:
Step 4
Now we click on the - sign to delete the current partitions from the USB:

Step 5
We apply the changes to see the status of the task:
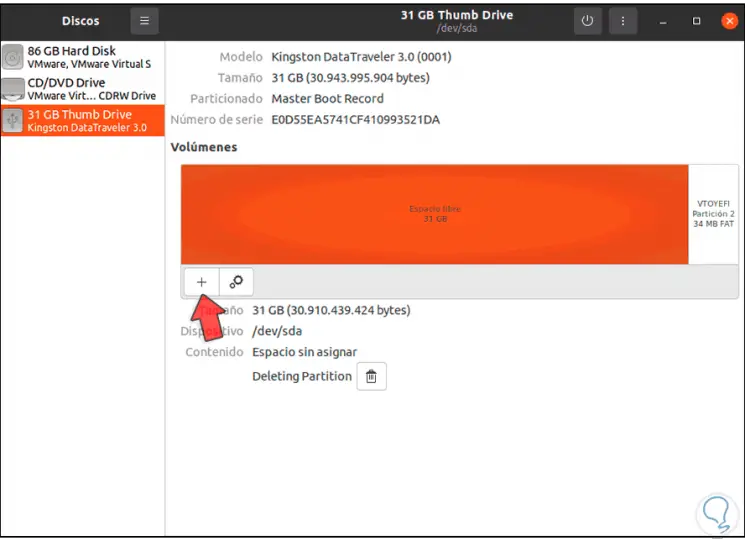
Step 6
We click on the + sign to create a new partition and first we select all the available space:
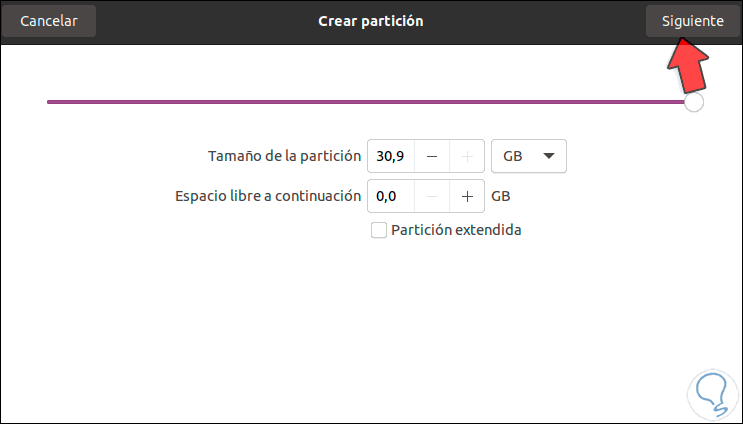
Step 7
We click Next to assign the name and activate the box "To use with all systems and devices (FAT)":
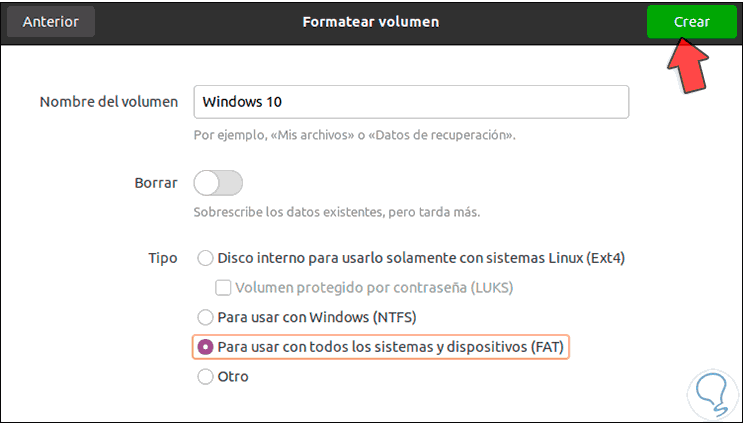
Step 8
Click Create to configure the USB:
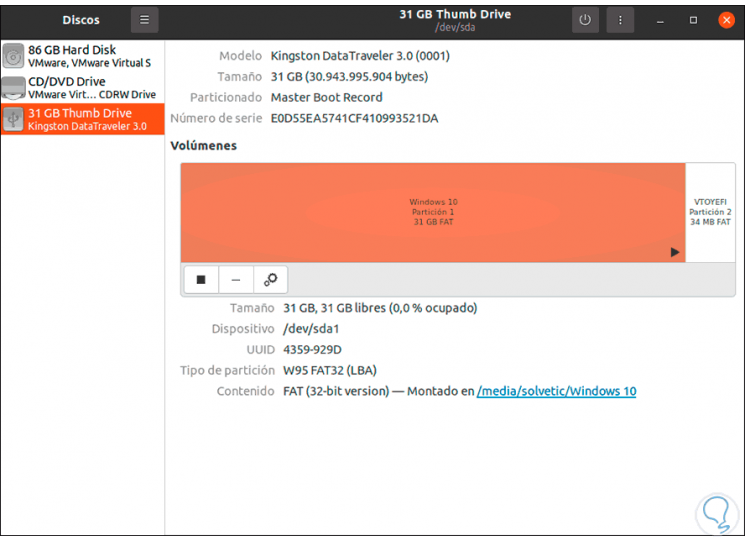
Step 9
Once the process finishes we will see that it has been created with the defined file system:
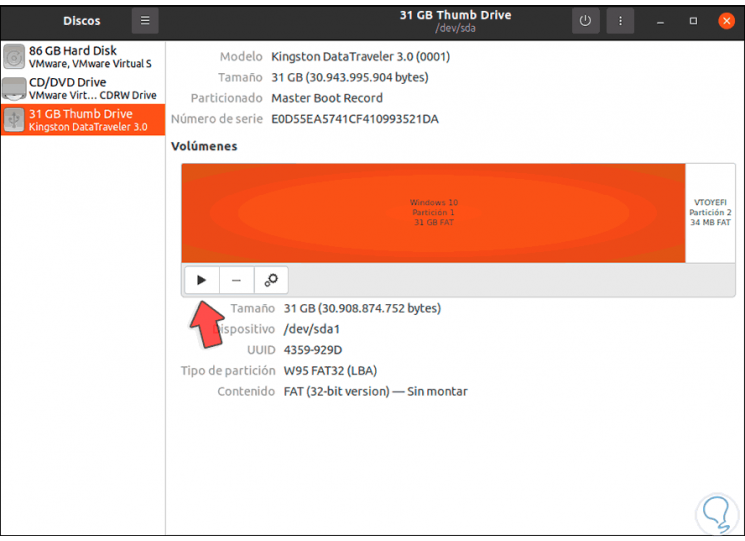
Step 10
We mount the USB by clicking on the play sign:
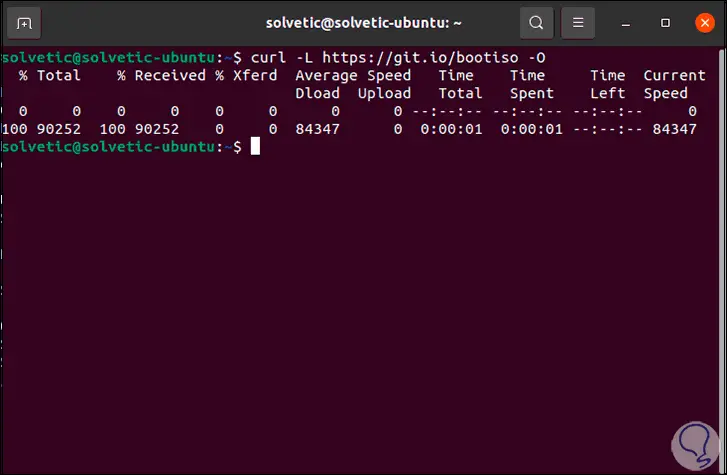
Step 11
We access the terminal and there we execute "curl -L -O" to download the tool:
Step 12
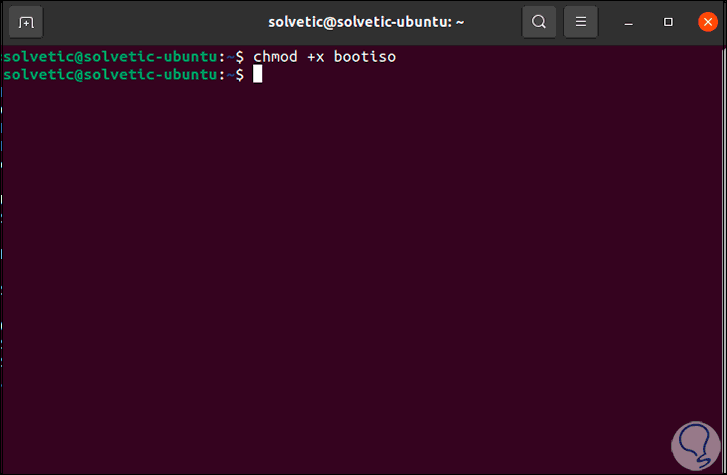
We grant the necessary permissions:
chmod + x bootiso
Step 13
Download the required utilities, first of all we execute:
sudo apt install wimtools
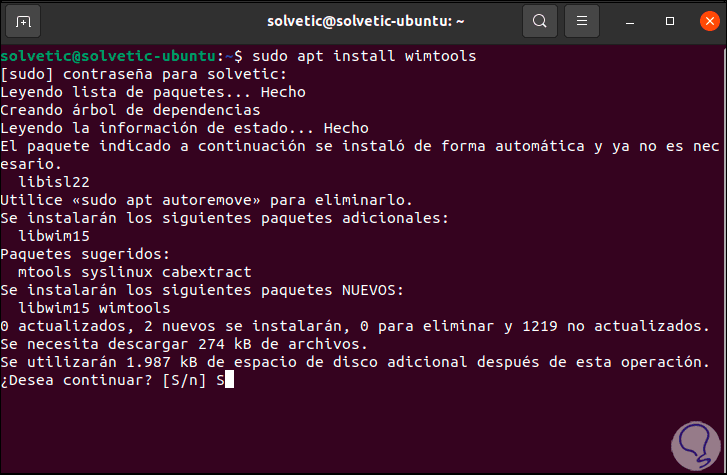
Step 14
We enter the letter S to confirm:

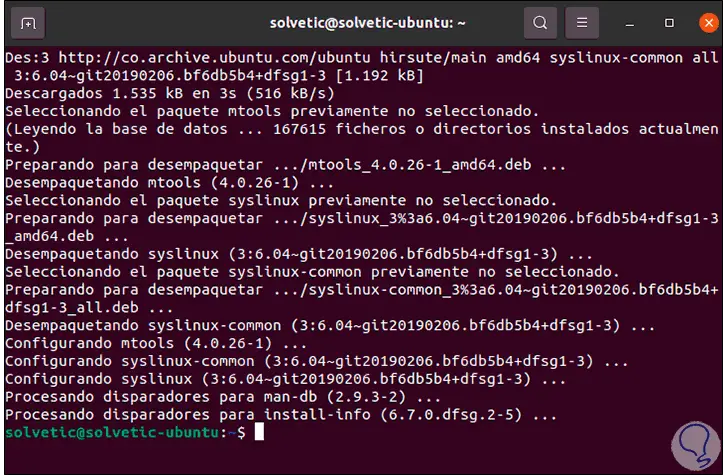
Step 15
Then we run "sudo apt install syslinux":
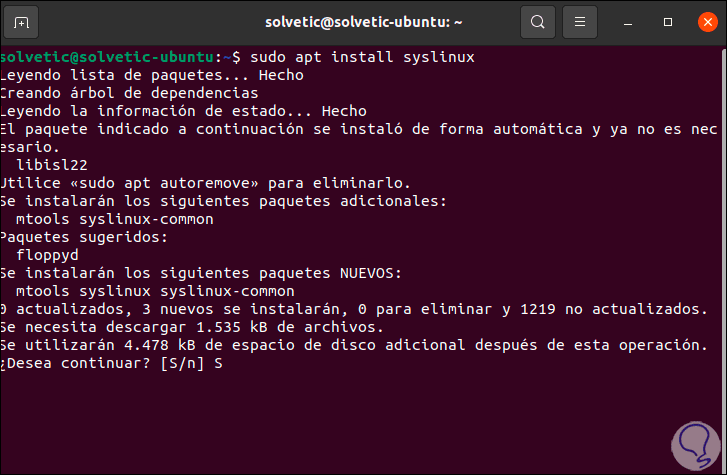
Step 16
We apply the changes with the letter S:
Step 17
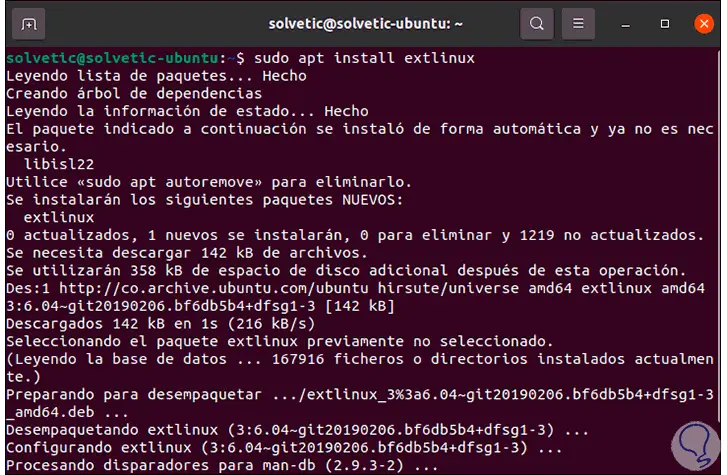
Finally we execute "sudo apt install extlinux":
Step 18
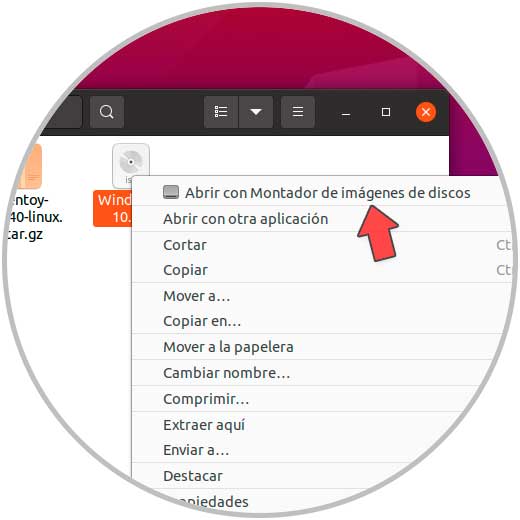
It is time to create the bootable USB, for this we right-click on the ISO and select Properties:
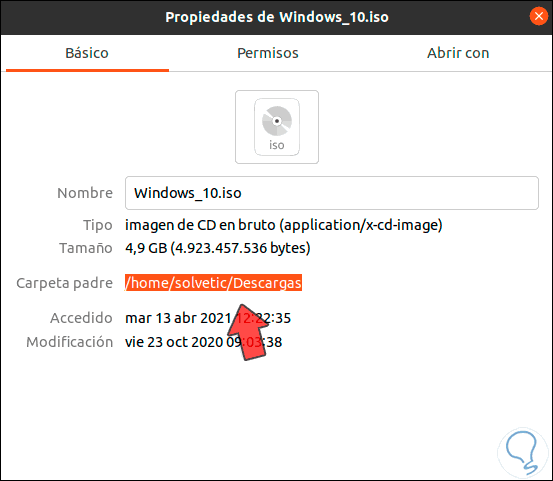
Step 19
In the pop-up window we copy the source path and name of the ISO image:
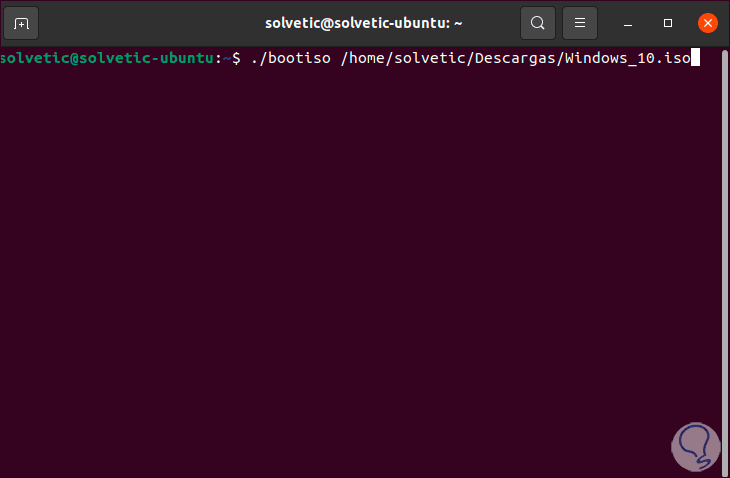
Step 20
In the terminal we create the bootable USB with the syntax:
./bootiso / routeISO
Step 21
We must confirm the changes:
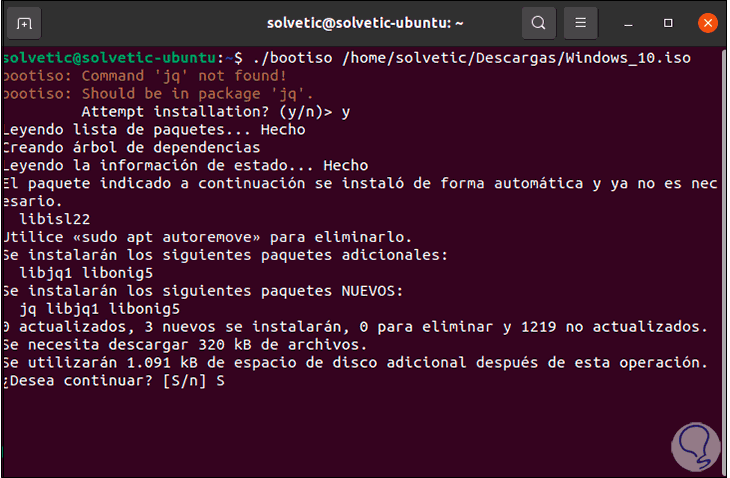
Step 22
After this, the configuration process will take place:
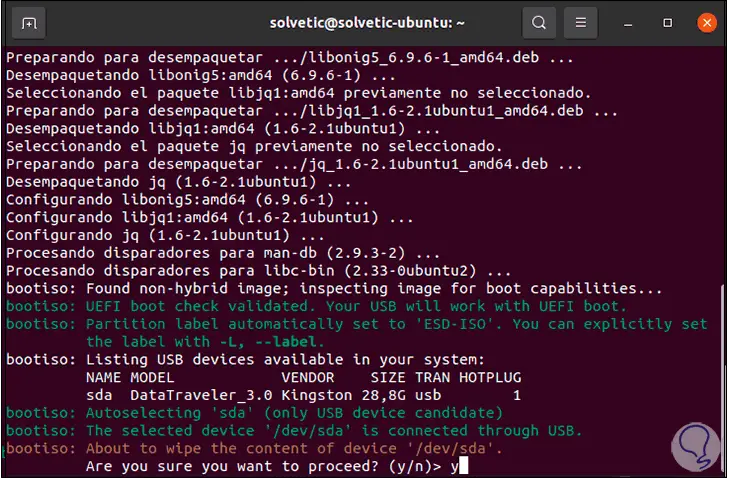
Step 23
We enter the letter Y to continue:
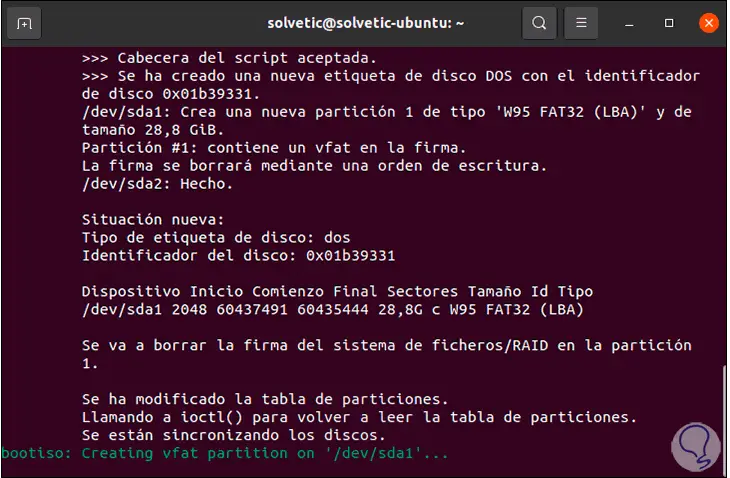
Step 24
There the whole process of copying files to the device will take place:
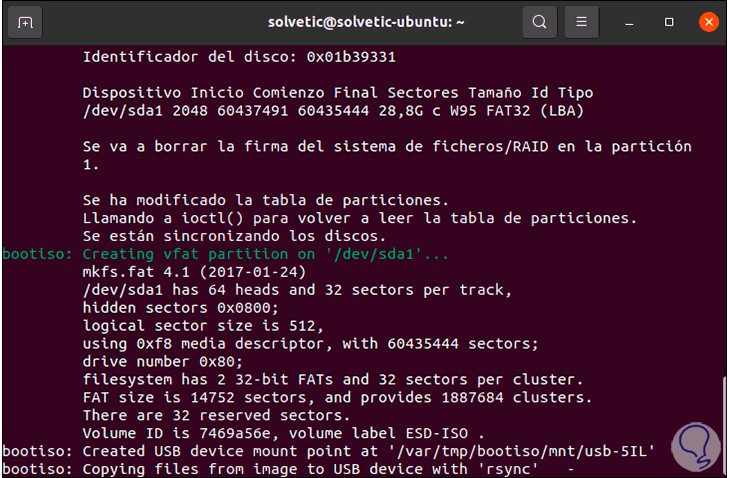
Step 25
At the end of the process we will see the following:
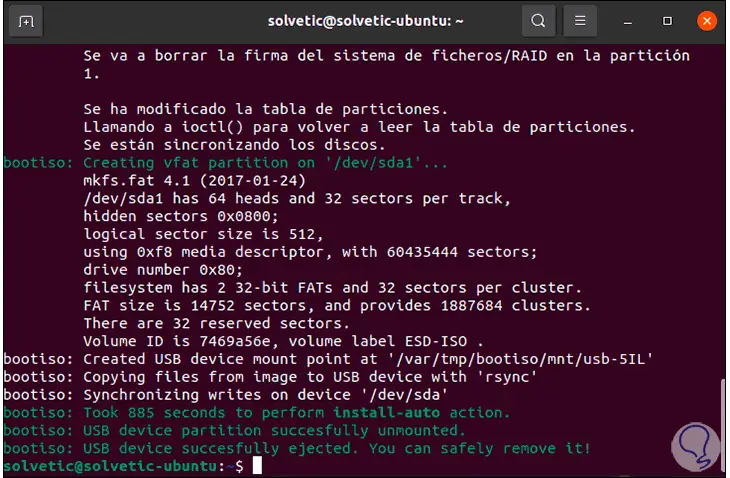
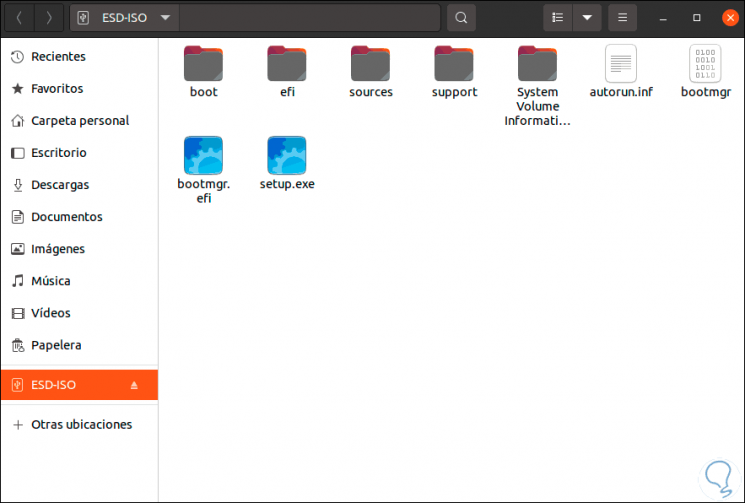
Step 26
This process will eject the USB automatically, we connect the USB and when accessing we observe the files to install Windows 10 from there. We are ready to use this USB and from it install Windows 10.
With these two options it is possible to create the bootable USB of Windows 10 in Linux..