Excel is one of the most functional applications for working with data of various types such as numerical data, dates, text, etc., and generally in Excel a high use of functions and formulas is made to work on them. But added to this we have more options to work with, one of them is the schemes. In case of having data that we need to group or summarize (due to their quantity or complexity), the scheme in Excel comes into play, which is available for up to eight levels..
These levels are represented by a higher number housed in the outline symbols, each level will display detailed data for the previous external level, that is, for the lowest number and so on. In Excel, you can create a row scheme, a column scheme, or a mixed row and column scheme.
Excel schema functions
There are some criteria for the scheme to work properly, these are:
- Each column must have a header or label in the first row
- Each column must include identical data
- Cell range must contain data, schemas do not work with blank rows or columns
Let's see how to create an automatic outline in Excel..
To stay up to date, remember to subscribe to our YouTube channel! SUBSCRIBE
Create automatic schemas in Excel
Step 1
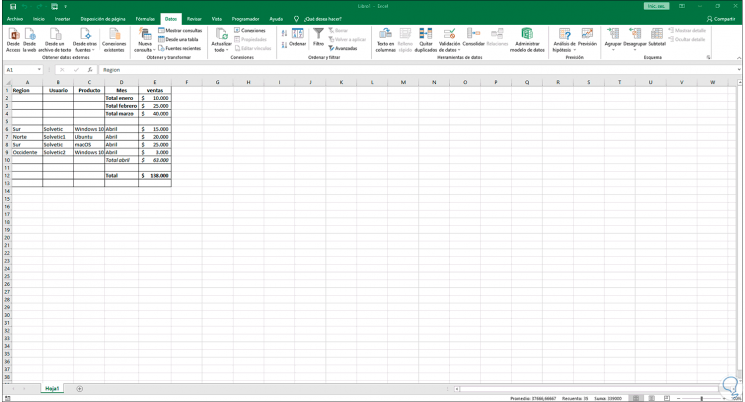
Open Excel to see the logged data:

Step 2
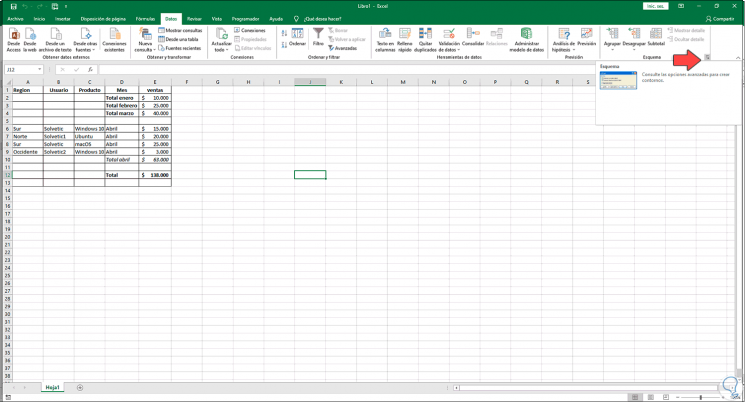
We go to the "Data" menu, in the Scheme group we click on the lower right corner to open its options:
Step 3
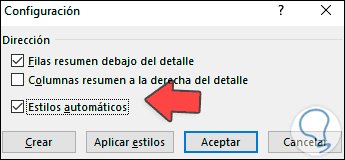
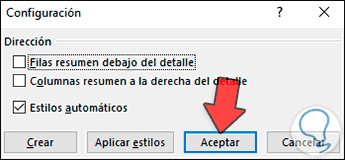
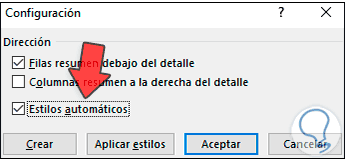
The following window will open:
Step 4
We leave the "Automatic Styles" box activated only. We apply the changes.
Step 5
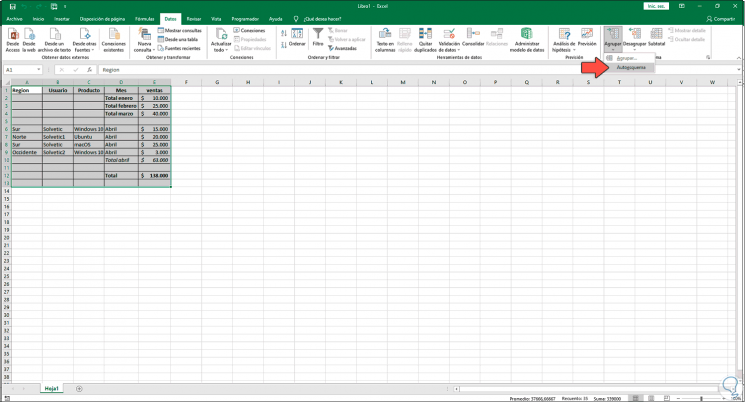
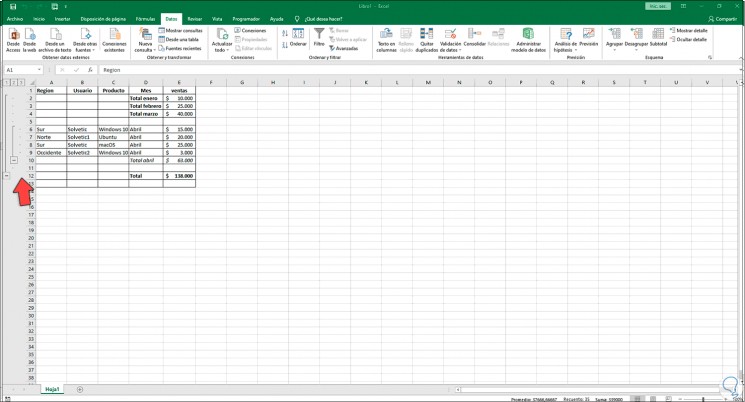
We select the cells of the spreadsheet, to create the scheme we go to the "Scheme" group, we click on "Group" and then we select "Autoschema":
Step 6
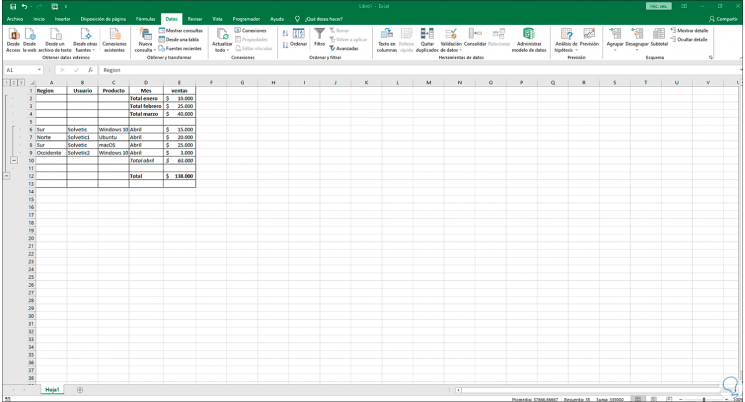
As a result of this we see the diagram on the left side with the respective levels available based on the recorded data:
Step 7
There it will be possible to navigate through the sections of the scheme that are available:

Step 8
To change or apply the format after the scheme, we click again on the lower right corner of Scheme to open the options, we will see the following:
Step 9
We click on "Apply styles" and apply the changes:
Step 10
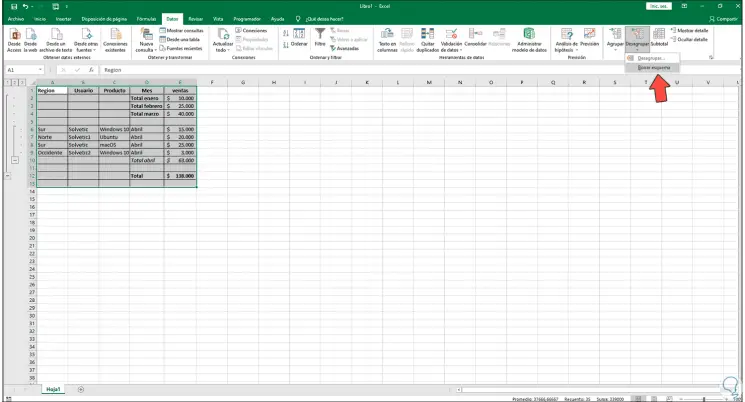
To remove the scheme, go to the Scheme group, click on "Ungroup" and then click on "Delete scheme":
Step 11
As a result the outline in Excel will be deleted:
This is one of the functional ways to work data in Excel thanks to the schemas.