When working in Microsoft Word we have a wide set of tools to process the text and allow its structure to be as orderly and professional as possible, for this reason we have bullets, shapes, images, etc., and dotted lines are a classic method To order the text reflected there, there are two ways to create a dotted line and we will see them in this tutorial..
Within Microsoft Word we can perform different options that allow us to create original and personalized documents that can range from personal to work. When we insert text content we can add different elements such as a dotted line in Word to separate content or simply for the visual. Let's see how to use the dotted line in Word.
To stay up to date, remember to subscribe to our YouTube channel! SUBSCRIBE
1. Put dotted line Word from keyboard
Step 1
This first method is simple and we will do it from our keyboard, for this process we open Word and below the text we enter 3 asterisks (***):
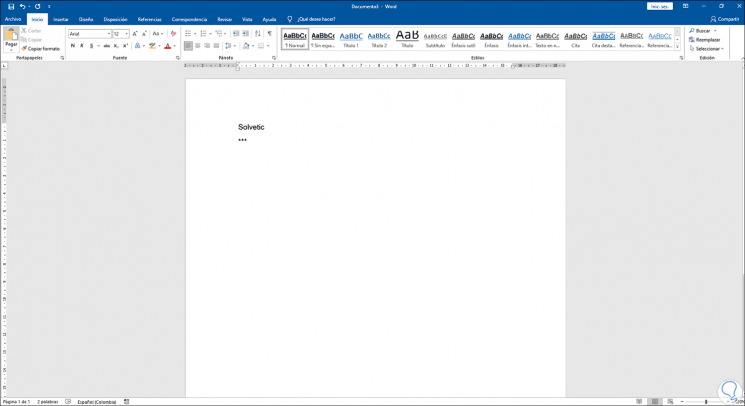
Step 2
We press the Enter key to create the line:
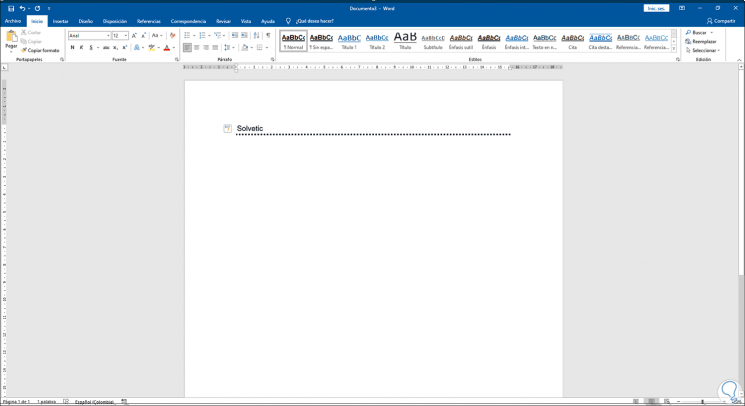
Step 3
It is possible to create other line styles with options such as:
- three equal signs ("===")
- three underscores ("___")
Step 4
For example, we will use 3 equal signs:
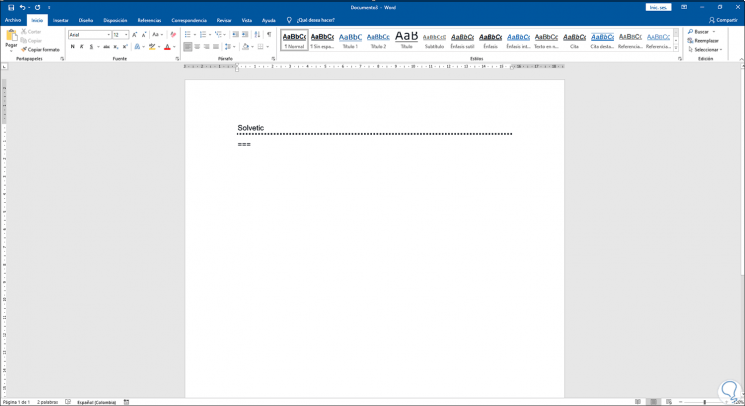
Step 5
Pressing Enter we will see the following:
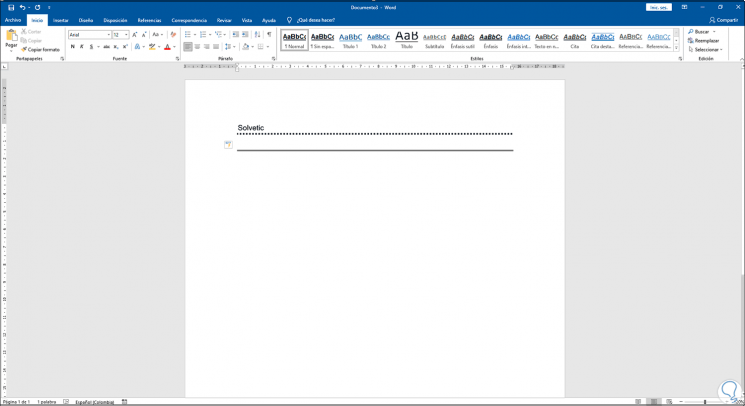
2 . Put dotted line Word from menu
Step 1
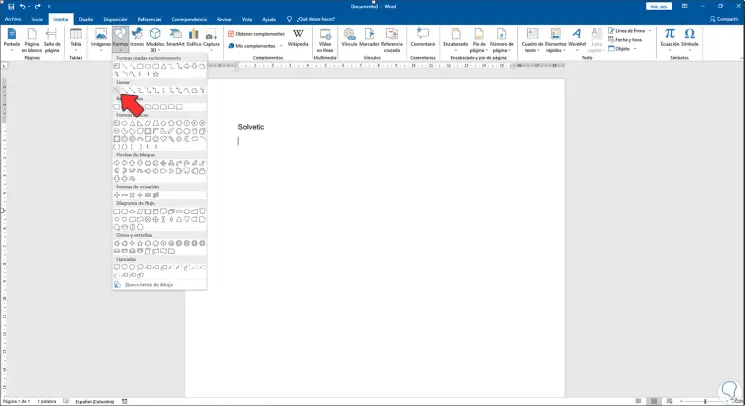
This is another option to use, for this step we open Word and go to the "Insert - Shapes" menu:
Step 2
We select the line and add it to the document:
Step 3
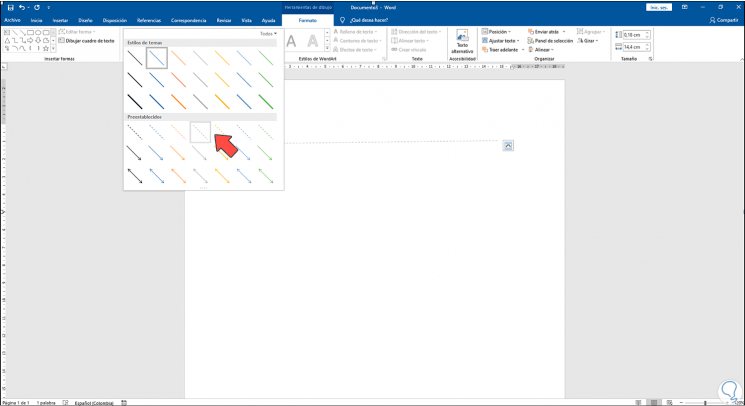
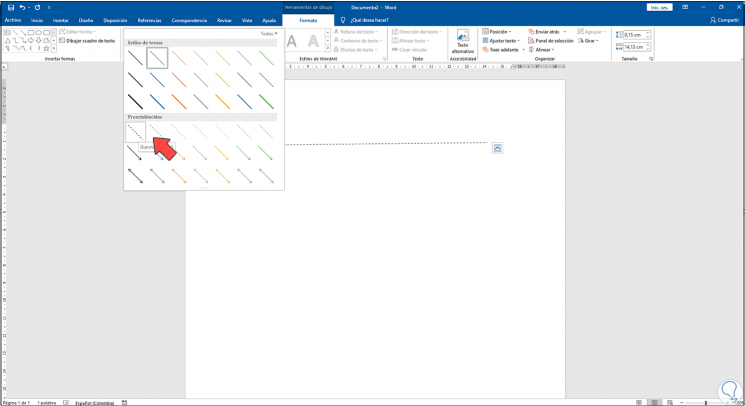
The line format will be activated at the top, in "Shape style" we select the dotted line:
Step 4
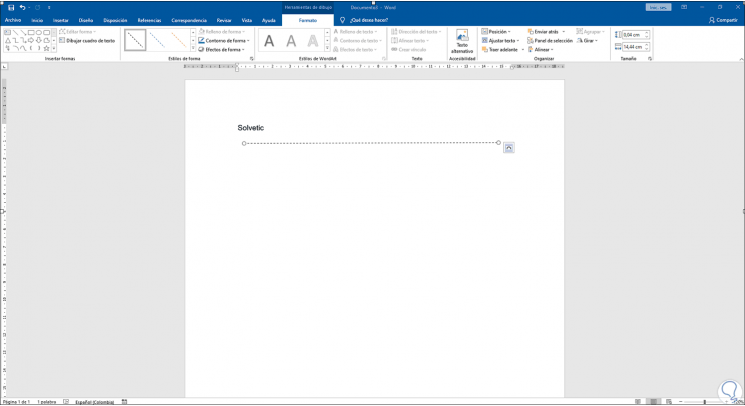
As a result we will have the dotted line:
With these two methods it is possible to add dotted line in Word..