The spreadsheets are one of the tools used in office automation. In addition, they can be obtained for free through programs such as LibreOffice, OpenOffice or Google itself..
In this article, we are going to show you how to sort text and data in Excel using the software included in the free LibreOffice suite . This office automation package also includes a complete word processor, among other tools, and can be safely downloaded from this link.
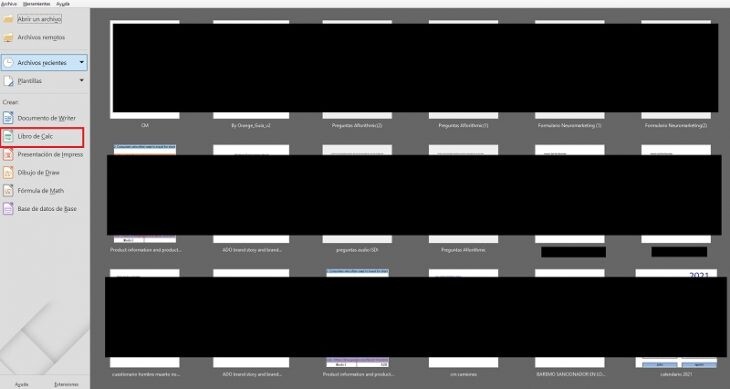
Once installed and opened, on the LibreOffice main screen we can see all the programs that we can use . We just have to click on 'Workbook' to open the free equivalent of Microsoft Excel..
How to sort data and texts in an Excel table?
A spreadsheet, or Excel, is a document in which we can create tables of data and values . It is used, generally, in accounting tasks. In this case, we are going to see how we can take advantage of it to organize, for example, our video library, bookstore, disco, etc.
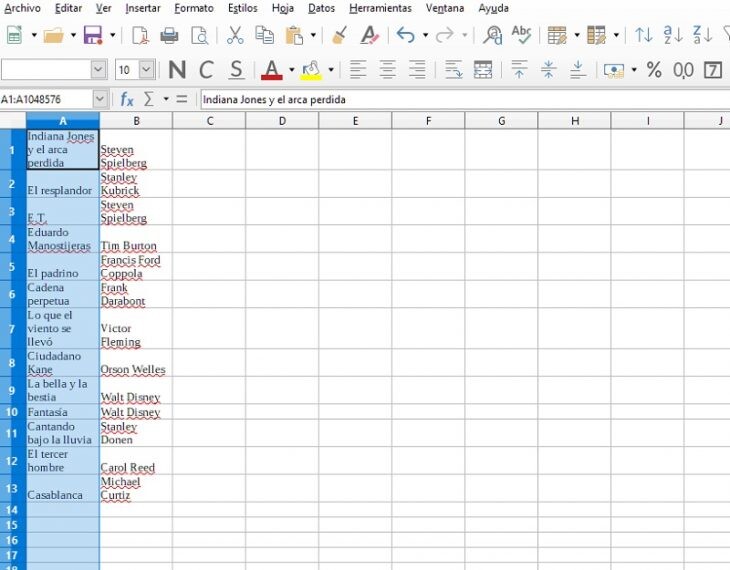
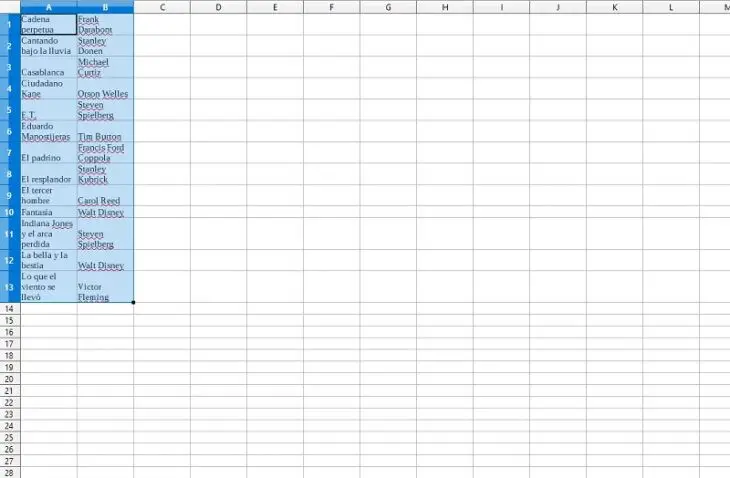
We have the template that you see in the image below. In it, we have placed some of the films that populate our library. On one side, we see the title of the film and, to its right, the director of the film. If after entering our entire collection we do not want to go through the complete list in search of a specific tape, we can organize the columns in alphabetical order . The process couldn't be easier..
We select the column of data that we want to sort. We click on the heading letter .
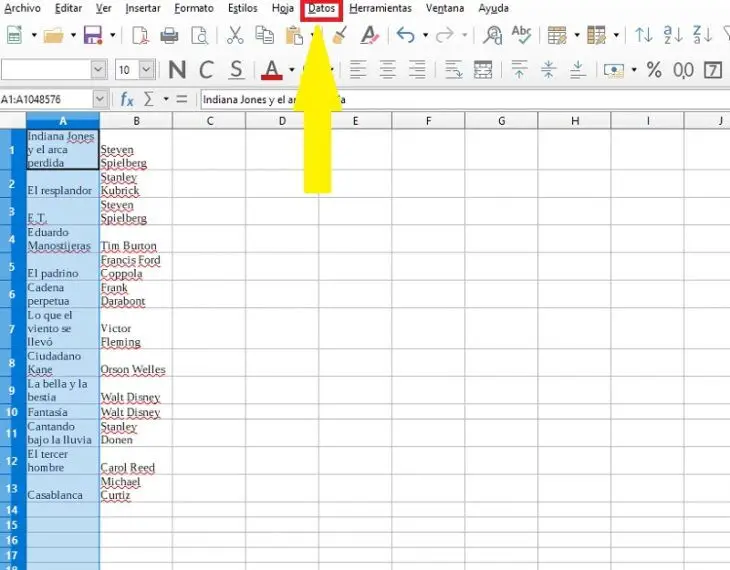
Now, we go to the upper tab and click on 'Data' .
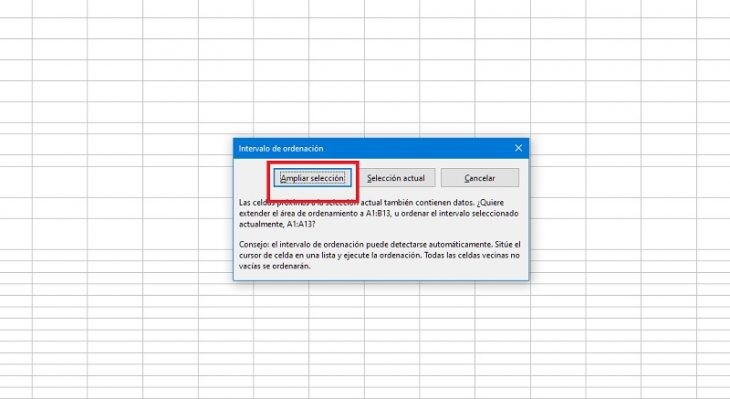
On the next screen, we can ask you to sort the data in ascending order (from A to Z) or descending (from Z to A). You just have to click on the chosen option and, automatically, all the data will be reordered. But beware! One thing must be taken into account: we have two columns with two different data and we want the data to be sorted by keeping the correspondence between the two columns. Thus, when on the next screen we are asked if we only want to sort the data of the selected column or also those of the neighboring one, we will say yes to the last option.
As you can see in the following screenshot, the data of the selected column has been reorganized alphabetically, respecting the coherence with the column next to it.
Therefore, remember, we will select the column that we want to sort and, if it has other columns with related data next to it, we will expand the selection so that the operation covers everything. Otherwise, we will choose 'Current selection' so that the change only affects the column that we have marked. This tutorial works in the same way with numbers: if we want to organize them from highest to lowest, we will choose 'Descending order' and vice versa.