Microsoft has designed the Office suite with the purpose of offering all its users a wide range of tools to facilitate, not only the edition of each element added in the application, but to manage multiple parameters of the same..
One of the most outstanding applications known to all is Microsoft Word , which is currently in the 2019 version, where we find a wide variety of features and functions that will make the tasks more dynamic every day. But there are still certain elements that are still present as much as the versions advance and one of them is the rule. We leave you the process of activating the rule in Word also from Mac so you can do it on both systems.
Usually the rule is found horizontally at the top of the document worked in Word 2019:
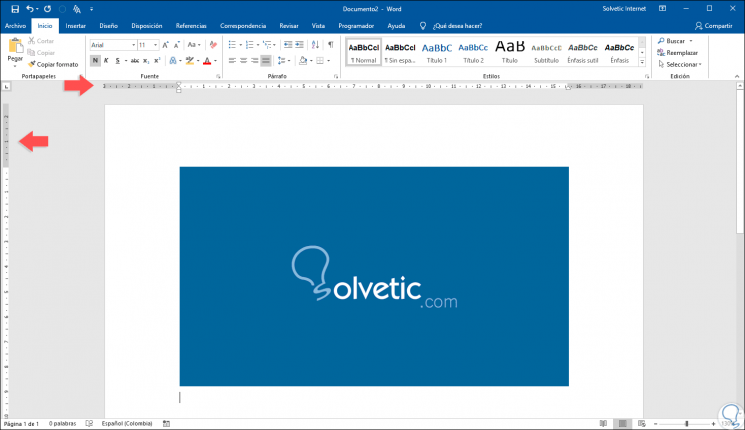
Although usually the rule is at the top (horizontal), based on the text used, a vertical rule can be displayed. The basic purpose of these rules is to facilitate the alignment of texts, images, tables or graphics, thus allowing the order and visualization of the content to be as professional as possible..
Elements of the rule
We can see that the rule in Microsoft Word 2019 is composed of a series of elements, these are:
- French sangria: This option gives us the opportunity to adjust the values ​​of the French sangria of the selected paragraph or paragraphs within the Word 2019 document. The function of the French sangria is to keep the first line intact and then move to the next lines of the document .
- Left indent: thanks to this option it will be possible to edit all the values ​​of the left indent of the selected text in Word 2019.
- First line indentation: this indentation has the task of displacing the first line of the text, but retaining the position of the other lines of the text.
- Upper margin: refers to the upper margin of the selected text which we can manage from the rule to increase or decrease its size.
- Right indent: As the name implies, with this option it is possible to make changes in the right indent of the selected paragraph or text within the Word 2019 document.
Now, in some occasions it is possible that the rule is not visible in Microsoft Word 2019 or we want to modify some of its default values . To do this, TechnoWikis will explain through this tutorial how we can visualize the rule in our files and make some changes in a simple way.
Note
This process applies similarly to Microsoft Word 2016.
We also propose the video tutorial with which you can more easily see the steps necessary to activate and configure the rule in Word 2019 or Word 2016 ..
To keep up, remember to subscribe to our YouTube channel! SUBSCRIBE
1. How to view and activate the rule in Microsoft Word 2019 or Word 2016
Step 1
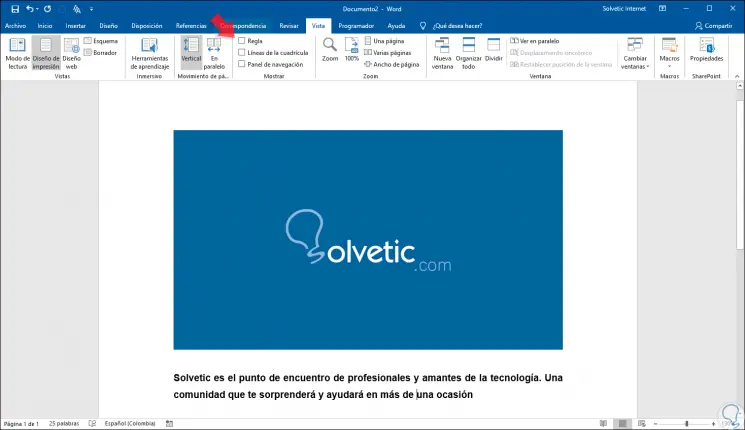
The process to visualize the rule in Microsoft Word 2019 is simple, for this we go to the “View†menu and in the “Show†group we activate the “Rule†box which will be deactivated:
Note
The horizontal ruler will be visible from most views, while the vertical ruler will only be seen from the Print Design view.
Step 2
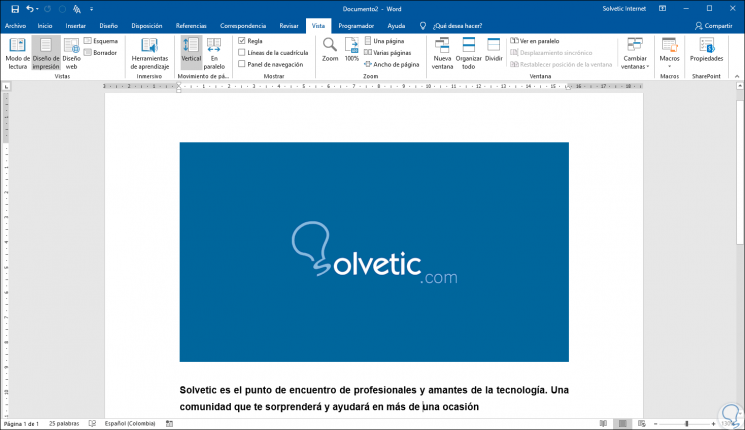
Once we activate this box, we can see our active rule both horizontally and vertically based on the text used:
2. How to configure the rule in Microsoft Word 2019 or Word 2016
Step 1
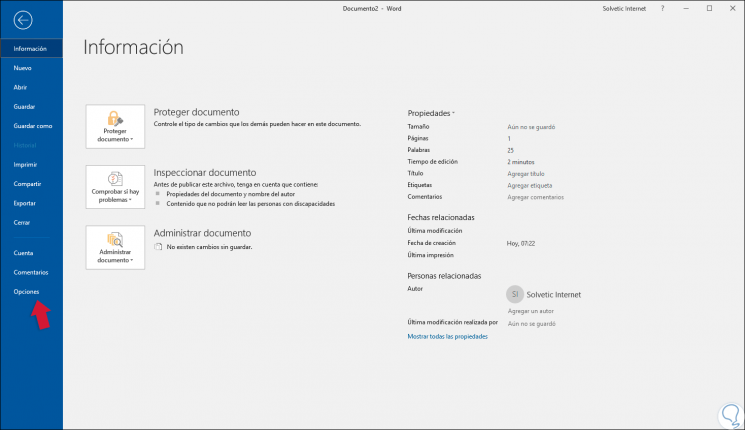
Now, there are some options that we can edit when using the rule in Word 2019, for this we must go to the “File†menu and there select “Optionsâ€:
Step 2
In the window that appears, we go to the “Advanced†section and then in the “Show†category it will be possible to select another unit to display the rule, by default the value in Word 2019 is centimeters, but we can select options such as:
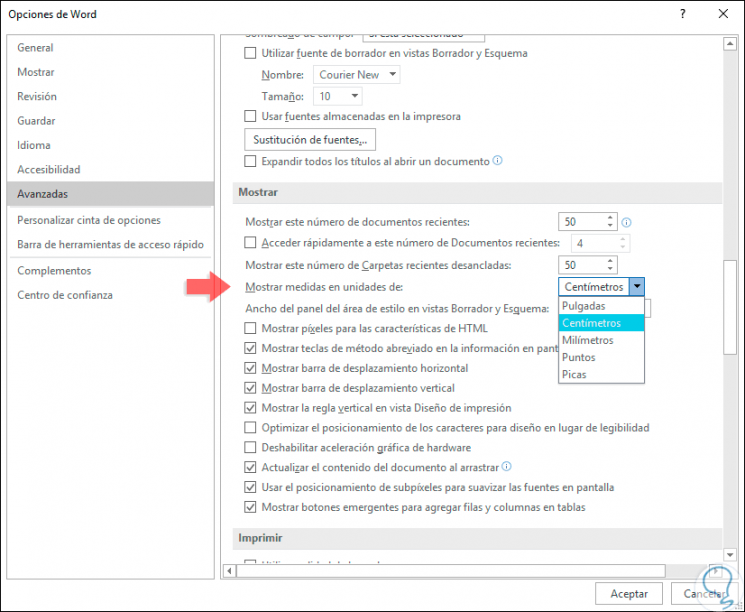
Step 3
Once the new unit is selected, click on “Accept†to see the changes applied in the Word 2019 document, for example, in this case we have selected “Pointsâ€:

Thus, we have learned not only to visualize the rule in Word 2019 but also to edit its units by default.