How to use Remote Desktop in Windows 10 Pro What do we do if we don't have Windows 10 Pro?
There are times when we need to connect to a computer without having it in front of us. For example, if we want to monitor some downloads, access a document that we have on the hard drive of that computer or use a special application. In this article we are going to tell you how to connect to a remote computer step by step , in a simple and uncomplicated way..
How to use Remote Desktop in Windows 10 Pro
To be able to connect to a remote computer we need to go to the 'Remote Desktop' function of Windows 10. We can use this functionality from Windows 10, as well as on Android and iOS systems. The first thing we are going to do is configure the equipment to which we are going to want to connect remotely later. To do this, we follow the following steps.
- We make sure that we have a version of Windows 10 Pro. It is the only one that has 'Remote Desktop'.
- To see which version of Windows 10 is ours, we go to Start-> Settings-> System-> About . On this screen, we choose 'Edition' to see what Windows 10 we have.
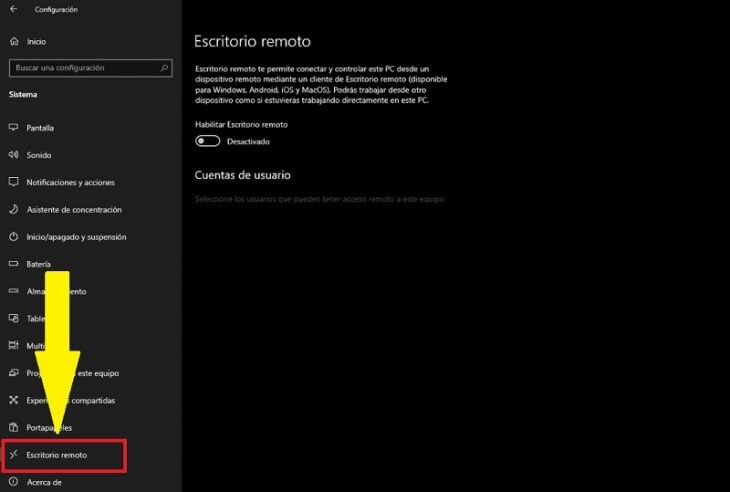
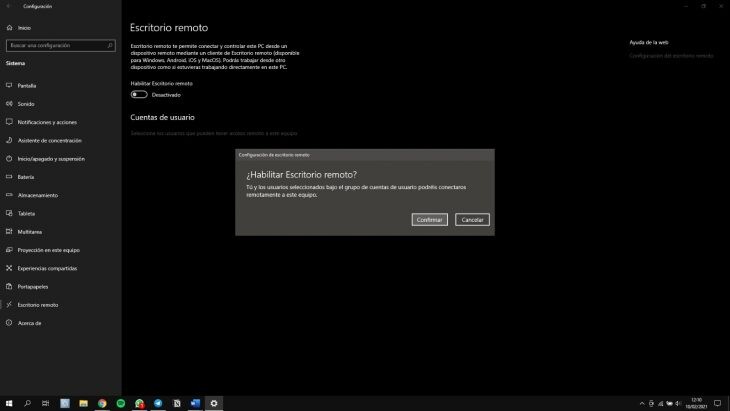
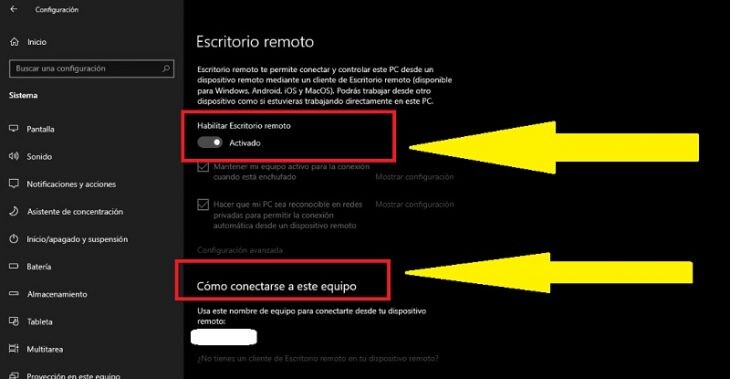
- If we confirm that it is Windows 10 Pro, we follow this path: Start-> Settings-> System-> Remote Desktop (see upper screenshot) and activate 'Enable Remote Desktop'.
- The last step is to write down the name of our PC, which we can find in ' How to connect to this computer '. We will need this later.
-
To connect to the computer remotely :
- In the search box on the taskbar, we write down ' Remote Desktop Connection '.
- Then, we click on 'Remote Desktop Connection'.
- Now is when we will need the name of the PC that we pointed out before. We write it and select ' Connect '.
If we want to connect to a remote computer from the mobile, we must download the 'Remote Desktop' application from the Play Store or App Store for Android and iOS, respectively..
What do we do if we don't have Windows 10 Pro?
And for all of us who do not have a Windows 10 Pro license? There are free alternatives that we can use to connect to a remote computer, such as the one offered by the Google Chrome browser.
- First of all, let's go to remotedesktop.google.com/access. There, we click on 'Configure remote access'.
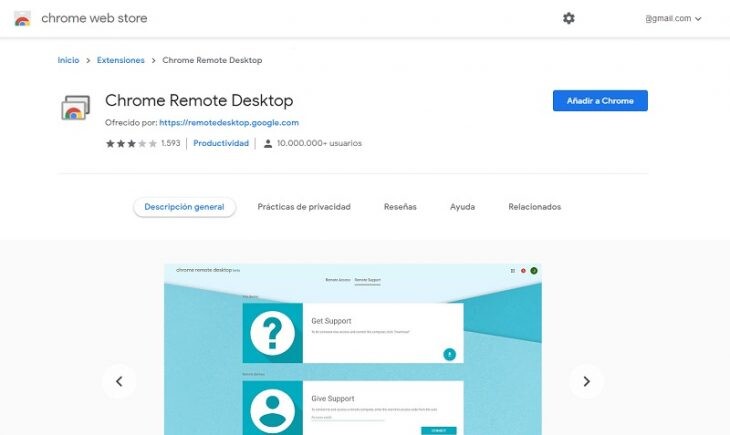
- It takes us to the download of a plugin called 'Chrome Remote Desktop'. We do it by clicking on 'Add to Chrome'.
- Automatically, an executable file will have been downloaded that Chrome will detect. We return to the remote desktop configuration screen and click on ' Accept and install '.
- We follow all the steps. Next, we will be asked for a name for the computer and a security PIN that must contain at least 6 digits. Click on 'Start' and continue the installation.
- In the configuration screen, the name we have given to the computer should appear in order to connect later.
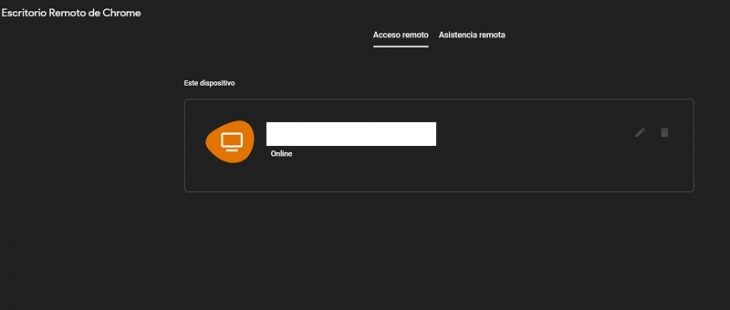
To access this computer from another, we have to go back here and choose our computer. That's all..