Google Chrome is the most used web browser today by millions of people thanks to its various security , compatibility and performance features that are integrated into it. There are hundreds of functions and features that are integrated into Google Chrome , which we still don't know what they are and that can be useful at any time; and one of the most interesting is the remote desktop of Google Chrome ..
What is the Google Chrome remote desktop?
Thanks to the Google Chrome remote desktop, it will be possible to make use of a computer or mobile device in order to access applications and files saved on another computer through the Internet.
The Google Chrome remote desktop supports two settings, which are always allowed access or one-time access:
- With the first configuration it will be possible to connect to a system at any time. When using this configuration it will be executed correctly for the systems we control and that are turned on as a desktop or server.
- With the second configuration, temporary remote access to a system with a one-time code is supported, this option is useful for performing remote support tasks or troubleshooting the system.
Connections will work across platforms. It is possible to control a remote system using an application, available for Android or iOS , or from the Chrome browser on Chrome OS, Windows, macOS or Linux.
It will also be possible to install Chrome Remote Desktop host software on most systems running Windows 10, macOS 10.012 onwards or modern Linux distributions. Any system running Chrome's remote desktop can serve as a host, from which you can share the screen and perform the tasks we deem necessary there.
1. How to use the Google Chrome remote desktop in Windows 10
Step 1
First, we will analyze the options offered by the Chrome remote desktop. For this we will go to the following link:
Chrome Remote Desktop
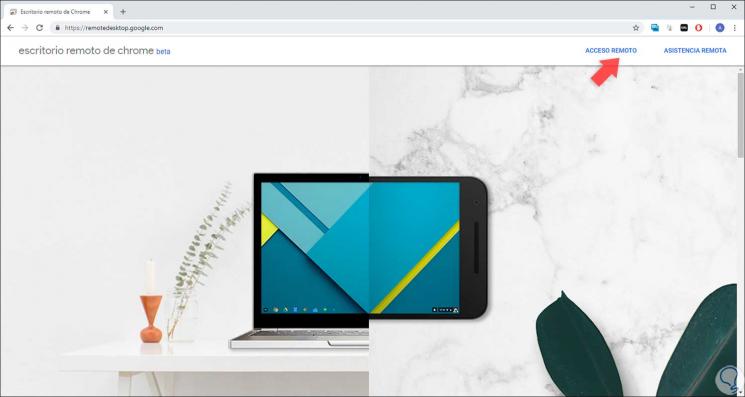
There we will see the following. As we can see, at the top we have two options that are:
First, we click on the "Remote access" line.
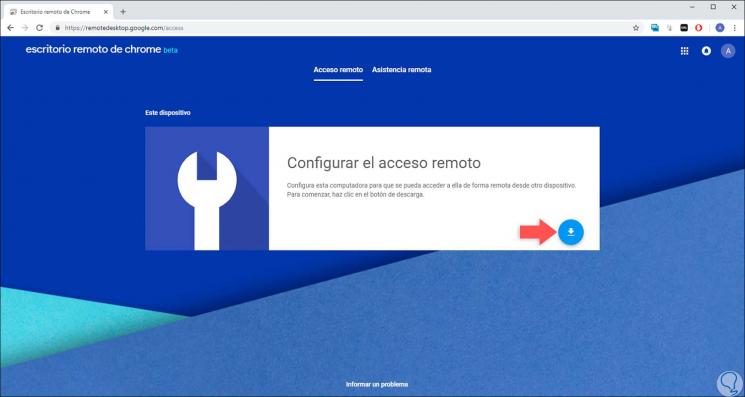
Step 2
The following will be displayed. There we click on the download icon to make use of the application.
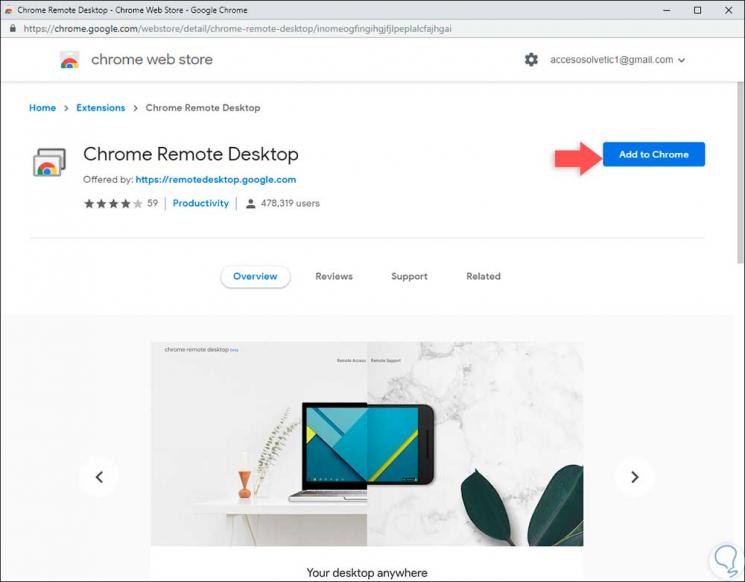
Step 3
The following will be displayed. There we click on the "Add to Chrome" button.
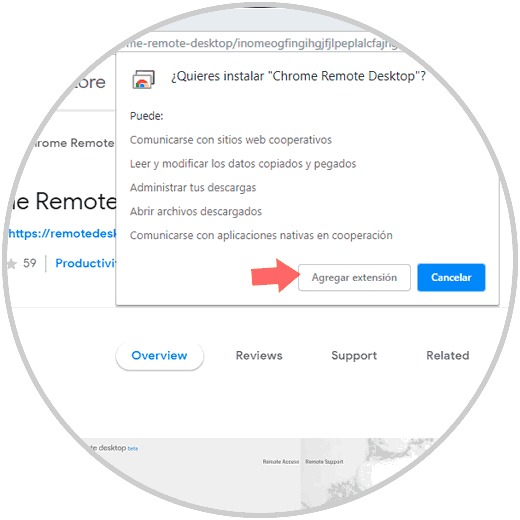
Step 4
The following message will be displayed. There we confirm the action by clicking on the "Add extension" button:
Step 5
Later we can see that the process of downloading the Chrome remote desktop starts:
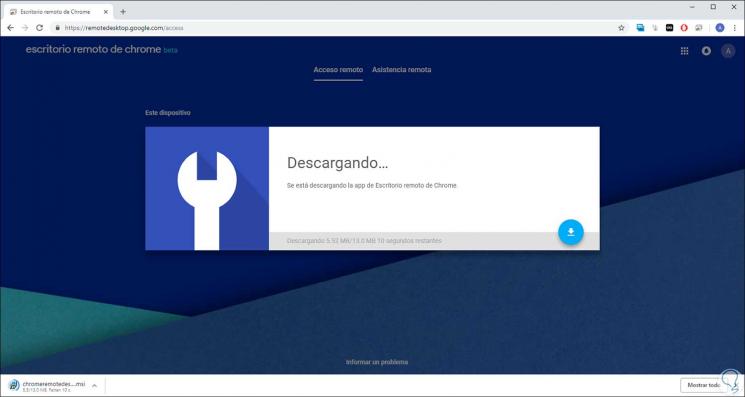
Step 6
Once the download is complete the following will be displayed. We click on the "Accept and install" button.
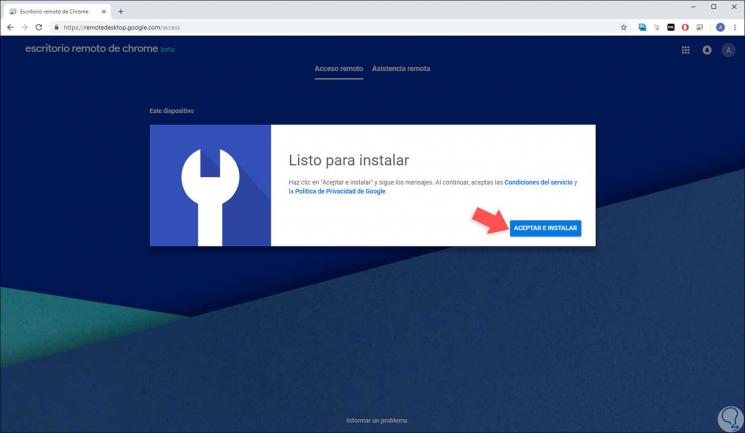
Thus the process can continue.
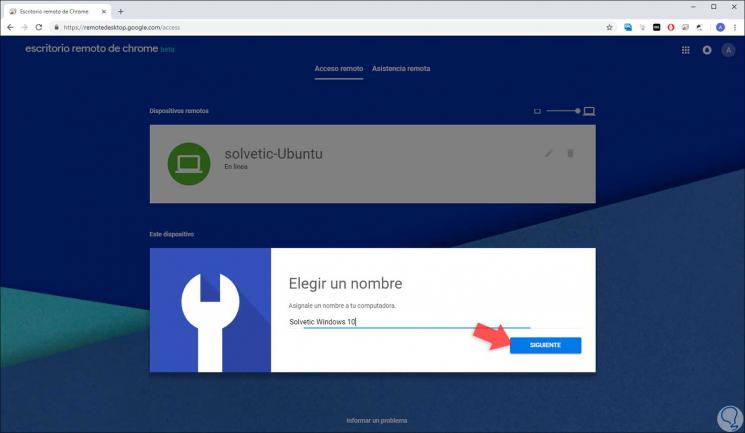
Step 7
Once this process is finished, the following window will be displayed where we can assign a name to the team. Click on "Next":
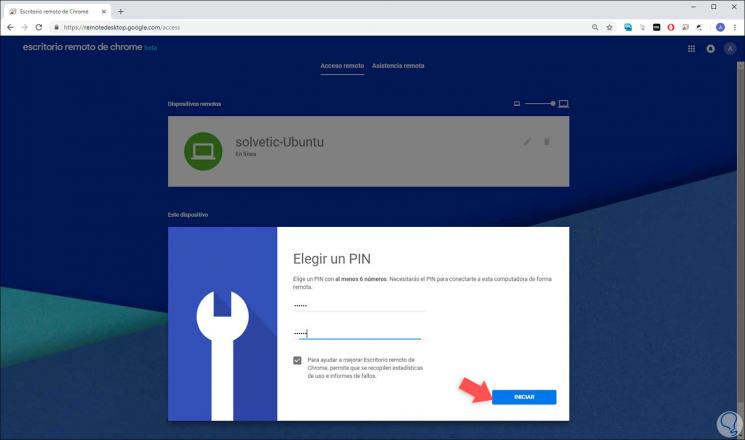
Step 8
Next we assign the PIN which will guarantee secure access to Chrome's remote desktop. Finally click on "Start" to complete the installation process in Windows 10.
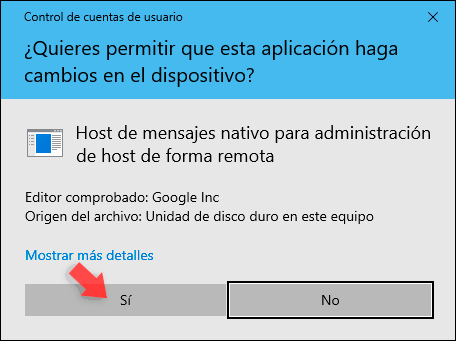
Step 9
The following message will be displayed where we must authorize access. Click on "Yes".
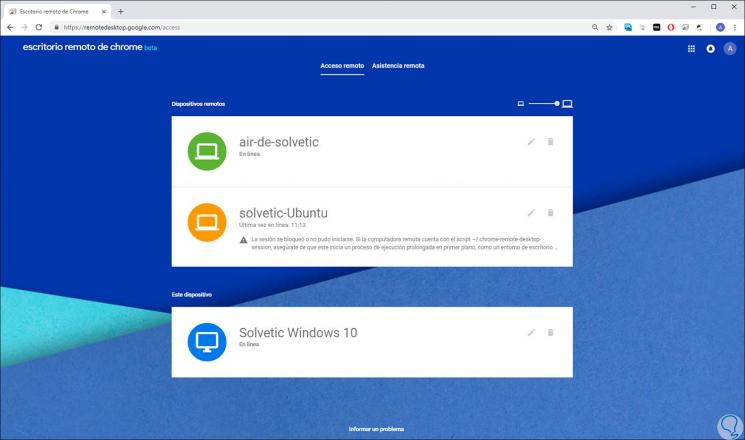
Step 10
We will access the panel where we see on what computers and systems we have the active remote desktop:
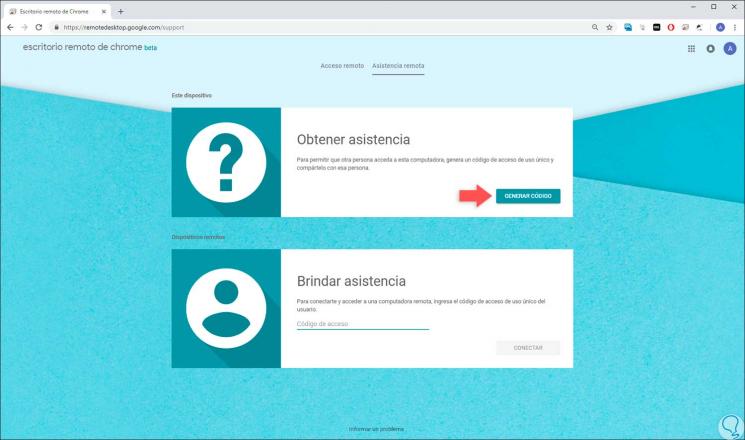
Step 11
In case of selecting the "Remote Assistance" section we will see the following. There it will be possible to give or receive assistance. If we wish to obtain assistance, click on the "Generate code" button
Step 12
A code with a validity of 5 minutes will be generated:
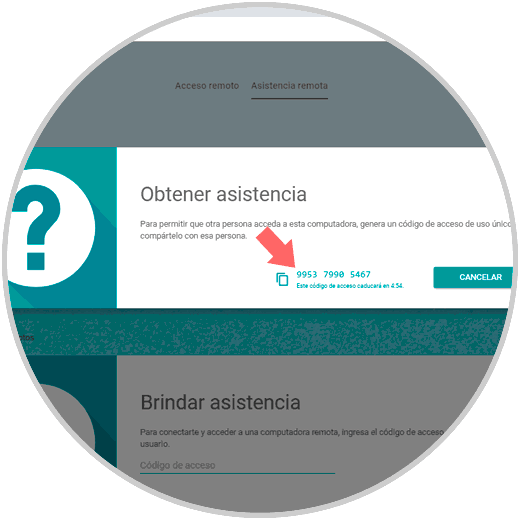
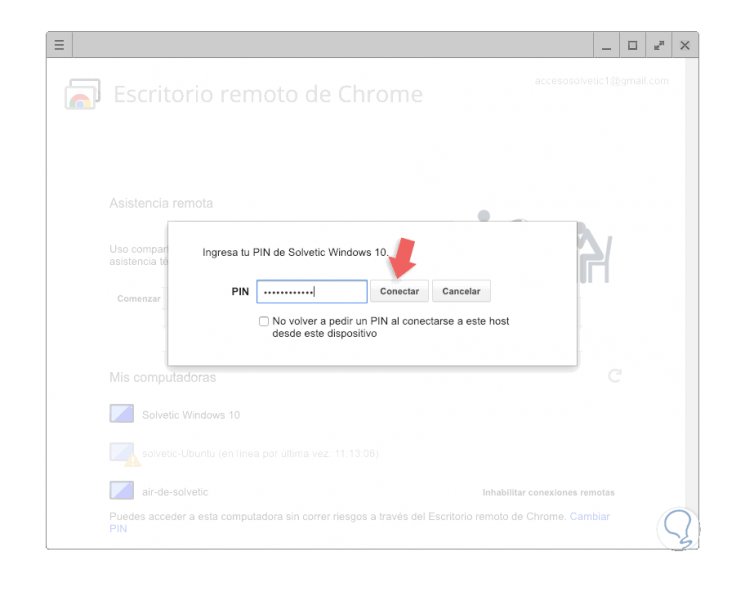
Step 13
This code must be entered from the remote machine and click on "Connect":
2. How to enable Chrome's remote desktop on Linux
Note
For this case we will use Ubuntu 18
Step 1
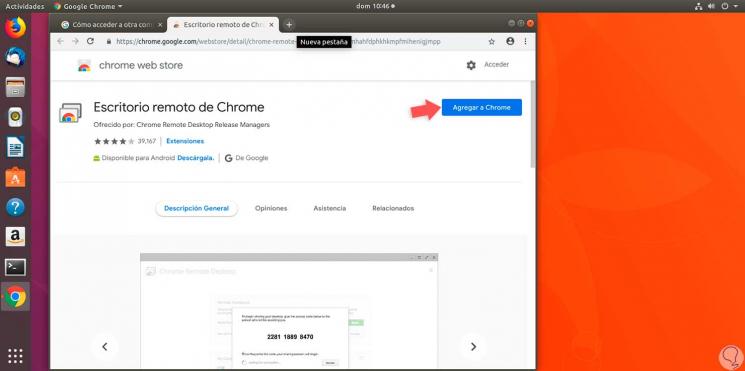
In this system we must first download the Remote Desktop application in the following link:
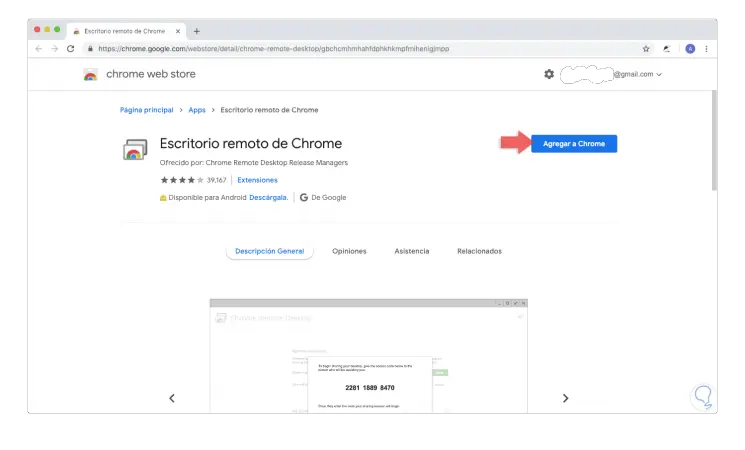
Chrome Remote Desktop
There we click on the "Add to Chrome" button..
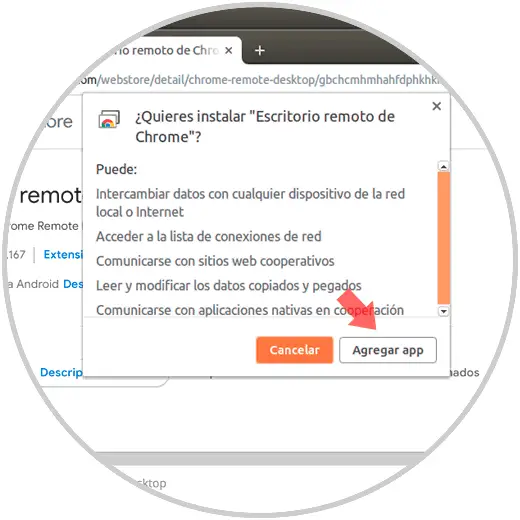
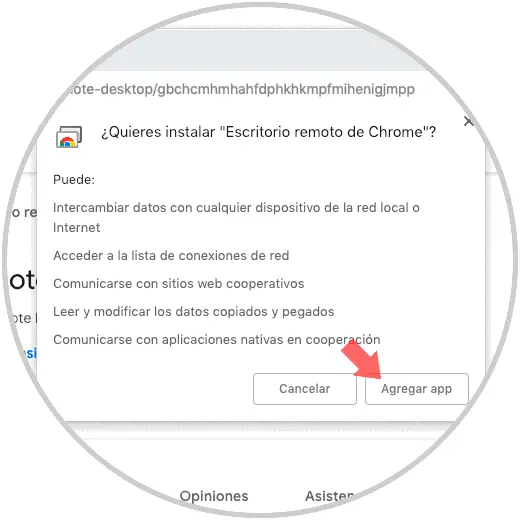
Step 2
The following message will be displayed, we confirm the action by clicking on the "Add app" button.
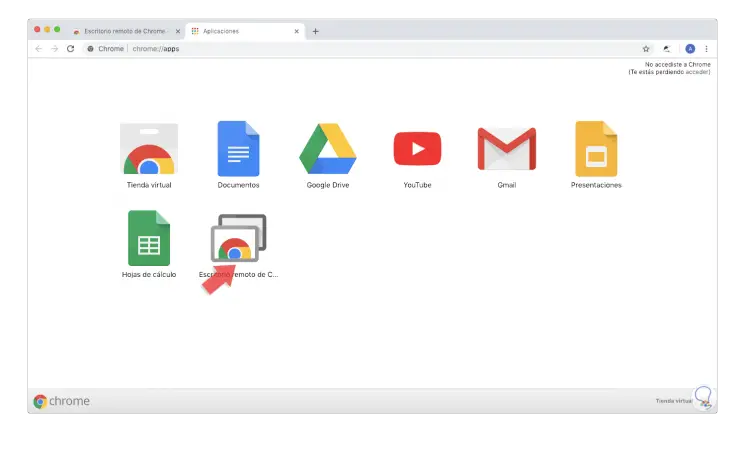
Step 3
Once this action is done we will be redirected to Chrome apps. There we found the "Remote Desktop".
Step 4
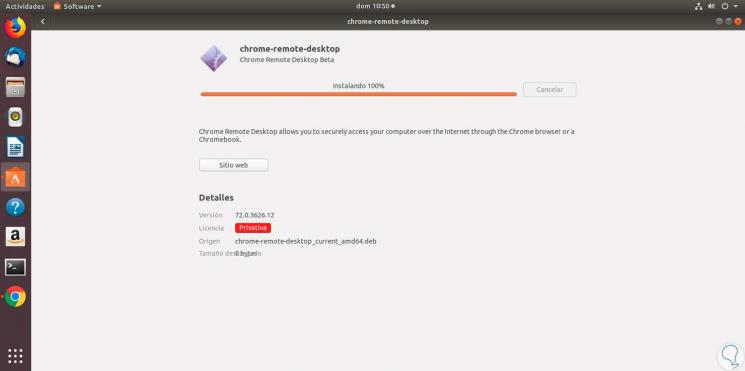
Secondly, we are going to install the Debian package for the host components through the following link:
64-bit Debian package
Once this package is downloaded, we will be redirected to the installer integrated in Ubuntu 18 where we must enter the administrator password to perform the installation process:
Step 5
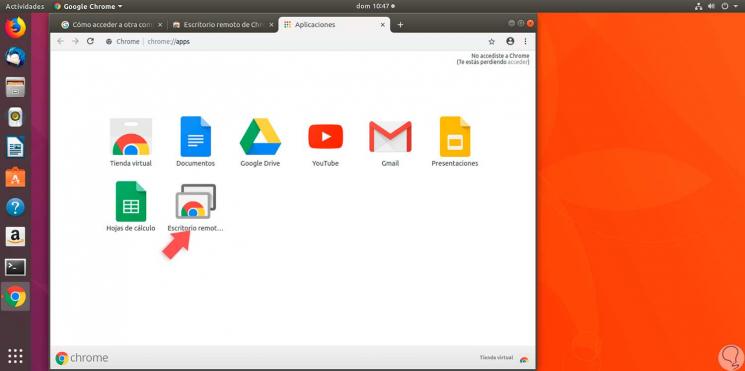
Now, we are going to access Google Chrome and in the address bar we enter the following line:
chrome: // apps
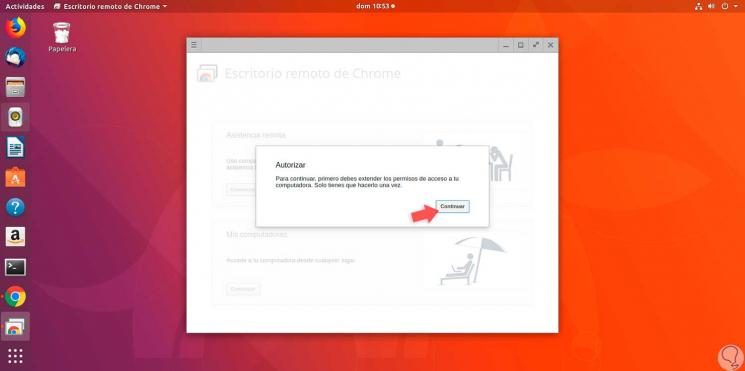
Press "Enter", there we click on the "Remote Desktop" application and we will see the following. There we click on "Continue".
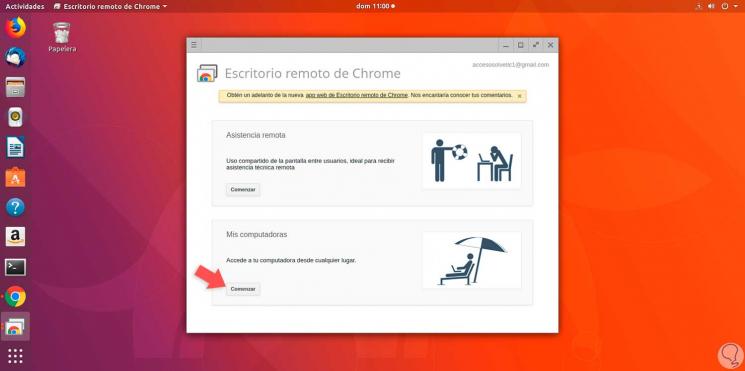
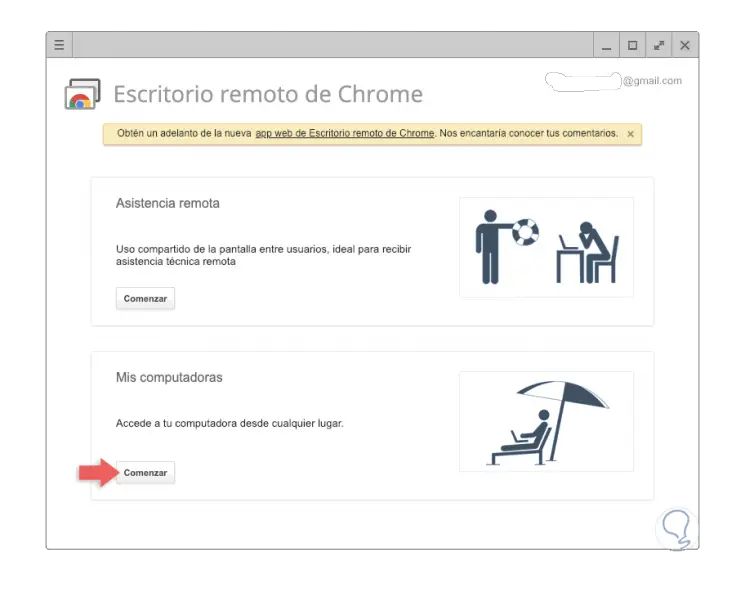
Step 6
Now we click on the "My computers" section. We click on "Start".
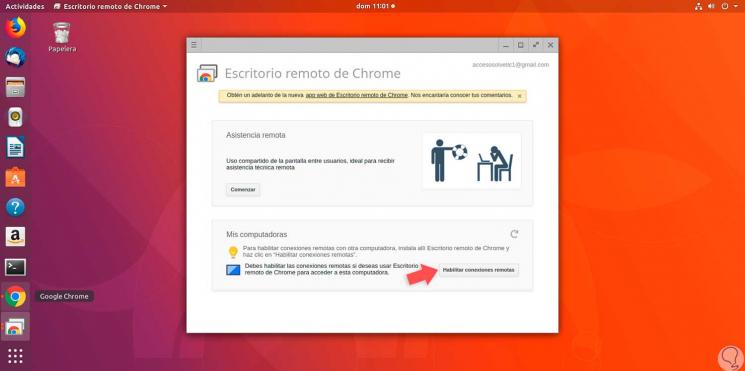
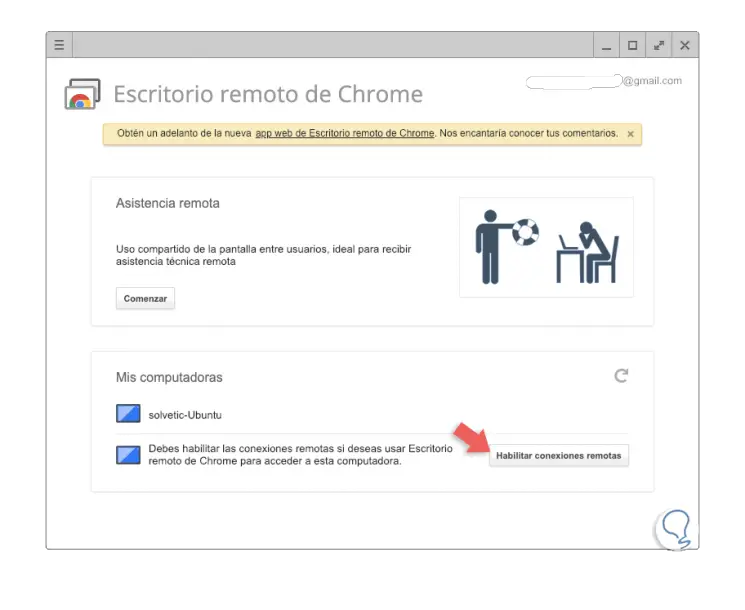
Step 7
The following message will be displayed. There we must click on the "Enable remote connections" button.
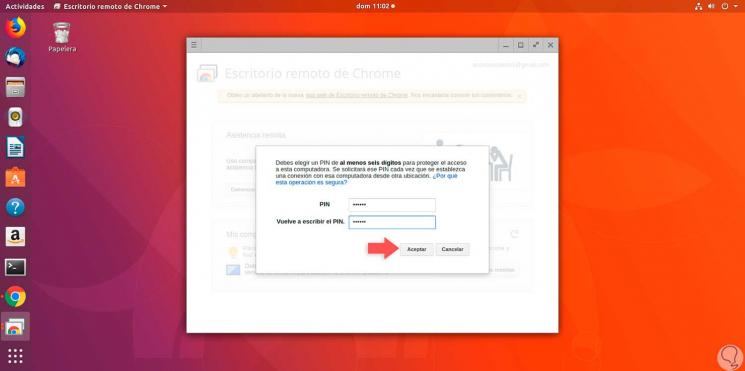
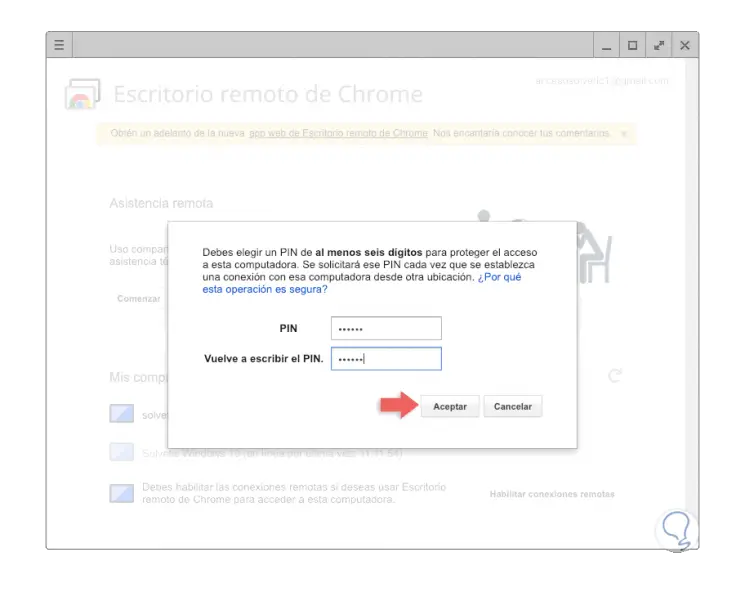
Step 8
It will be necessary to enter a PIN and confirm it which will be required when we use the remote desktop. Click on "Accept".
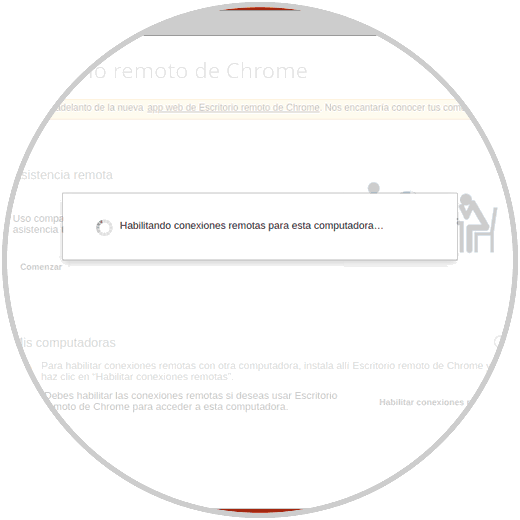
Step 9
We will see that the habilitation process begins:
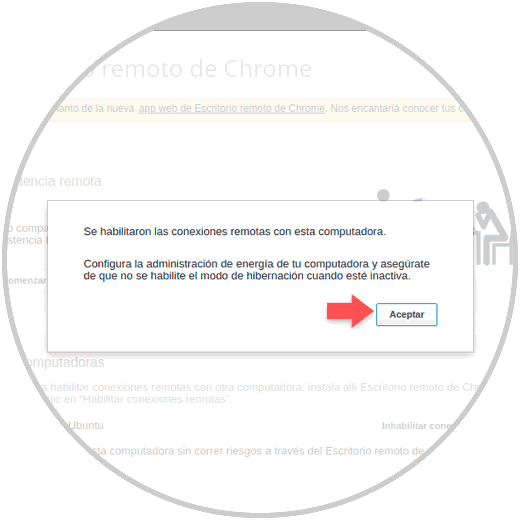
Step 10
Once the process is finished we will see the following. Click on "Accept" to exit the assistant.
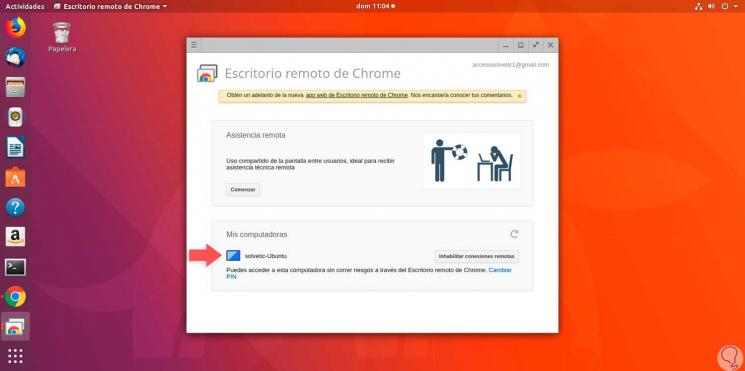
Step 11
We will be redirected to the central panel where we will see our available equipment:
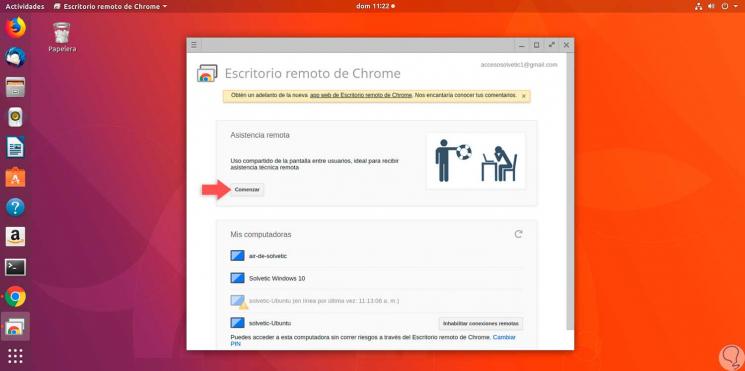
Step 12
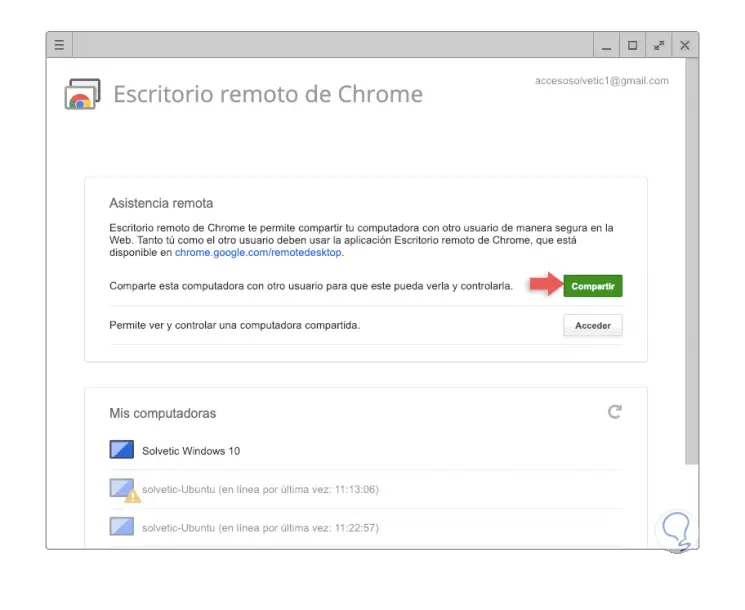
If you wish to obtain or provide remote assistance, we click on the "Start" button located in the "Remote Assistance" section:
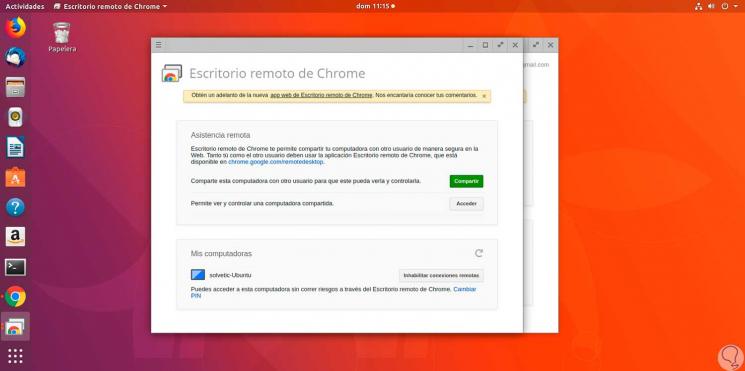
Step 13
There we can click on "Share" to receive assistance or "Access" to provide assistance:
Thus we have learned to install the remote desktop on Linux.
3. How to enable remote desktop in macOS Mojave
Step 1
In the case of macOS Mojave, the first step is to download the Remote Desktop from the following link:
Chrome Remote Desktop
We will see the following. There we click on the "Add to Chrome" button..
Step 2
The following message will be displayed. We confirm the action by clicking on the "Add app" button
Step 3
We will be redirected to:
Chrome: // apps
There we have the Chrome Remote Desktop application.
Step 4
By clicking on it, and after logging in, we will see the following. There we found the possibility of offering or receiving remote assistance or accessing the managed computers. There we click on the "Start" button located in the "My computers" section.
Step 5
We will see the computers that currently have the remote desktop enabled, and that are linked to our account, and in the case of macOS Mojave we click on the "Enable remote connections" button located at the bottom:
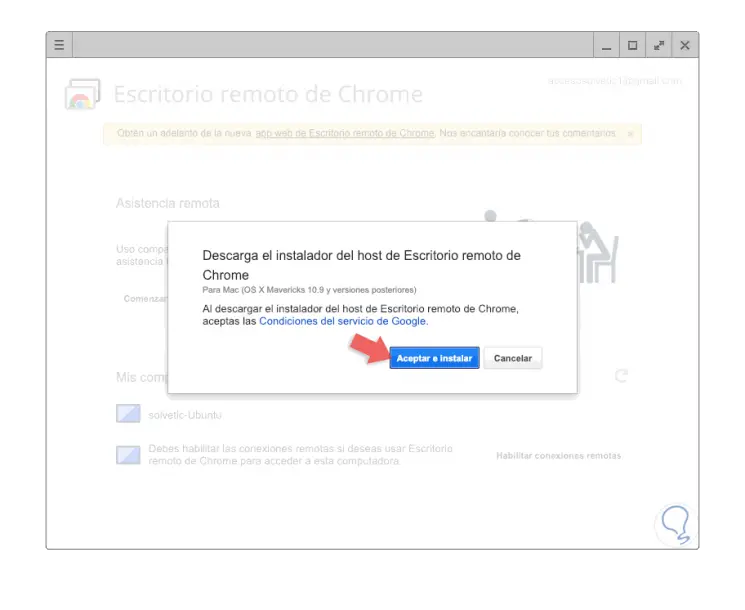
Step 6
There we will be redirected to the following window Click on "Accept and Install".
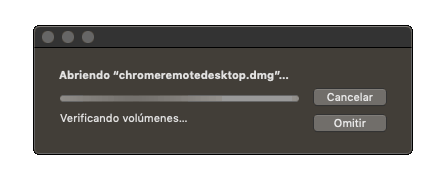
Step 7
Once downloaded we will see that the process of opening the .dmg file begins:
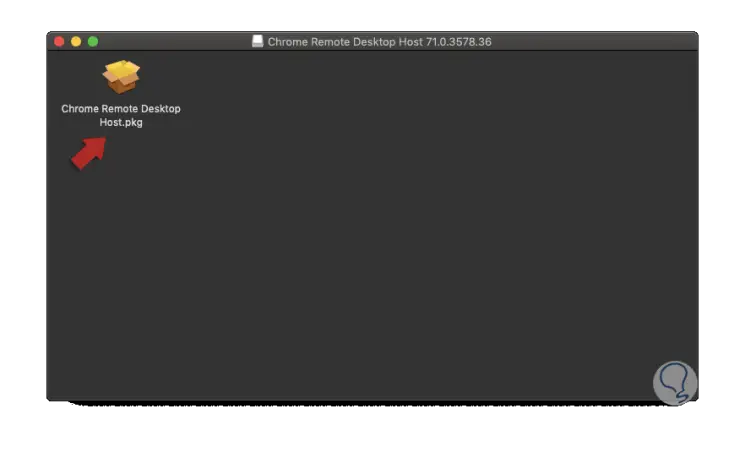
Step 8
Once finished we will see the following. We double click on the available file.
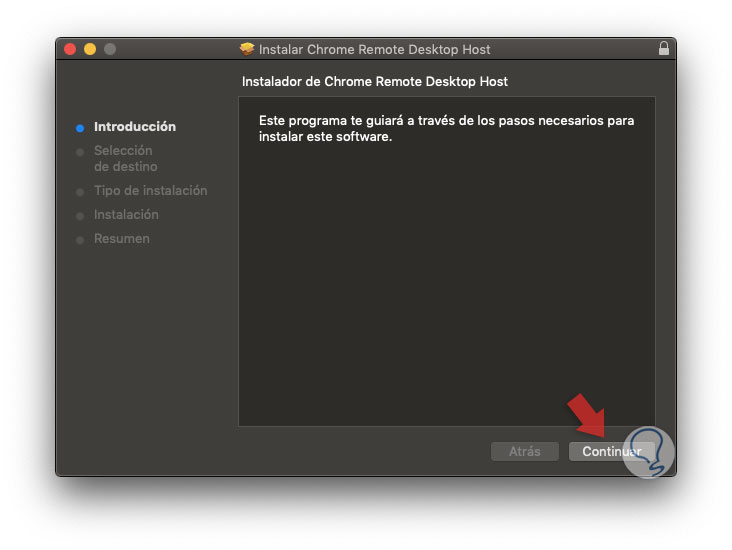
Step 9
The following wizard will be displayed. Click on "Continue".
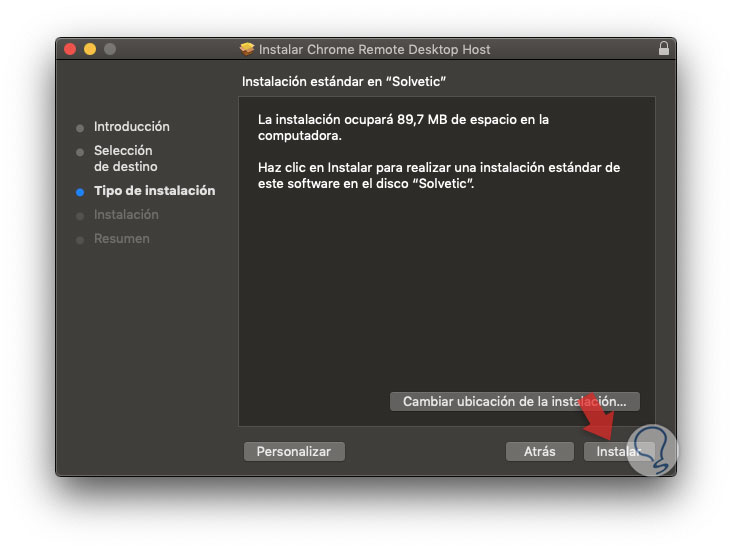
Step 10
The following will be displayed. Click on "Install".
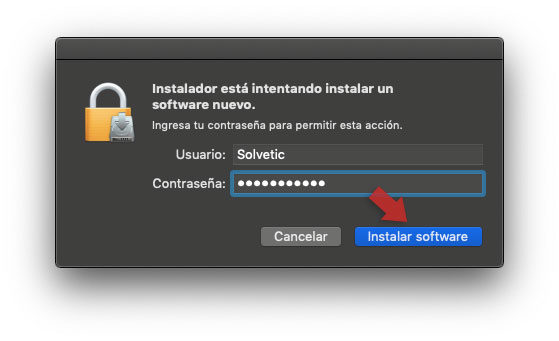
Step 11
You will need to enter our administrator password. We click on "Install software" to proceed with the process:
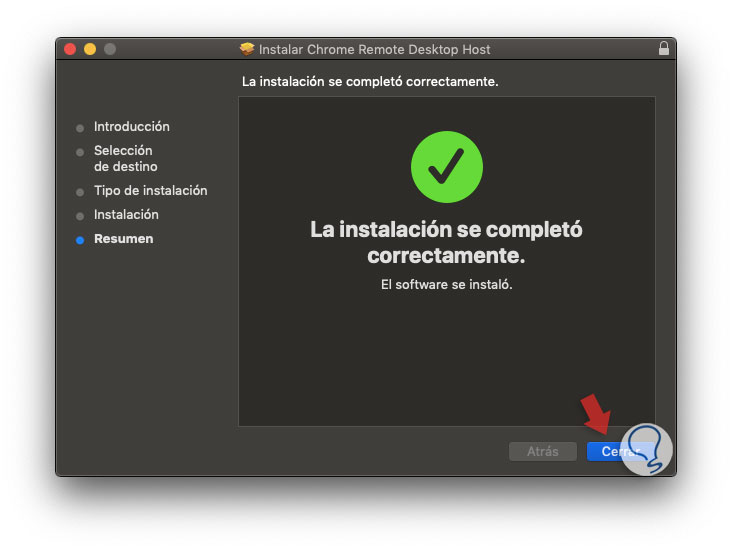
Step 12
Click on "Close" to exit the assistant.
Step 13
Now, we will automatically be redirected to the application where we must enter the access pin for security. Click on "Accept".
Step 14
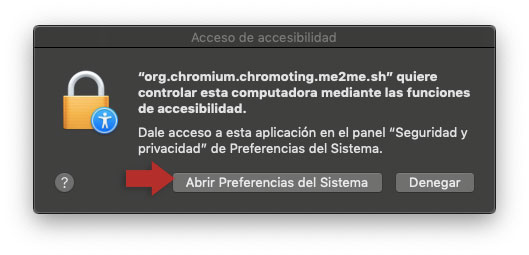
Pressing OK will display the following message. There we must authorize the Chrome remote desktop system access functions. To do this we click on "Open System Preferences".
Step 15
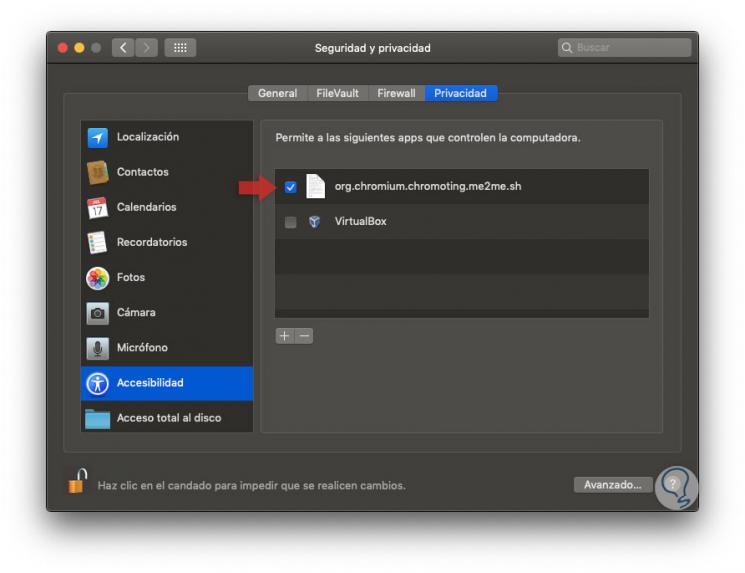
In the opened window we click on the lock icon to enable editing and then activate the desktop line:
Step 16
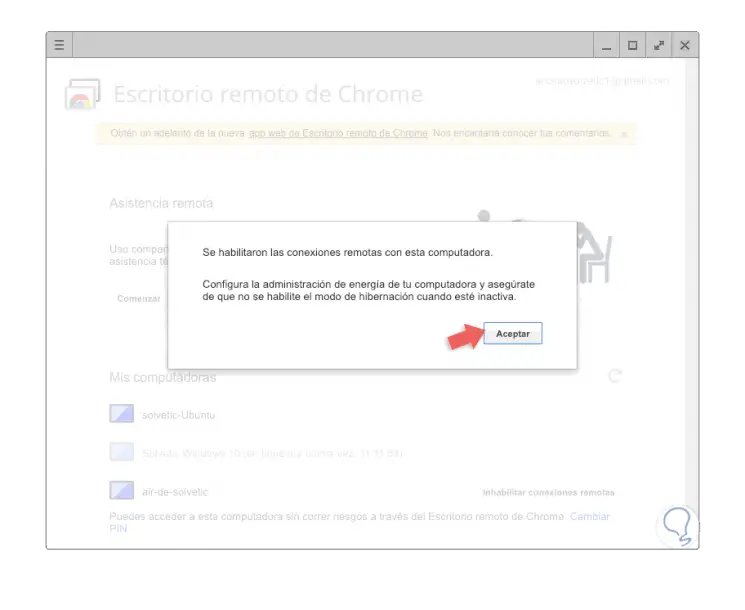
Once this is done we confirm that remote connections have been enabled. Click on "Accept" to complete the action.
Step 17
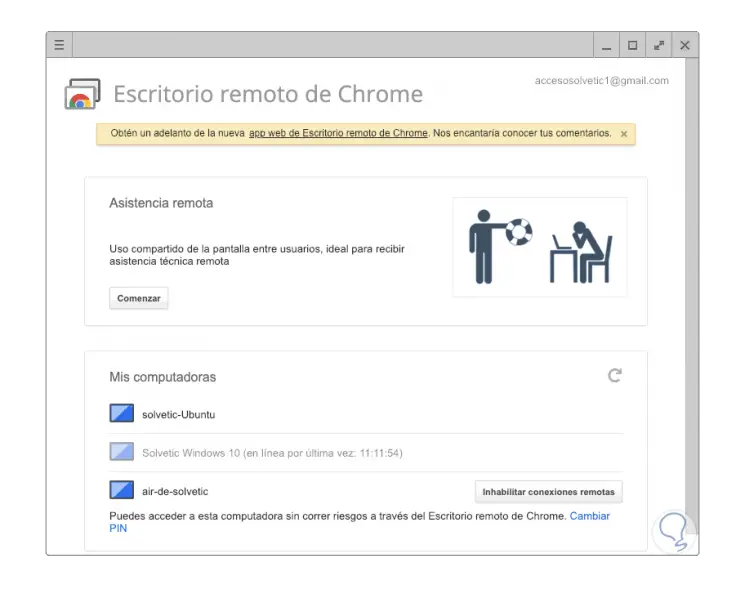
It will now be possible to access the computers where the remote desktop is enabled or receive assistance:
Step 18
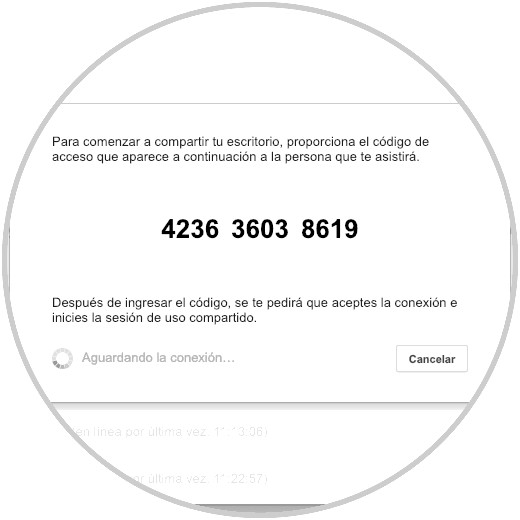
In the case of remote assistance we can receive or give it. There we can click on the "Share" button
This way we can access the code that we must provide so that assistance can be carried out.
4. How to connect to the Chrome Remote Desktop
Note
For this case, we will make a connection from macOS Mojave to Windows 10, but the same process applies to the other systems.
Step 1
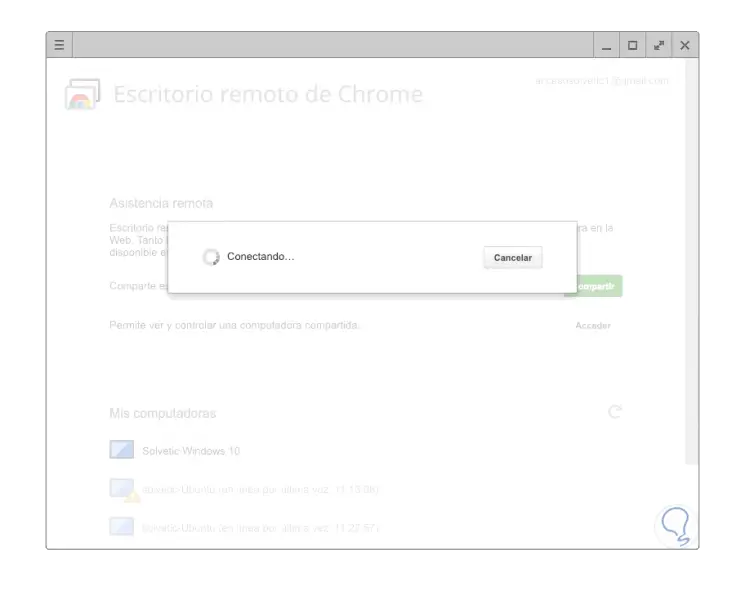
Once the code is generated on the Windows 10 computer, in macOS Mojave we enter it in the "Access" field and we will see that the connection process begins:
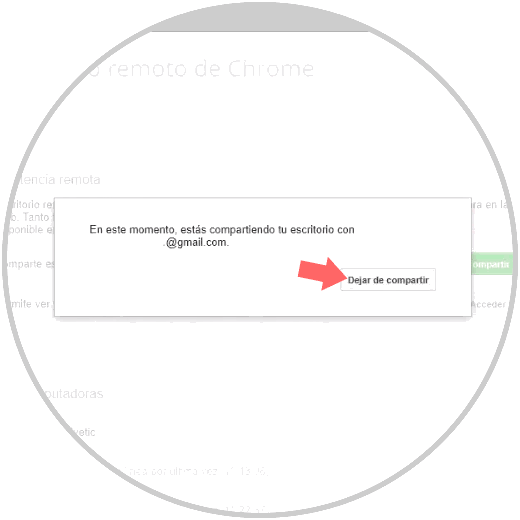
Step 2
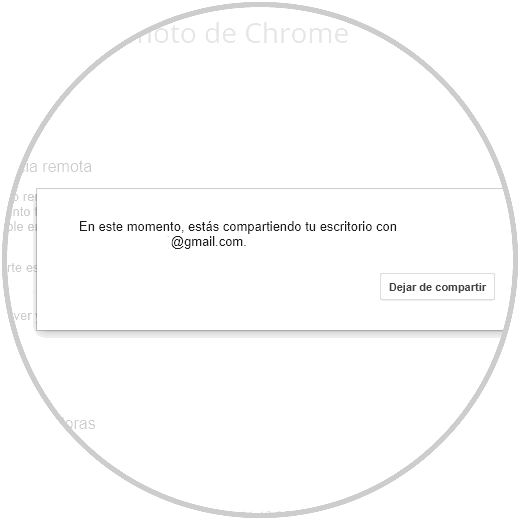
Once we establish the connectivity, we will see the email address and have control over the remote computer. To end the shared session, we click on "Stop sharing".
5. How to use Chrome Remote Desktop on Android
Step 1
In the case of Android, we can download the application from the following link:
Chrome Remote Desktop
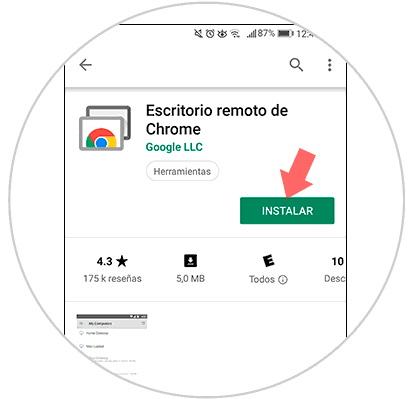
There we will see the following. Click on the "Install" button.
Step 2
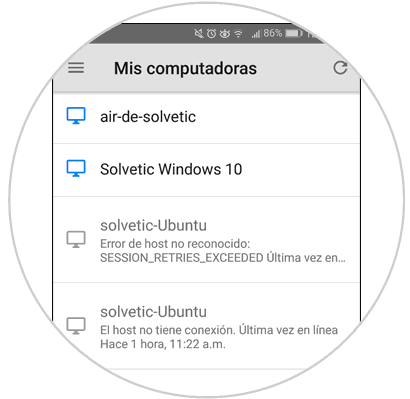
Once installed, we access the application and click on the equipment we wish to access, if it appears dimmed, it means that it has no connection or is not available at the moment:
Step 3
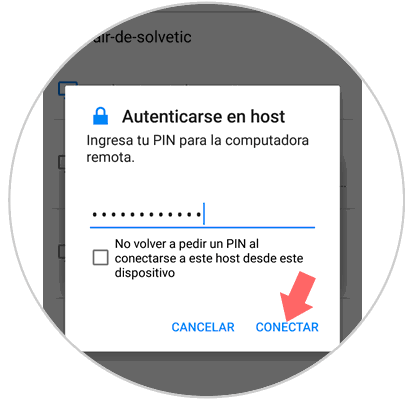
When selecting the equipment it will be necessary to enter the code required for access. Click on "Connect".
Step 4
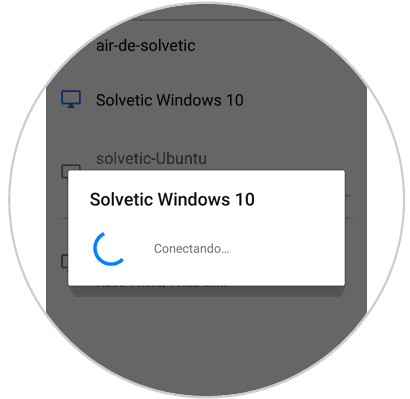
There, the process of connecting to the Chrome remote desktop will begin:
Step 5
Upon accessing we will see the entire system where it will be possible to perform the necessary actions on the:
Step 6
In the case of Android we have two options to control the system
- To perform actions with the pointer of a virtual mouse, click on the "Touch panel mode Trackpad mode" option.
- To perform actions using touches, we select the "Touch mode Touch mode" option.
In remote access to a system using Android it will be possible to use gestures to perform specific actions. The available options are:
Scroll up or down
Swipe two fingers across the screen.
Click and drag
Drag an item across the screen with a finger.
Zoom in
Pinch and enlarge the screen with two fingers.
Show keyboard
Swipe three fingers up the screen.
Show the toolbar application
Swipe three fingers down the screen.
Move mouse
Swipe your finger anywhere on the screen (only in touch panel mode).
Left click
Touch the screen.
Right click
Touch the screen with two fingers (only in touch panel mode).
Click with the middle button
Touch the screen with three fingers (only in touch panel mode).
Note
In case of using iOS we can download the application from the following link.
Chrome Remote Desktop
Step 7
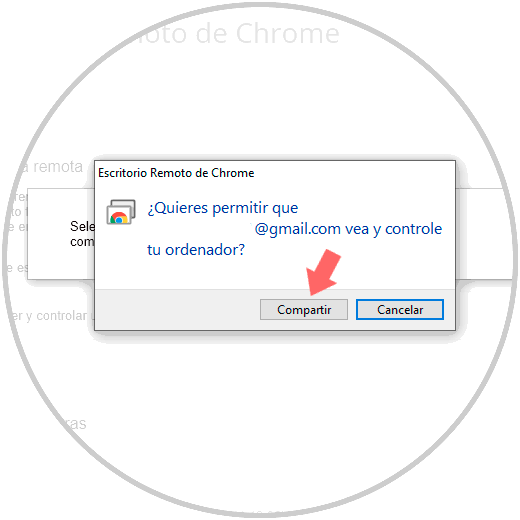
Something to keep in mind is that when we connect remotely we will receive the following notification according to the system used. There we select "Share".
Step 8
We will be notified about the status of the action taken:
In this way we have learned to use Chrome's remote desktop and thus achieve not only provide support but access the total control of the remote computer and thus increase management capabilities.