When it comes to video editing, there is hardly any other manufacturer that leads Apple: The professional software Final Cut has been one of the standard applications in the television and film industry for years, but its overall professional orientation is not very easy for beginners. That's why Apple has had a little video editing brother in its range for many years: Apple's iMovie, which is available for both macOS and iOS platforms. Free of charge, of course. We'll help you get started. All you need is a video and maybe a little music. Practical: The operation is now largely identical on Mac and iPhone / iPad.
Instructions: Create a new iMovie project
Apple's iMovie manages your work in the form of so-called projects: You can think of these as a folder that contains everything that is important for the film. In addition to raw material such as videos and music, this can also be images, for example. In addition, it naturally contains the actual cut with traces and transitions.
1st step:
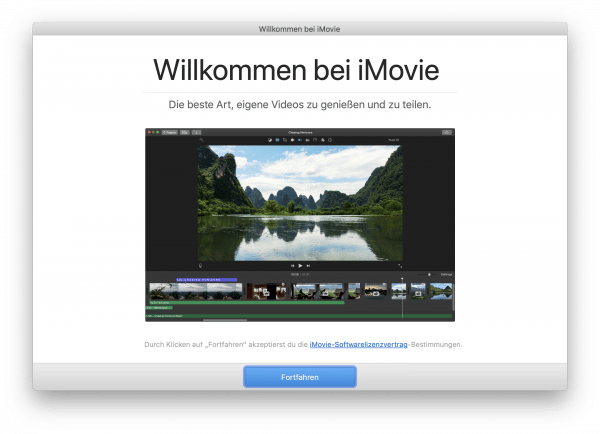 Launch iMovie on the Mac or iDevice. When you start the program for the first time, you will be greeted by a start screen that you can click away with " Continue ".
 2nd step:
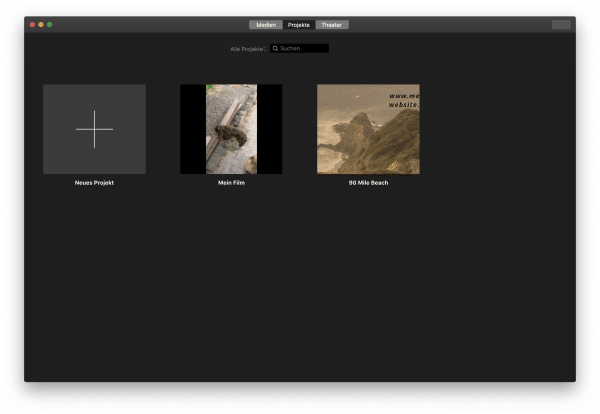 You will then see the start screen. Existing projects are clearly stored here.
 3rd step:
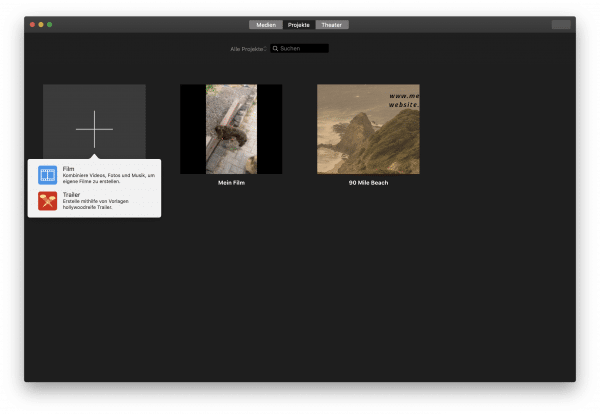 Create a new project by clicking the plus symbol and selecting " Movie ". You can also use “Trailer” as a project type, but this function is more of a gag.
 4th step:
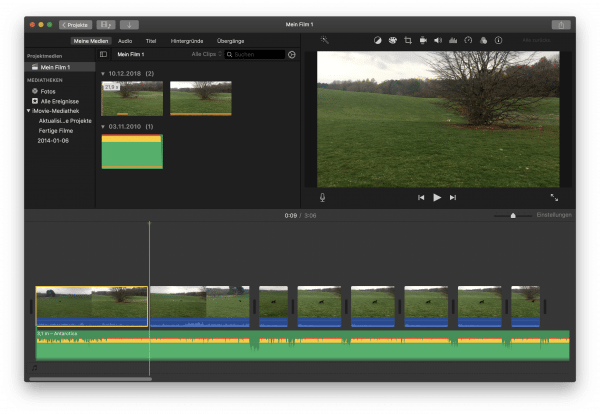
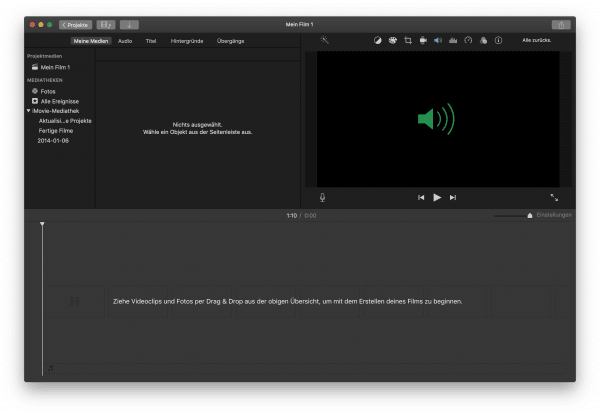 You will now see an empty, black surface with some elements. This is the project overview. The media overview is displayed directly on the iPhone / iPad, on the Mac you can select the media by clicking on " Photos " on the left . This will bring up all of the photos and videos in the Photos app. Alternatively, you can also drag a video directly into the program.
 5th step:
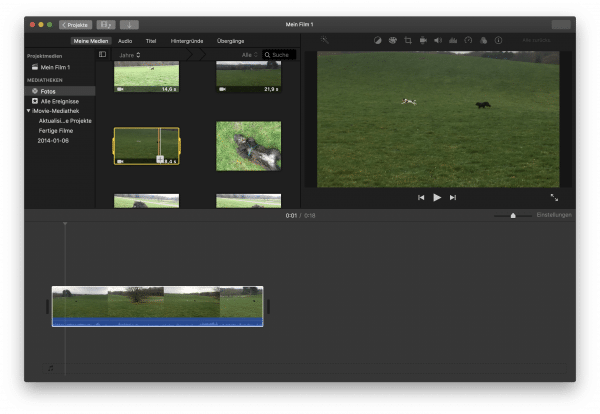 Select the video that you want to trim. On the iPhone / iPad, tap on " Create movie ", on the Mac you have to drag the video into the lower area of the window (the so-called timeline). You can of course also use multiple videos.
 6th step:
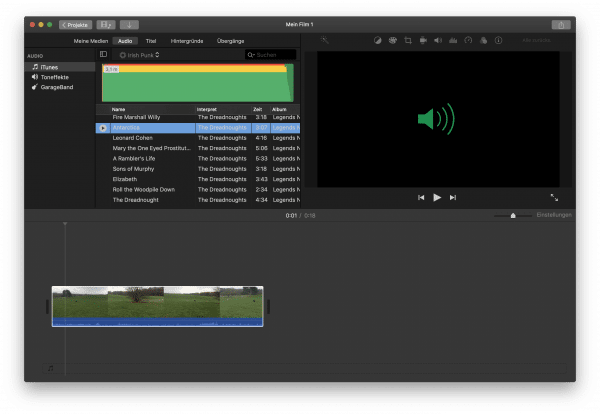 In addition, you can now drag a piece of music into the timeline by clicking on " Audio " in the upper left corner and selecting a song from your iTunes library. On the iPhone / iPad this is done by clicking on the plus sign next to the video, selecting " Audio " and then selecting the song from the media library. You can also speak audio or choose other audio sources.
 7th step:
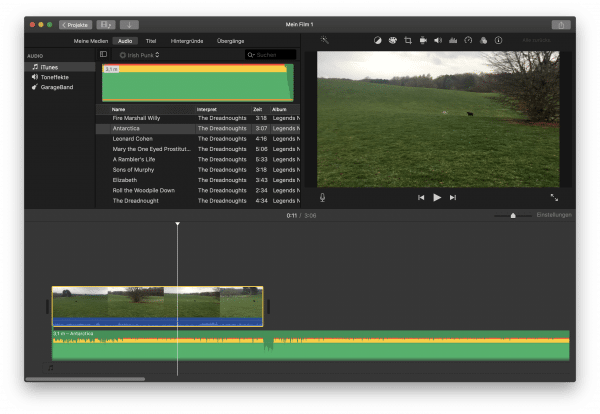 That's it: your first film project has been set up. Move the marker in the timeline all the way to the left (Mac / iPhone) and click the “Play” button to watch your film with music.
 Tutorial: Cut Videos Quickly in iMovie
After you've gotten to grips with iMovie, it's time to get down to the actual editing. iMovie is "non-destructive", which means that it does not change the original videos, but only sets markers within the project. We will now show it using the macOS version, under iOS the options are partly included elsewhere, but basically included..
1st step:
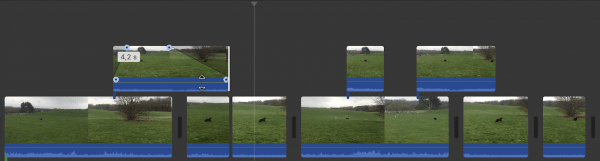
 You cut the scenes from the source material by simply shifting the videos in the timeline to fit. For this, click on the video and drag on the left and right side until you get the length you want.
 2nd step:
 In order to duplicate scenes created in this way in the timeline, you can simply mark them and copy them with [cmd] + [C] . With [cmd] + [V] you insert the already trimmed scene.
 3rd step:
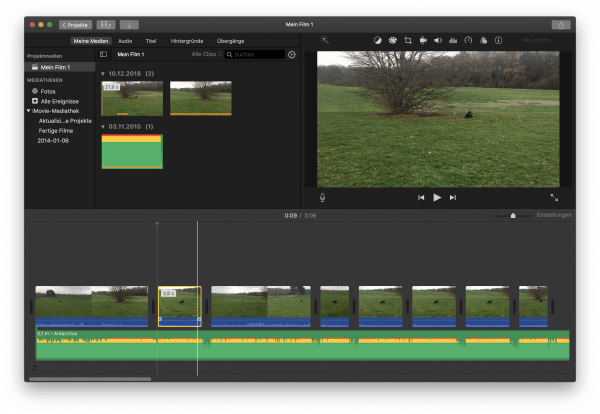
 You can also split an existing video: move the cursor to the desired position and press [cmd] + [B] to split a clip into several.
 4th step:
 You can adjust the tone of the video by clicking the waveform at the bottom of the clip and dragging it up or down. Alternatively, you can mute the sound of one or more selected clips with [Shift] + [cmd] + [M] .
 5th step:
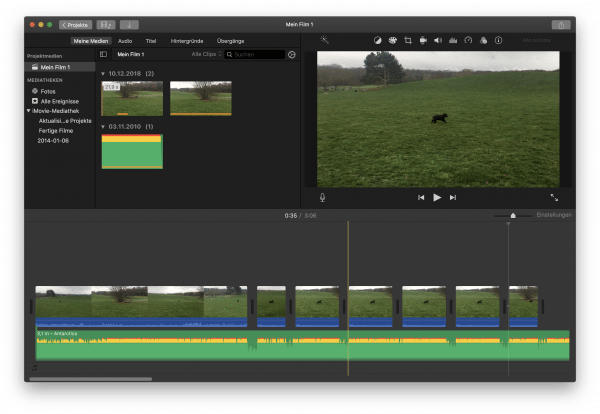 Now move the clips to the desired position in the timeline in order to carry out the actual "cut". Check again and again in the preview window what the finished video would look like. It can be wise to match the video with the music than, for example, changing the clip when changing the music.
 6th step:
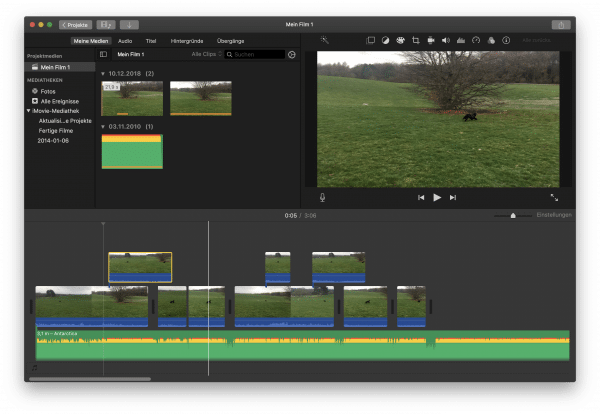 The highlight: iMovie has two video tracks! You can cross-fade videos, for example to fade in another video or a photo. Simply slide the clip over the existing video track.
 7th step:
 Now fine work is required: iMovie automatically jumps to the upper clip when the marker reaches it during playback. To cross-fade two clips, you can move the mouse over the clip and define the fade-in and fade-out at the blue points by simply dragging them into the clip.
 8th step:
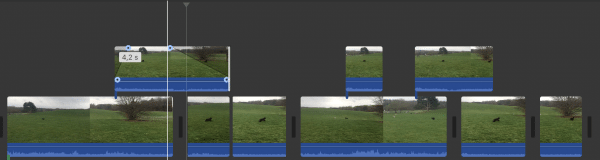
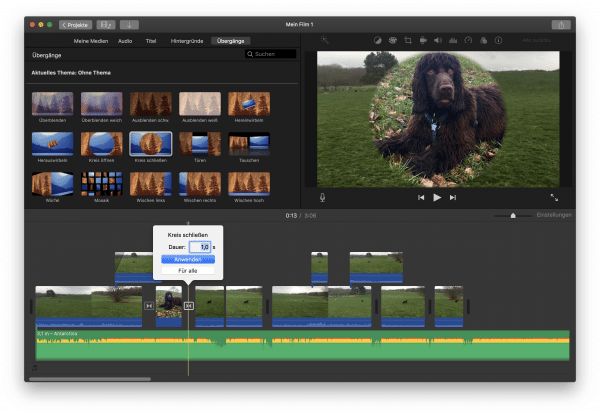 There is also the option of adding transitions: To do this, click on " Transitions " in the top left and drag the desired transition into the timeline. You can define the duration by double-clicking on the transition.
 9th step:
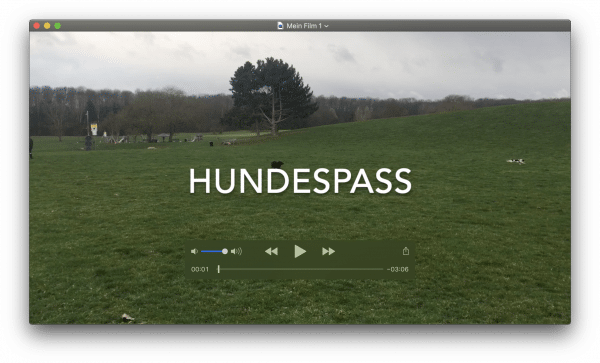
 Of course, you can also insert a text title: To do this, click on " Title " in the upper left corner and select a title type that you like. Drag this to the desired location in the timeline. Enter the title and subtitle. Tip: If you don't need one of the predefined fields for a title, you can simply delete the text there.
 10th step:
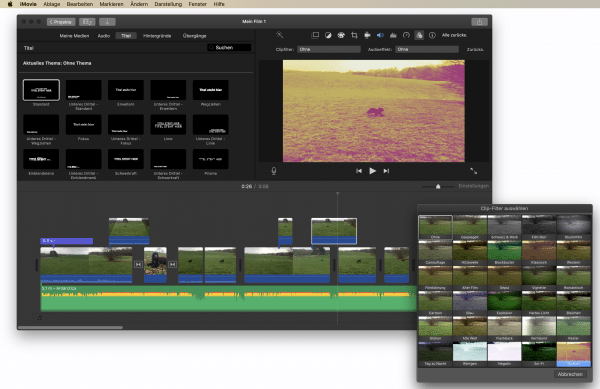 Last but not least, you can of course apply effects to individual clips: Select the clip in the timeline and click the icon with the three circles above the preview window . Click the Clip Filter button and choose the filter you want . There are, of course, a number of other functions, but these should be enough to cut your first video successfully. Try what you need. iMovie automatically saves all changes.
 Save the finished iMovie video as a file
Over the years, iMovie has grown into an extremely powerful tool that can be used to quickly implement video editing projects on the Mac or iPhone / iPad. When you're done editing, you can export the project as a file.
1st step:
 To do this, click the “Share” button in the upper right corner and select the desired export option , such as “File”, to save the finished film on the hard drive.
 2nd step:
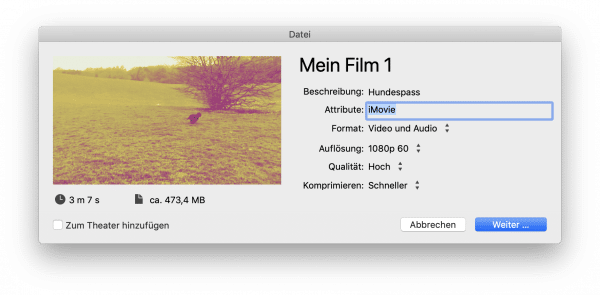 Set the options. The recommended output quality here is at least 1080p , i.e. Full HD, provided the source material allows it. The higher the quality, the larger the file. However, you have the option of influencing this with the “ Quality ” option . Then click on “ Next ”.
 3rd step:
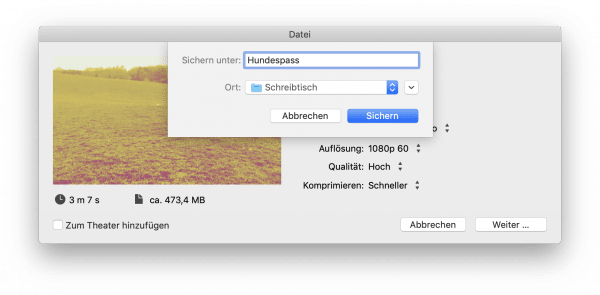 Now assign a file name and select a storage location . Then click on “ Save ” to save the video in the desired location. Saving takes a while, iMovie shows the progress in the top right corner.
 4th step:
 You can now share or archive the resulting MP4 video. You can of course also use it as a basis for new projects or upload it to Facebook or Youtube to show your friends.