In these times, in which we practically carry all the relevant information on our mobile, it seems essential to protect it so that this information does not reach the eyes we do not want. Personal data such as photos, videos , contacts, messages, emails or even bank details is only part of the information that these small devices collect and need to be protected..
Technology is advancing more and more, and consequently, the ways to protect the information contained in our mobile phone has also evolved. The main ways to protect a terminal are the pattern, pin or password ; but now we have more personalized ways such as fingerprint unlock.
In addition to fingerprint unlocking, there is another method that is facial unlocking, from reading our facial features with the front camera of the device; And, precisely in this tutorial of TechnoWikis we explain how to activate it in one of the most popular terminals of the moment with Android operating system : The Xiaomi Mi 8..
To activate it on your Xiaomi Mi 8 you will have to follow these steps:
To keep up, remember to subscribe to our YouTube channel! SUBSCRIBE
1. How to set up and activate facial unlock on Xiaomi Mi 8
To configure and activate this aspect on your Xiaomi Mi 8 the steps you have to follow are the ones you will read below:
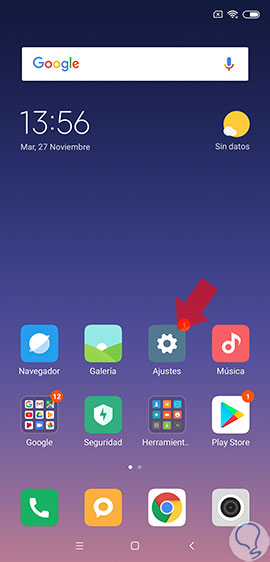
Step 1
Press the "Settings" of your Xiaomi Mi 8 on the gear icon on the terminal.
Step 2
Now, swipe to the “Additional settings†option and click on it.

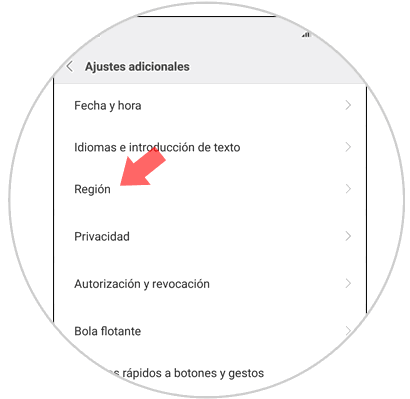
Step 3
Here, at the top of the screen you will find the “Region†option. Press to continue.
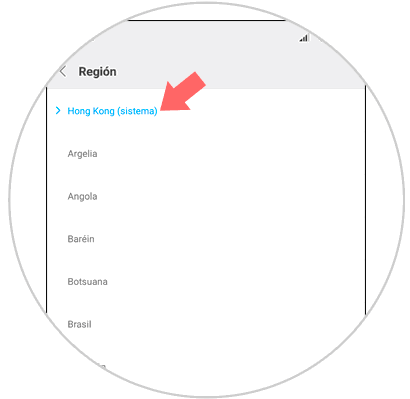
Step 4
Among the available region options, you must select “Hong Kong†to display the option to configure facial recognition on your device.
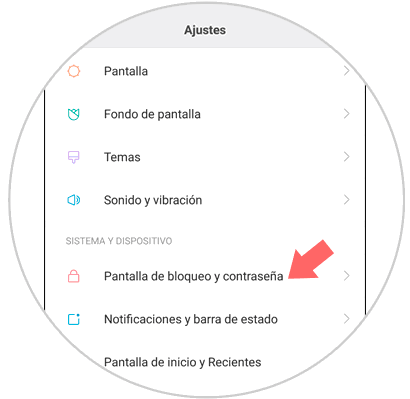
Step 5
Now, return to the menu under "Settings" and select the "Lock screen and password" option.
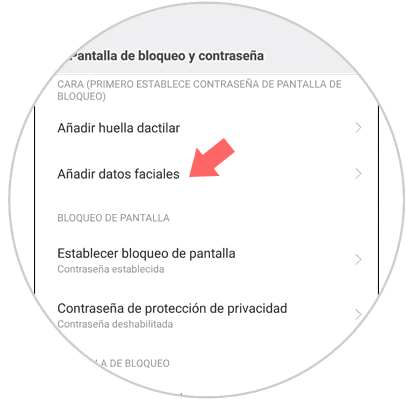
Step 6
The option “Add facial data†will appear at the top. Press here.
Step 7
You will see the following screen. Press the lower button to continue.
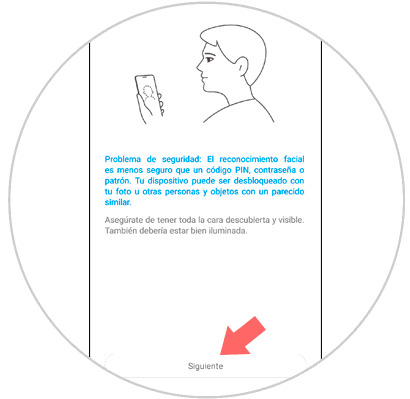
Note
Here from your Xiaomi Mi 8 they report that this unlocking method is less secure than a pattern, pin or password.
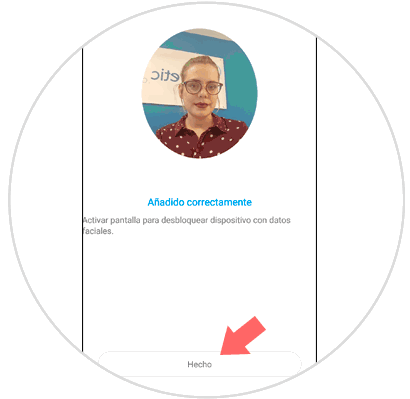
Step 8
The front camera of your Xiaomi Mi 8 will capture your features when you put your face in the circle on the screen. Press the "Done" button when you're done.
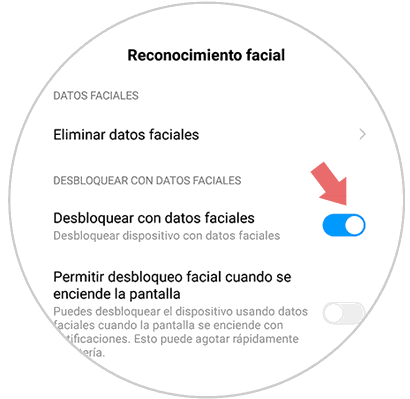
Step 9
Now, the “Unlock with facial data†tab must be active for the terminal to unlock in this way.
2. How to erase facial unlock on Xiaomi Mi 8
To erase the facial unlocking in this Android terminal you will simply have to follow these steps that we are going to list.
Step 1
Click on "Settings" on the gear icon.
Step 2
Now, in the "Settings", click on "Lock screen and password".
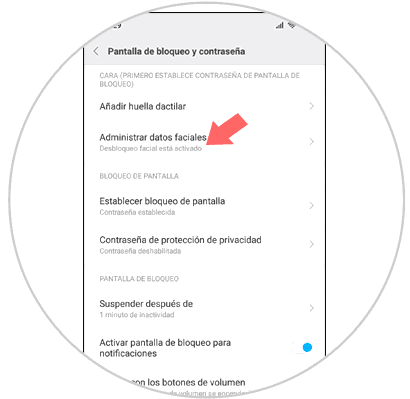
Step 3
In the new screen, click on “Manage facial dataâ€.
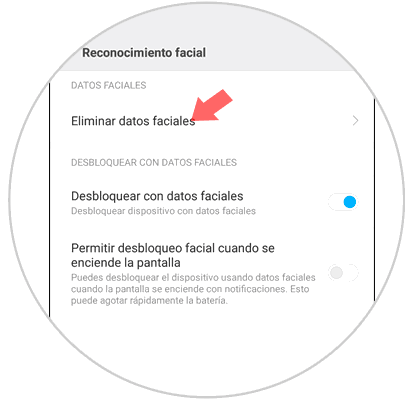
Step 4
Once inside this section, you must click on “Delete facial dataâ€.
Step 5
Confirm the action by clicking "Accept" in the pop-up window that will be displayed.

It will be that simple to configure and set up facial unlocking as well as to eliminate facial data on the Xiaomi Mi 8 Android terminal.