Executable files (.exe) are the preferred mechanism through which attackers seek the possibility of accessing our equipment and performing various actions (not pleasant) without permission. In some cases they can hijack information , delete or corrupt hosted files, damage system logs and many more situations..
Unfortunately, in more than 95% of cases the error is the user's own when double clicking on this type of executable files many times without verifying the developer of the same since a large part of these infected executables come from unreliable sites or through links of e-mail.
Windows 10, in its quest to improve user security , has launched a new functionality as of its 18305 version (currently available only in the Insider program) with which it seeks to know in advance what this executable is about without affecting the original system or the documents stored there. TechnoWikis will explain how to enable Sandbox in Windows 10 version 18305..
Note
This version will be available to all users in the first months of 2019.
What is Sandbox?
Sandbox has been developed as an isolated and temporary desktop environment in which it will be possible to run unsecured software without its installation on the local disk as this implies a security vulnerability in case this executable contains malicious code.
With Windows Sandbox, we will have a closed, test-oriented environment, in which we can run as many applications as we want. Everything we do there will disappear once we close Sandbox, in this way, all the software installed in Windows Sandbox will only remain in the Sandbox and at no time will it have an impact on the equipment physically. When Windows Sandbox is closed, all software along with all its files and states is permanently deleted.
What is Sandbox?
Windows Sandbox offers us features such as:
- It is part of Windows 10 since we must have the Windows 10 Pro or Enterprise editions without the need to download a VHD.
- When Windows Sandbox is running, its environment is similar to a completely new installation of Windows 10.
- All tasks performed there are deleted after closing the application.
- Sandbox relies on hardware virtualization to isolate the kernel, which is based on the Microsoft hypervisor in order to run a remote kernel making the Windows Sandbox isolated from the physical host.
- It integrates a kernerl programmer, an intelligent memory manager and virtual GPU to facilitate management tasks.
Sandbox Requirements
The basic requirements to make use of this functionality are:
- Against with a version of Windows 10 Pro or Windows 10 Enterprise.
- Use an AMD64 architecture.
- Have virtualization capabilities enabled in BIOS (UEFI).
- Have a minimum of 4GB of RAM (8GB recommended).
- Have at least 1 GB of free disk space and preferably if we use a solid state disk (SSD).
- Have at least 2 CPU cores (4 cores with hyperthreading recommended).
1. Enable Windows Sandbox in Windows 10
Step 1
The first step is to have version 18305 or higher of Windows 10, this can be validated with the winver command, once this is verified, we must enable virtualization using one of the following methods:
- If we use a physical machine, we must enable virtualization capabilities in the BIOS or UEFI.
- In case of using a virtual machine, we must enable nested virtualization with the following PowerShell cmdlet:
Set-VMProcessor -VMName <VM Name> -ExposeVirtualizationExtensions $ true
Step 2
Later we will check why it is vital to have virtualization enabled in Windows 10. Once this is done, we will use the following keys and run the following line:
+ R
appwiz.cpl
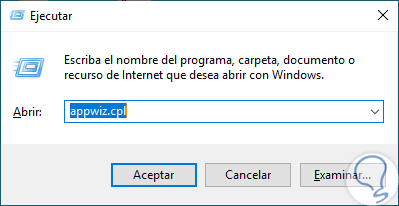
Step 3
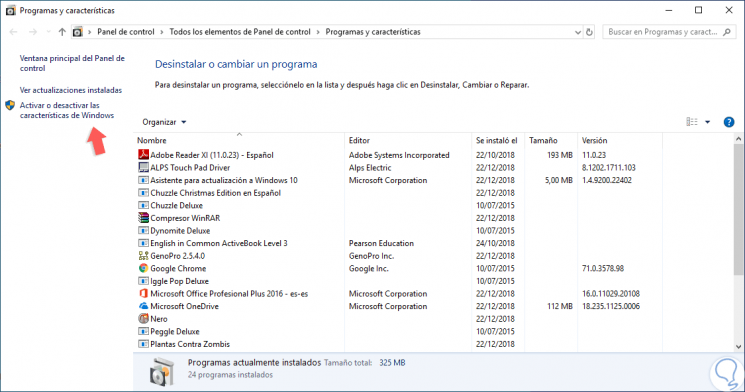
Press Enter or Accept and the following window will appear:
Note
We can also go to the path Control Panel \ Programs \ Programs and Features.
Step 4
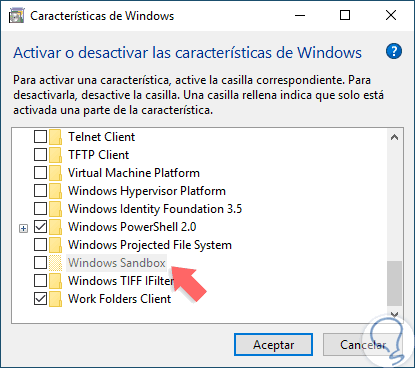
There we click on the line "Activate or deactivate Windows features" and in the window we will see the following if we have not enabled system virtualization:
Step 5
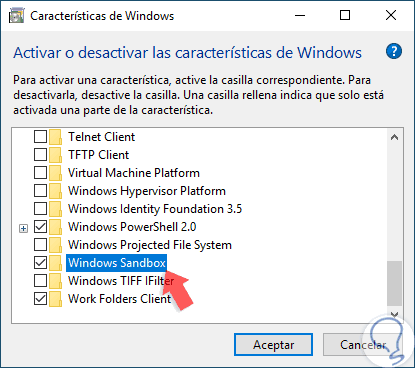
Note that the line "Windows Sandbox" is attenuated which will be impossible to activate, once virtualization is enabled we will see this:
Step 6
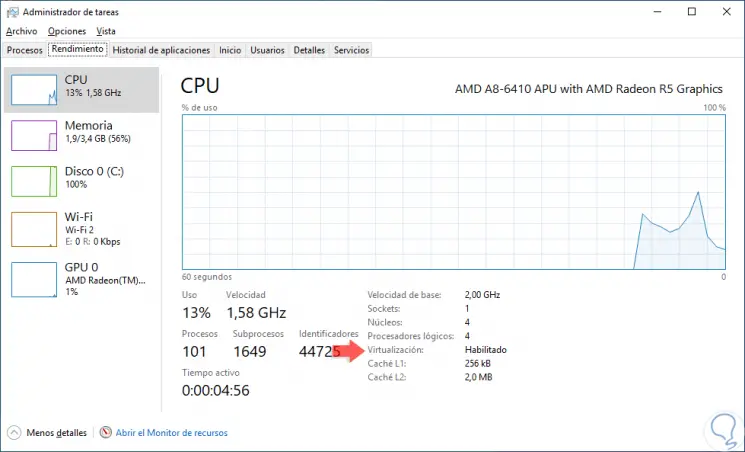
We can check if the virtualization of our equipment is enabled from the Task Manager in the "Performance" tab:
Step 7
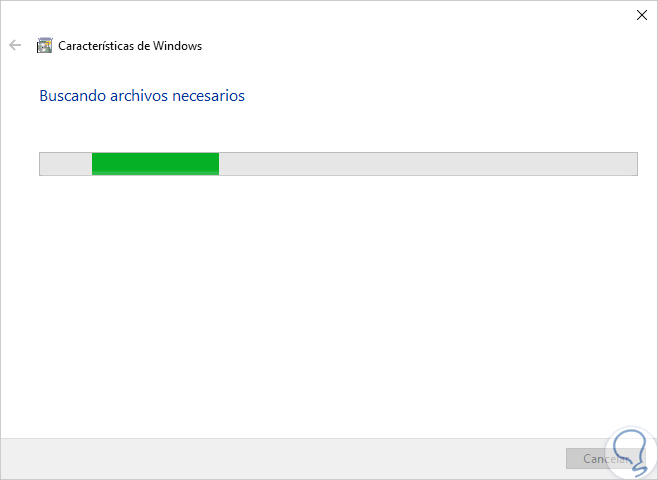
There we check the status in the "Virtualization" line. Once we activate the “Windows Sandbox†box, click on the Accept button and the file search process will begin:
Step 8
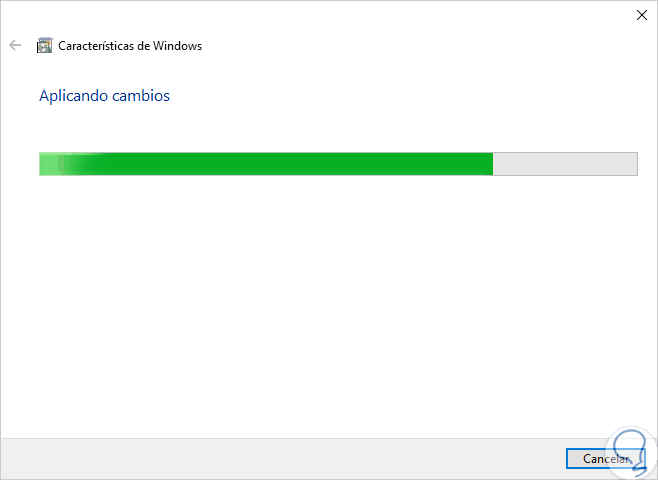
After this the changes will be applied:
Step 9
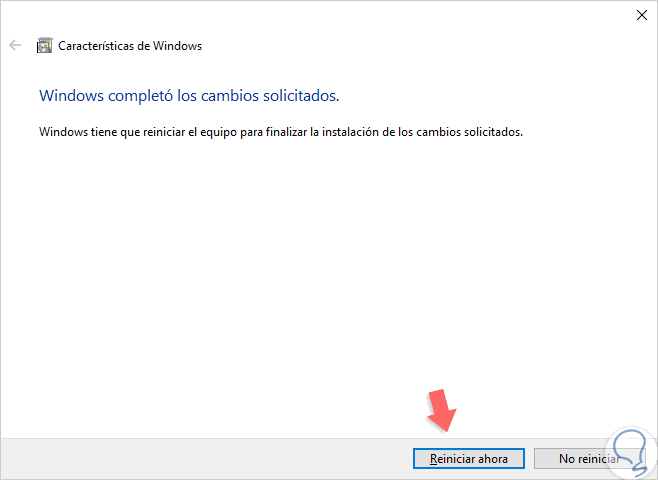
When this concludes, we will see the following message:
Step 10
There we click on the "Restart now" button for Windows 10 to apply the changes:
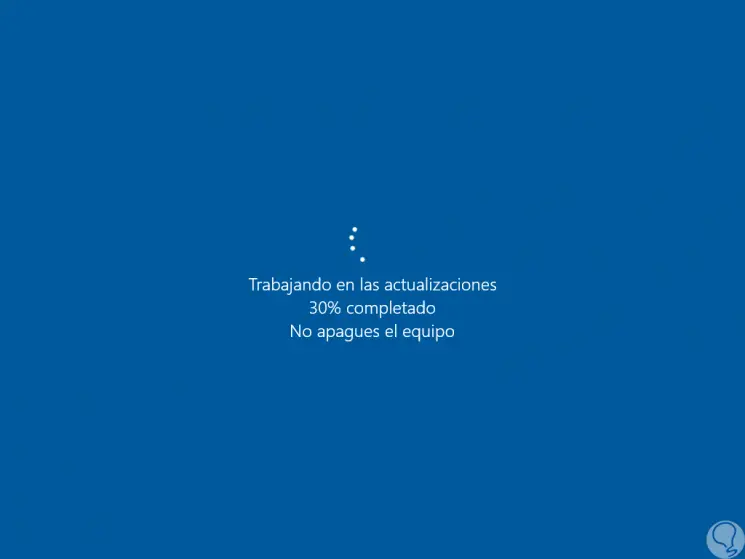
Step 11
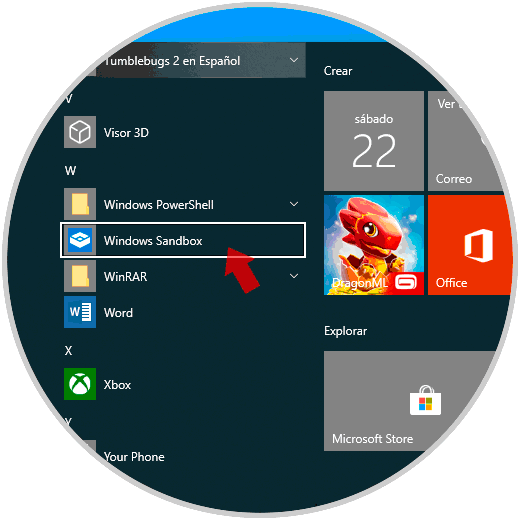
Once the operating system is restarted, we can access Windows Sandbox from the Start menu or from Cortana or the search box:
Step 12
Clicking there will start the Sandbox opening process:

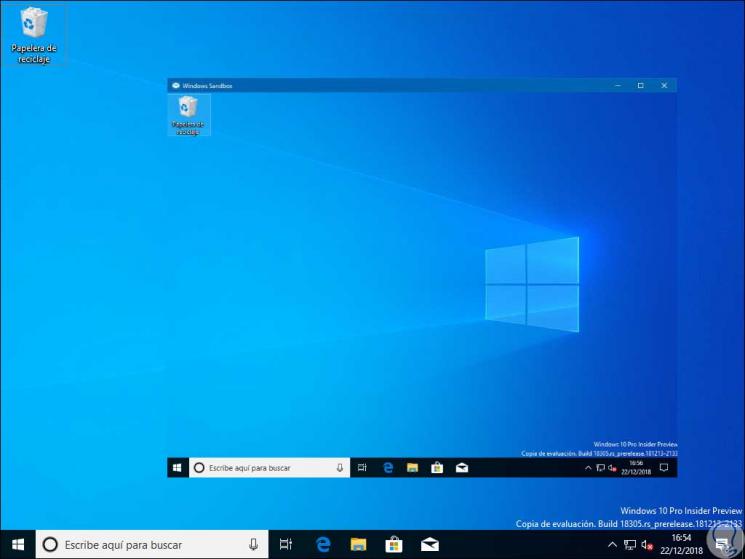
Step 13
When we access this the environment of our operating system as if it were a new installation:
Step 14
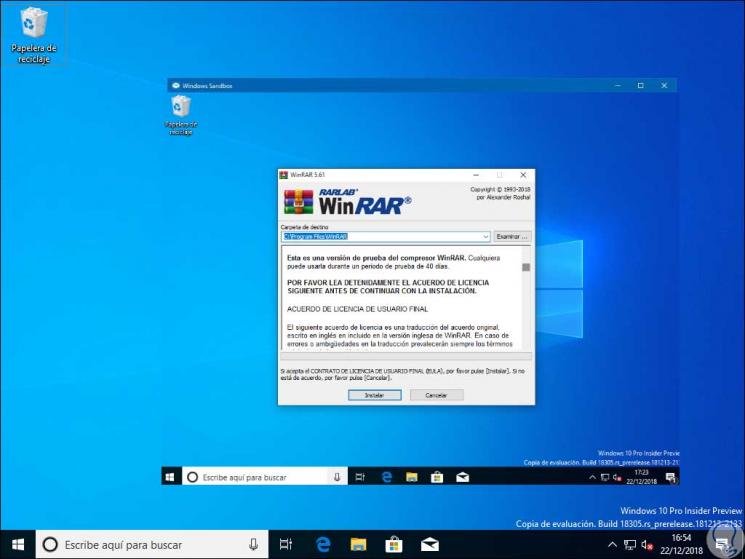
Now, we are going to copy an executable file from the physical host and paste this executable file in the Windows Sandbox window (on the Windows desktop), after this we can run the executable file in the Windows Sandbox and install the app if necessary . Once installed we can test it and validate all its functions in order to check the integrity and operation of it. Once this has been validated, we can close Windows Sandbox and everything done will be permanently deleted.
For security, we must confirm that the host does not have any of the modifications we execute in Windows Sandbox..
Windows Sandbox respects the diagnostic data settings of the physical equipment and all other privacy settings are set to the default values.
2. How Windows Sandbox works in Windows 10
We have seen what Sandbox's purpose is regarding the protection of information and the operating system, but TechnoWikis wants to explain a little more about Sandbox's internal operation.

Windows Sandbox is based on the technologies used in Windows containers. These Windows containers have been designed to be run in the cloud, so Windows developers have taken that technology and integrated it with Windows 10. That is why Sandbox can run on portable devices and devices without require the full power of Windows.
At its core, Windows Sandbox is a lightweight virtual machine. This means that you need an operating system image to boot, hence one of Sandbox's improvements is the ability to take a copy of the locally installed Windows 10 system. This avoids the need to download a new VHD image as it happens with virtual machines.
Windows Sandbox is based on a functionality called dynamic base image which uses the Windows Container language. When an image of the operating system has clean copies of files that can be modified, but links to files that cannot be changed. These are housed in the existing Windows image on the physical computer. Much of these files are links that occupy about 100 MB, so when Windows Sandbox has not been installed, the dynamic base image is preserved in a compressed package with a weight of 25 MB and when the dynamic base package is installed, This occupies about 100 MB of disk space.
As we mentioned at the beginning, Sandbox integrates a memory management utility that allows the physical host to be able to recover Sandbox memory if required.
Windows Sandbox takes the same physical memory pages as the host for all operating system binaries using a technology called direct map. Continuing with the internal functions of Windows Sandbox, it makes use of a new technology called integrated scheduler which allows the host to decide when the sandbox is running and not waste system resources.
The main advantage of using the integrated scheduler is that the computer manages Windows Sandbox as a process instead of a virtual machine. This allows the equipment to be much more receptive and act at key moments of use.
We can see how with each new update of Windows 10, we seek to improve the final user experience with news that will have a positive impact on the daily use of the system and its applications are jeopardizing the availability and integrity of these.