The security of our operating system must always be one of the main issues to work every day in a world where threats do not give any truce and take advantage of any security breach to access the system and execute viruses or harmful actions..
There are several solutions, antivirus or antimalware software, which have been developed with the aim of counteracting these threats . But in this case there is no need to resort to third-party software since the Windows 10 operating system itself integrates a security solution. This option is the already known Windows Defender that in Windows 10 has been coupled with numerous additional security features.
The Windows Defender Antivirus allows the user real-time protection against software threats, such as viruses, malware in email, applications and the Internet, allowing us to enjoy a completely safe browsing . Within these new functions we find the opportunity to access a cloud-based antivirus protection . When enabled, it allows Windows Defender to send information to Microsoft about the various problems encountered and then used to gather more details about the problems. This allows the Microsoft development group to take the necessary security measures ..
TechnoWikis will explain how to enable or disable the cloud protection and real-time protection offered by Windows Defender in Windows 10.
To keep up, remember to subscribe to our YouTube channel! SUBSCRIBE
Enable or disable real-time protection Windows Defender from Windows 10
Step 1
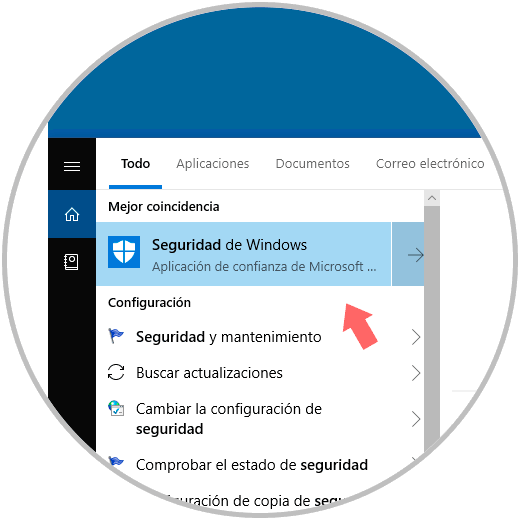
To start this process we enter the term "security" in the Windows 10 search box and there we select the "Windows Security" option:
Step 2
Alternatively, we can go to the following route:
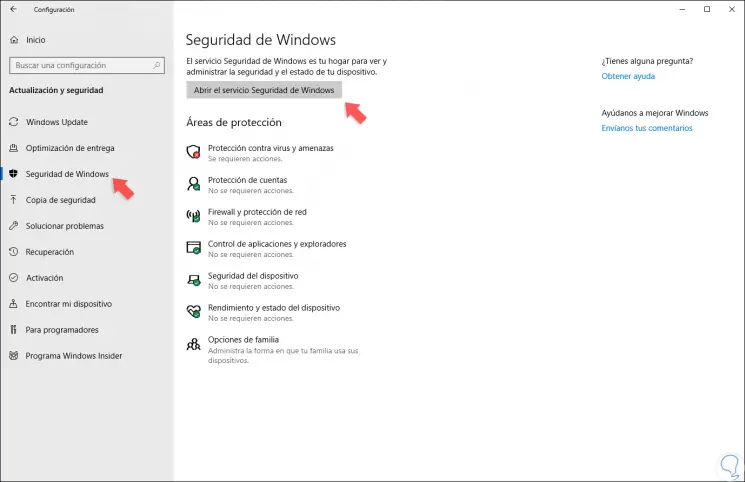
Step 3
There we click on the "Open Windows Security service" button. In one of the two methods used we will see the following:
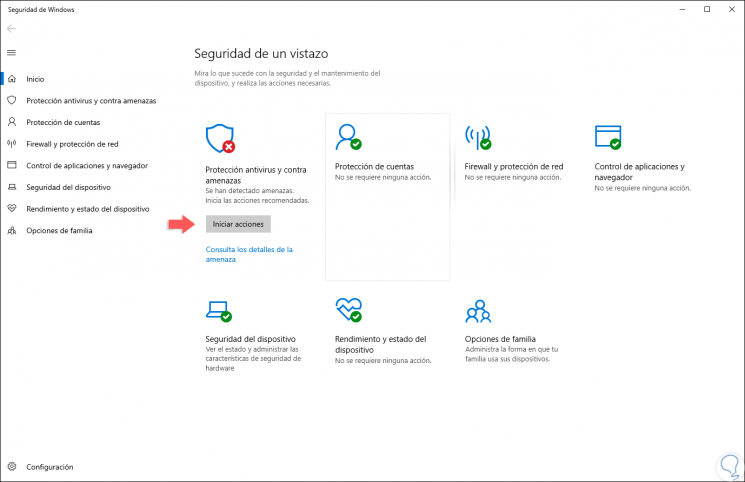
Step 4
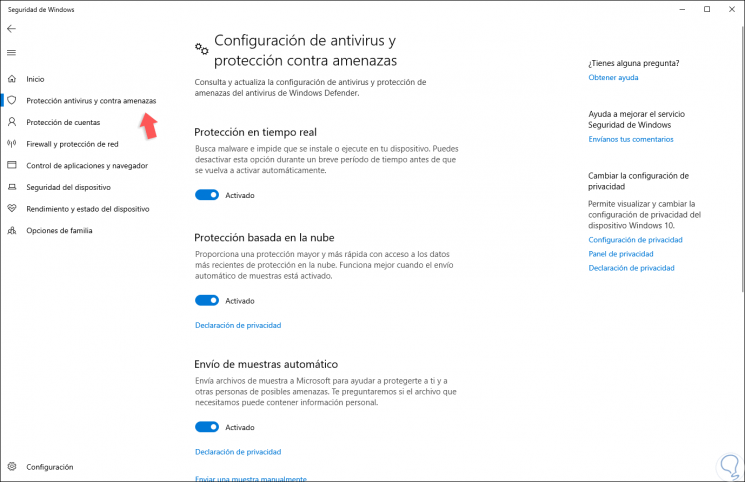
There we go to the "Anti-virus and threat protection" section and the following will be displayed:
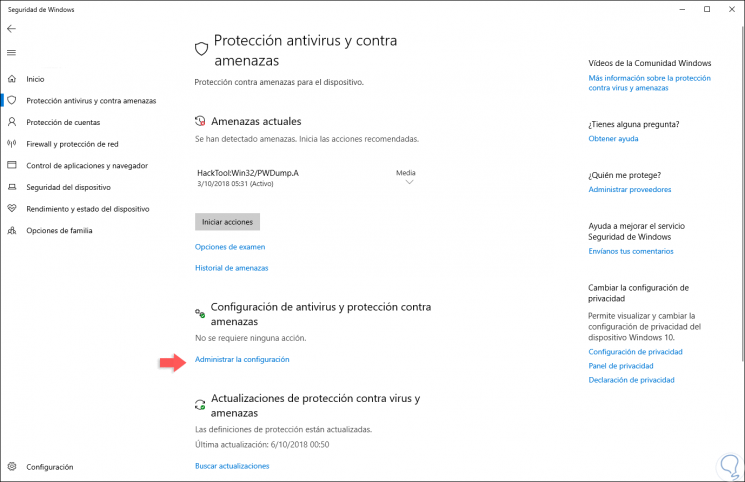
Step 5
We click on the "Manage settings" line located in the "Anti-virus configuration and threat protection" section and in the next window it will be possible to deactivate the following options in a simple way:
- Automatic sample submission
Step 6
To disable this we must press on the switch of each of them and accept the message displayed by UAC. Now, when we want to enable it again, just activate the switch again and continue to enjoy the protection.
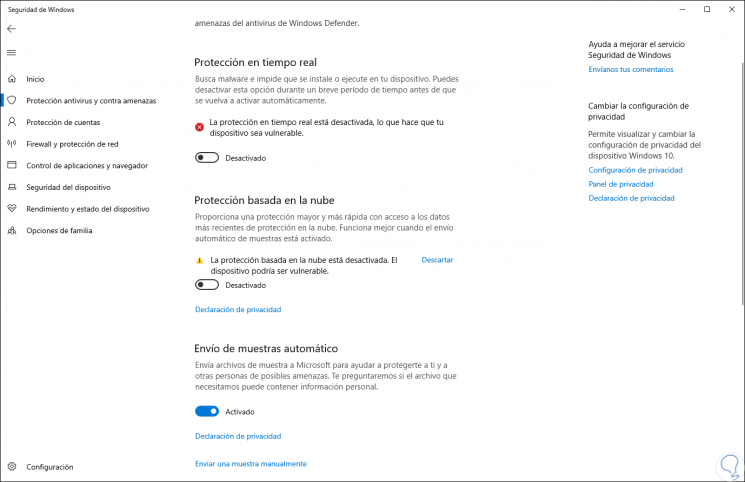
It is advisable not to leave these options disabled since they play an important role for all files, processes and services of the operating system because if they are not activated we are creating an open door so that threats can access and make their plans completely..