Microsoft Word is part of the Office suite which currently offers various integrated functions for the personalization of the information we record there. Each of these functions has been designed to provide Word users with solutions to apply formats , adjust texts or add new elements in the display of words and one of the most common ways to better represent the text in Microsoft Word are the bullet points ..
When we make text documents we usually use different resources to sort all the information in a more clear and organized way. As we use the bleeding, the color or hierarchy of titles; We have an element that allows us to place the text according to our preferences. The cartoons are a kind of icons that are placed at the beginning of the paragraphs we want to justify and highlight it in the document. They are really useful when we want to show a list of ideas but that have a lower hierarchical value within the global calculation.
In this tutorial we will see how we can use those bullets and how to create your own custom style in Word 2019, 2016..
How to put custom bullets in Word 2019, 2016
Step 1
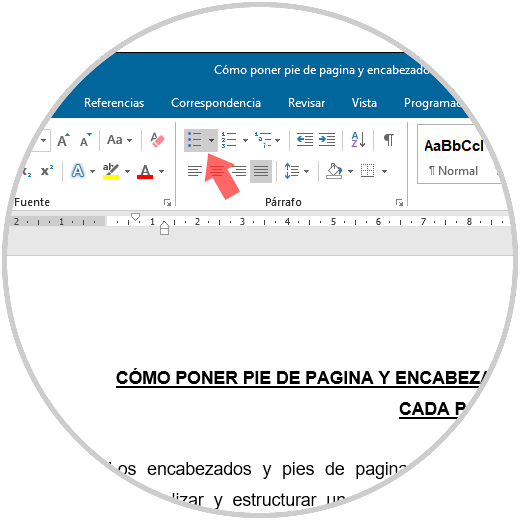
Thanks to the bullet points we can highlight main ideas or keywords in a document, but by default Microsoft Word 2016 or 2019 has a default style for these bullets, this is found in the Start menu, in the “Paragraph†group and when clicking on the “Bullets†option and the following will be assigned:
Step 2
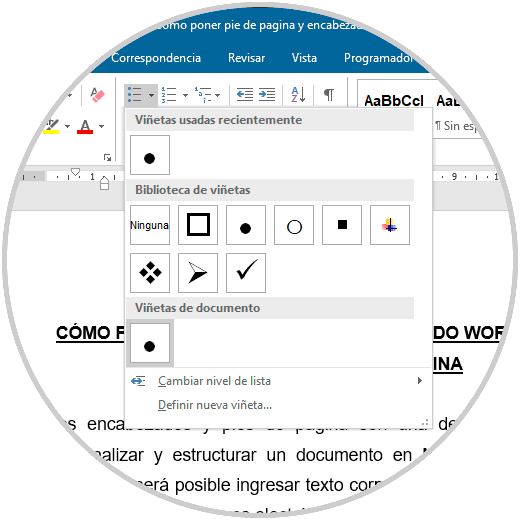
By clicking on the drop-down menu of the option "Bullets" we can see a series of options to insert as bullets:
Step 3
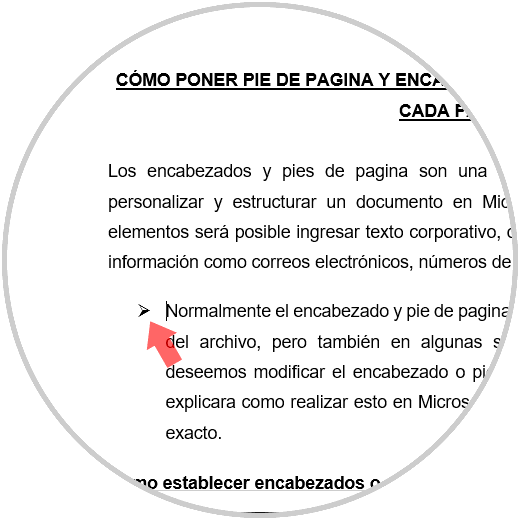
We can click on any of the options available there to insert in the document:
Step 4
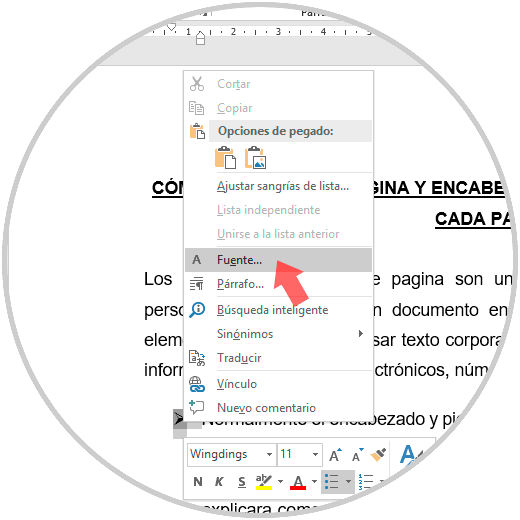
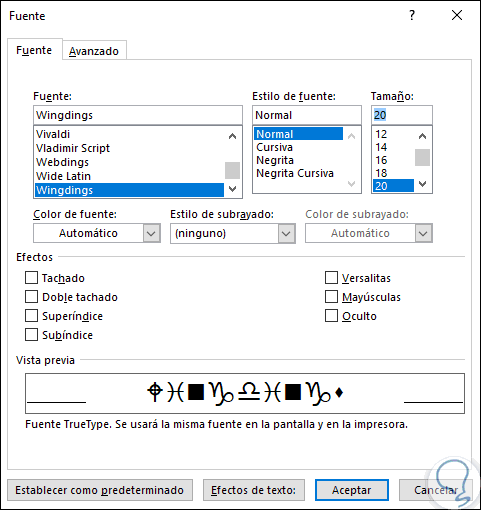
In order to customize our inserted bullets, we will right click on the bullet and in the displayed list we select the option “Sourcesâ€:
Step 5
In the window we can apply changes such as:
- Font size associated with the bullet
- Apply effects such as strikethrough, double strikethrough, superscript or more
Step 6
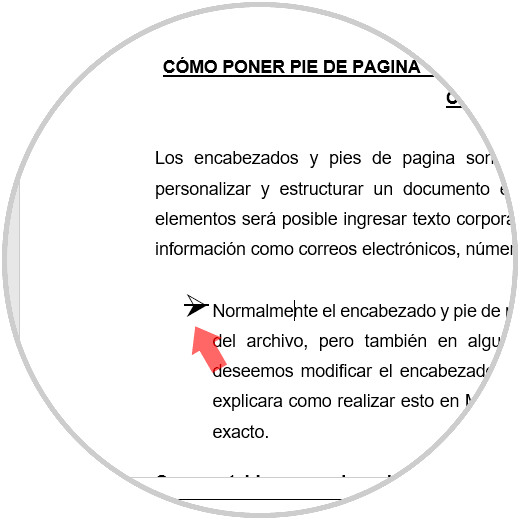
In the preview we can see the new scheme that the bullet will have and it should be noted that each bullet inserted in Microsoft Word is linked to a different source. Click on Accept and we will see that the bullet adjusts to the new changes:
Step 7
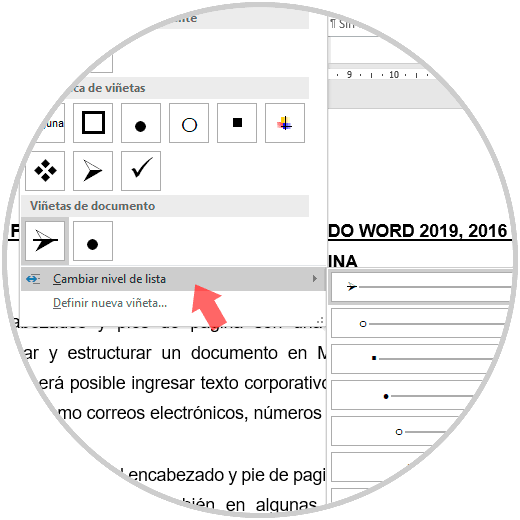
Now, from the Bullets menu it is possible to apply some modifications to the bullet inserted in the document, one of the first options is to click on the “Change list level†line where the following options will be displayed:
Step 8
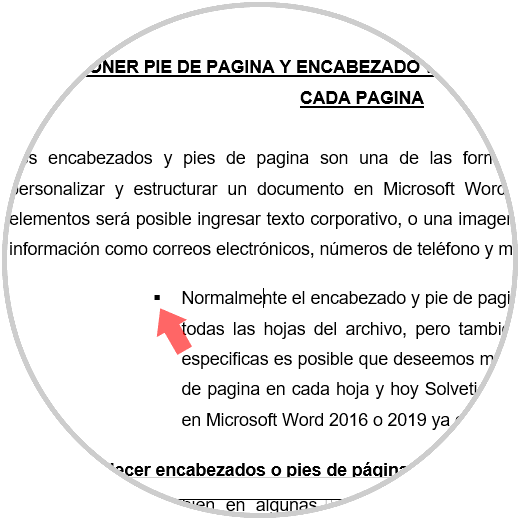
By selecting any of these options we can see how the text automatically adjusts to the list format:
Step 9
Now, if we want to create a new bullet with some special configuration, from the Bullets menu we select the option “Define new bulletâ€:
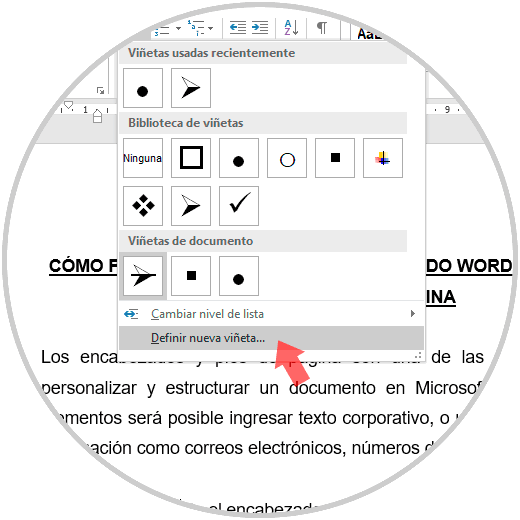
Step 10
Clicking there will display the following:
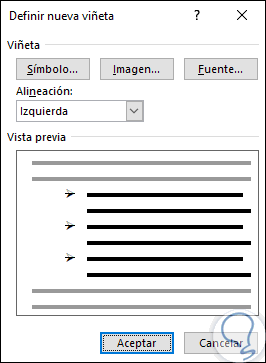
Step 11
There, Microsoft Word gives us the opportunity to insert new bullets taking usage parameters such as:
Symbols
By clicking there it will be possible to insert bullets with any of the symbols available in Word.
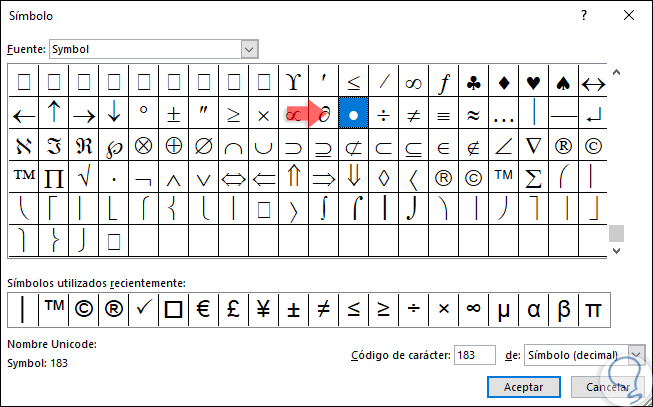
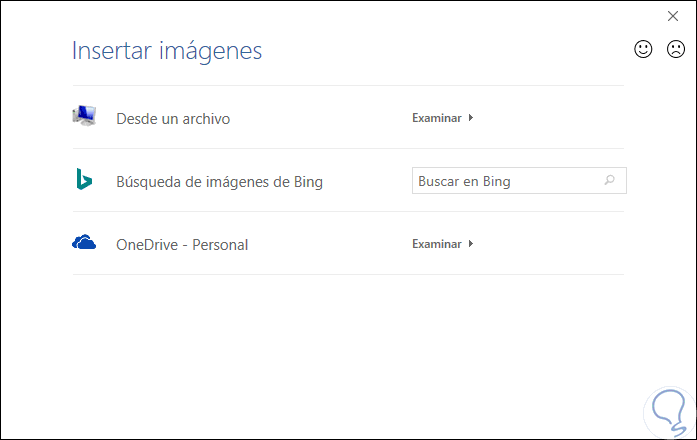
Image
By selecting this option it will be possible to insert an image either locally, online or through OneDrive:
Sources
With this option we can make use of some of the sources of Microsoft Word.
Step 12
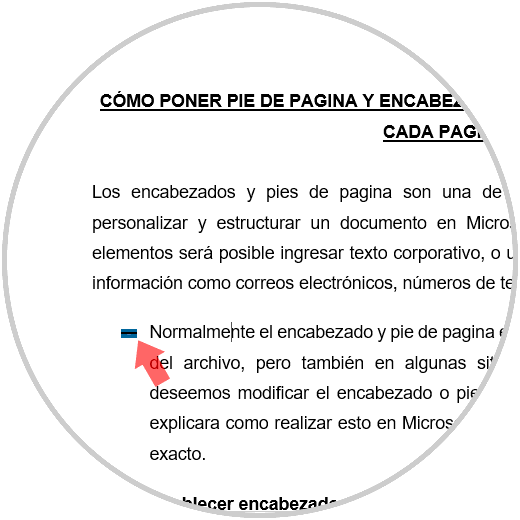
In addition, by selecting the type of vignette we can adjust it to the left or right. Click OK to apply the changes and, in this case, we can see how an image bullet has been inserted:
Thanks to these options it is possible to edit or create new bullets for our Word documents and this process applies in both Microsoft Word 2016 and 2019.