The use of printers is something that is still valid because it allows us to capture the ideas created in a file, a presentation or we can simply have documents and other information in paper form. While it is true that printers have evolved with technology, today we find 3D printers, however, a series of essential steps must be followed to install or configure a printer in macOS, for this macOS Mojave tutorial..
In order to use a printer in macOS with all its features and functionality, it will be necessary to configure the printer in the "Printers and Scanners" preferences panel which we access from System Preferences:
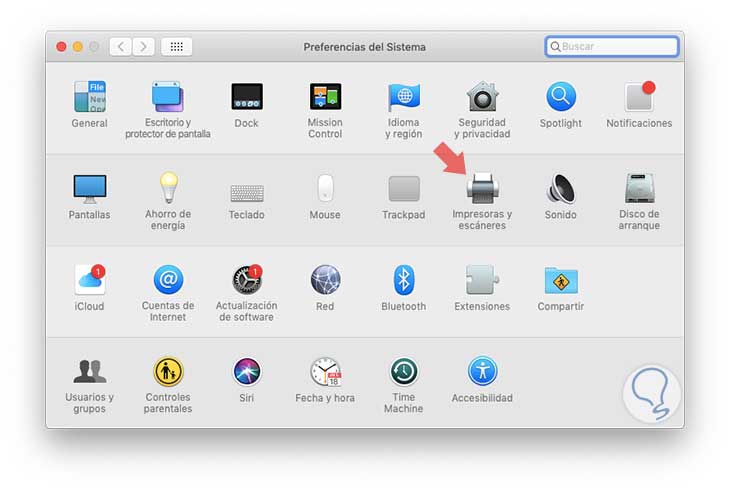
Functions
By accessing there it will be possible to perform work such as:
- Access printer resource options
- Define paper size and more.
The macOS Mojave operating system makes use of the default AirPrint function to carry out the most frequently used printers connectivity process without the need to use additional printing software, with AirPrint it will be possible to print on a printer with AirPrint using a Wi-Fi, Ethernet or USB connection.
If the printer to be installed has AirPrint active, it is compatible with macOS, if not, we must check if it is compatible with macOS Mojave and downloading Apple Software for printers and scanners.
We can consult this information in the following link:
Printers compatible with Mojave
TechnoWikis will explain how to install or uninstall a printer in macOS Mojave using the various options available..
1. How to install a printer via USB cable on Mac
It is one of the traditional methods since we usually only have to update the software and then connect the printer to the computer, so macOS Mojave will automatically detect the printer and proceed to download the software only if necessary.
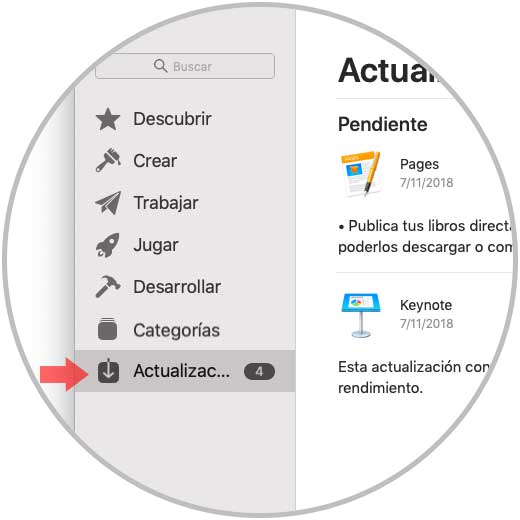
The first step is to update the software, for this we go to the Apple / App Store route and there click on the "Updates" section and, if an update is available for the printer, install it directly:
The next step is to enlist the printer. For this we must take as a basis the instructions included to unpack it, proceed to install the ink or toner, and add paper for the tests, turn on the printer and validate that there are no errors generated there.
After this we will connect the printer through the USB cable to the computer and if a message is required to download the latest software, we must download and install it..
Note
If the Mac has a single USB-C port, we must use a multiport adapter.
2. How to add a network or Wi-Fi printer
Many of the current printers have the connection available through the Wi-Fi network which simplifies many actions at the hardware level.
Step 1
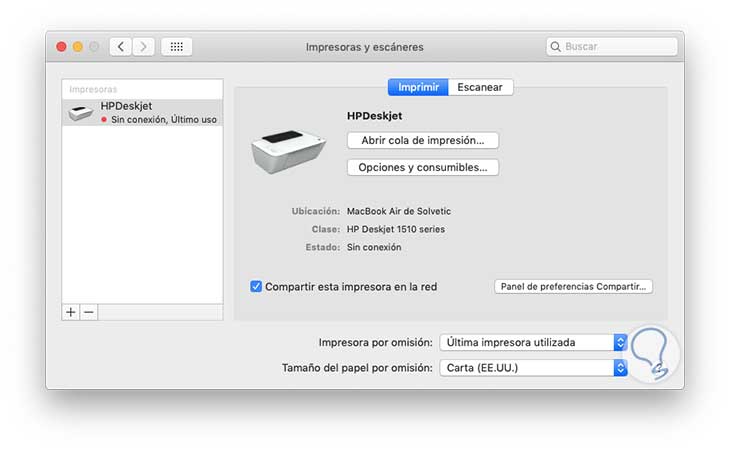
For this case we follow the initial steps of the previous point at the level of updating and preparing the printer, after this, we must go to the "Printers and scanners" section in System Preferences and we will see the following:
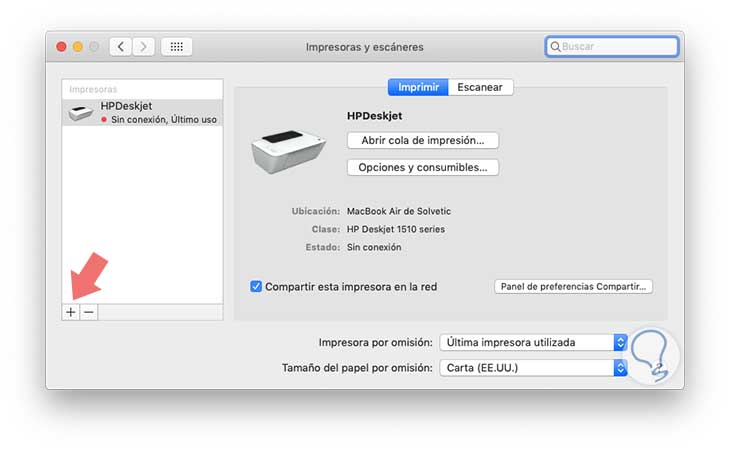
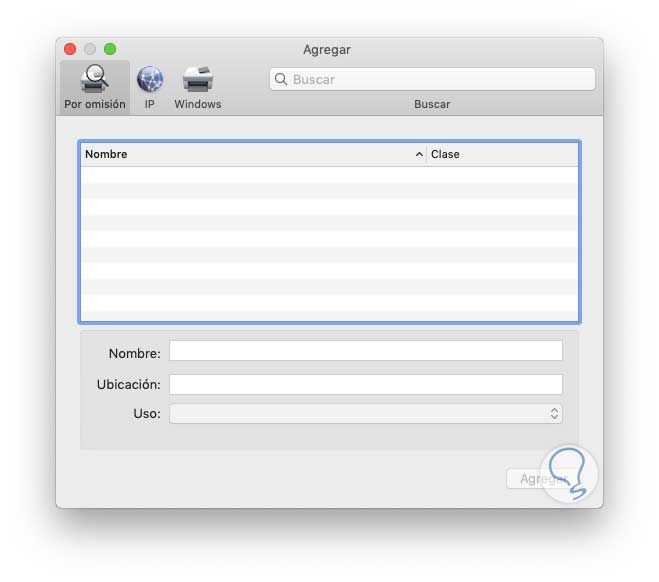
There we must click on the "+ sign" located at the bottom to begin the process of installing the Wi-Fi printer on macOS Mojave.
For this type of printers, we can connect it to the Mac through a USB cable in order to configure printing through the Wi-Fi network. When we manage to connect it, we install the software included with the printer and we will use the printer setup wizard to connect it to the Wi-Fi network. When this is finished we can disconnect the cable from the printer and the computer and the printer can be connected to the Wi-Fi network only.
Step 2
Clicking on the "+ sign" will display a list of printers on the local network, if available. If we use a network printer we can go to the IP tab which we will analyze later.
Once the printer is visible, click on "Add" to add it and the macOS Mojave system will automatically detect if the printer currently has the accessories installed such as additional paper trays, extra memory, etc., if not, it will be displayed a wizard where we can configure it.
Step 3
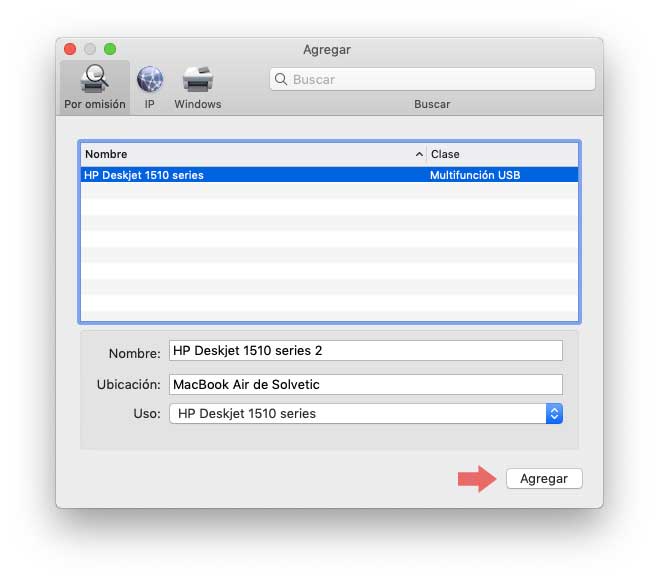
We can see the printer ready to be added:
Step 4
There we can edit your name and location, then click on "Add" and the following message will be displayed:
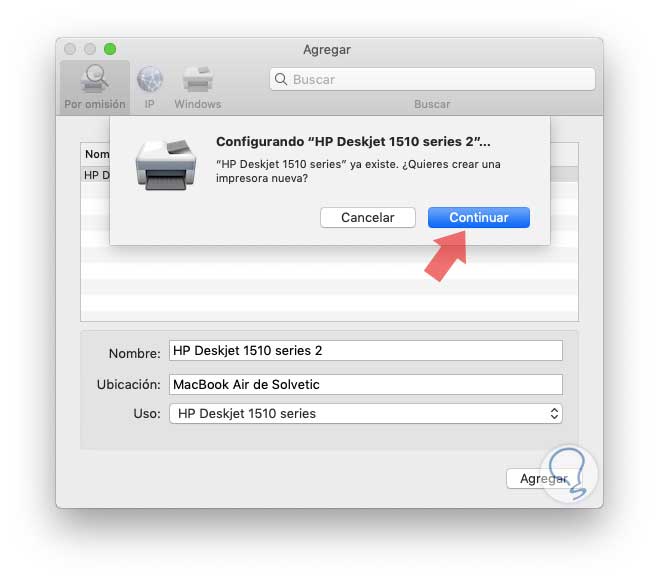
Step 5
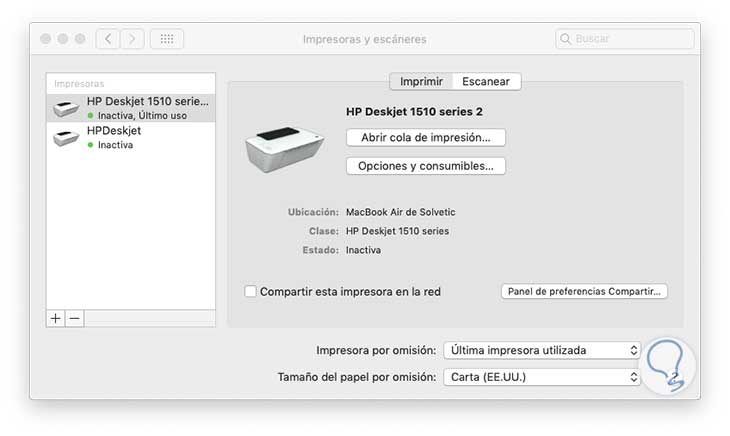
This happens if we already have an added printer, after this we see that the printer has been added correctly:
3. How to add a network printer through the IP address on Mac
This is valid for network connected printers. In case the printer is not available in the list of printers, it will be possible to add it as an IP printer.
The printer must be compatible with any of these printing protocols: AirPrint, HP Jetdirect (Socket), Line Printer Daemon (LPD) or Internet Printing Protocol (IPP).
Step 1
For this type of printers we must know aspects such as:
- Know the IP address or host name of the network printer.
- Know the print protocol and the model number or the name of the printer software.
- If the printer uses special queue, it will be necessary to know the name of the queue.
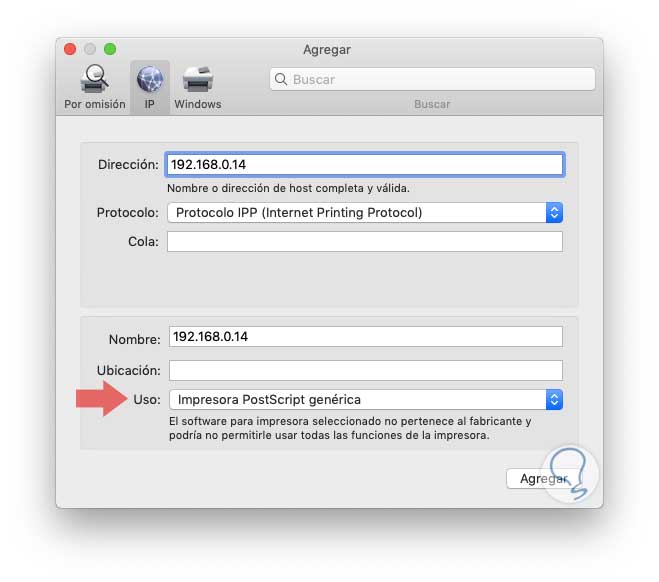
To add this type of printers we go back to System Preferences / Printers and scanners and there we click on the + sign and in the pop-up window we will go to the IP tab and there we enter the following information:
- Enter the IP address of the printer to install.
- In the Queue field we can enter, if applicable, the name of the print queue to use.
- In the Name field we add a name for the printer.
- Enter the location of the printer.
- In the Usage field, if the software for the printer is not displayed in the drop-down menu, we must select the option “Select printer softwareâ€.
Available protocols
Define the protocol to use, the available options are:
- AirPrint: This AirPrint protocol allows us to access, through Wi-Fi, USB and Ethernet networks, the printing and scanning options of a printer and some brands such as Aurora, Brother, Canon, Dell, Epson, Fuji, Hewlett Packard, Samsung and Xerox are compatible with this protocol.
- HP Jetdirect - Socket: Preferably used by HP.
- Line Printer Daemon - LPD: Most printers and older print servers use this protocol.
- Internet printing protocol - IPP: Modern printers and print servers make use of this protocol.
Step 2
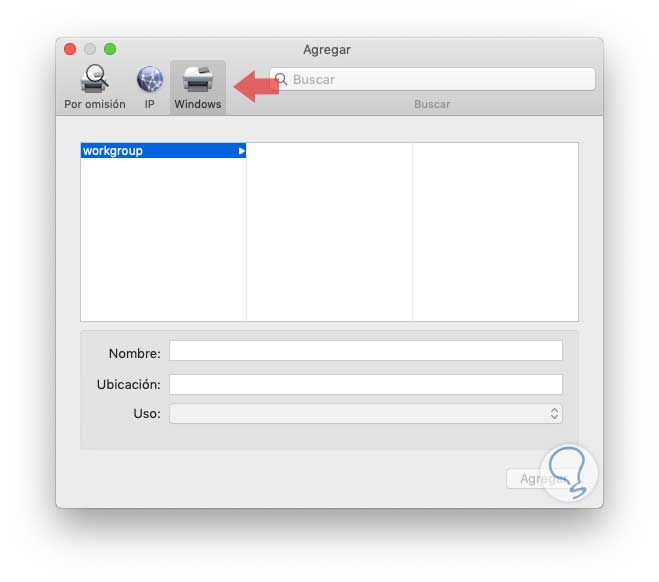
As an additional point it is possible to add a shared printer on Windows systems, for this we must go to the Windows tab and there select the workgroup where the printer to be installed is located. Once this is defined, click on Add.
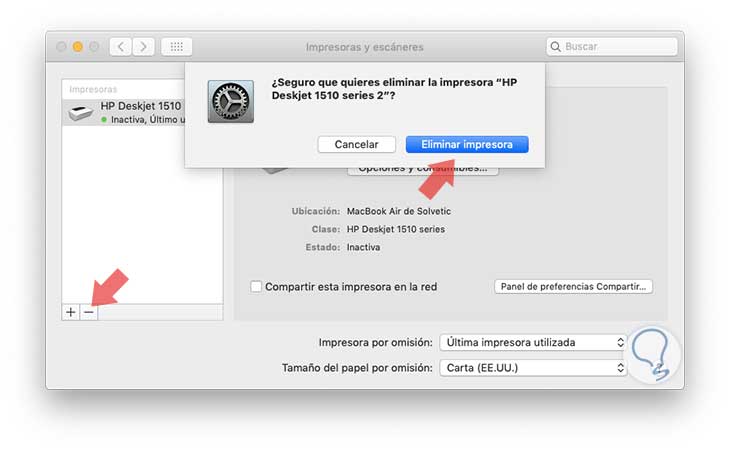
4. How to delete a printer on Mac
To remove a printer we must go to the Printers and scanners section and there select the printer to delete and click on the sign -, the following message will be displayed. There we click on the Delete Printer button to complete the action.
With these steps, we can add a printer in macOS Mojave and make the most of its benefits.