Word is one of the most used Office applications, since this tool is really useful for editing and managing texts, as well as being really compatible with other platforms..
Word is integrated by hundreds of tools that allow us today not only to enter text but also to increase versatility and reach options to add tables, lists, designs, graphics and many more options so that the impact of the data is even greater.
One of the most significant ways to represent a certain approach is to use a timeline with which the evolution of something specific is shown, Word gives us the tools to create our timelines in a way that is not only simple but also adapts to the theme requirement..
To stay up to date, remember to subscribe to our YouTube channel! SUBSCRIBE
How to make a timeline in word
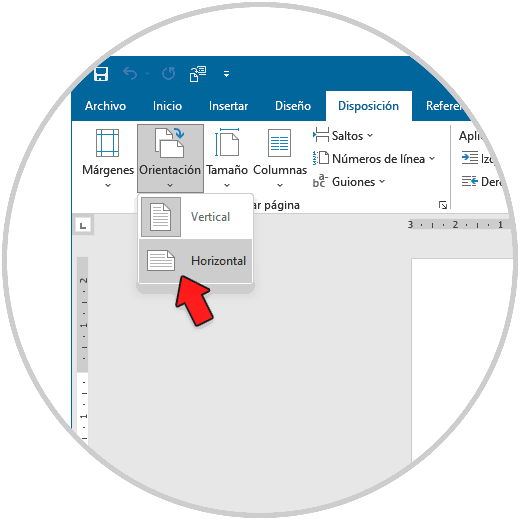
Step 1
The first thing will be to configure the sheet to manage the timeline, we open Word and in the "Layout" menu we go to "Orientation" and there we select "Horizontal":
Step 2
This allows us to have the sheet with a larger space for our timeline, now to increase the space in "Margins" we assign the "Narrow" option:

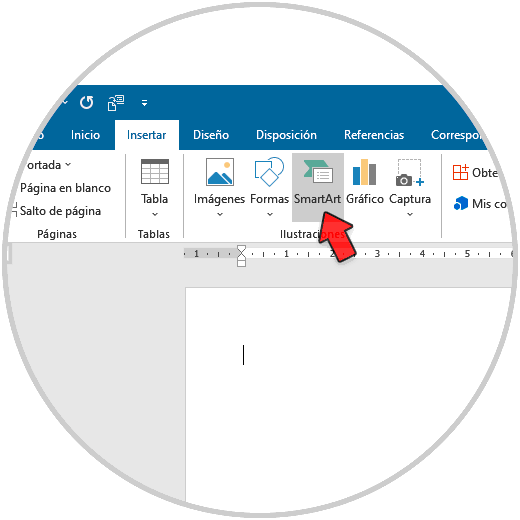
Step 3
Once the space is configured we are going to add the function to create the timeline in Word, in the "Insert" menu we click on "SmartArt" located in the "Illustrations" group
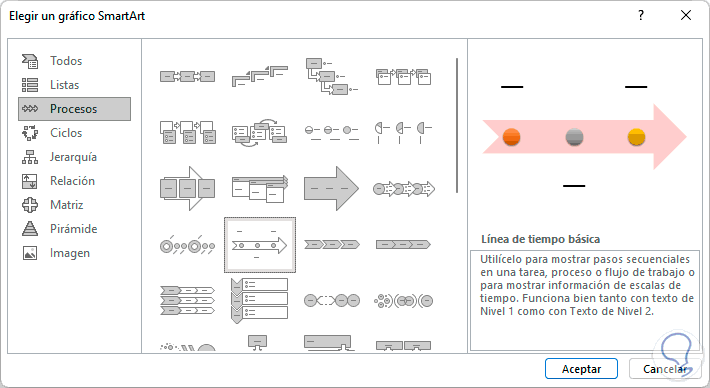
Step 4
In the SmartArt pop-up window in the "Processes" section we choose the "Basic Timeline" option:
step 5
We click OK and our timeline will be added to the Word document:
Step 6
To be able to manage the timeline, move it or set its size, we select the timeline and adjust its position from the “Design Options” context menu:
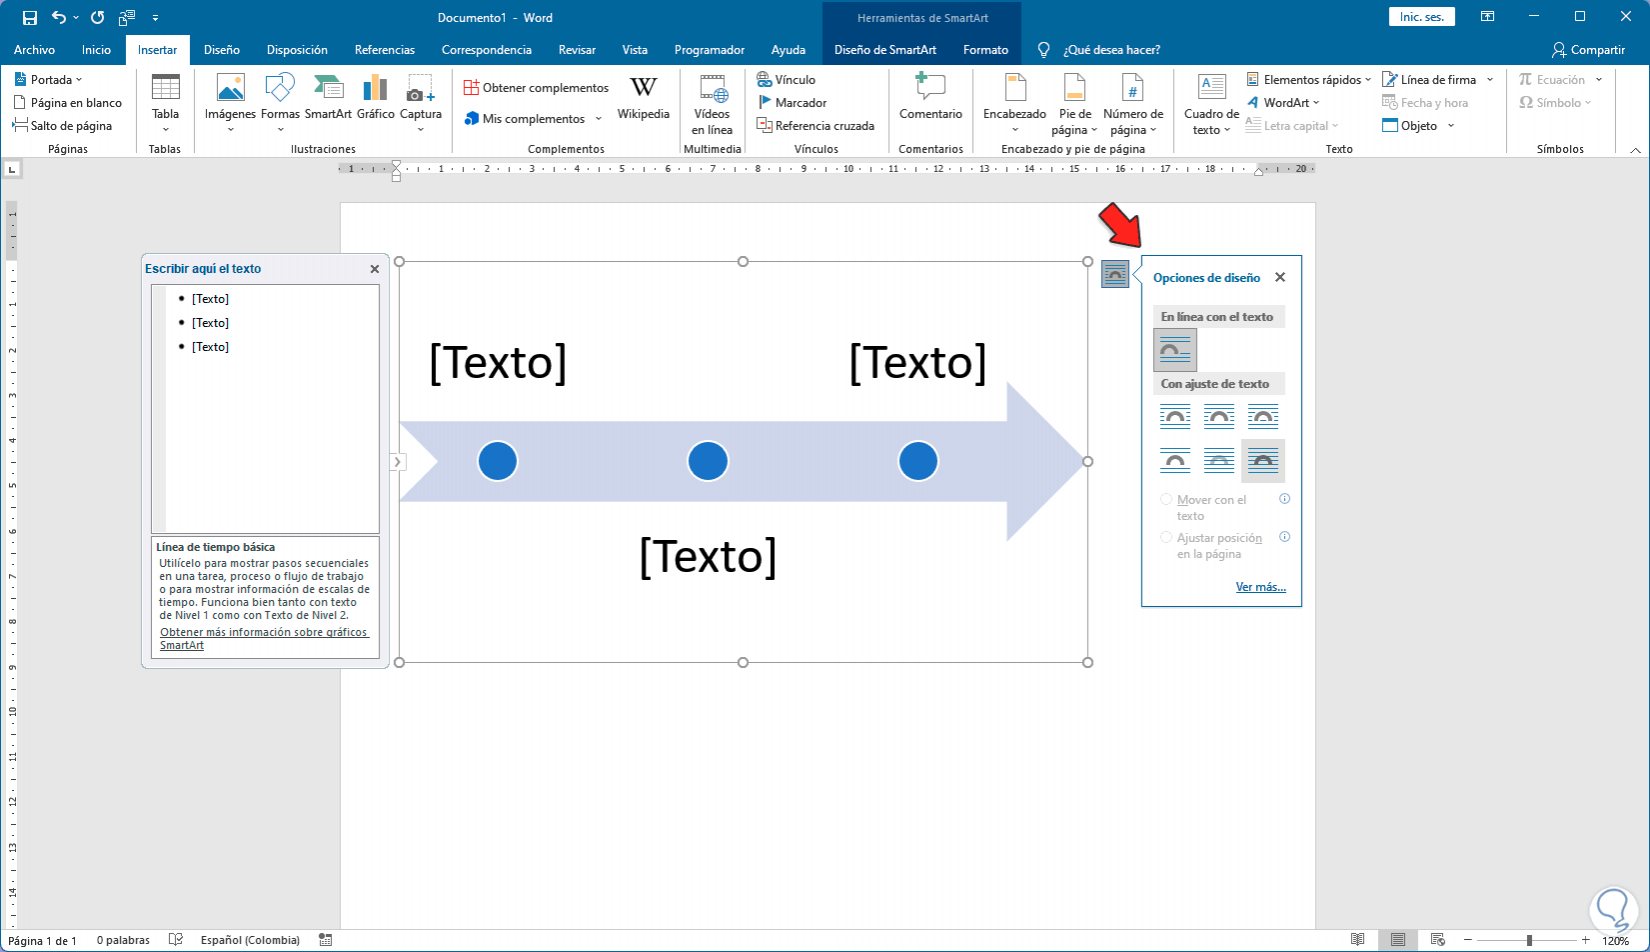
Step 7
Move the line to the desired position or we can adjust its dimension:
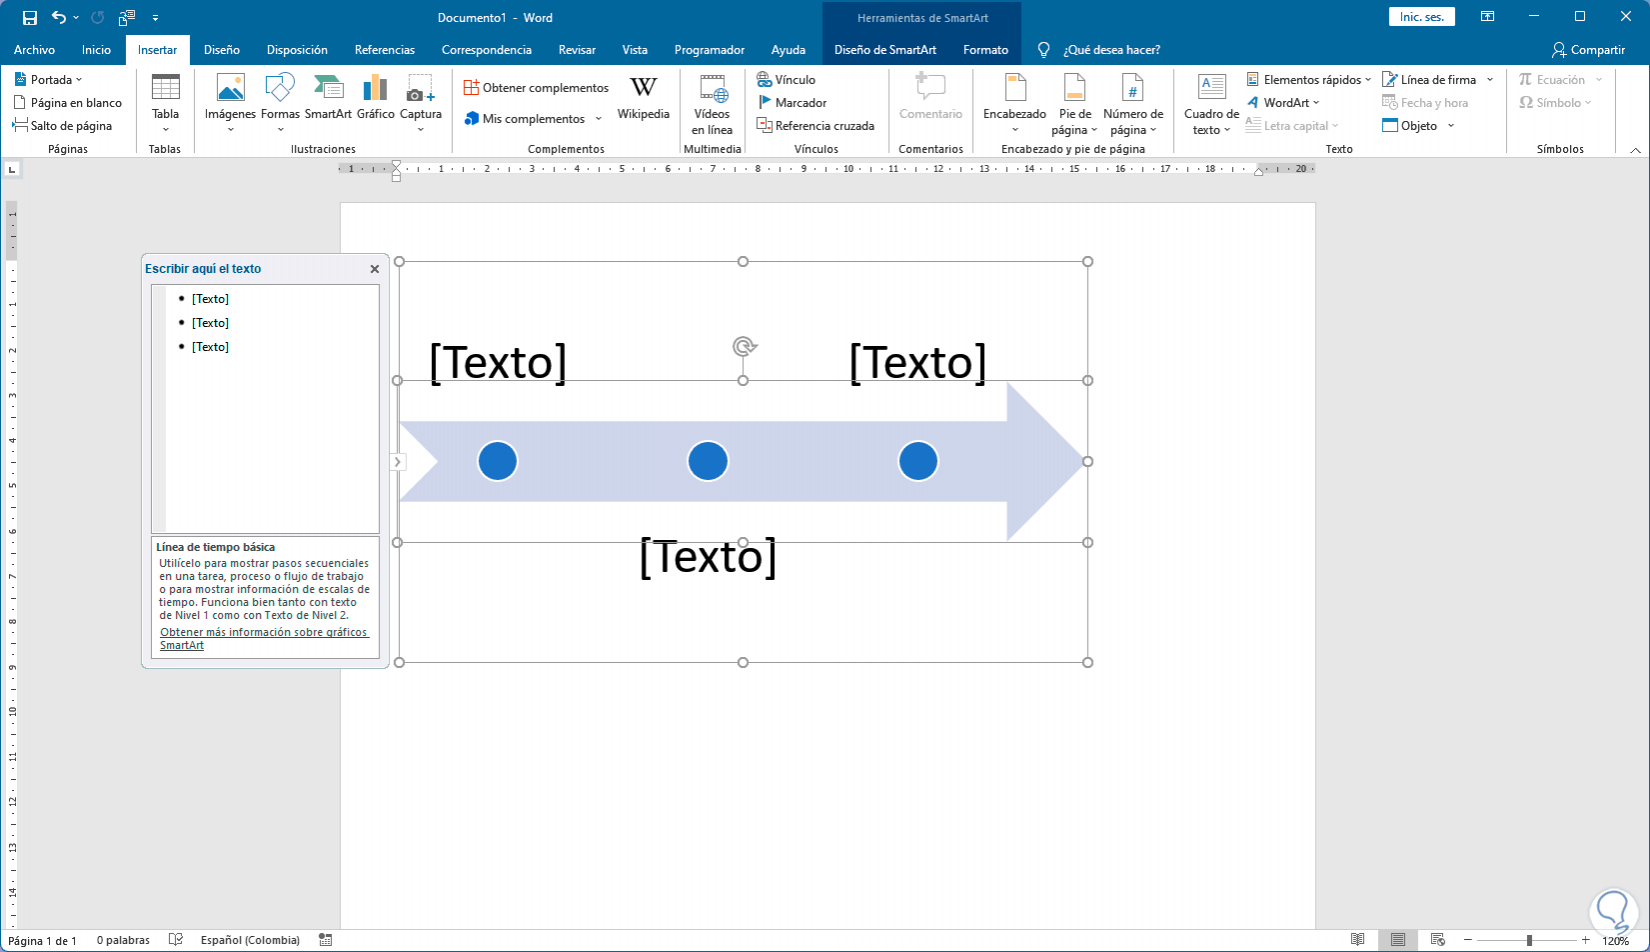
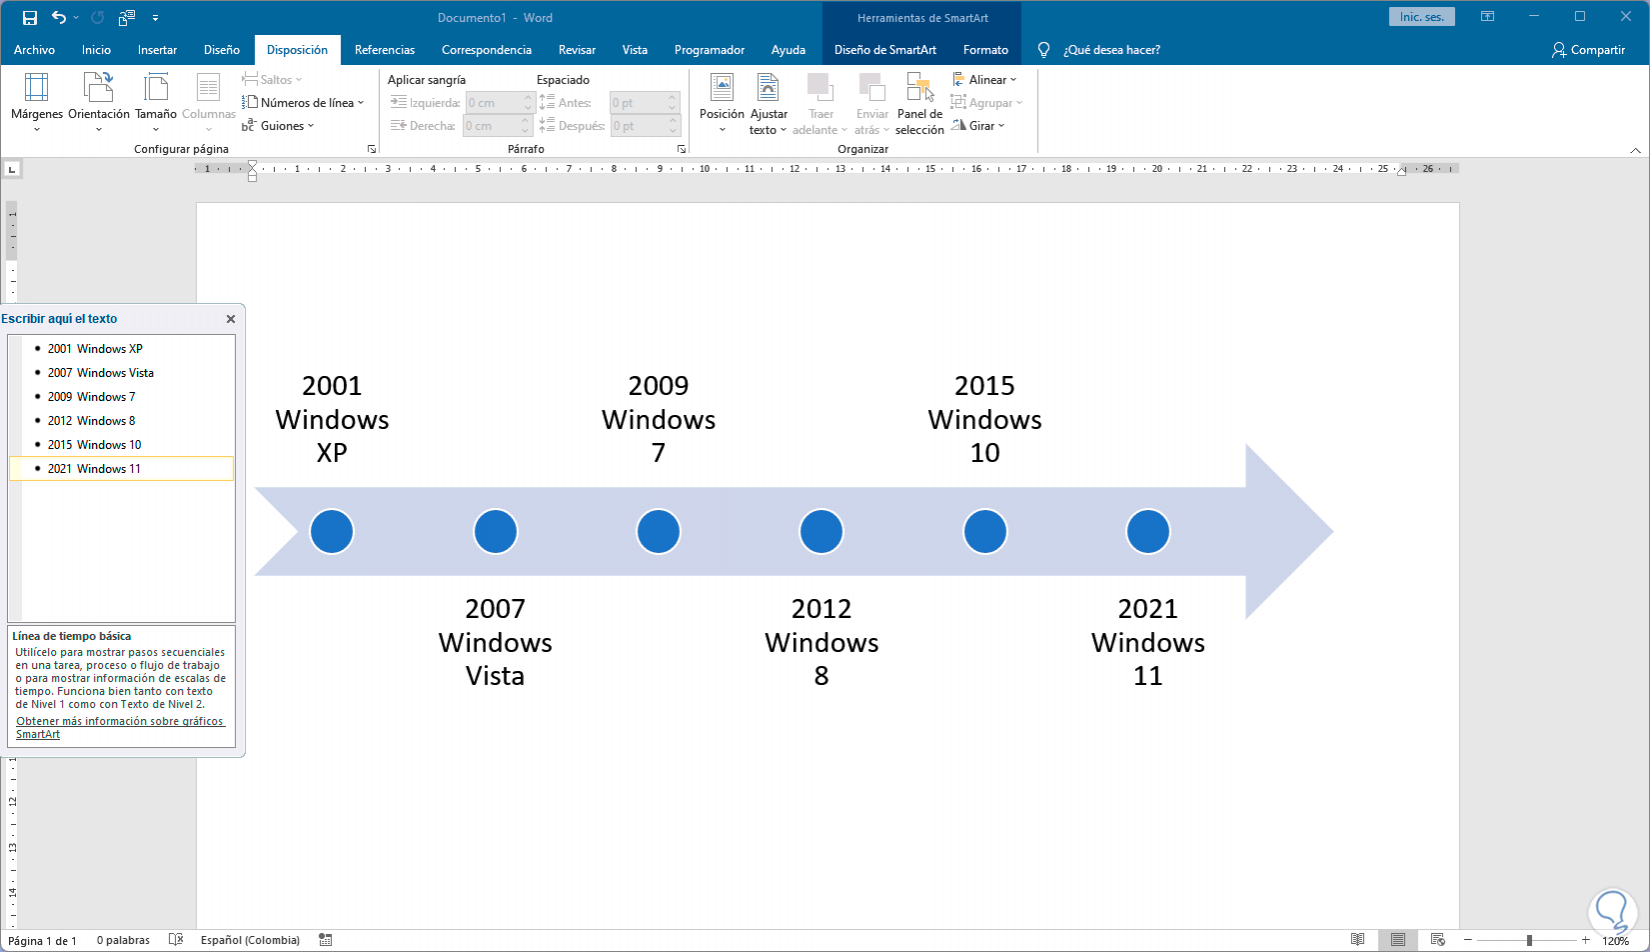
step 8
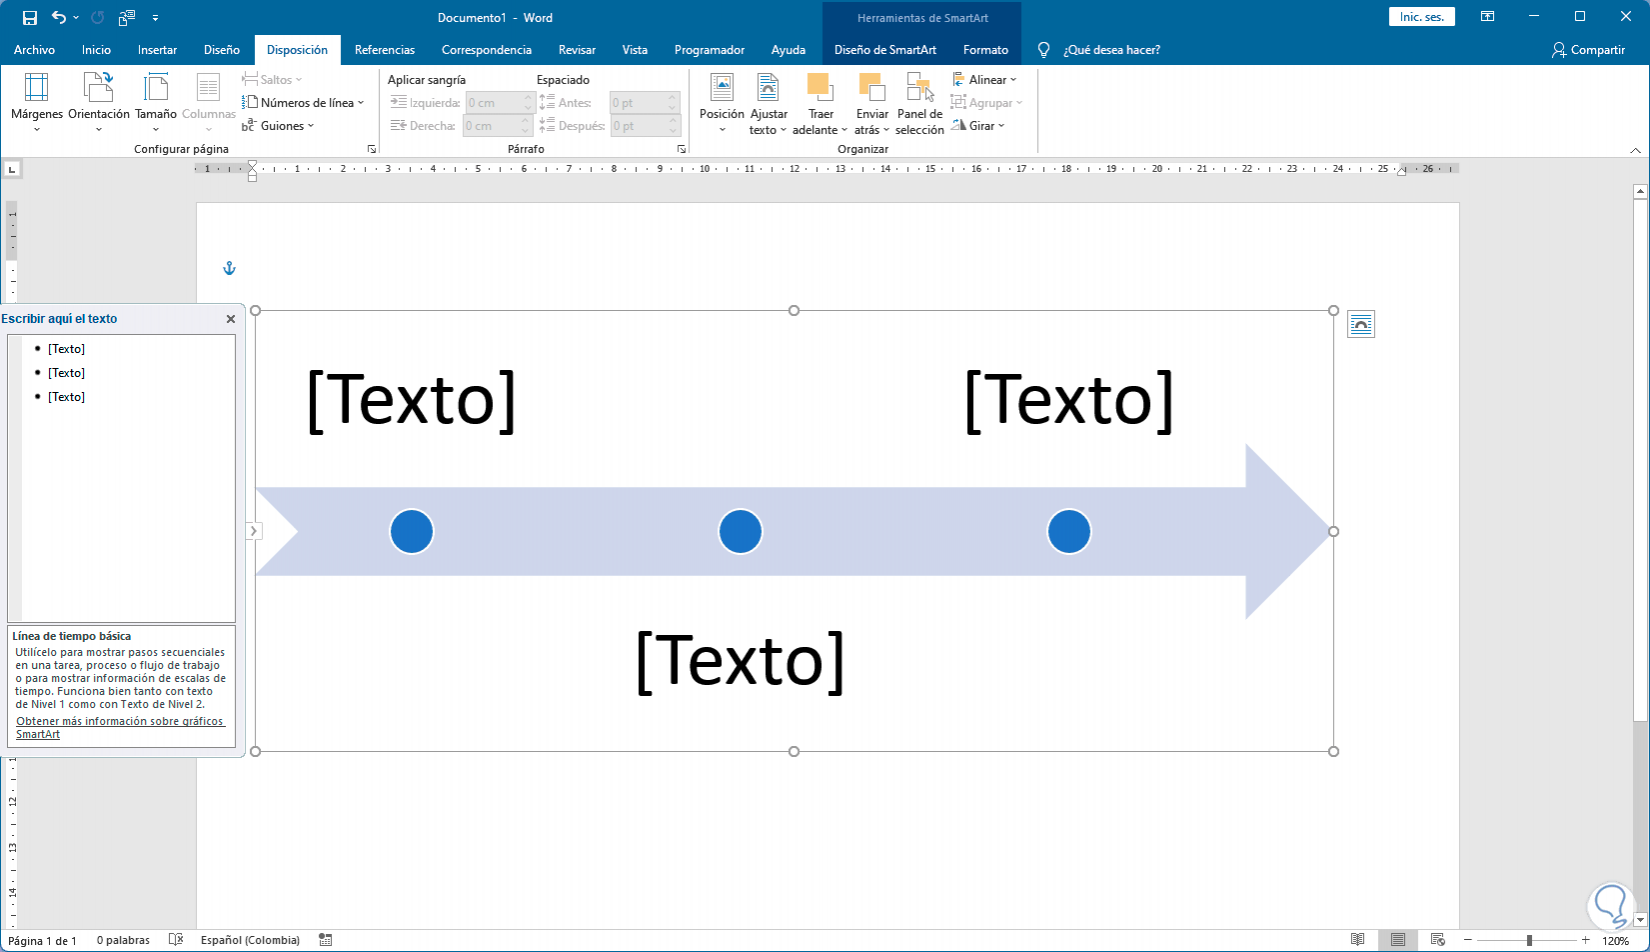
From the side pop-up window we can work the text of the timeline, we click on the side arrow to open the pop-up menu and enter the desired data in the timeline:
Note
With the Enter key it is possible to add lines.
step 9
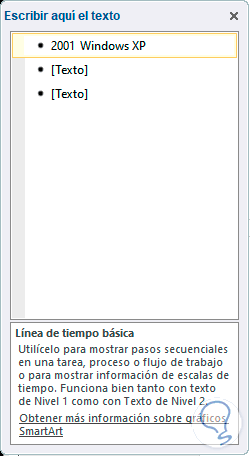
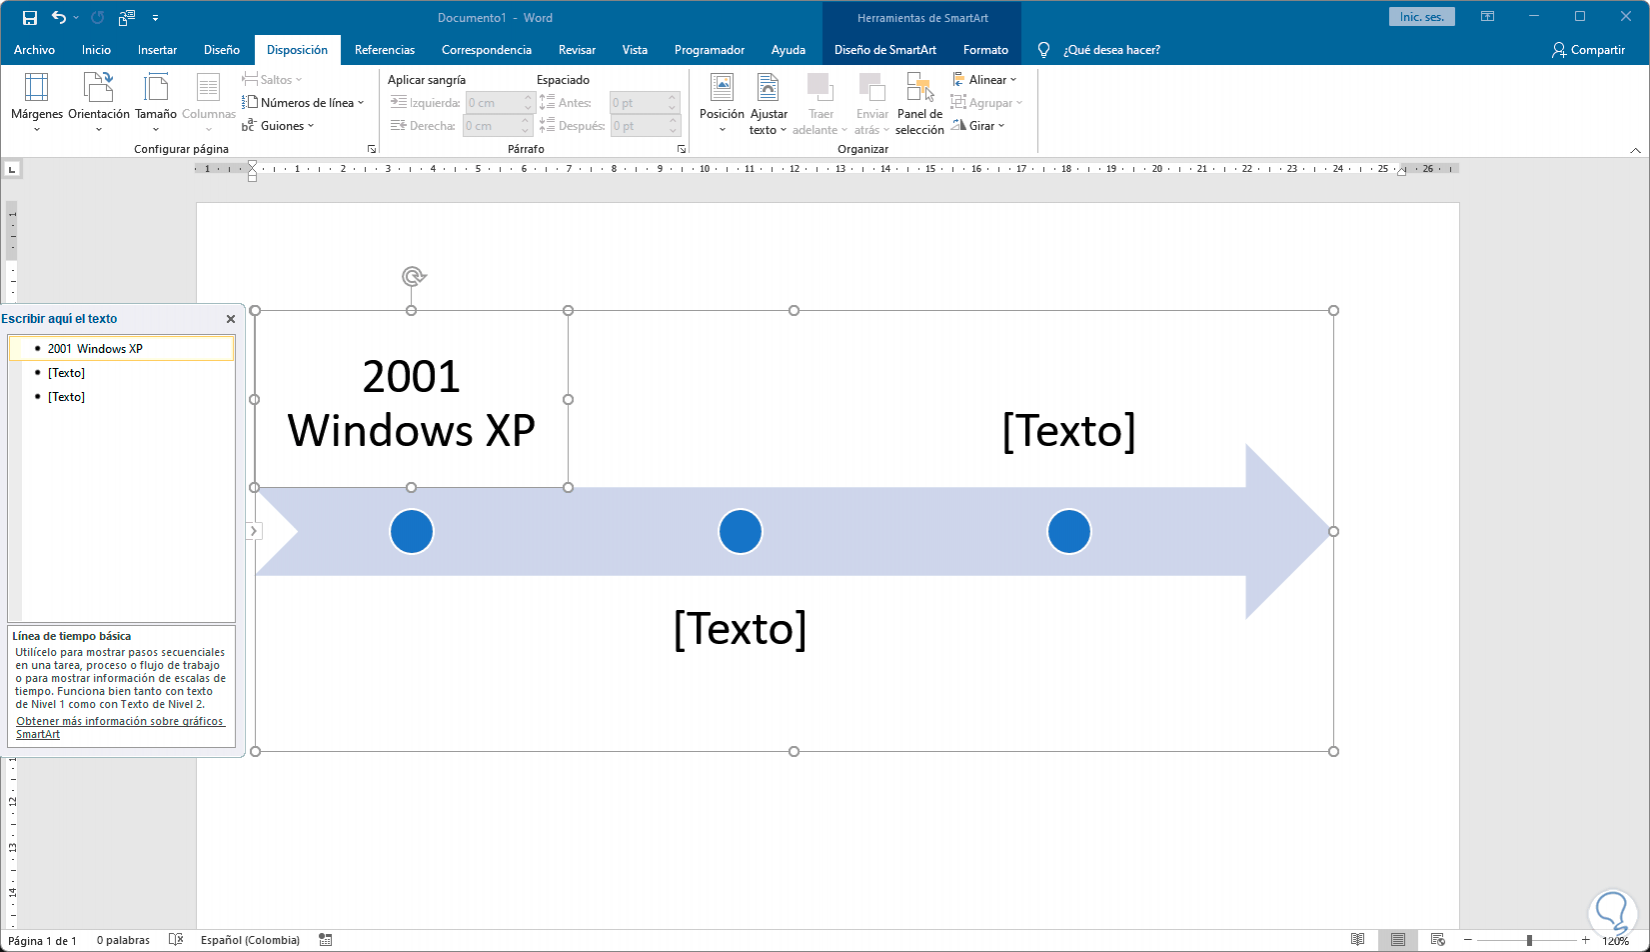
The entered text will automatically wrap on the timeline in Word:
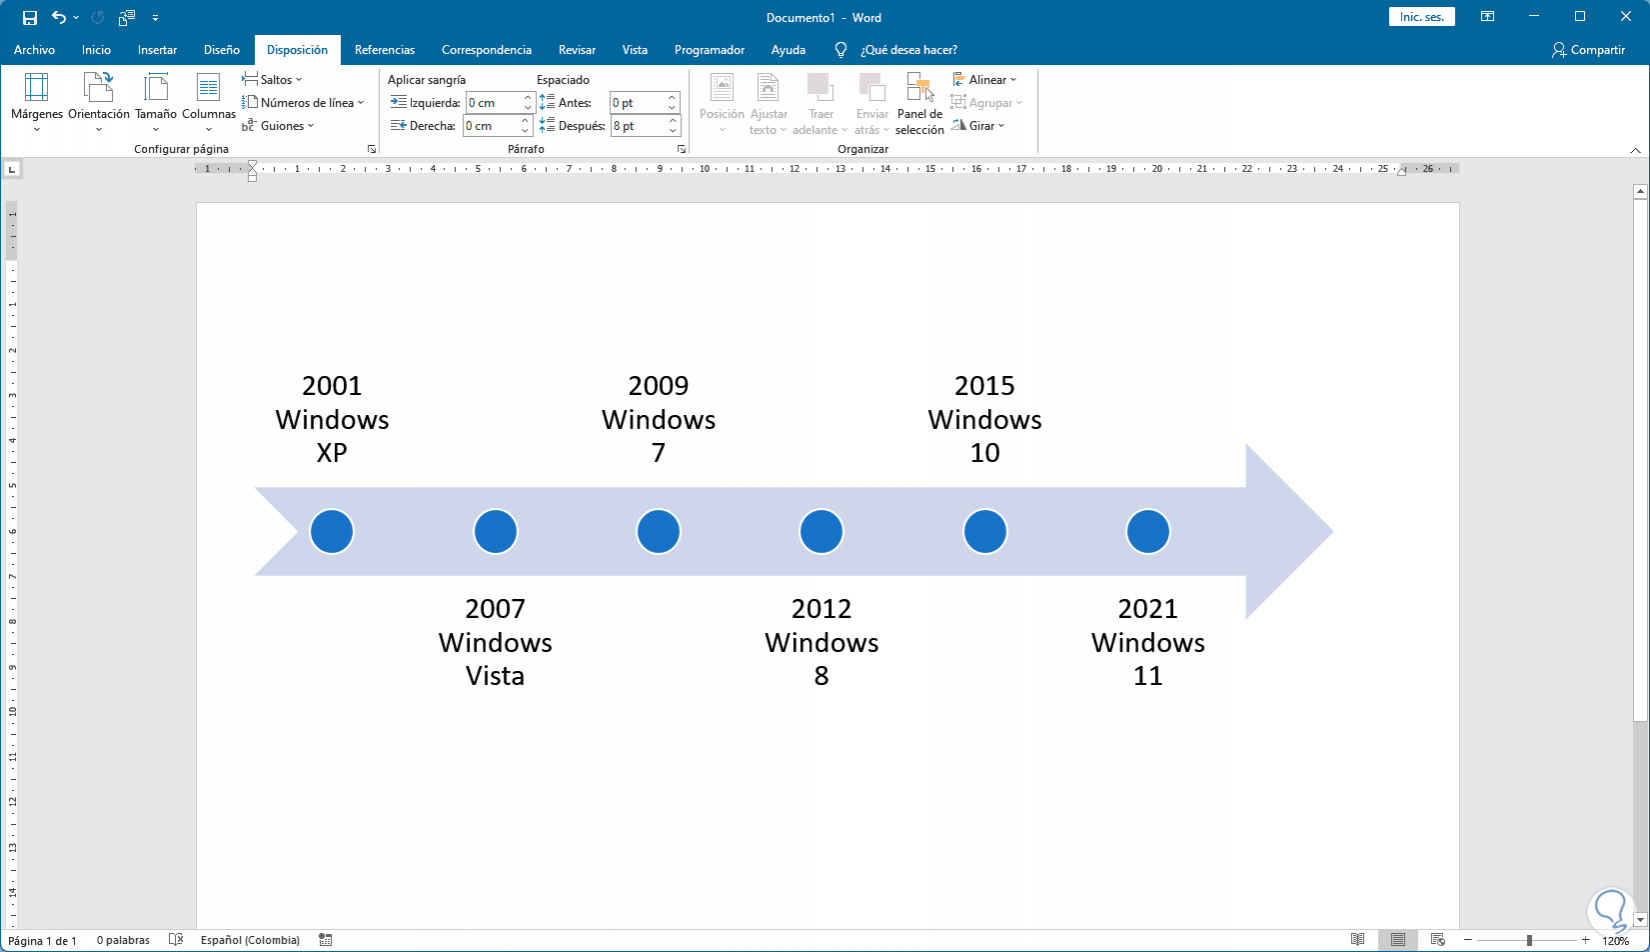
step 10
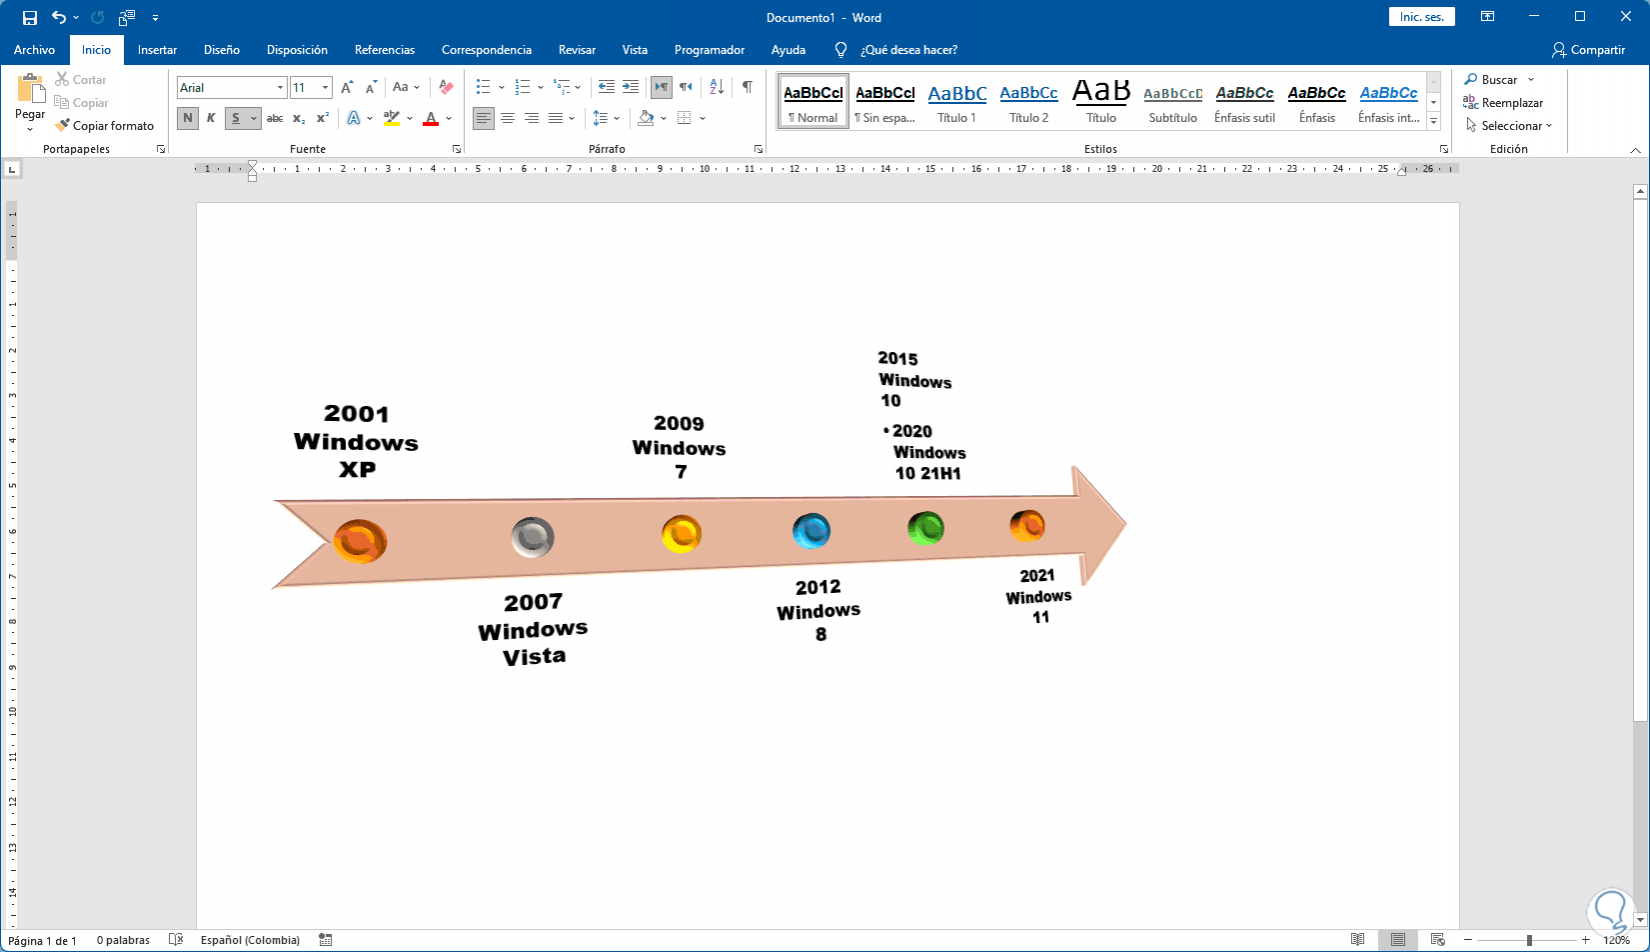
We finish entering the information in the timeline:
step 11
We leave the pop-up menu to see the timeline layout in the current document:
step 12
It is time to edit the style of the timeline, to edit the design of the timeline we double click on it and in the "SmartArt Design" menu in "SmartArt Styles" we select the desired one:
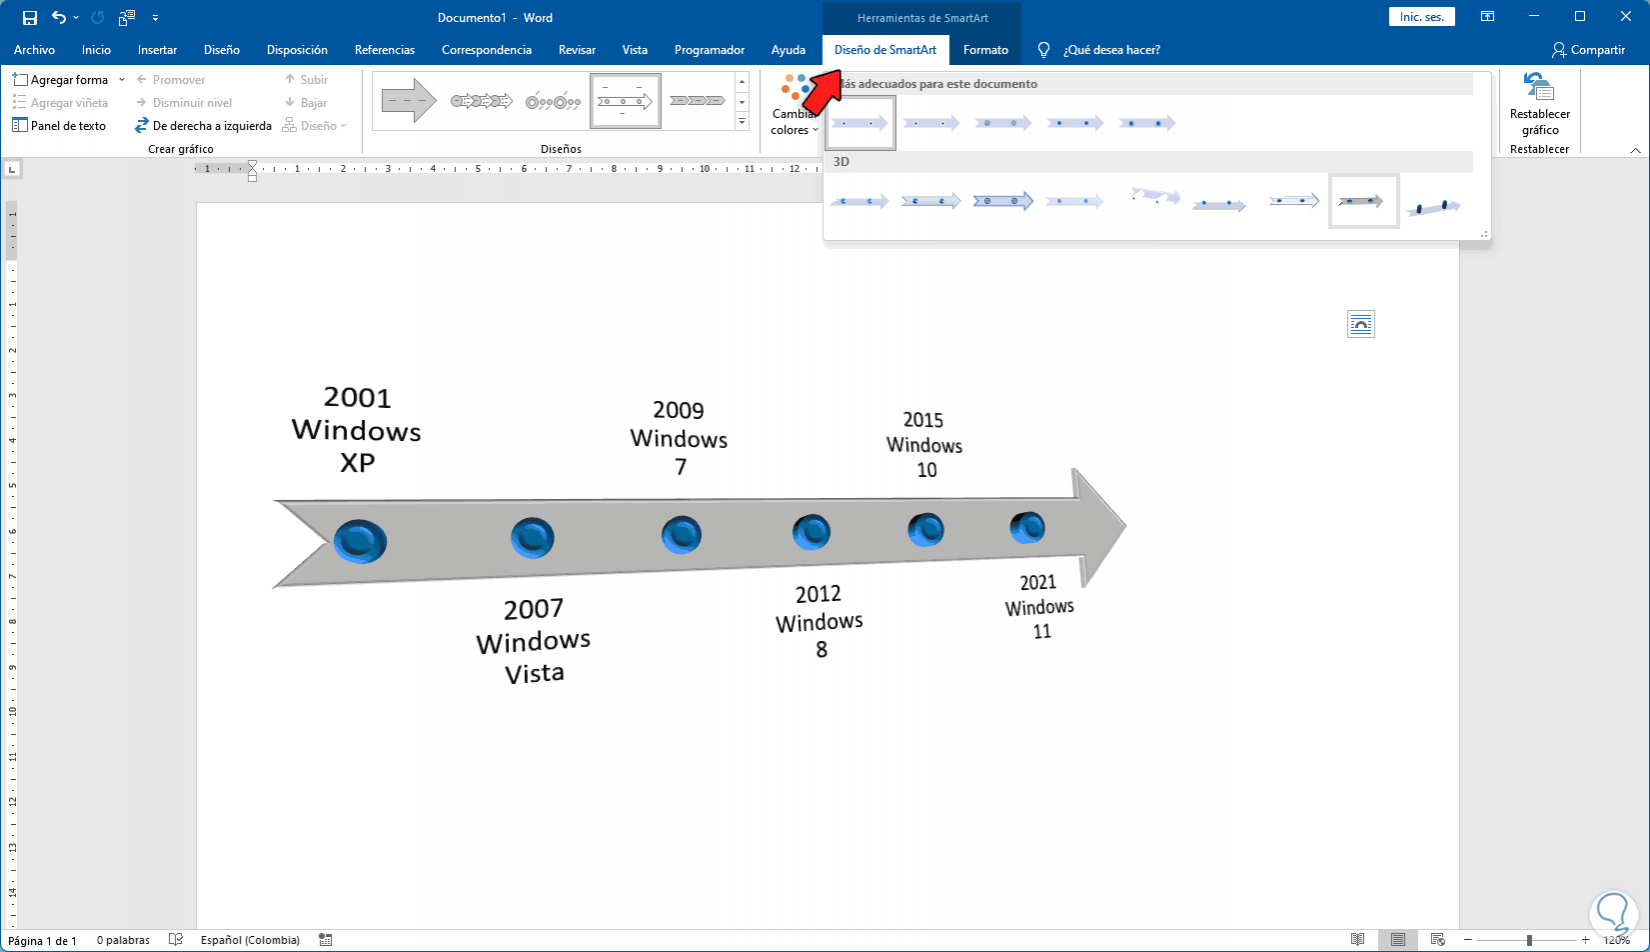
step 13
Once selected this will be applied automatically:
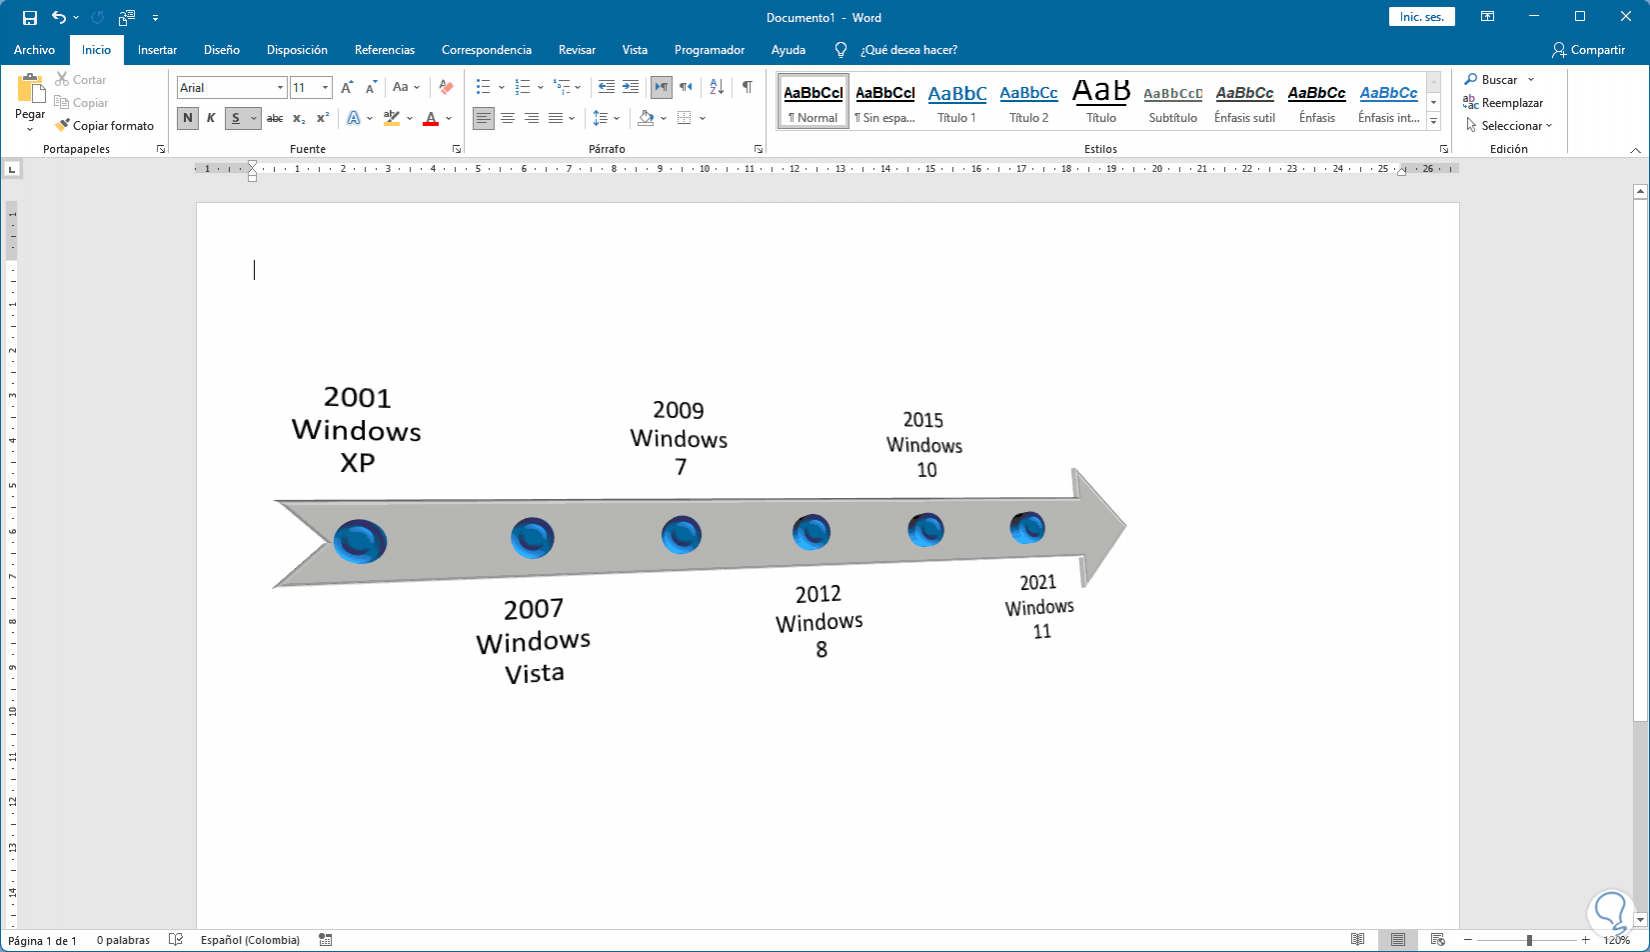
step 14
It is possible to change the default colors of the design, for this we double click on the timeline and in "Change colors" we establish the desired color style:
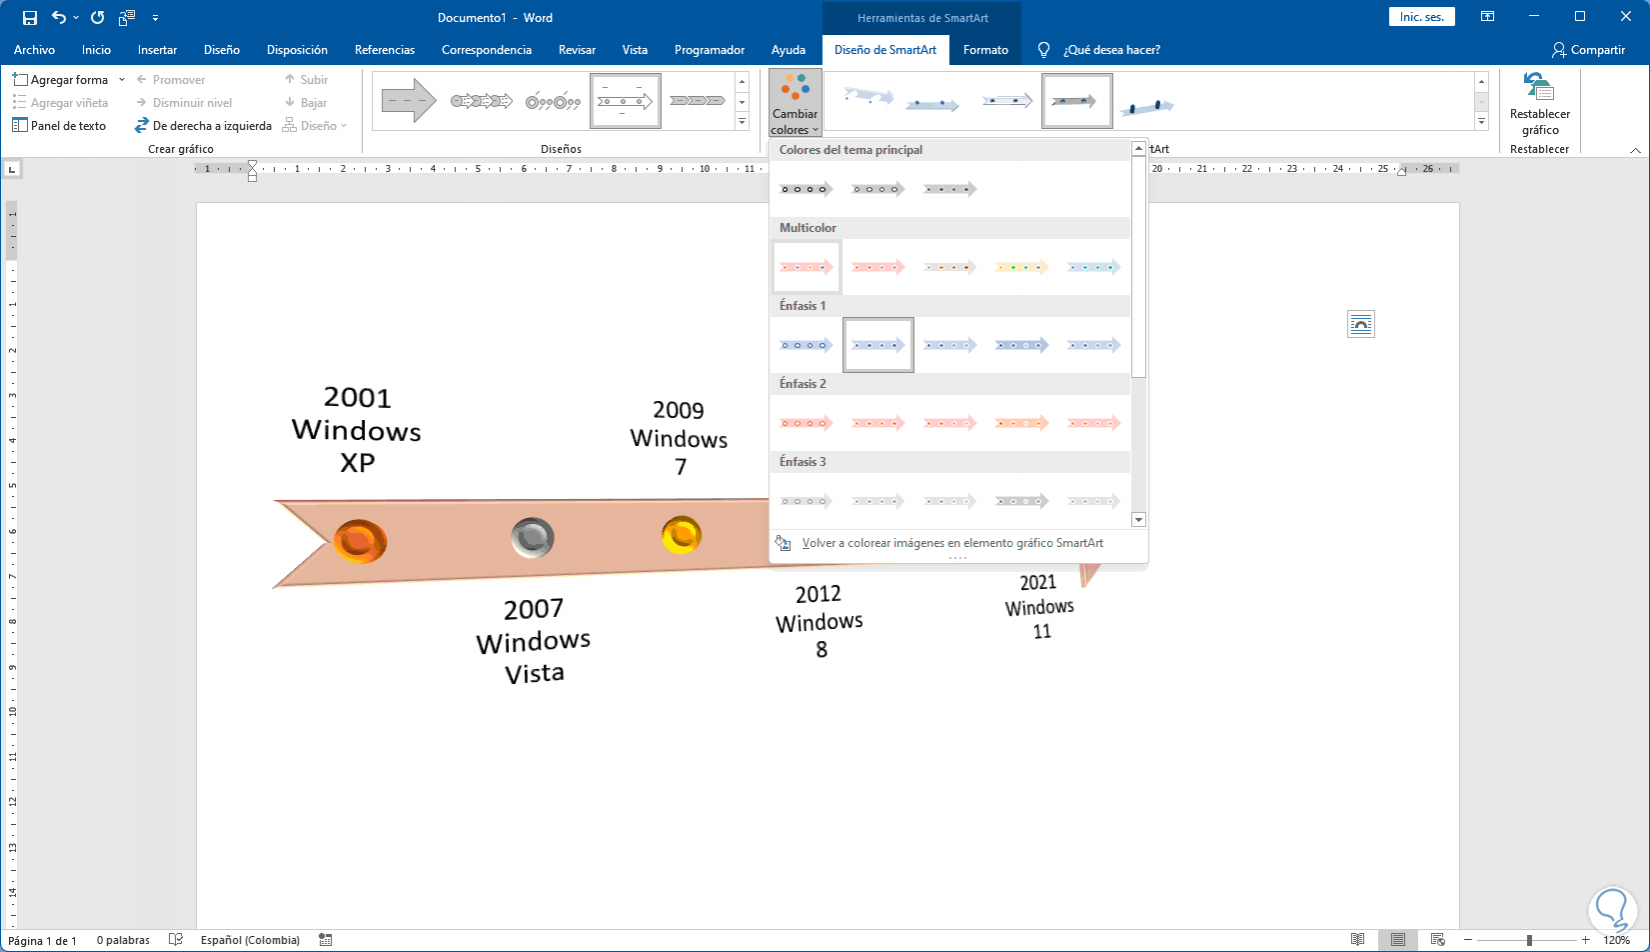
step 15
The options are varied and when selecting one it will be applied immediately:

step 16
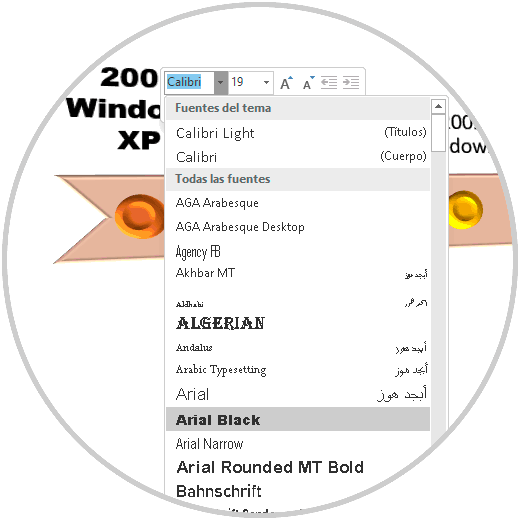
We double click on the timeline, select the text and apply the appropriate format from the context menu (font type, font size, color, etc):
Note
You can select the text and make this adjustment from the Start menu in the Font group.
step 17
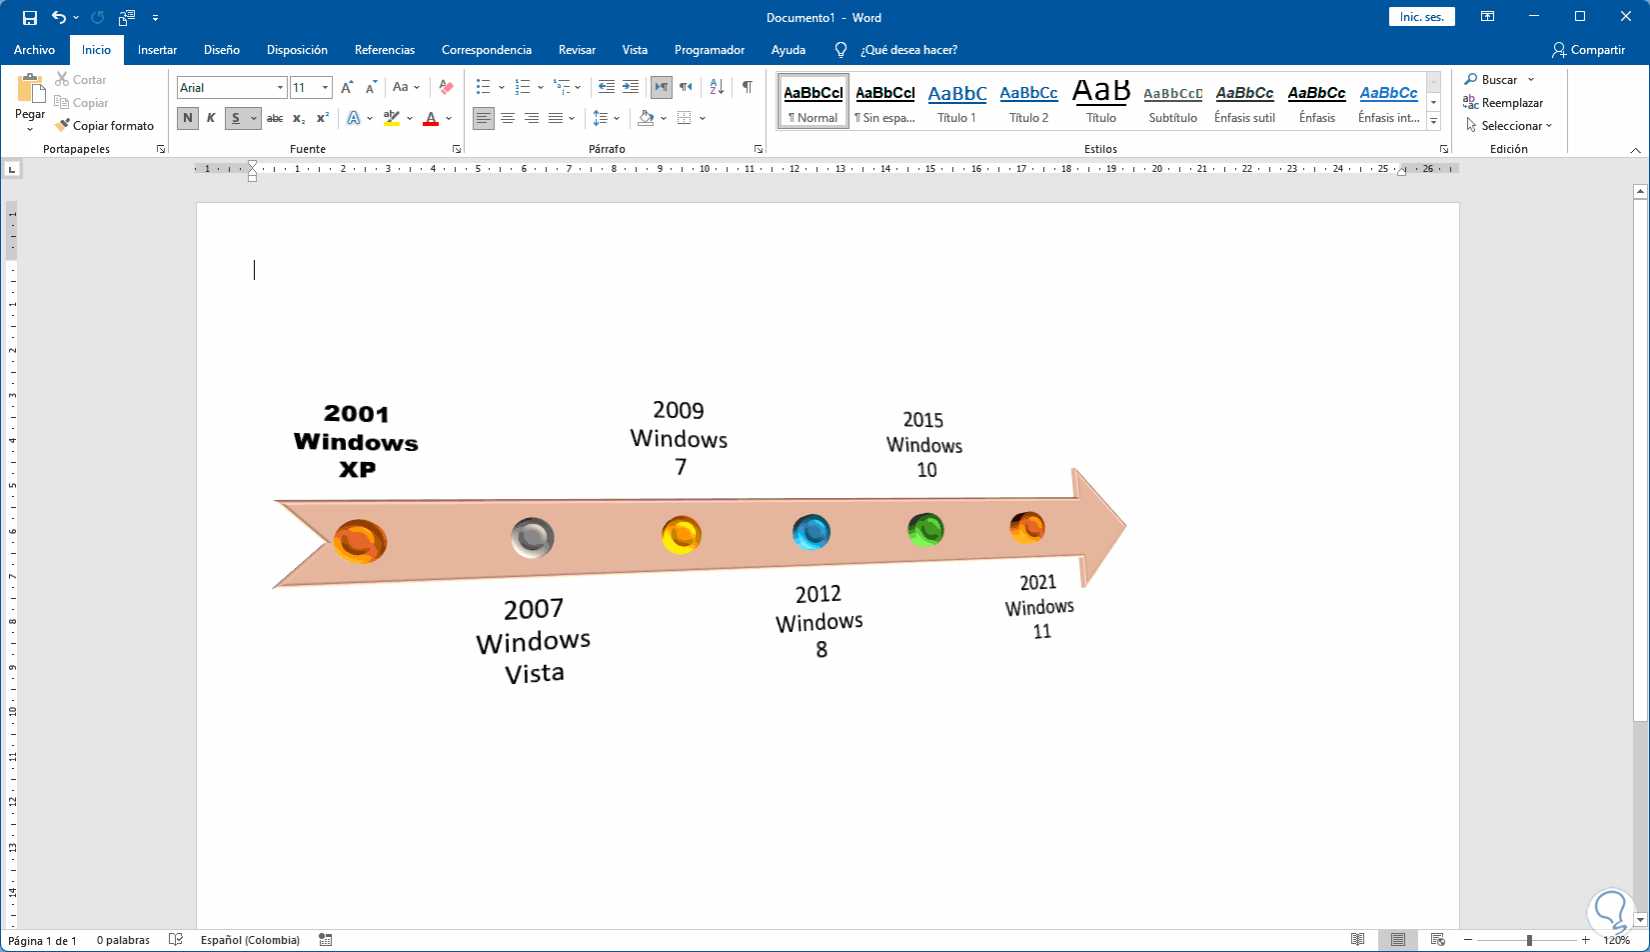
At the end we can see the text change:
step 18
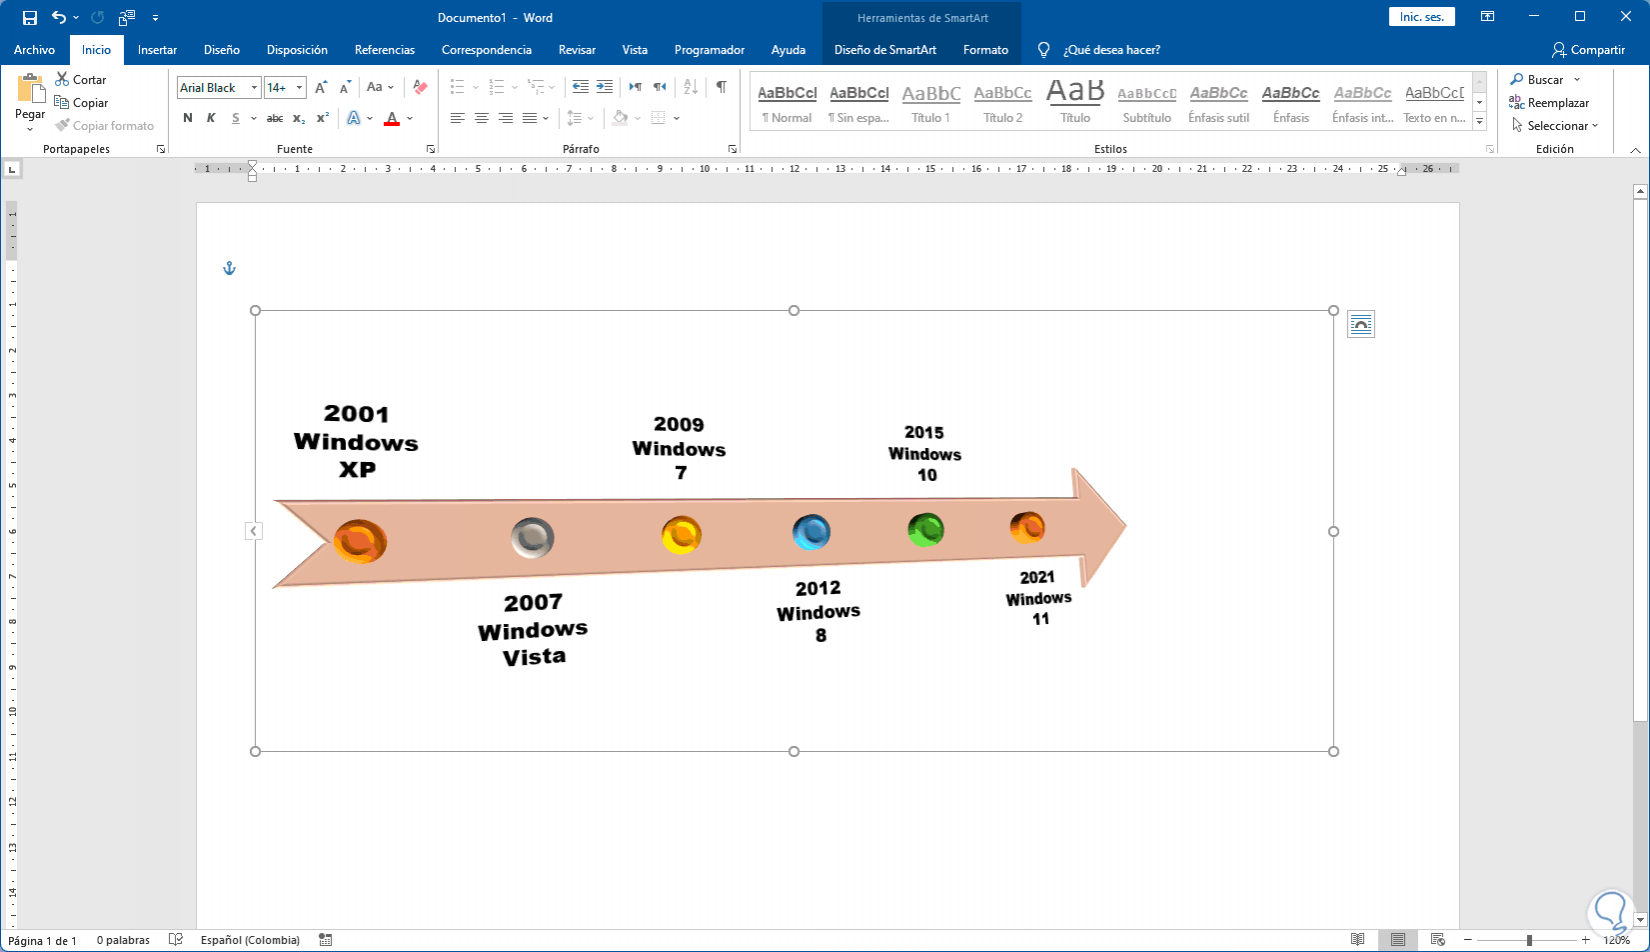
We repeat this process for all the text on the timeline if required:

step 19
Another option offered by the timeline is to link text to an existing one (dependency), for this click on the side arrow to open the pop-up menu:
step 20
We press Enter on the line in which the text will be added and then we press the Tab key so that this text is dependent on the original text:

step 21
We exit the editor and we will see the text that has been added depending on the initial text.
step 22
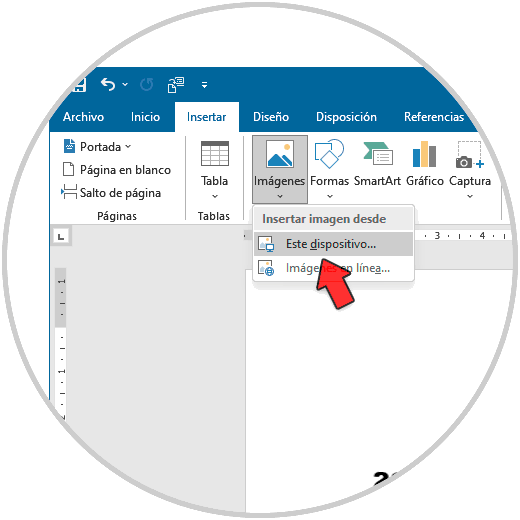
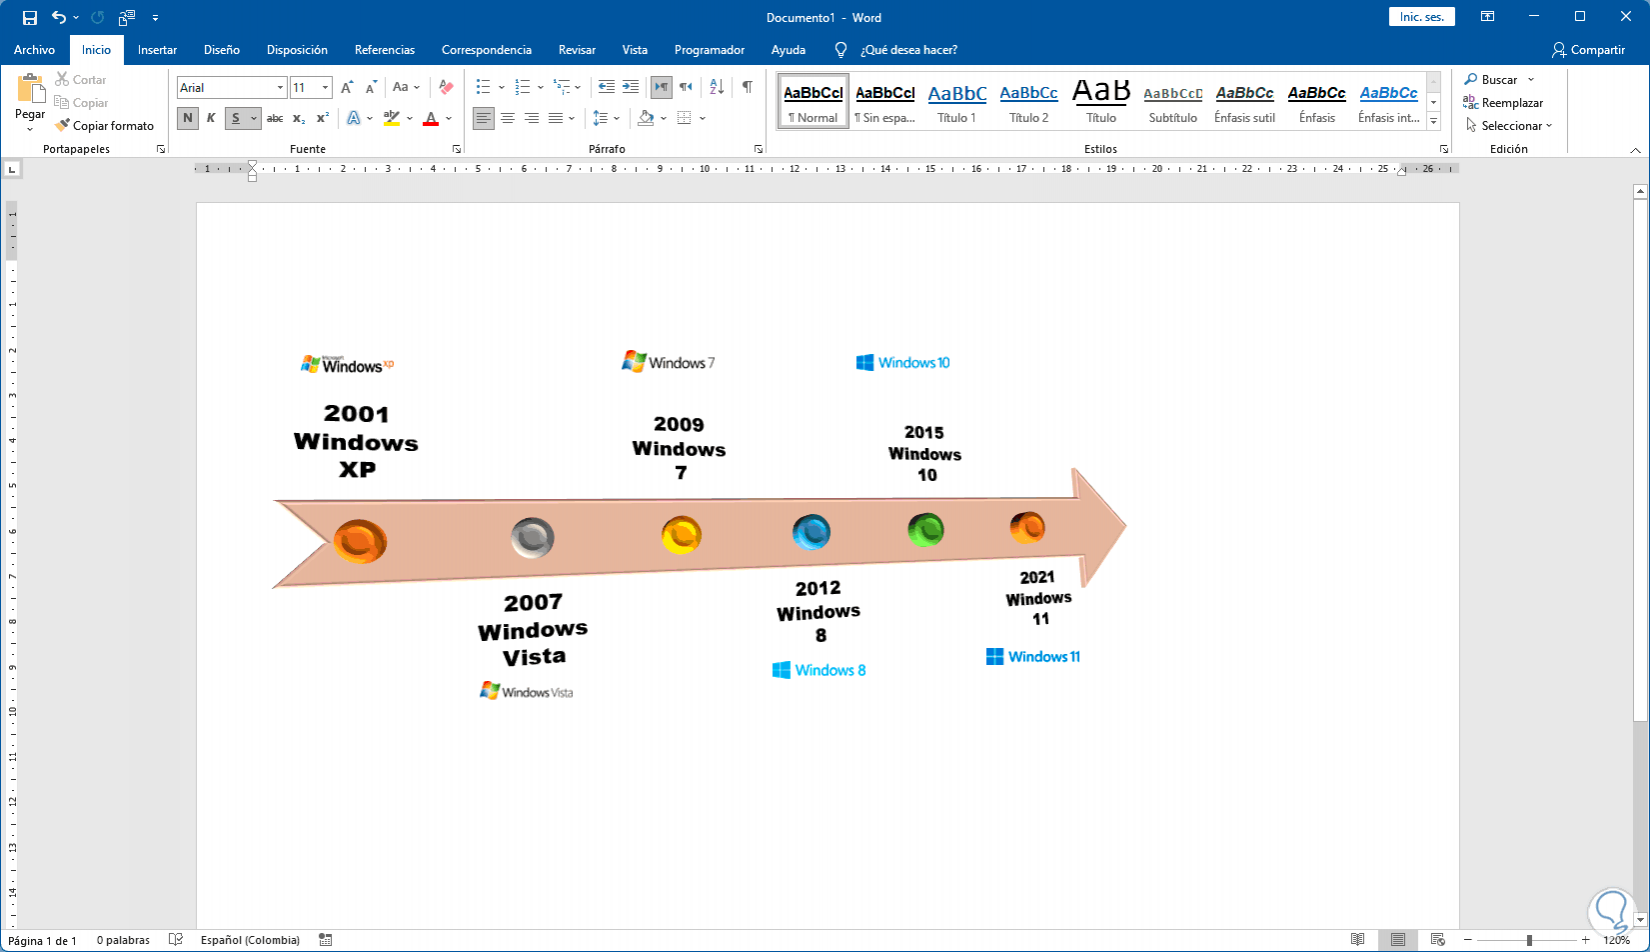
It is possible to add images to further highlight the timeline, for this we go to "Insert - Images - this device":
step 23
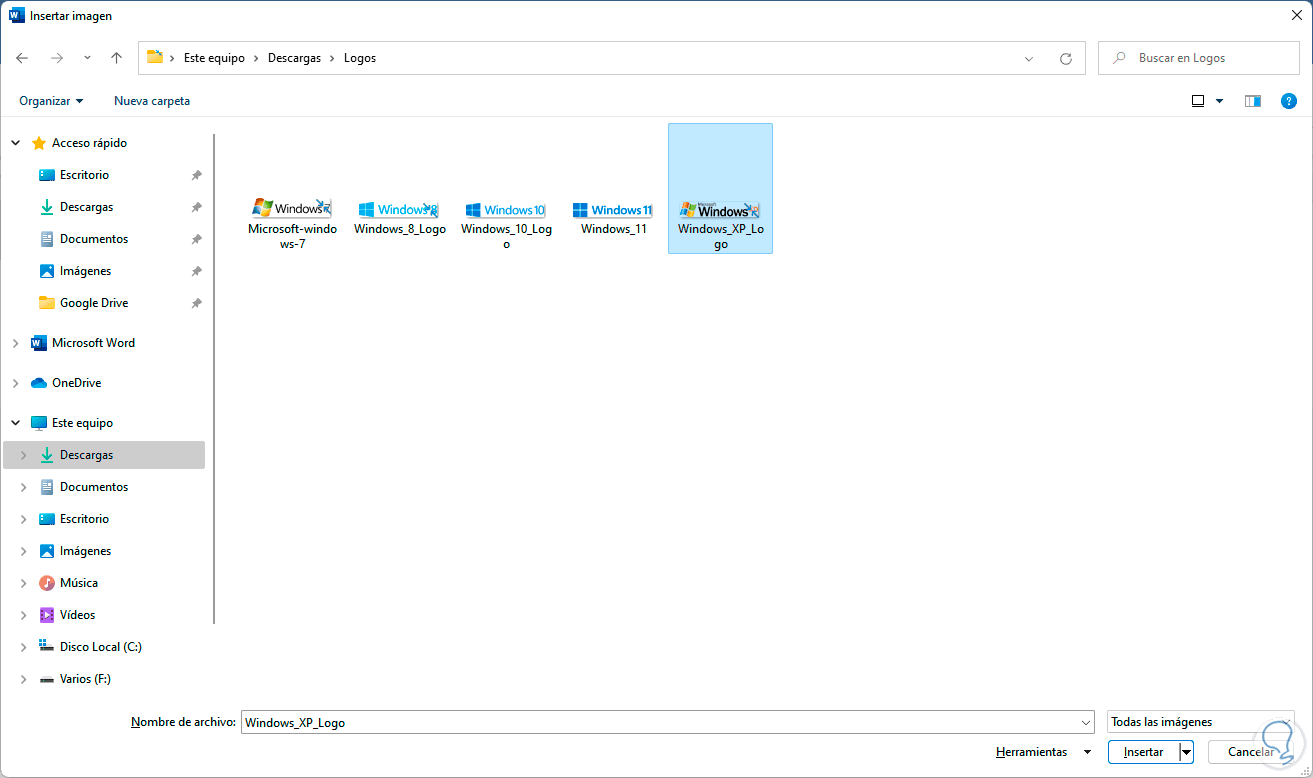
Select the desired image:
step 24
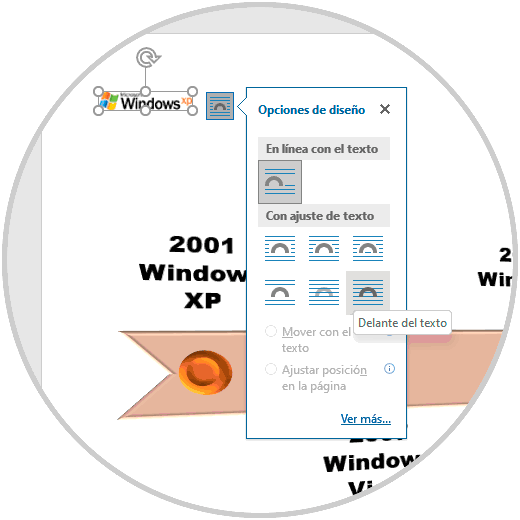
When adding the image we adjust the image so that it can be worked:
step 25
We move the image to the respective field:
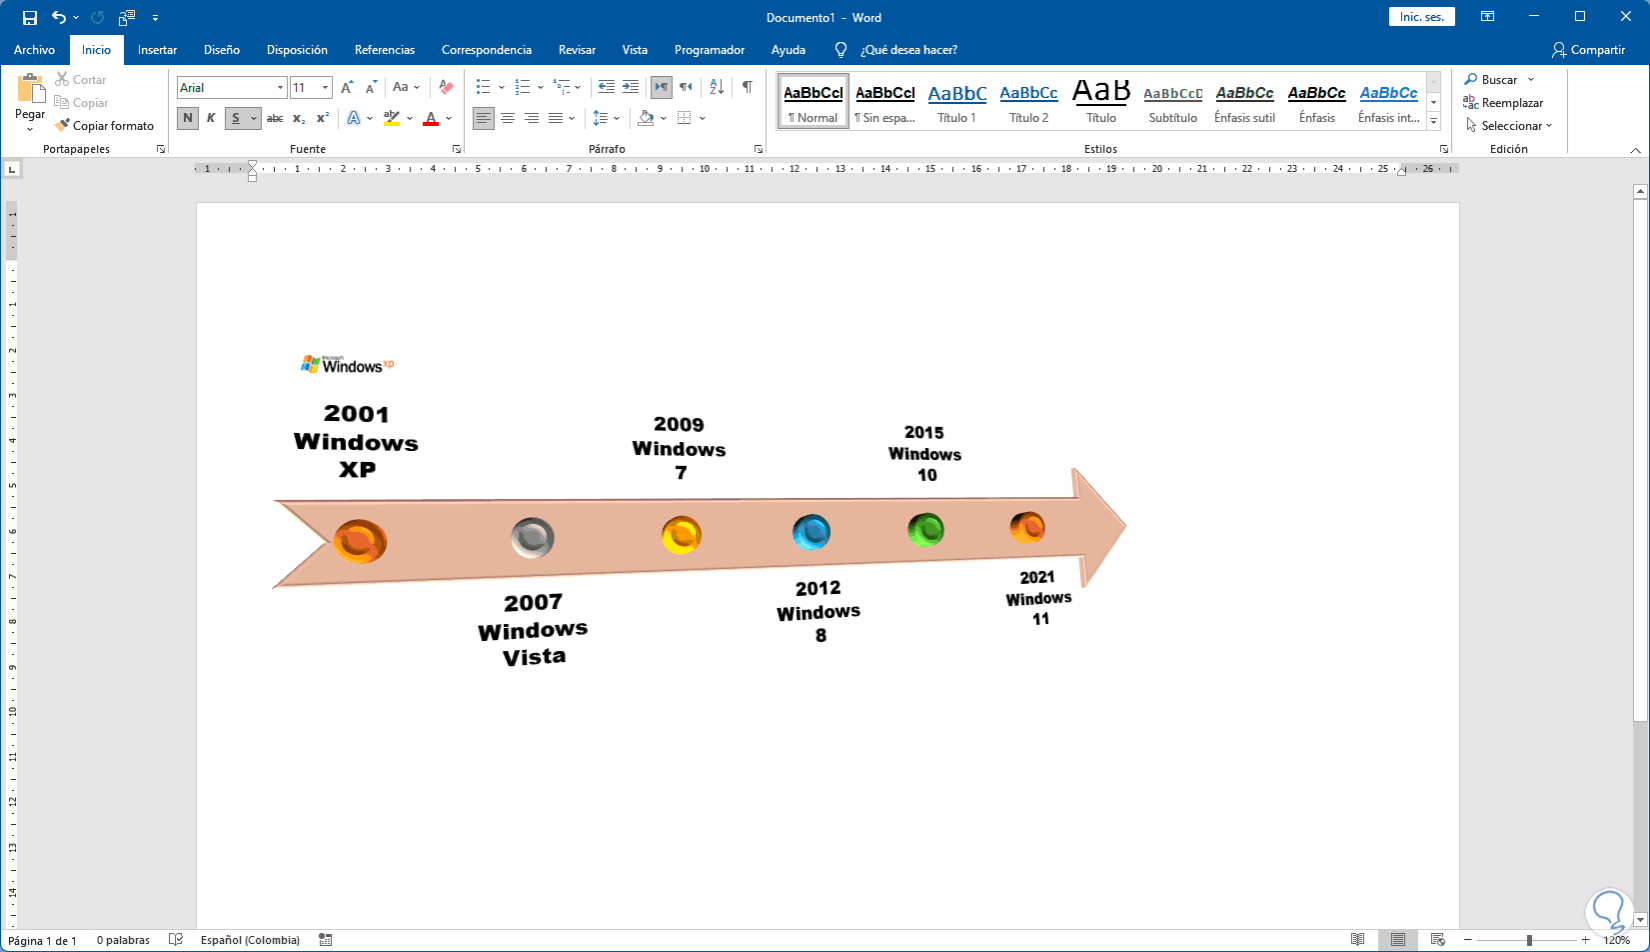
step 26
We repeat this process for the other points if necessary:
With these options we can see how simple it is to create and configure our timeline in Word.