Windows 10 gives us the option of accessing the operating system with a local account or with an online account associated with either Hotmail or Outlook, the latter allows everything we do on the devices where you have logged in with that account can be synchronized This option helps us save time and share information between different devices by simply having the same session started . If we stop using one of these devices or we no longer use that email account, we must bear in mind that eliminating synchronization options may be the best option..
The use of synchronization is ideal as it allows not only synchronization of settings, wallpapers and more options, but it is also possible to synchronize documents and passwords . These items will be stored in the cloud in order to apply the changes automatically to other Windows 10 devices as soon as you log in to them. This synchronization option is enabled from the moment Windows 10 is installed but it is possible to disable it in a practical way directly from the Microsoft servers and TechnoWikis will explain how to do it.
To keep up, remember to subscribe to our YouTube channel! SUBSCRIBE
Access the Microsoft Windows 10 account synchronization settings
Step 1
To start this process, we must go to the following Microsoft link where it will be necessary to log in with the account associated with Windows 10:
Microsoft account
Step 2
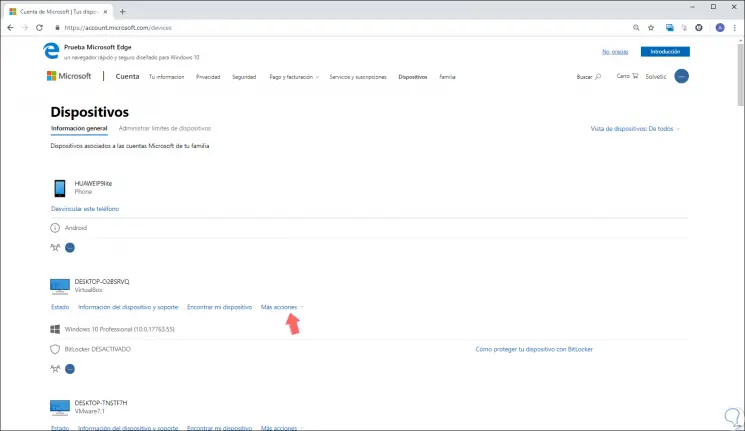
Click on Next and we will enter the password and we will be redirected to the next window where we must go to the “Devices†tab and there we will see in detail each device, PC or mobile, where said account is associated:
Step 3
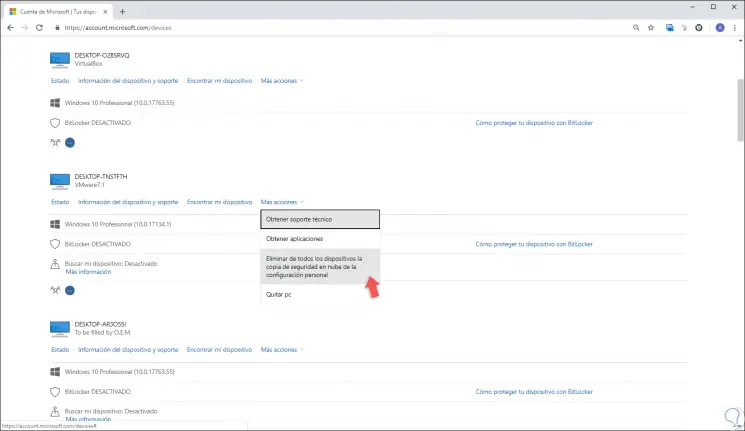
There we click on the “More actions†line located at the bottom of each device and in the options displayed we select the option “Remove from all devices the cloud backup of personal settingsâ€:
Step 4
By clicking there we will be redirected to the following window:
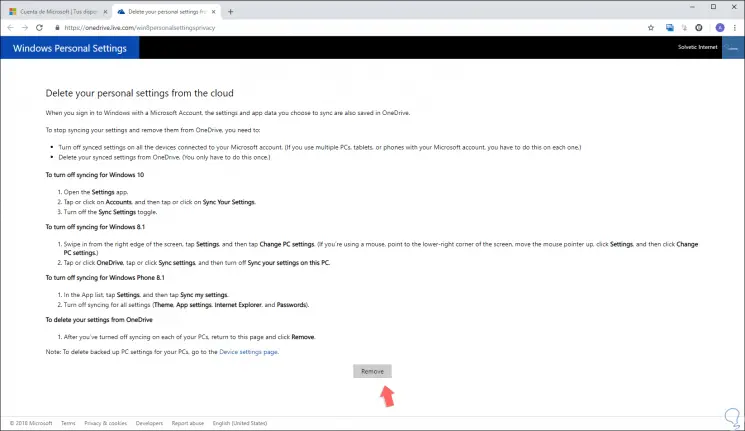
Step 5
There we will see all the instructions about the information that will be deleted and if we agree we click on the “Remove†button and the following message will be displayed:
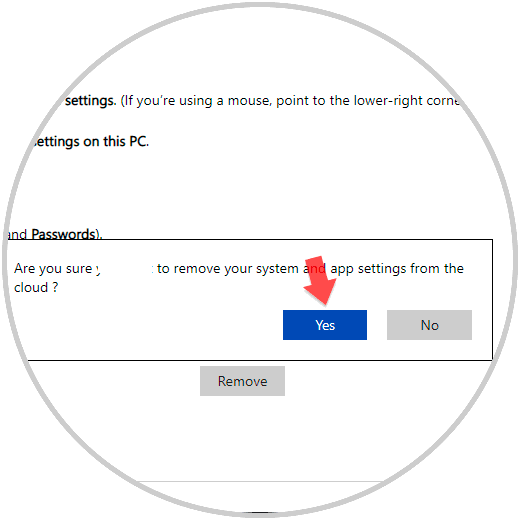
Step 6
Click on the "Yes" button to confirm the action. In carrying out this process we will see the following:
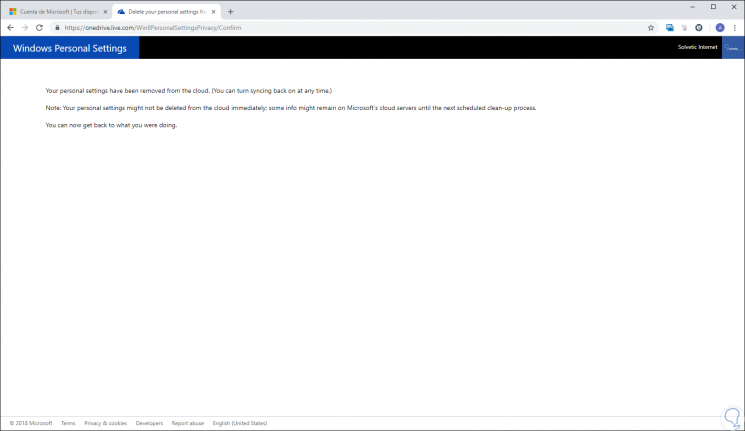
This will cause the synchronization settings of the selected account to be removed from Microsoft servers. Always remember to synchronize devices that have this option enabled because if you stop using one of them you will continue to be synchronized through the account if you do not delete it. As we see, it is a really simple process to erase the account synchronization settings in Windows 10..