Virtualization helps us to test, use and configure machines from various operating systems such as Linux, macOS or Windows on computers that are still incompatible due to the file system used, the great advantage of virtualization is that it saves costs by not having to buy new hardware and in case of errors or critical failures only the virtual machine will be affected but not the physical equipment, in the case of Ubuntu we have a comprehensive application for this type of task such as QEMU/KVM..
QEMU/KVM is an emulator that allows us to virtualize generic machines under open source which is constantly updated, its use allows us to emulate a system offering a virtual model of the complete machine with respect to its components such as processor, RAM, disks, etc. , this allows running a guest operating system, this allows QEMU to act as a KVM, Xen, Hax or Hypervisor hypervisor.
[panelplain='']Another function of QEMU is to perform user mode emulation which gives us the possibility of starting processes compiled from one computer on another computer, some of its most outstanding features are:
- It has standalone command line utilities
- Allows you to create, convert and modify disk images
- Supports ARM, MIPS (little endian), PPC, RISC-V, s390x, SPARC, and X86 architectures
- Can run Linux OS, macOS, FreeBSD, NetBSD, OpenBSD and Windows systems
- QEMU can run without a host kernel driver
- It has dynamic translation to native code
- Emulation of clone() via native CPU clone() in order to use the Linux scheduler for threads
- Generic Linux system call converter
- QEMU makes use of full software MMU for maximum portability across machines
- You can use an accelerator in the KVM kernel
- Supports symmetric multiprocessing (SMP)
[/panelplain]
Let's see how to install and use QEMU on Ubuntu..
To stay up to date, remember to subscribe to our YouTube channel!
SUBSCRIBE ON YOUTUBE
Create virtual machines with QEMU in Ubuntu
Step 1
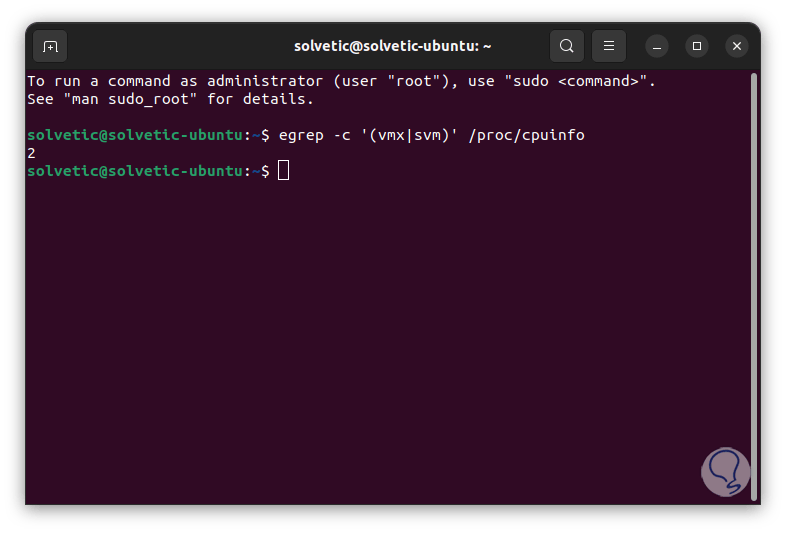
To start we open the terminal and validate that virtualization is enabled:
egrep -c '(vmx|svm)' /proc/cpuinfo
Step 2
If the result is greater than zero it means that it is, if it is 0 the virtualization will not be enabled.
Step 3
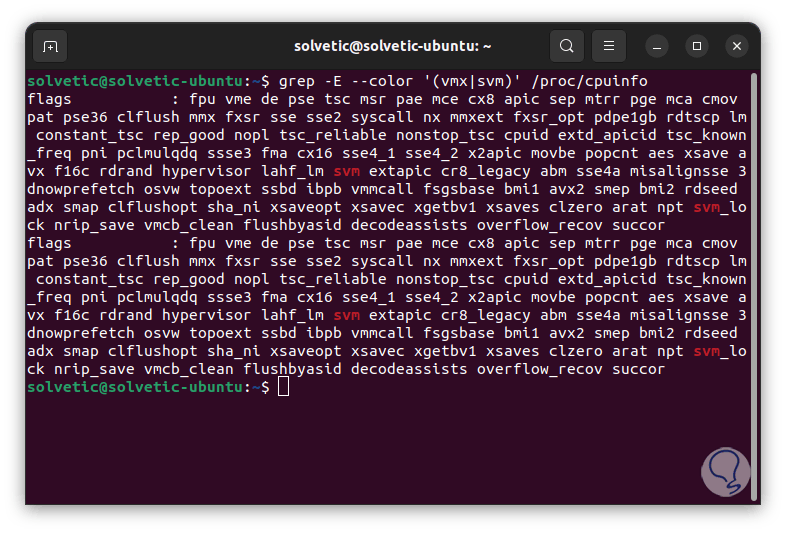
Alternatively we run:
grep -E --color '(vmx|svm)' /proc/cpuinfo
The colored result is the type of CPU used:
Step 4
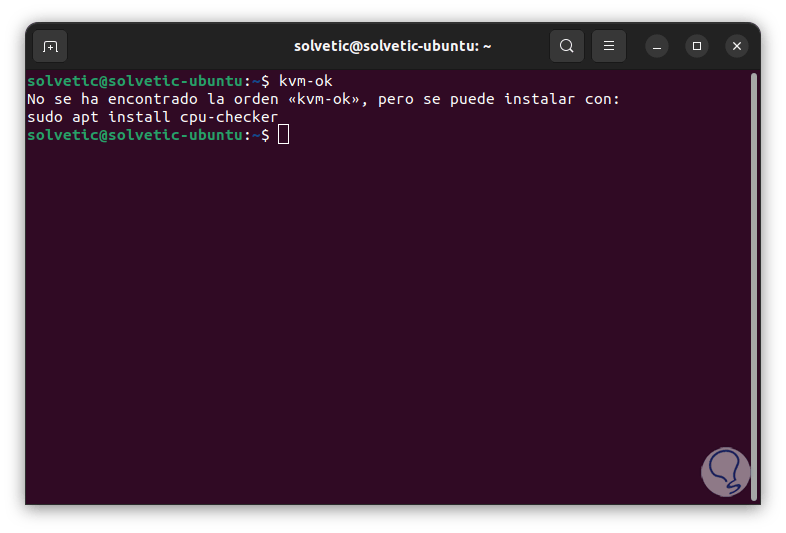
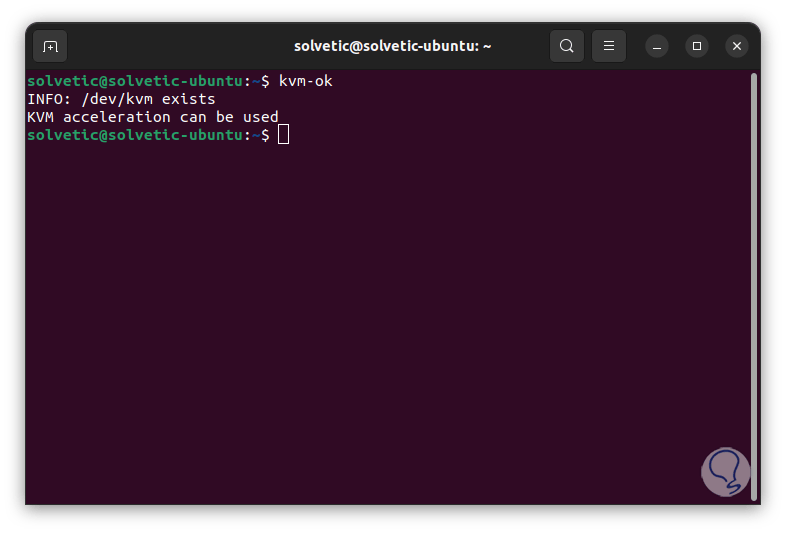
If it is vmx it will be Intel and if it is svm it will be AMD. We validate that the system supports virtualization by executing:
kvm-ok
step 5
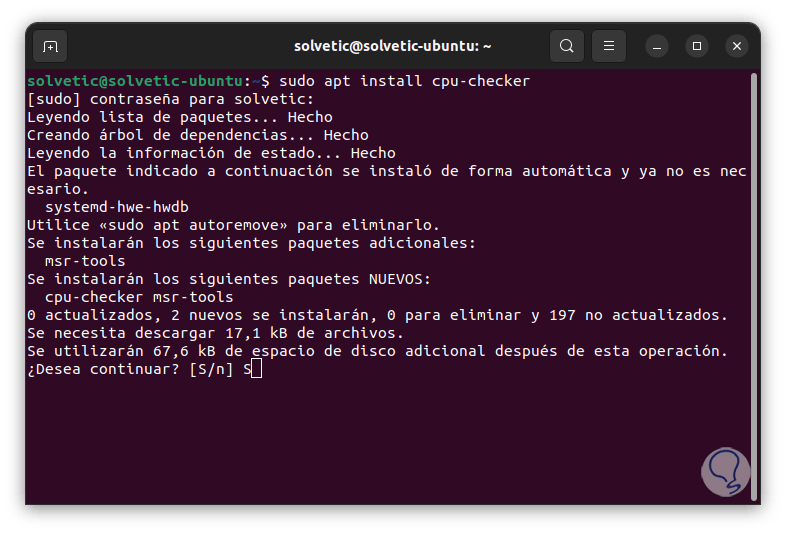
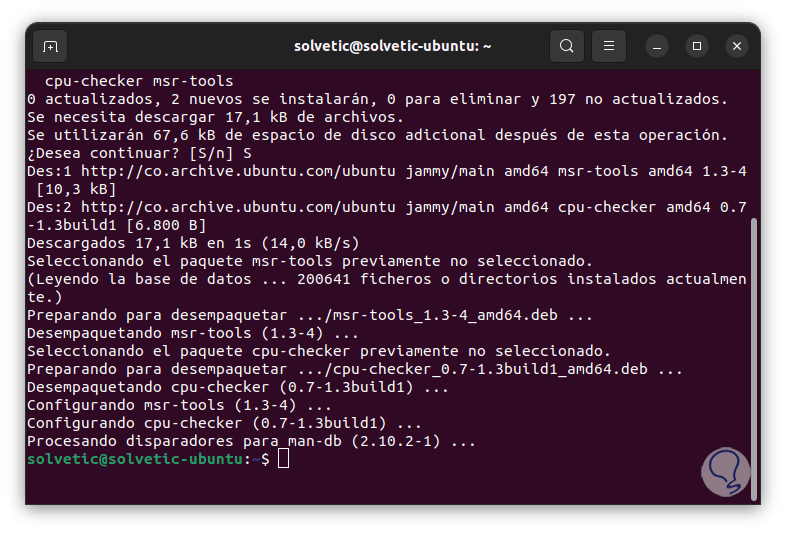
We install the utility:
sudo apt install cpu checker
Step 6
We enter the letter S to confirm the installation process:
step 7
We validate again:
kvm-ok
step 8
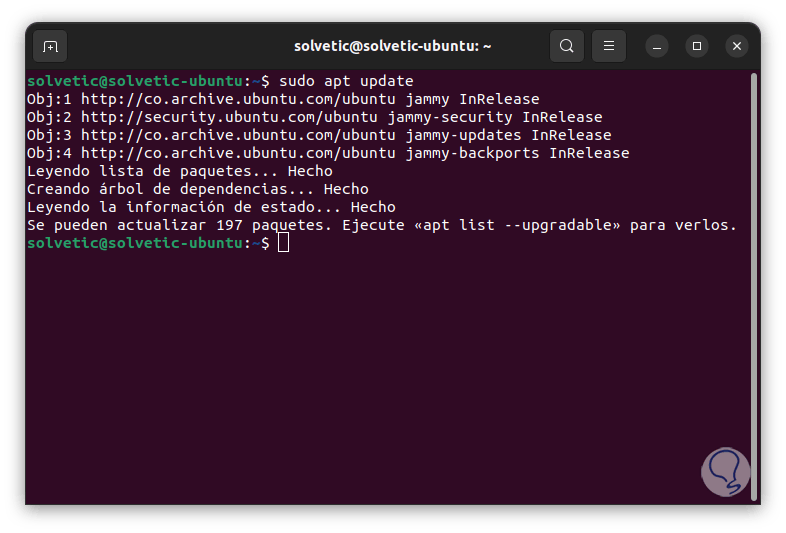
We update the system:
sudo apt update
step 9
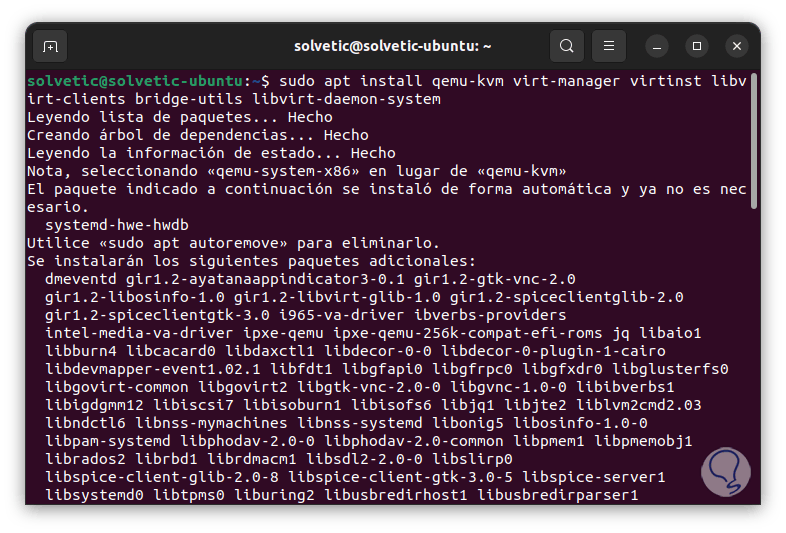
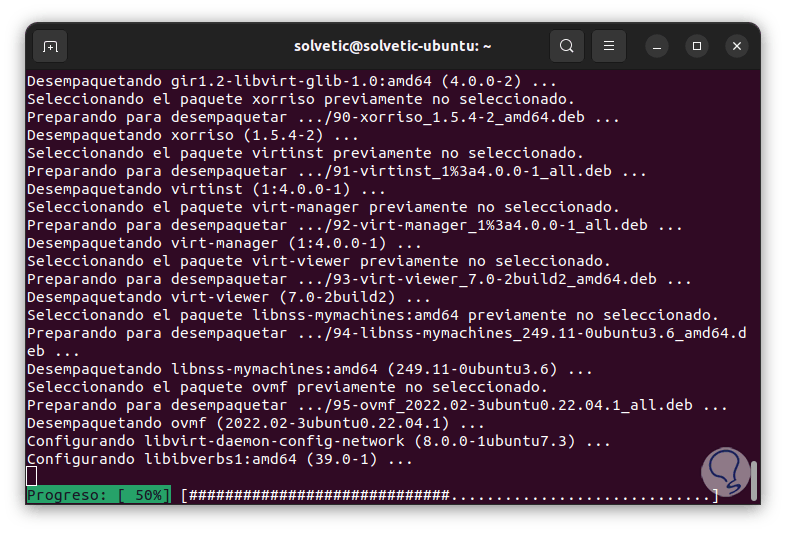
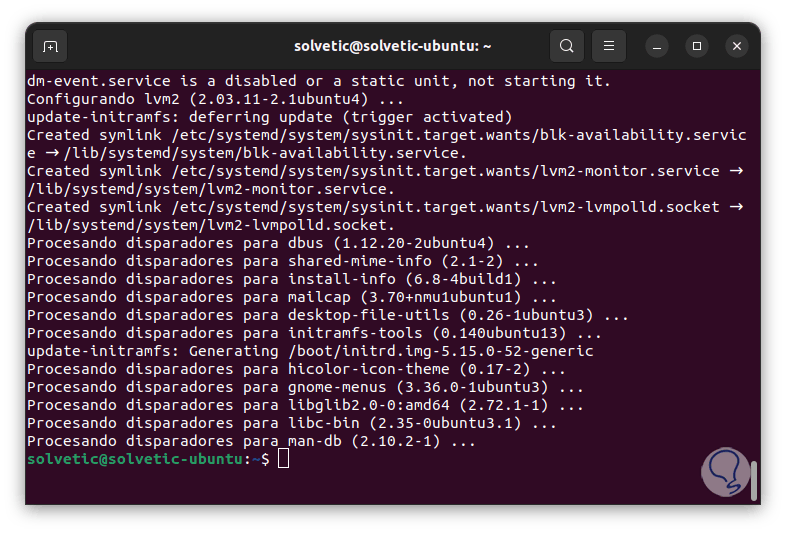
We install QEMU/KVM and the necessary packages:
sudo apt install qemu-kvm virt-manager virtinst libvirt-clients bridge-utils libvirt-daemon-system
step 10
Confirm the process by entering the letter S:

step 11
We wait for the process to start:
step 12
At the end we will see the following:
step 13
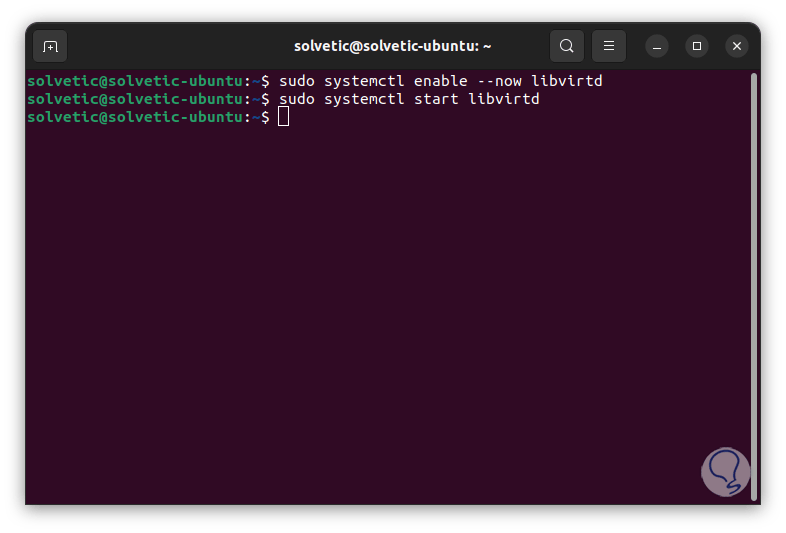
We enable and start the service:
sudo systemctl enable --now libvirtd sudo systemctl start libvirtd
step 14
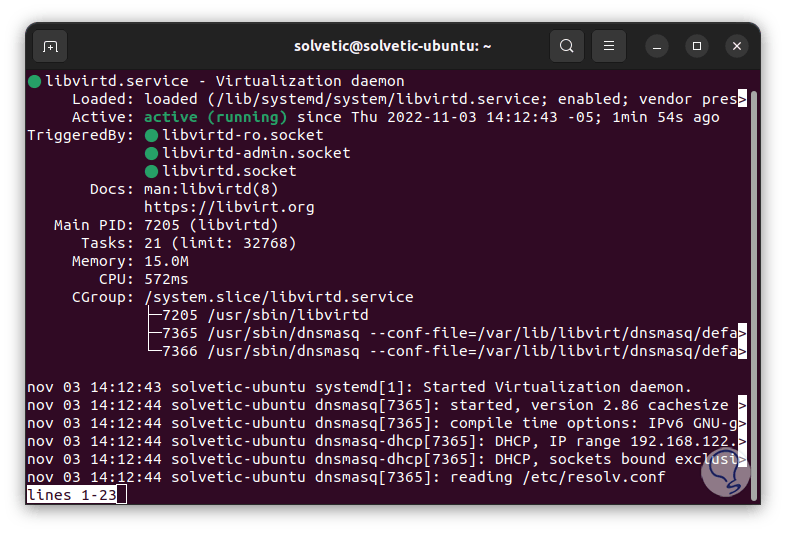
Check the status of the service:
sudo systemctl status libvirtd
step 15
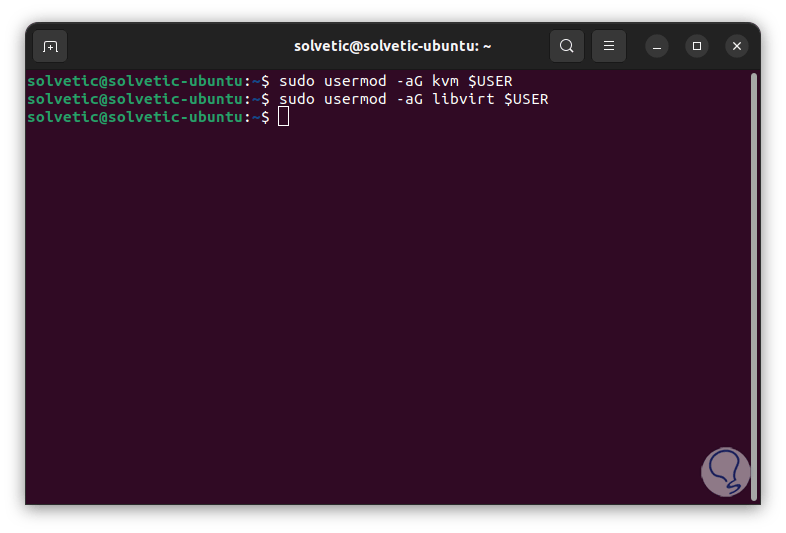
We add the user to the kvm and libvirt groups:
sudo usermod -aG kvm $USER sudo usermod -aG libvirt $USER
step 16
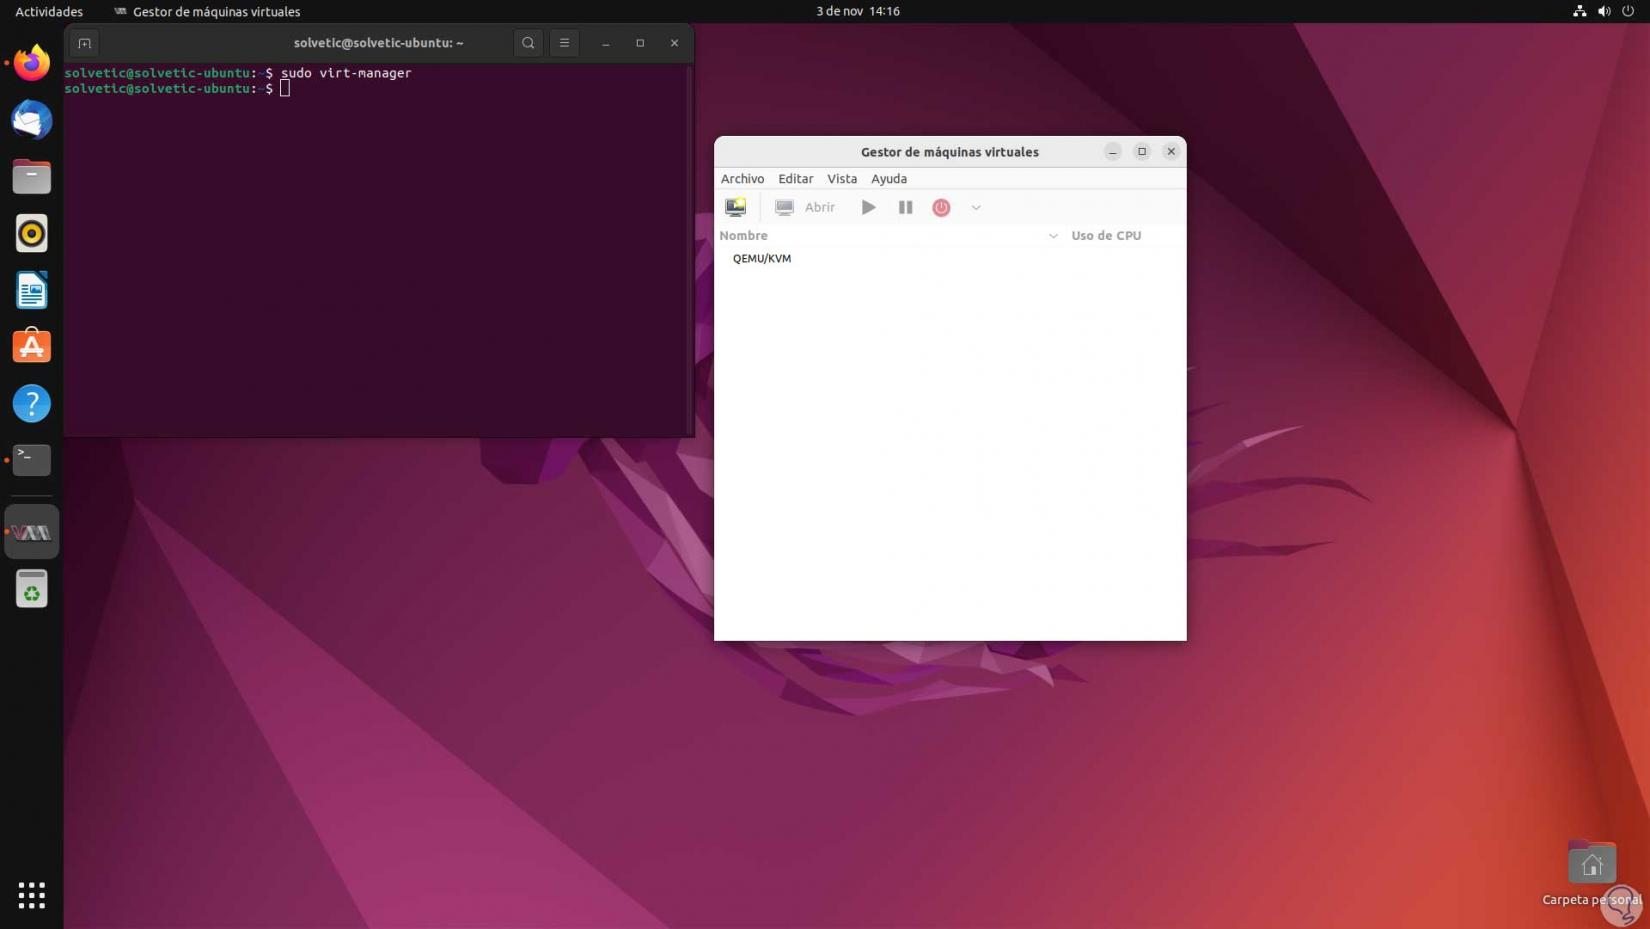
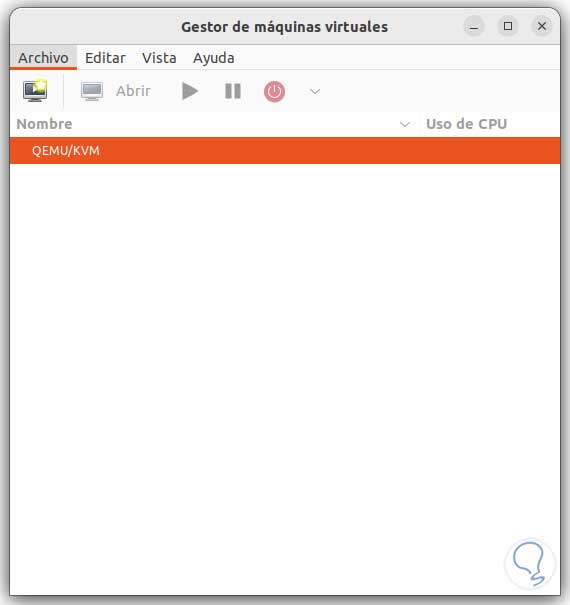
We open the QEMU/KVM application:
sudo virt-manager
step 17
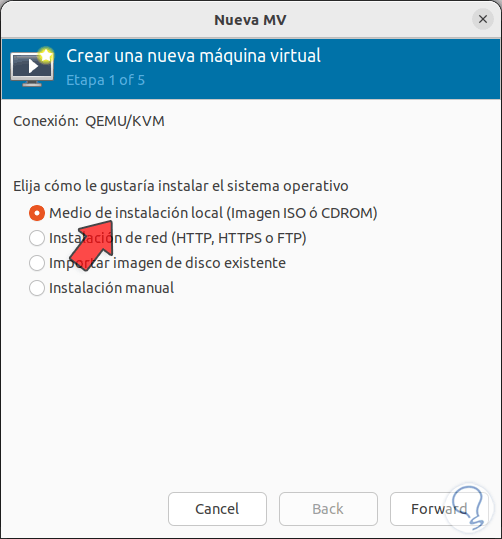
We go to "File - New virtual machine":
step 18
We will see the following: We
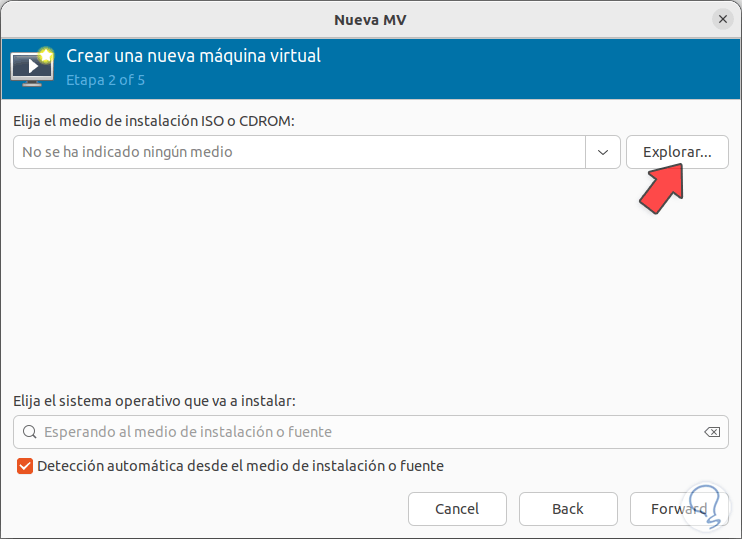
activate the "Local installation media (ISO image or CDROM)" box and click Forward to see the following:
step 19
We click on "Explore" and the following will open:
step 20
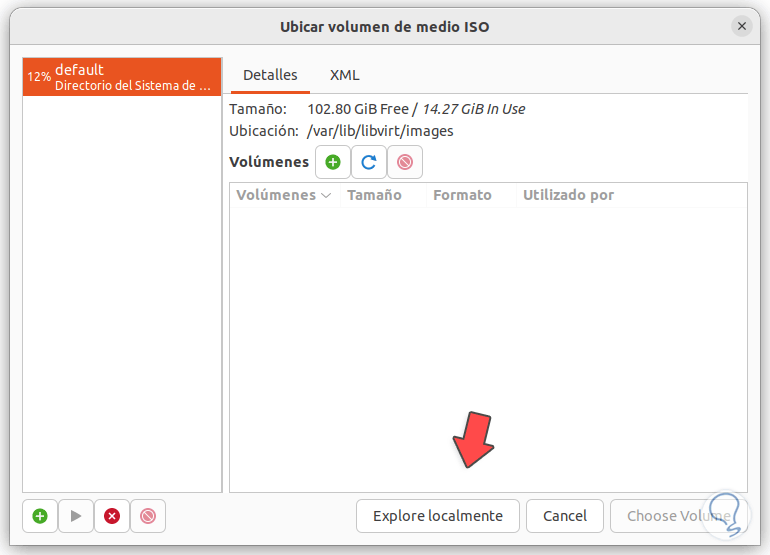
We click on "Explore locally" and select the ISO image:
step 21
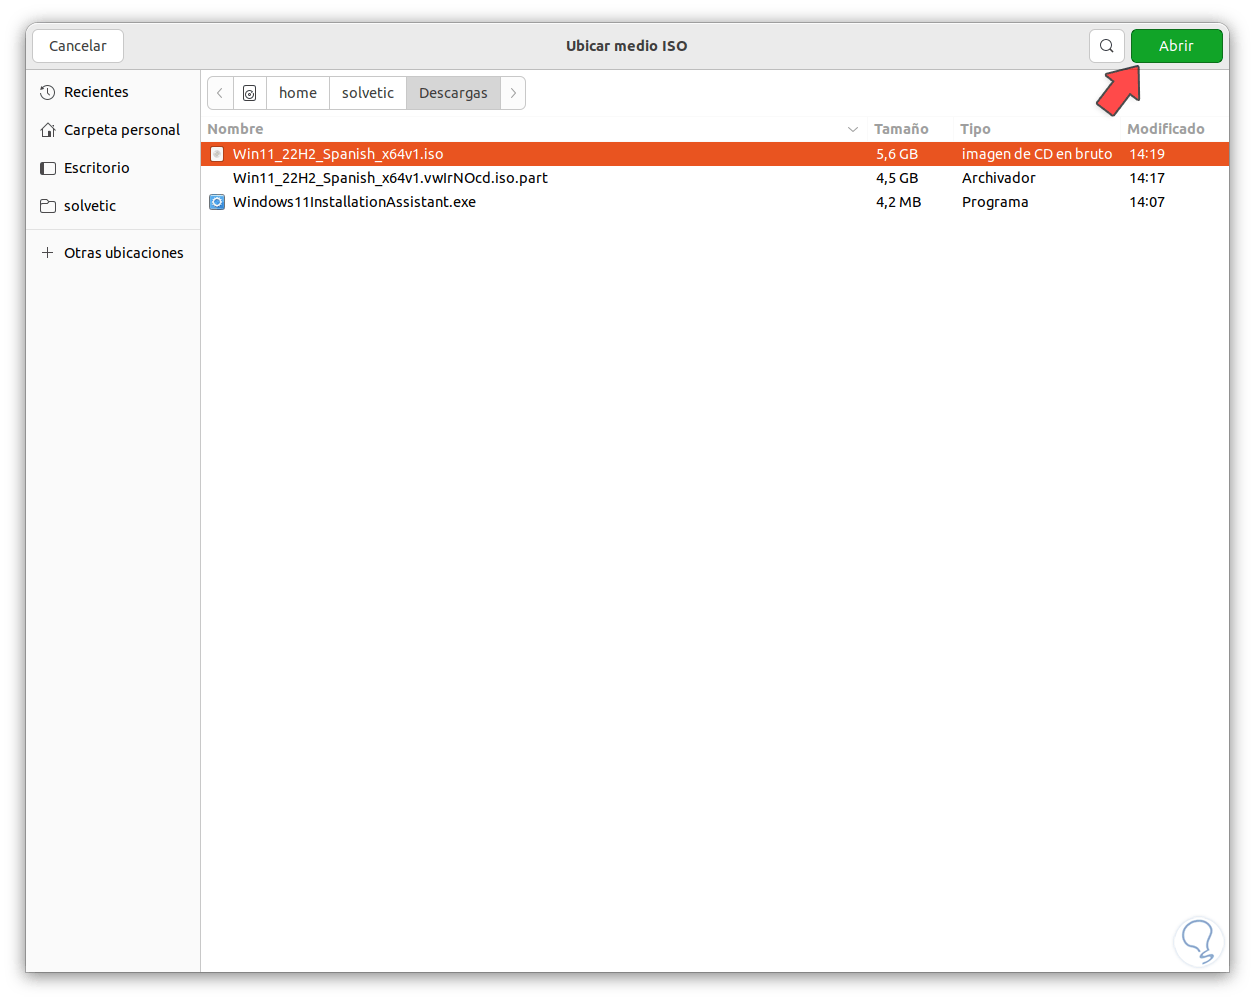
We click Open to see the added image:
step 22
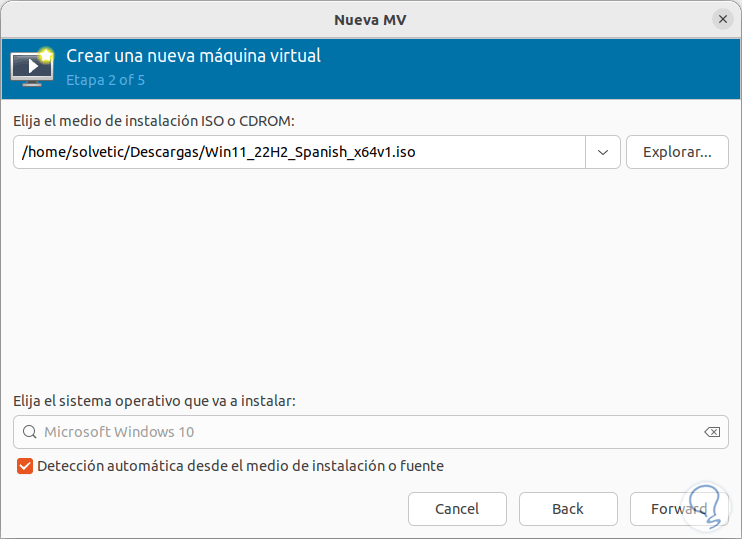
There the system to use will be detected.
step 23
In the pop-up window we click "Yes" for the emulator:

step 24
Now we allocate RAM and CPU memory:
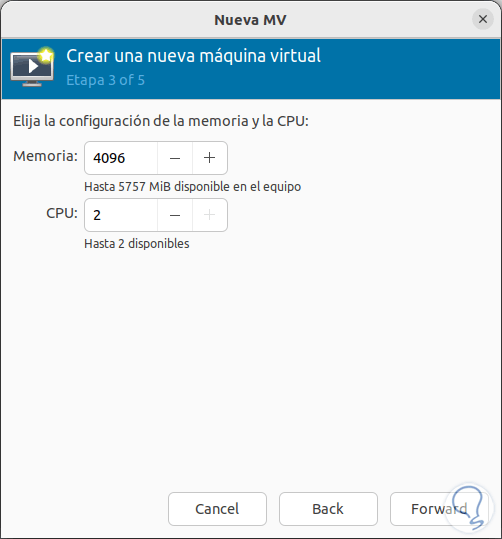
step 25
Then we set the disk size:
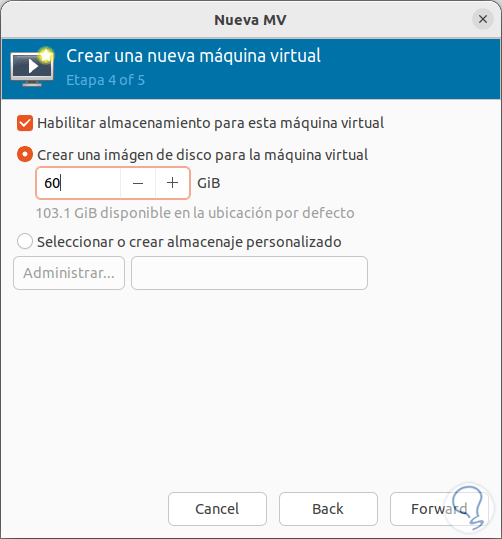
step 26
We click on Forward and we can assign a name and manage the network:
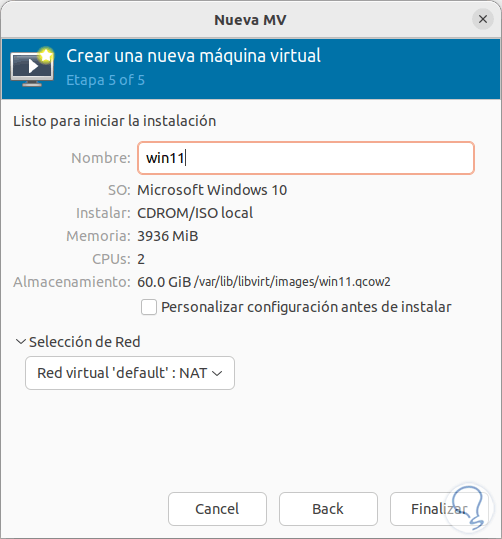
step 27
We click "Finish" and the virtual machine will open automatically:
step 28
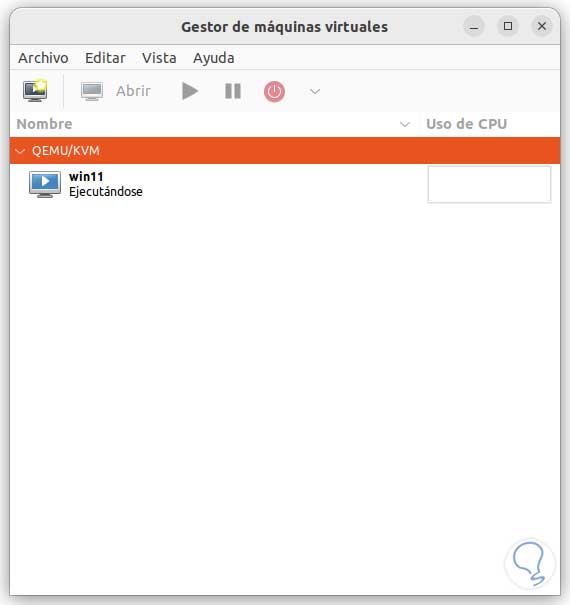
We will see the current virtual machine:
step 29
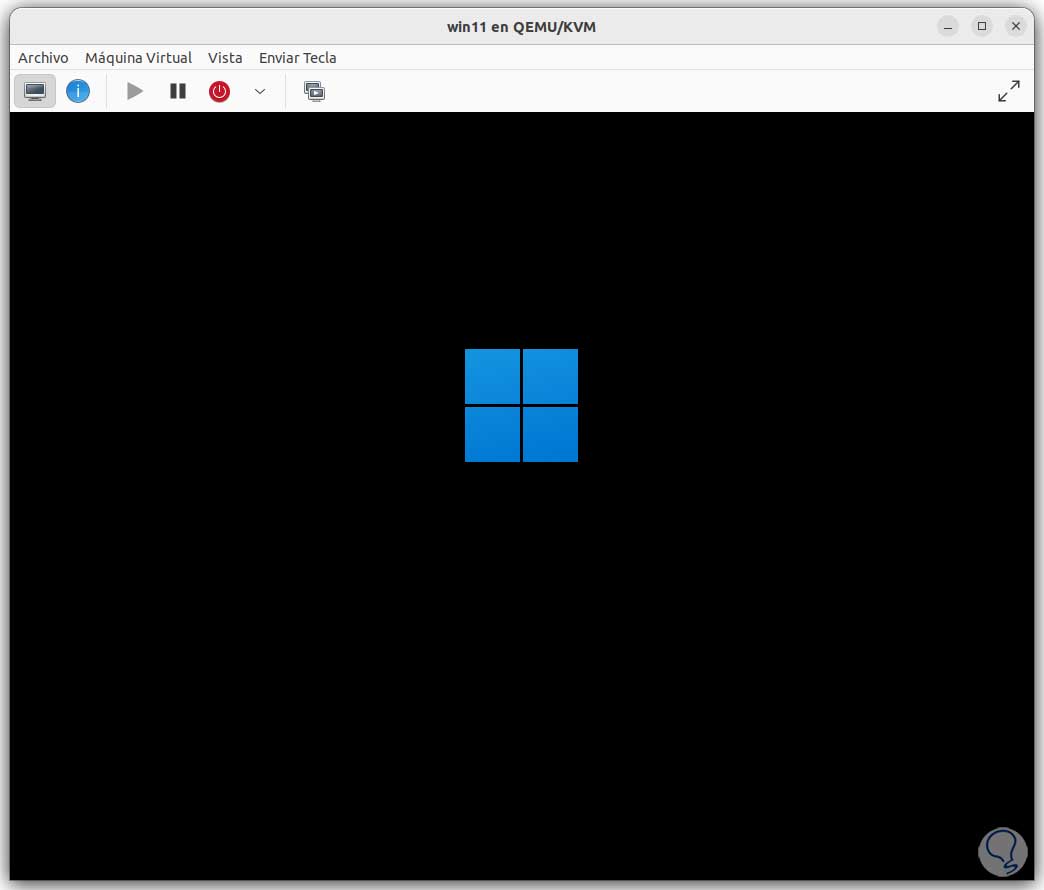
The start menu will load:

step 30
We right click on the virtual machine to see its options:
There it will be possible to turn it off, restart it, pause it, delete it, migrate it to another computer or open its properties.
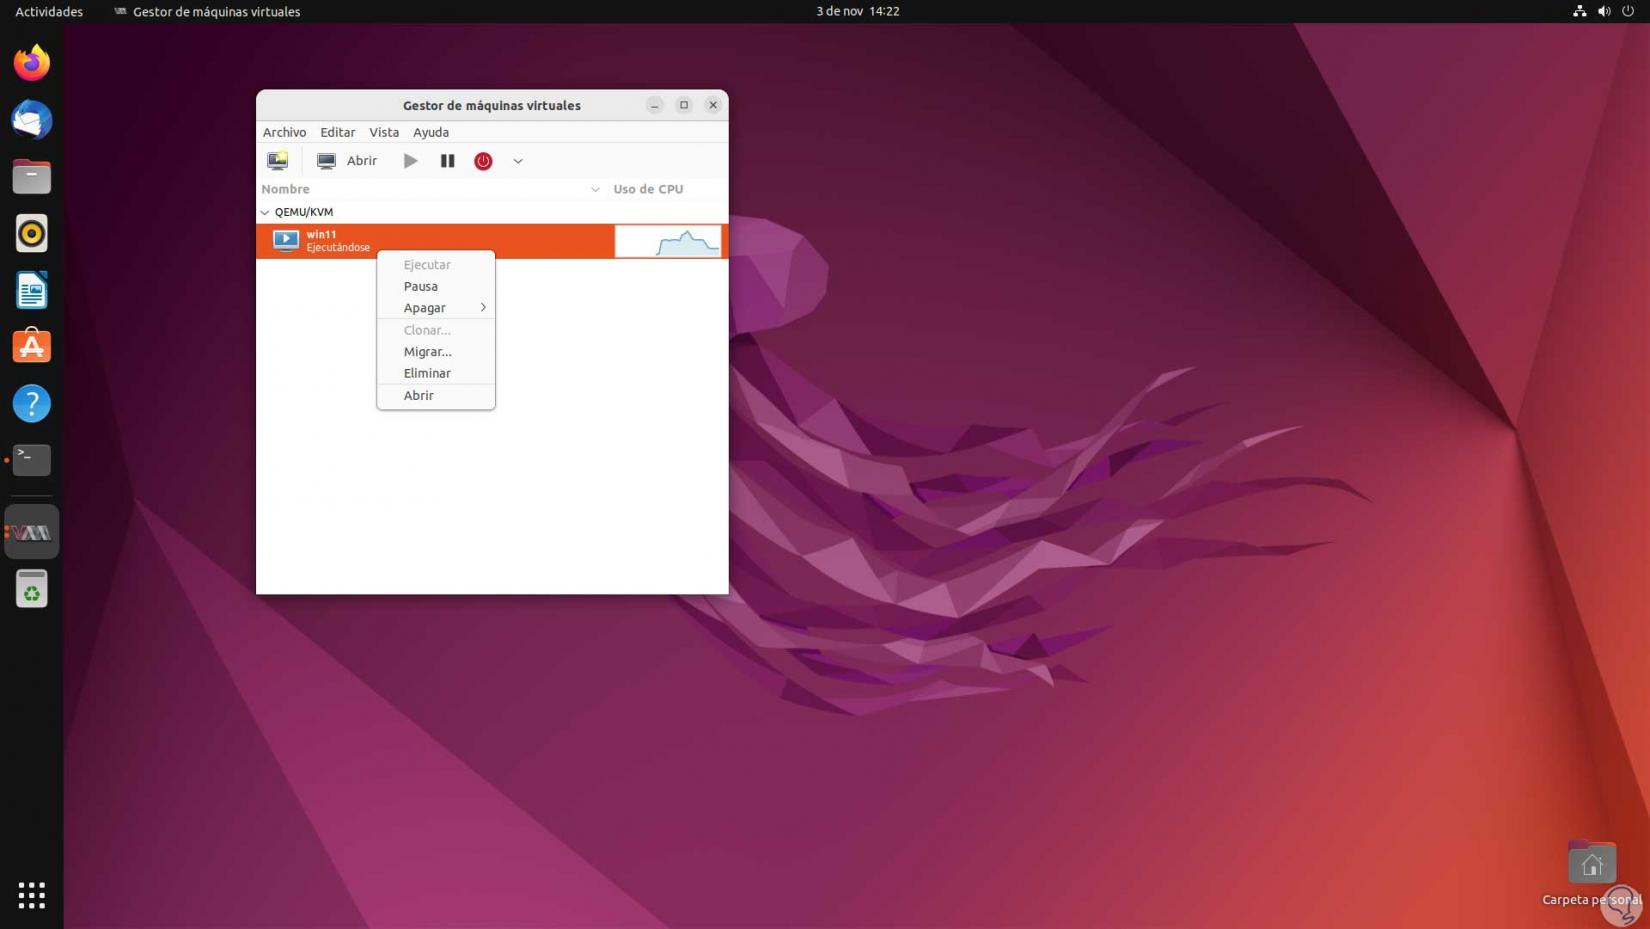
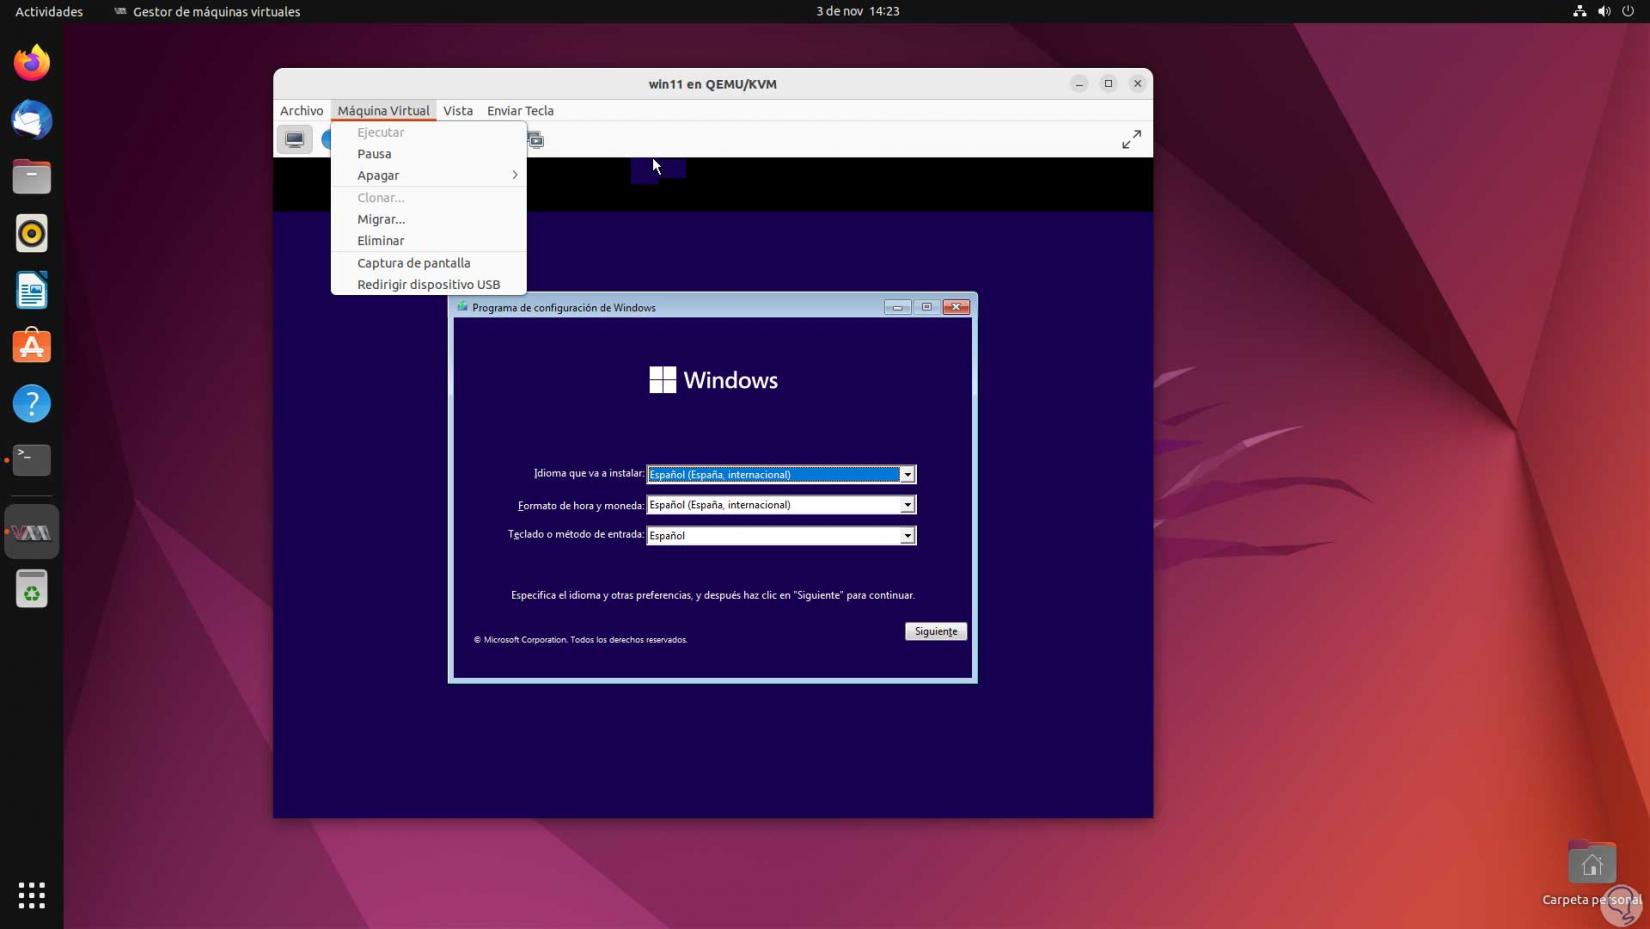
step 31
Within the virtual machine we have some menus, from Virtual Machine it is possible to capture screen, restart or turn off the machine, edit USB media:
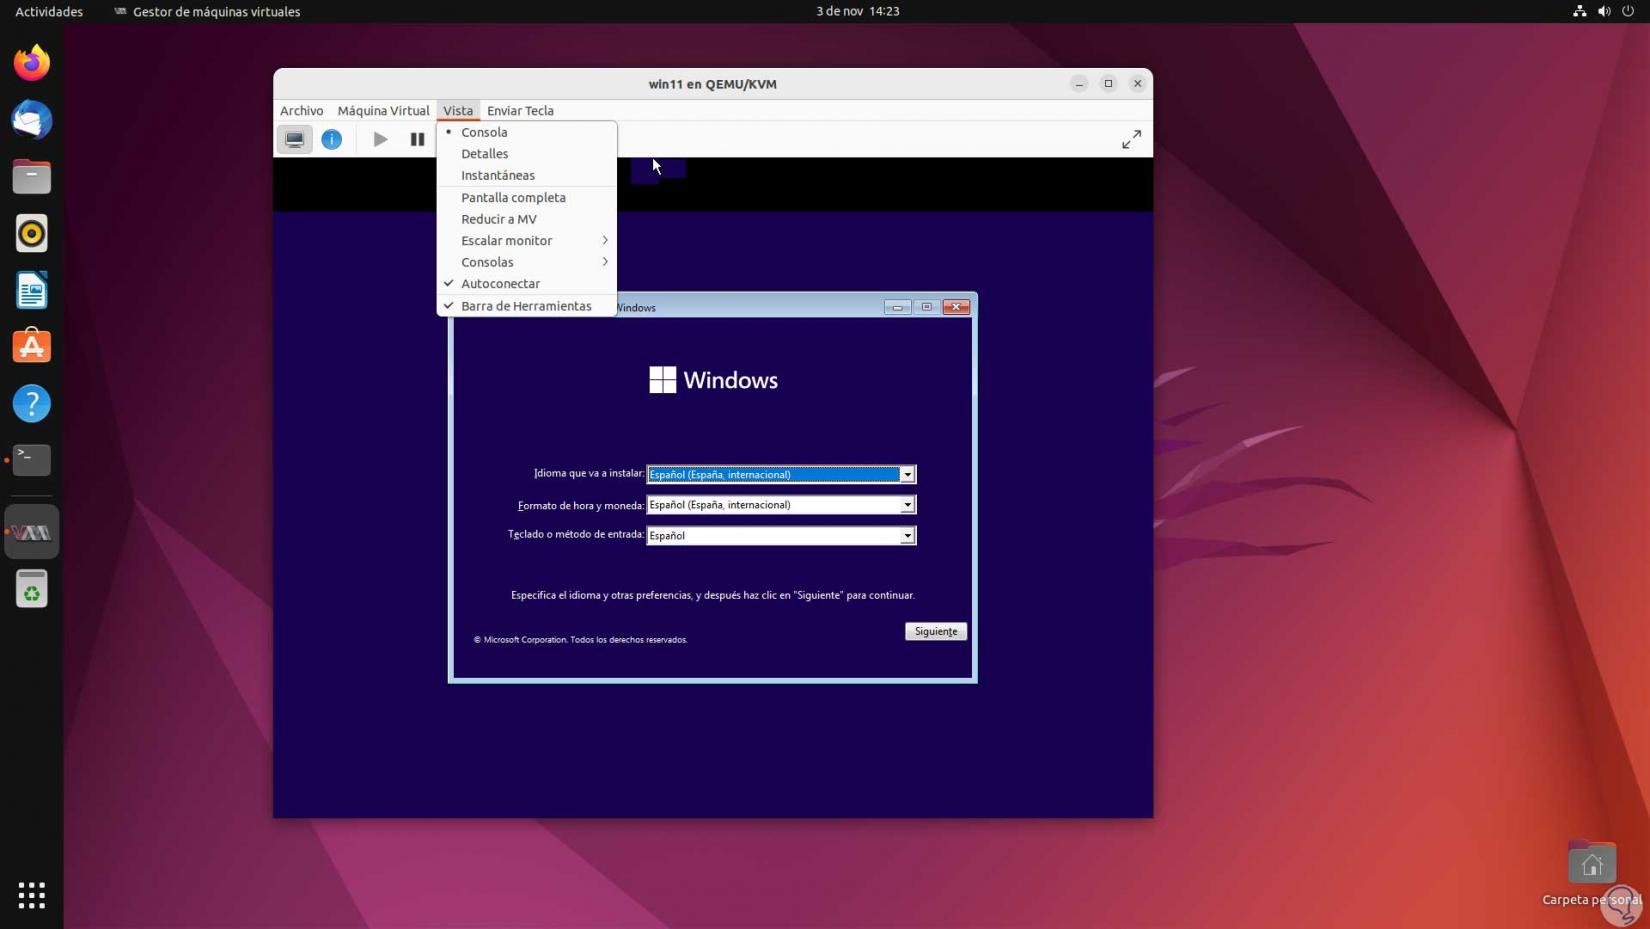
step 32
From "View" it is possible to see various options of the machine at the visualization level, scale the screen, connect automatically, see the full screen and work with snapshots:
step 33
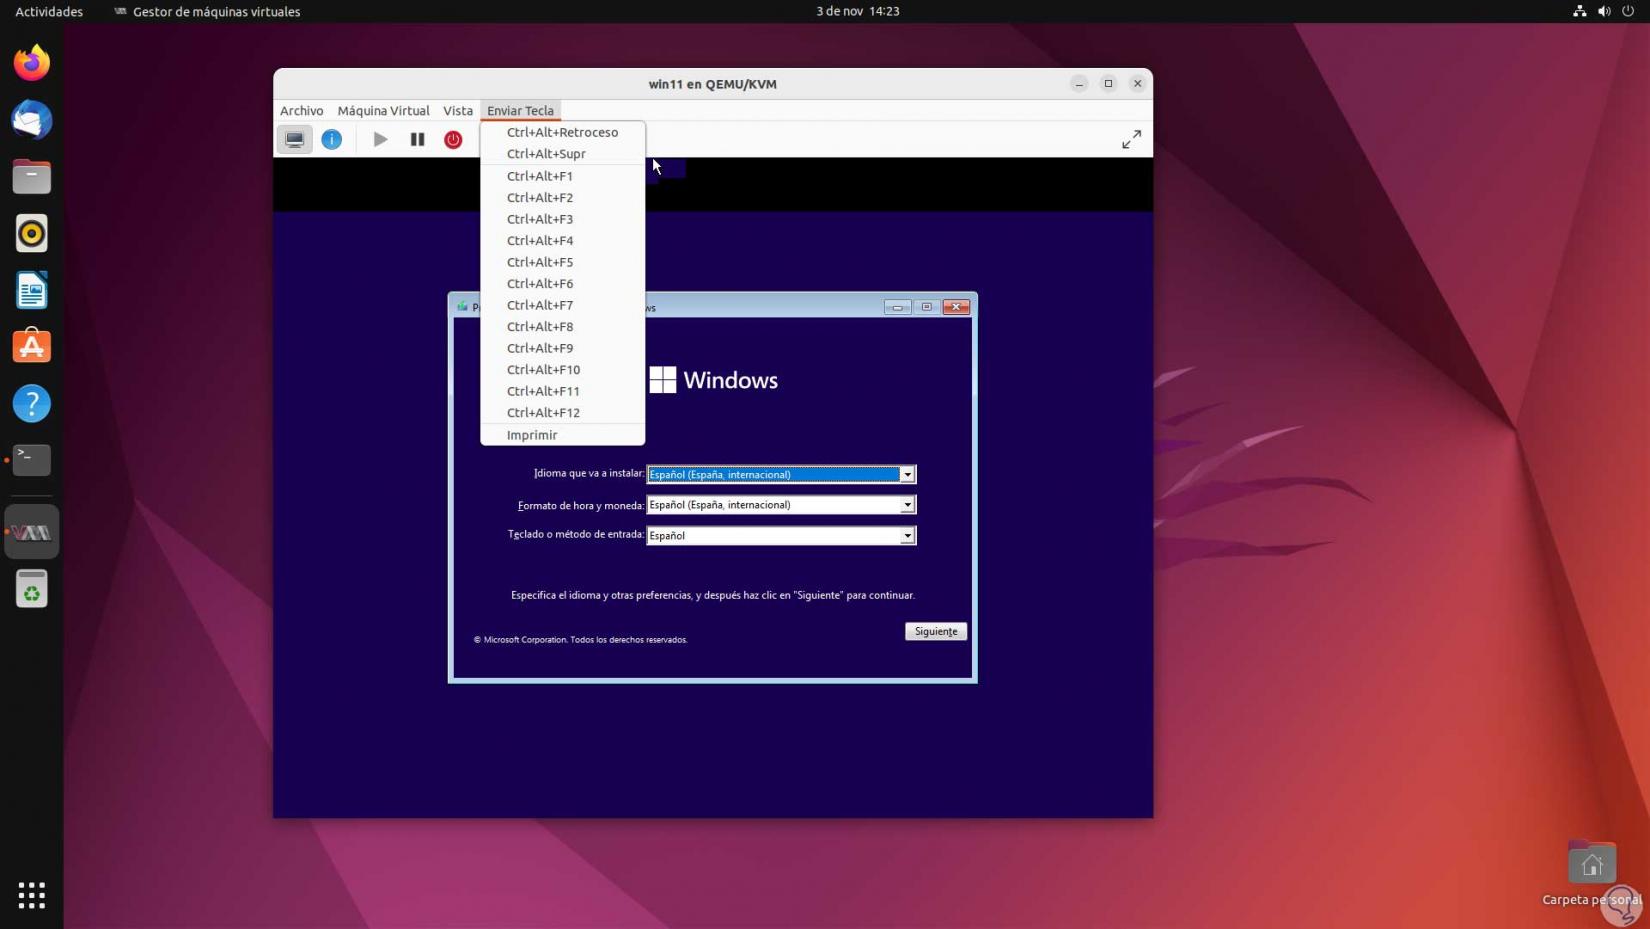
In “Send key” we have a series of key combinations that can be used in the guest operating system:
Thus, QEMU/KVM is a complete solution to create and manage virtual machines in Ubuntu and to have the necessary options for its use there..