Wireless headphones are one of the most popular devices among users due to the convenience of not having to use them connected through a cable. This, as users, gives us much greater freedom of movement which is tremendously useful..
Although these small devices are mainly used to link to our mobile terminals, it is true that we can also connect them with other devices via Bluetooth, such as our PC or Laptop. This is useful if we want to listen to music and not disturb those around us or work without the sound playing for everyone. For this reason it is something quite useful that it is worth knowing the procedure, since we may need it in certain situations.
Precisely in this TechnoWikis tutorial we explain how to connect Apple AirPods Pro 2 and AirPods 3 wireless headphones to your PC step by step and in the form of text or video..
How to connect AirPods Pro 2 and AirPods 3 to your PC
To do this you have to follow the steps that we indicate below in an orderly manner.
To stay up to date, remember to subscribe to our YouTube channel!
SUBSCRIBE ON YOUTUBE
Step 1
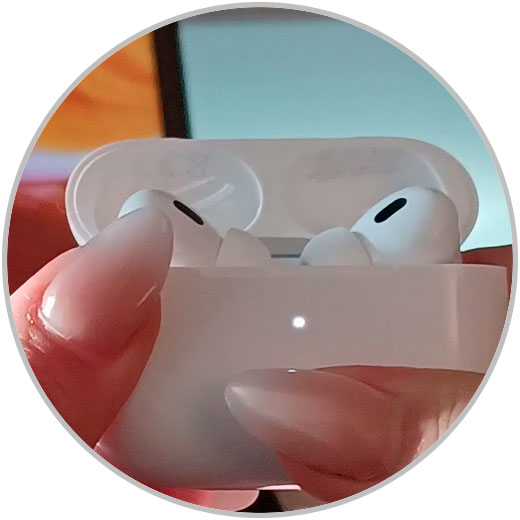
The first thing we will do is press and hold the button on the case until the light is white and flashes.
Step 2
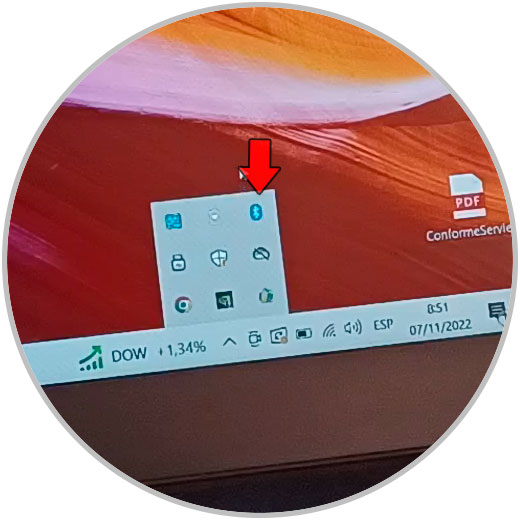
In the bar of our PC, click on the icon of the little arrow.

Step 3
Click on the Bluetooth icon.
Step 4
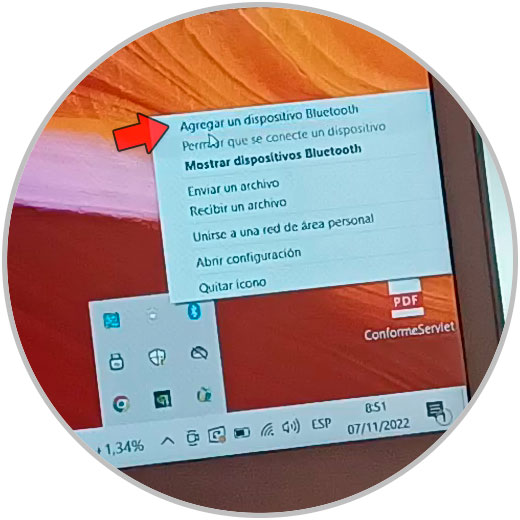
Now, among the options in the dropdown, select "Add Bluetooth device".
step 5
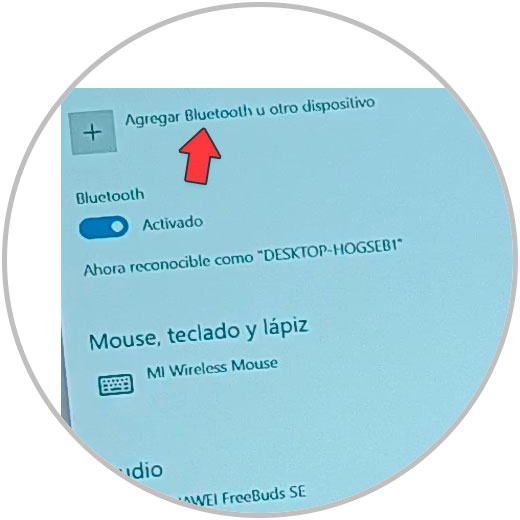
In the new window click on “+ Add Bluetooth or other device”.
Step 6
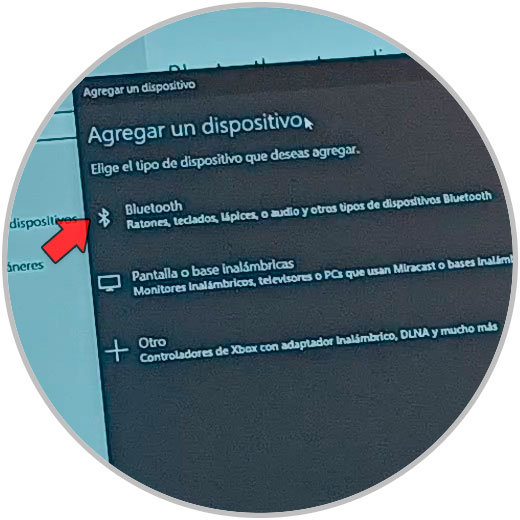
Now, in the black window, select "Bluetooth".
step 7
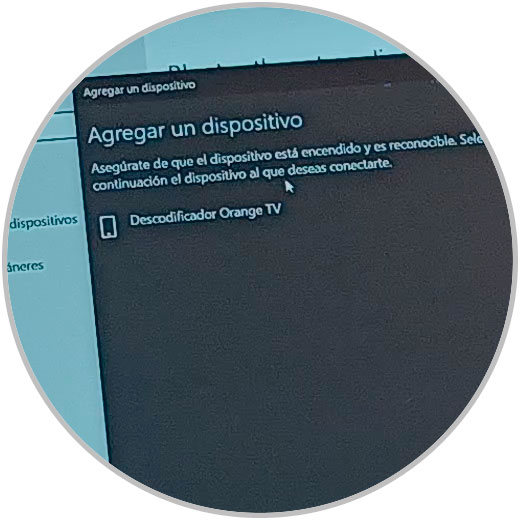
Wait for the headphones to appear on the screen.
Note
If they do not appear, press the button on the back of the case again until the white light appears
step 8
When the AirPods Pro appear, they will begin to connect. Once connected, you will see the following on the PC screen.

With these simple steps we will have connected the AirPods to our PC via Bluetooth and we can start using them.