Security is one of the essential pillars in Windows 11 but at the same time with everything that current technology offers us, it has become a real headache as there are so many threats that put the security and privacy of the system at risk and even more. User information is critical, in Windows 11 our sensitive information is stored in folders but if more users have access to the PC it can be compromised since they will have access to the content stored there, to avoid this TechnoWikis will explain a method that creates maximum security for a folder and it is by adding an access password but through one of the best Windows security mechanisms such as BitLocker..
We'll teach you two key concepts for adding the password: VHD and BitLocker.
what is VHD
VHD (Virtual Hard Disk – Virtual Hard Disk), this is a virtualized hard disk file which when mounted in File Explorer will be visible and work just like a physical hard disk, a VHD disk allows you to use native file systems As they are NTFS, FAT, exFAT and UDFS and it is compatible with standard file and disk operations, it is important to know that if we have created a virtual disk with the VHD API, it can work as a bootable disk.
To take into account, the path where the VHD will be located in Windows 11 cannot be in the \Windows directory due to execution issues and permissions, let's also take into account the following:
- The minimum size for a VHD is 3 megabytes (MB) and a maximum of 64 TB
- A VHD can only be configured as a basic disk
- When starting the VHD during its creation, the configuration of this will depend on the assigned size
What is BitLocker
BitLocker has been developed as a data protection method integrated into the operating system with which it seeks to protect user data 100% from any threat, both internal and external, if BitLocker is used together with the Trusted Platform Module (TPM). ) version 1.2 or later (Windows 11 requirement) we will be facing greater protection and this is achieved thanks to the fact that the TPM helps protect information by preventing the PC from being violated when the system was offline.
TechnoWikis will now teach how to create a password for a folder in Windows 11 without using third-party programs..
To stay up to date, remember to subscribe to our YouTube channel!
SUBSCRIBE ON YOUTUBE
How to put a password on a folder in Windows 11 without apps
Step 1
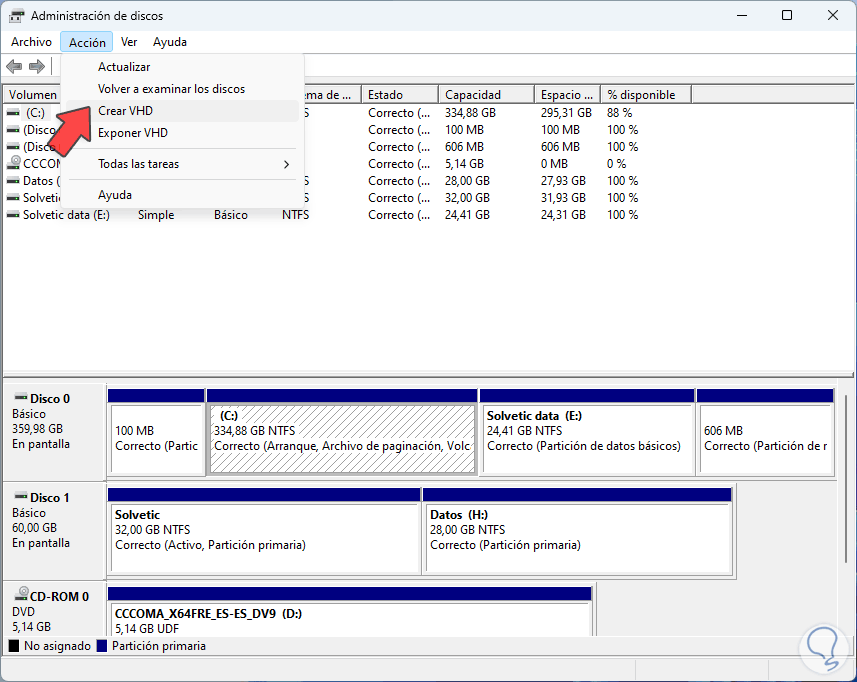
Open Disk Management from the Start context menu:

Step 2
We will see in the Manager all the units connected to the computer:

Step 3
We go to the "Action - Create VHD" menu:
Step 4
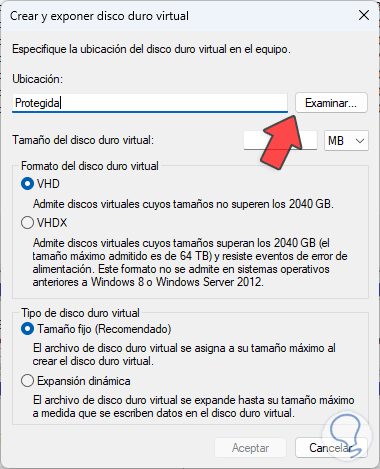
The following window will open:
step 5
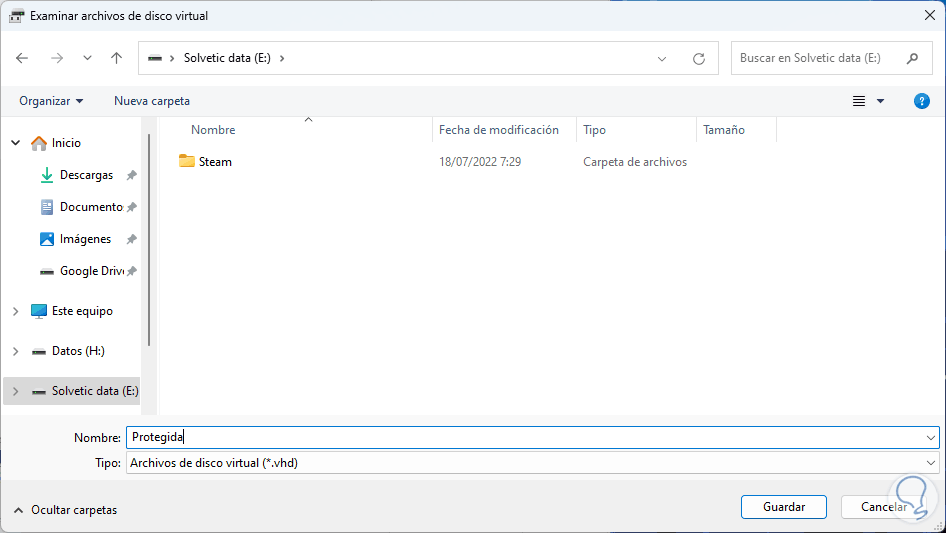
We specify the name and location of the VHD disk by clicking Browse:
step 6
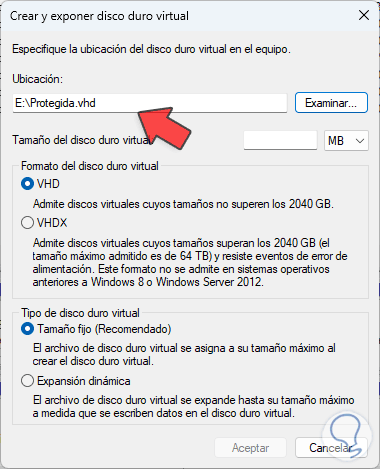
We click on Save to see the path of the VHD disk:
step 7
We assign the size in MB or GB and configure the type of disk:
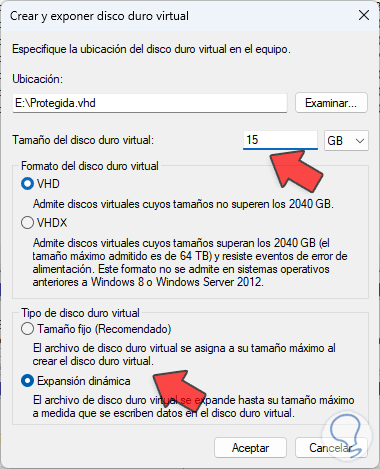
step 8
We can see that the options to use for the disk are:
- VHDX: it is an option that applies to disks that will be more than 2040 GB in size
- Fixed size: a limit is set on the disk capacity, when that limit is reached it is impossible to add more data
- Dynamic expansion: as its name indicates, the disk fills up little by little based on the size established when we enter data into the disk.
step 9
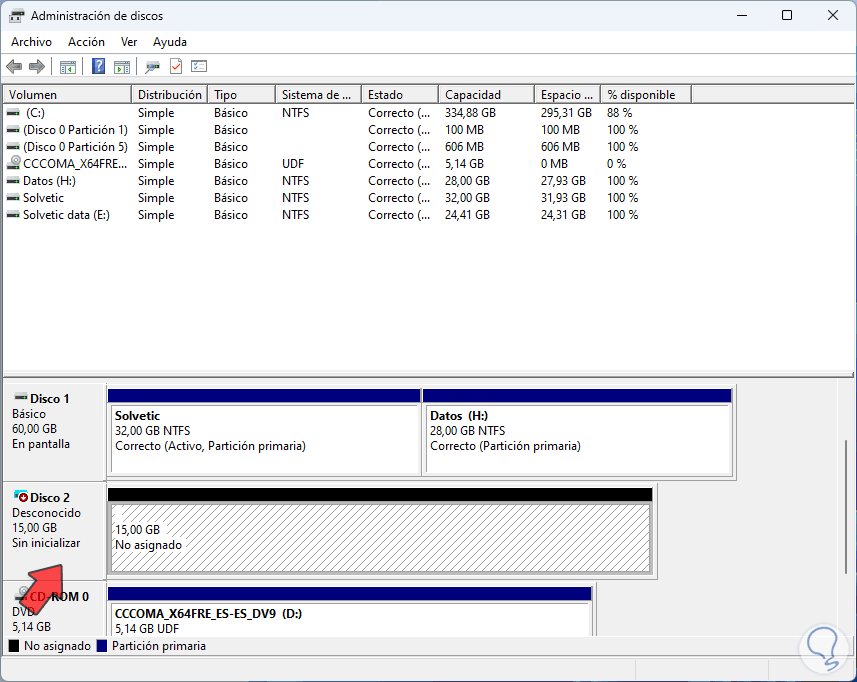
We apply the changes and we will see the VHD disk created:
step 10
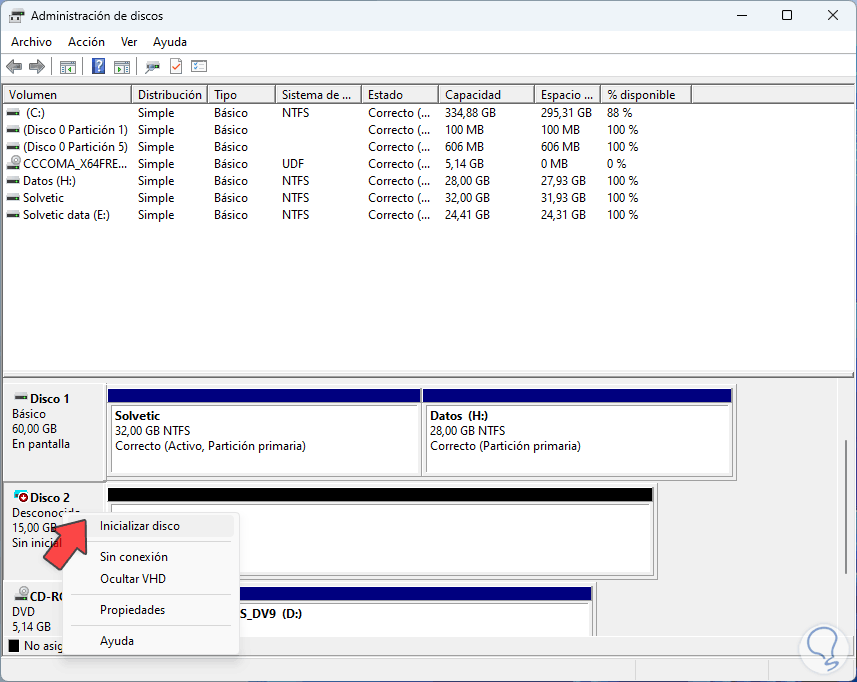
It is time to activate it, we right click on the name of the disk and select the option "Initialize disk":
step 11
The following window will open:

step 12
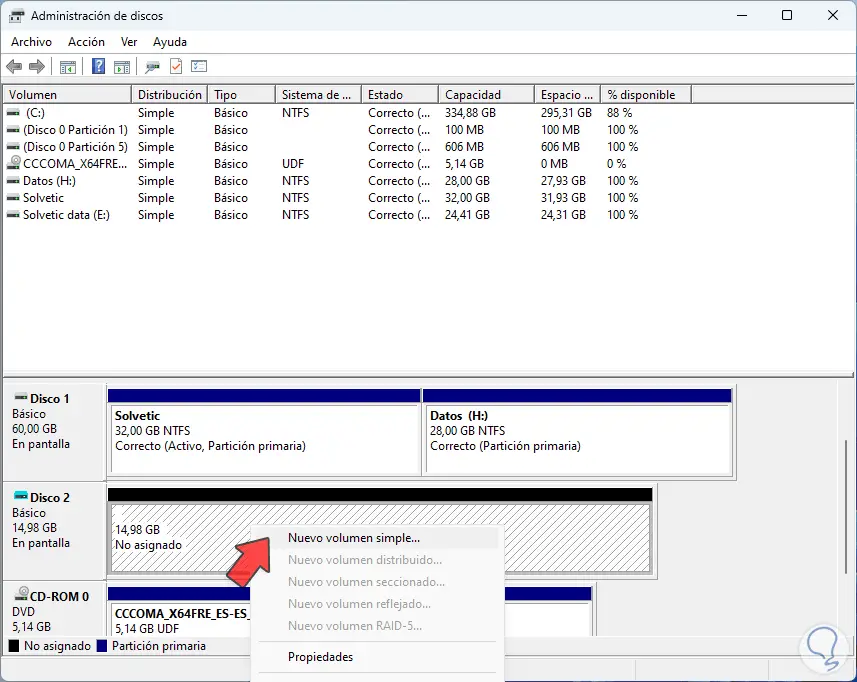
We select the disk box and leave the GPT option active, we apply the changes, now we right click on the disk name and select "New simple volume":
step 13
The following wizard will open:
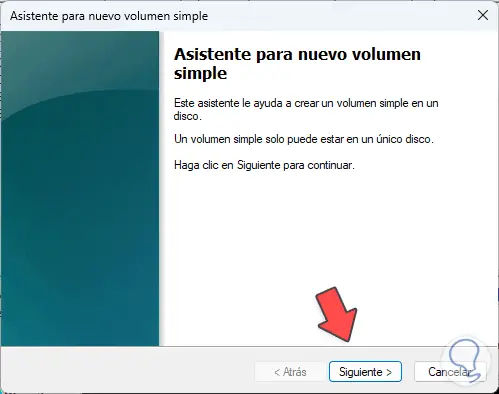
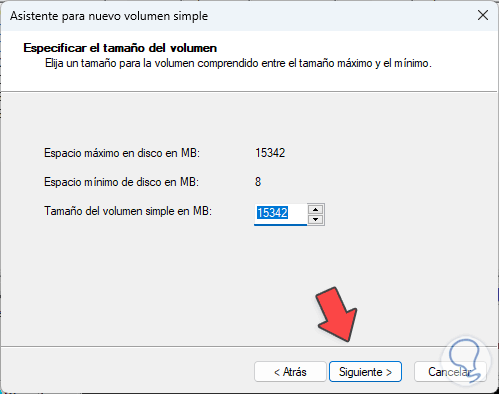
step 14
We click Next to assign the size to use:
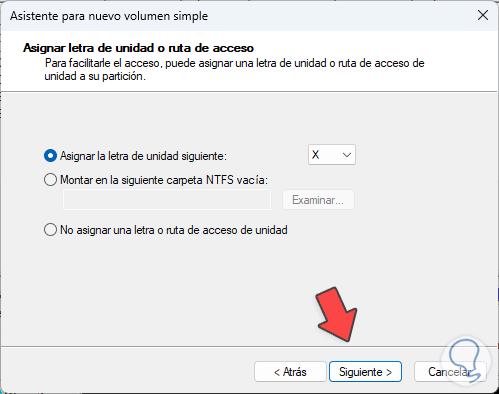
step 15
In the next window we define the letter to use:
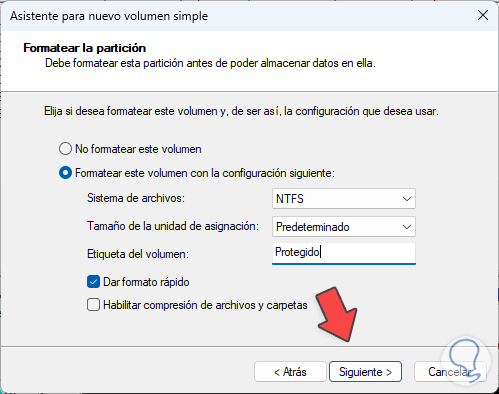
step 16
Again we click Next and there we establish the NTFS file system and assign a name:
step 17
We click on Next to see a summary of the operation to be carried out:

step 18
Apply the changes and it will be possible to see that the VHD hard drive is activated just as if it were a physical one:

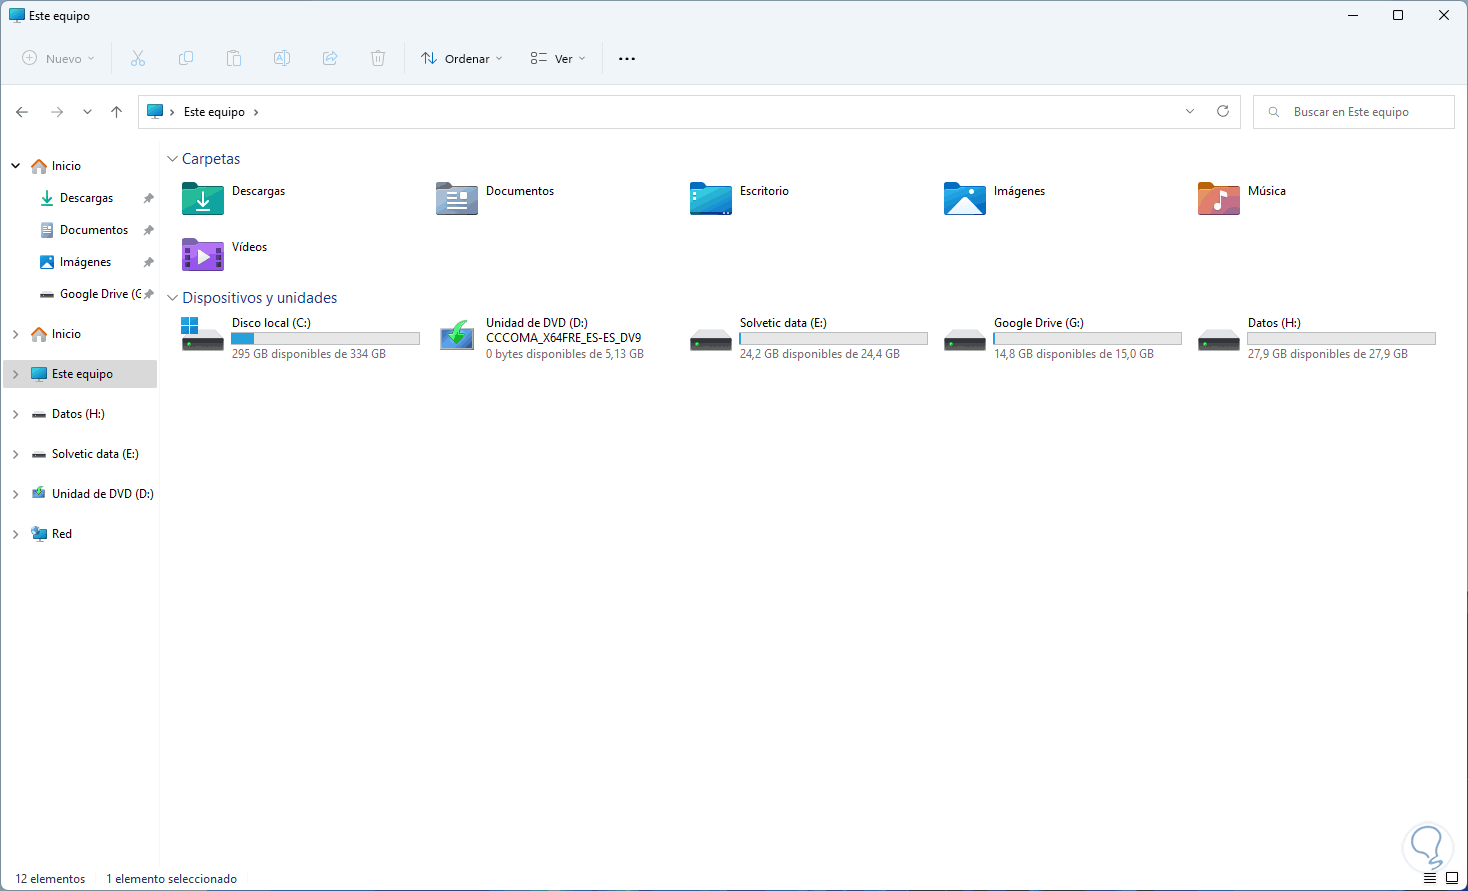
step 19
We open the File Explorer and there we will see the created disk:
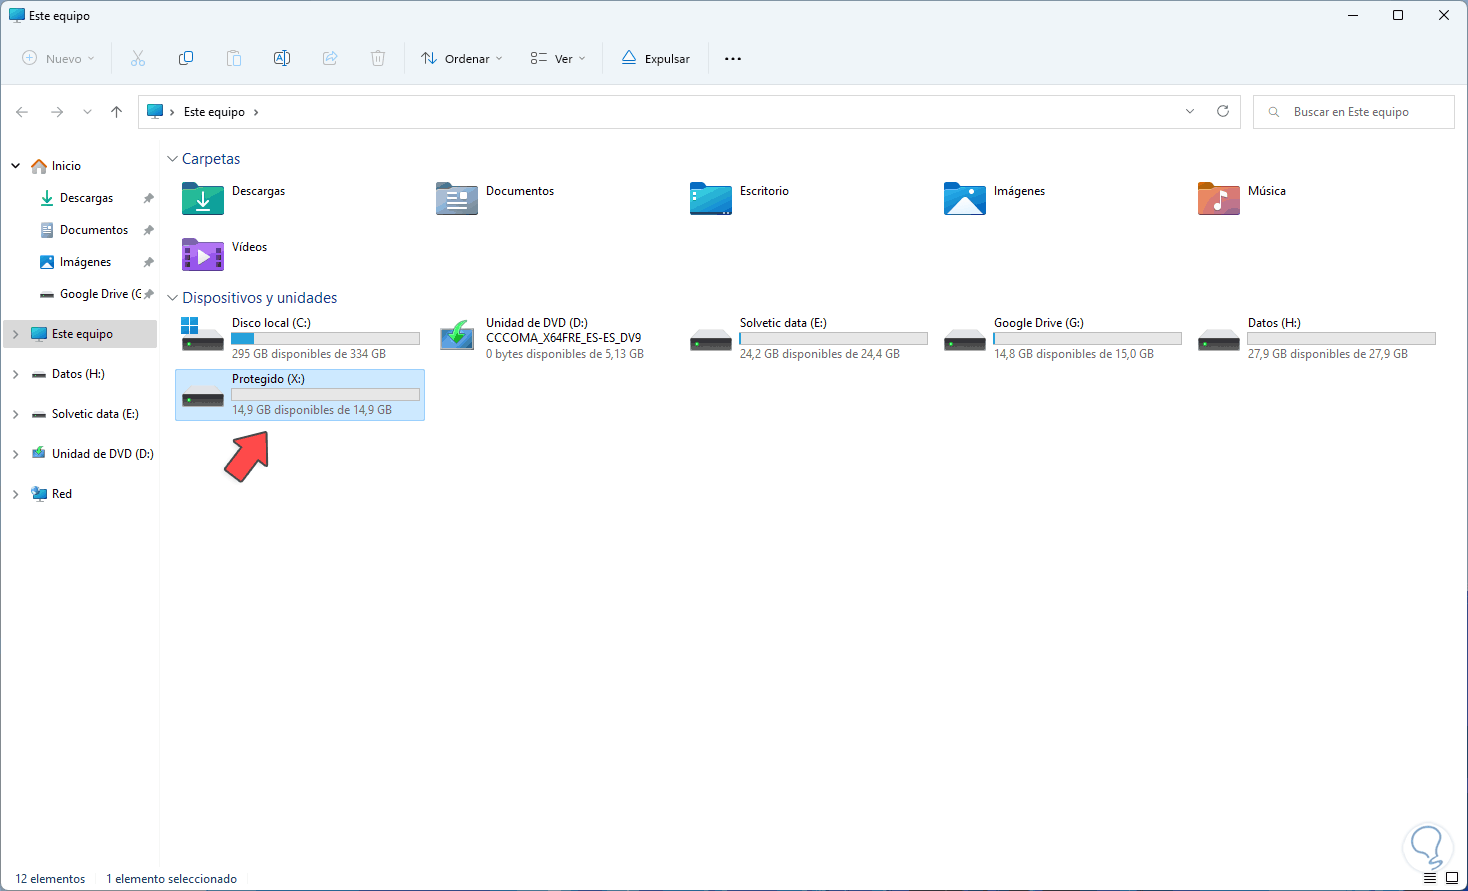
step 20
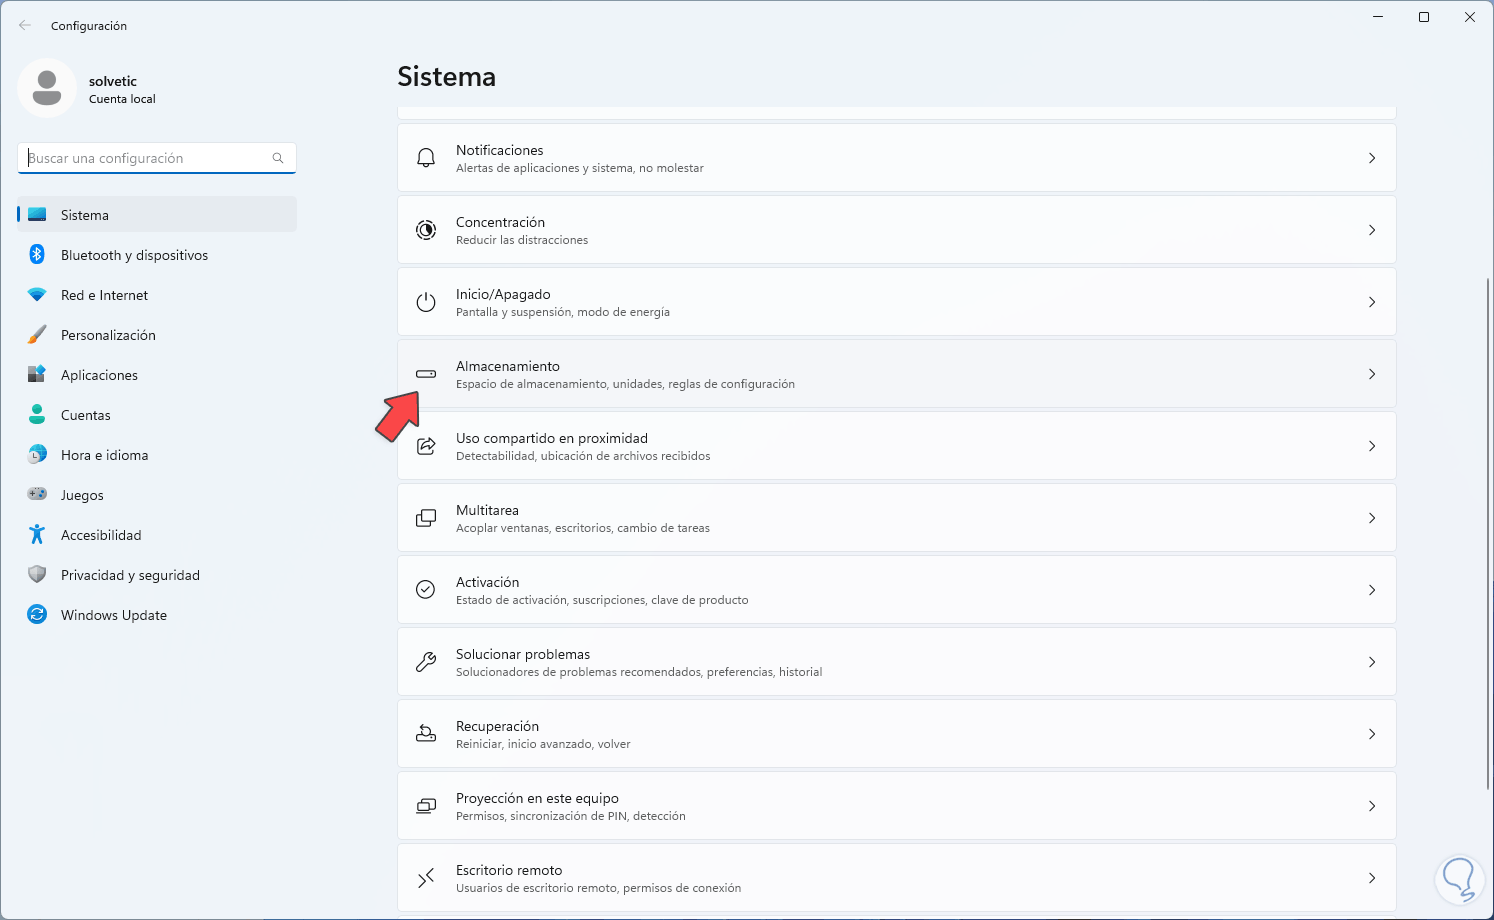
It is time to activate BitLocker, for this we go to "Settings - System - Storage"
:
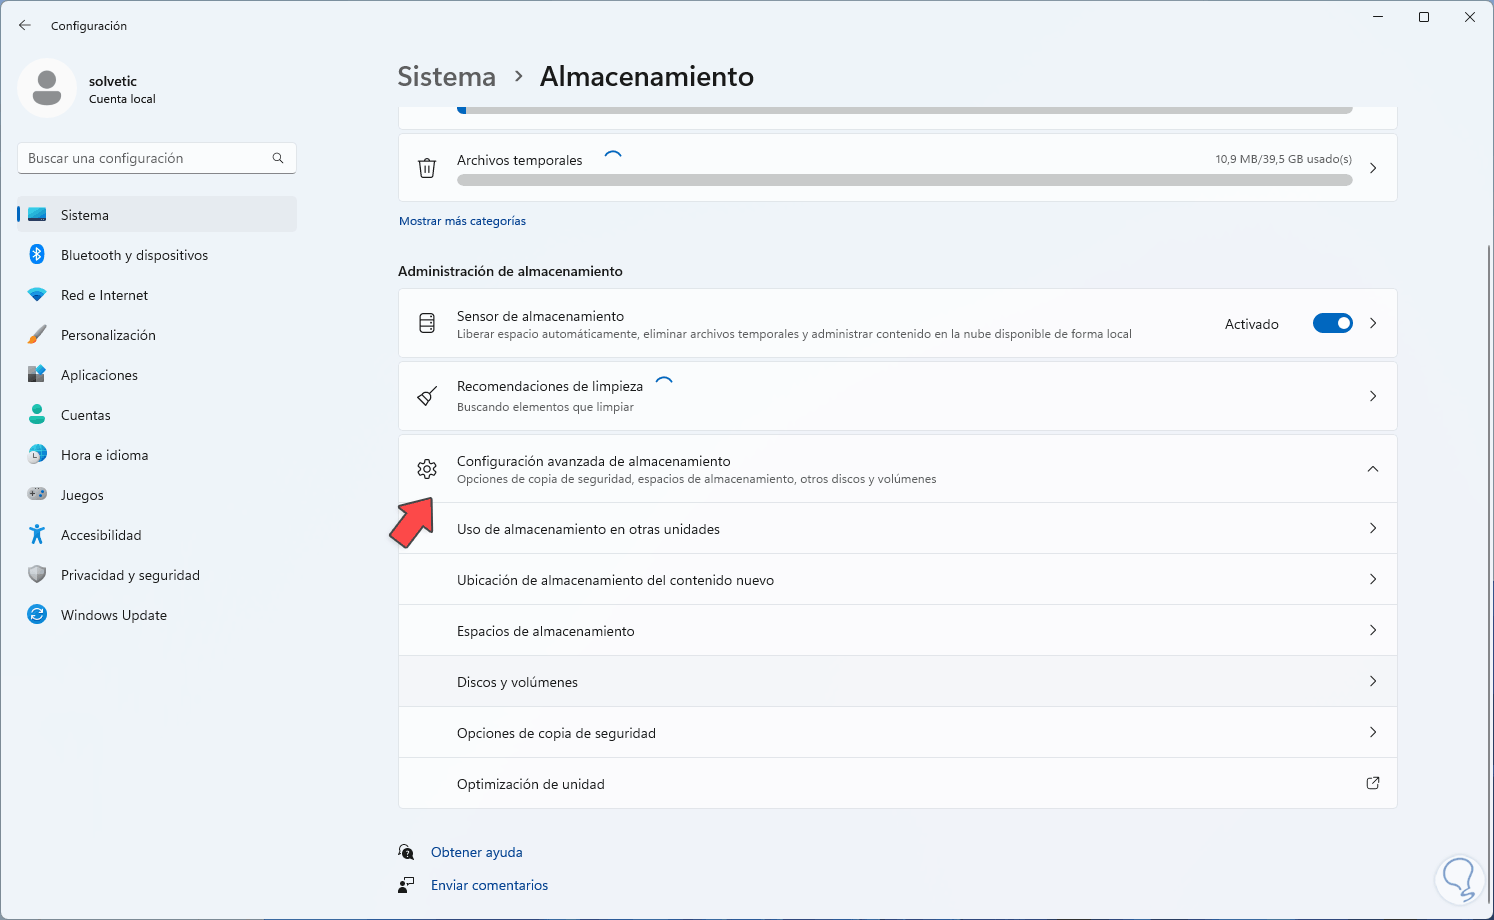
step 21
When accessing there we click on "Advanced storage configuration":
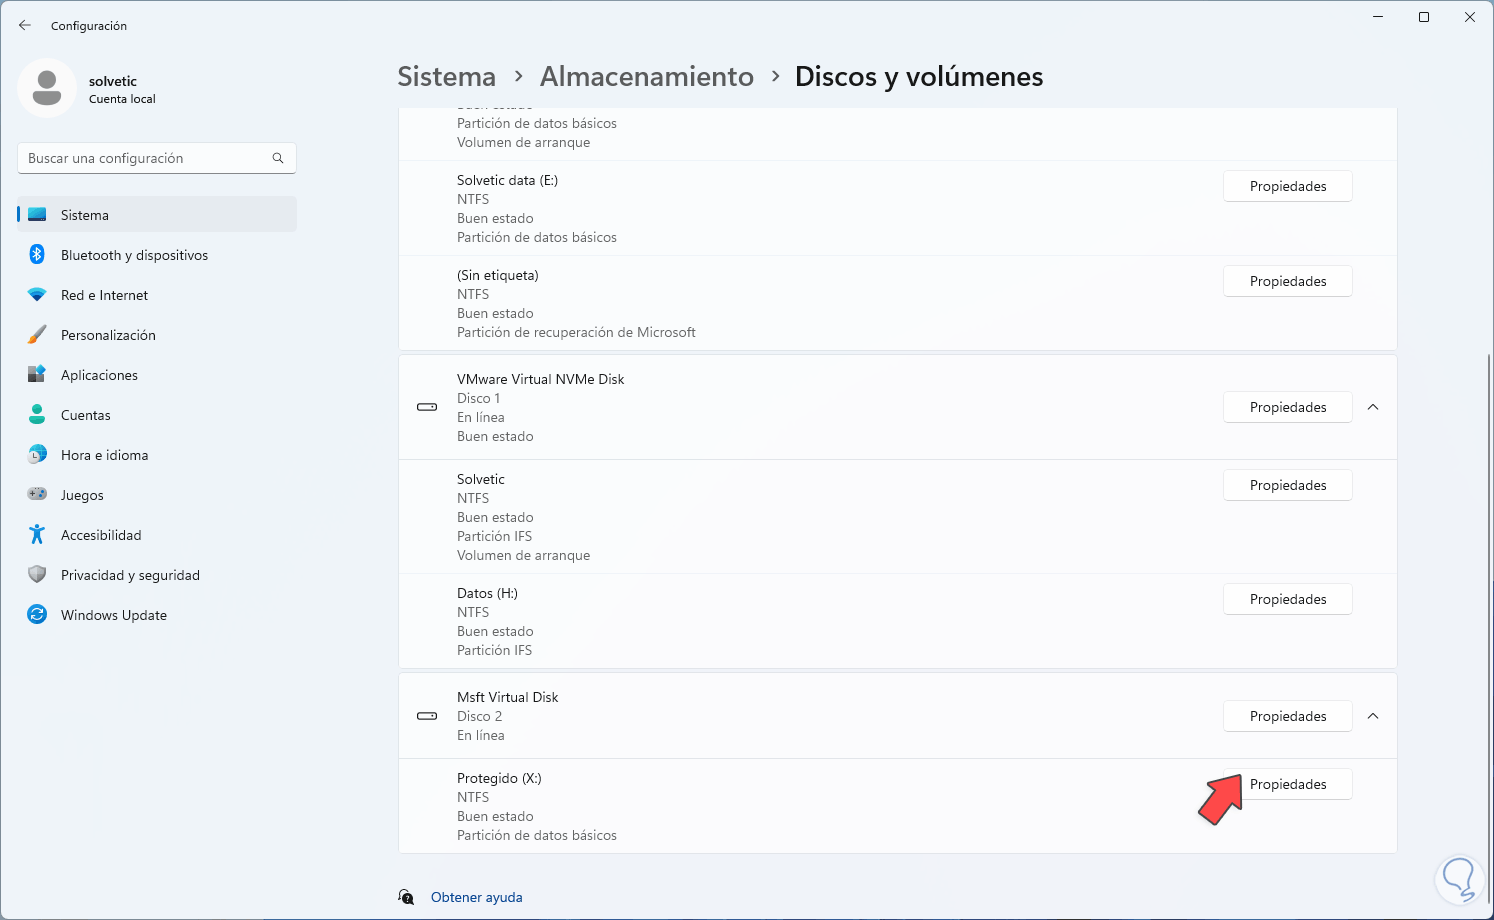
step 22
We click on "Disks and volumes", then we locate the created disk and click on "Properties":
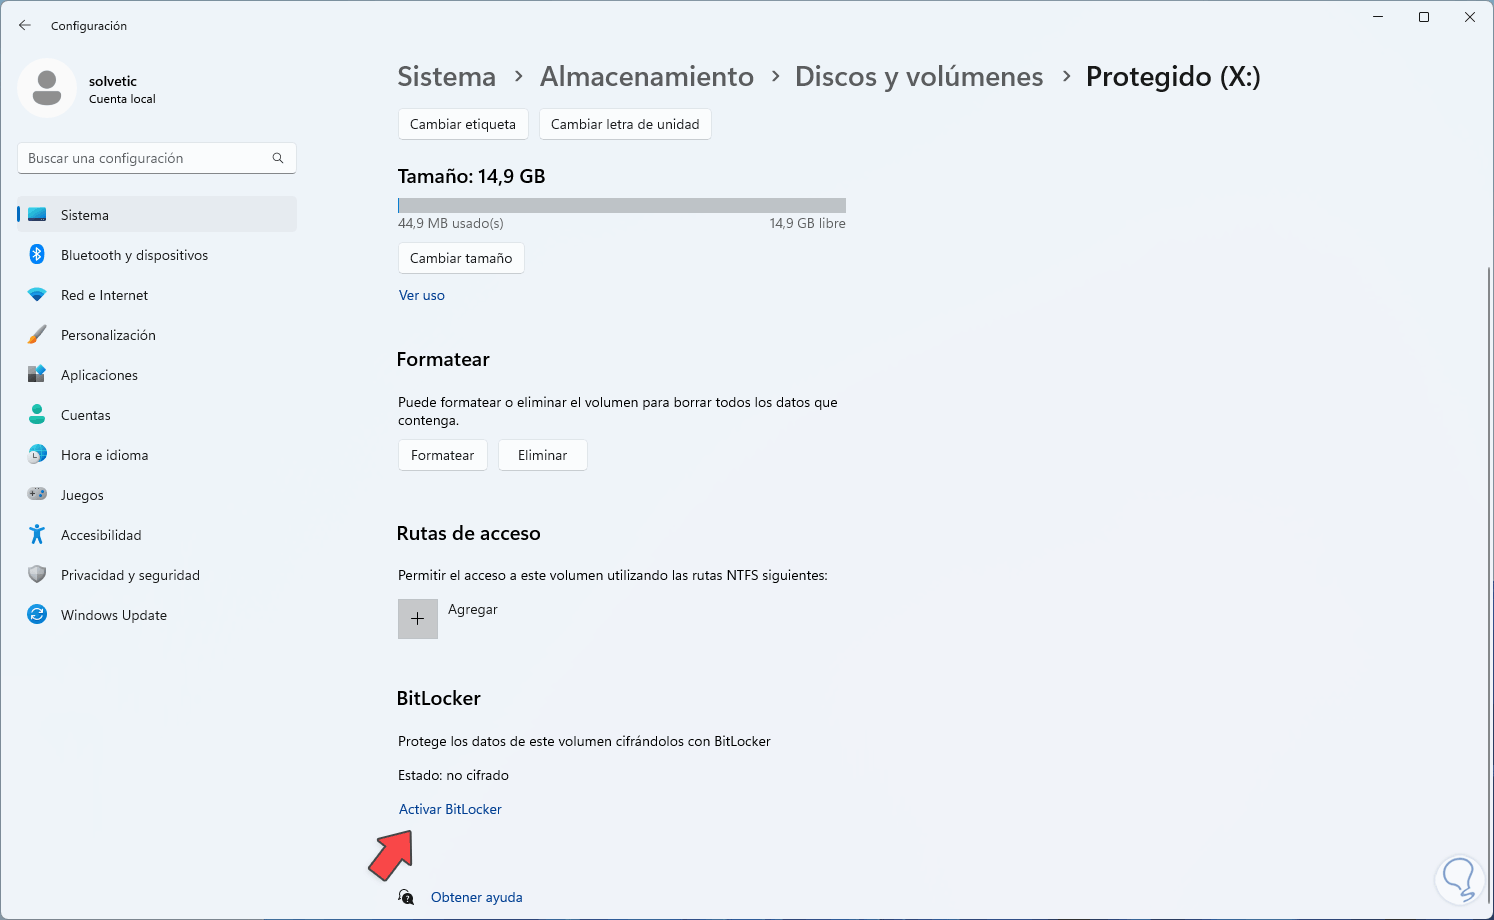
Step 23
We will have access to the disk properties. We click on "Activate BitLocker":
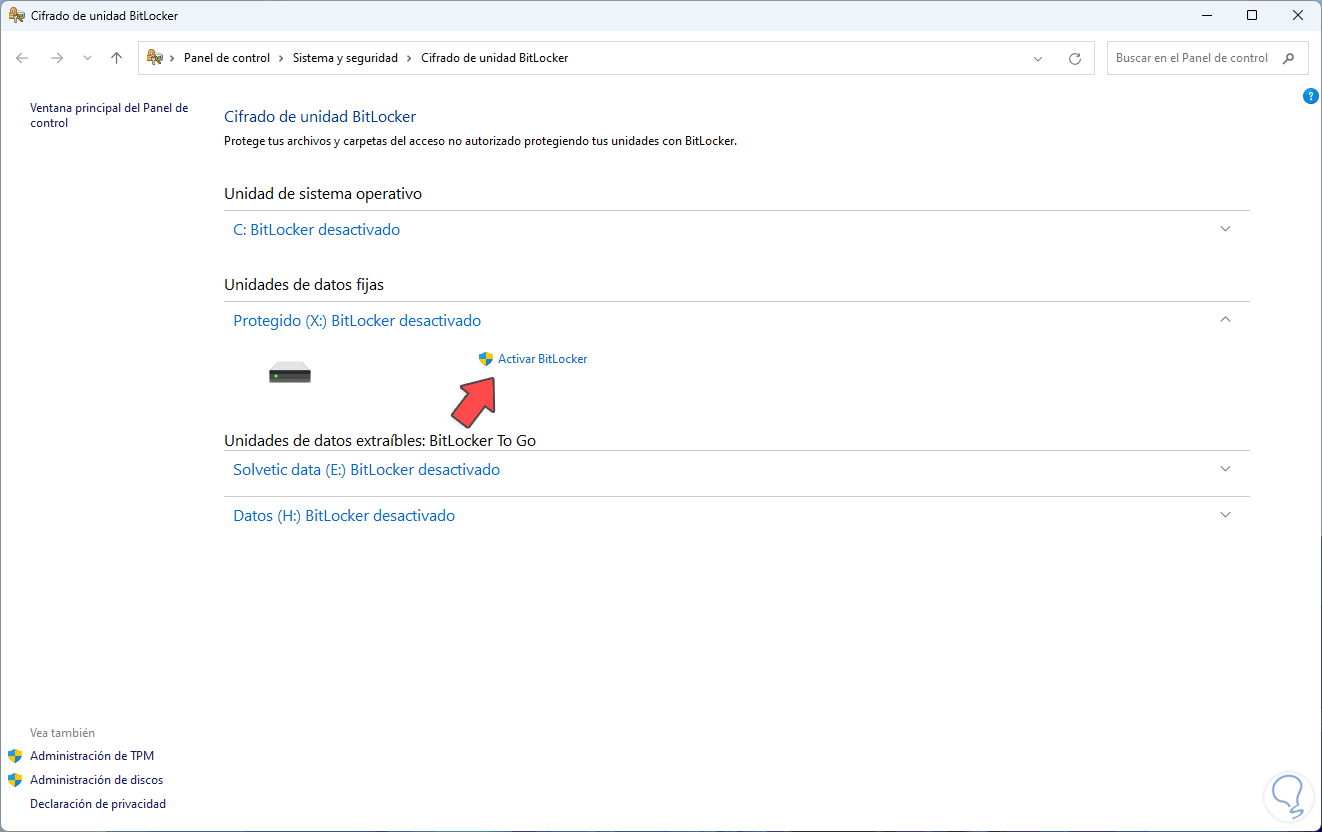
step 24
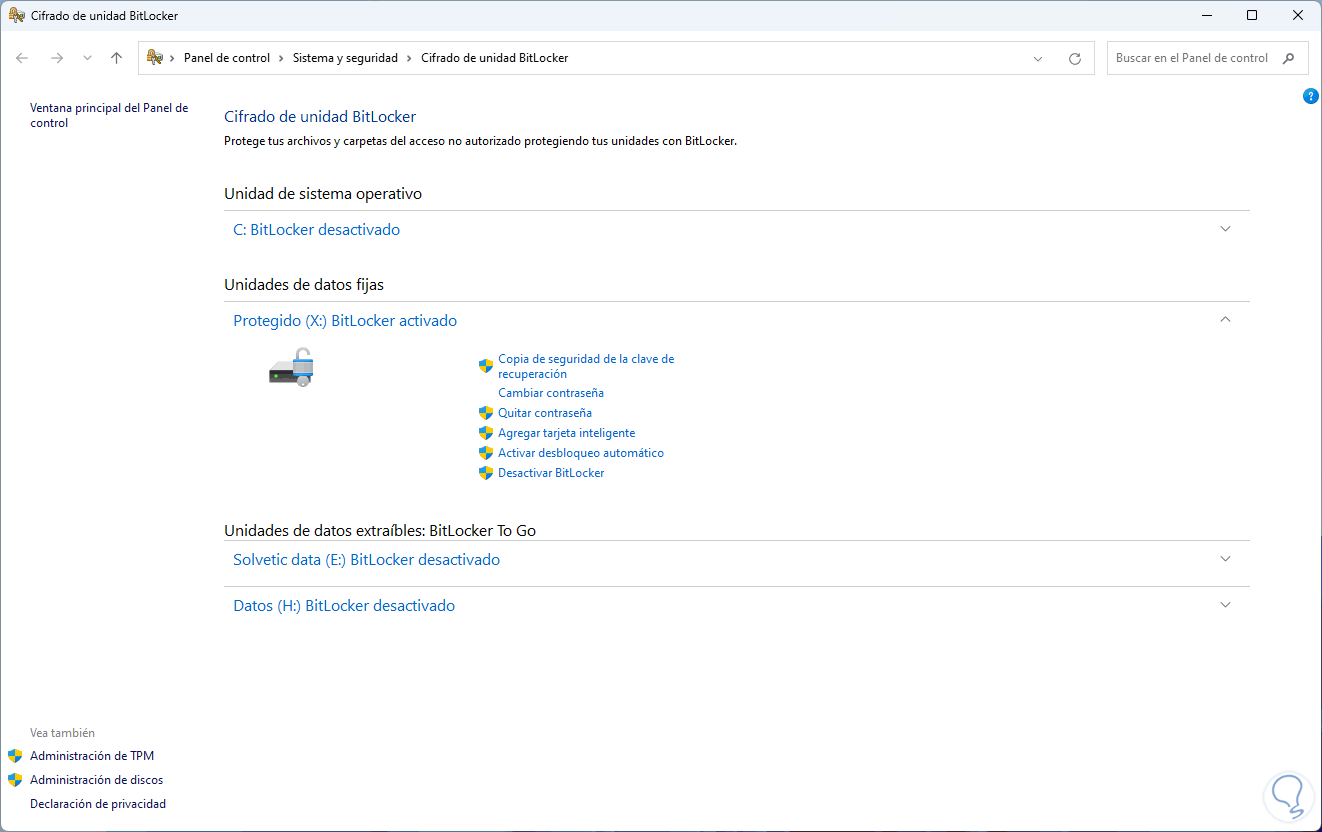
A Control Panel window will open, there we display the created drive to see its options.
We click on "Activate BitLocker".
step 25
and the following wizard will open:
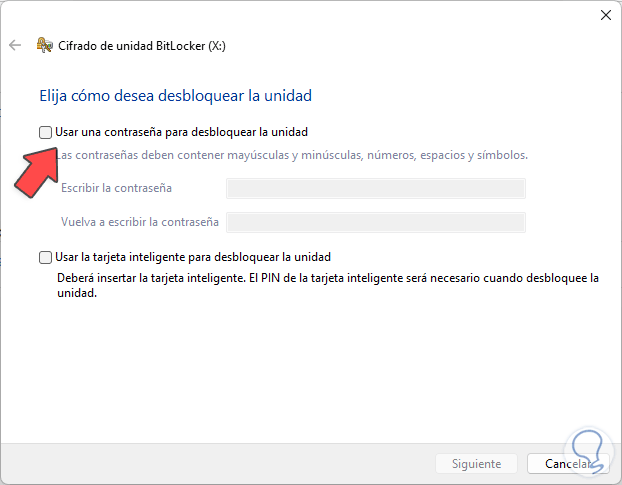
step 26
We activate the "Use a password to unlock the unit" box and assign the desired password:
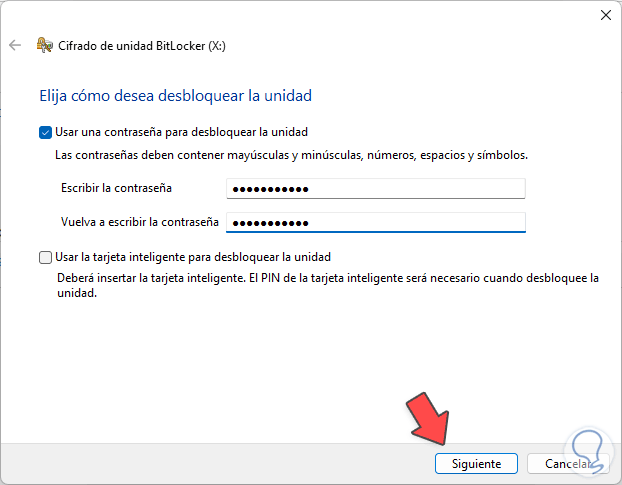
step 27
We click Next and select where to save the BitLocker password:
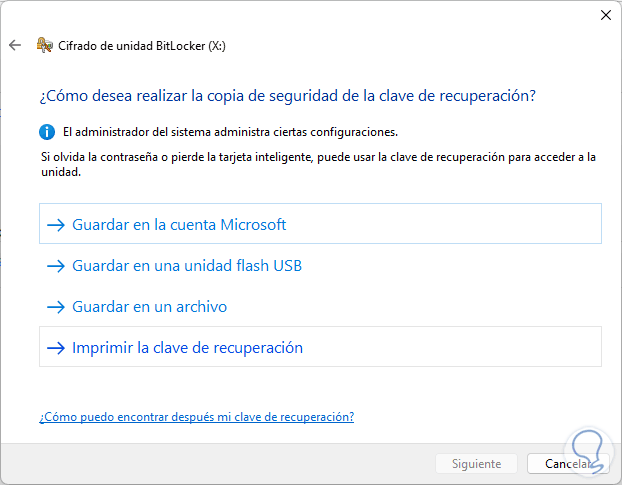
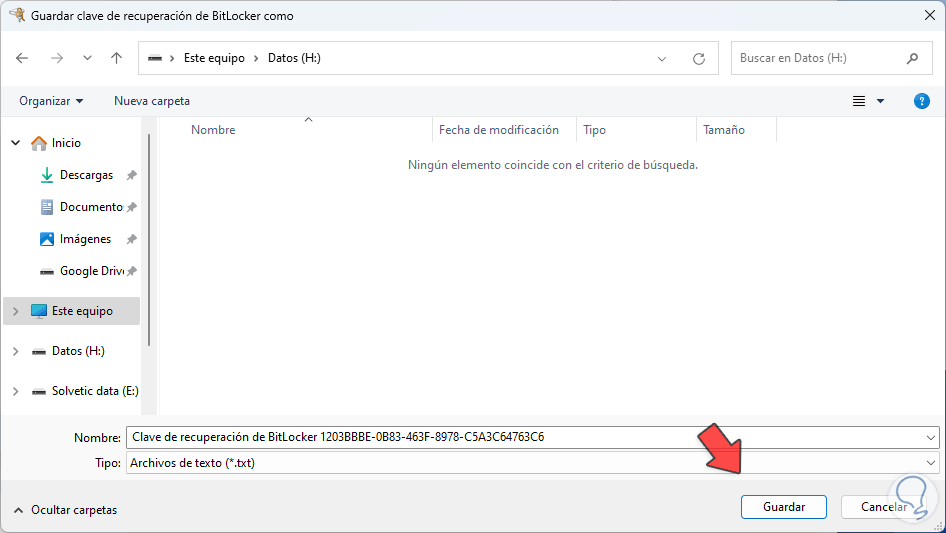
Step 28
In this case we click on "Save to a file" and define where the file will be stored with the password in case of forgetfulness or some management process:
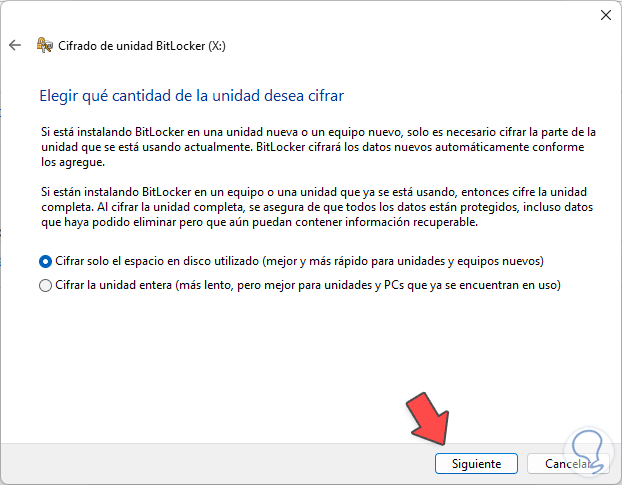
Step 29
After this we activate the "Encrypt only used disk space" box:
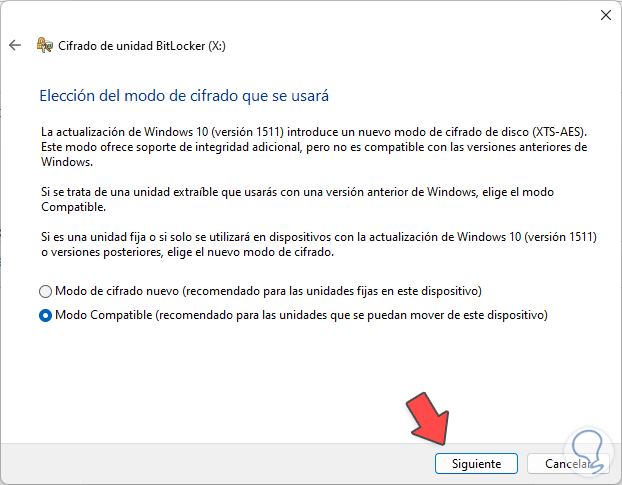
step 30
In the following window we activate the "Compatible mode" box:
step 31
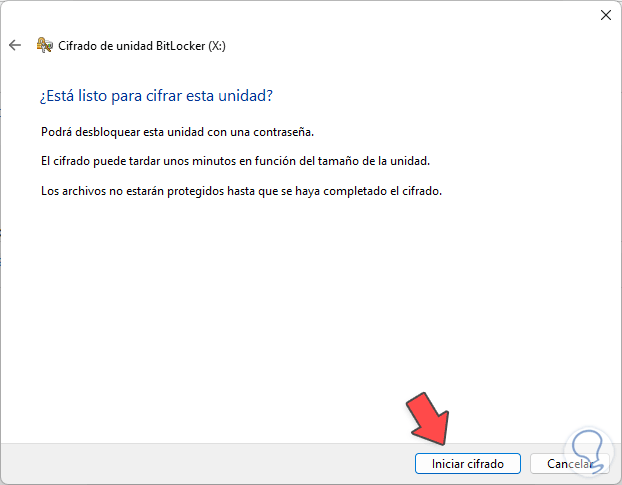
We click Next to be ready and start the protection and encryption process. We click on "Start encryption"
step 32
and wait for it to finish:
Step 33
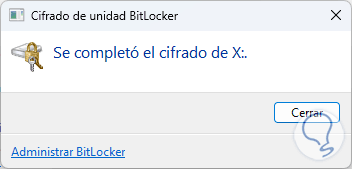
We will be notified of the encryption process:
Step 34
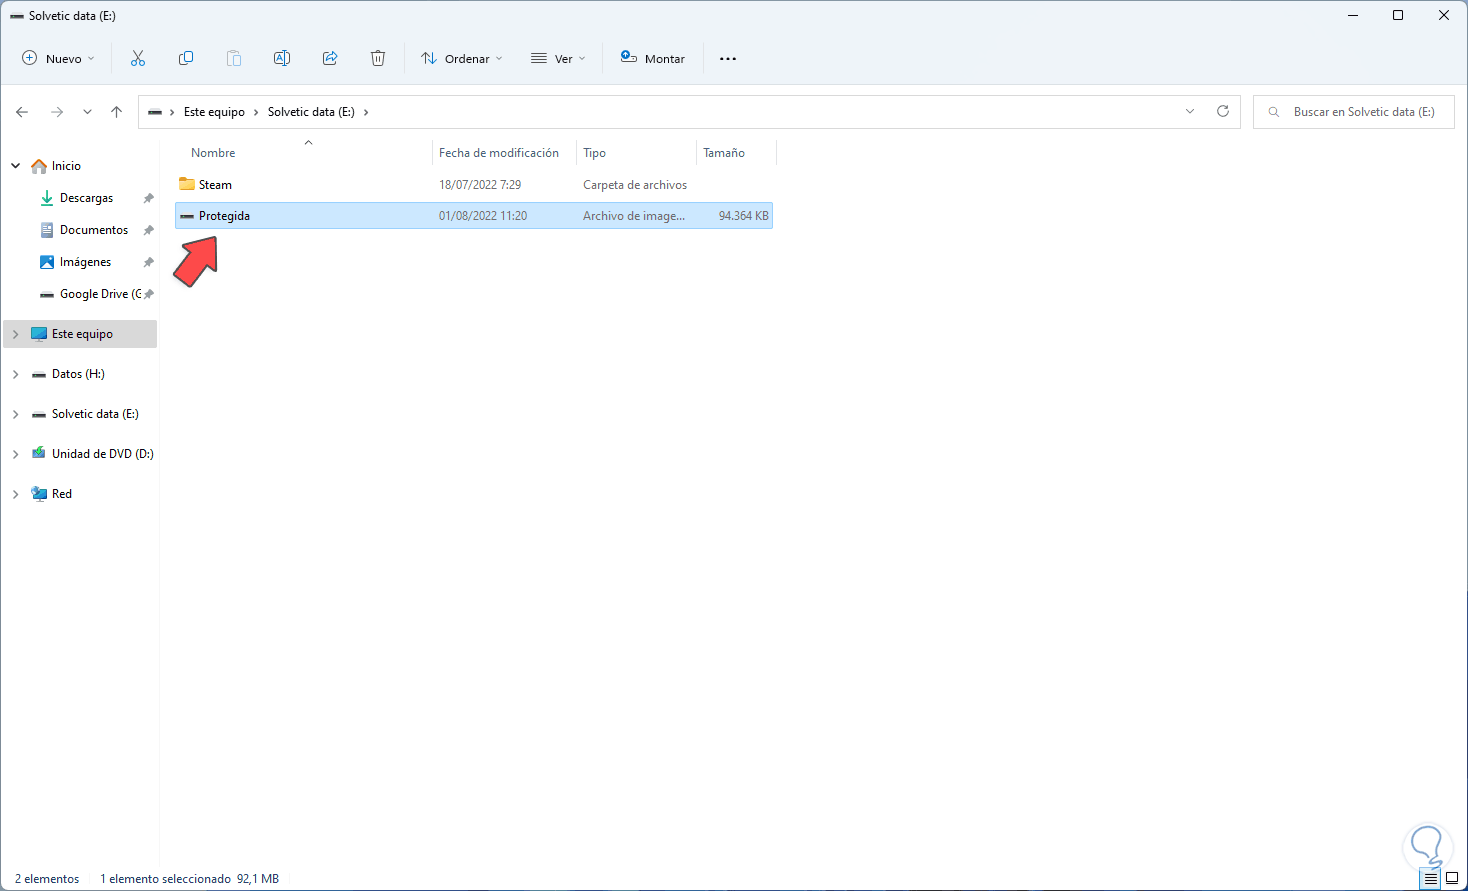
We open the File Explorer and there will be the protected unit:

step 35
By default you will have access to it directly, it is possible to create the folder to protect there. We restart Windows 11 to apply the drive encryption, once we log in we open File Explorer and access the location where the VHD disk was created:
Step 36
We double click on the VHD disk to mount it in Windows 11:
Note
if you have direct access we must restart the system again.
Step 37
In case after the reboot the encryption has been applied we will see the following message:
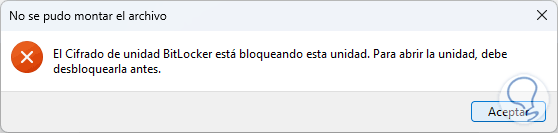
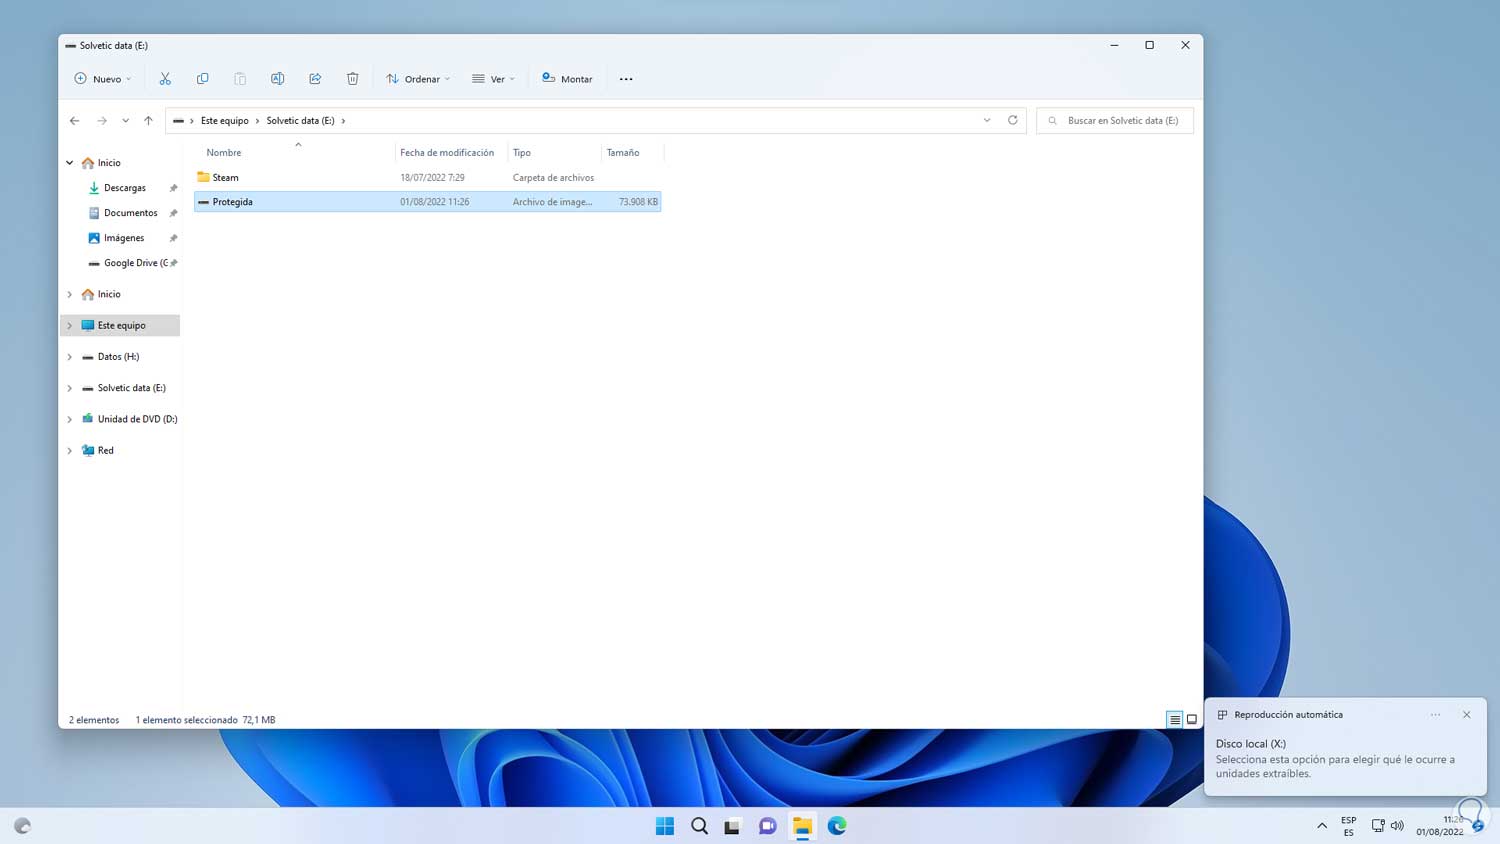
Step 38
To access the folder and work on it, in Explorer we see the drive ready to be mounted but protected:
Step 39
We double click on it and it will be necessary to enter the created BitLocker password:

step 40
Once we enter the password we click on "Unlock" and the unit is ready to be used:
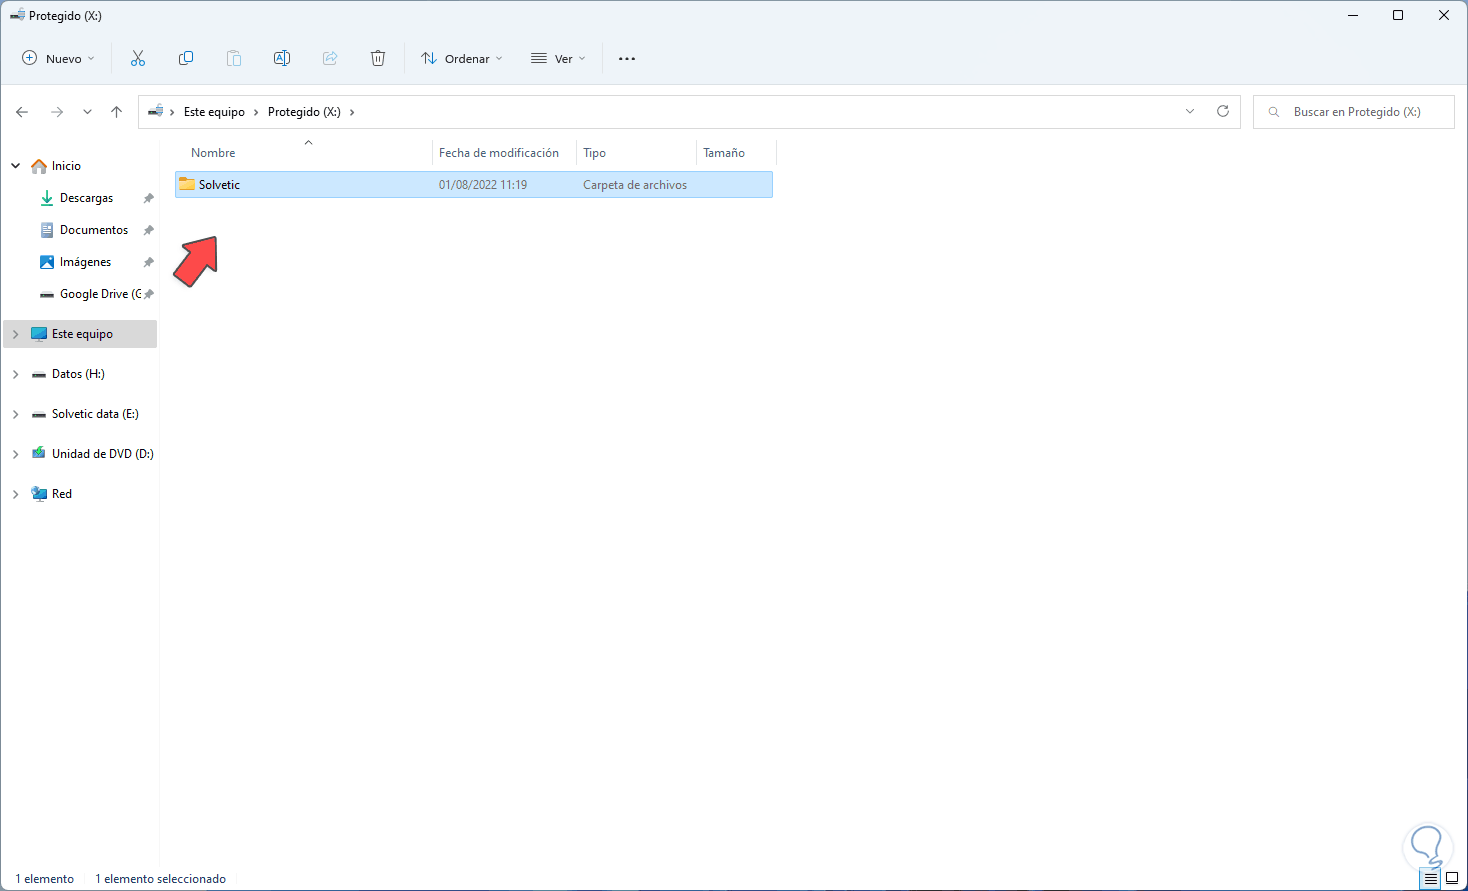
Step 41
There it is possible to use the folder where the information will be stored:
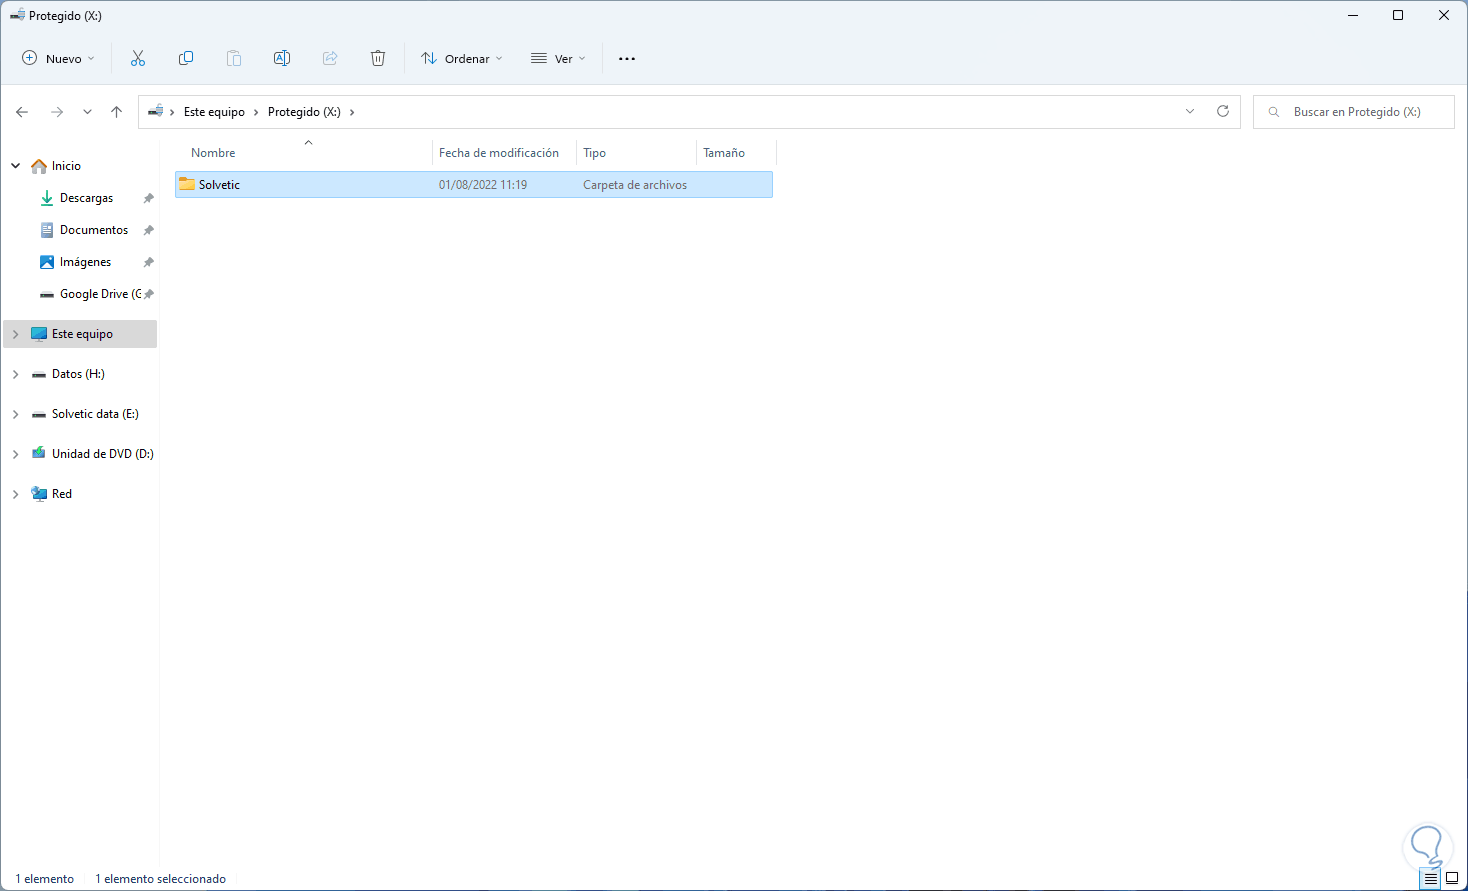
step 42
When we do not use it, we right click on it and select "Eject":

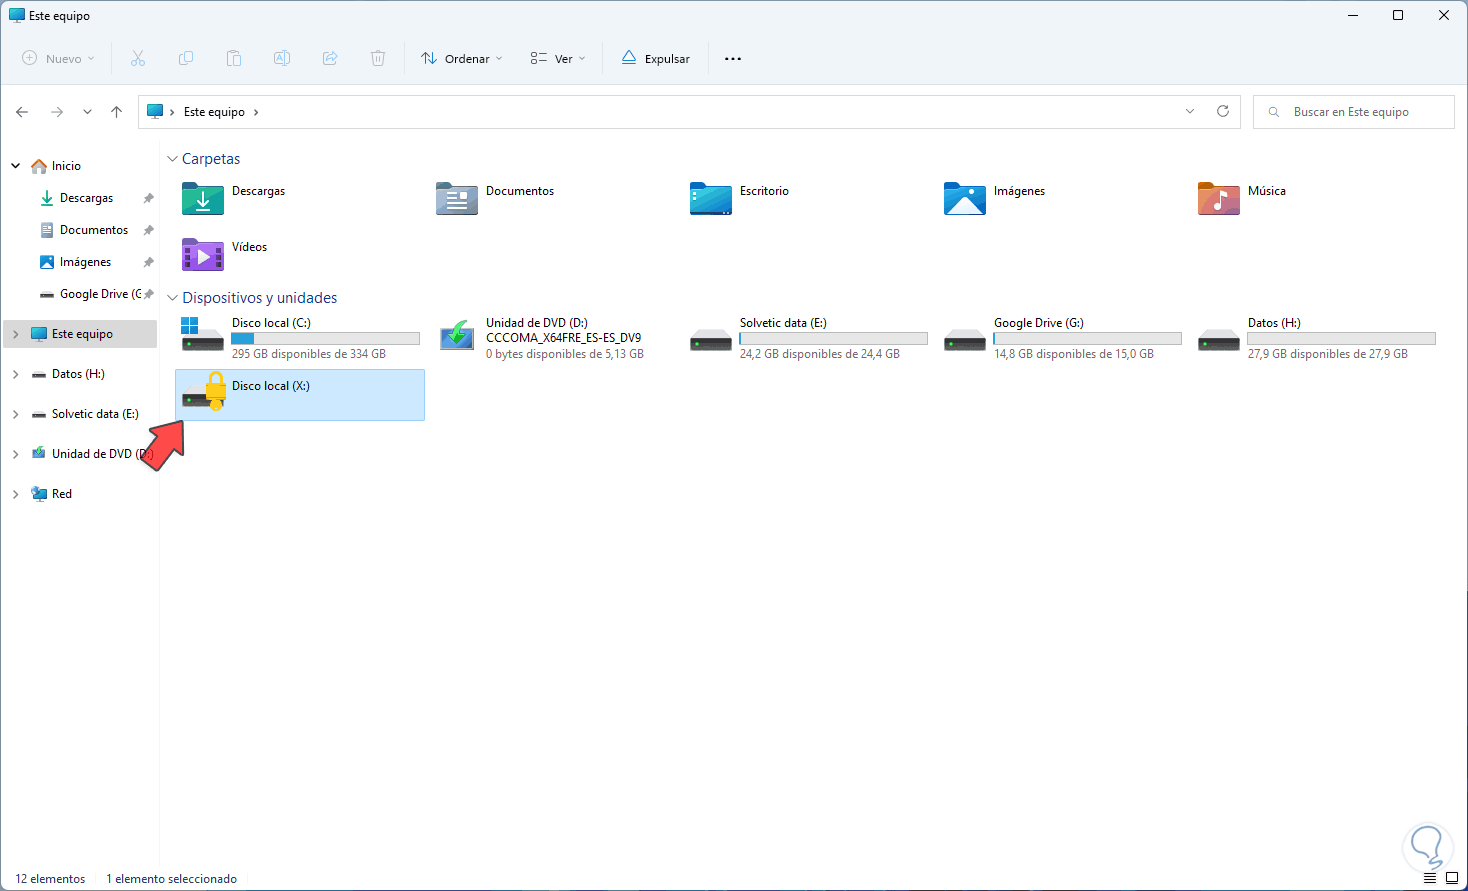
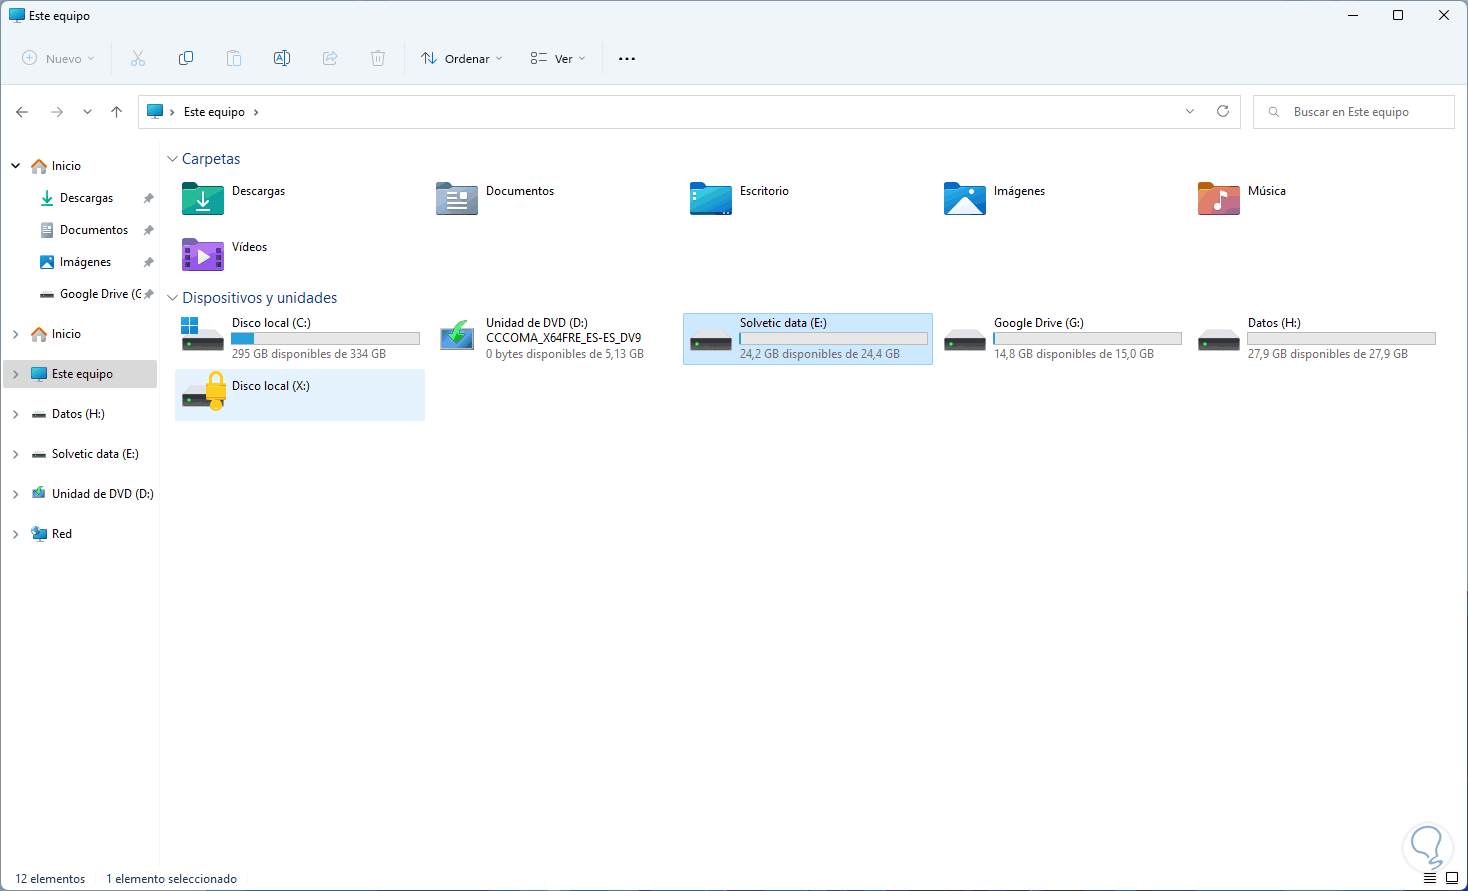
Step 43
We will see that the unit will be hidden for protection:
Step 44
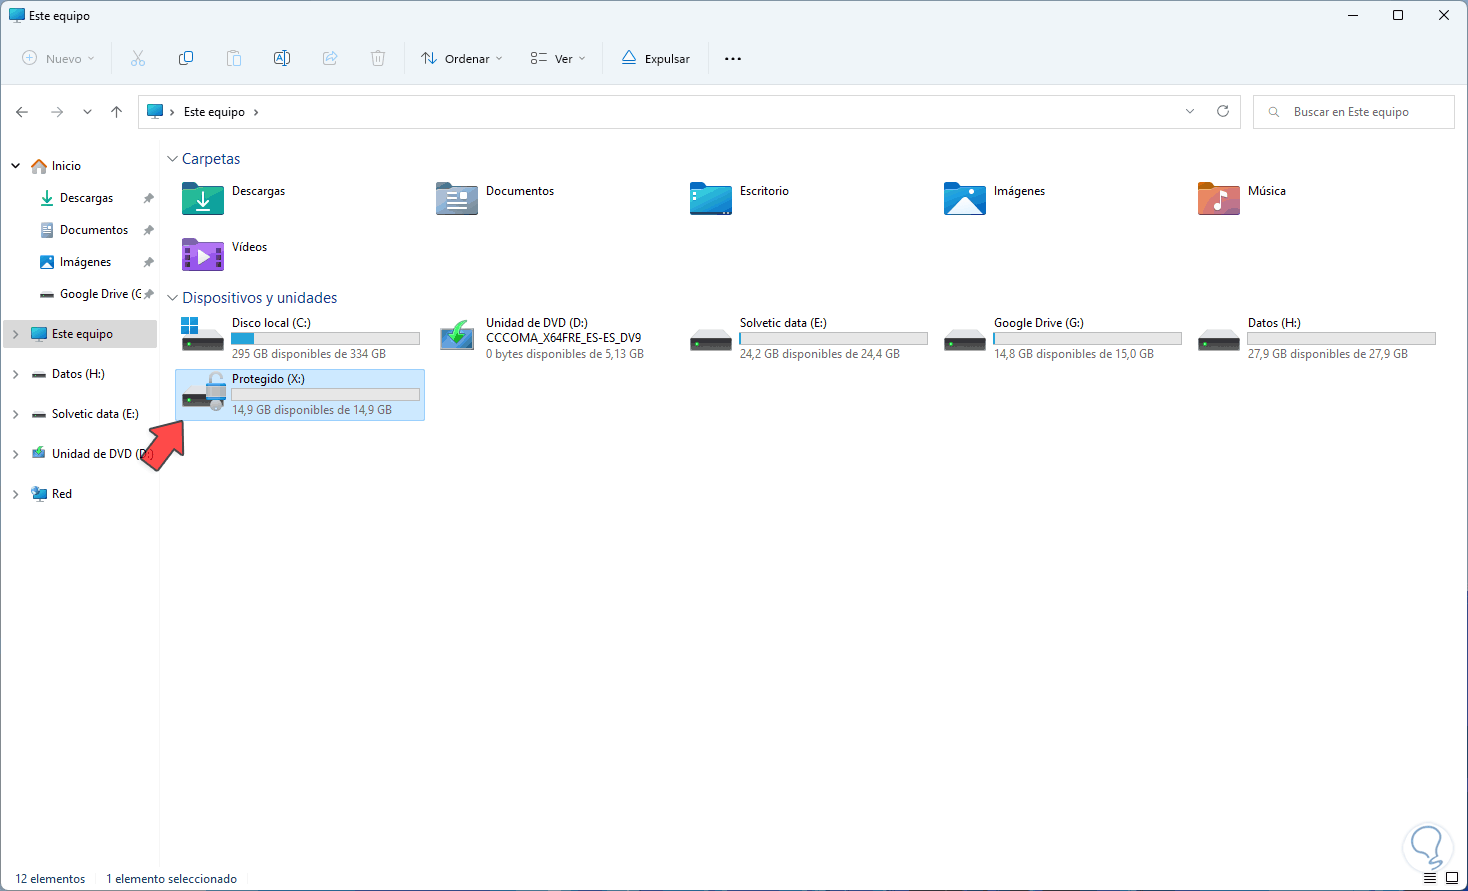
To use it again from the disk where the VHD was created, we mount the protected unit:
step 45
There, the password will be required to work in the folder or in the elements that we host in the created VHD drive:
Thanks to this method it is possible to add security to the information and data that we work on in Windows 11 and what better than using BitLocker for this purpose.