Security in any operating system is a key aspect that both administrators and developers take seriously since some vulnerability can put the integrity of the system and user information at risk. To help mitigate this, in Ubuntu we have Firewalld which is a comprehensive security solution.
Firewalld is a simple firewall which is based on zones and through policies each of the zones can be configured to manage the firewall rules, at this point it is important to remember that the network is logically divided into zones and all the traffic flowing there may be directed by policy..
Policies are able to apply firewall rules to all current types of traffic such as inbound, forwarded or outbound traffic, Firewalld is tied to the following zone criteria:
Firewall criteria
- Traffic enters a single zone
- A zone can determine the level of confidence
Firewall Advantages
Some of the advantages of Firewalld are:
- It has support for IPv4, IPv6 firewall configuration, ethernet bridges and IP pools
- It has an interface for services or applications
- IPv4 and IPv6 NAT support
- Integrated firewall zones
- It has a graphical configuration tool through gtk3
- Managing applets using Qt5
- Simple logging of denied packets
- Port forwarding management, icmp filter and more
- Predefined list of icmp zones, services and types
- Blocking and access to a white list of applications which the firewall can modify
Firewalld systems
Firewalld can be used in systems like:
Firewall Compatibility
The applications and libraries that are compatible with Firewalld being used as a firewall management tool are:
- docker (iptables backend)
TechnoWikis will teach you how to install and use Firewalld on Ubuntu.
To stay up to date, remember to subscribe to our YouTube channel!
SUBSCRIBE ON YOUTUBE
How to use Firewalld in Ubuntu
Step 1
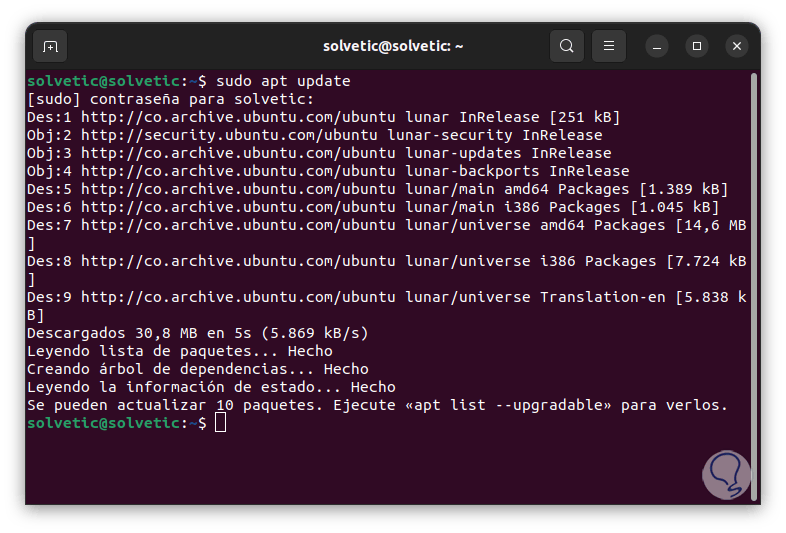
We open the terminal and first update the system:
sudo apt update
Step 2
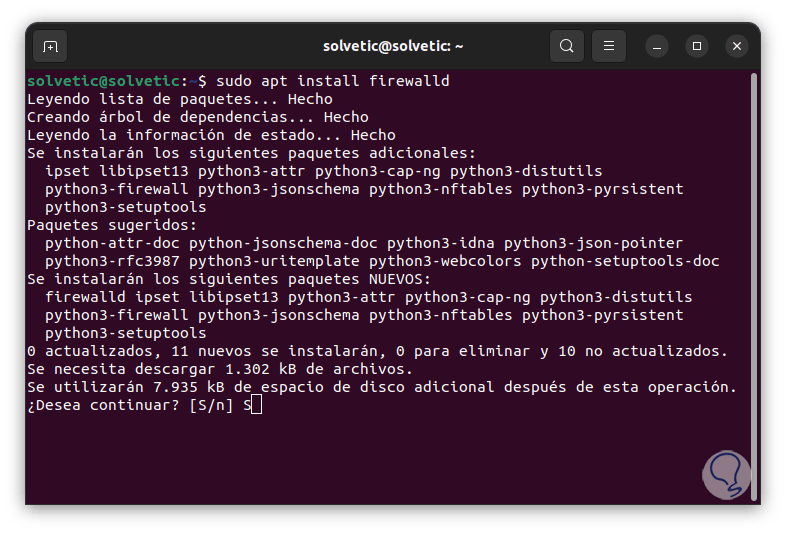
We install Firewalld with the command:
sudo apt install firewalld
Step 3
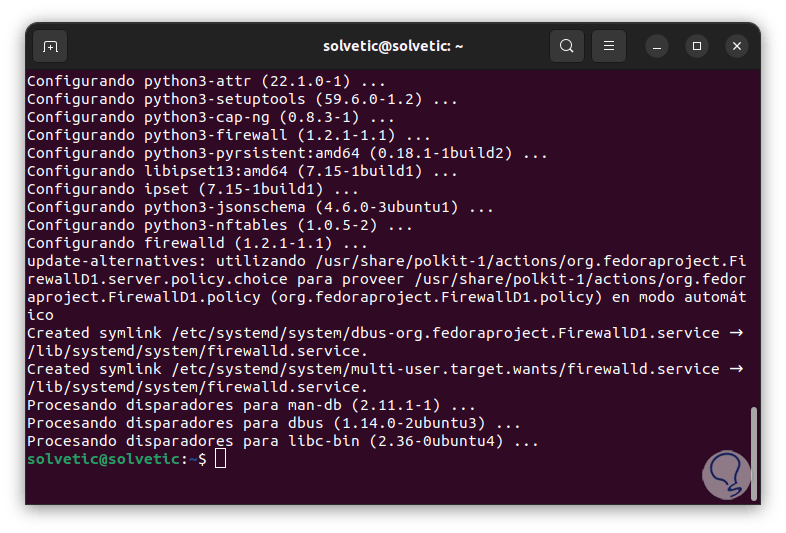
Confirm the process by entering the letter S:
Step 4
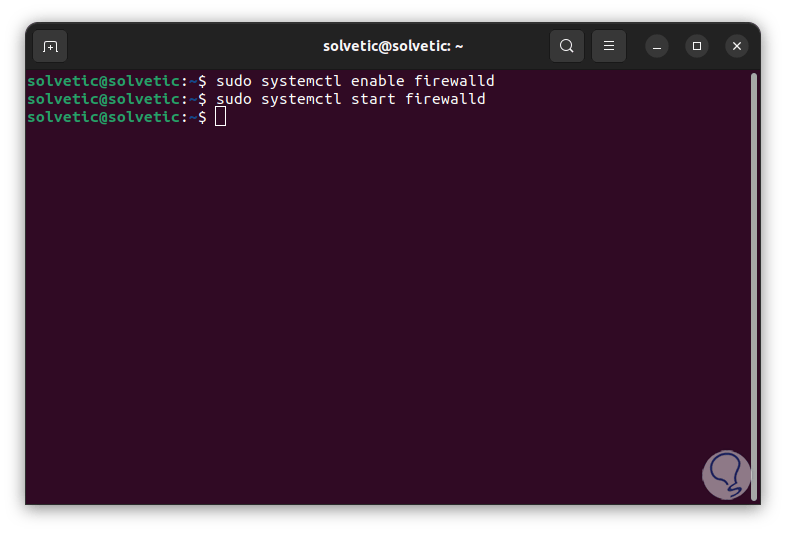
We enable and start the Firewalld service:
sudo systemctl enable firewalld sudo systemctl start firewalld
step 5
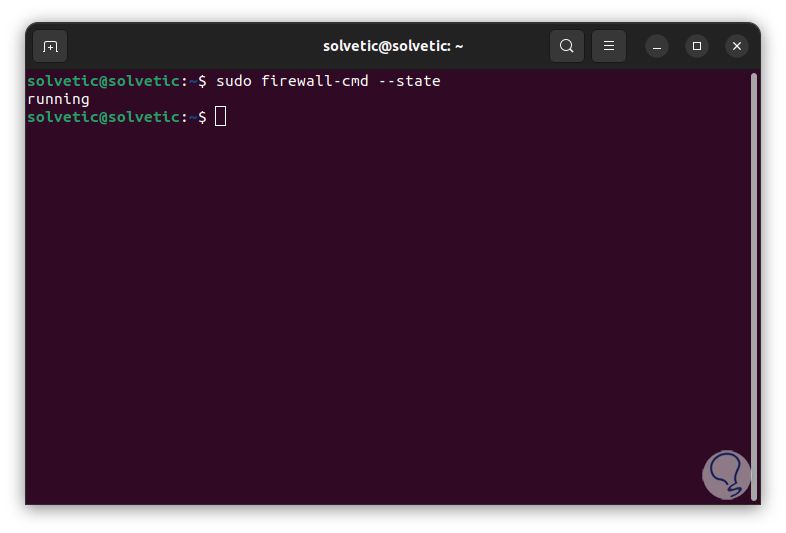
We validate the status of Firewalld:
sudo firewall-cmd --state
step 6
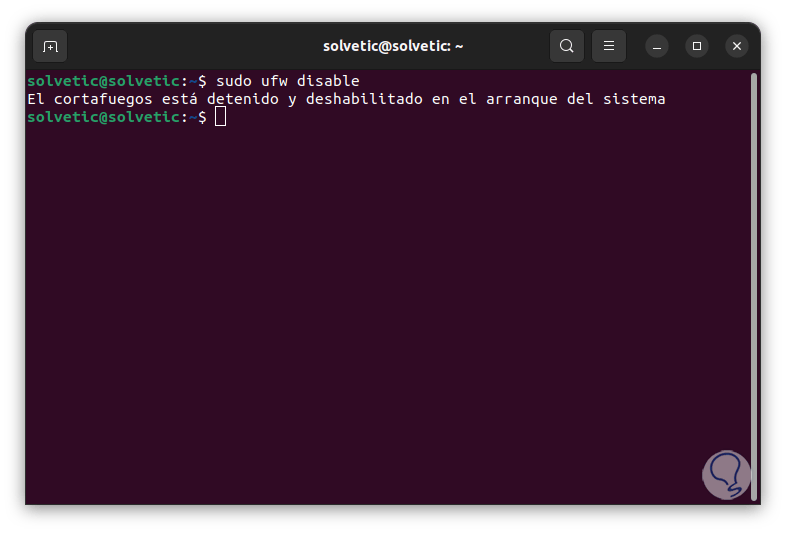
We see that it is running. In case of using UFW in Ubuntu you must disable it with the command:
sudo ufw disable
step 7
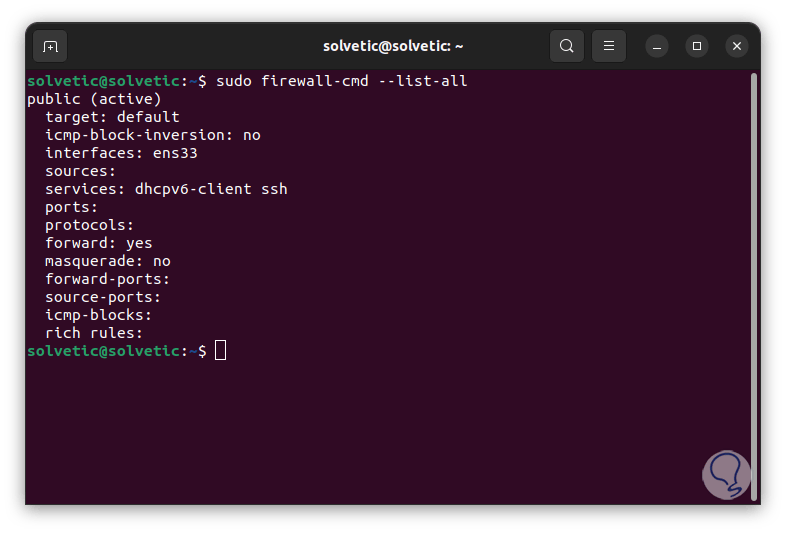
Now it is time to configure Firewalld, to see the configuration of the rules we execute the following:
sudo firewall-cmd --list-all
Note
The ssh and dhcpv6-client services are enabled by default when starting the firewalld service.
step 8
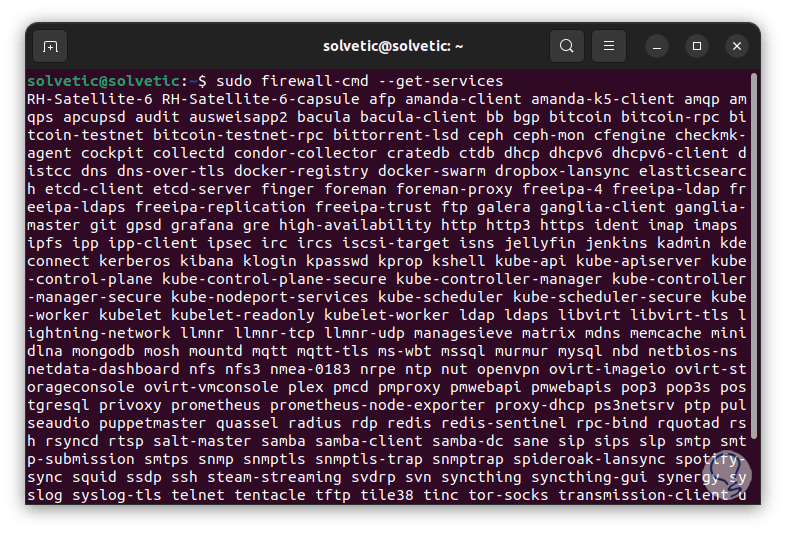
To see the protected services we execute:
sudo firewall-cmd --get-services
step 9
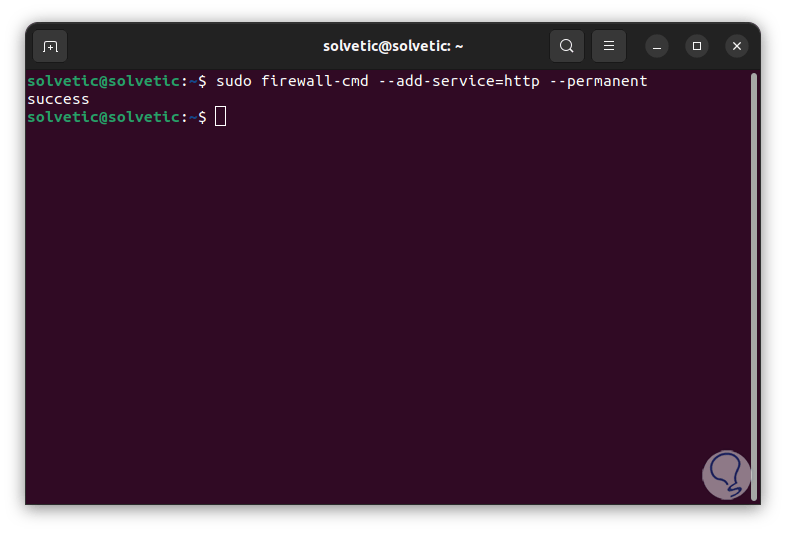
To enable a protocol permanently we execute:
sudo firewall-cmd --add-service="protocol" –permanent
step 10
To enable two or more protocols we execute the syntax:
sudo firewall-cmd --permanent --add-service={protocol, protocol1} --permanent 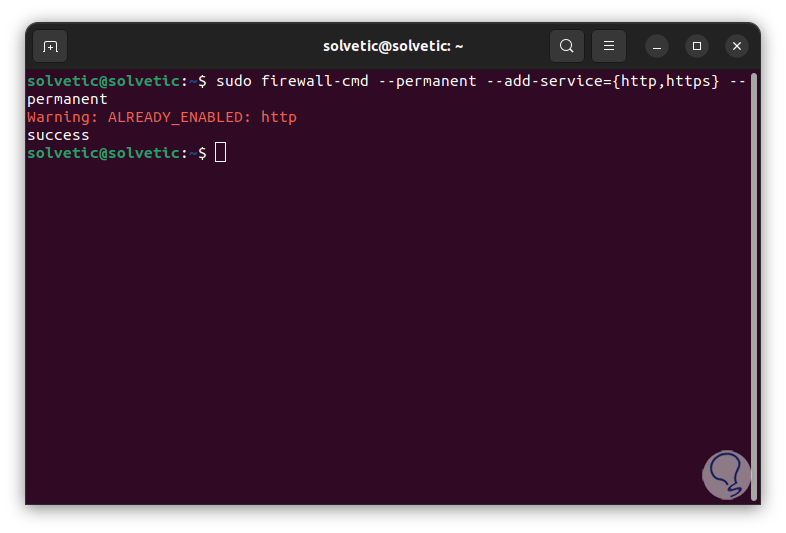
step 11
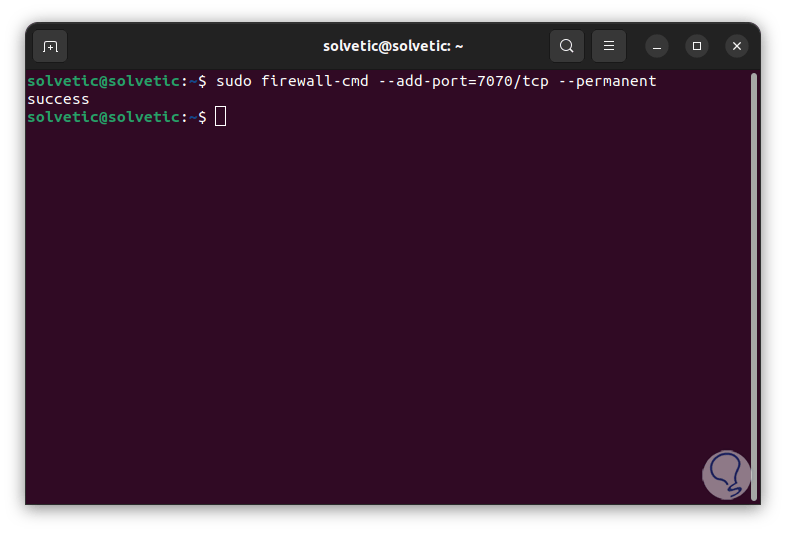
To enable a TCP port we execute:
sudo firewall-cmd --add-port=#/tcp --permanent
step 12
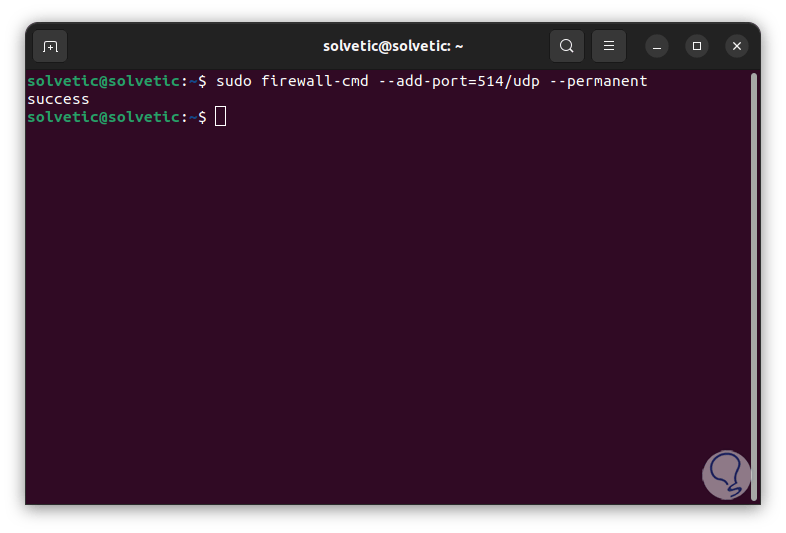
To enable a UDP port we execute:
sudo firewall-cmd --add-port=#/udp --permanent
step 13
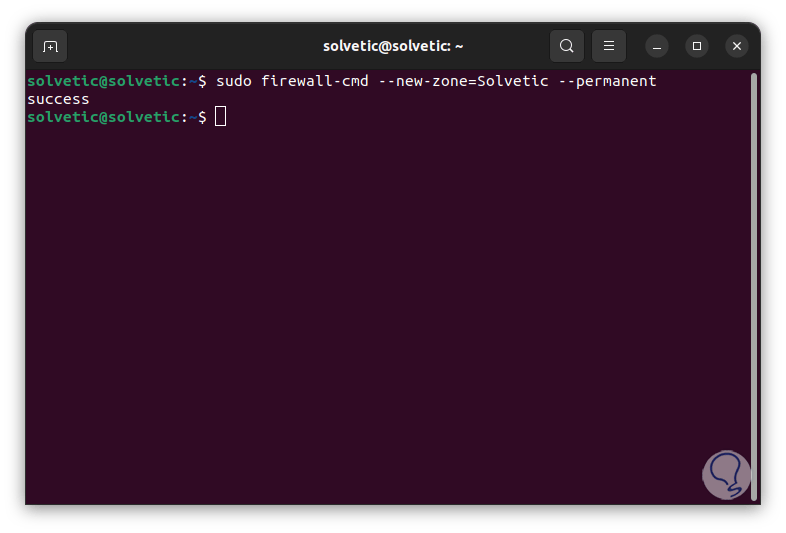
To create a new zone we execute the syntax:
sudo firewall-cmd --new-zone="zone" –permanent
step 14
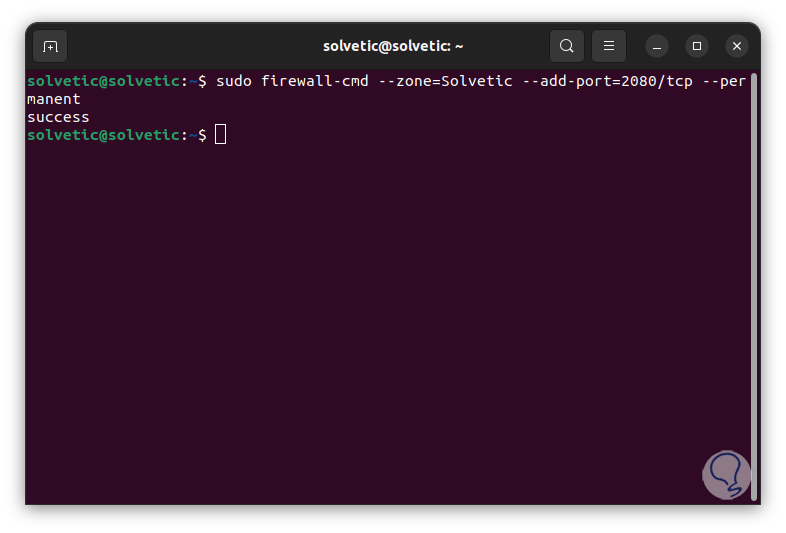
If we want to add a port and protocol in that zone we enter:
sudo firewall-cmd --zone="zone" --add-port=”port”/tcp –permanent
step 15
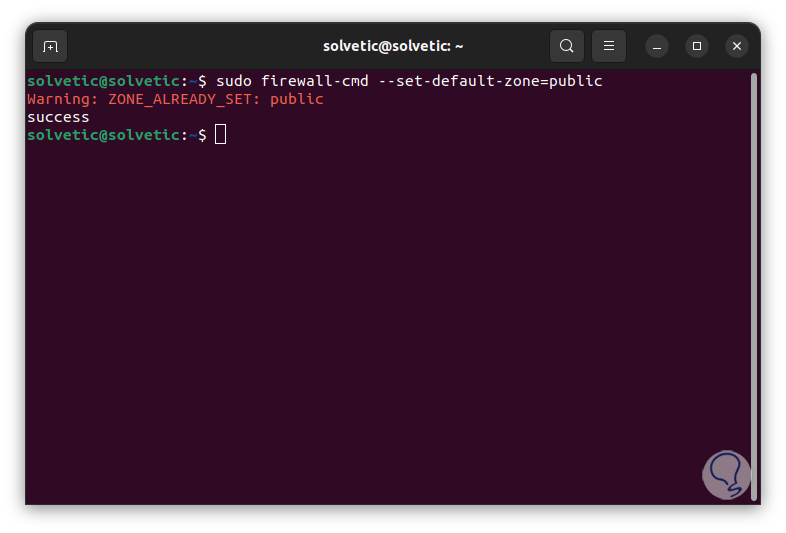
To establish a default zone we execute:
sudo firewall-cmd --set-default-zone="zone_type" --permanent
EITHER:
sudo firewall-cmd --set-default-zone="zone_type"
step 16
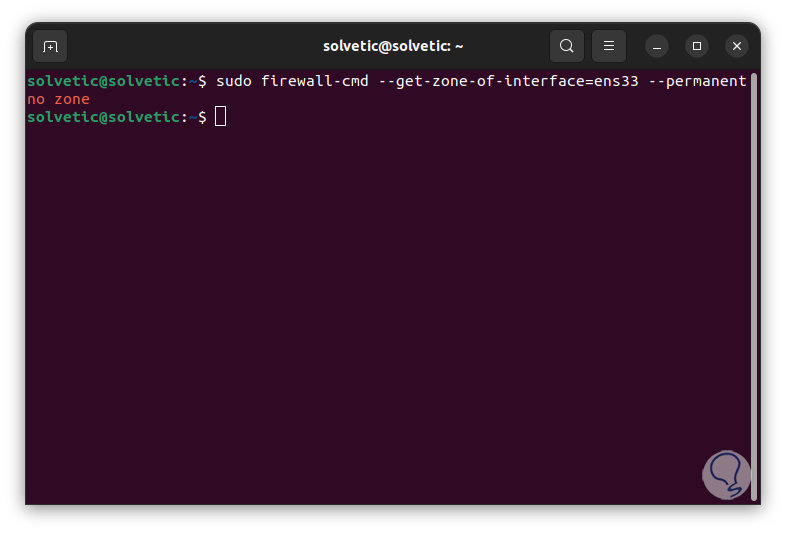
We list the zone to which a network interface belongs:
sudo firewall-cmd --get-zone-of-interface=“interface” –permanent
step 17
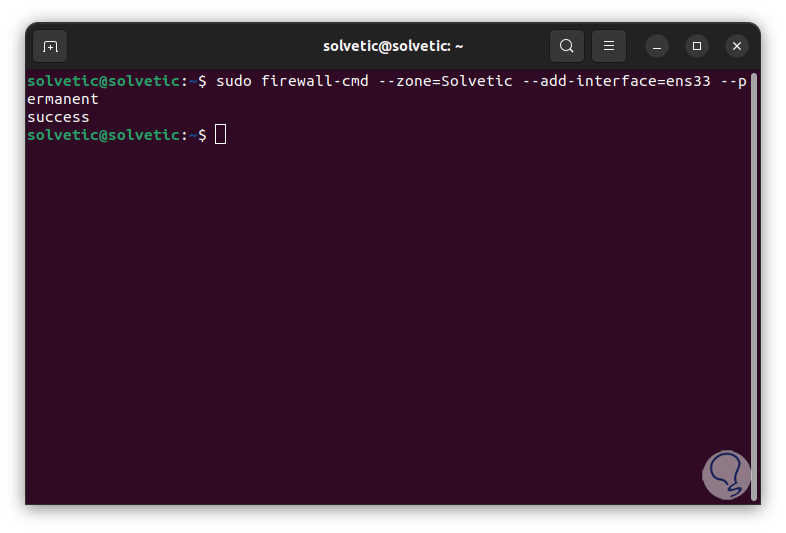
We see that no zone is detected, we add the network interface to a zone:
sudo firewall-cmd --zone=<zone> --add-interface= “interface” –permanent
step 18
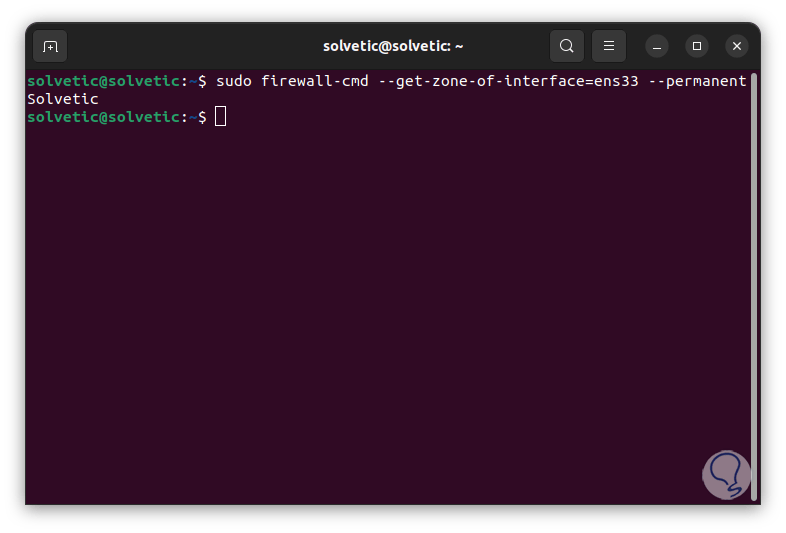
We list the zone to which a network interface belongs again:
sudo firewall-cmd --get-zone-of-interface= “interface” –permanent
step 19
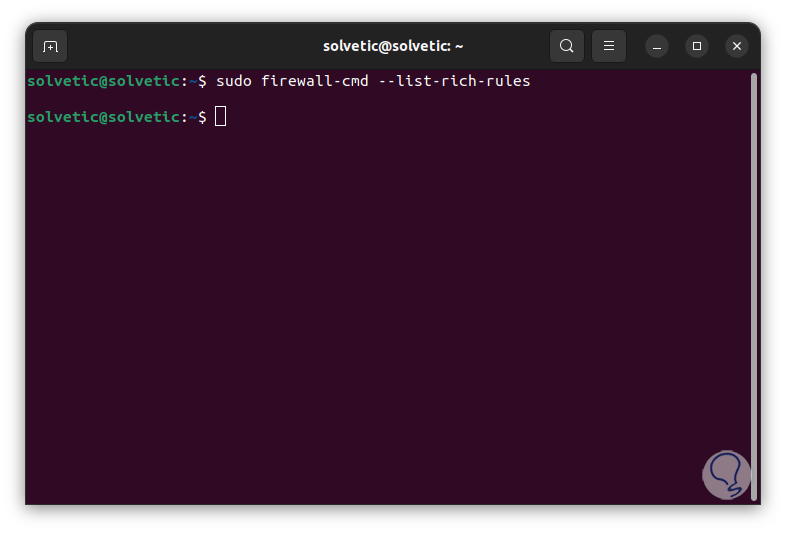
We list the rich rules (if they exist):
sudo firewall-cmd --list-rich-rules
step 20
Some extra parameters of Firewalld are the following:
- --get-default-zone : show the default zone for connections and interfaces
- --get-log-denied – Allows you to view the log denied setting
- --set-default-zone=zone. sets the default zone denier for connections and interfaces in those cases where no zone has been selected
- --permanent --new-zone=zone – Add a new, empty, permanent zone
- --permanent --get-policies – Displays the predefined policies in a space-separated list format
- --permanent] --info-policy=policy: display information about the indicated policy
- --permanent --new-policy=policy: add a new permanent policy
- -permanent --delete-policy=policy: deletes an available permanent policy
- --debug-gc : enable garbage collector information
- --nofork: disable the use of daemons and run as a foreground process
This is how firewalld allows you to manage the rules to improve security in Ubuntu..