Photo editing depends on several factors so that we can make our compositions satisfactorily. We need an element to photograph, a camera and a tool that allows us to do the digital post-editing. Once all this converges, we give rise to effective workflows that can give us good results. We already know that Photoshop is actively involved in photo editing and that is why everything related to it is important. If you want your images to collect as much information as possible so that later in the edition we do not have losses, we will use raw or RAW format to take the images. This will allow programs like Adobe Camera Raw to later modify the information without modifying the original image..
What is RAW?
A RAW file is a type of format that allows us to take our photographs with grayscale data without being processed or compressed by the image sensor. This allows us to also keep intact the metadata information it contained when taking the image. With all this using Camera Raw, Photoshop then interprets all the information and generates the color image to be able to edit it.
We could say that a Camera Raw file would be equivalent to the negative of a photo and that it will be revealed later with the Camera Raw software and Photoshop. By having all the raw information we can retrieve it at any time and make edits from the image base data.
RAW files are not images as such and by having the data not processed or compressed we will be able to capture practically all the details that we visualized through the camera's viewfinder. We will need special software to be able to interpret them. It is the raster format that stores the greatest amount of detailed information and can later make complete editions.
What is DNG?
As we mentioned in the previous section, RAW files are really complete and offer a wide and complex workflow in digital photography, but they do not have an applied standard that allows us to open and work with them in any tool. DNG or Digital Negative is a publicly accessible file format for RAW files that have been created on various digital cameras. It helps to make up for the lack of open standardization of RAW files by different camera models, facilitating access to the files.
Many manufacturers and brands have worked on their DNG compatibility directly. Adobe also provides free software called Adobe DNG Converter, which can convert files without compression from various camera brands.
What is Adobe Camera Raw?
Once we have talked about raw files, it is important to mention one of the most powerful tools to process them, Adobe Camera Raw. This tool allows you to import and edit raw images and is compatible with various programs such as Photoshop, Photoshop Elements, After Effects and Bridge.
If you want to know which cameras and lenses are compatible with Camera Raw, we leave you below links with all the information:
Cameras that support Camera Raw
Camera Raw Compatible Lenses
Adobe Camera Raw is included as a plugin within Photoshop and will not allow you to edit images taken raw as RAW files. We can also work with this plugin on JPEG and TIFF images.
Install Camera Raw Plugin
In some versions of Photoshop, Adobe Camera Raw is not installed by default, or it may have been uninstalled at some point. Don't worry because you can officially install Camera Raw on your operating system with the following links:
Update Camera Raw with Creative Cloud
Camera Raw Windows Installer
Camera Raw macOS Installer
Once we have our installer file downloaded, all we have to do is run it and follow the steps that appear on the screen to install it..
1 Panels and options in Adobe Camera Raw
Adobe Camera Raw has different options that will allow us to edit our images in raw format in a very complete and professional way. It is the most appropriate way to manage our Raw images and the like when we want professional and complete results.
To open an image in Adobe Camera RAW directly drag the raw file image like RAW or CR2 and Camera Raw will open automatically.
Camera Raw Features
Let's see the main functions that you can offer us in your way of working Camera Raw:
- For a good processing of the images, we need to copy the Camera Raw files to our storage disk and manage their organization, also being able to convert them into DNG.
- You will be able to open Camera Raw files in its plugin from the Adobe Bridge, After Effects and Photoshop tools.
- Camera Raw allows color adjustments manually or you can even analyze it automatically.
- It includes different adjustments and tools with which to carry out useful workflows such as reducing image noise or correcting defects present in the lens.
- You will be able to save the adjustments created as presets in addition to saving the adjustments you make to your image.
- It allows to be customized so that we can establish a configuration of how to save the images in Camera Raw or how Photoshop should open them thanks to the workflow options.
- Once we edit an image in Camera Raw, you can open it in another of the compatible applications and continue working with it.
Let's see what main panels and options we can find in Adobe Camera Raw:
Edit
This will be the main panel where the most important settings will be found when editing our image. Using the different options we will have a very complete edition:
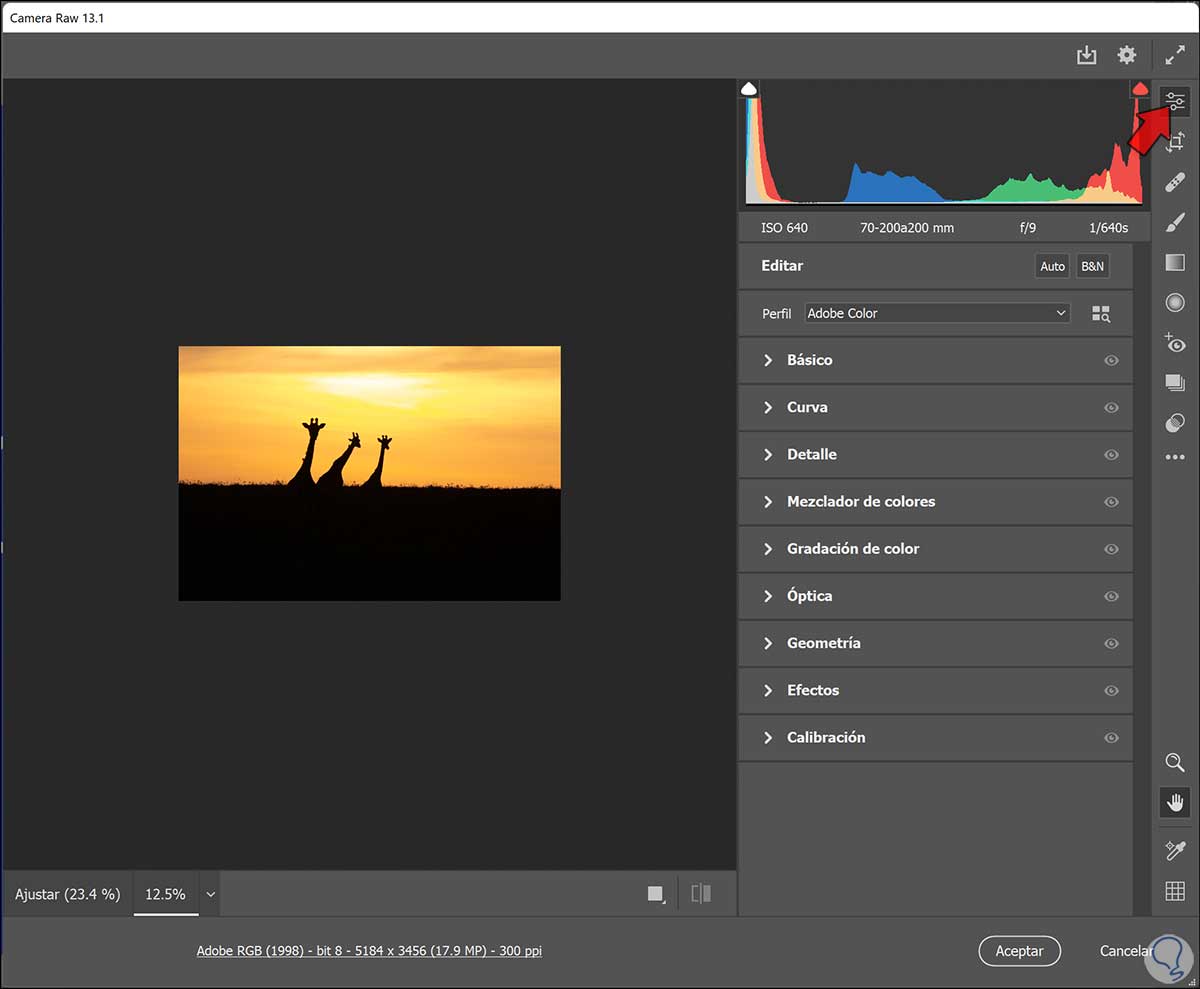
- Essential. Here we will have the initial basic adjustments that should be applied to our first image such as: Temperature, Exposure, Shadows, White balance...
- Curve. With the different curves we can better define the tone scale that the image has by moving the different adjusters to edit it.
- Detail. This will establish more focus by adjusting the overall noise reduction as well as any color noise that may be present.
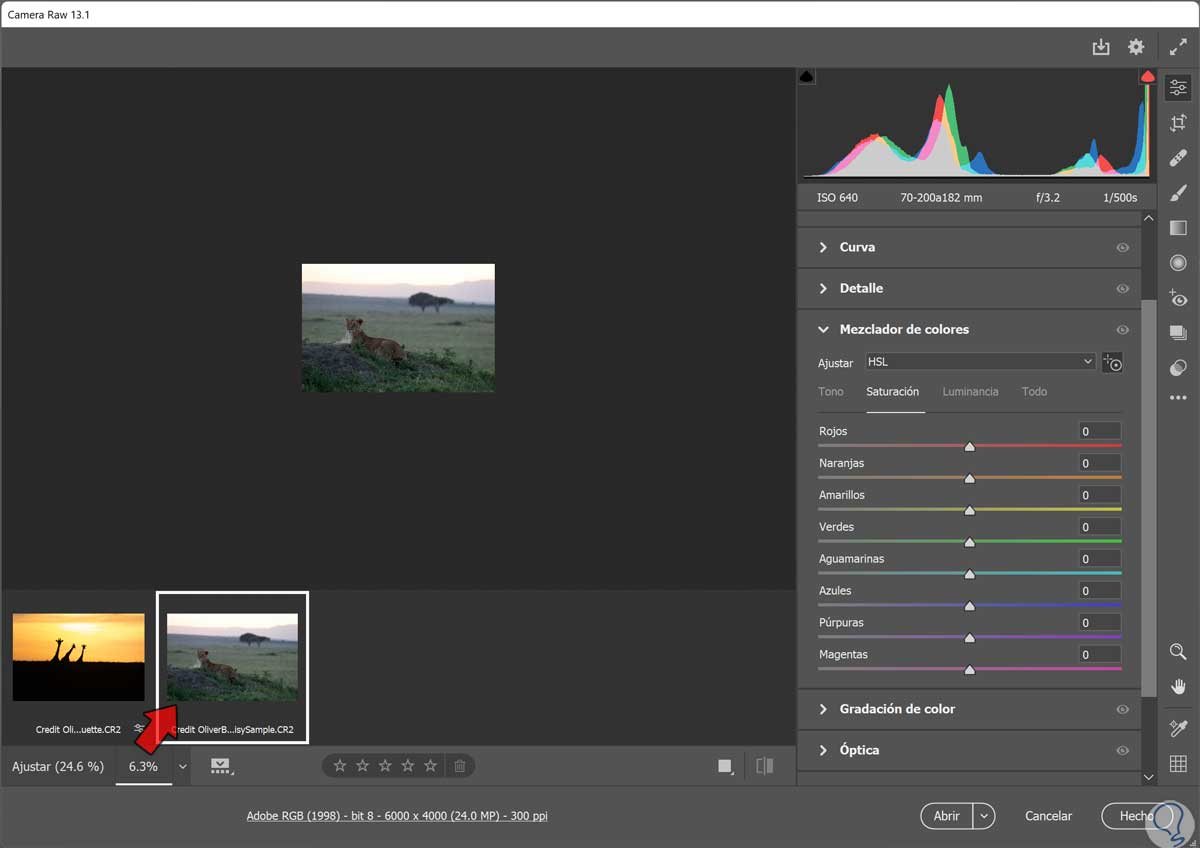
- Color mixer. Here we can choose between Color or HSL to edit the colors individually in the image.
- color grading. We will be able to accurately define tones present in shadows, highlights and midtones using the chromatic circumferences that we see. Among chosen tones we can also configure Fusion and Balance.
- Optics. It allows to correct the chromatic aberration present as well as the distortion or vignetting. You can also correct color fringing around the image.
- Geometry. We will be able to modify and adjust different perspectives and levels.
- Effects. We can add effects such as grain or vignetting.
- Calibration. It allows a final adjustment of the image being able to make an adjustment of shadows and main colors.
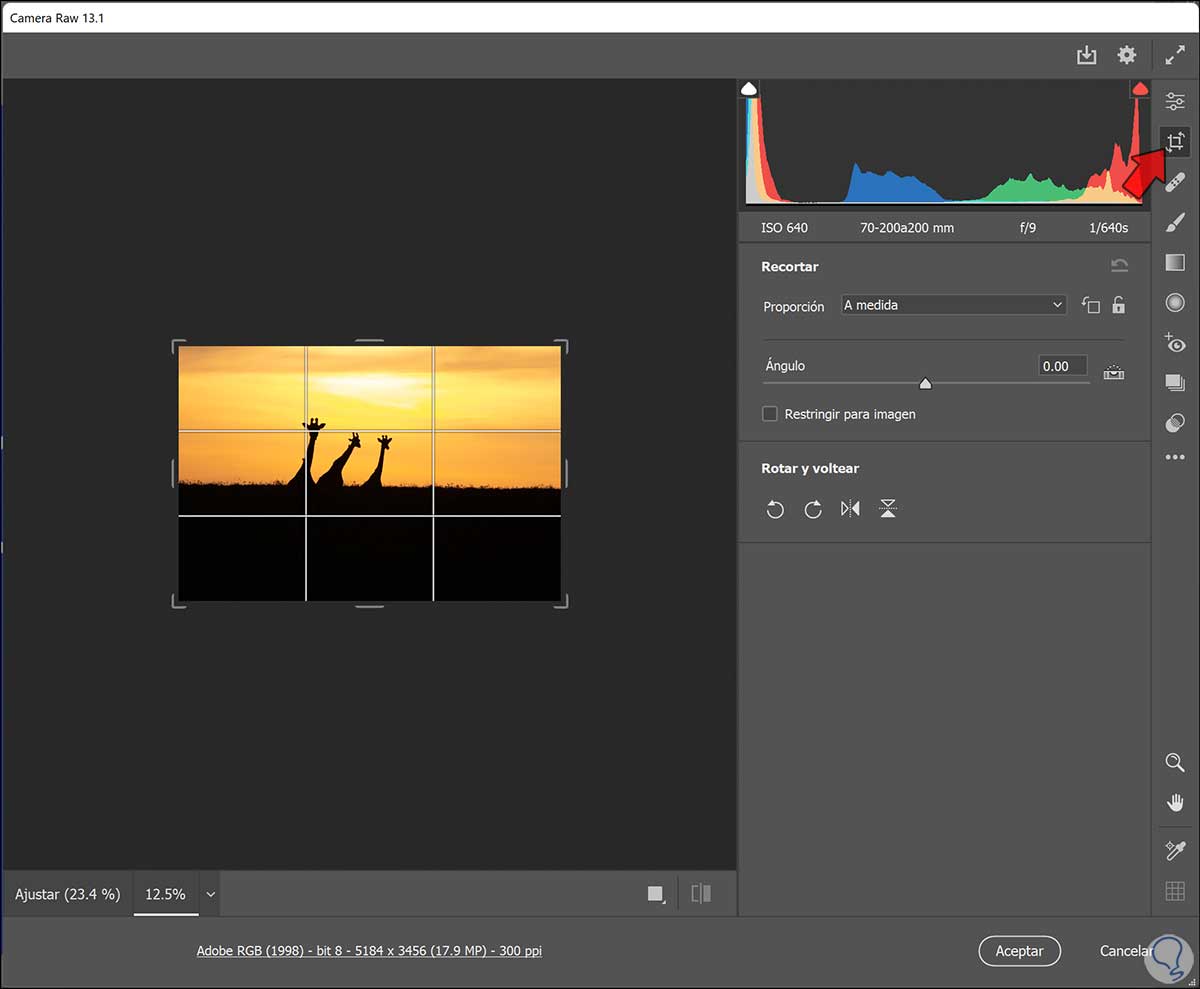
crop and rotate
In this option we can make adjustments regarding the proportion and aspect ratio of the image as well as define the angle that we have defined in the image. You can remove part of the image thus changing its proportions.
Flat ink removal
This tool will allow us to make a correction of specific areas of the image as well as the cloning of certain parts of it.

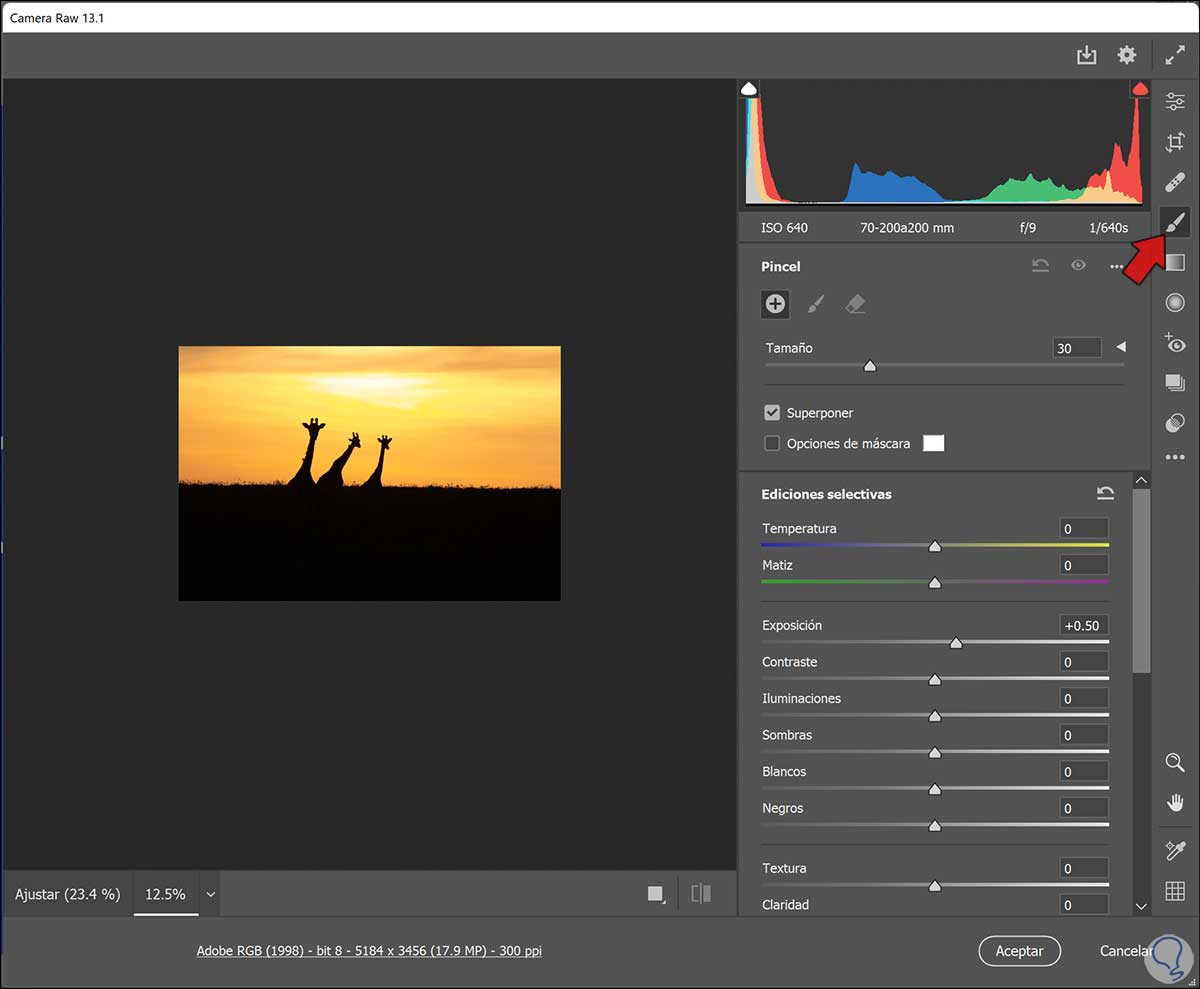
adjustment brush
Allows you to make specific corrections to areas of the image using the Brush tool.
You can make basic edits such as changing the Temperature, exposure or Lighting and apply it only to a specific area by using this brush that can also be configured in size. This allows the correction of specific parts without the need to modify the entire image. You can create different adjustment brushes for yourself..
graduated filter
This tool allows us to use a gradient effect to apply different modifications to the image. We can configure the adjustment that we want to apply as the Temperature or the Clarity and then create a gradient line so that it is applied in an area of the image.

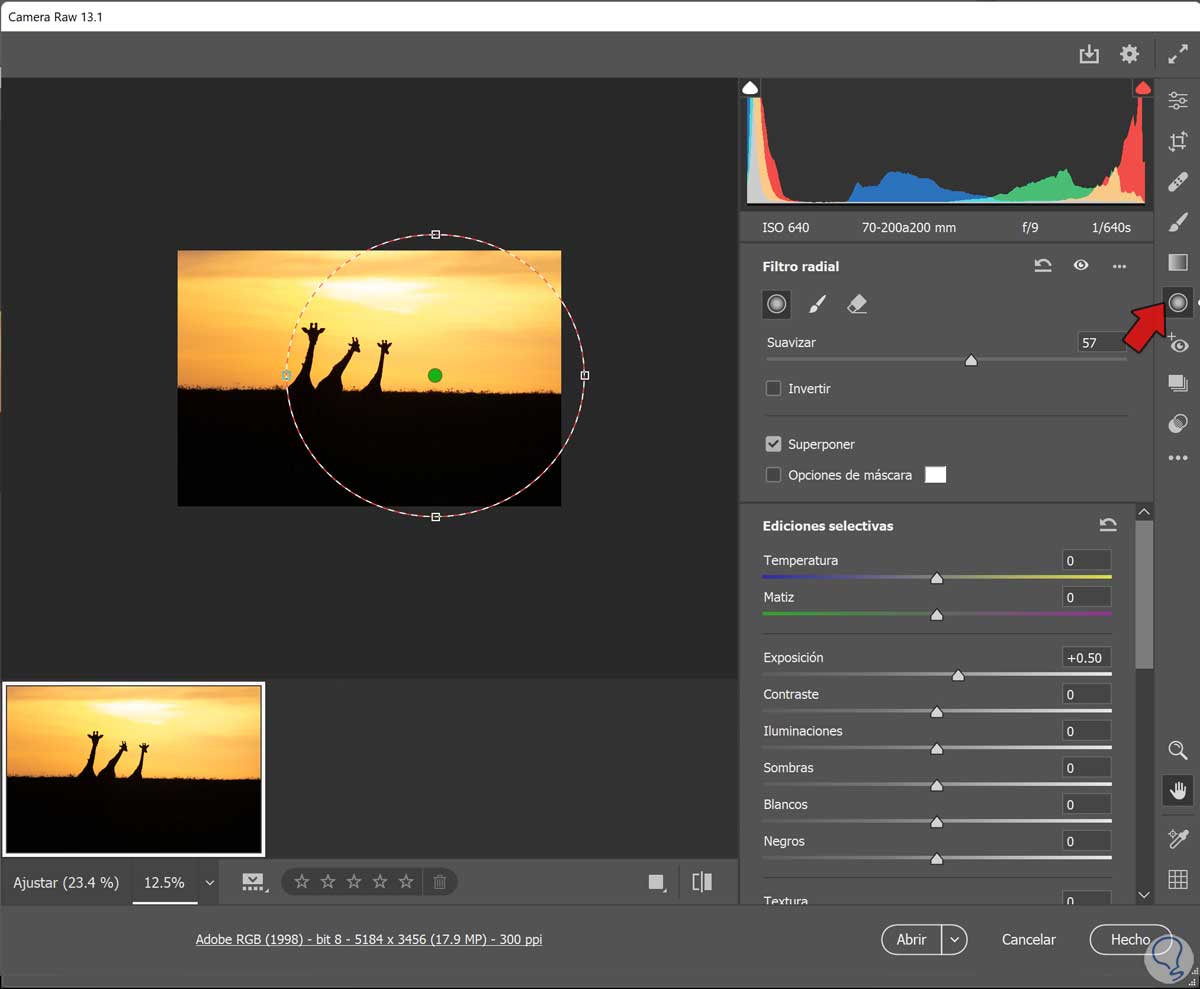
radial filter
Through this filter we can apply different corrections with a radial or concentric shape so that it is also applied with a gradual effect. You can set the size and smoothness of this shape as well as choose the selective edits to apply.
Red eyes
This option is really useful since it will allow us in a few clicks to eliminate the hated red-eye effect when we take photos with flash. We will adjust the size of the pupil and the Darken effect and then click on the red eyes and rectify them.

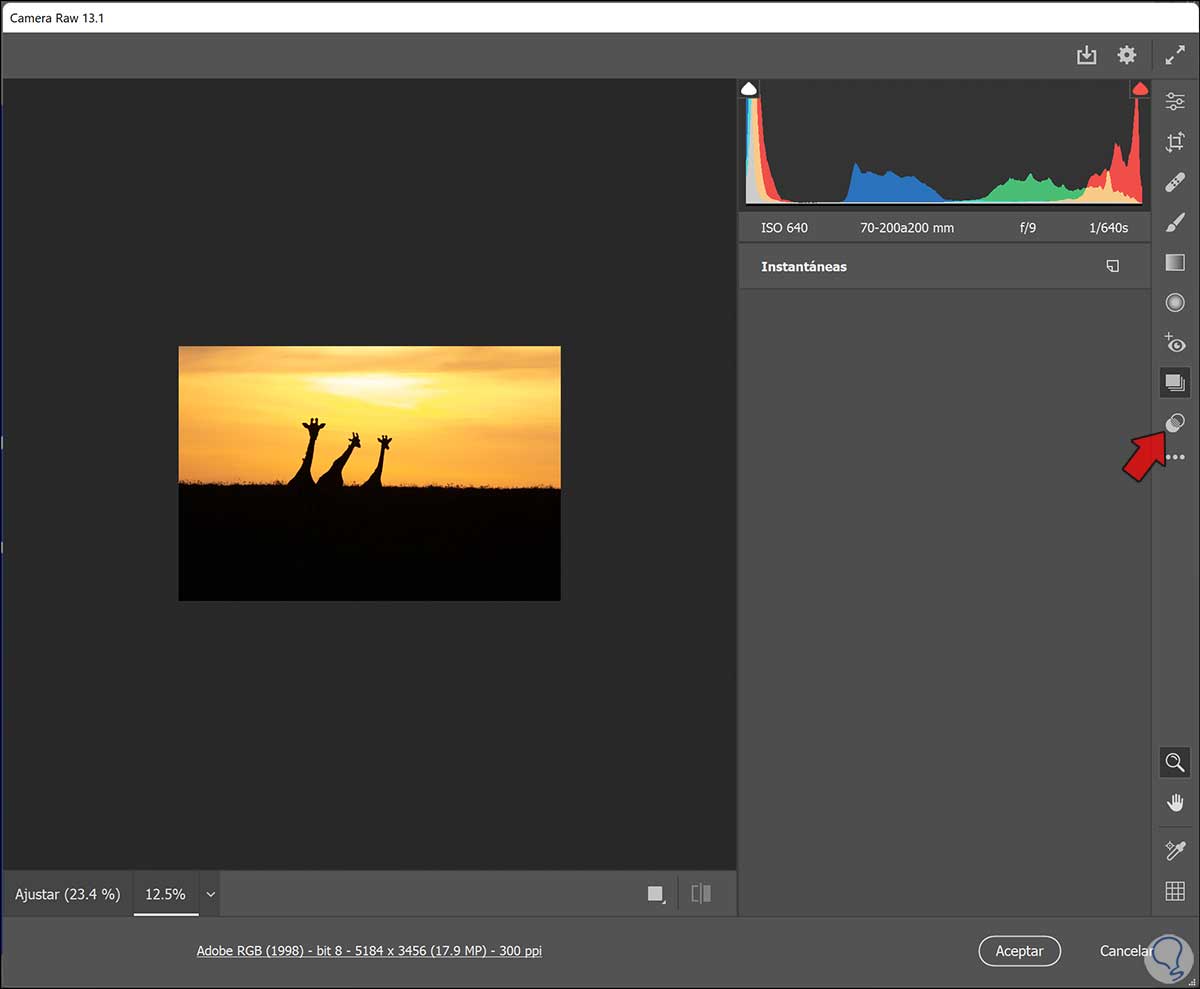
Snapshot
This option allows you to create different versions of the same image to later see the changes.

presets
Here we will find a list of preset adjustments that we can apply to our image in a simple way since they are already created. With this we can change the style of our image quickly with even professional adjustments.
2 Other options and controls Adobe Camera Raw
We are going to see other panels and options that we can find within the Camera Raw interface. If you still have doubts about whether or not to use RAW files when taking your photos, we will give you a summary of the advantages and disadvantages of using this type of file so that you can later edit them in Camera Raw.
Advantages RAW files
Among the windows of a RAW file we can highlight:
- Contains lossless compression
- They are the types of vector files that capture more detailed information and therefore provide more information about the original image.
- They have a much wider color gamut than compressed formats
- It allows us to make changes to our image such as changing the brightness and our RAW file does not look modified.
- It has a powerful conversion profile since it allows the fusion of RAW files and thus be able to generate panoramic images or even HDR images.
Drawbacks RAW files
On the other hand, the drawbacks that RAW files can have are:
- Being a non-compressed format, it will generate larger file sizes.
- In order to be processed, these files need time and adequate equipment that allows such processing.
- When sharing this data, you will need a format conversion to be able to be read in other tools.
- The RAW format is not standard so not all programs will be able to read those formats from some cameras.
- Working with these files means longer and more tedious workflows as they are larger file sizes that require time, storage, and proper hardware.
Now we will see other panel options within the Camera Raw interface as well as other complementary commands that may be useful to us at some point.
preview
When we are in the Camera Raw interface we will see on the left side that the image is placed as a preview. In this part of the window we will see the modifications we are making while on the right side the settings of the different available tools are displayed.
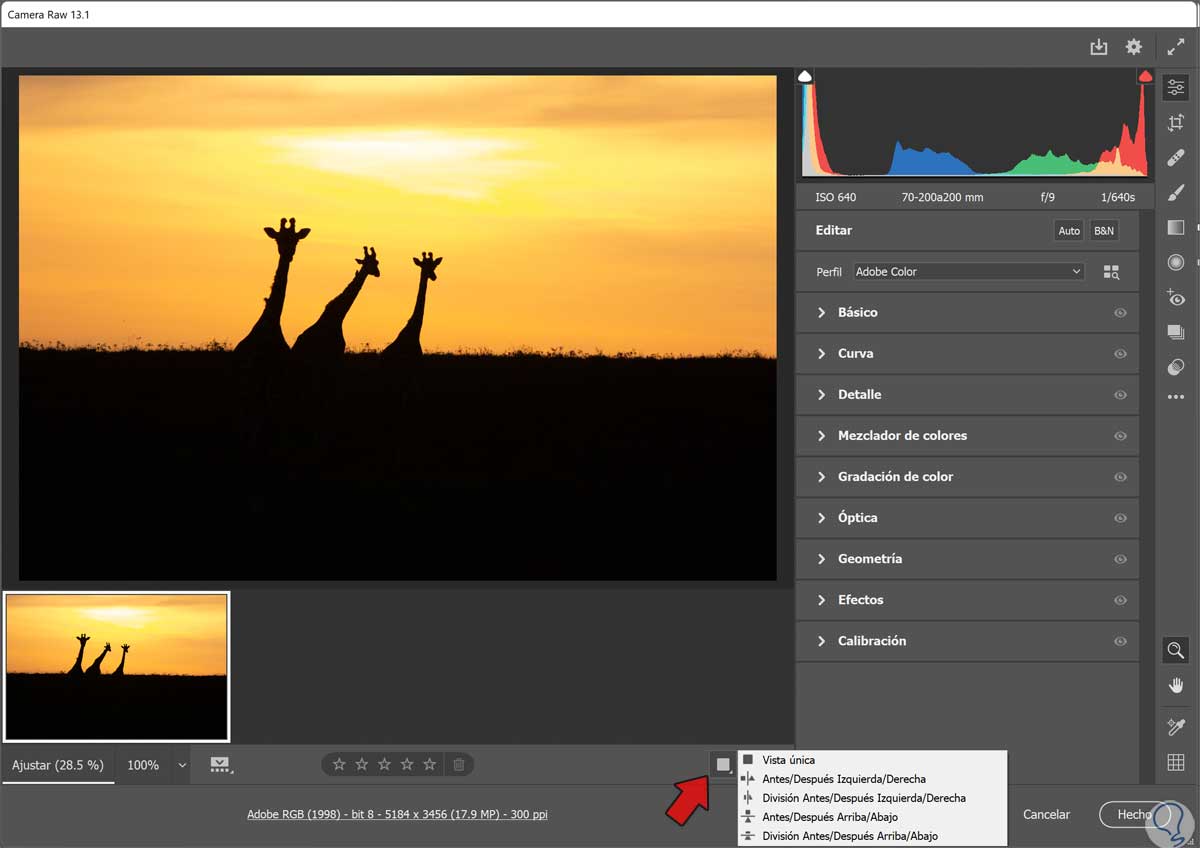
You can toggle between the before and after view of that image in the lower icon that we see on the right side of the preview image. We can also vary the views between the options:
- Split Before/After Left/Right
- Split Before/After Up/Down
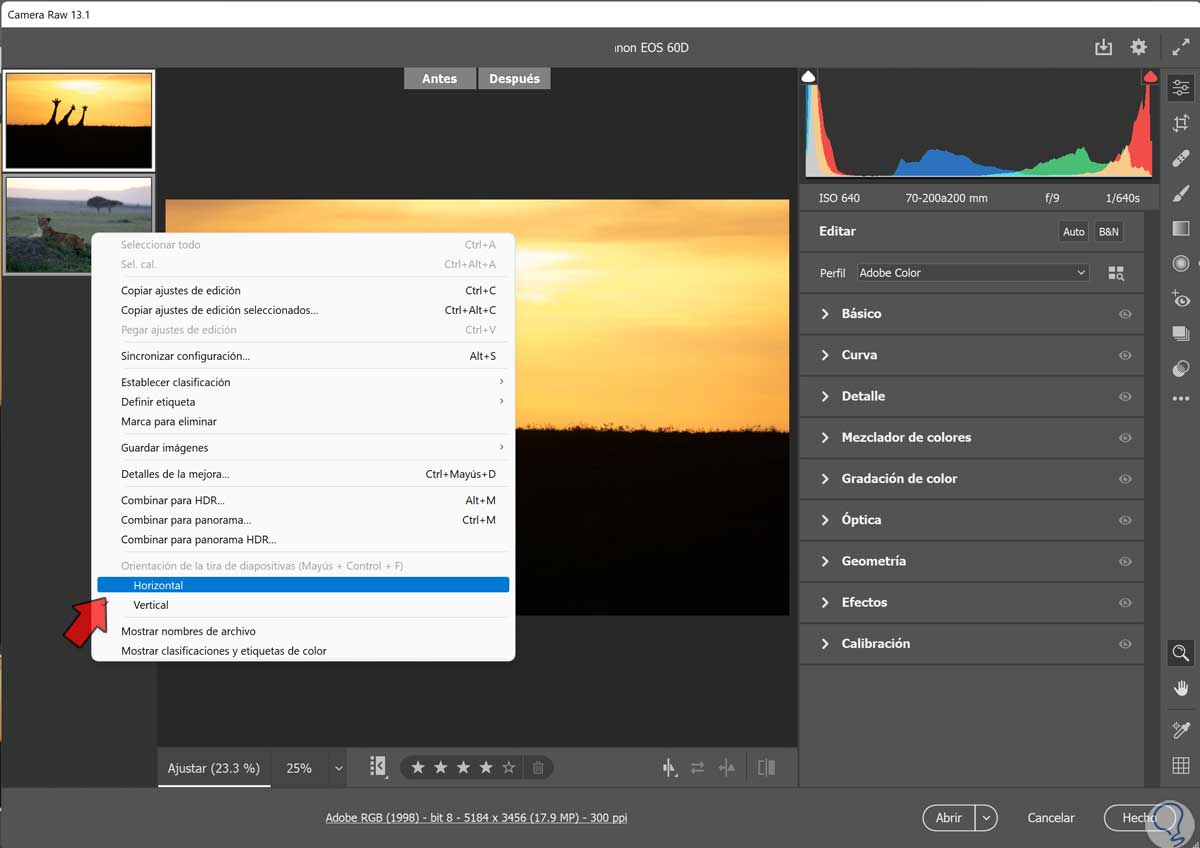
film strip
When we open images in Camera Raw, a kind of slide strip will be generated that will show the sequence of the images. This strip will appear below the preview image and you can order the images based on different filters such as:
If you work with portraits it may be useful to move this filmstrip to the left panel by right clicking on the panel and holding it and we will see “Horizontal” or “Vertical”.
other controls
Let's see some secondary options that can help us within the Adobe Camera Raw interface,
- Zoom tool. With the Zoom option we can enlarge or reduce the preview view, thus adjusting the preview.
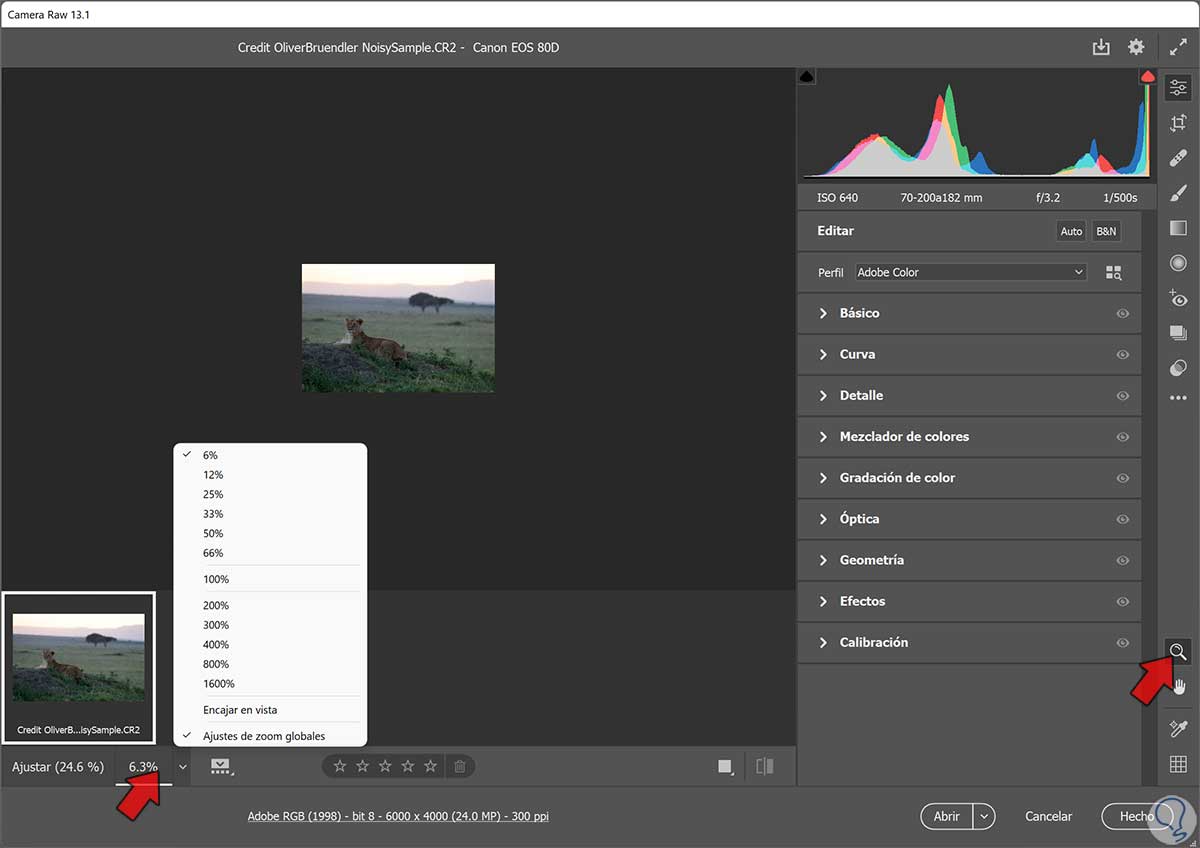
- Hand Tool. This option allows us to scroll through the image and thus move to different areas of our image while we edit it in Camera Raw. Hold down the space bar to temporarily activate the Hand tool to move around the image. If you double click on the hand tool you can adjust the preview image inside the interface window.

In this way we can open and use Camera Raw in Photoshop to edit our images in a professional and complete way.