When we are working on Windows 10, most of us have seen that when an error occurs, an error made up of letters and numbers appears, which indicates the exact cause that caused it and this is very helpful for the administrator or user to work. in this error. One of these errors is the error code 0xc00007b which usually occurs after an update has been installed in the system and the error results in it being impossible to open an application in Windows 10 affecting our work..
This type of error ends up impairing our work, since if we want to open an application that we need but it always throws an error at the end, we will not be able to continue with our tasks. That is why it is useful to know ways to get rid of this type of error and prevent us from not being able to continue with our things. If you are seeing this error, TechnoWikis has prepared this tutorial to teach you how to solve the 0xc00007b error in Windows 10 and thus make full use of the applications.
To stay up to date, remember to subscribe to our YouTube channel!
SUBSCRIBE ON YOUTUBE
How to fix error 0xc00007b in Windows 10
Step 1
To start this process we must visit the following link:
.Net Framework
Step 2
There we are going to download the current version of the .Net Framework, this is a fundamental part since a high percentage of the applications in Windows 10 are based on programming languages, in this case the .Net Framework will allow programming languages such as C#, Visual Basic or F# can write Windows applications, the .NET Framework integrates improvements in the language and in the C#, Visual Basic and F# platform allowing full compatibility when accessing the application, by going to this link we will see the following:

Step 3
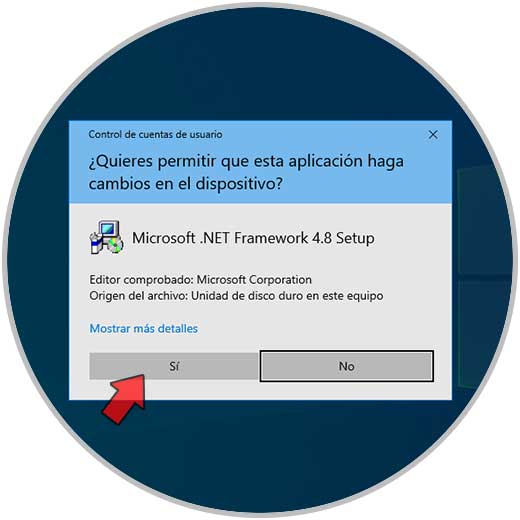
When downloading the executable file, we execute it and we must accept the UAC permissions:
Step 4
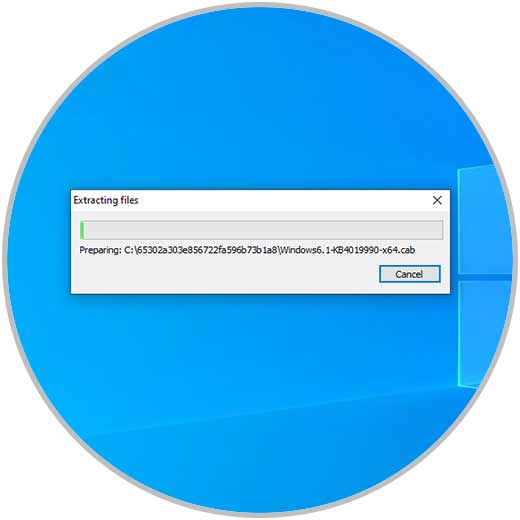
The associated processes will be loaded:
step 5
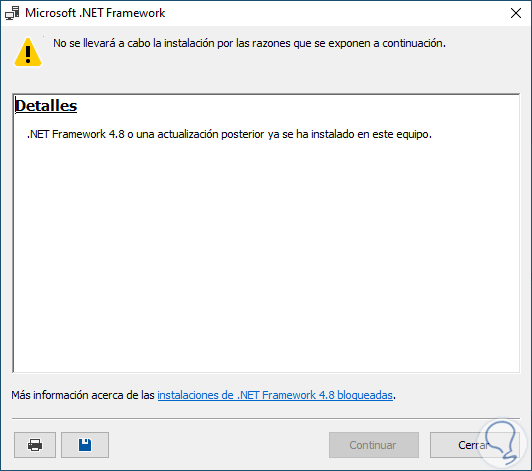
In case of having .Net Framework installed we will see the following message:
step 6
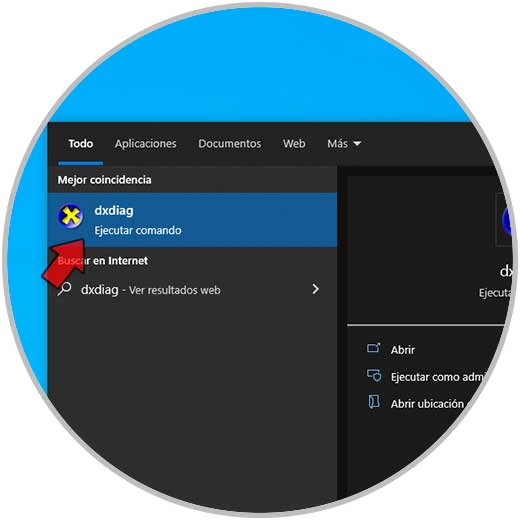
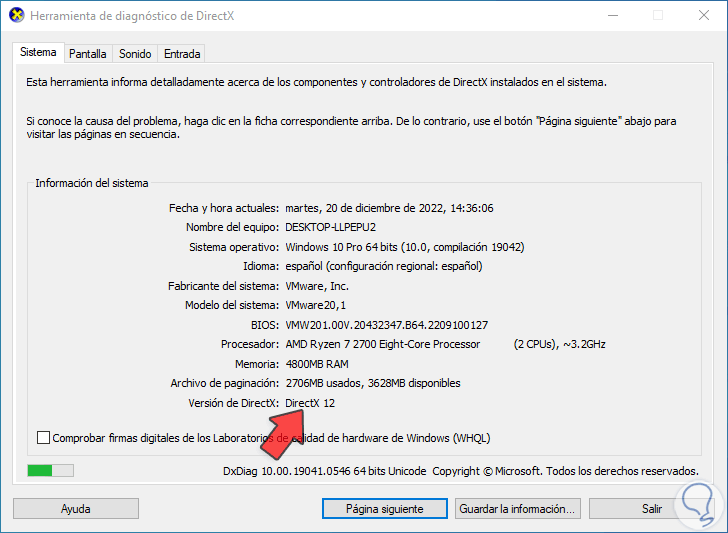
Otherwise we will install the .Net Framework using the wizard. Now it is time to validate the version of DirectX installed in Windows 10, to validate this in the search engine we enter "dxdiag" and execute the command:
step 7
In the window displayed in the "DirectX version" line we validate the version used and remember that at this moment it is 12:
step 8
DirectX is an environment that has multiple runtime libraries via the legacy DirectX SDK focused on games that make use of D3DX9/10/11, XAudio 2.7, XInput 1.3, XACT or Managed DX 1.1, if DirectX is not is installed on Windows 10 it will be possible to download it at the following link:
DirectX
step 9
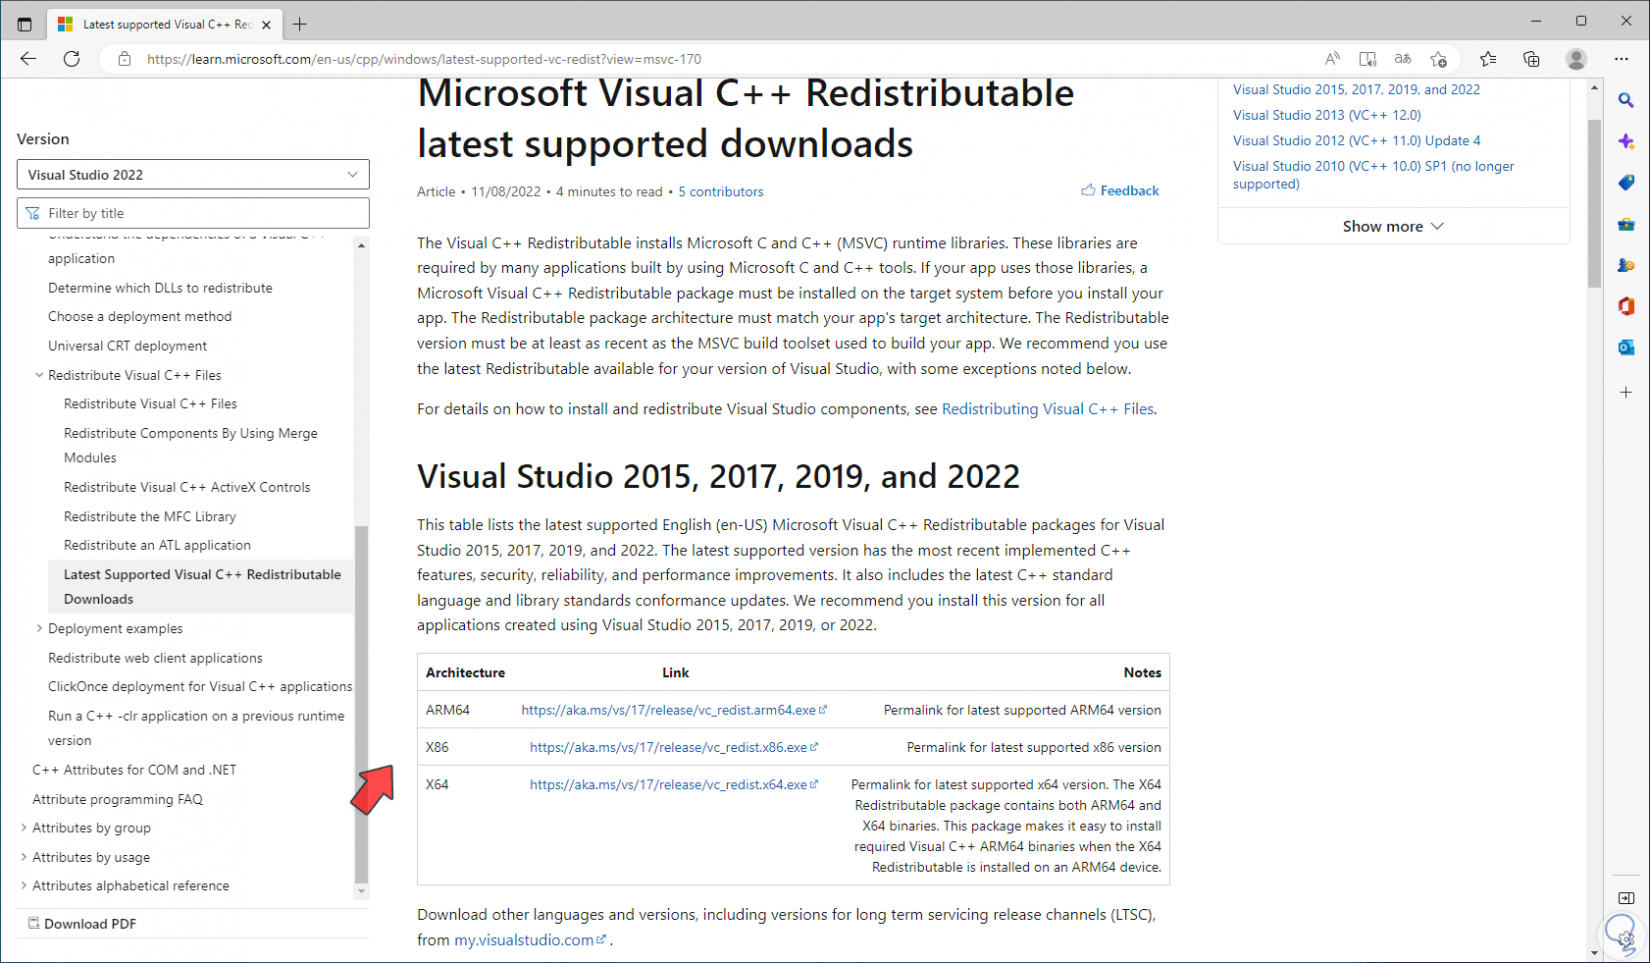
After this we will go to the official URL of Microsoft Visual C++:
Microsoft Visual C++
step 10
Microsoft Visual C++ installs the Microsoft C and C++ runtime libraries (MSVC) which are linked to applications developed using Microsoft C and C++, if the application requires these libraries we must install the Microsoft Visual C++ redistributable package so that when opening it, load all the internal components, in the URL we will see this:
step 11
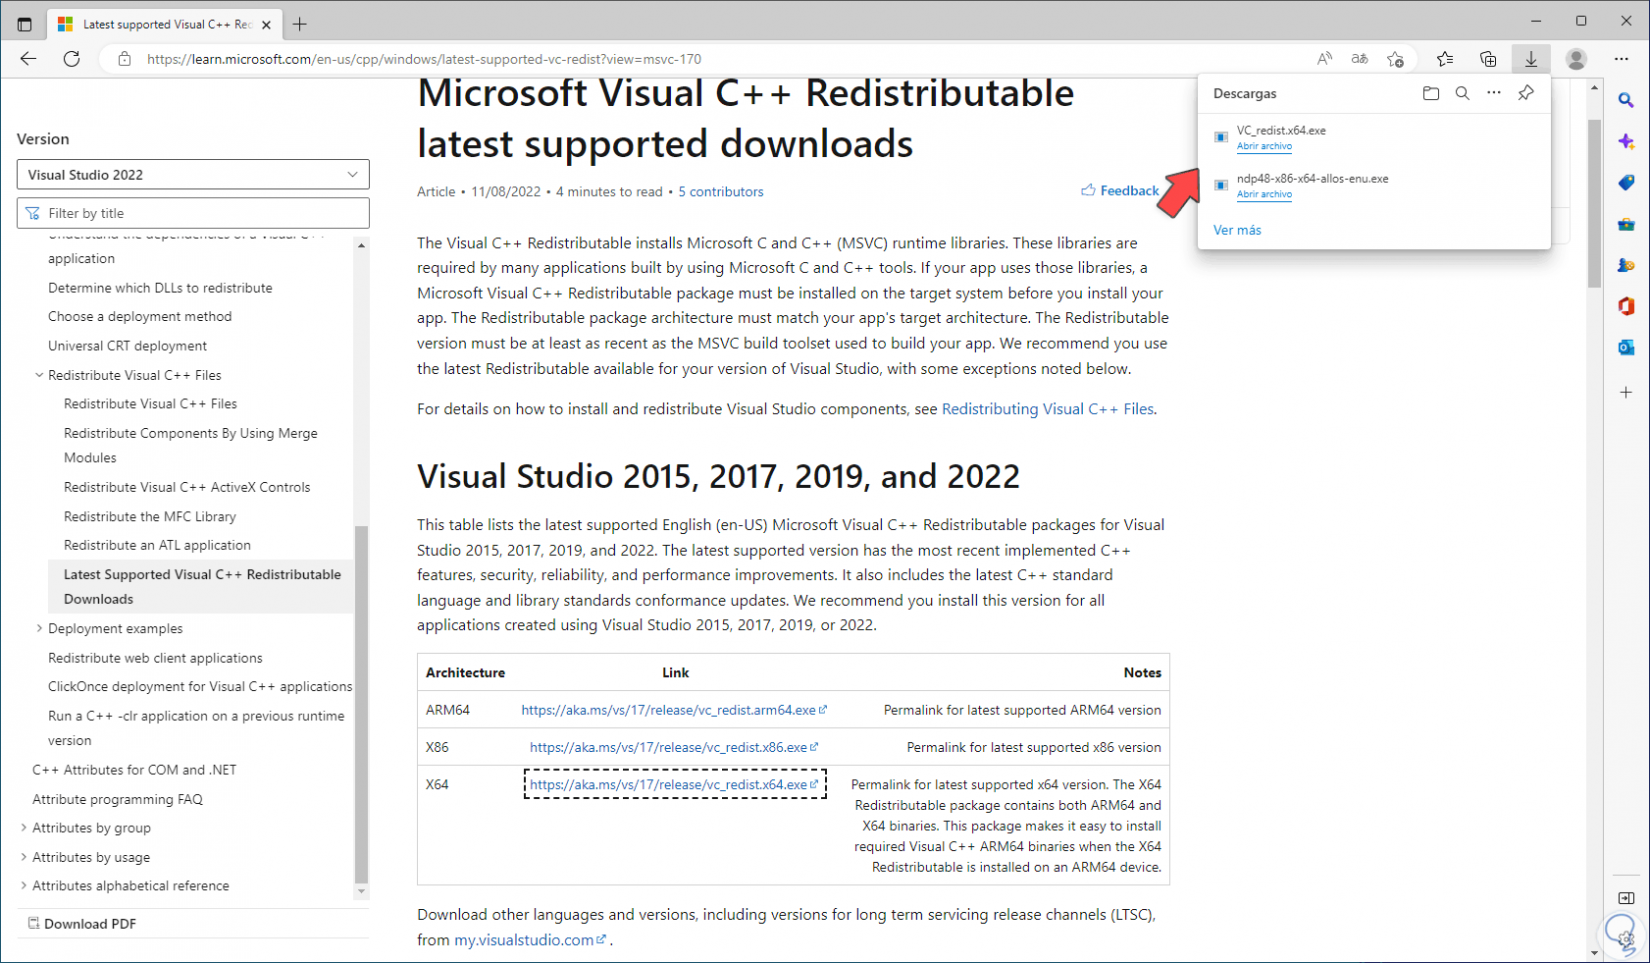
We download the version associated with the system architecture in this case of 64 bits:
step 12
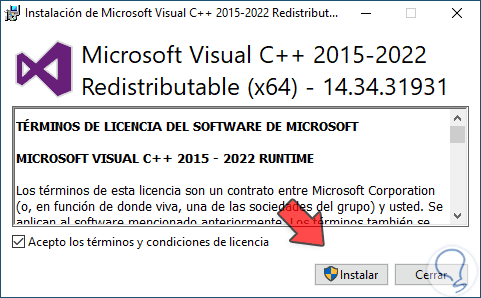
We run the file, accept the license terms:
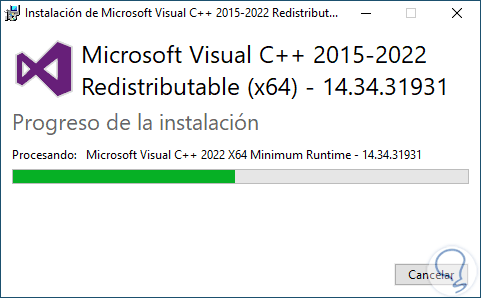
step 13
Click “Install” to complete the installation:
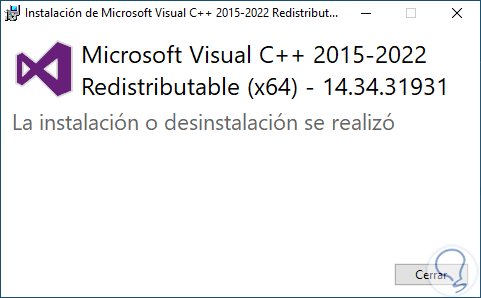
step 14
At the end we will see the following: We exit the wizard.
step 15
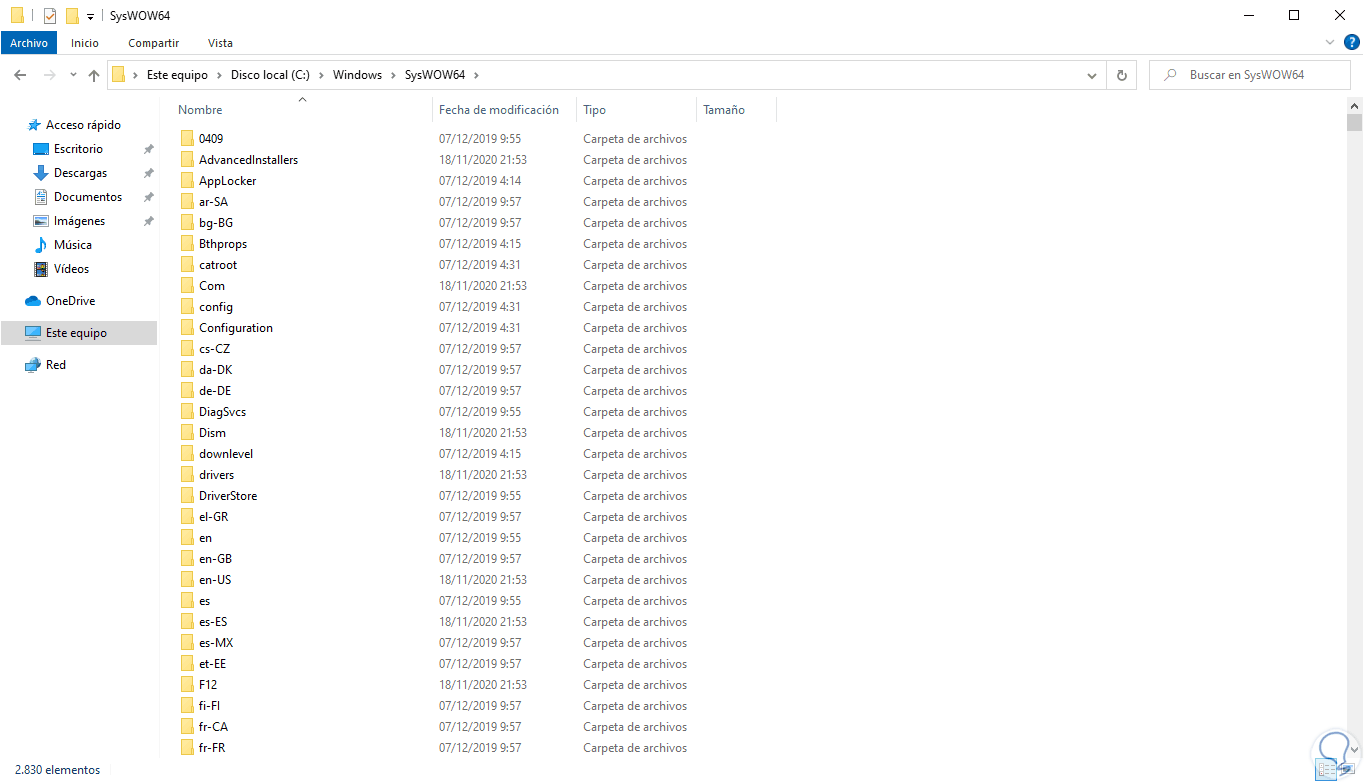
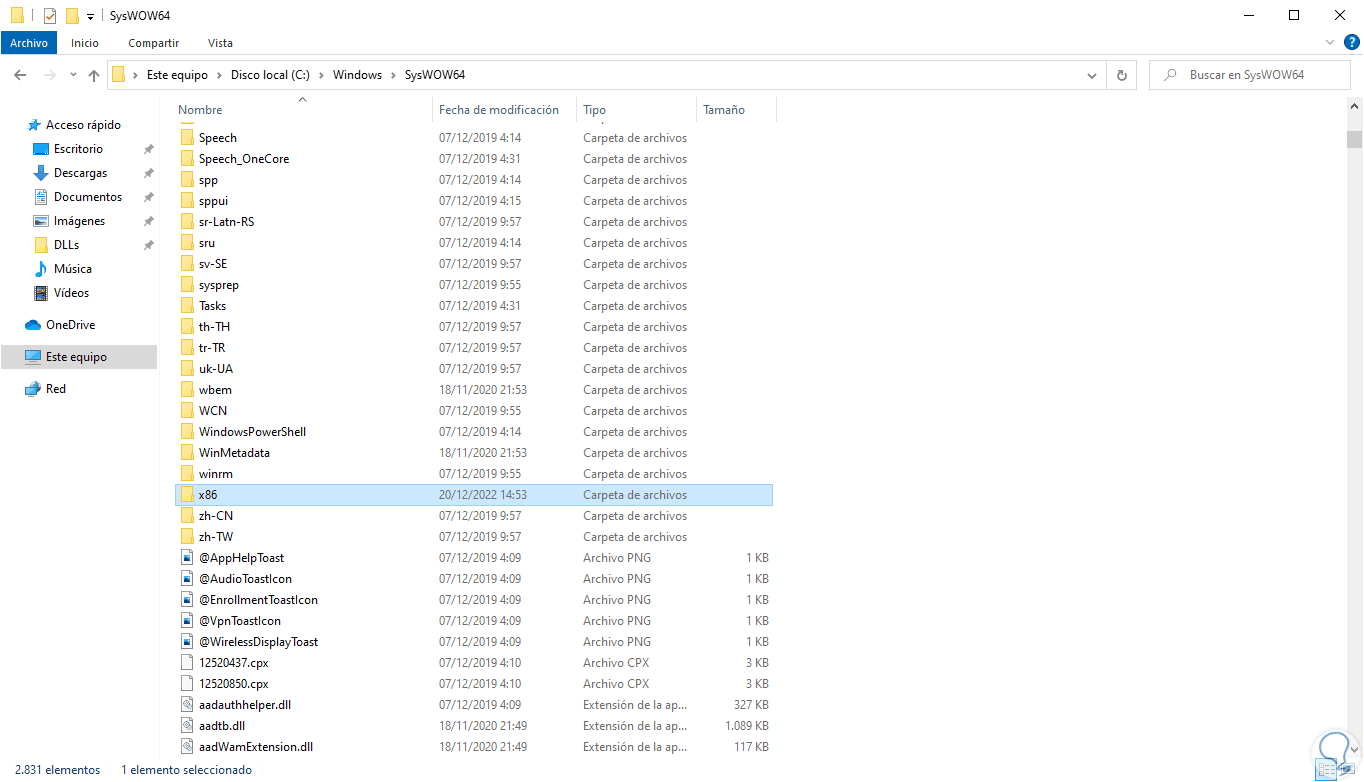
After this we go to the path in File Explorer:
C:\Windows\SysWOW64
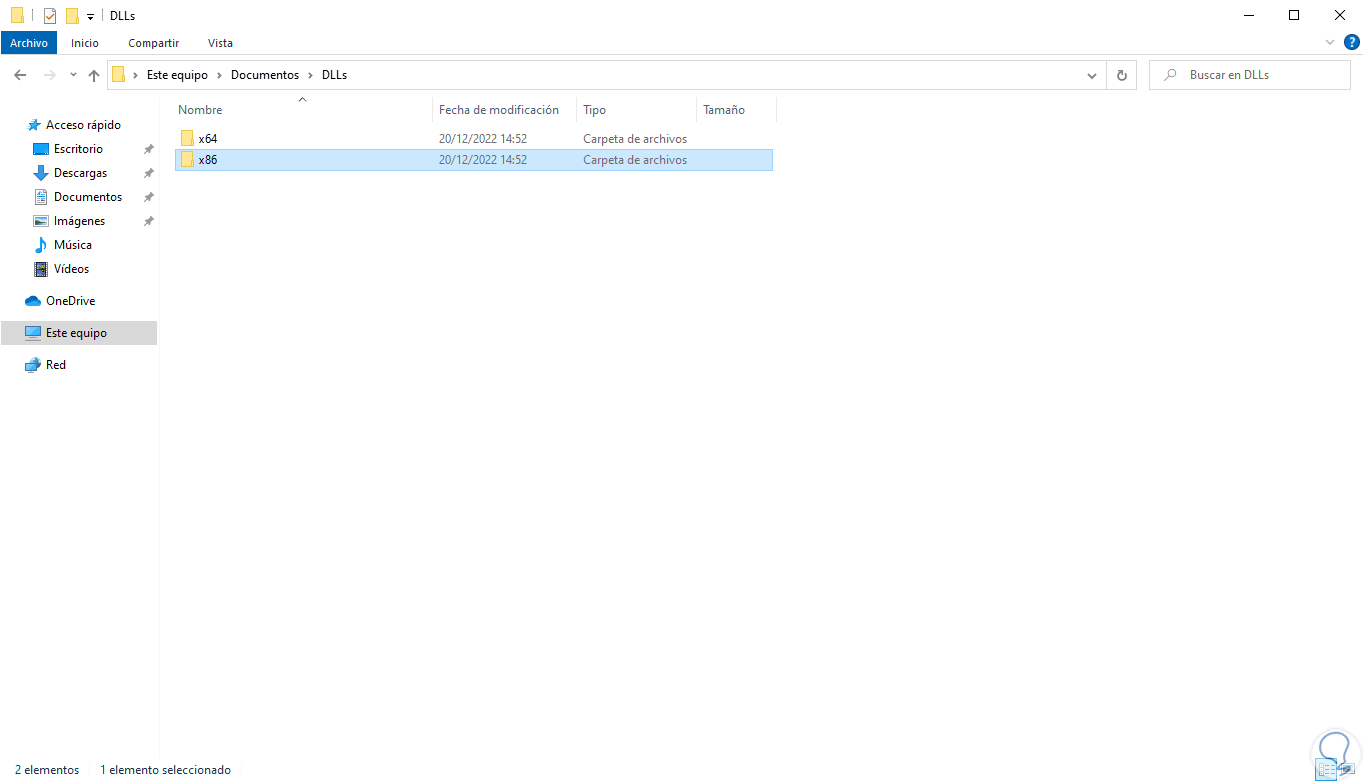
step 16
We copy the x86 (32-bit) DLLs:
step 17
We paste in this path (SysWOW64) these DLLS, we will see the following message:
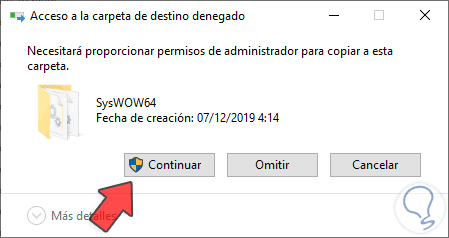
step 18
We click "Continue" to complete this process:
step 19
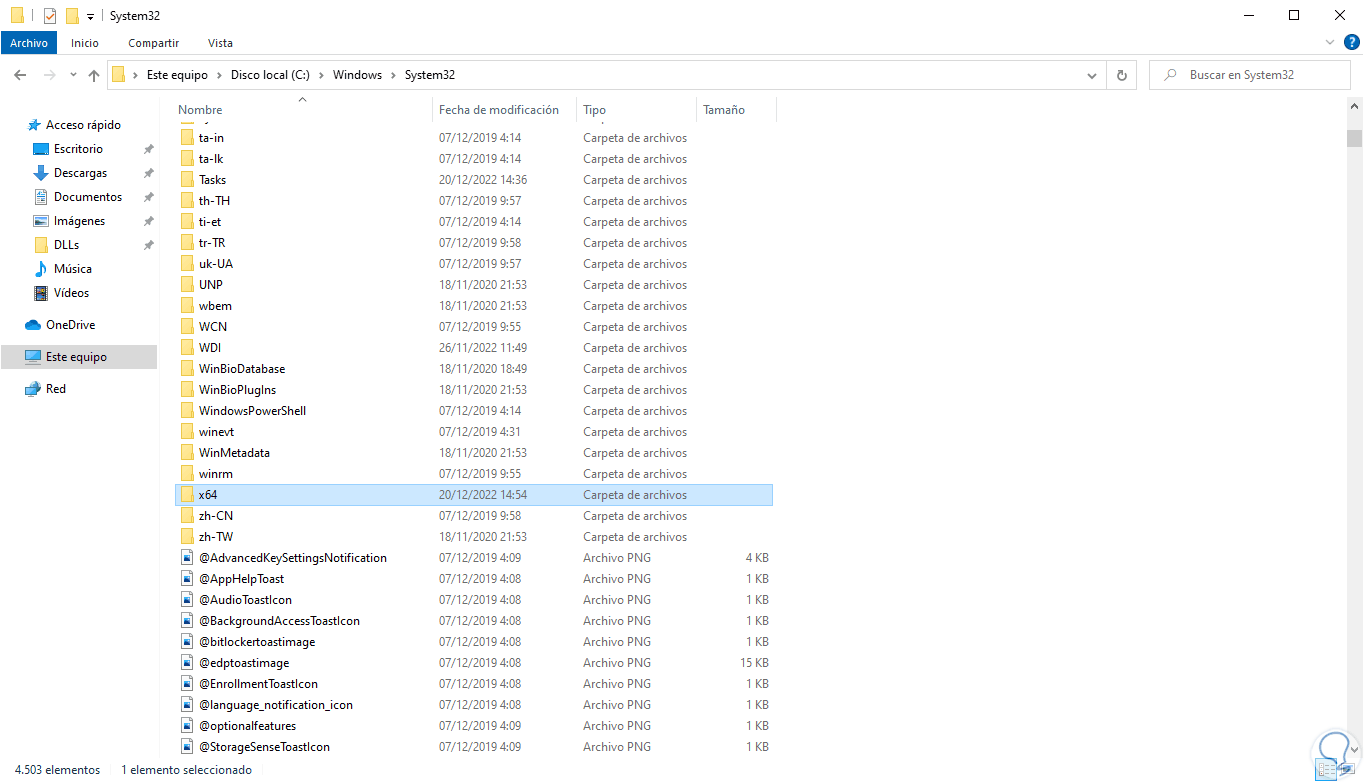
Now we go to the route:
C:\Windows\System32
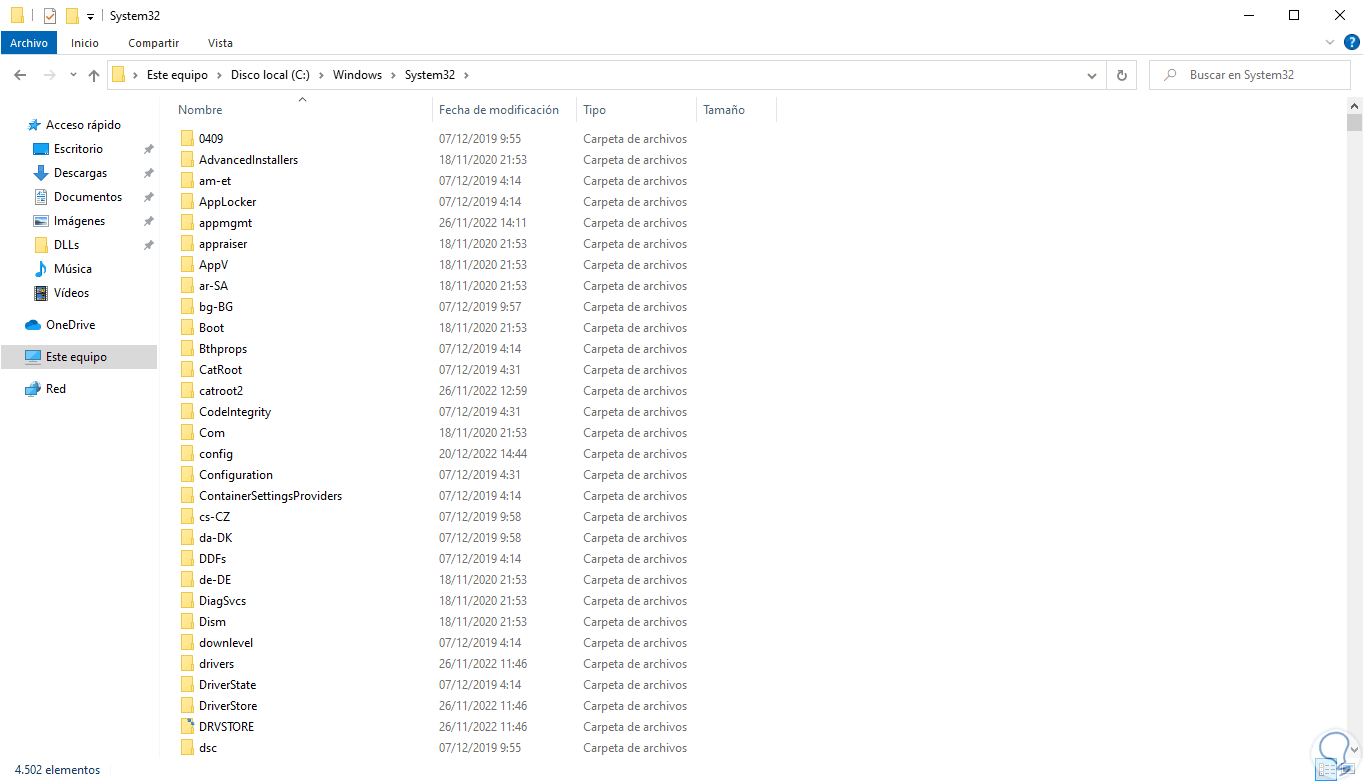
step 20
There we are going to paste the x64 (64-bit) DLLs:

step 21
Again we click on Continue to confirm the process:
Note
The DLLs can be downloaded from the official Microsoft sites.
step 22
Once this is done we are going to restart Windows 10 so that the changes are applied:
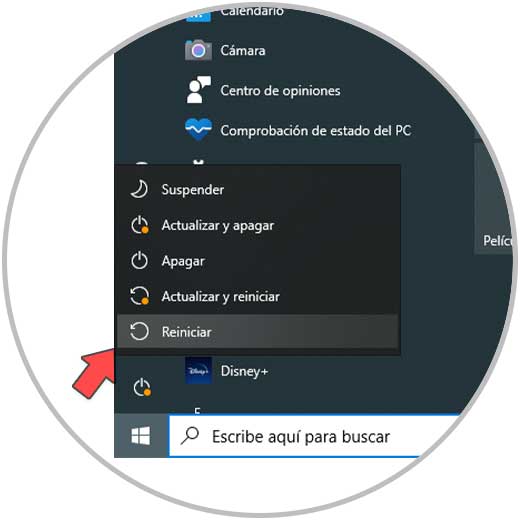
Step 23
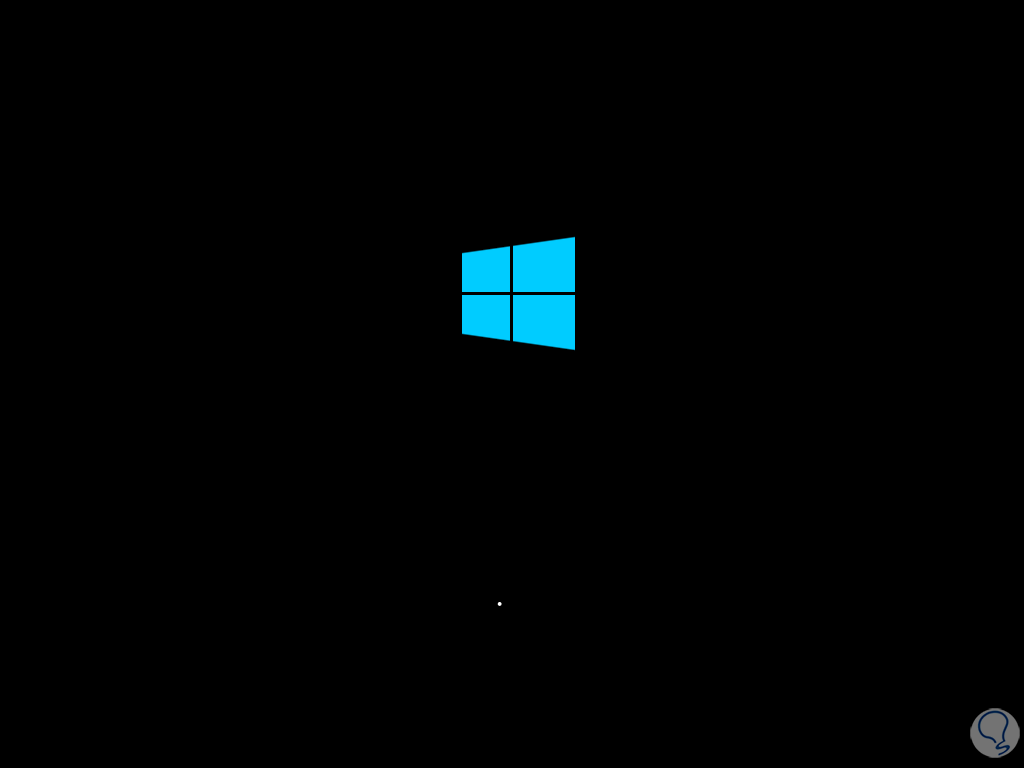
The system will reboot:

step 24
We start session:
step 25
Once we access Windows 10 we open the application of the error 0xc00007b to verify that it no longer generates it:
These steps are directly linked to the development of the application, which can have a negative impact on its behavior, giving rise to error 0xc00007b or even other types of errors, but by carrying out these steps we will make the apps work correctly..