Ubuntu operating systems are characterized by their versatility to install numerous applications and configurations that allow the system to be more scalable and thus have the appropriate tools for comprehensive administration and one of the apps that will help us manage all this is Nagios. Nagios has been created as a tool with which one has access to the IT infrastructure to detect and repair problems that may jeopardize the integrity, availability and stability of both the system and everything that exists in them..
Nagios Features
Within the characteristics of Nagios we find:
- Rapid detection of changes in the infrastructure.
- Generation of alerts that can be sent directly to the administrator using email or SMS.
- Centralized view of the managed IT infrastructure using the web interface.
- It allows you to monitor applications, services, operating systems, network protocols, system metrics and infrastructure components from a single place.
- Allows the use of scripting APIs to manage applications, services, and systems.
- It has event handlers that create an automatic restart of failed applications and services.
- Create availability reports to validate SLA compliance.
- We will have access to historical reports to review the record of alerts, notifications, interruptions and more.
TechnoWikis will explain in detail how we can install Nagios in Ubuntu and thus have a comprehensive utility for monitoring hundreds of events.
To stay up to date, remember to subscribe to our YouTube channel!
SUBSCRIBE ON YOUTUBE
How to install Nagios on Ubuntu
Step 1
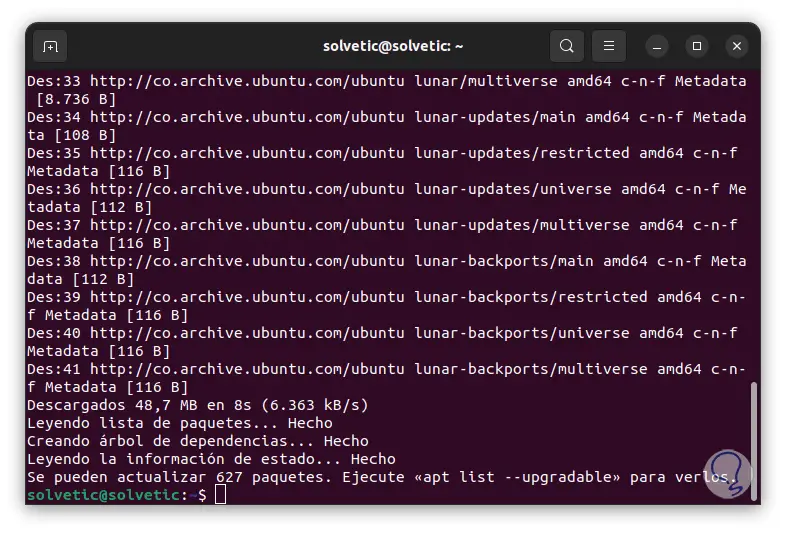
First of all we open the Ubuntu terminal and update the system:
sudo apt update
Step 2
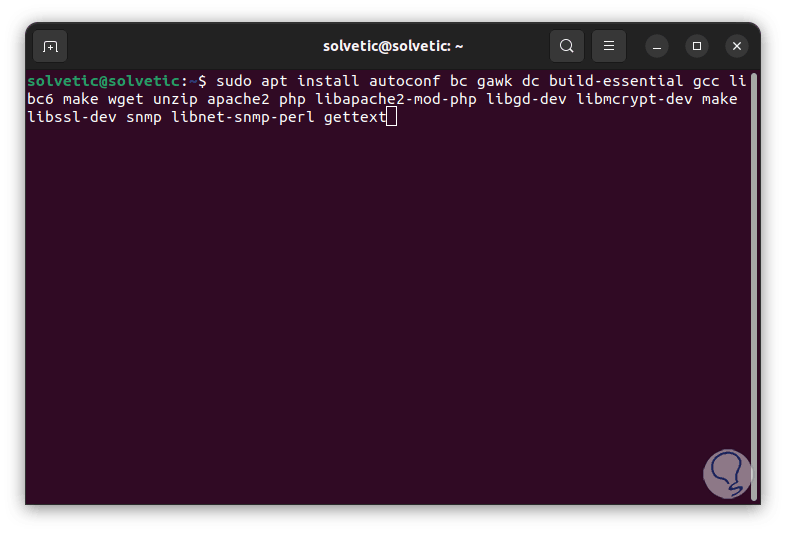
Now we install the necessary dependencies:
sudo apt install autoconf bc gawk dc build-essential gcc libc6 make wget unzip apache2 php libapache2-mod-php libgd-dev libmcrypt-dev make libssl-dev snmp libnet-snmp-perl gettext
Step 3
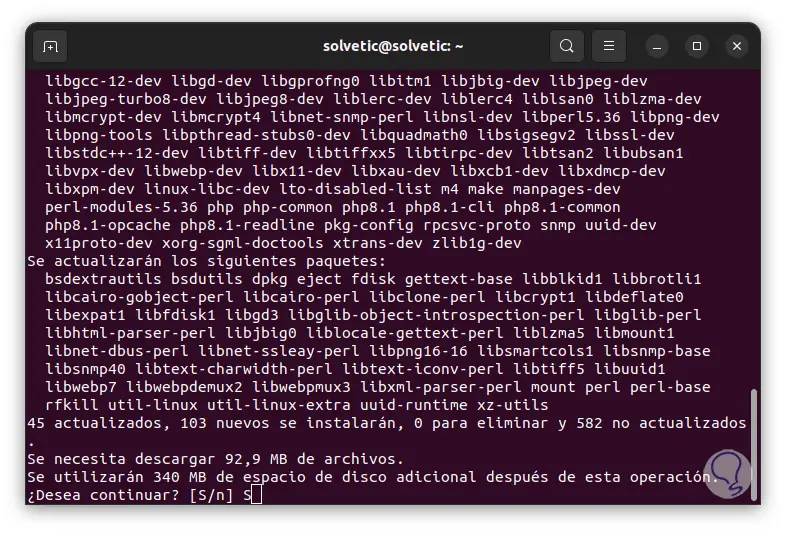
By pressing Enter we must confirm the process by entering the letter S:
Step 4
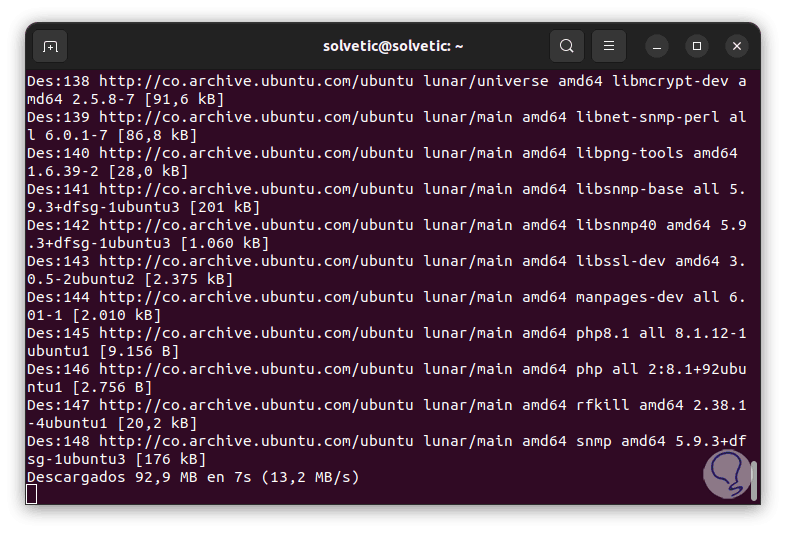
We hope that the process of downloading and installing these dependencies will proceed:
step 5
At the end we will see the following:
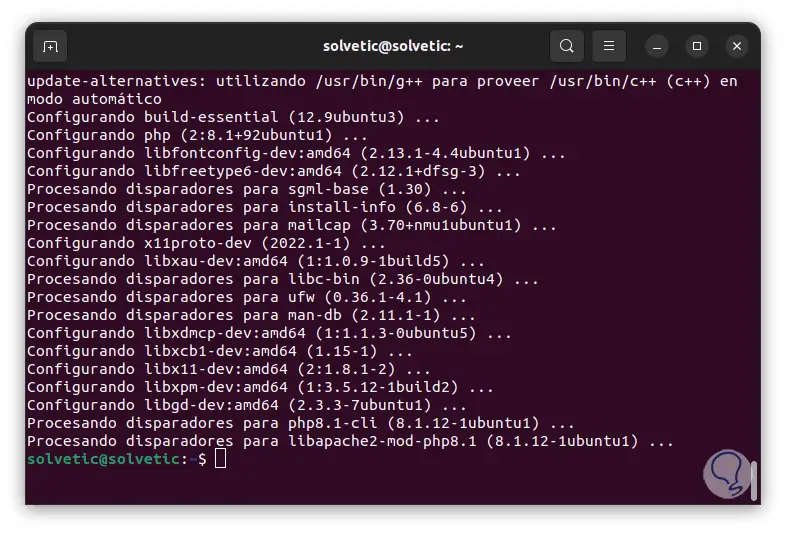
step 6
We try to download the latest version of Nagios:
sudo wget https://github.com/NagiosEnterprises/nagioscore/archive/nagios-4.4.6.tar.gz
step 7
In case of error, try to execute the following:
sudo wget https://assets.nagios.com/downloads/nagioscore/releases/nagios-4.4.6.tar.gz

step 8
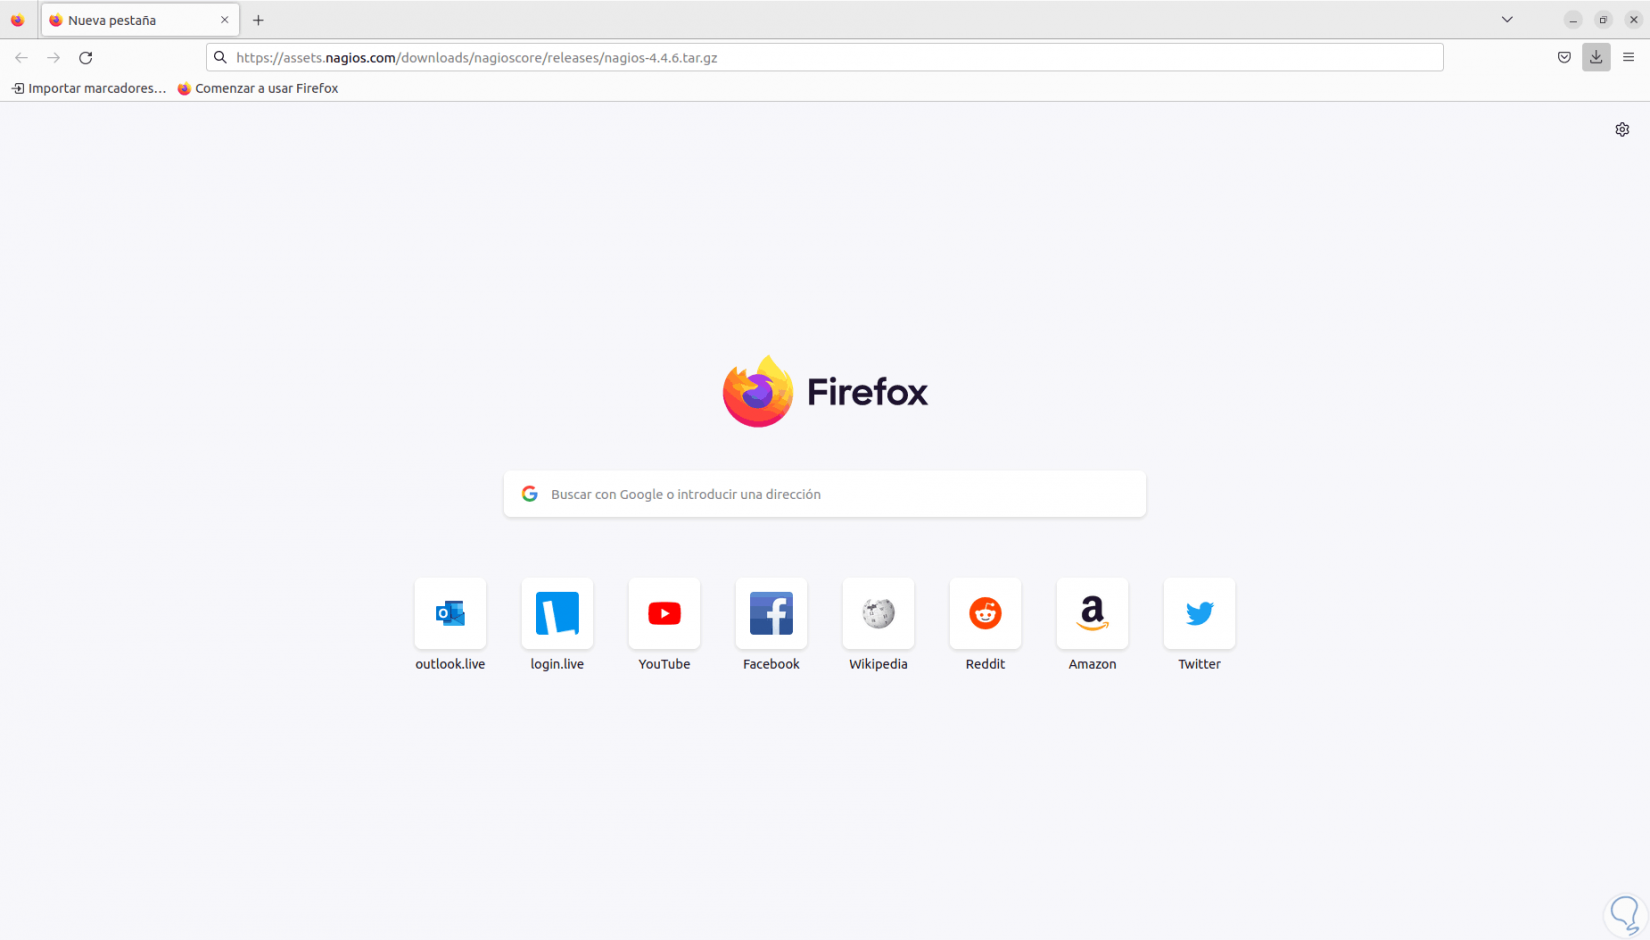
If the error persists we open the browser and paste the URL:
https://assets.nagios.com/downloads/nagioscore/releases/nagios-4.4.6.tar.gz
step 9
The download will start automatically:
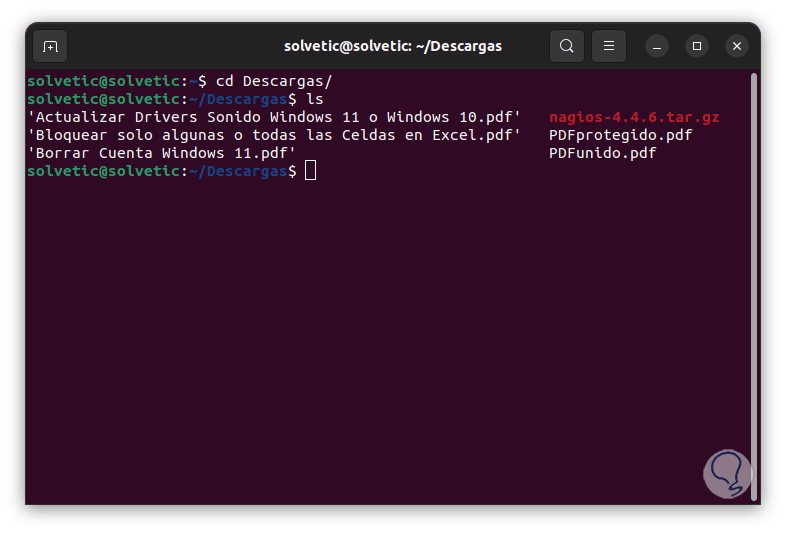
step 10
Once downloaded we access the Downloads folder and we can list the content with "ls":
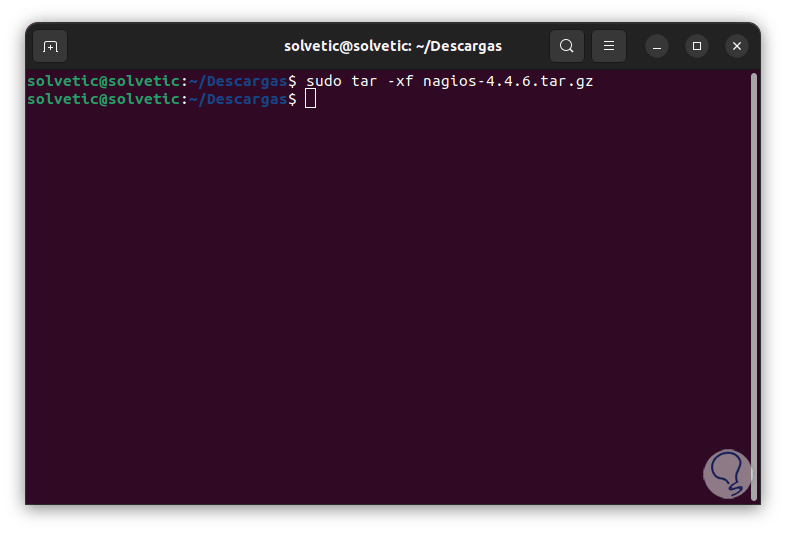
step 11
We extract the content of the file downloaded from Nagios:
sudo tar -xf nagios-4.4.6.tar.gz
step 12
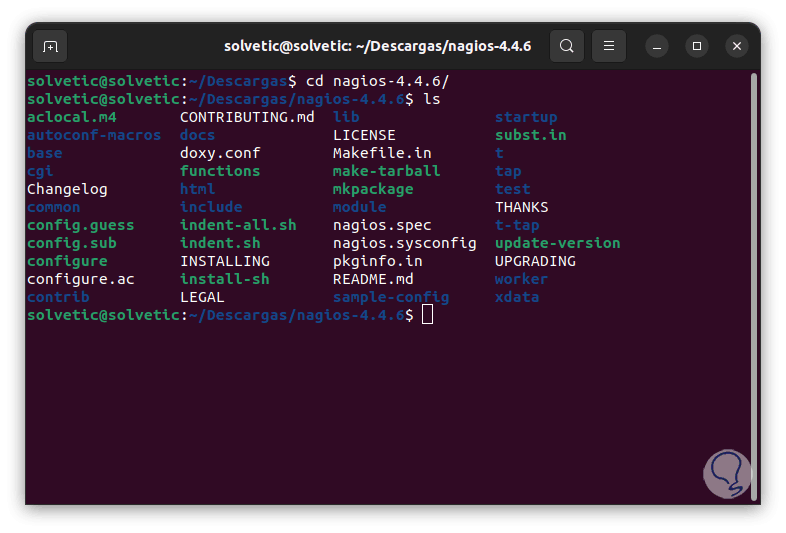
We access the created folder:
cd nagios-(version)
step 13
With "ls" we list its content:
step 14
We compile Nagios by running:
sudo ./configure --with-httpd-conf=/etc/apache2/sites-enabled
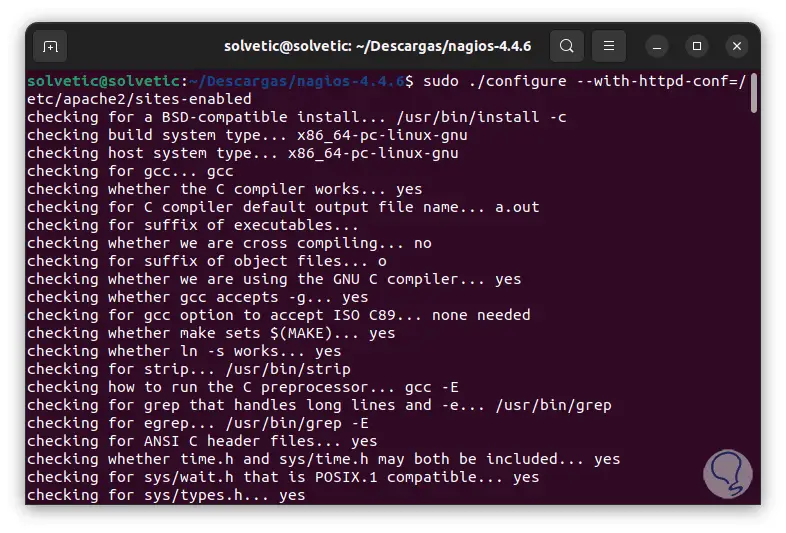
step 15
We hope this process is completed:
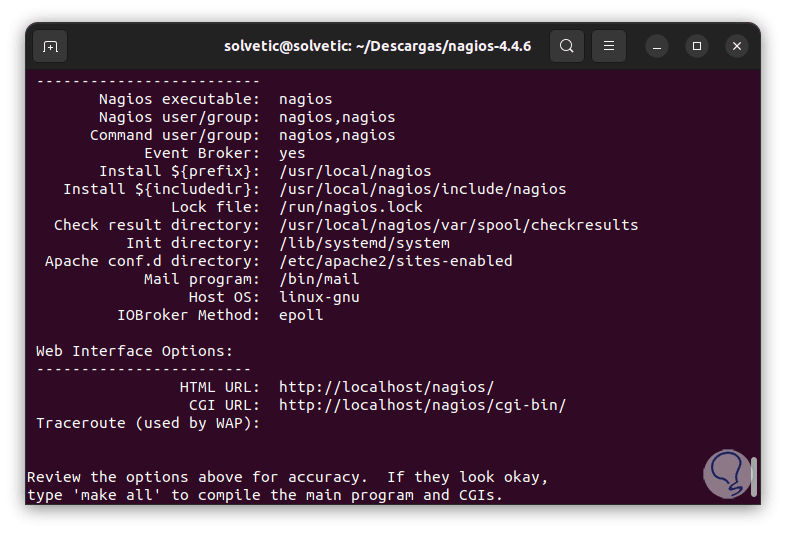
step 16
We execute the following command to compile the Nagios program:
sudo make all
step 17
Press Enter to start the process:
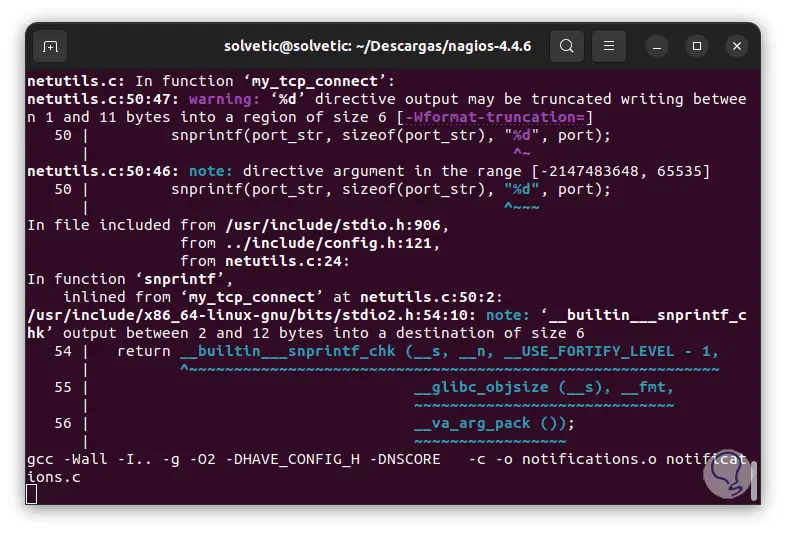
step 18
At the end of this process we will see the following:
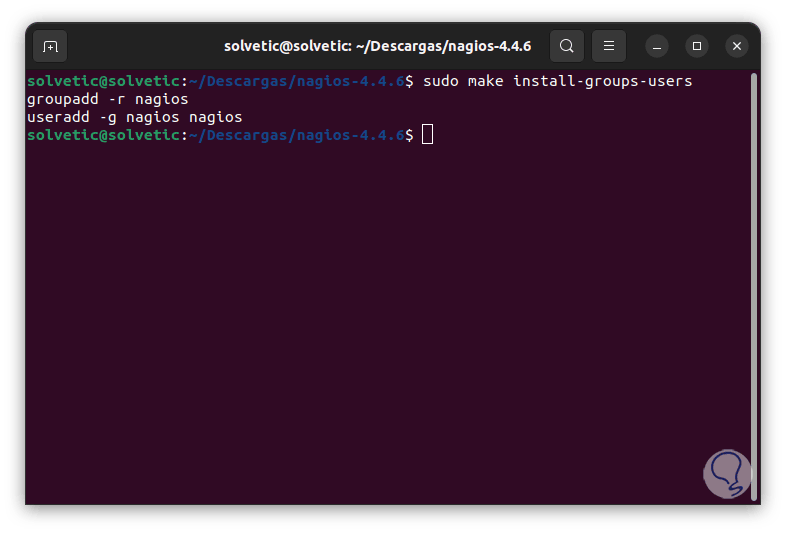
step 19
Install the user group necessary to access the platform:
sudo make install-groups-users
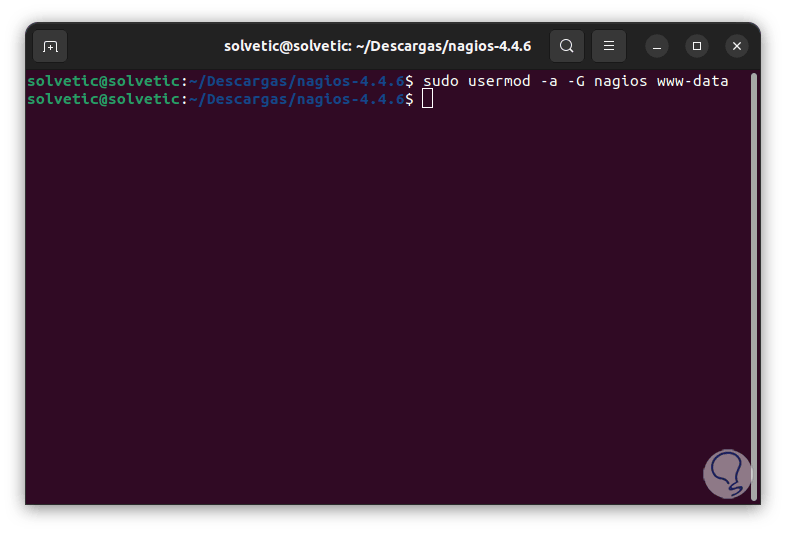
step 20
We grant the required permissions:
sudo usermod -a -G nagios www-data
step 21
We install the Nagios binaries with the command:
sudo make install
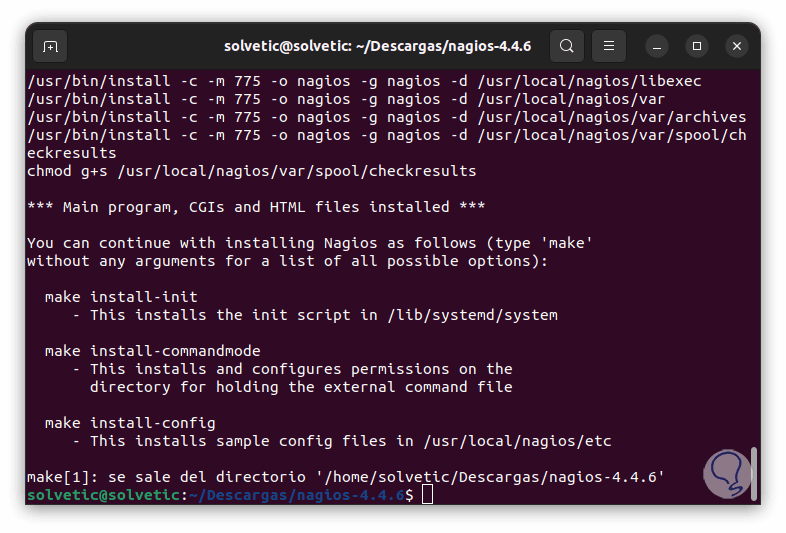
step 22
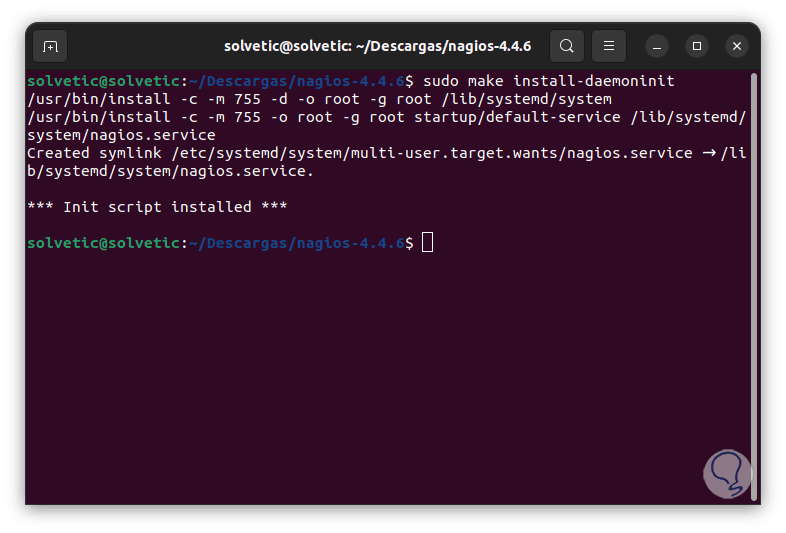
We install the required scripts, first the startup daemon:
sudo make install-daemoninit
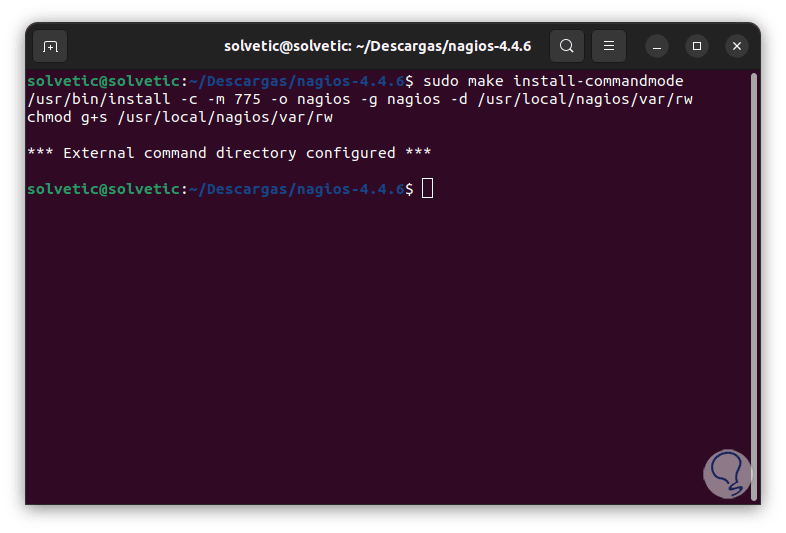
Step 23
Now the command mode:
sudo make install-commandmode
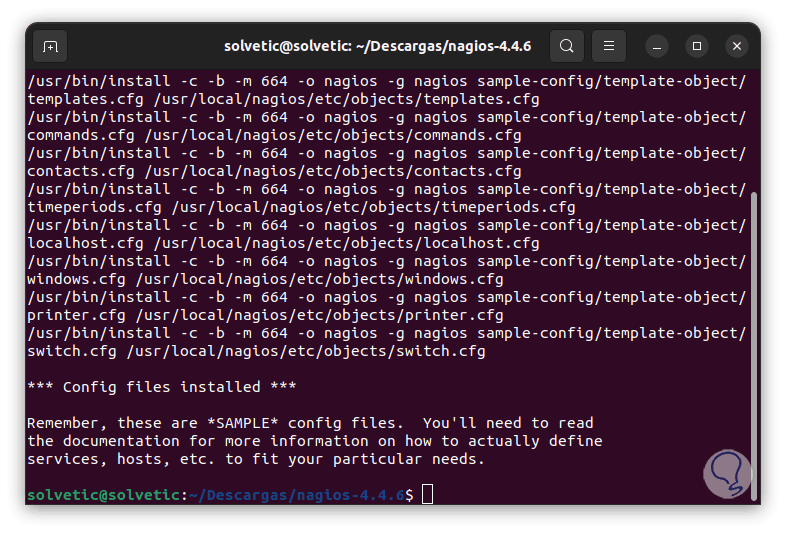
step 24
We execute the script to perform the configuration:
sudo make install-config
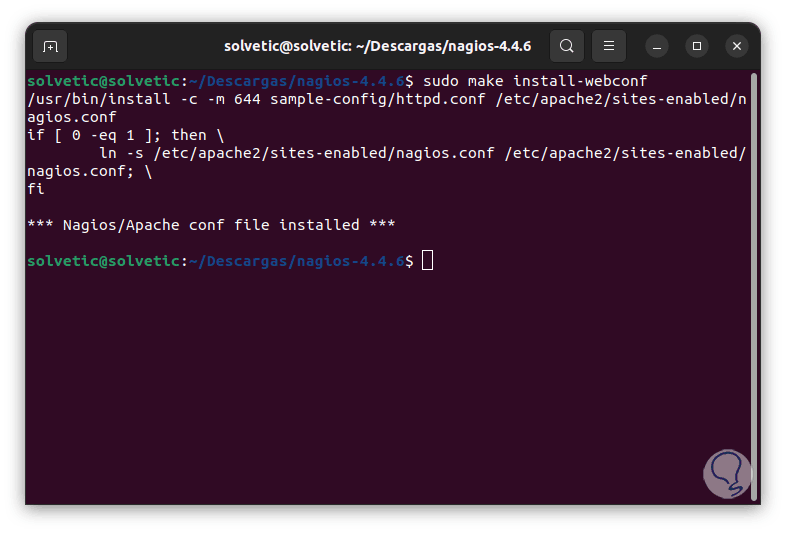
step 25
We install the Apache configuration for Nagios:
sudo make install-webconf
step 26
Now we activate the CGI module::
sudo a2enmod rewrite cgi

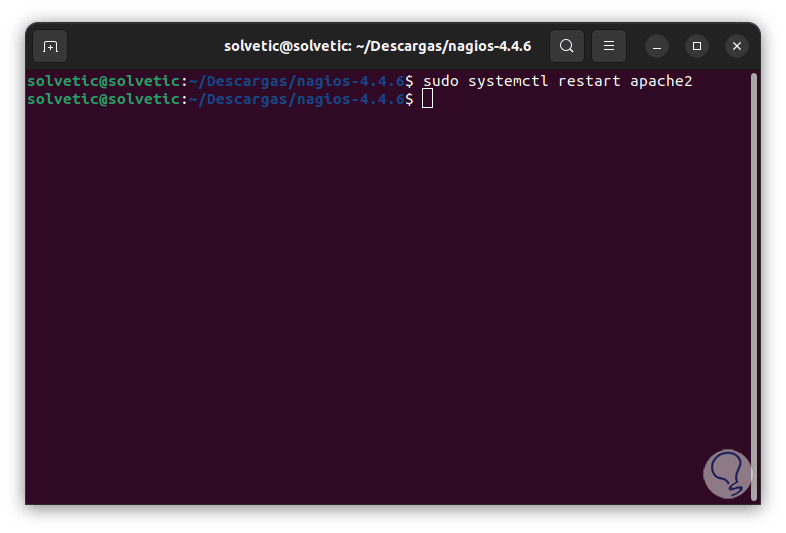
step 27
We restart Apache with the command:
sudo systemctl restart apache2
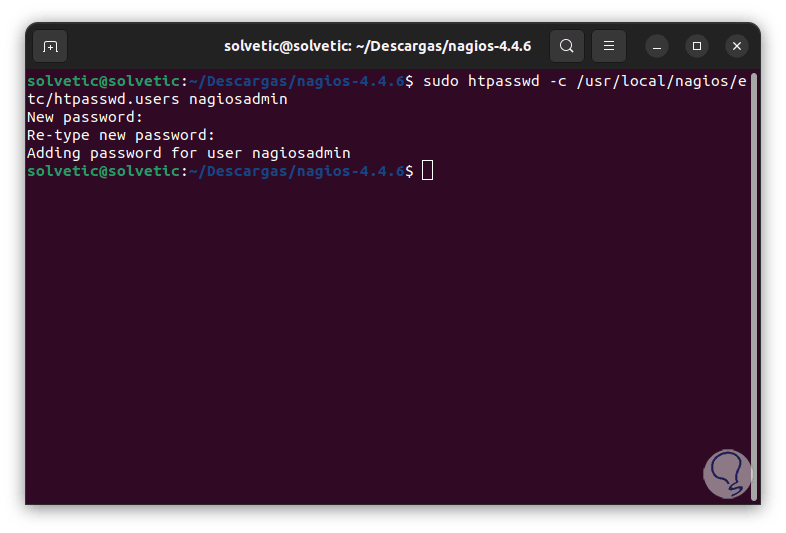
Step 28
We create the Apache user for Nagios:
sudo htpasswd -c /usr/local/nagios/etc/htpasswd.users nagiosadmin
We assign the desired password and we must confirm it:
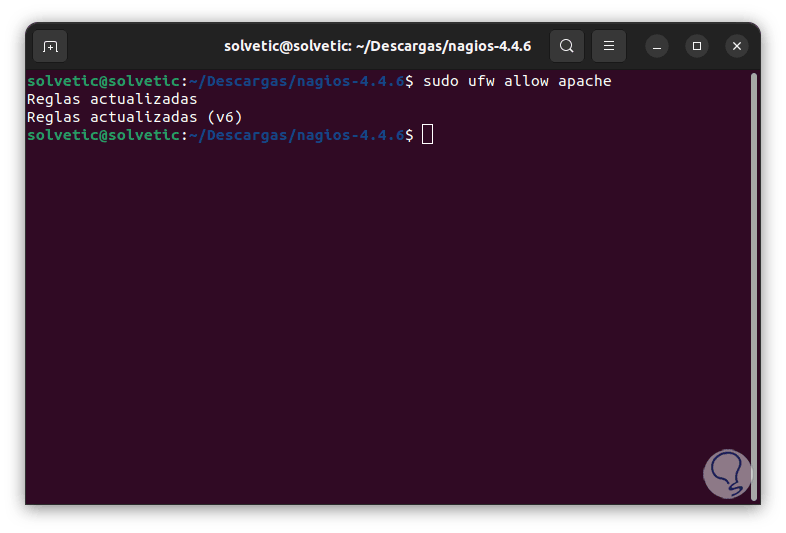
Step 29
We add Apache to the Ubuntu Firewall:
sudo ufw allow apache
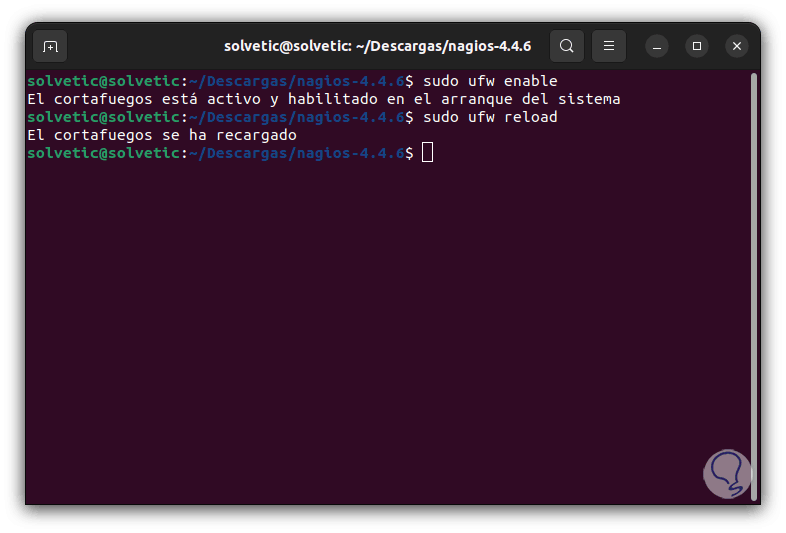
step 30
We enable the Firewall at system startup:
sudo ufw enable
step 31
We reload the Firewall changes:
sudo ufw reload
step 32
We validate the status of the Firewall:
sudo ufw status

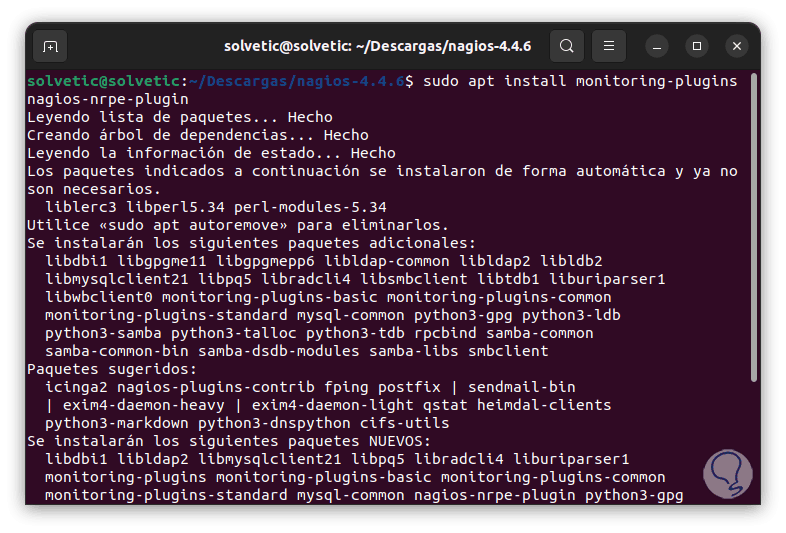
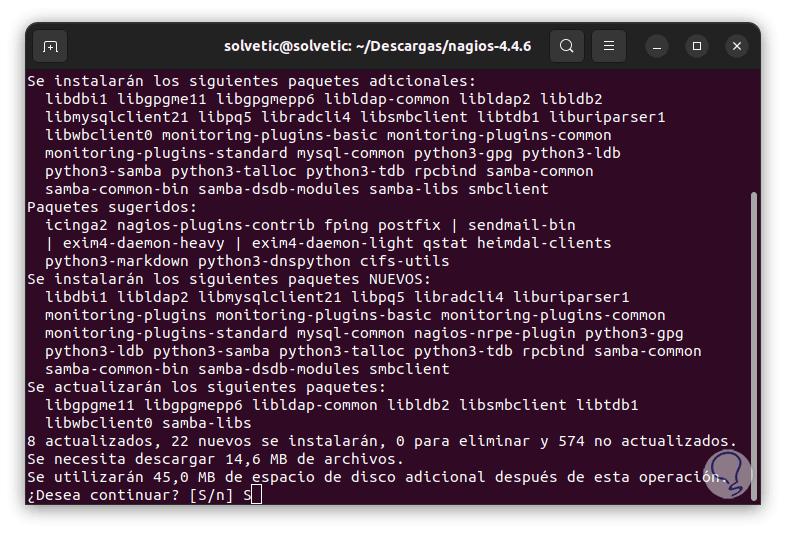
Step 33
We install the Nagios plugins with the command:
sudo apt install monitoring-plugins nagios-nrpe-plugin
Step 34
We enter the letter S to confirm:
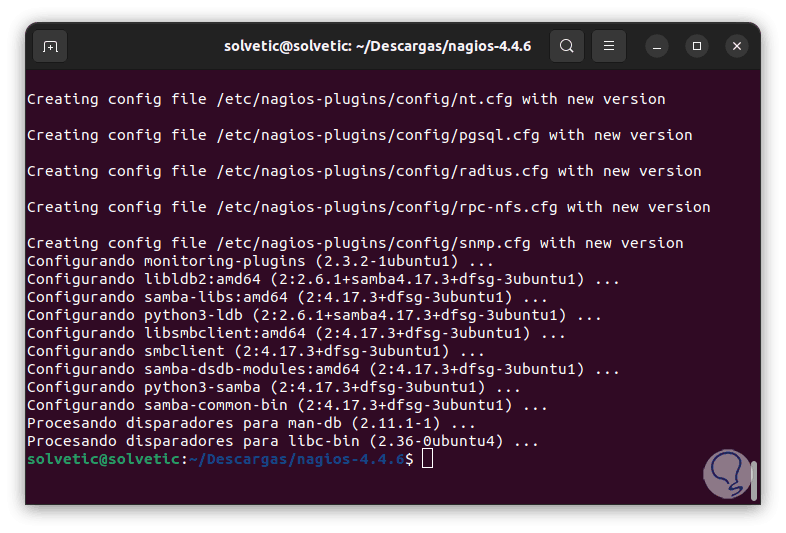
step 35
We wait for this process to finish:
Step 36
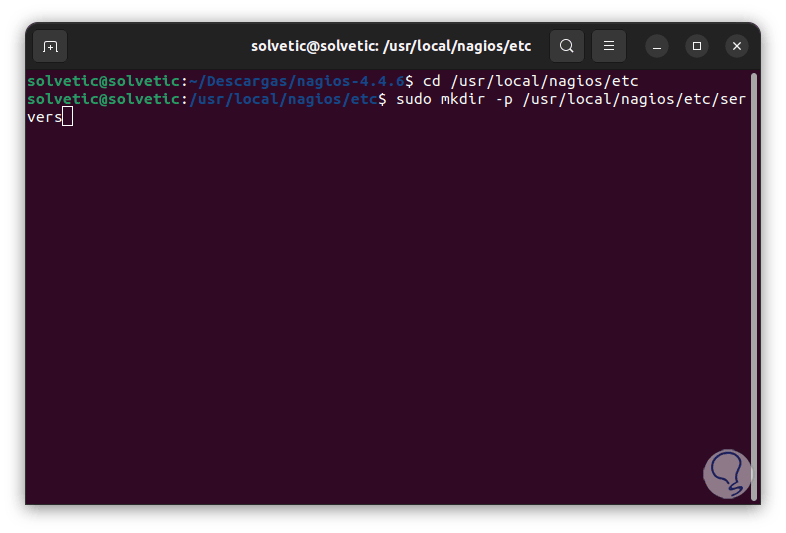
We access the Nagios directory and create a new directory:
cd /usr/local/nagios/etc sudo mkdir -p /usr/local/nagios/etc/servers
Step 37
We access the configuration file with some editor:
sudo nanonagios.cfg
Step 38
There we locate the cfg_dir section:
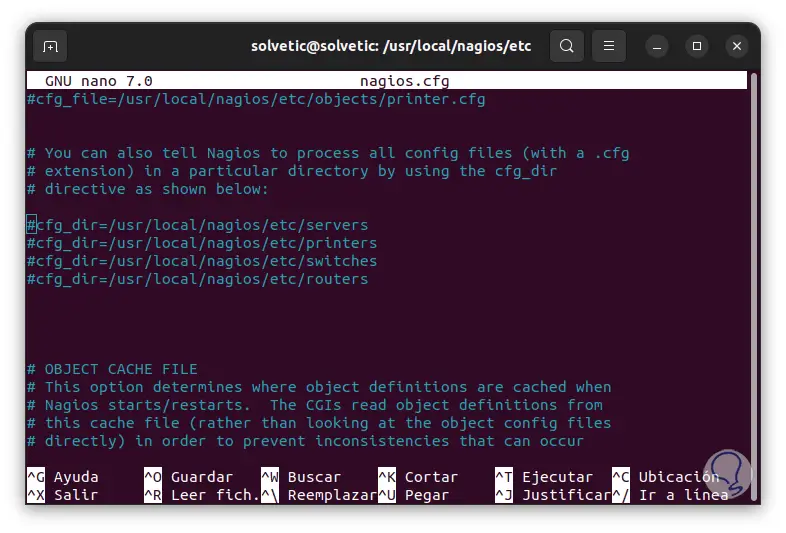
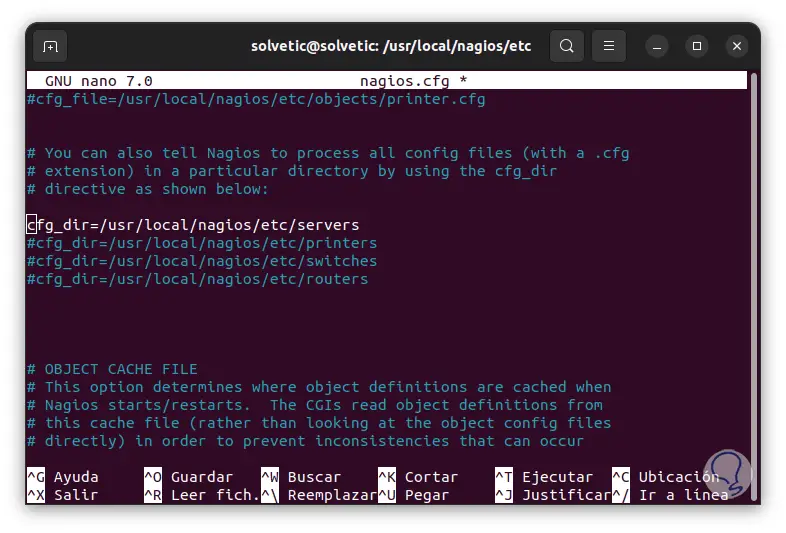
Step 39
We uncomment the line:
cfg_dir=/usr/local/nagios/etc/servers
step 40
We save the changes using the following key combination:
Ctrl + O
We exit the editor using:
Ctrl + X
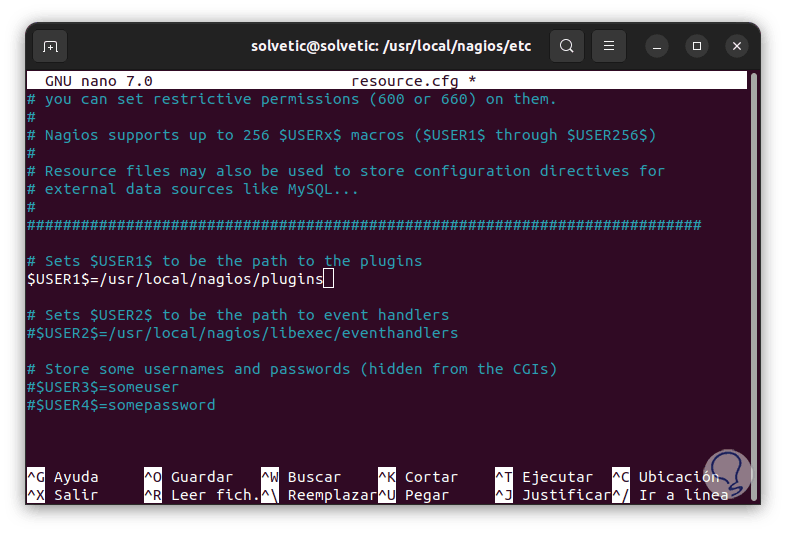
Step 41
We access the file with an editor:
sudo nanoresource.cfg
We will see this:
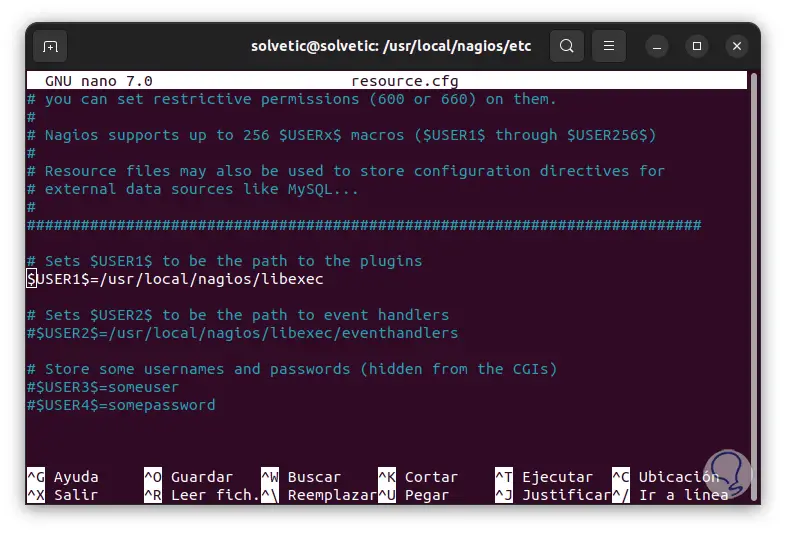
step 42
We establish:
$USER1$=/usr/lib/nagios/plugins
Apply the changes.
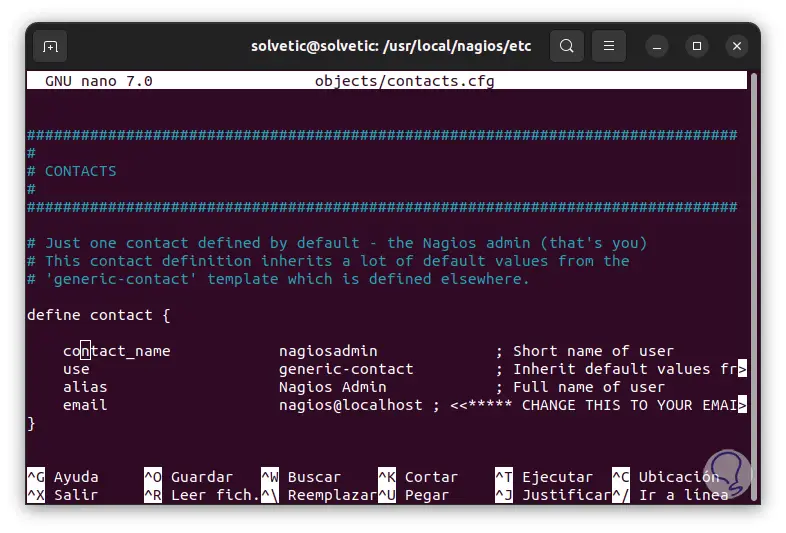
Step 43
It is possible to add a management mail in the route. There we must use the value "email" and add the address.
sudo nano objects/contacts.cfg
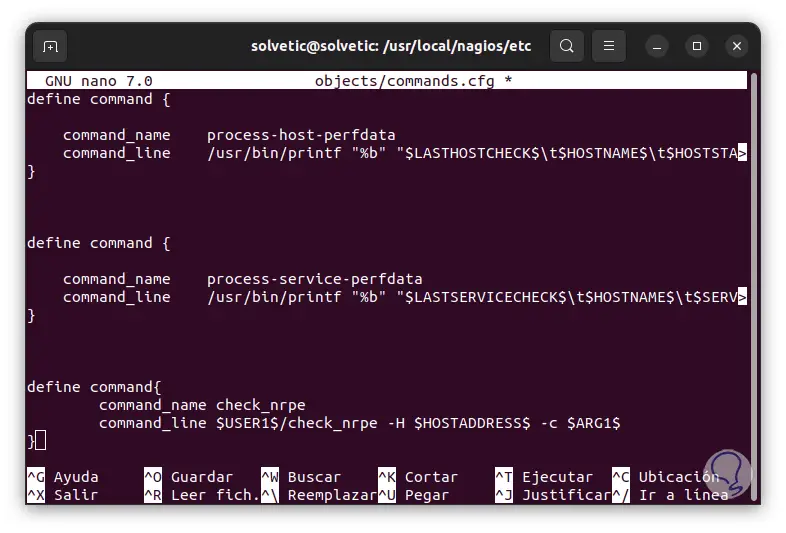
Step 44
We assign the nrpe command in the path:
sudo nano objects/commands.cfg
step 45
We add the following at the end:
define command{ command_name check_nrpe command_line $USER1$/check_nrpe -H $HOSTADDRESS$ -c $ARG1$ } Apply the changes.
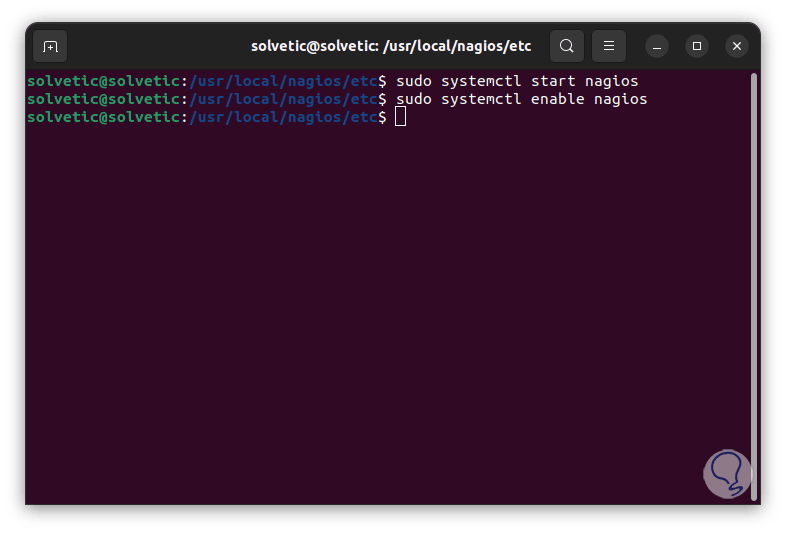
Step 46
NRPE (Nagios Remote Plugin Executor) is a module with which it is possible to perform active monitoring using an agent installed on the resources to be monitored. After this we start and enable the Nagios service:
systemctl start nagios systemctl enable nagios
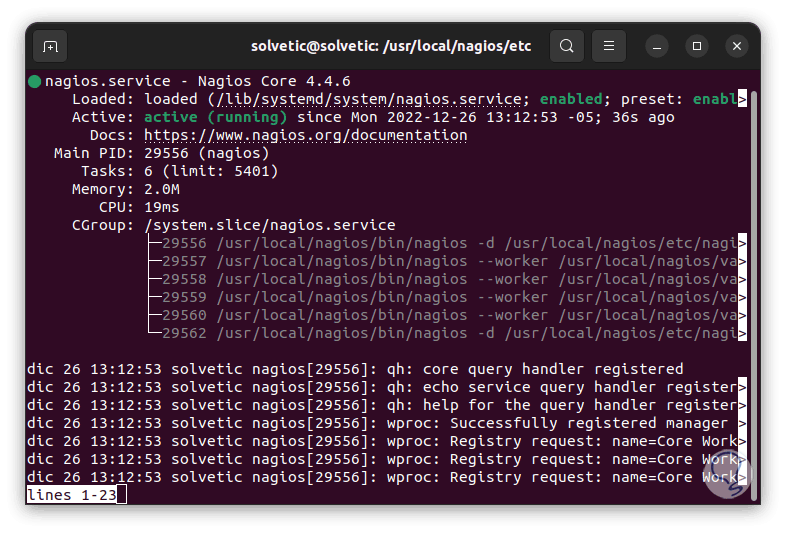
Step 47
Check the status of Nagios:
systemctl status nagios
Step 48
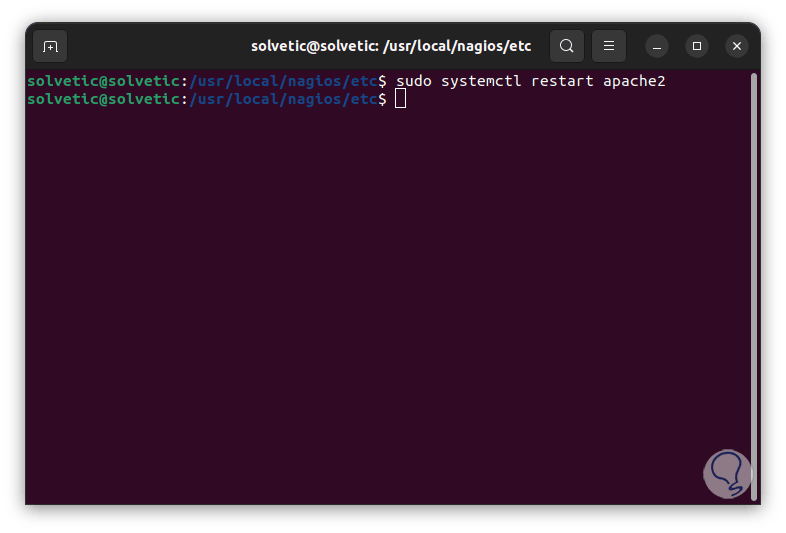
We restart Apache:
systemctl restart apache2
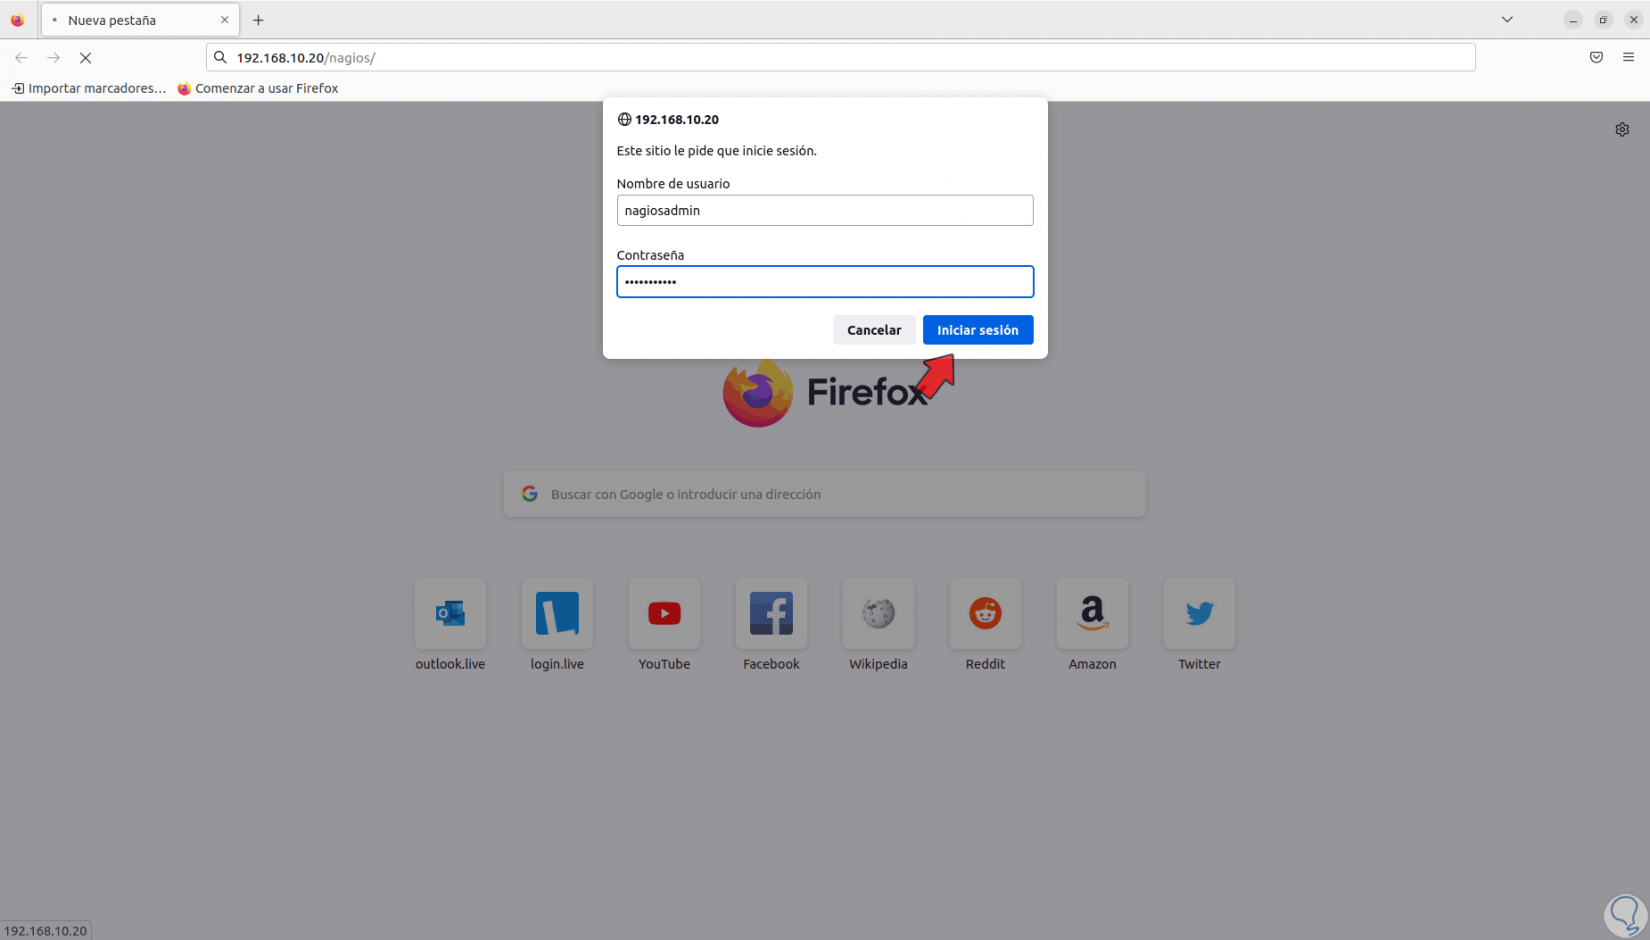
Step 49
We open a browser, enter the following syntax:
https://IP/nagios/
step 50
We enter the username and password assigned:
step 51
We will have access to the Nagios console in Ubuntu:
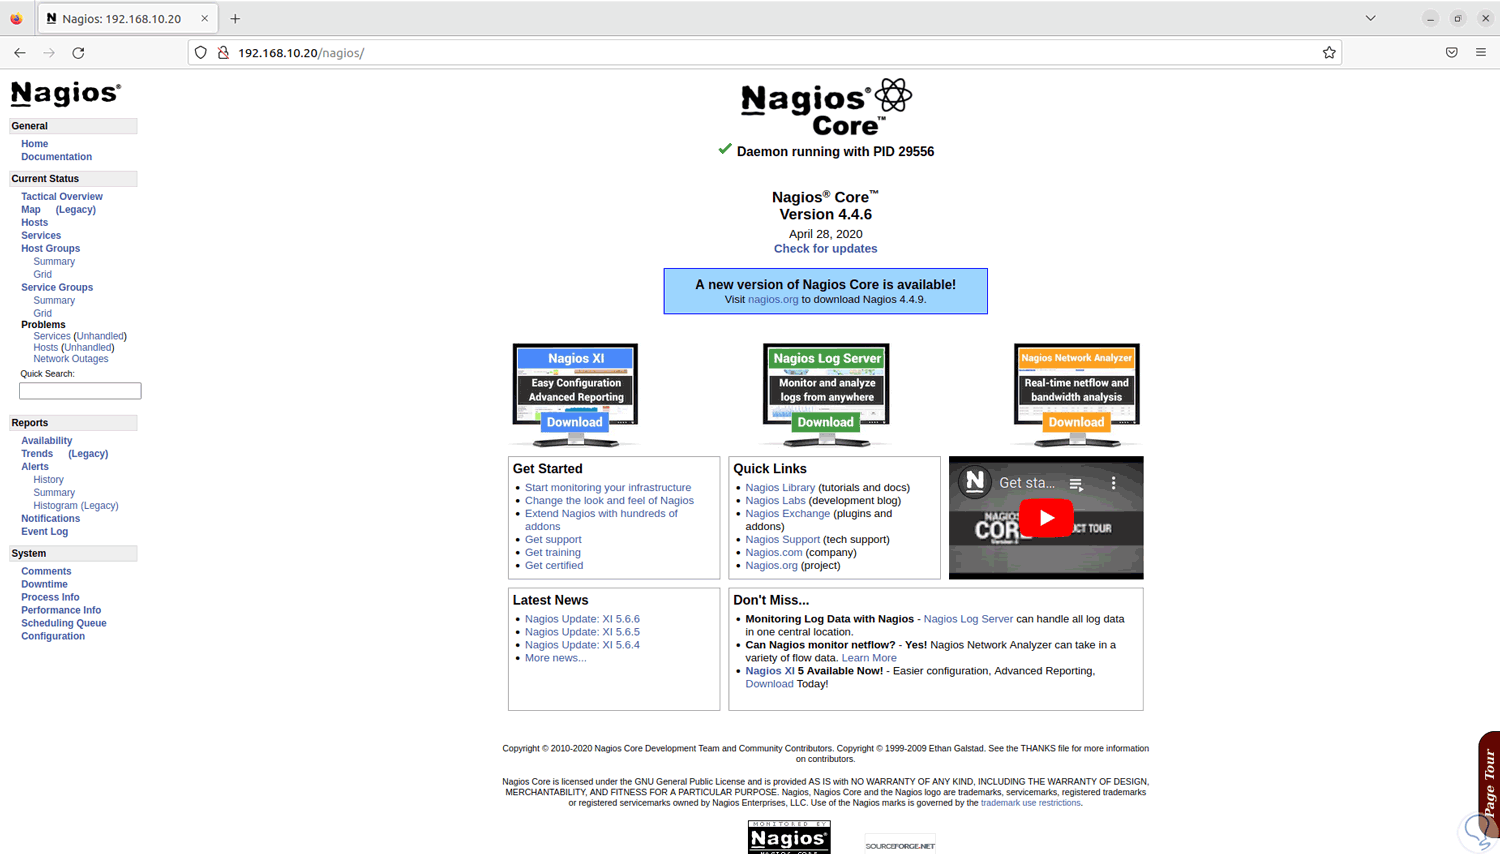
step 52
We explore the Nagios options in Ubuntu:
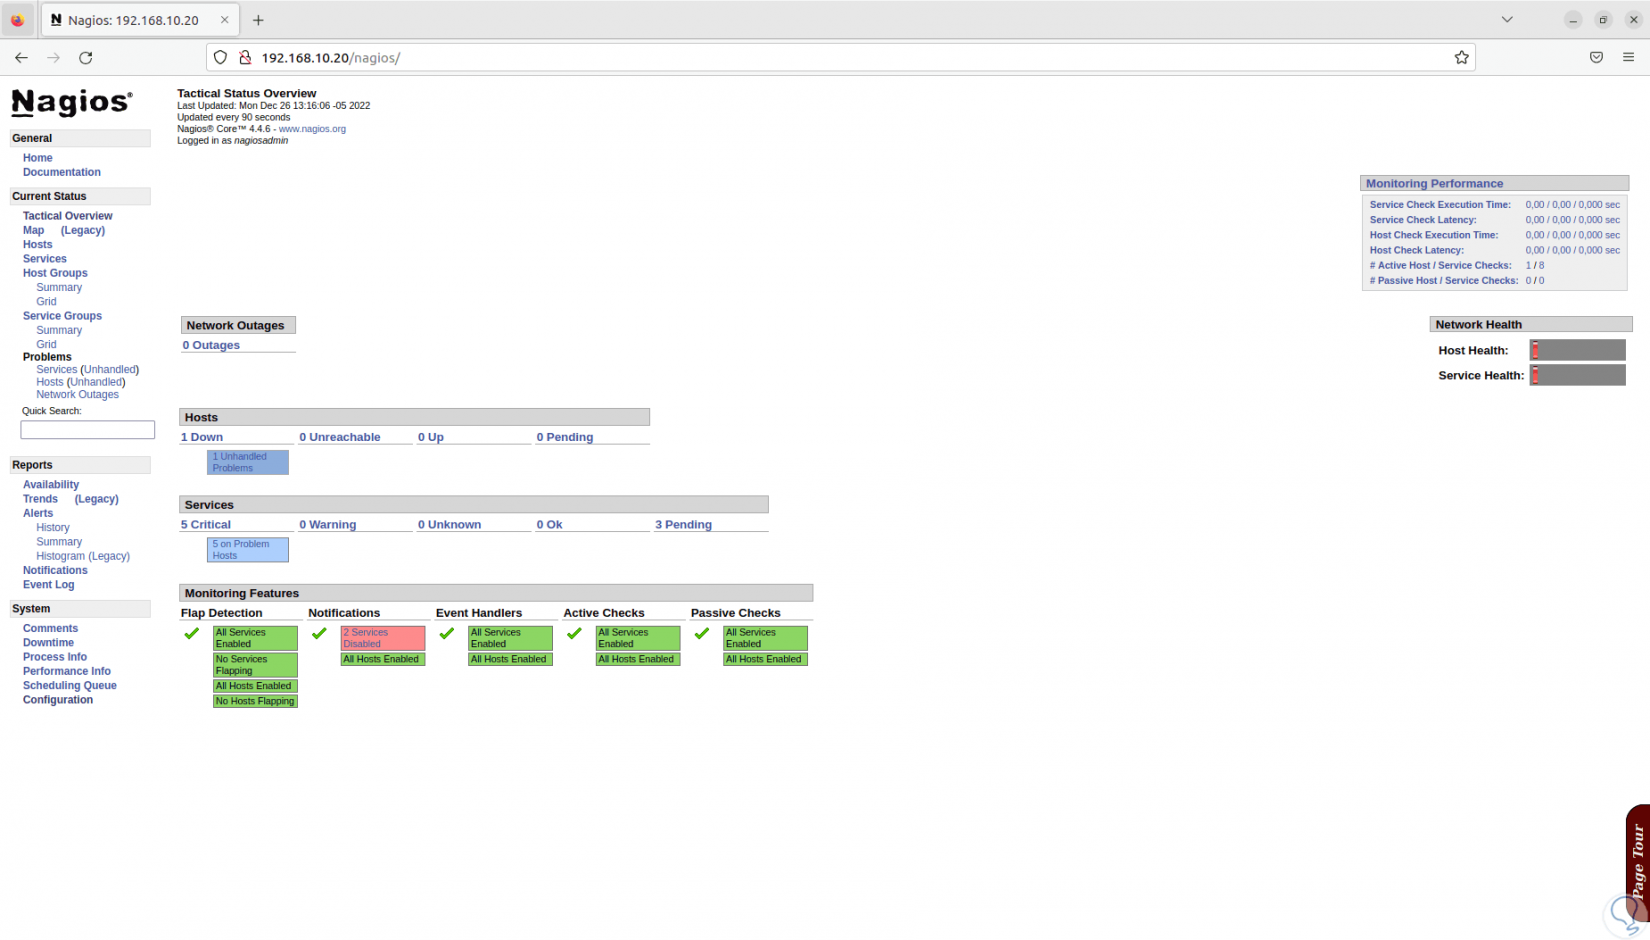
step 53
We can review the status of critical services:
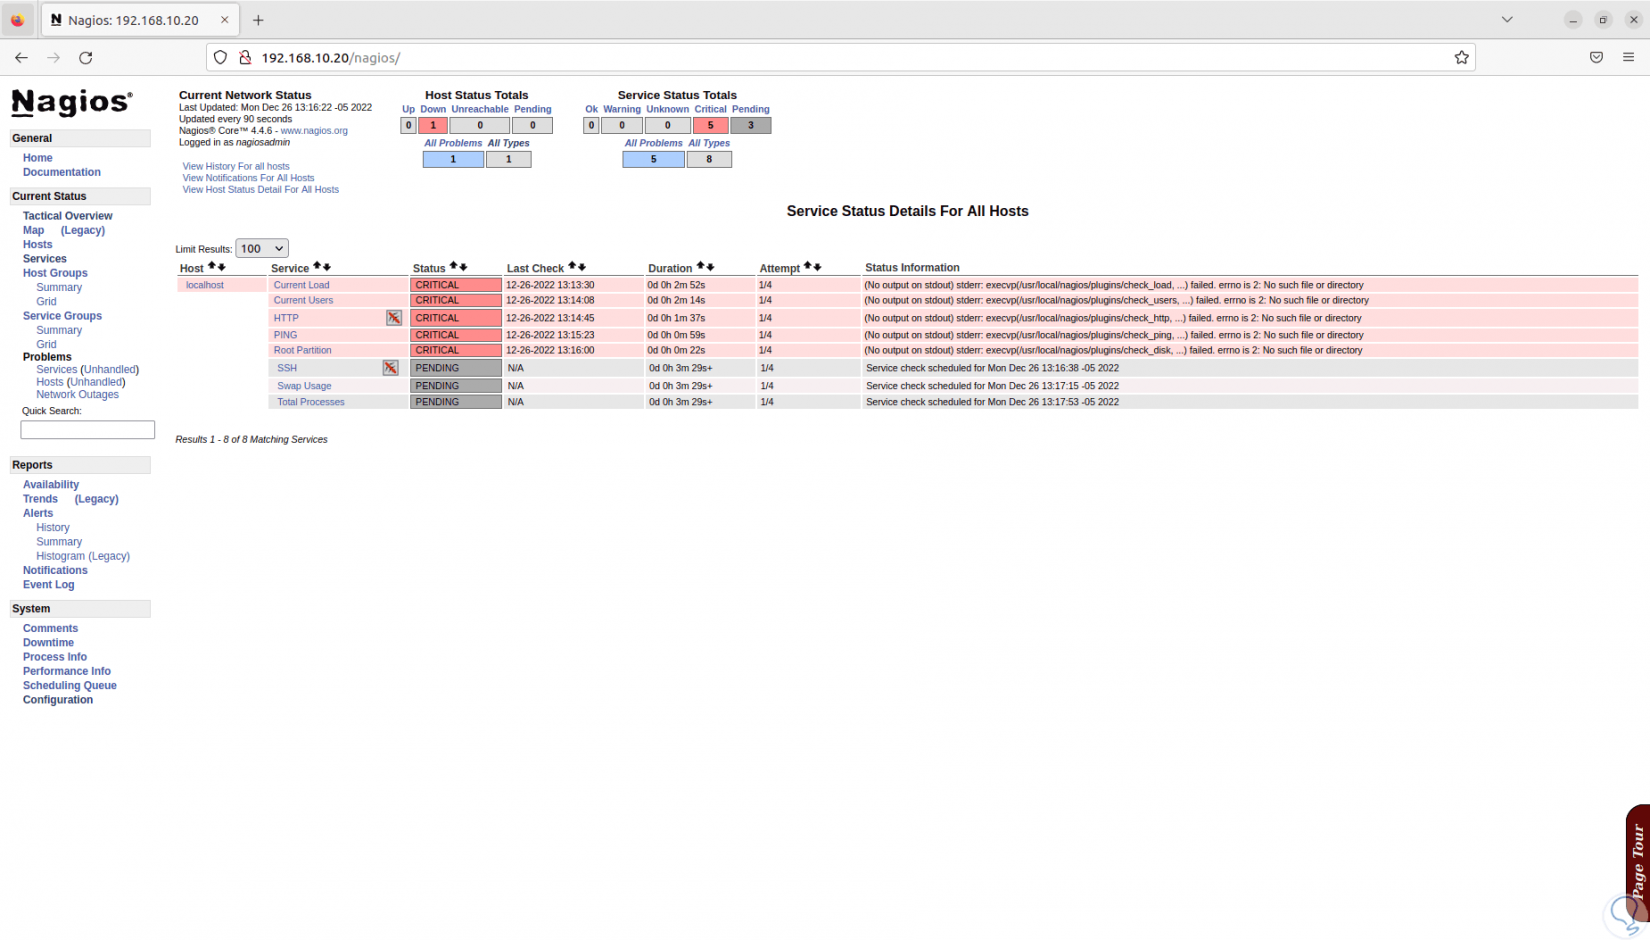
step 54
We have an event or log viewer:
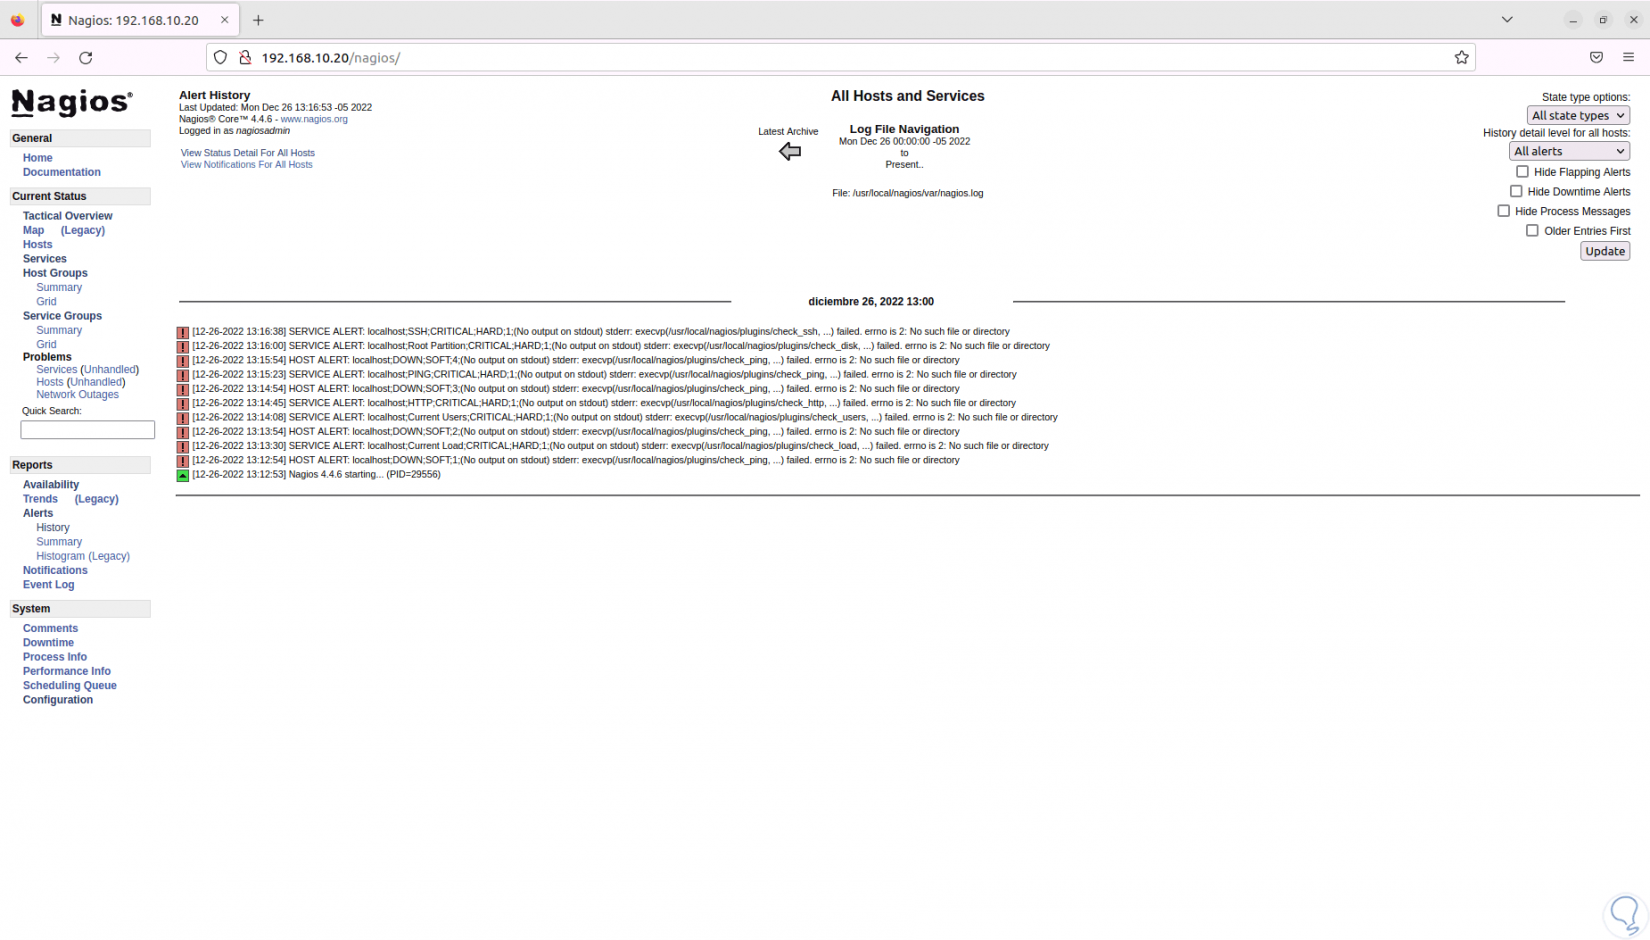
From this point it will be possible to add equipment or more services to be centrally monitored and managed with Nagios in Ubuntu, taking full advantage of each of its usage characteristics..