One of the great advantages that Linux offers is its ability to increase the native features of the system, regardless of the distribution used, this gives the normal and advanced user as well as the administrator multiple options to configure and work on the system and its applications, a One of the tasks in which Ubuntu, one of the most popular distributions, is effective is in development tasks and web hosting, something that every day takes much more strength and to help manage everything that this segment covers we have a comprehensive utility as is OpenLiteSpeed..
OpenLiteSpeed has been developed as an open source web server with advanced performance and has been created by LiteSpeed Technologies, as such this is a lightweight and 100% free version of LiteSpeed Web Server, focused on delivering much more optimal and efficient performance. for everything that has to do with web hosting environments.
OpenLiteSpeed is fully compatible with Apache so it can be used instead of Apache (one of the most popular for web tasks) without affecting the server configuration or the code of the web applications we develop..
Characteristics
Among the features of OpenLiteSpeed we find:
- It has an event-based architecture that aims to avoid more expenses and better use of hardware
- Integrates a WebAdmin GUI to manage every aspect of equipment and applications
- OpenLiteSpeed supports mod_rewrite to avoid using new syntax
- Optimized for faster speed
- Google PageSpeed improvements using the mod_pagespeed module
- Adds PHP LiteSpeed SAPI which is the native SAPI for PHP which gives external applications written in PHP much more efficient execution
- Compatible with all versions of SPDY/2, 3, 3.1 and HTTP/2
- HTTP/3 and QUIC compatible
- Integrated gzip compression
- Brotli compression focused on static files
- Supports external PHP, Ruby, Python, Perl, and Java applications
- You can delegate external applications to separate processes
- Stores requests and responses to external applications
- Offers Apache-compatible SSI support
- Support for SSL and hardware acceleration
- Supports TLS 1.0, 1.1, 1.2, 1.3
- Strict HTTP request validation for added security
- Bandwidth and connection limitation
- Fault tolerance and automatic restart function
- Compatibility with the PageSpeed module to increase the speed of processes
- Built-in Round Robin Policy
- Flat file or XML configuration for administrative tasks
- GeoIP modules to locate users using IP address
Now let's see how to install OpenLiteSpeed on Ubuntu.
To stay up to date, remember to subscribe to our YouTube channel!
SUBSCRIBE ON YOUTUBE
How to install OpenLiteSpeed Ubuntu
Step 1
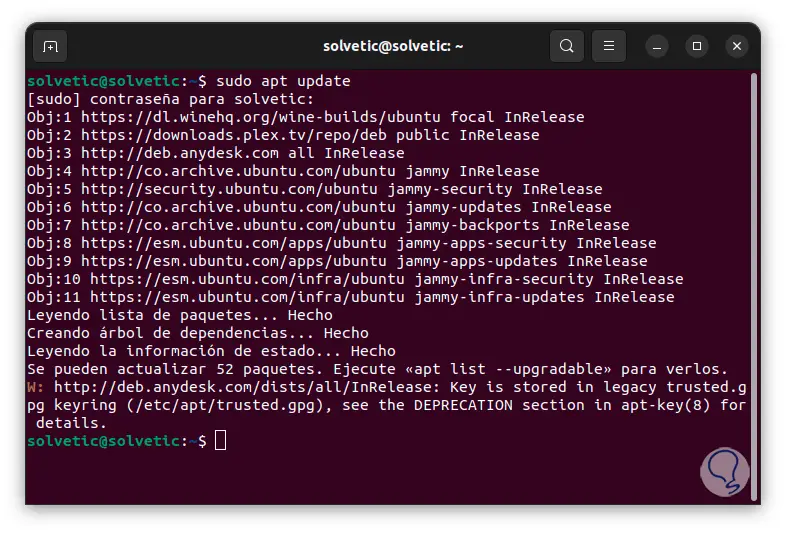
We open the terminal and we are going to update the system by executing the command:
sudo apt update
Step 2
We enter the administrator password and wait for the process to finish:
Note
To apply all the updates we can execute the command:
sudo apt upgrade
Step 3
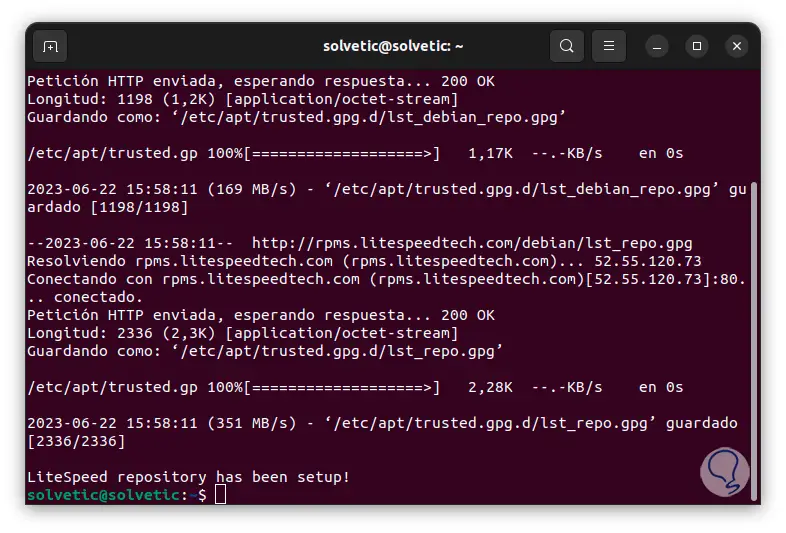
Now we are going to add the official OpenLiteSpeed repository, for this we are going to execute the following command:
sudo wget -O -https://repo.litespeed.sh | sudo bash
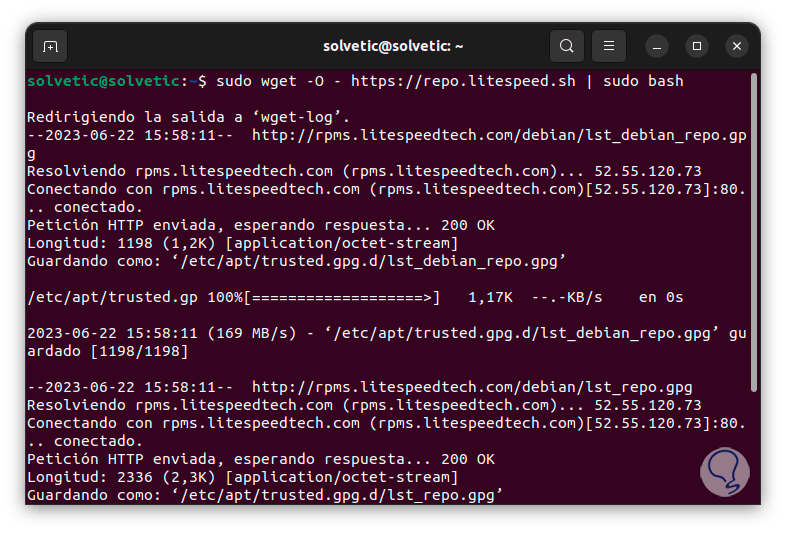
Step 4
We can see that the download has been successful:
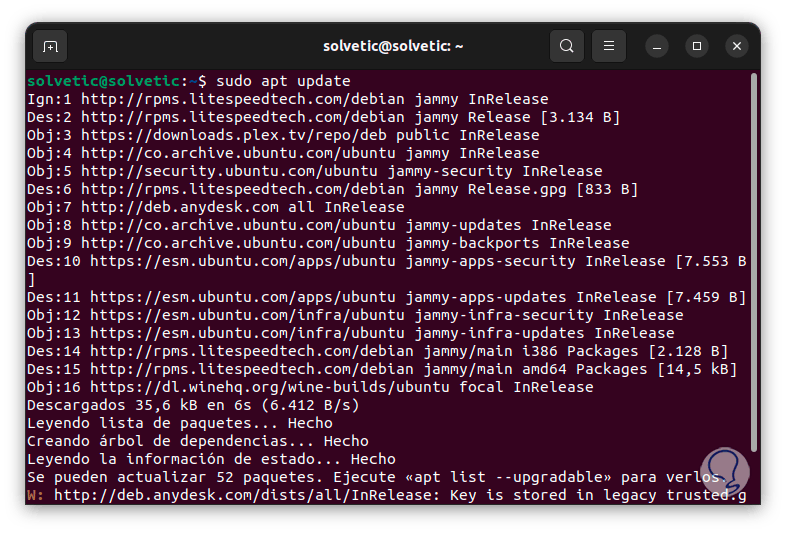
step 5
Again we are going to update Ubuntu since it is necessary to update these repositories, we execute the command "sudo apt update":
step 6
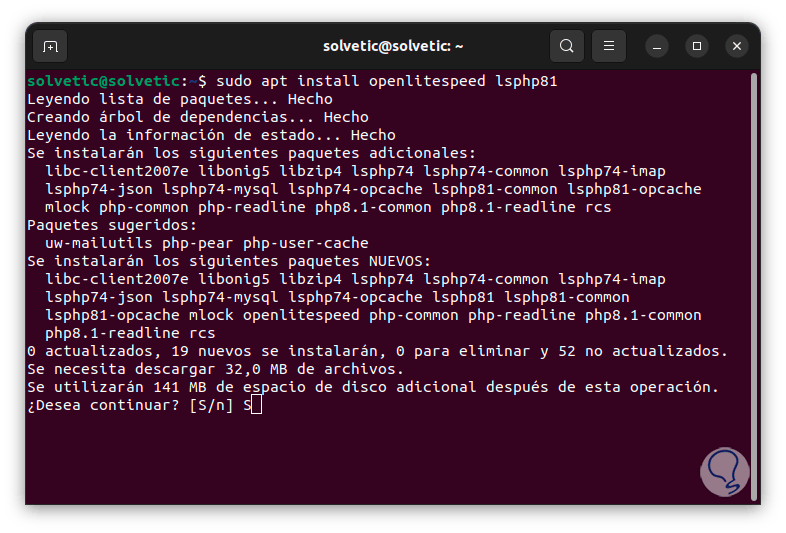
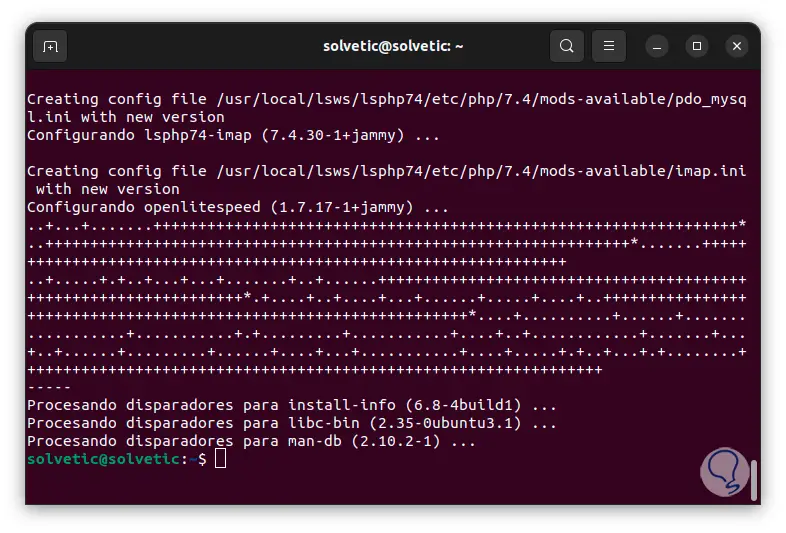
After this we are going to install OpenLiteSpeed using the following command:
sudo apt install openlitespeed lsphp81
Note
This command will install the Openlitespeed and LSPHP 8.1 server package.
step 7
LiteSpeed PHP (LSPHP) is the PHP interpreter integrated into the LiteSpeed Server Application Programming Interface (LSAPI).
step 8
We must enter the letter S to confirm this installation:
step 9
Once OpenLiteSpeed has been installed we are going to assign the administrator password, to achieve this we are going to use the following command:
sudo /usr/local/lsws/admin/misc/admpass.sh
step 10
There we can enter the desired name or press the Enter key to leave the default value which is admin, then we will assign the desired password, confirm it and this parameter will be assigned:

step 11
Let's check the status of OpenLiteSpeed using the command:
sudo systemctl status lsws
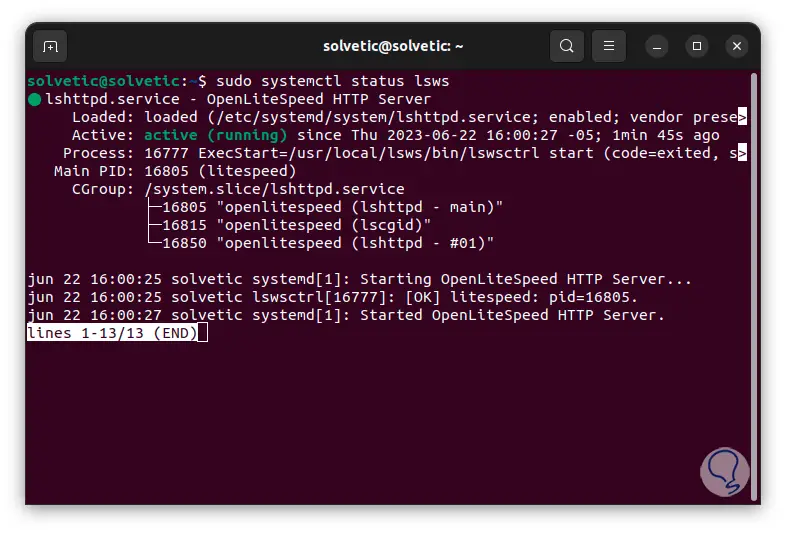
Note
In case the service is not started, you will execute "sudo systemctl start lsws".
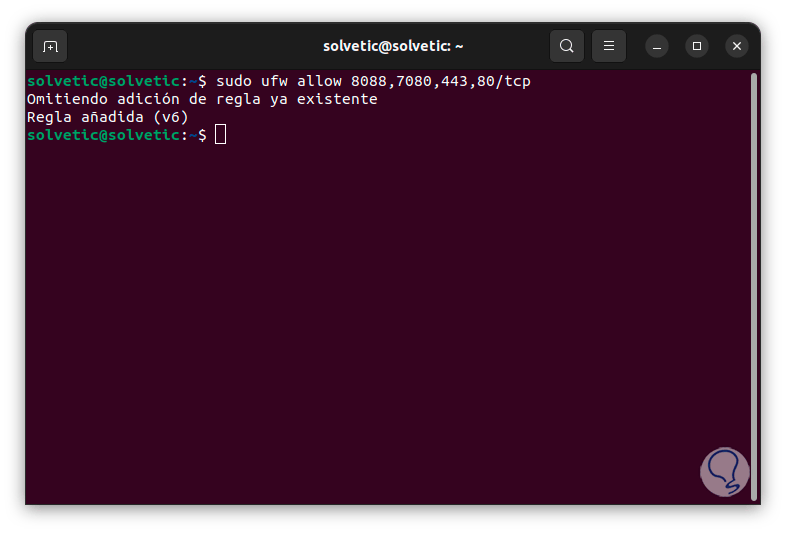
step 12
We must assign the permissions in the Ubuntu firewall to each port that will be used, for this we execute the following:
sudo ufw allow 8088,7080,443,80/tcp
step 13
Before accessing the platform, we execute the "ip a" command to find out the IP address of the device:
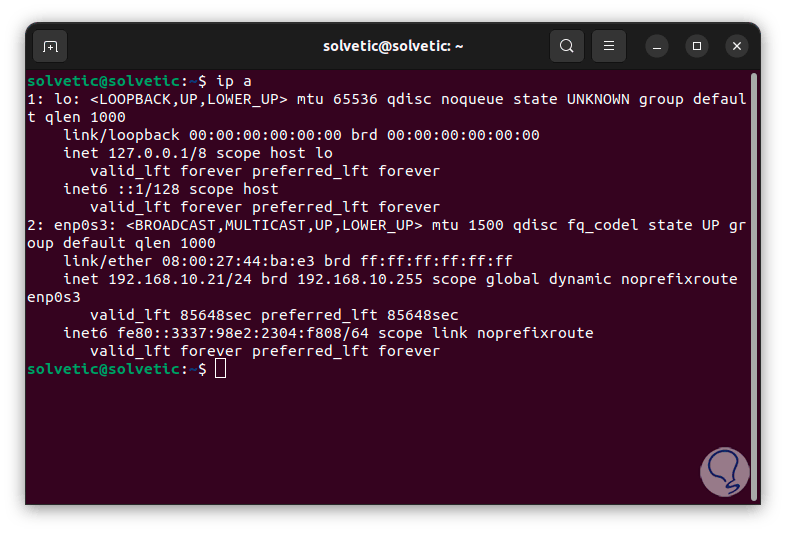
step 14
It is time to open the browser, there we are going to enter the IP address followed by port 8088 and by pressing Enter if everything was correct we will see the following:
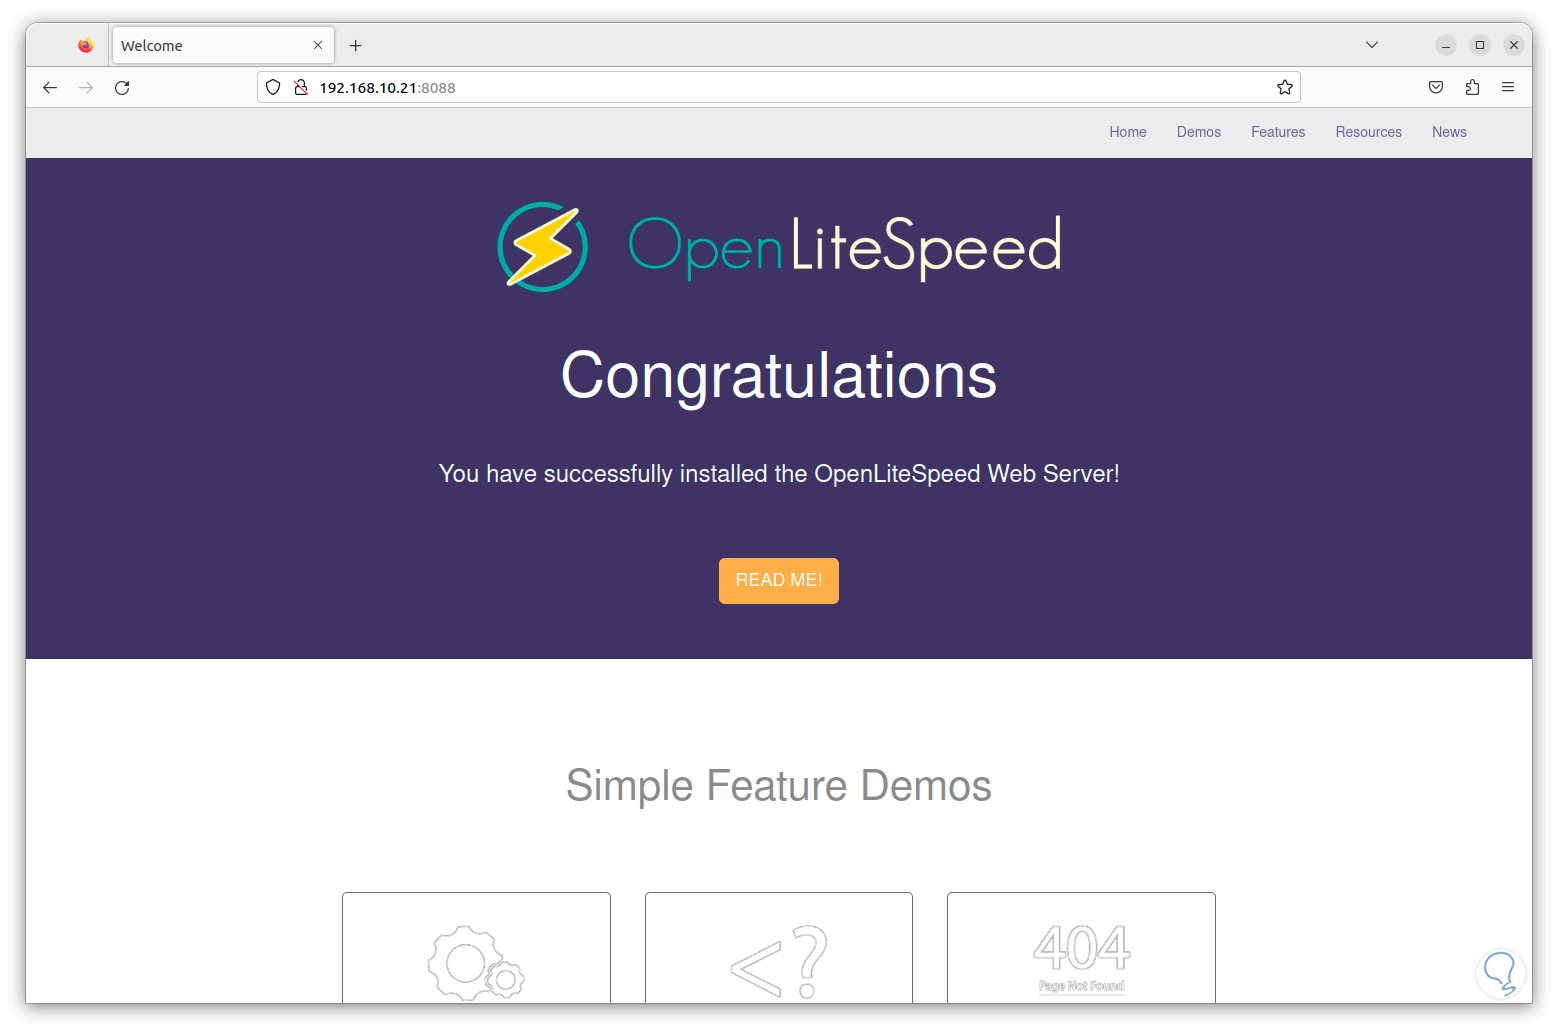
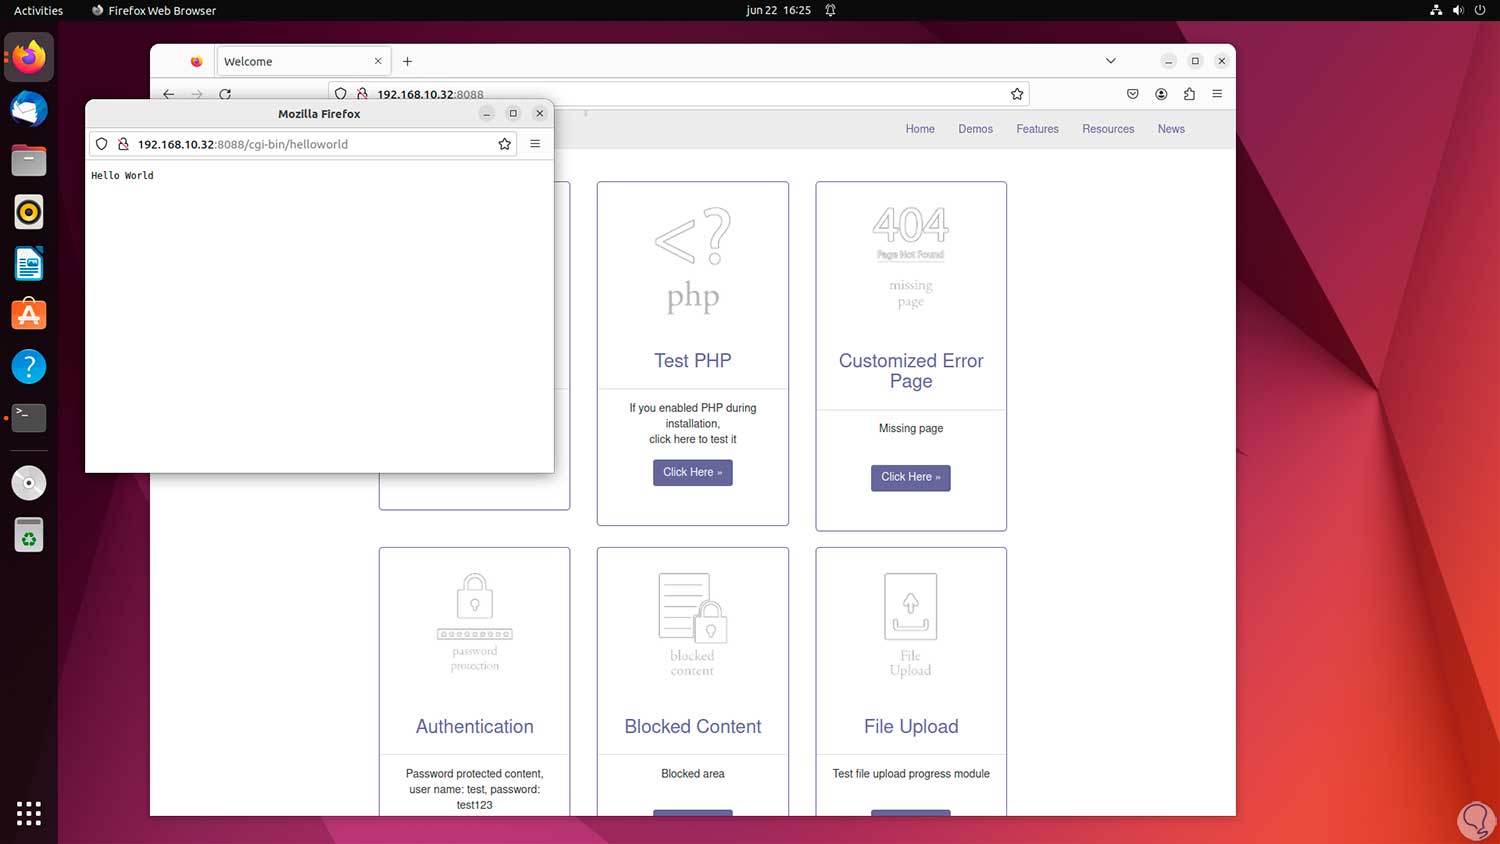
step 15
We see that everything has been correct, on this screen we can click on each of the options to know the result that end users will see. We can see the PHP status:

step 16
We will see what message is displayed when there is no connection:
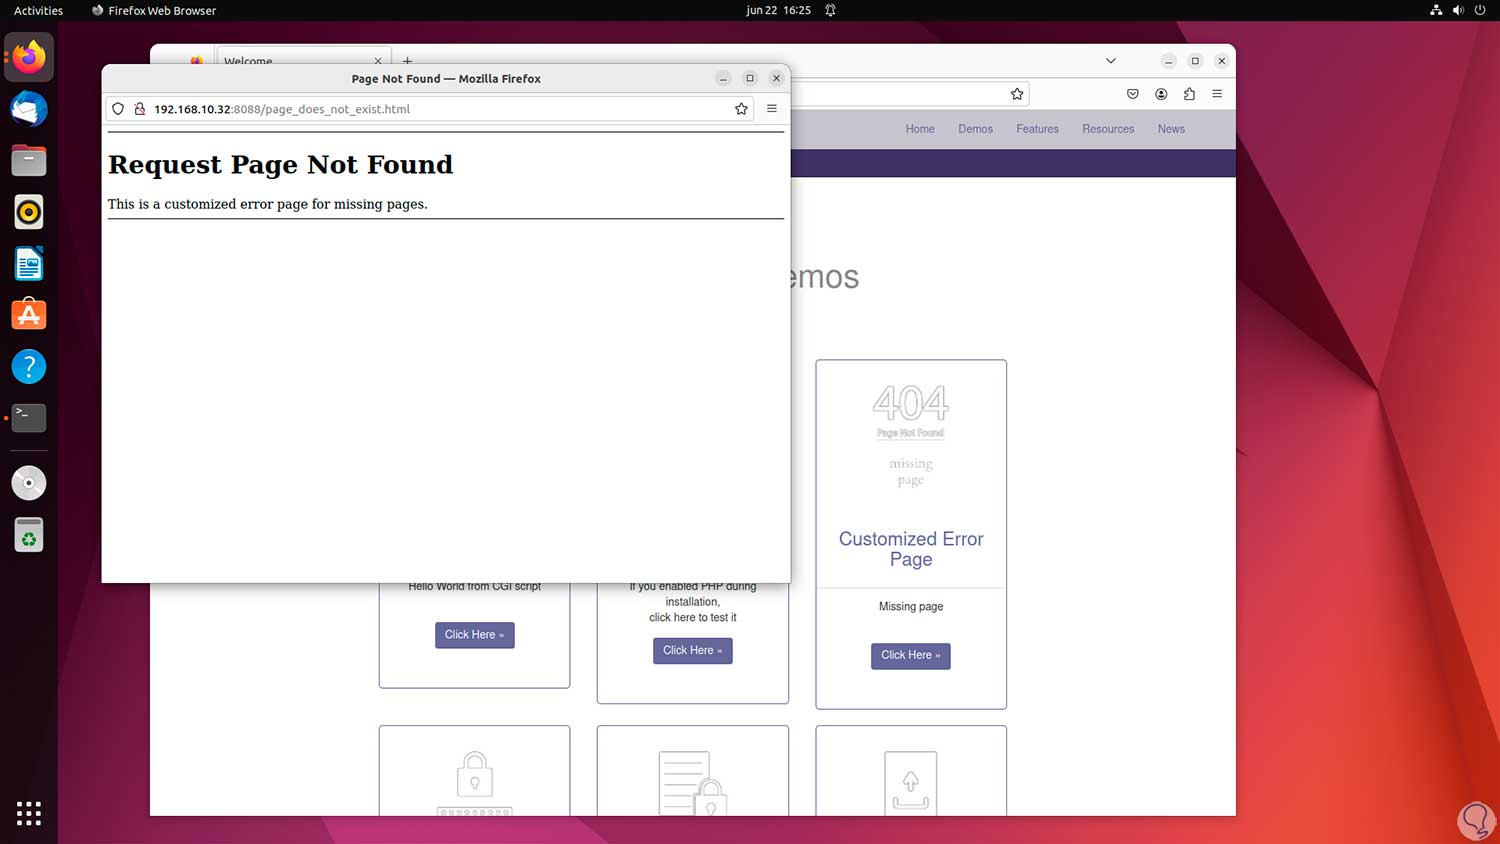
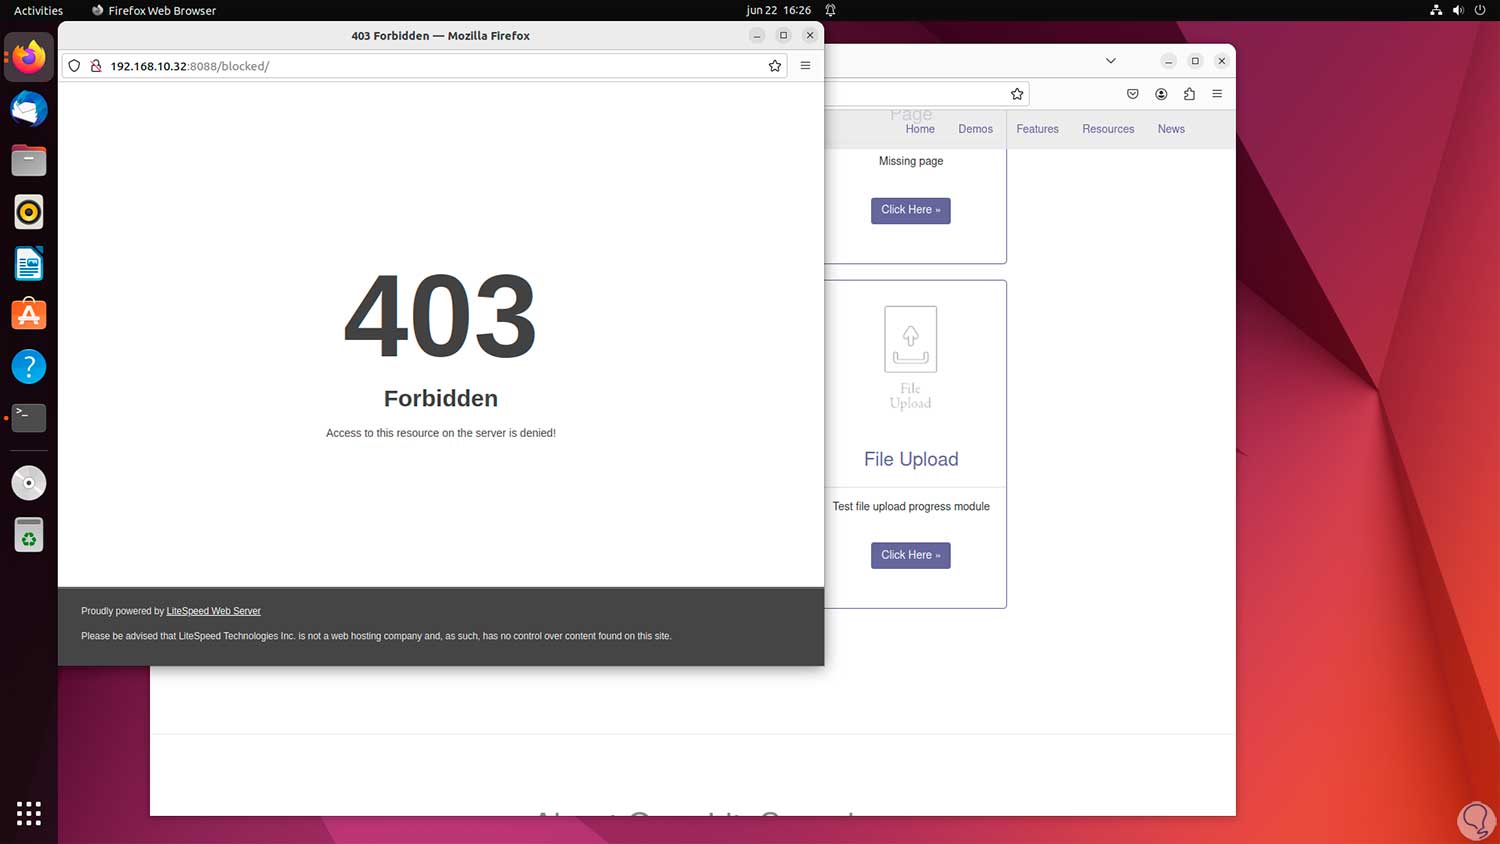
step 17
We can see a custom error message:
step 18
We may request the use of credentials:
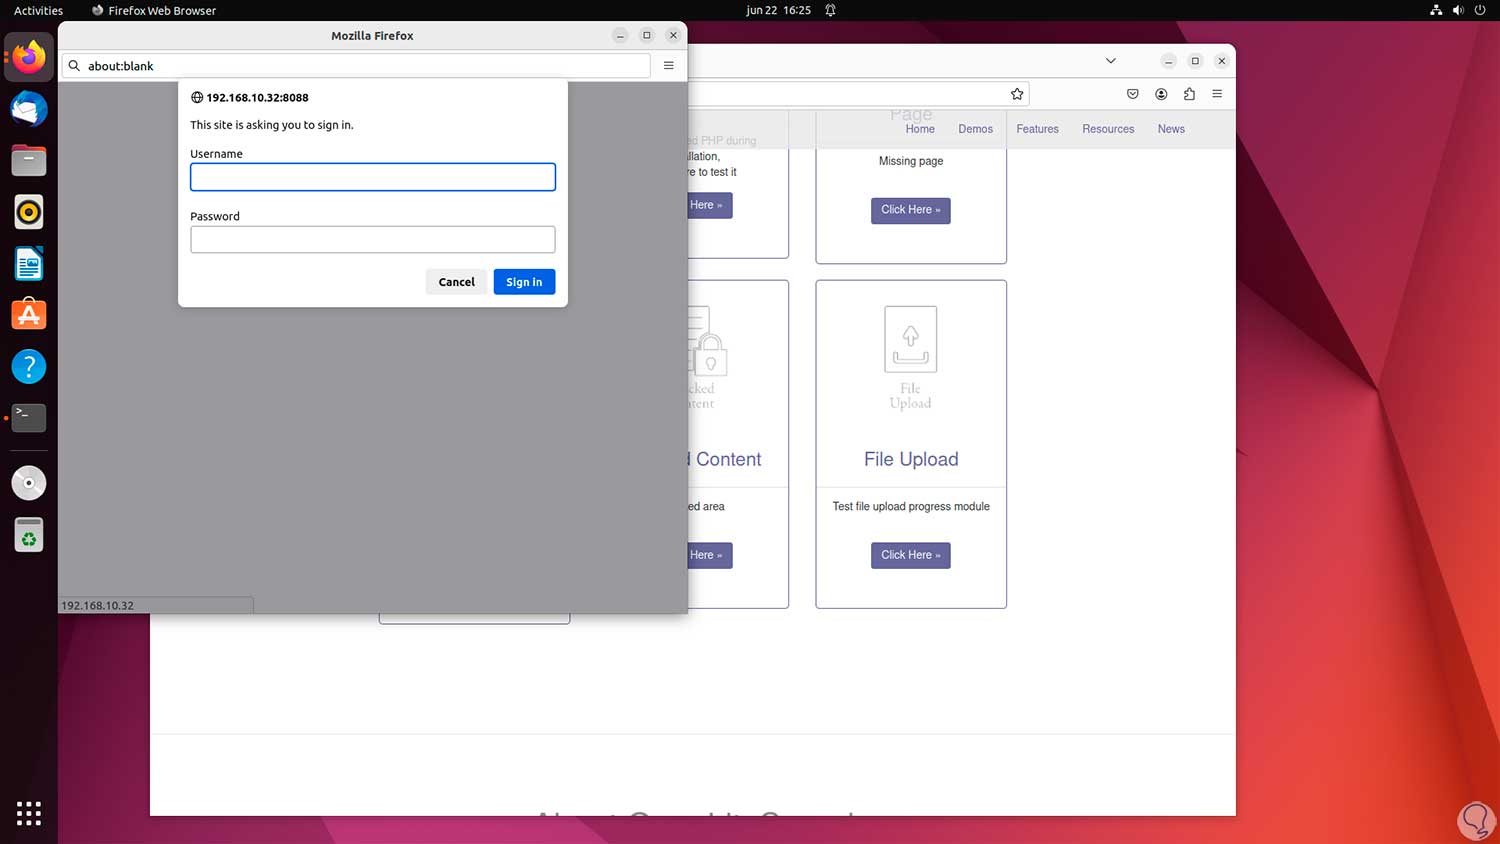
step 19
We will see the message when the page is down:
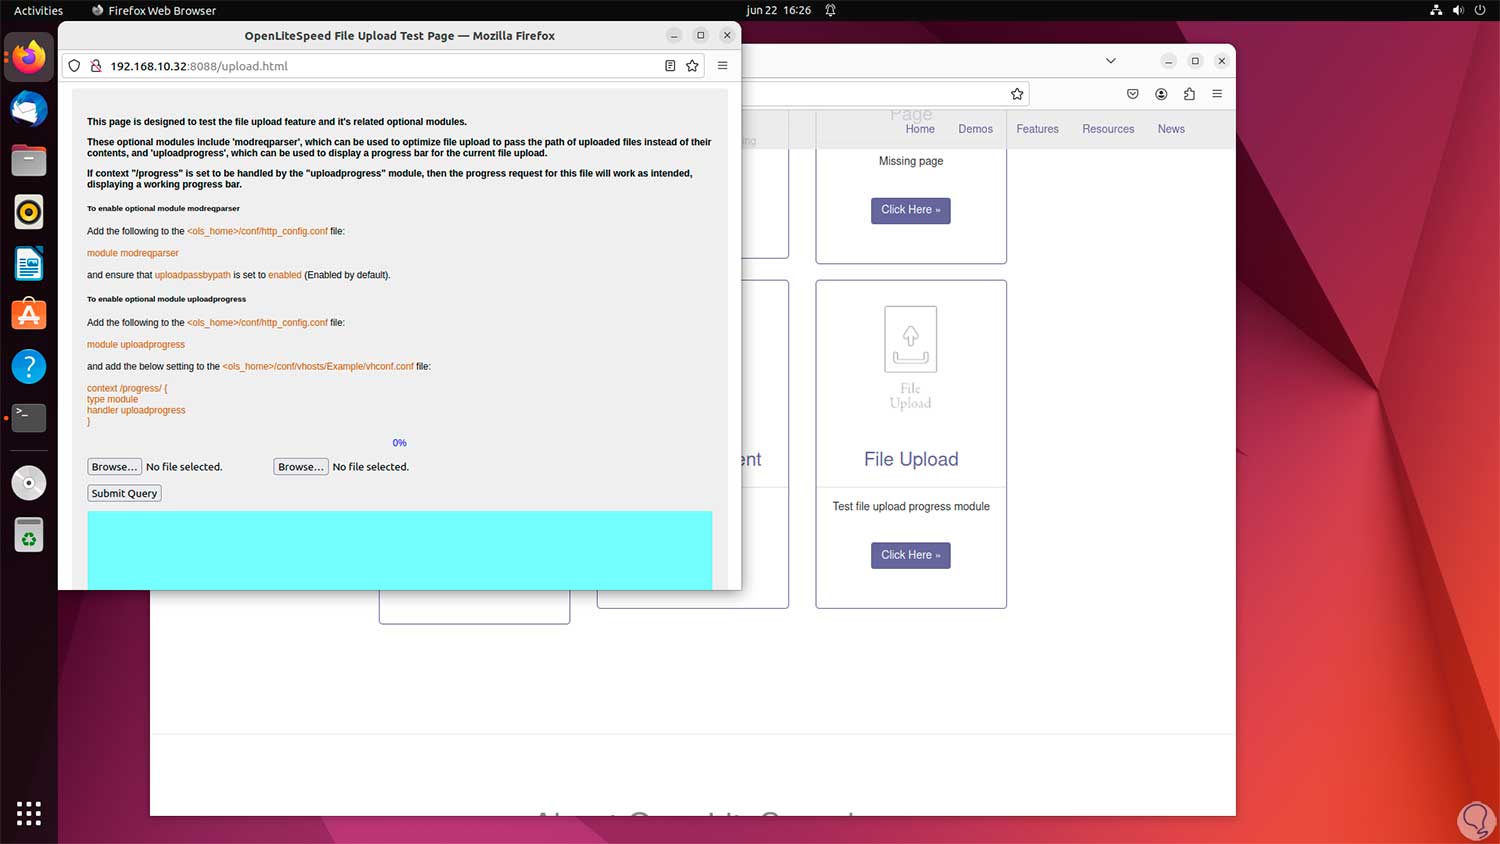
step 20
We will have a section to upload files:
step 21
To use the management platform we are going to open a new tab, we enter the IP address but this time with port 7080:
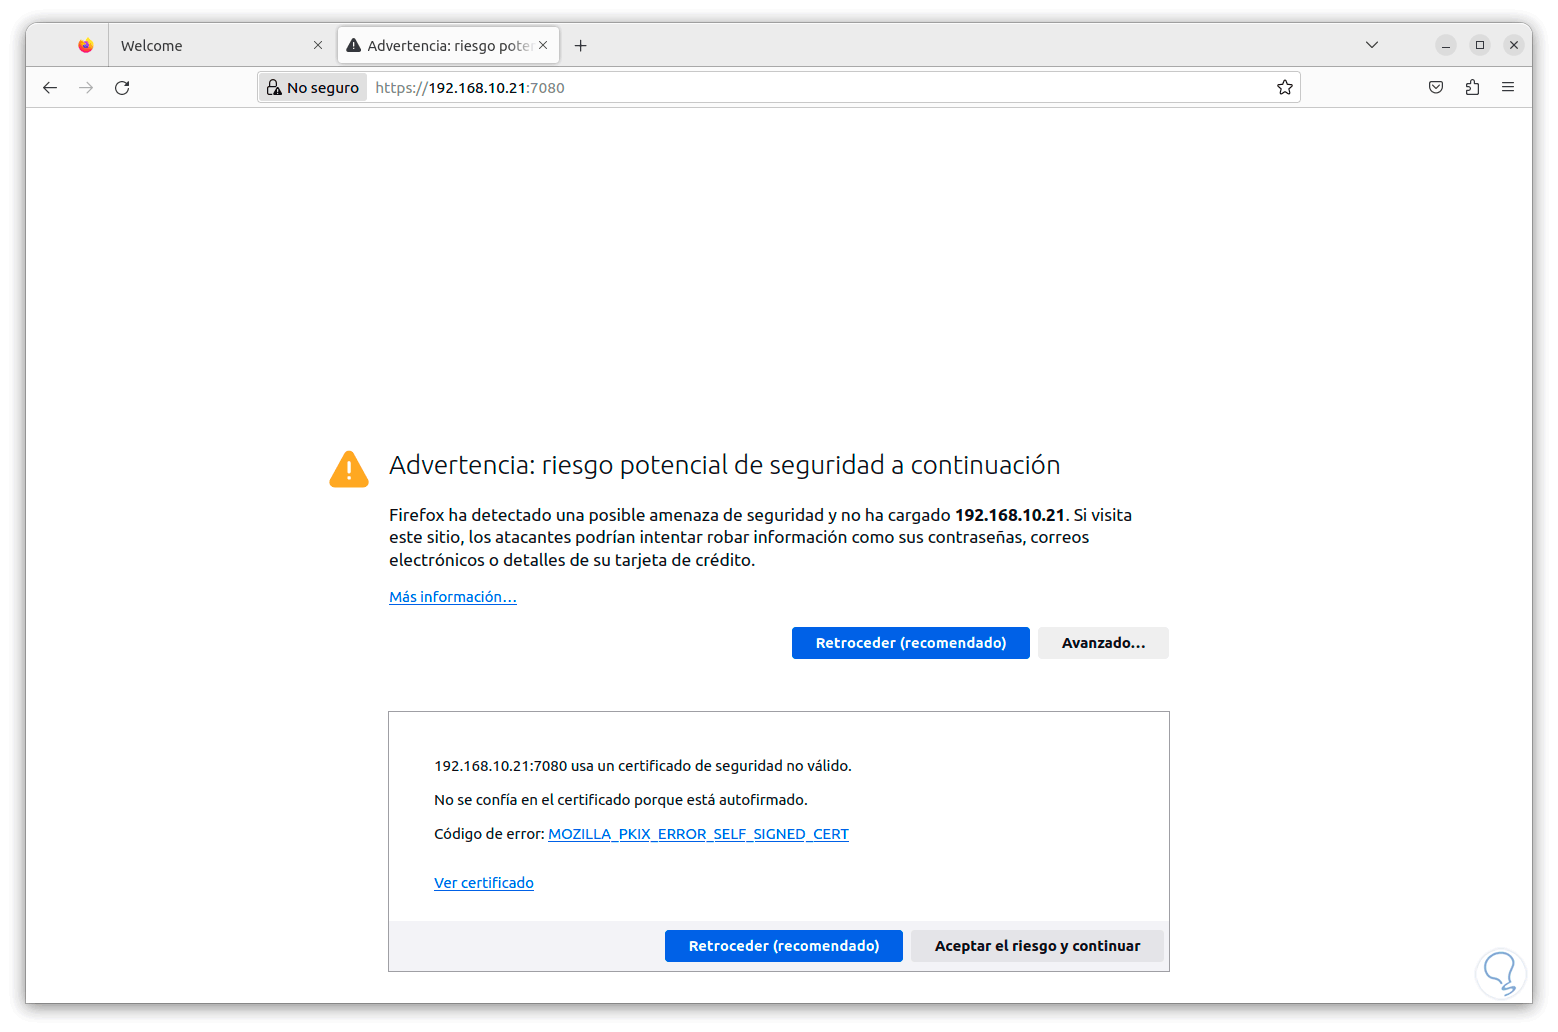
step 22
This error is for browser security, we click on "Advanced" and then click on "Accept the risk and continue", now we will have access to the login screen:
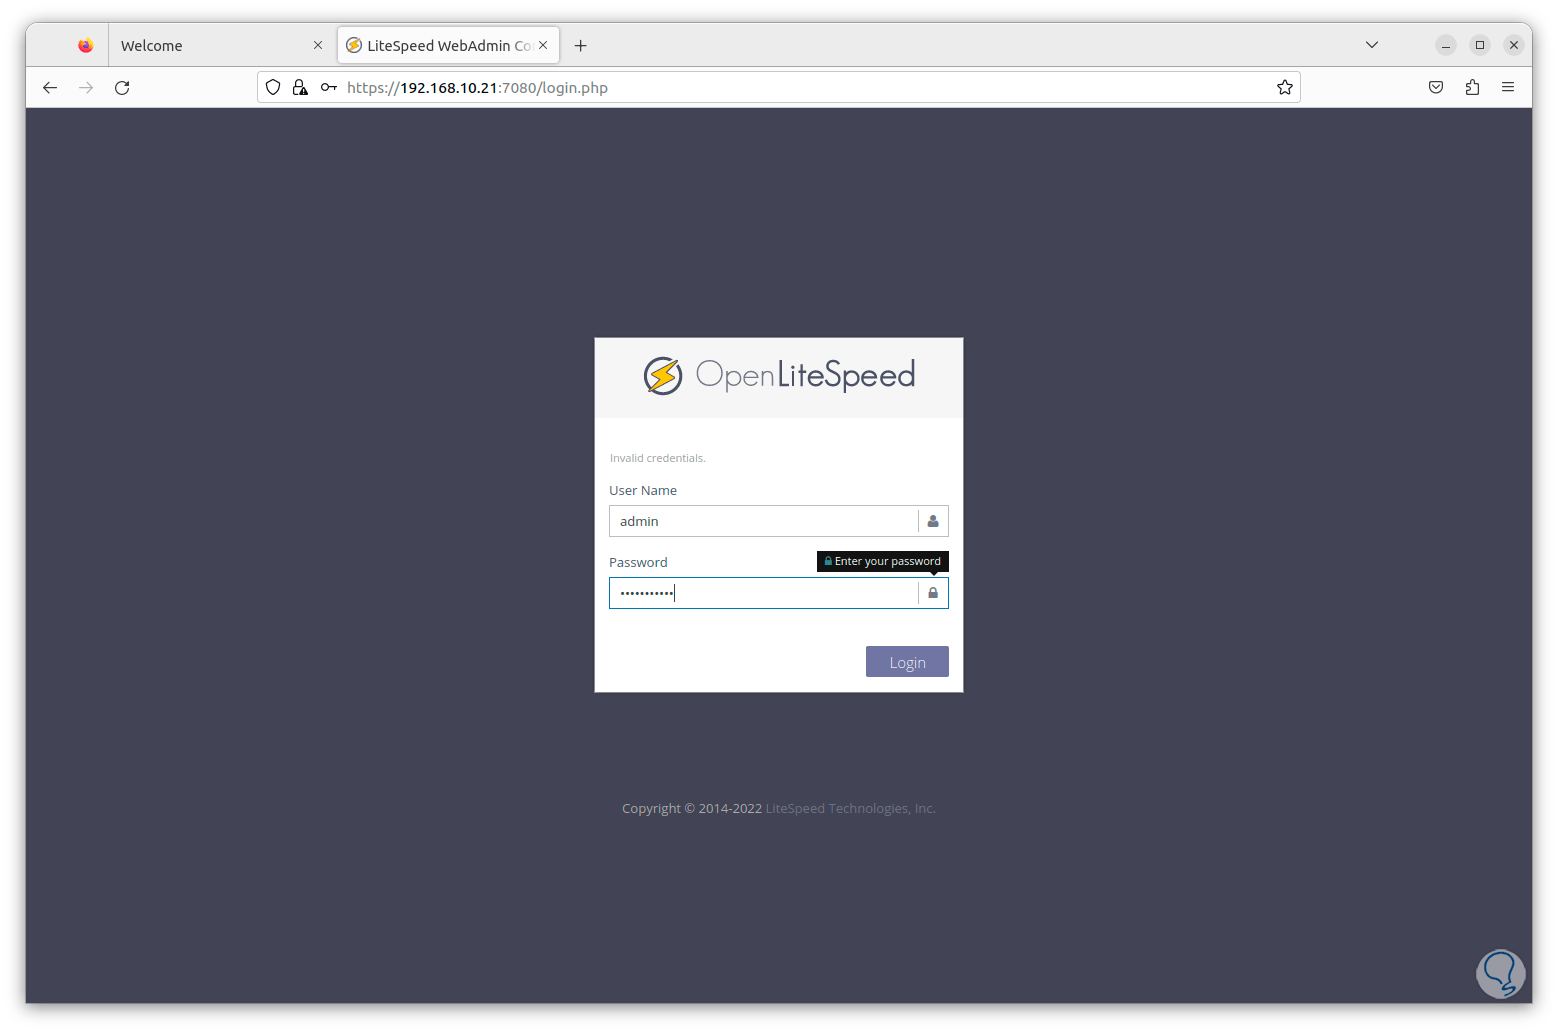
Step 23
We enter the username and password that we configured previously and we will have access to the various options:
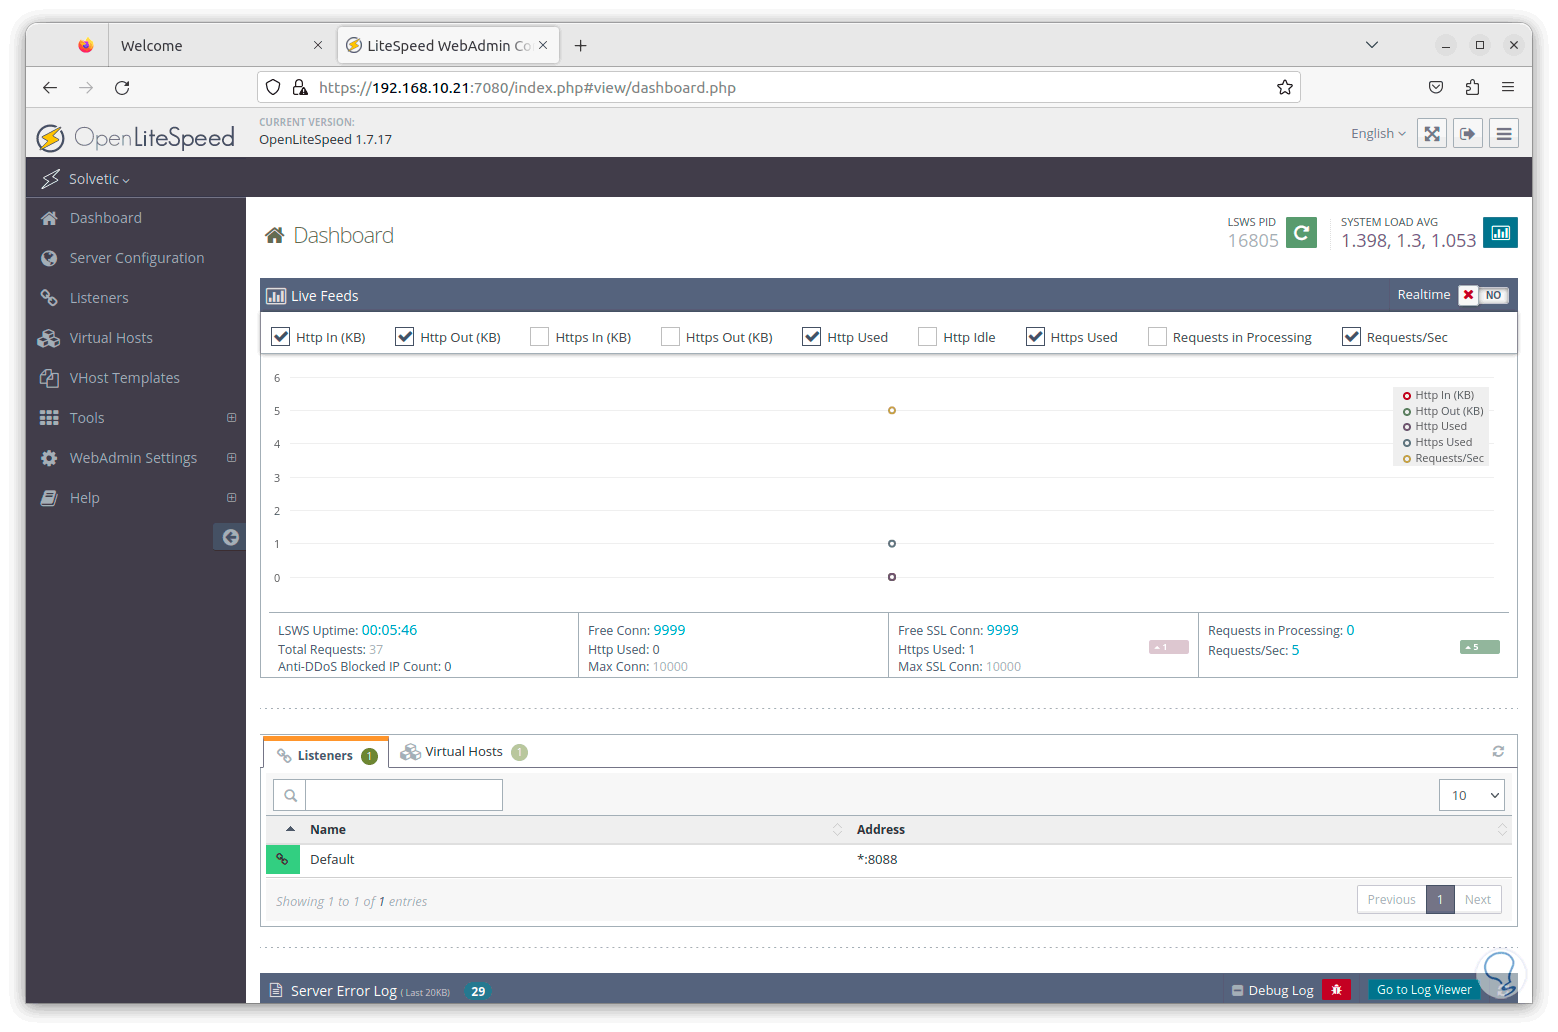
step 24
We can go to the various sections to see their use options:
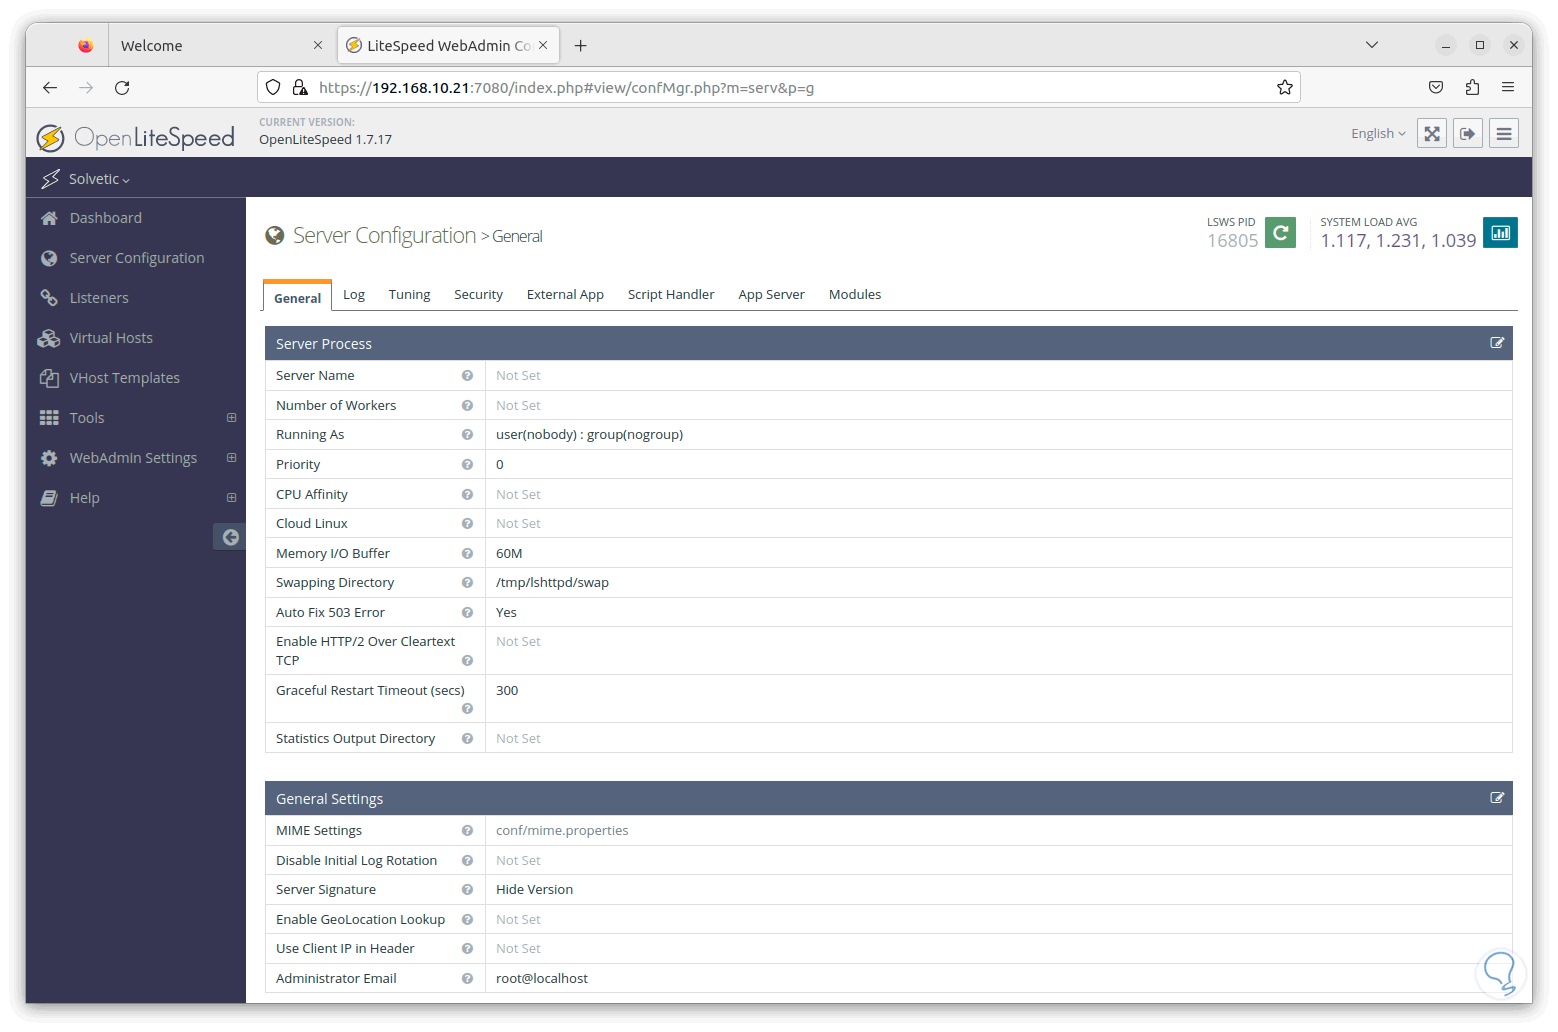
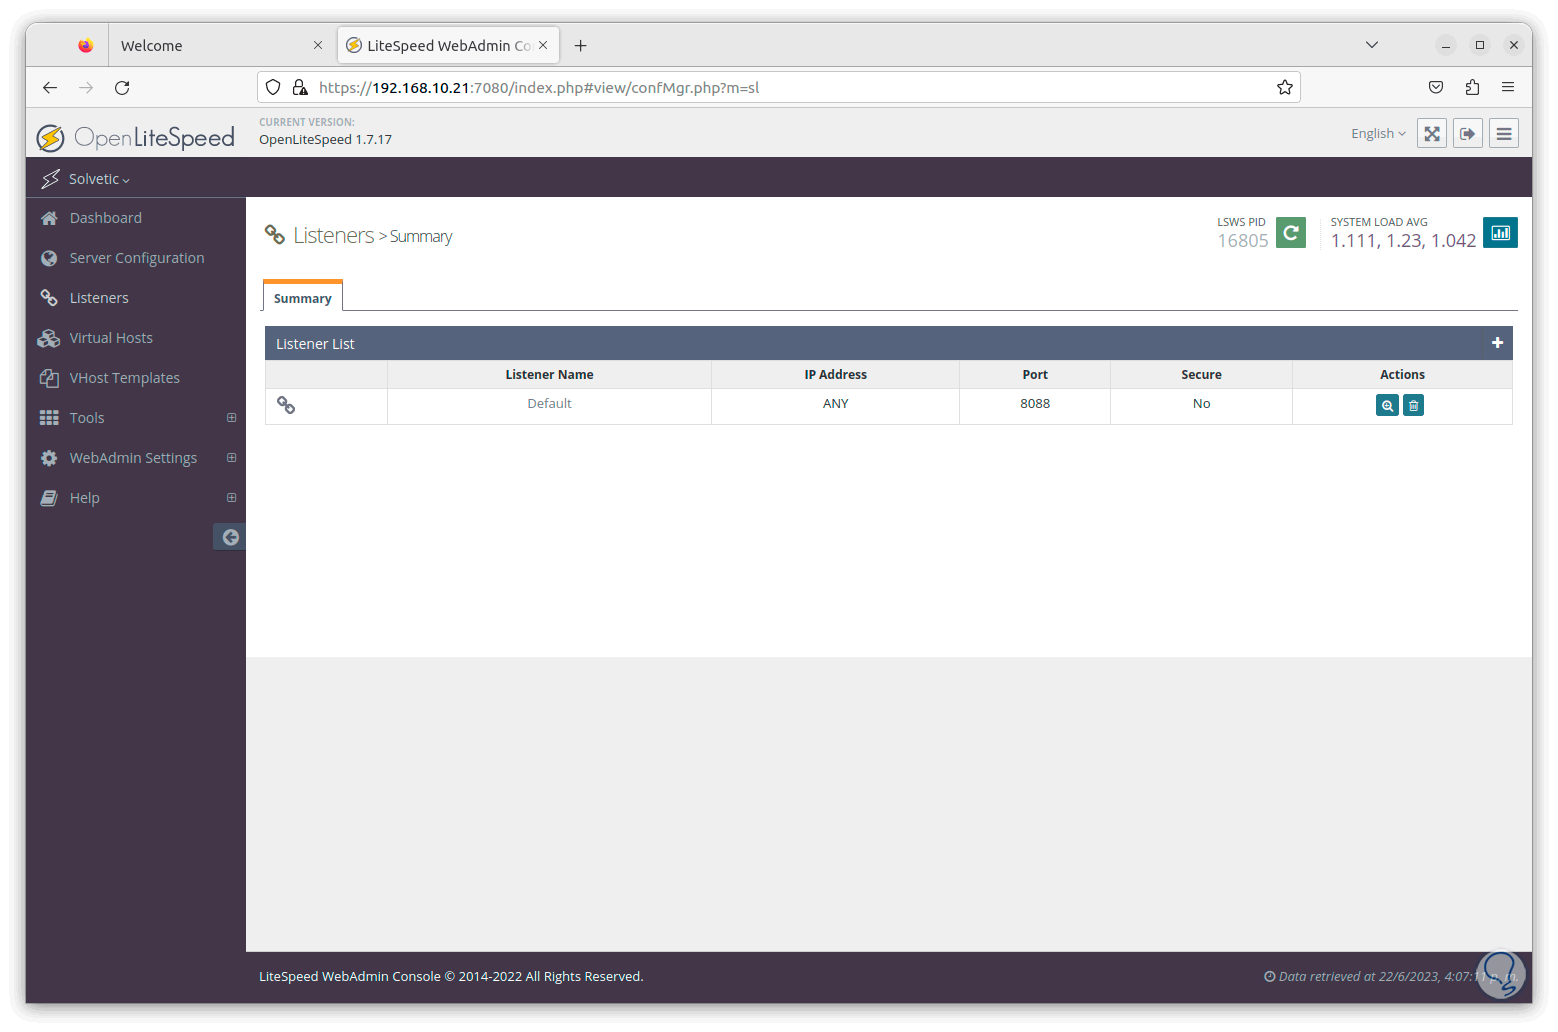
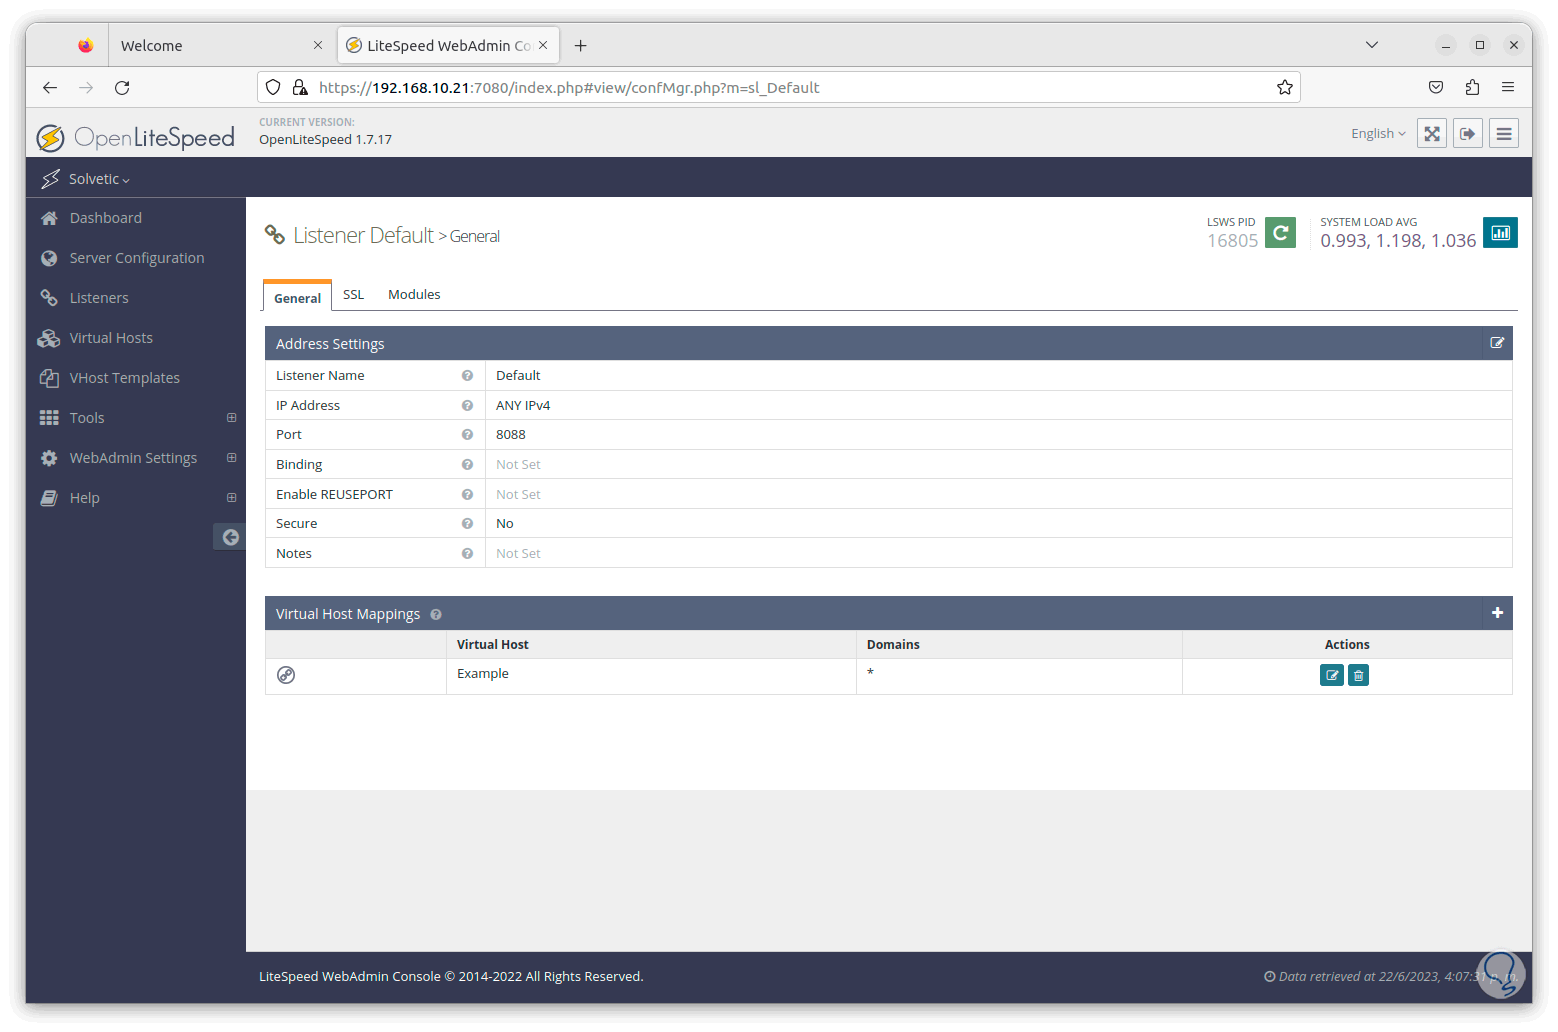
step 25
In the Listener section it is possible to change the port eighty 8088 for security by clicking on the magnifying glass icon:
step 26
Then we click on the edit icon. There we can establish another port.
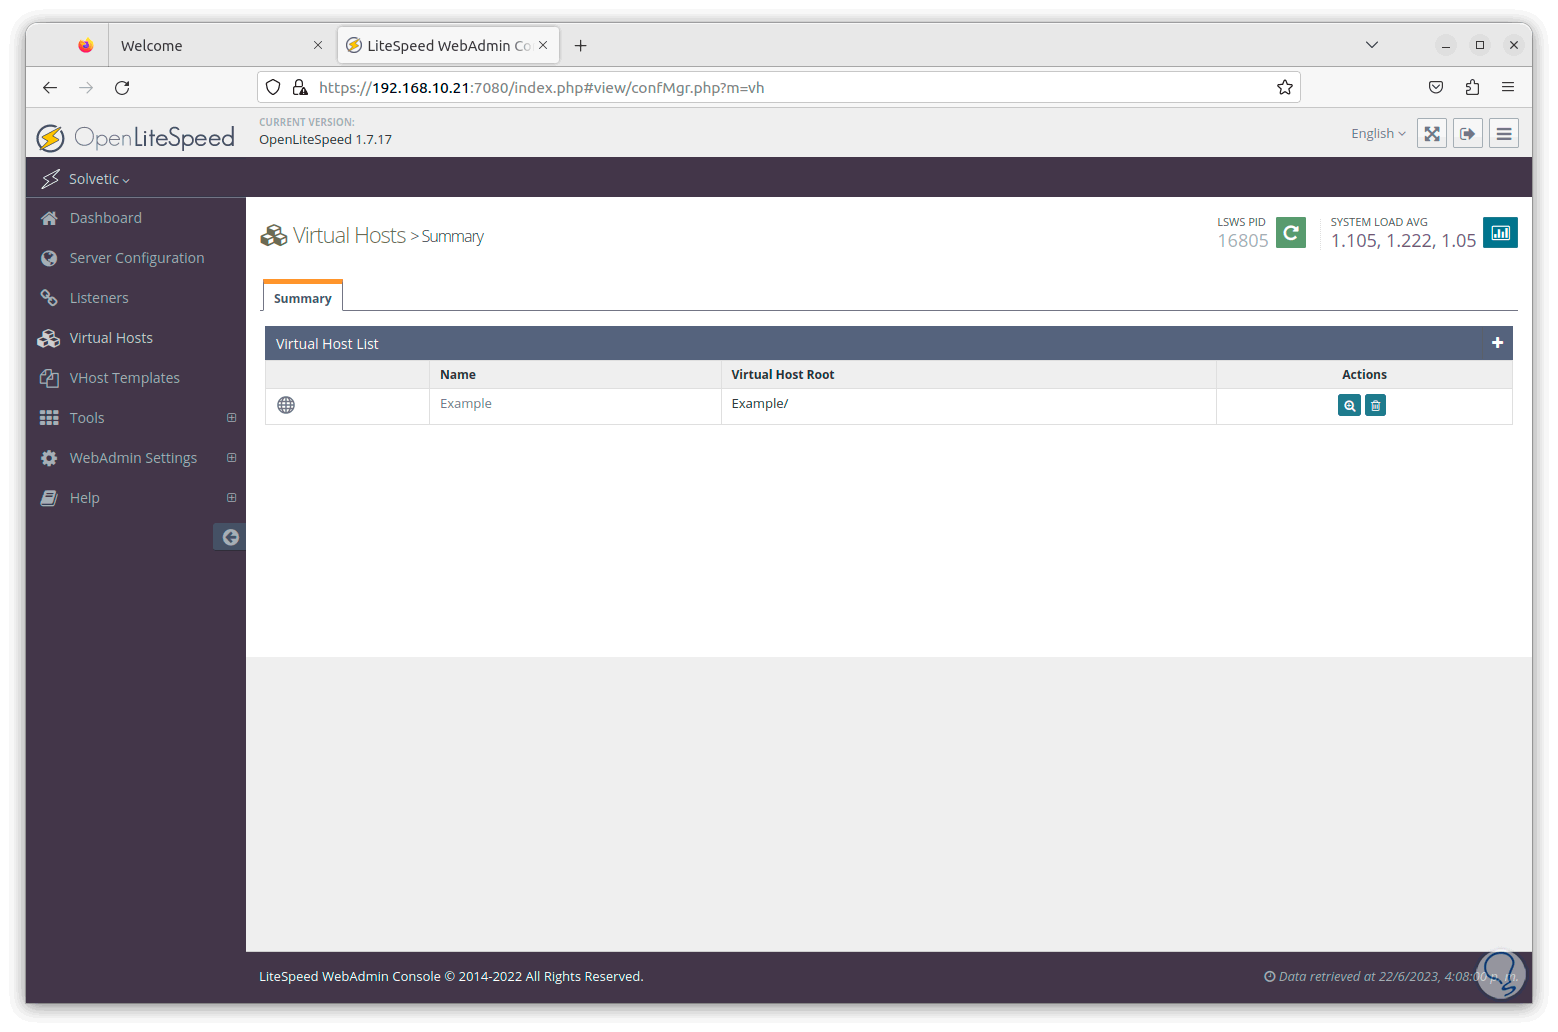
step 27
We navigate through the various sections such as virtual hosts:
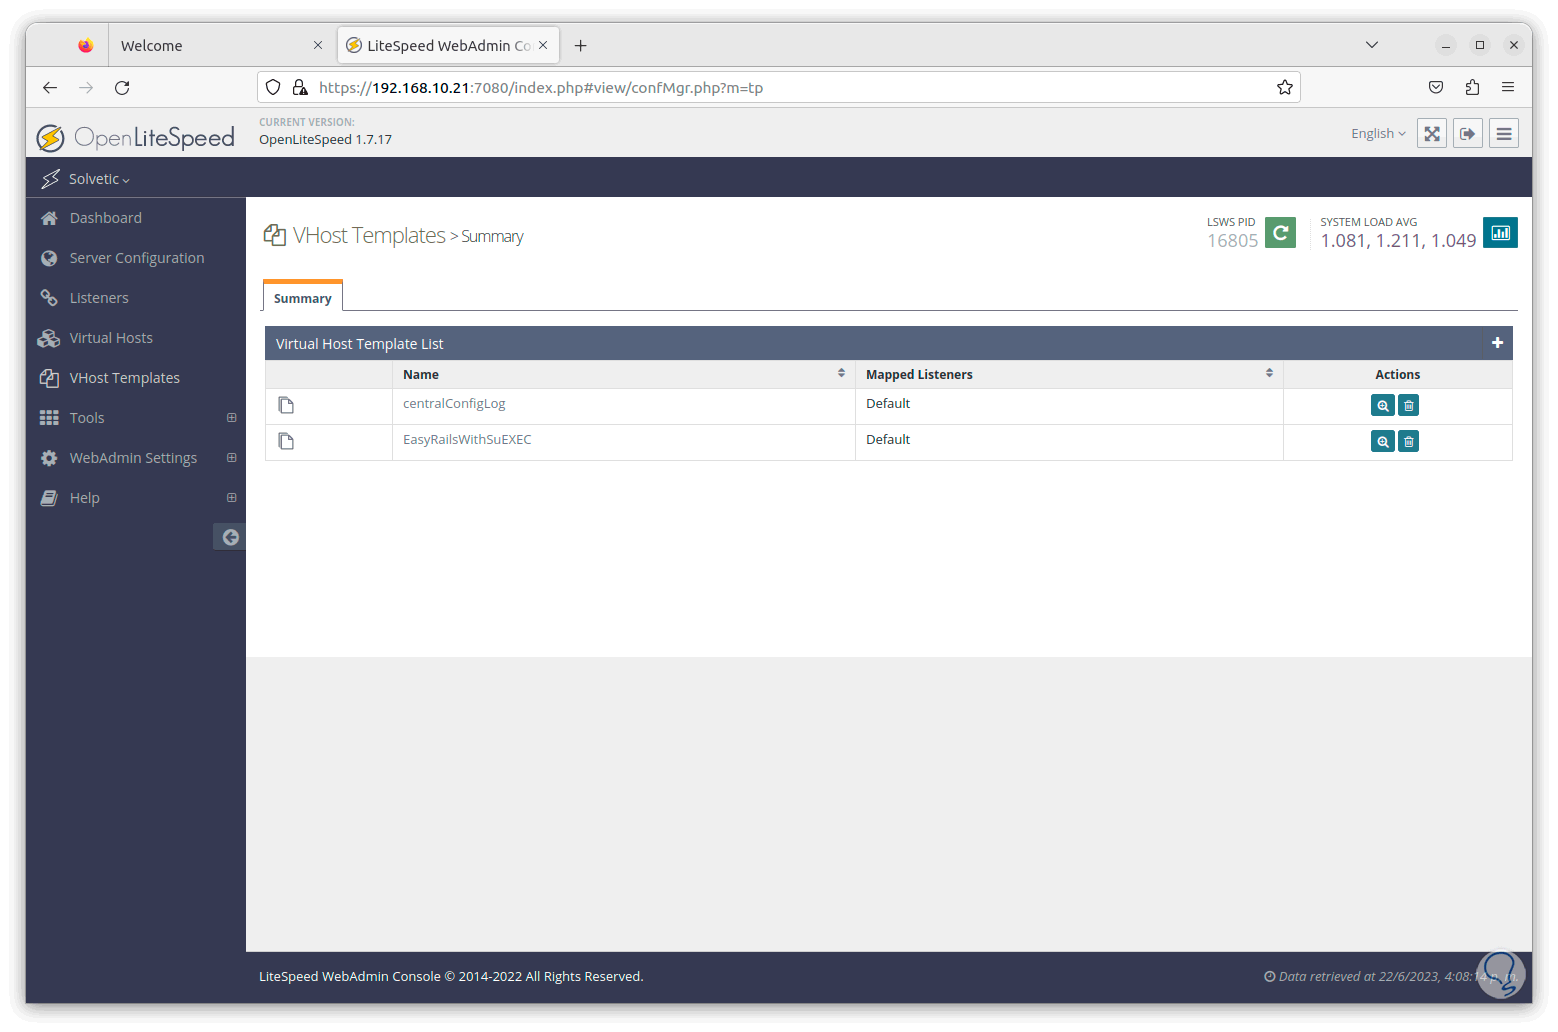
Step 28
We can go to the vHost templates section:
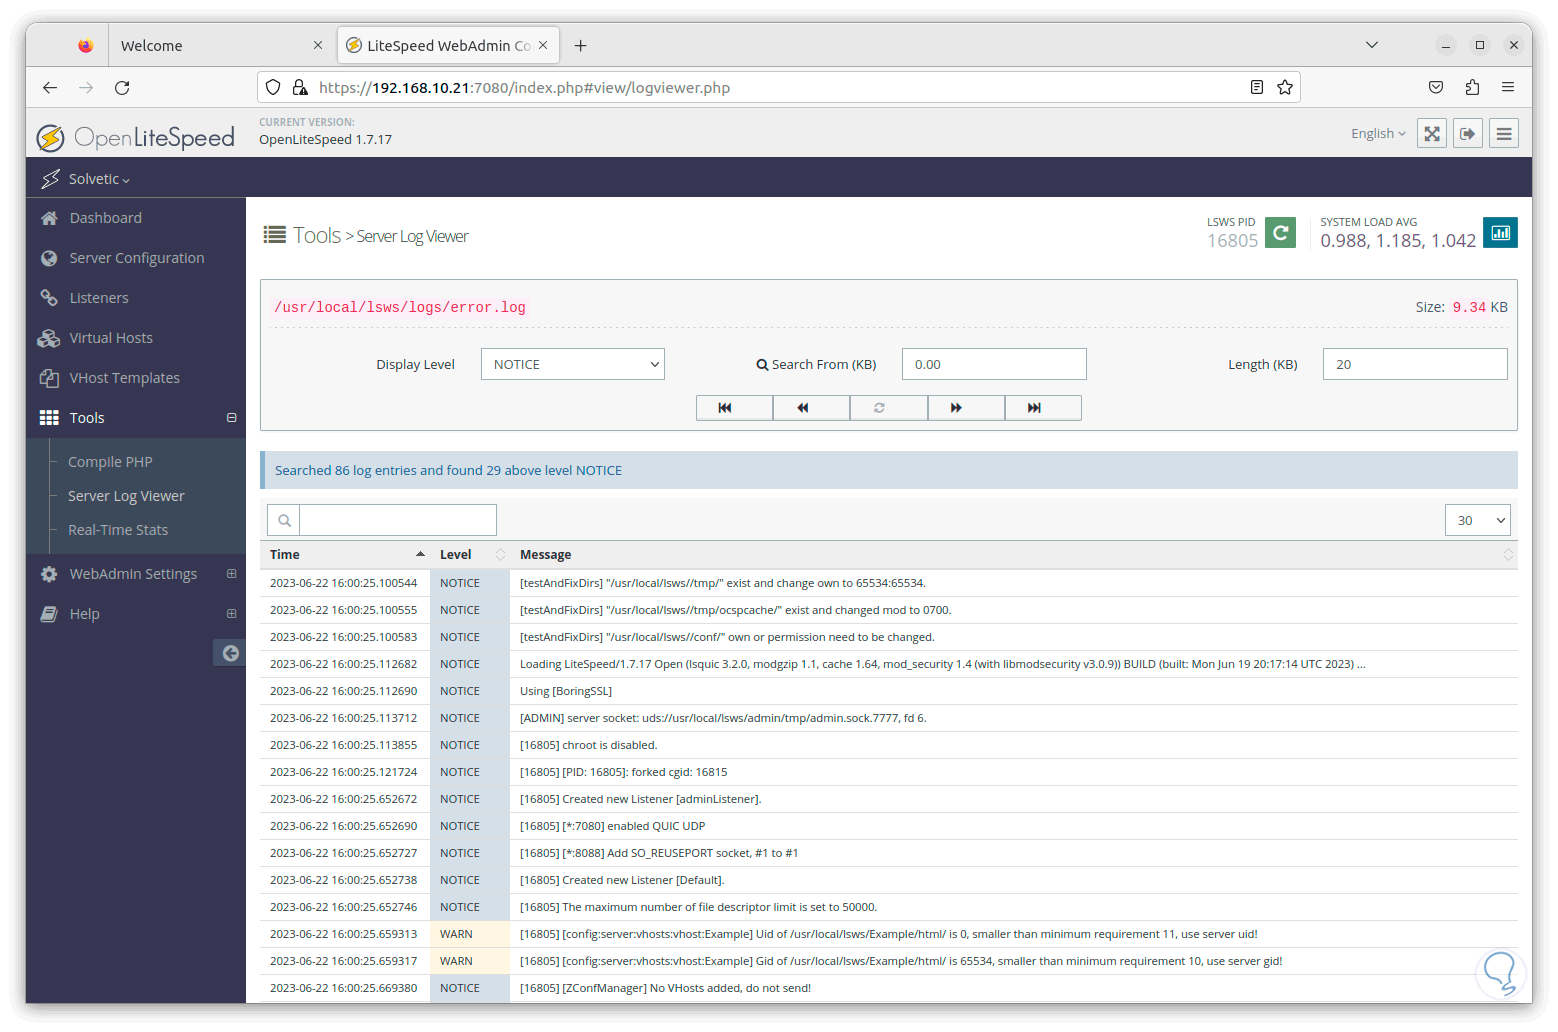
Step 29
In Tools we can access some options such as the event viewer.
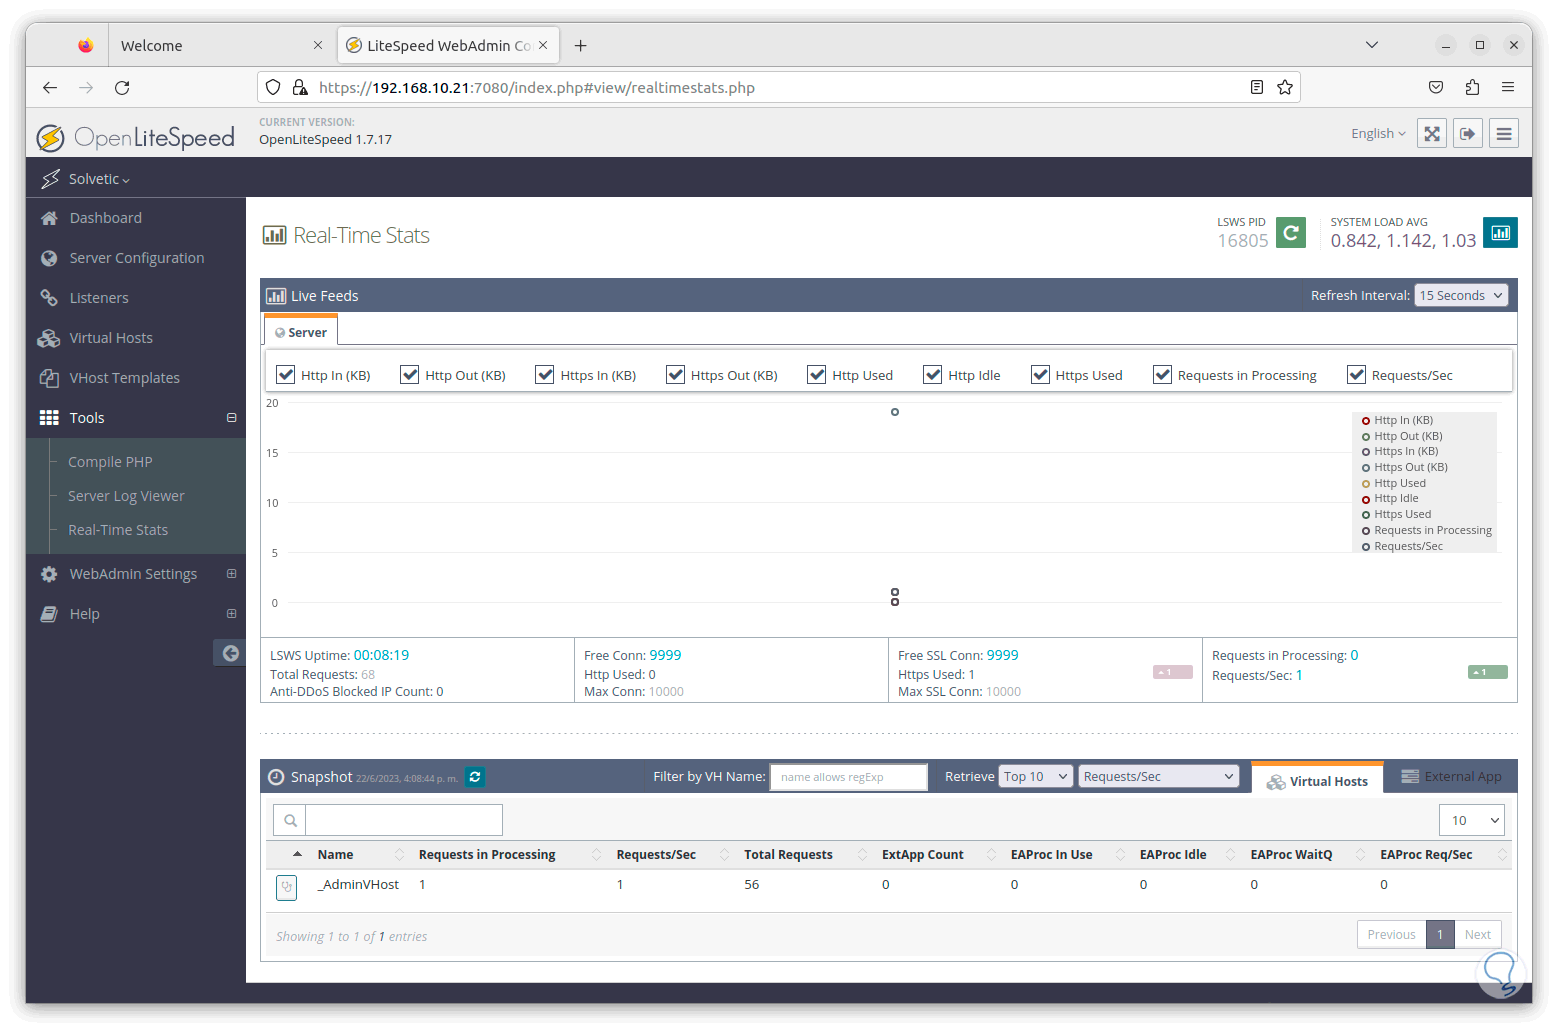
step 30
Or to the statistics in real time:
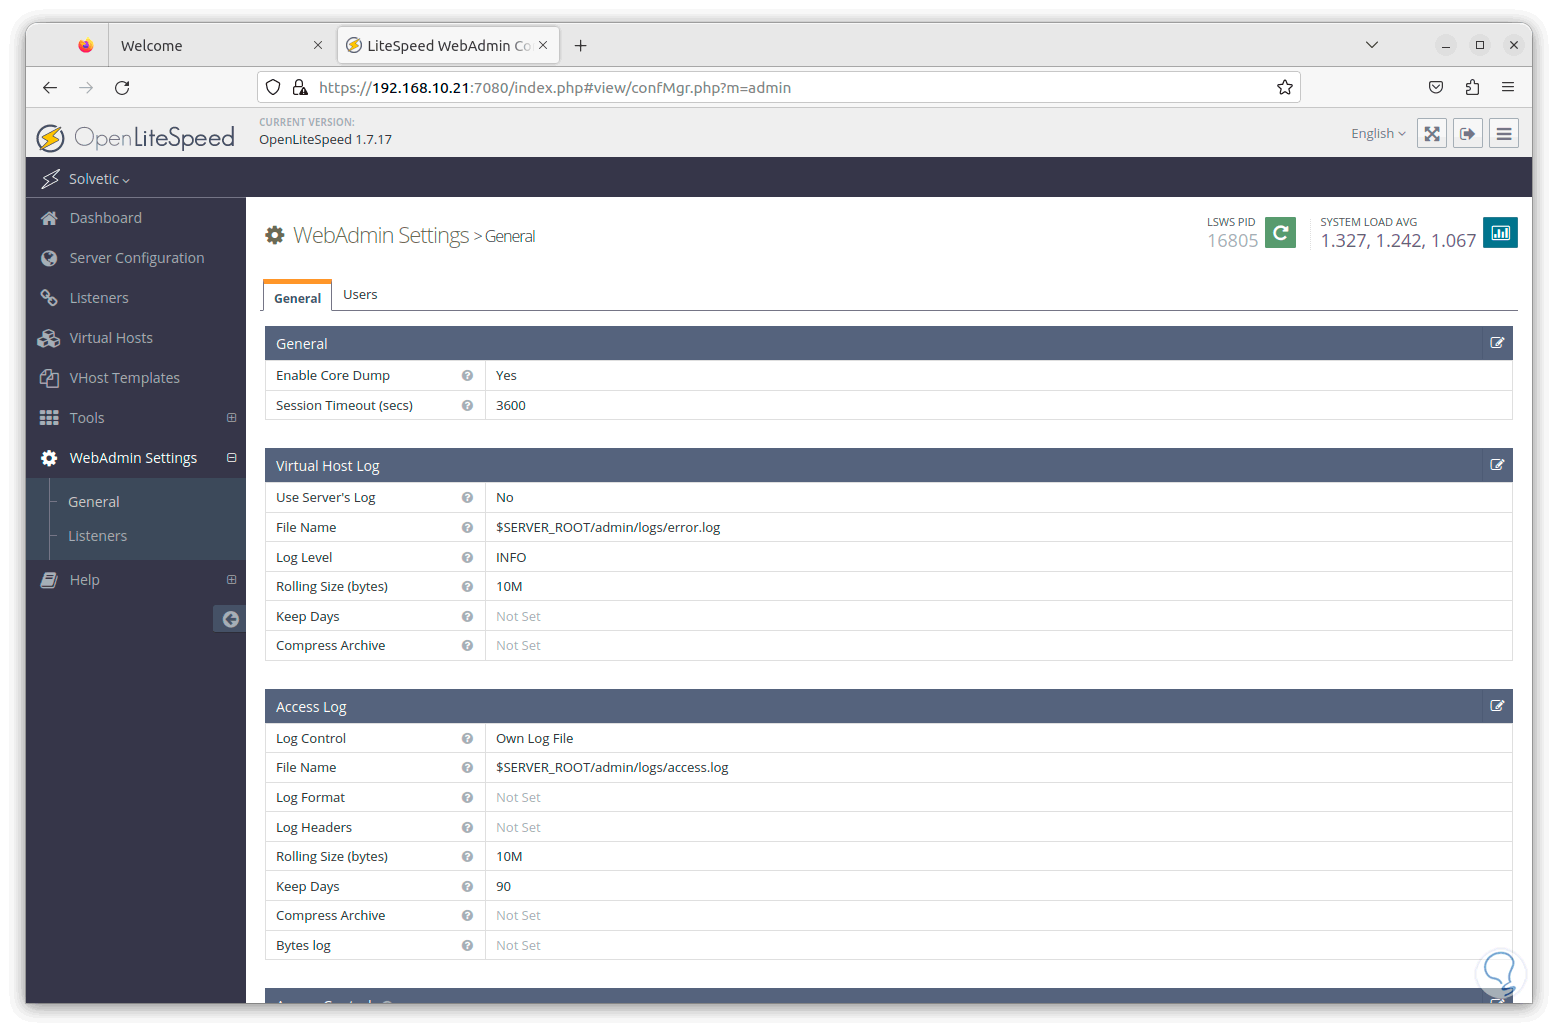
step 31
From WebAdmin we will see complete details of the system and web management:
So OpenLiteSpeed is a comprehensive alternative for everything related to web administration..