Apache is widely known for being an open source, multiplatform and 100% free web server with which it will be possible to manage your content with great features. Apache allows you to host the websites for multiple current browsers such as Edge, Chrome, Firefox, Safari and some others, allowing the communication tasks between the web server and the web client to flow constantly, allowing a pleasant user experience..
Apache has an edition called Apache Tomcat which has been created as an open source implementation of the Jakarta Servlet, Jakarta Server Pages, Jakarta Expression Language, Jakarta WebSocket, Jakarta Annotations and Jakarta Authentication specifications, all of which are integrated into the Jakarta EE platform.
Apache Tomcat has been developed in an open environment and is licensed under the Apache license version 2 .
Advantages Apache Tomcat
Some of the advantages of implementing Apache Tomcat are:
- It is an open source application
- Supports large amounts of data
- It has extra levels of security
Apache Tomcat Directories
There are some fundamental Tomcat directories that we should know, these are:
- /bin – Allows startup tasks, shutdown tasks, and other scripts
- /conf: we find the configuration files and associated DTD, here we have the server.xml file which is the main configuration file of the container
- /logs: log files are in this location by default
- /webapps: web applications will be hosted there
TechnoWikis will explain how to install Apache Tomcat in Ubuntu and have this improved edition..
To stay up to date, remember to subscribe to our YouTube channel!
SUBSCRIBE ON YOUTUBE
How to install Apache Tomcat on Ubuntu
Step 1
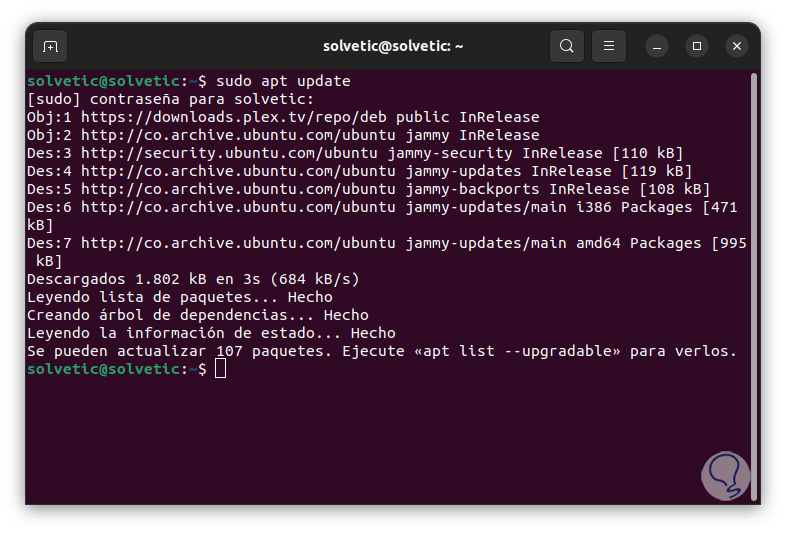
Open the terminal and refresh the system:
sudo apt update
Step 2
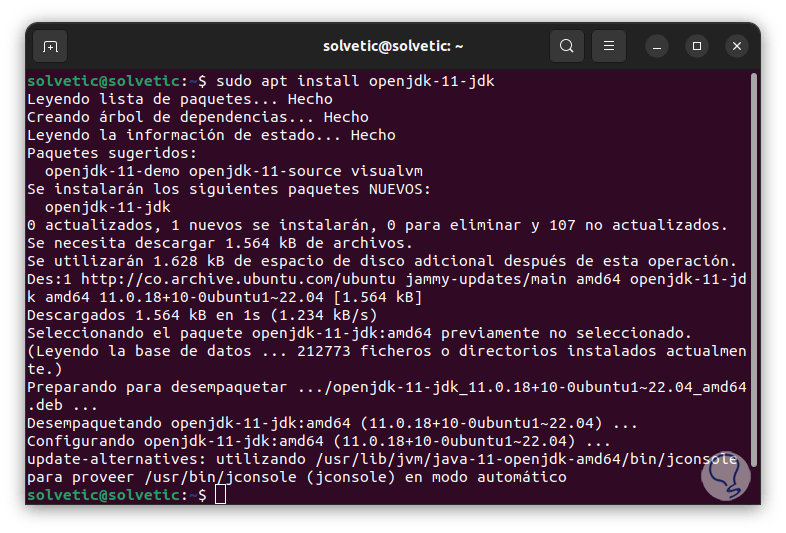
We install Java by running the following:
sudo apt install openjdk-11-jdk
Step 3
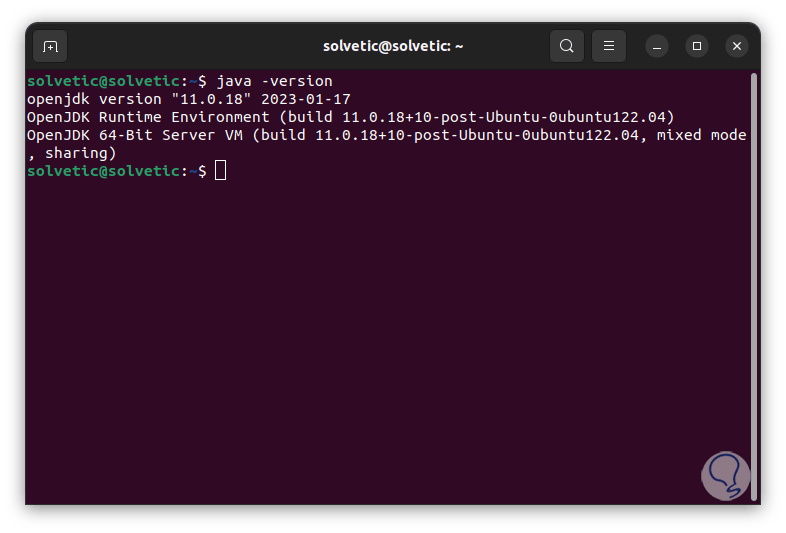
We check the version of Java installed:
java-version
Step 4
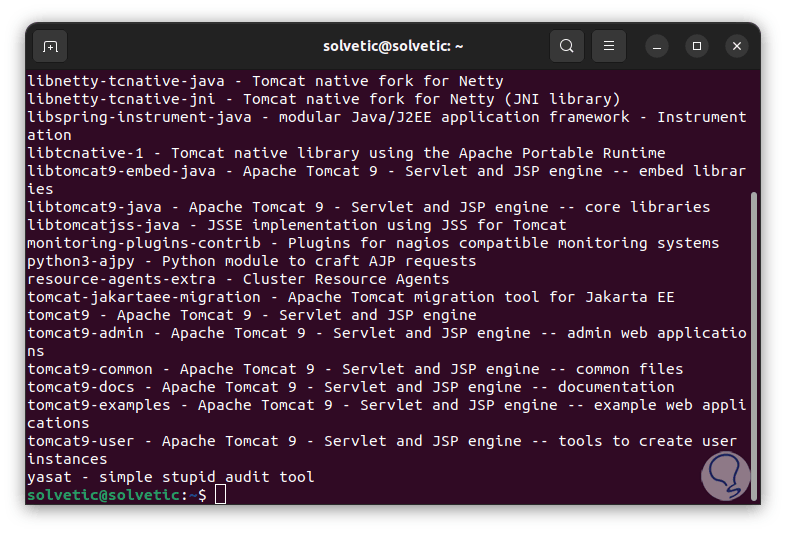
After this, we are going to check the availability of Tomcat packages for Ubuntu with the command:
sudo apt-cache search tomcat
step 5
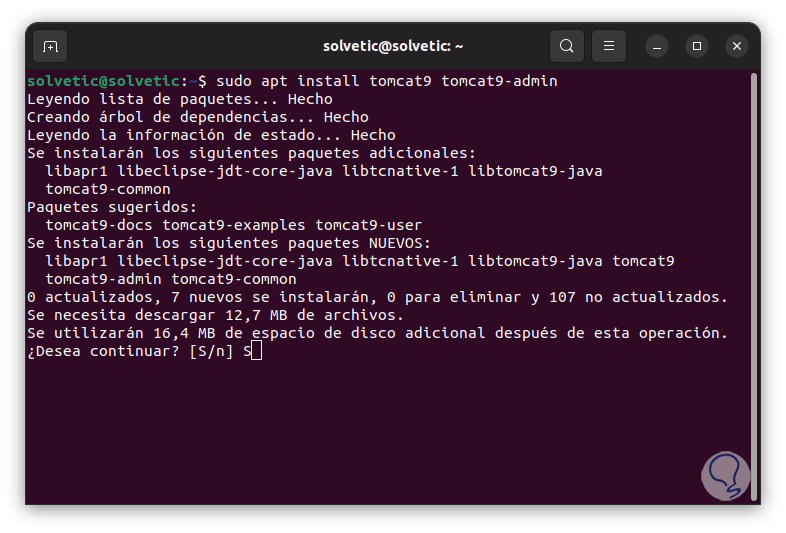
We install Apache Tomcat:
sudo apt install tomcat9 tomcat9-admin
step 6
Enter the letter S to confirm:
step 7
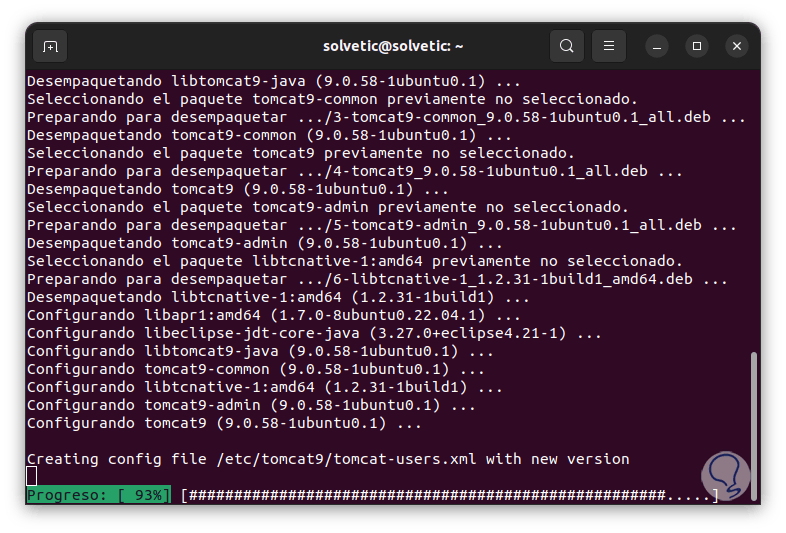
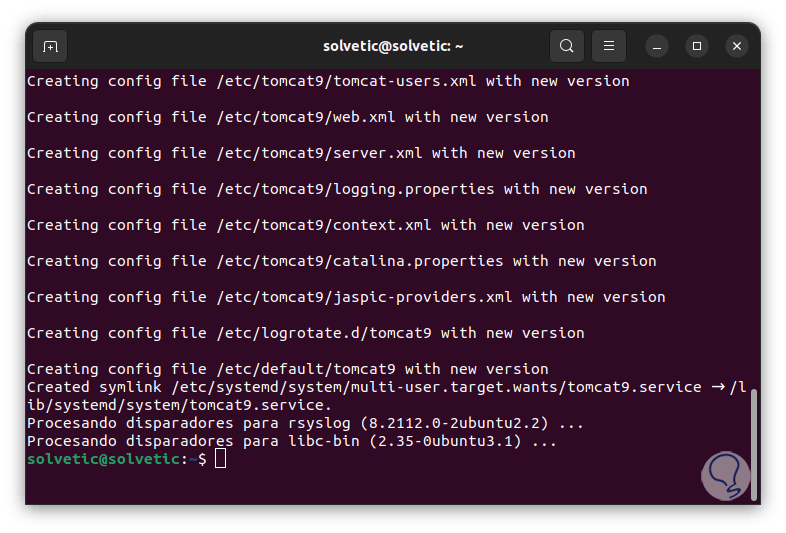
We wait for the process to come to an end:
step 8
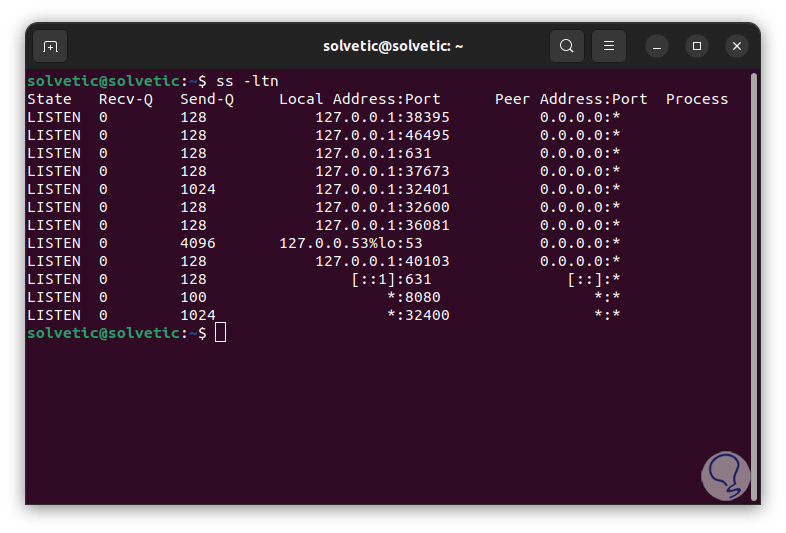
We check the ports for Apache Tomcat using the command:
ss-ltn
step 9
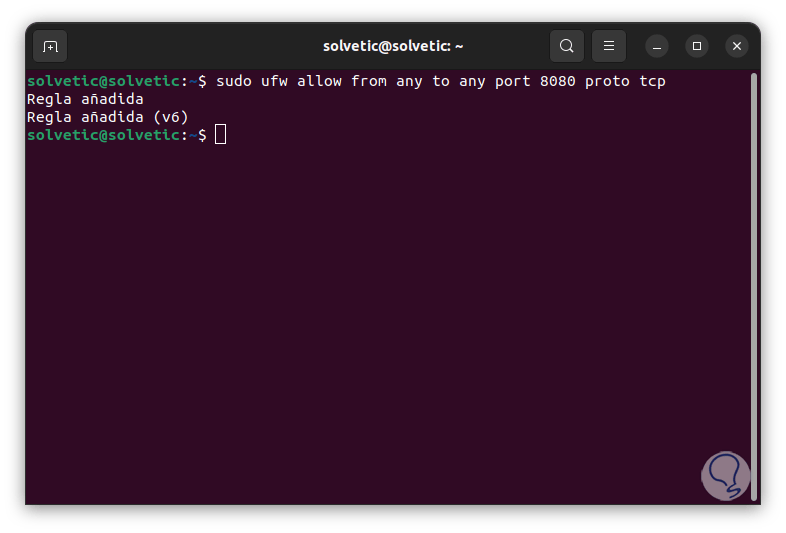
There we verify that Apache Tomcat will use port 8080, we are going to authorize this port, we add the port to the Firewall:
sudo ufw allow from any to any port 8080 proto tcp
step 10
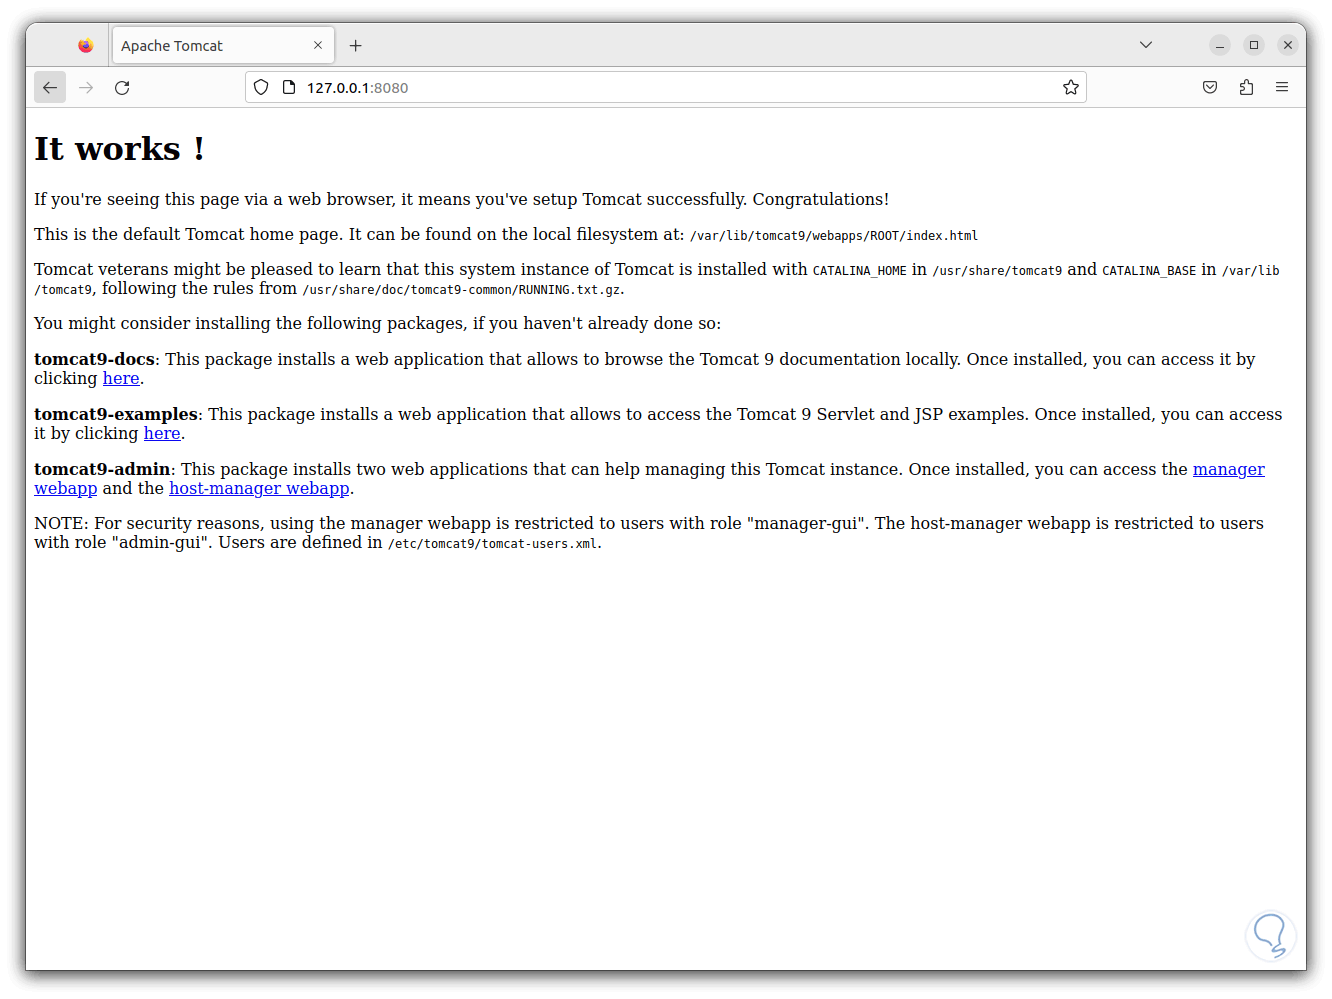
We open a browser and enter the syntax:
http://127.0.0.1:8080
step 11
Tomcat will be accessed:
step 12
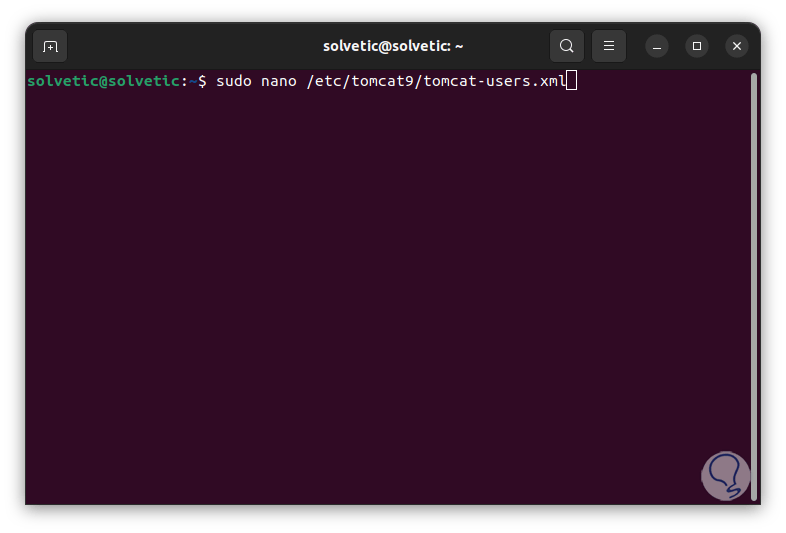
In case you want to add a user in the terminal, we execute:
sudo nano /etc/tomcat9/tomcat-users.xml
step 13
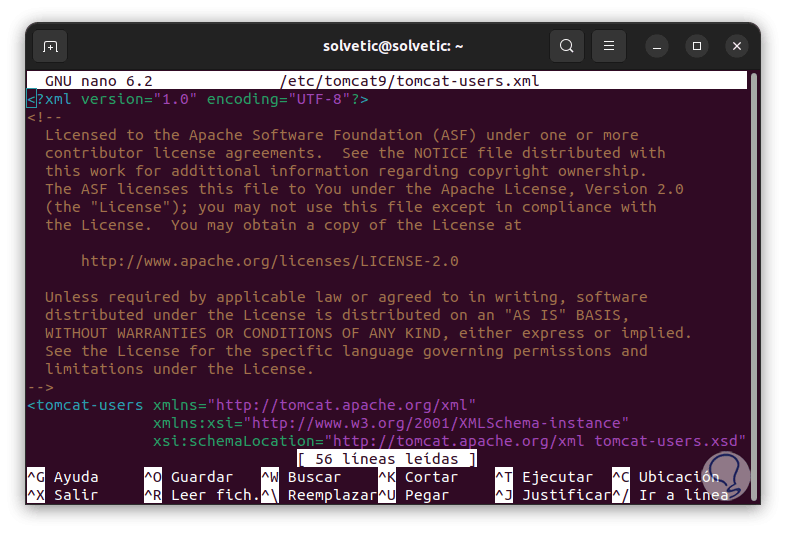
We will see this:
step 14
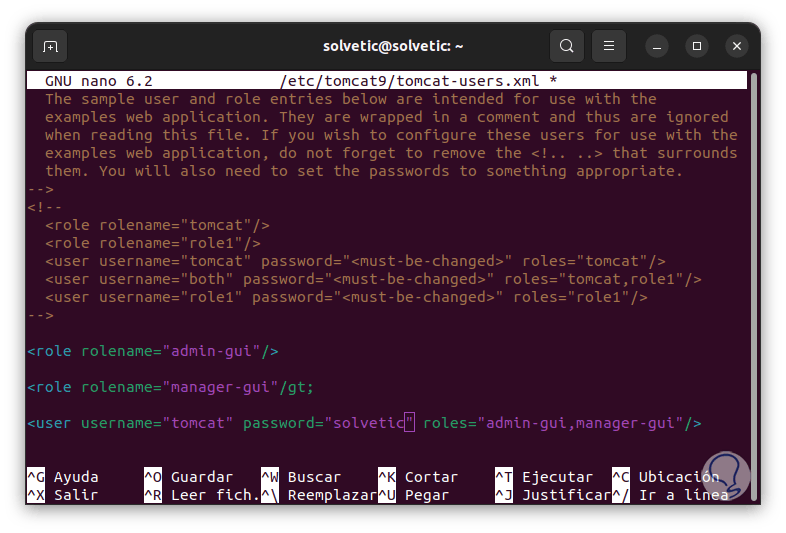
In the "</tomcat-users>" section we add the following:
<role rolename="admin-gui"/> <role rolename="manager-gui"/gt; <user username="tomcat" password="password" roles="admin-gui,manager-gui"/>
step 15
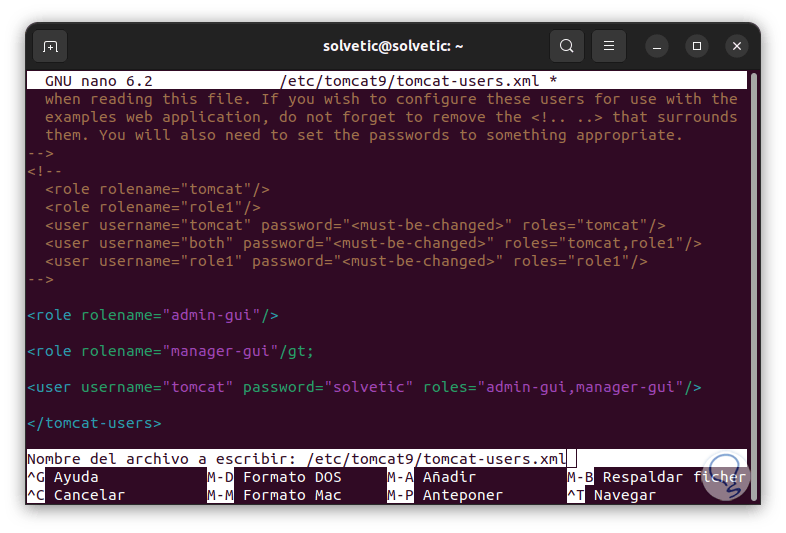
We save the changes using the following key combination:
Ctrl + O
We exit the editor using:
Ctrl + X
step 16
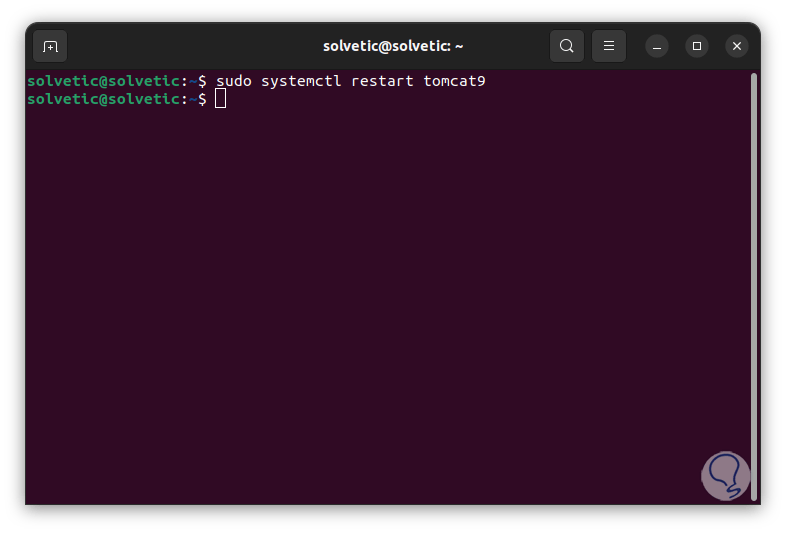
We restart Tomcat:
sudo systemctl restart tomcat9
step 17
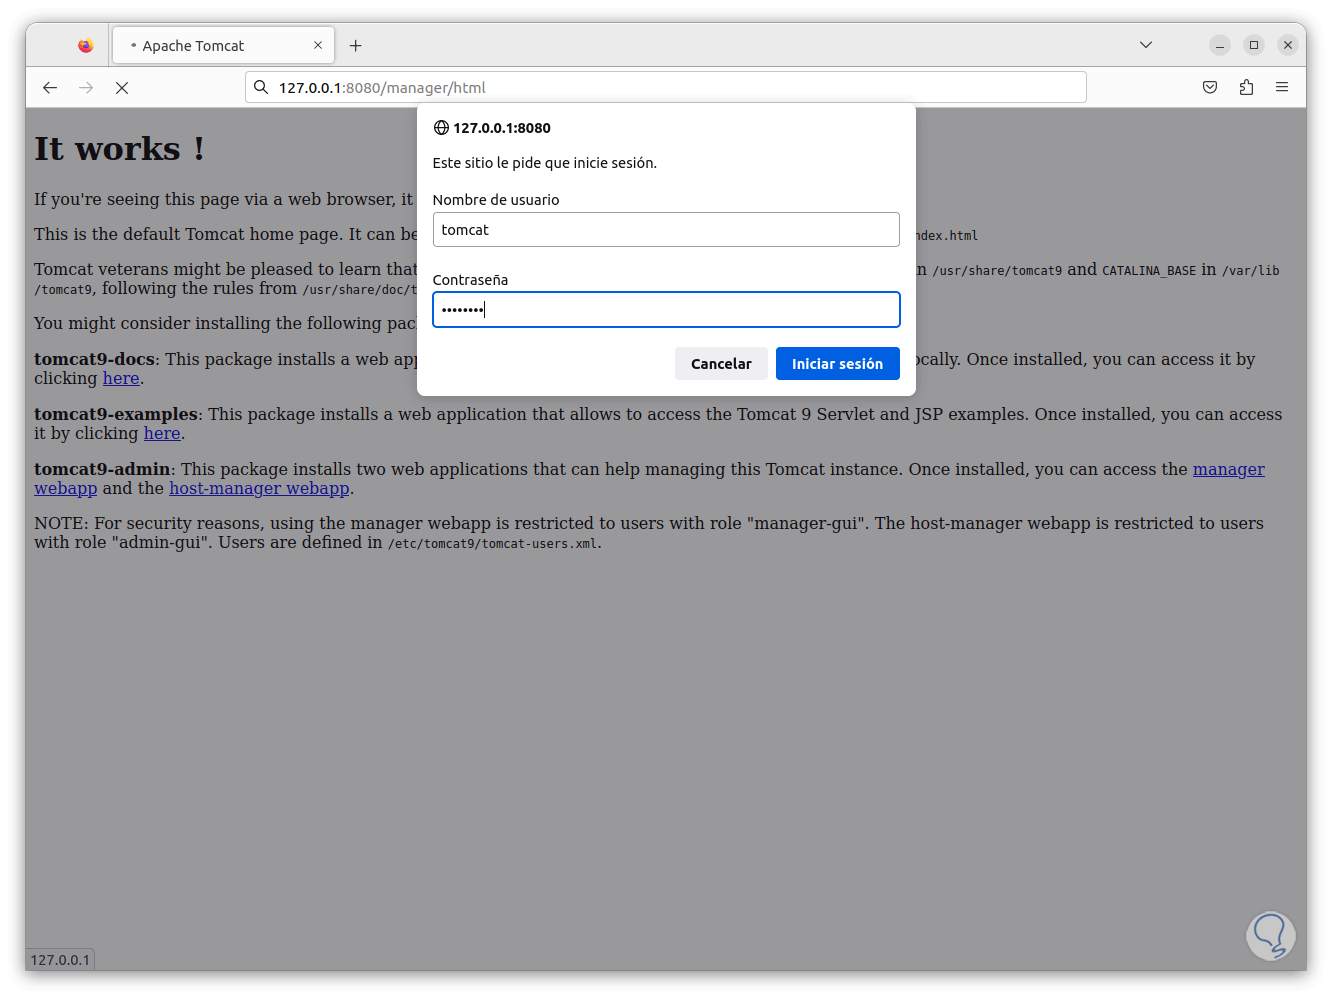
In the Tomcat URL we add:
/manager/html
step 18
Now you can enter the user credentials:
This is a way to protect Apache Tomcat data. This is the simple and practical way to install this powerful web utility on Ubuntu.