There are a series of components and processes that come into play when turning on our computer with the game and each one plays a fundamental role so that the boot is optimal, but it is possible that at some point the start of Windows 10 does not occur as it should and this means that reboots, locks or shutdowns of the equipment can occur without an apparent cause, the main reason for this is failures in the boot files that prevent the start, Windows manages some boot phases that are:
- Windows Boot Manager which is the boot manager
- Windows OS Loader which loads the operating system image
- Windows NT OS Kernel which loads into memory the system registry hive and those drivers that are listed as BOOT_START
If any of these errors appear, without a doubt we will have problems starting Windows 10.
That is why TechnoWikis has a series of steps to correct this error and have a normal boot of the system that you can see explained in detail below..
To stay up to date, remember to subscribe to our YouTube channel!
SUBSCRIBE ON YOUTUBE
How to repair startup in Windows 10
Step 1
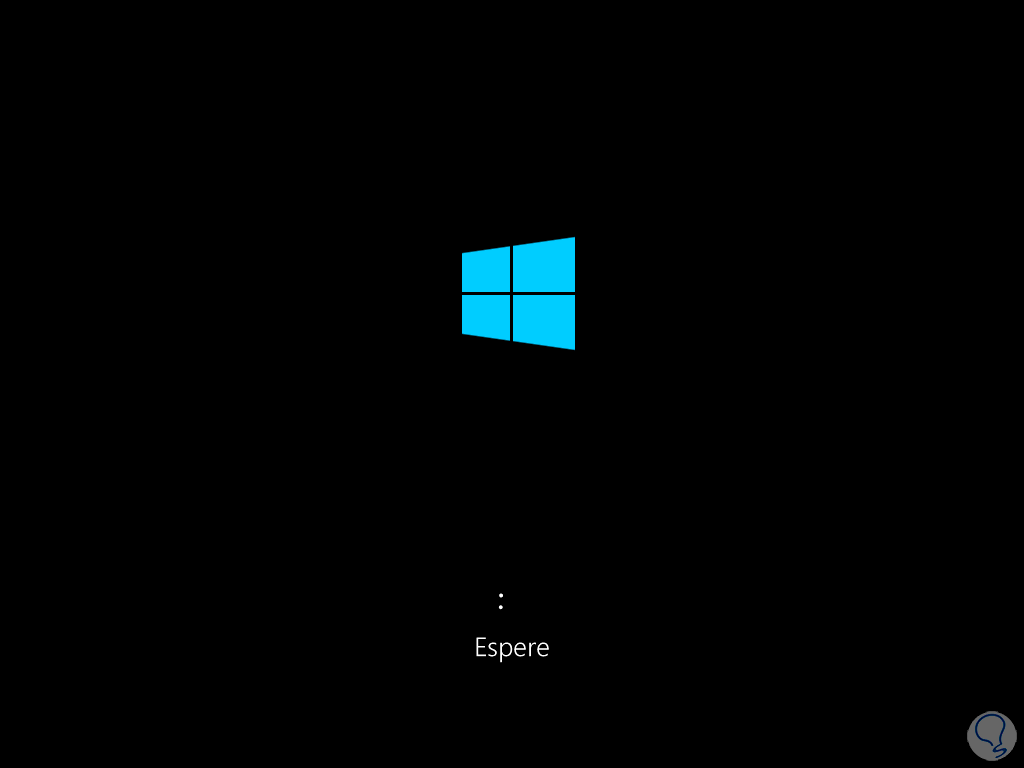
We restart the computer 3 times to access the integrated automatic diagnosis and repair:
Step 2
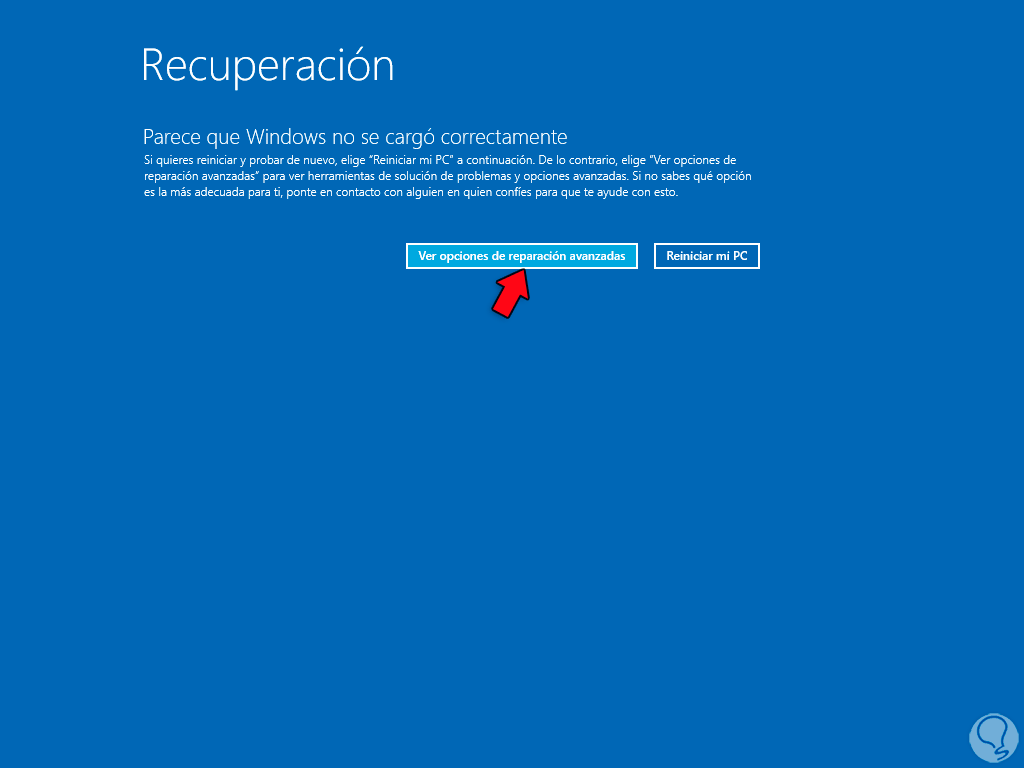
If the operation fails, click on "See advanced recovery options":
Step 3
Note: to validate the status of automatic repair in Windows 10 in the CMD console we execute "bcdedit":
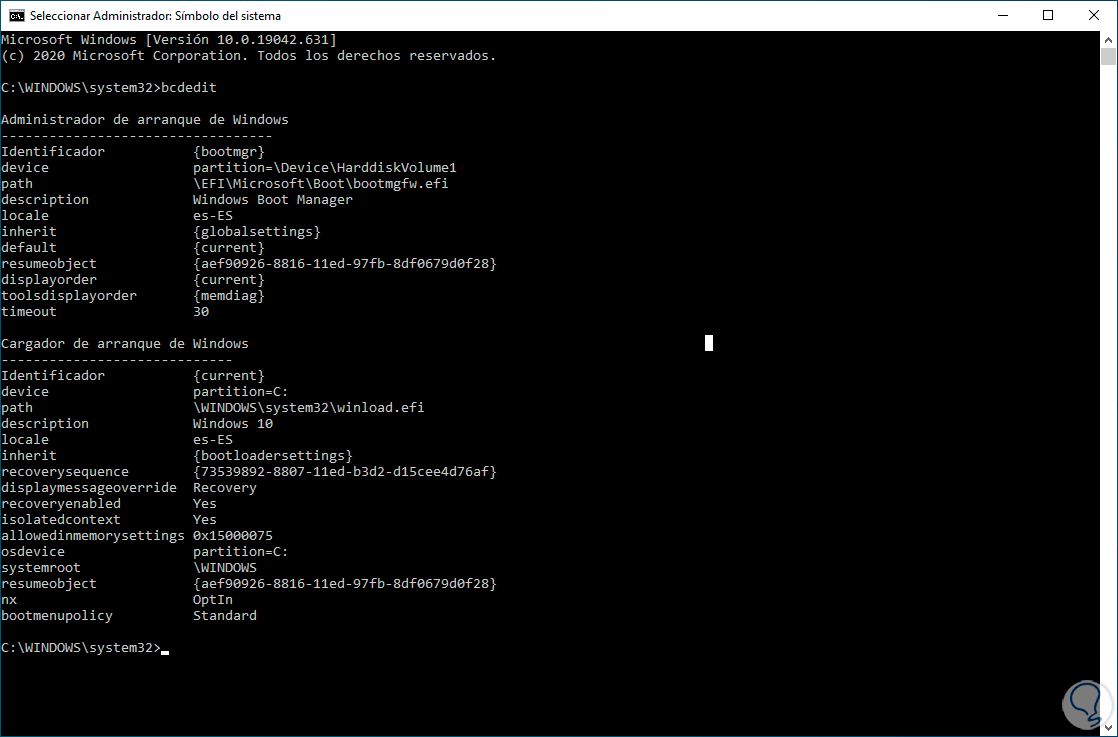
In the "recoveryenabled" line we will see if it is enabled or not.
Step 4
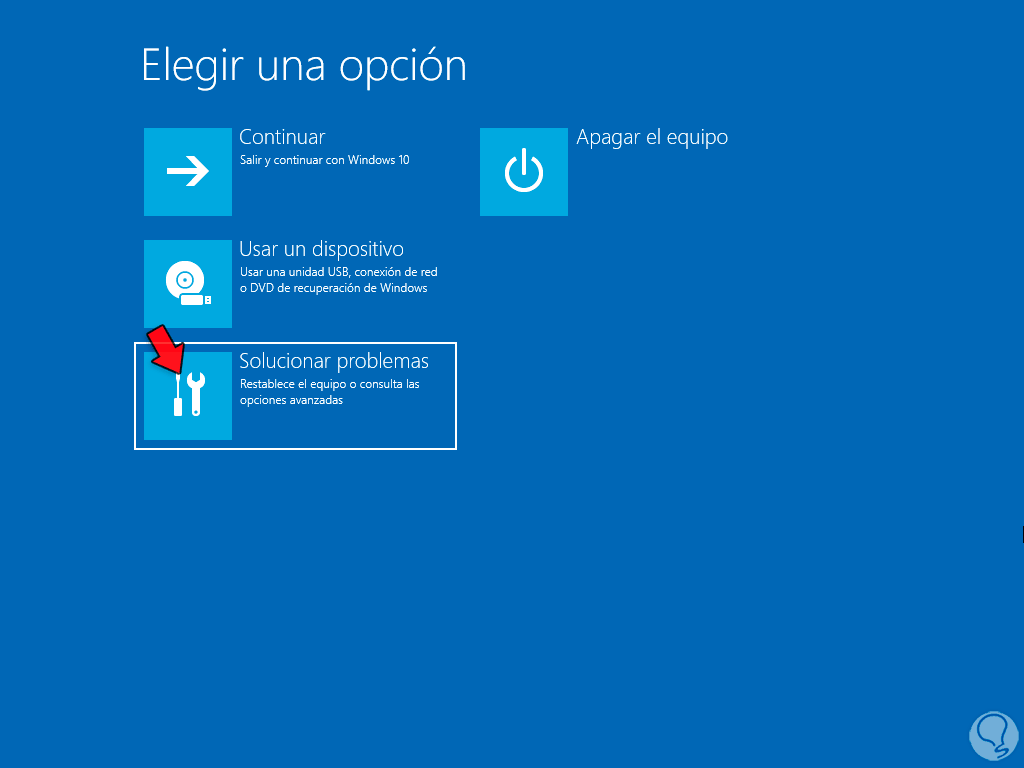
By clicking on "See advanced recovery options" we will see the following:
step 5
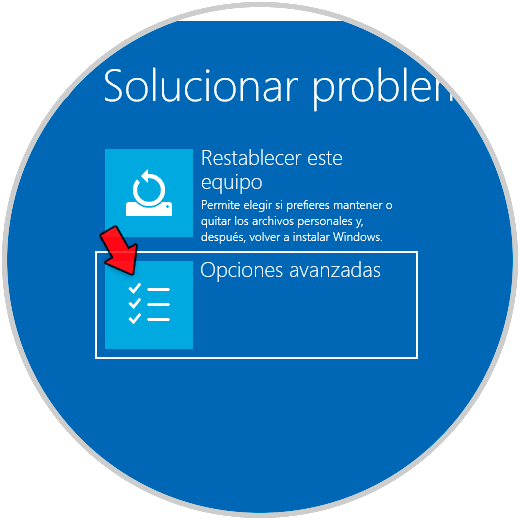
We click on "Troubleshoot" and then click on "Advanced options":
step 6
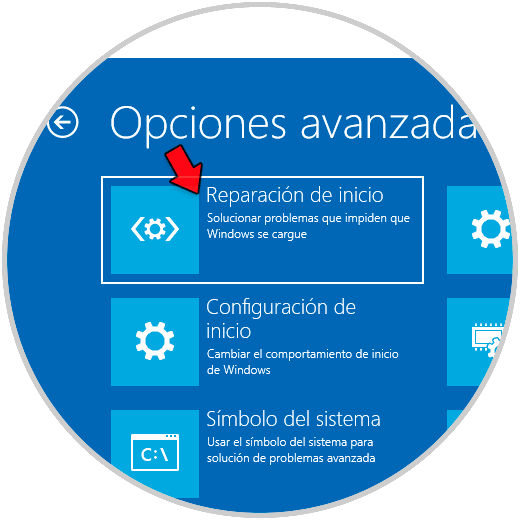
Now we will have access to a series of options:
step 7
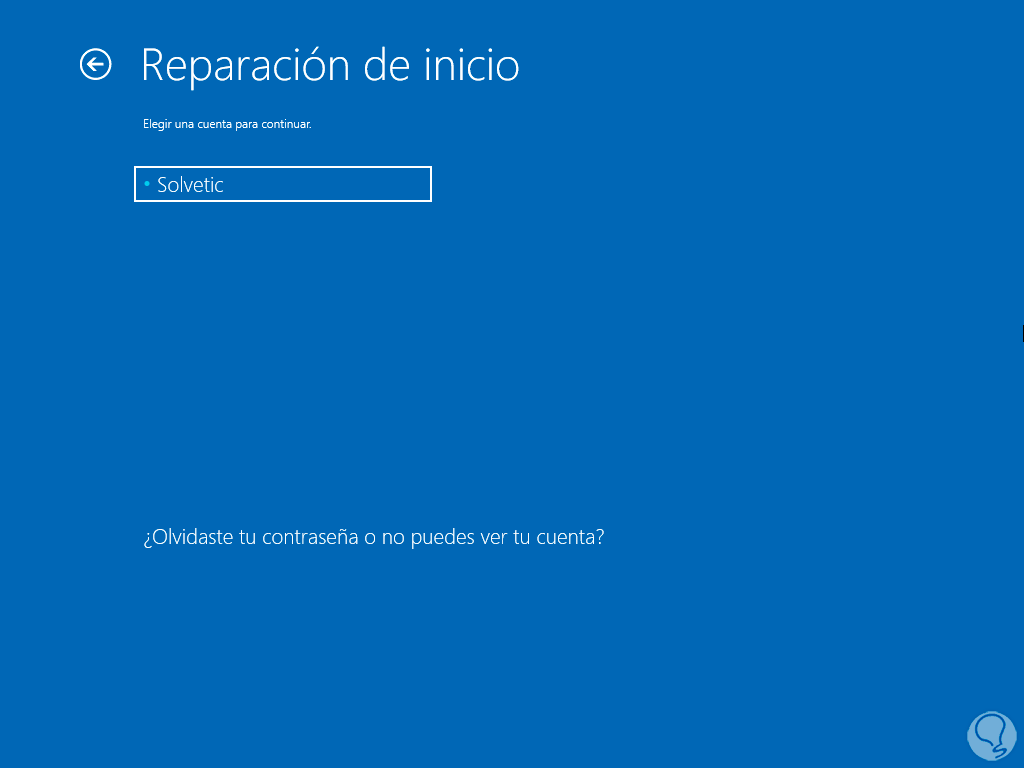
We click on "Startup Repair" to try to find the faults to correct them, we select the user:
step 8
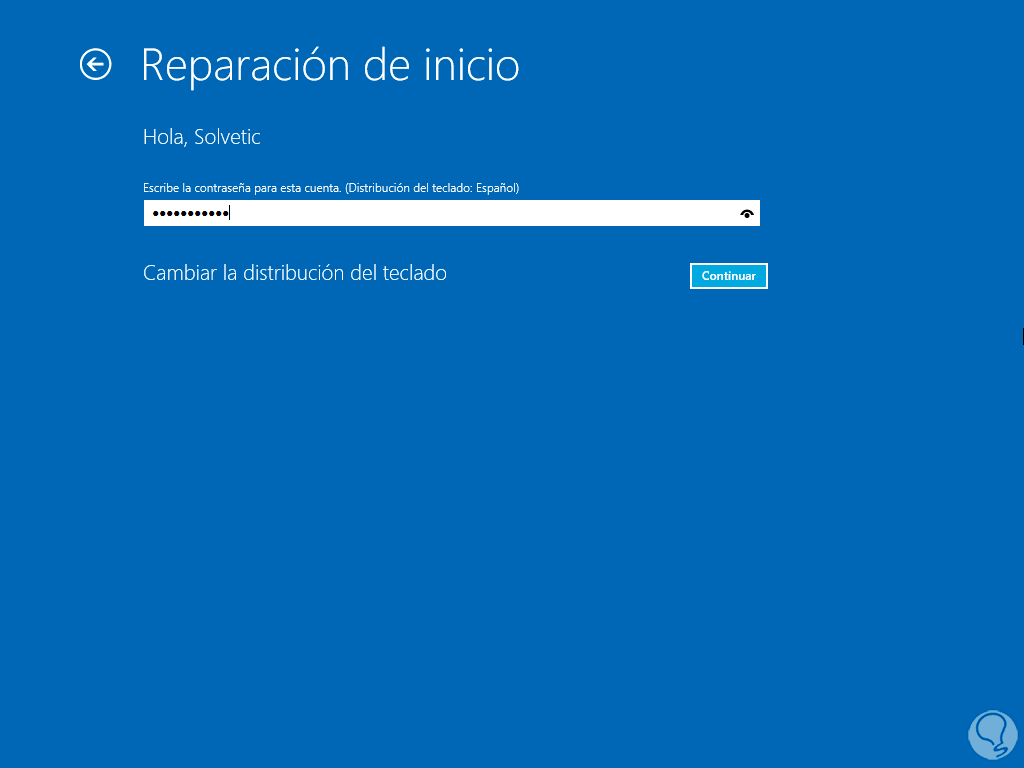
Then we enter the password:
step 9
We click on "Continue" to start the analysis:
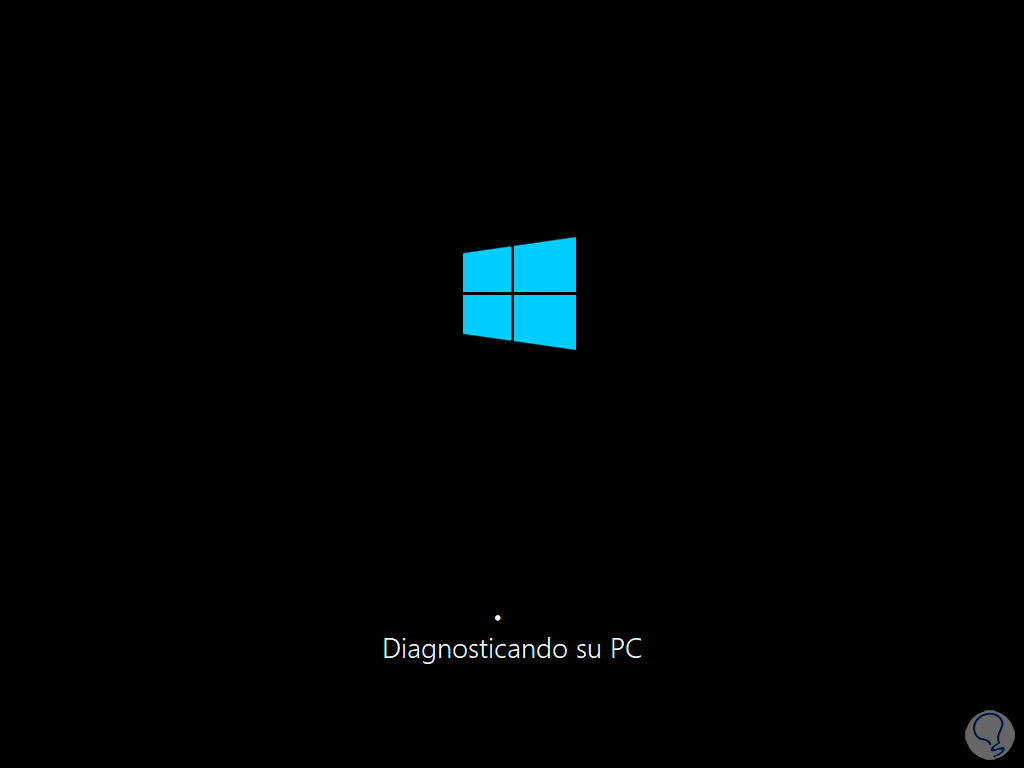
step 10
Wait for the analysis to run and wait for the result:
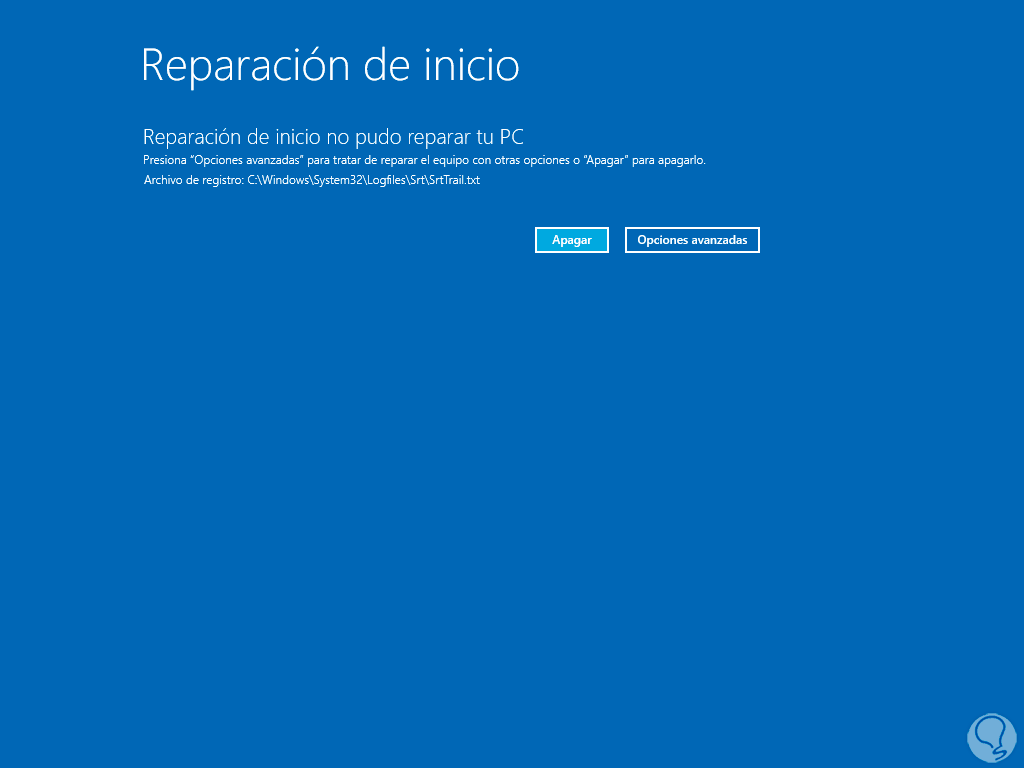
step 11
We click on "Advanced options" and then click on ""Troubleshoot":
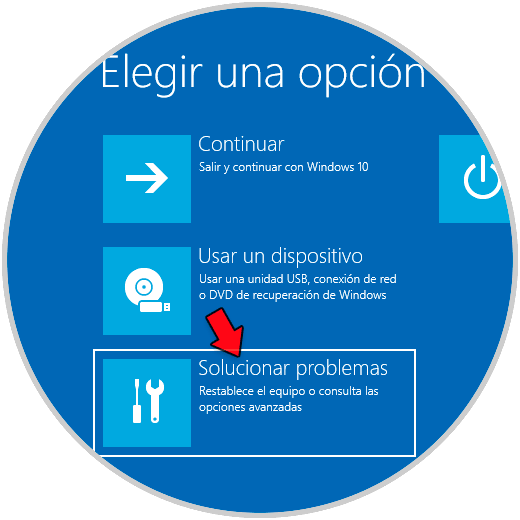
step 12
Now we click on "Advanced options":
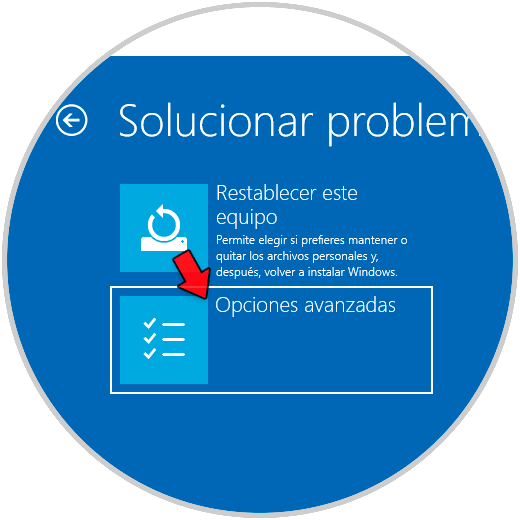
step 13
After this we click on "Command Prompt":
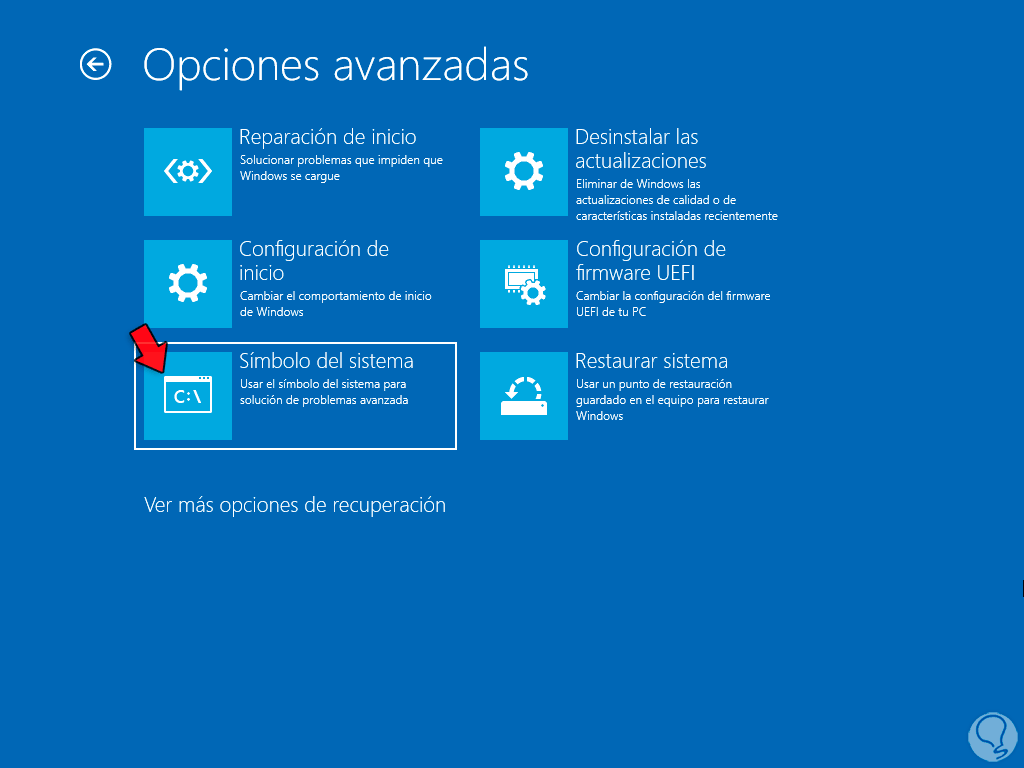
step 14
We will see the integrated CMD console:
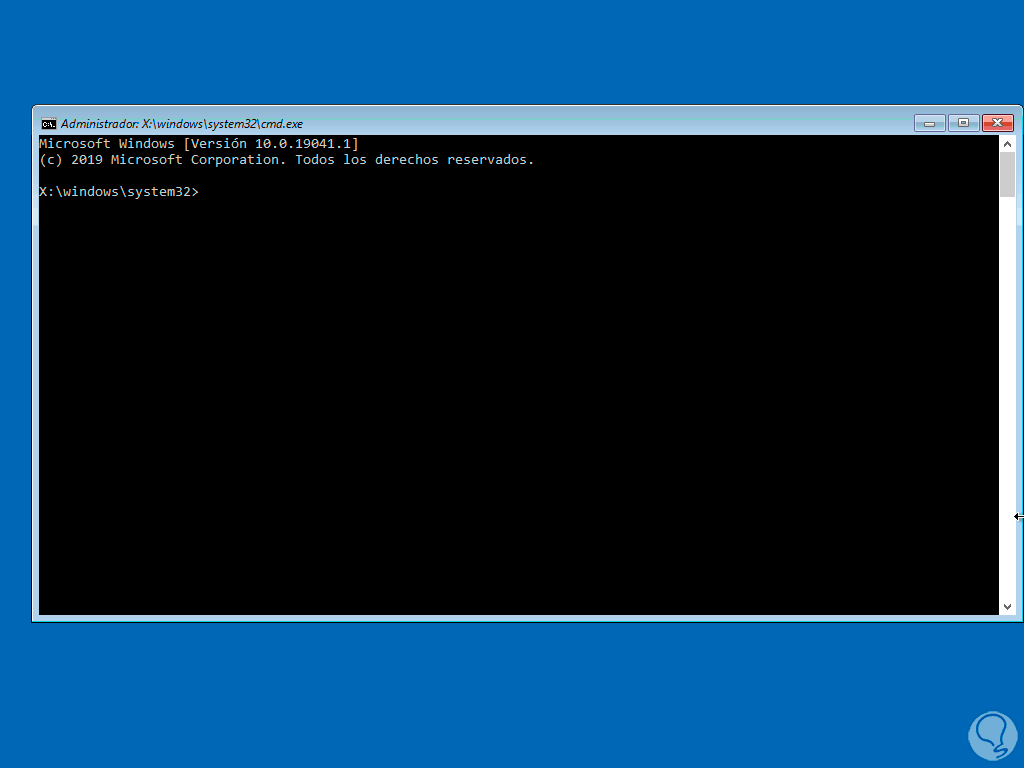
step 15
We access the disk utility:
diskpart
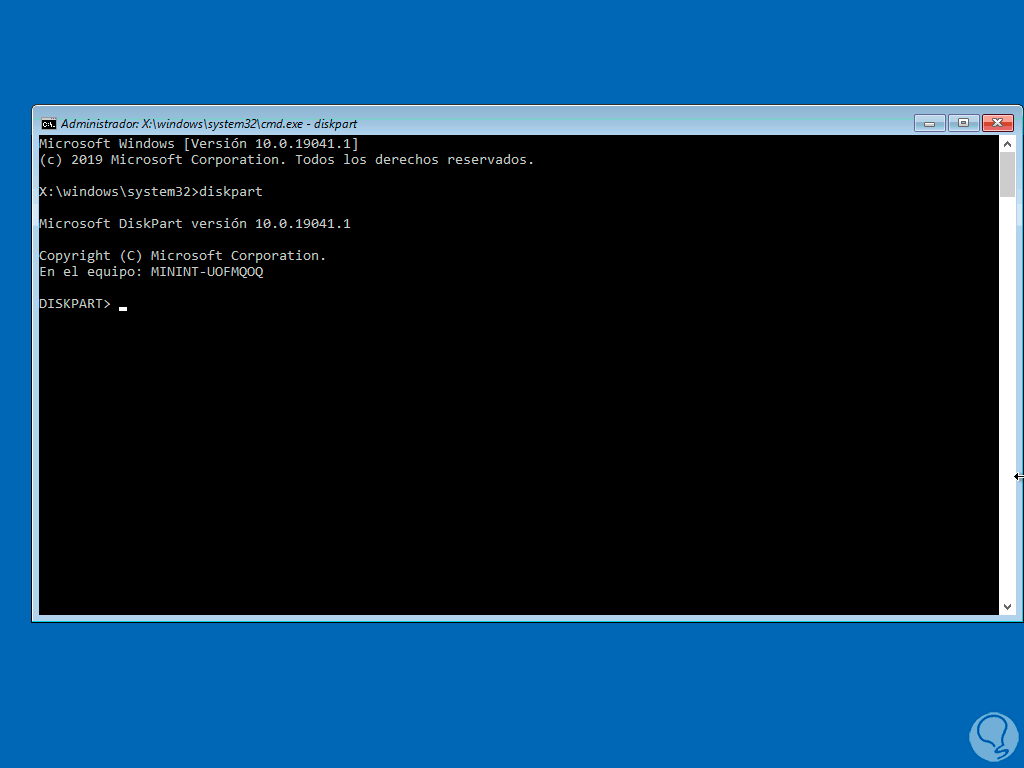
step 16
We select the disk which is the main disk by default:
select disk 0
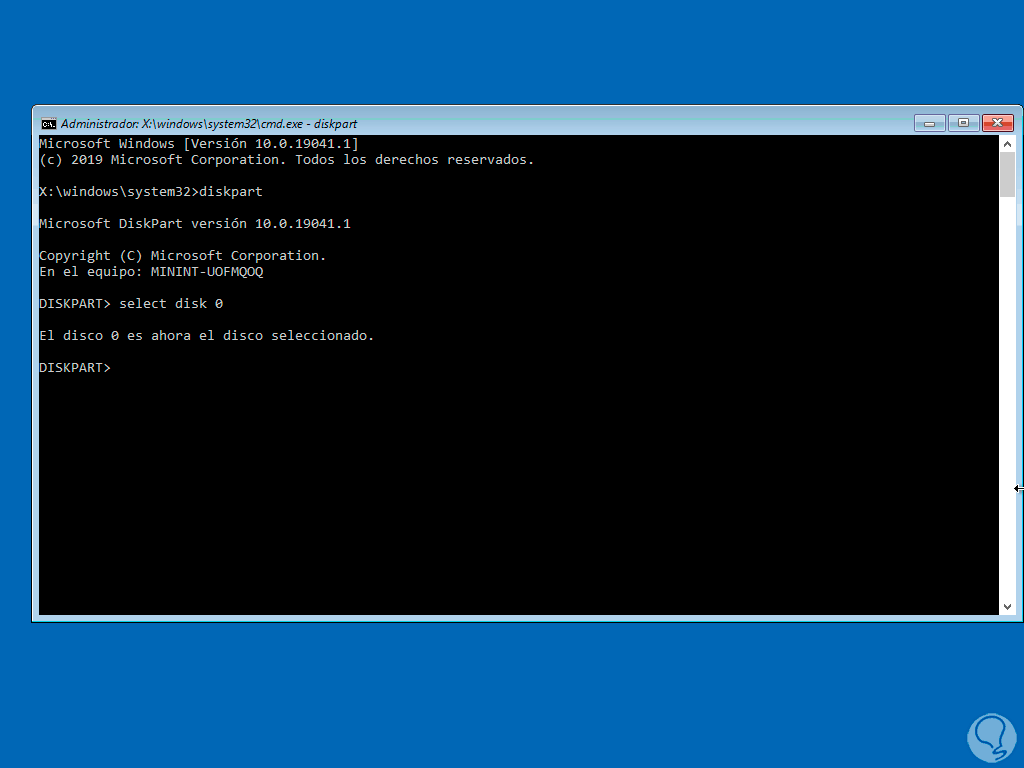
step 17
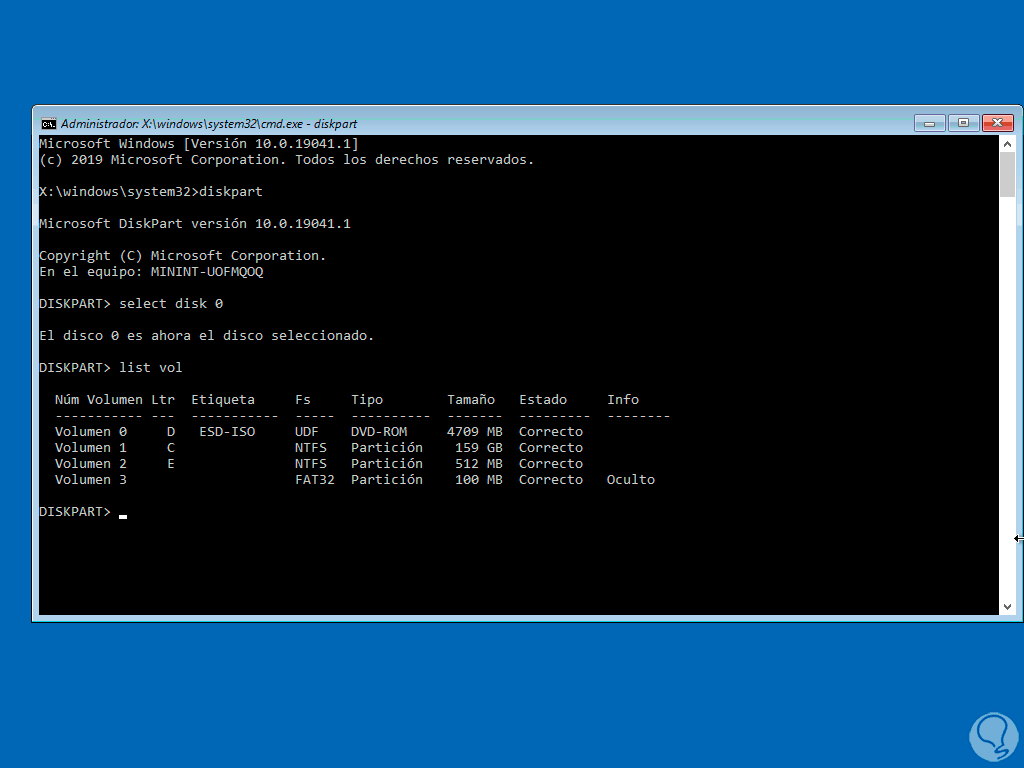
We list the volumes:
list vol
step 18
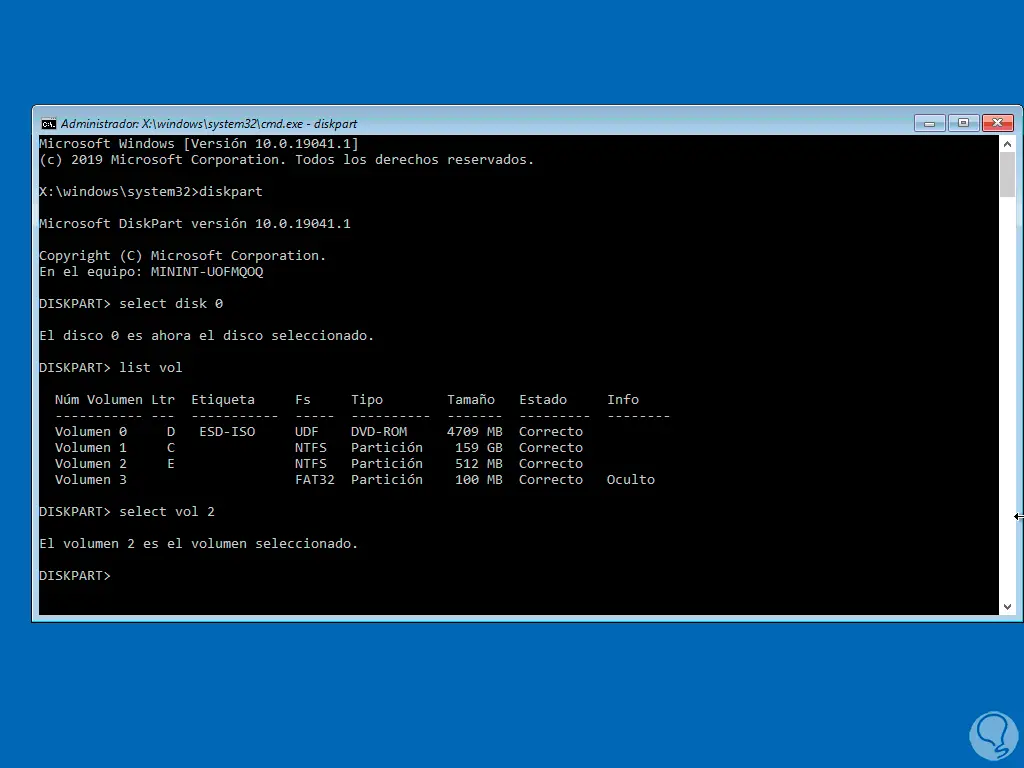
There we check that drive C is linked to where Windows is installed, many times the letter C is assigned to the reserved partition, in that case it is possible to assign a new letter to the reserved partition, we select the volume:
select volume #
step 19
We assign the letter:
assign letter=(letter)
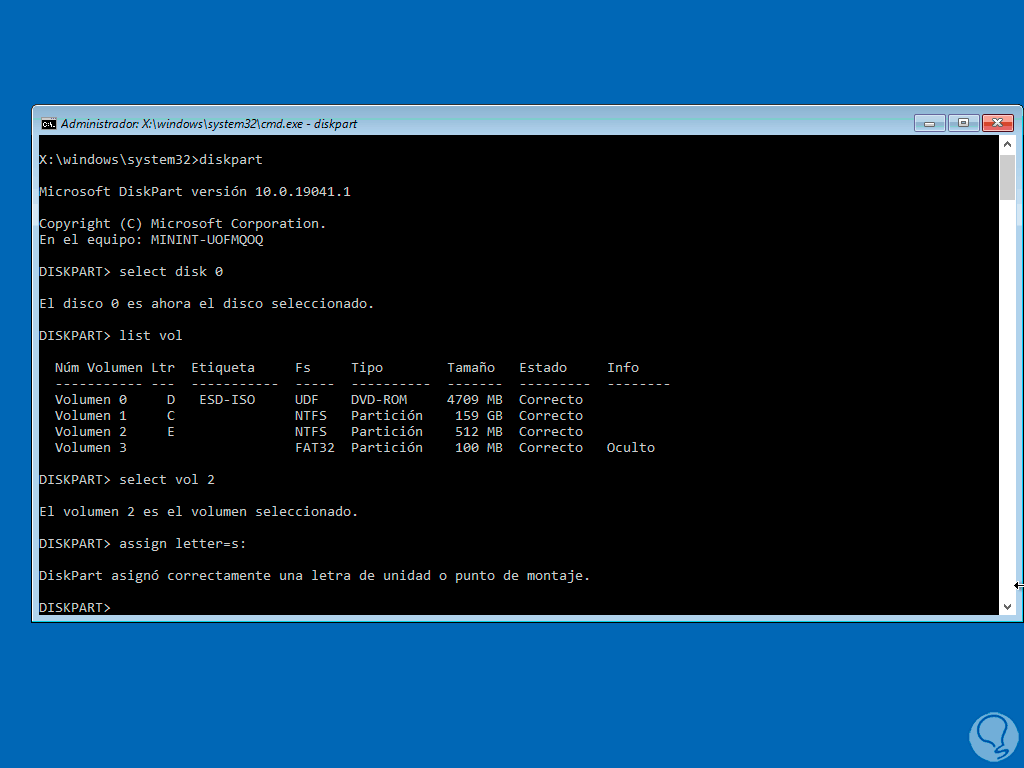
We leave DiskPart..
step 20
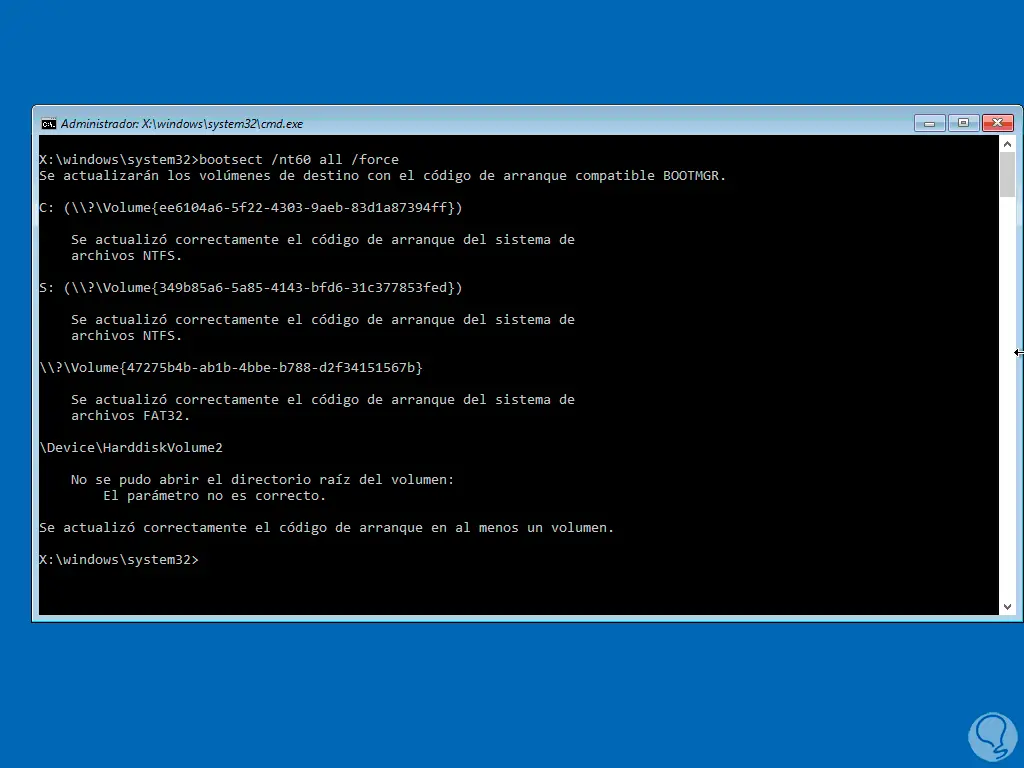
We execute:
bootsect /nt60 all /force
step 21
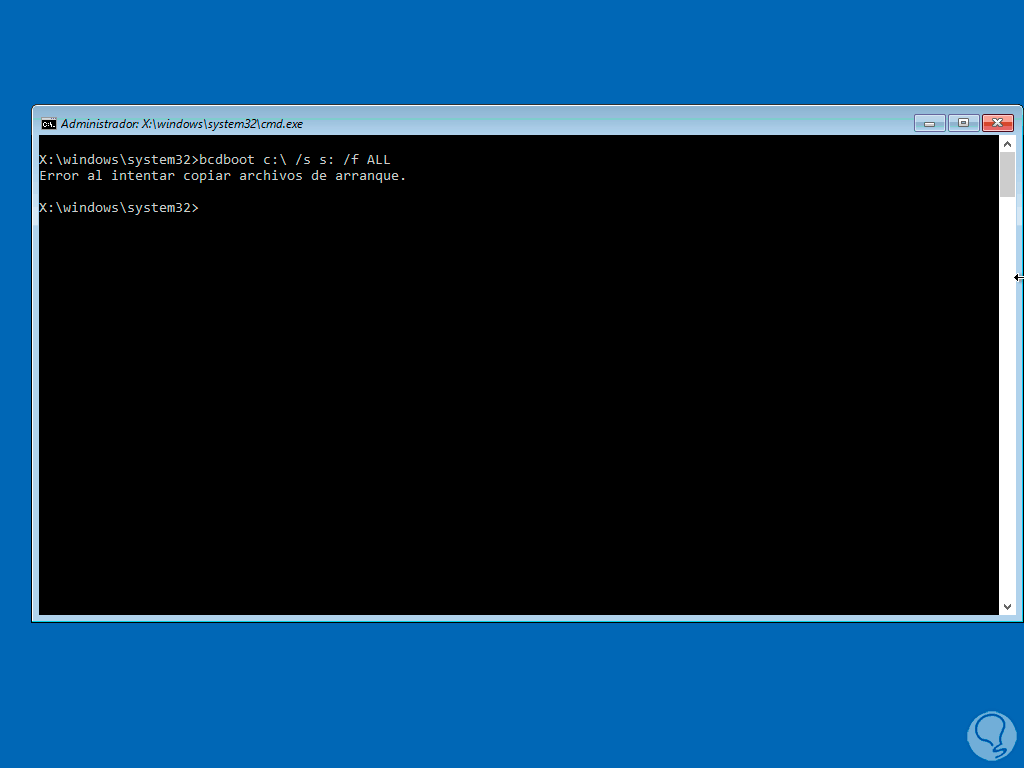
We make a copy of the BOOT file:
bcdboot c:\ windows /s (letter:) /f ALL
step 22
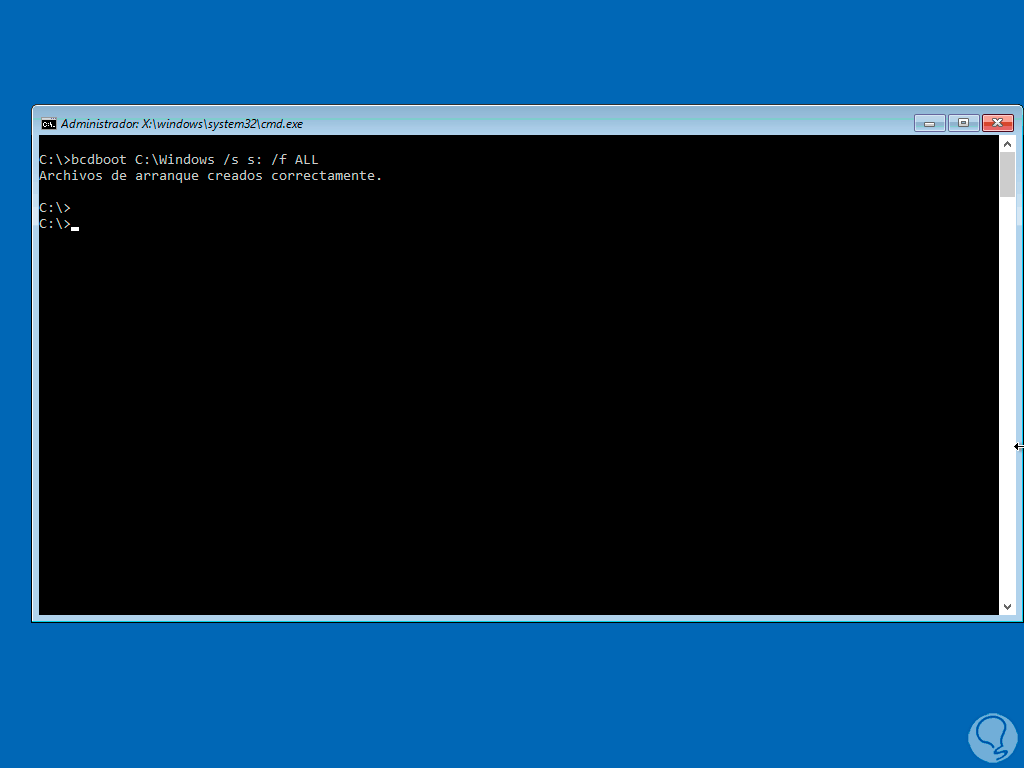
In case of error we directly access drive C:
c:
We execute again:
bcdboot c:\ windows /s (letter:) /f ALL
Step 23
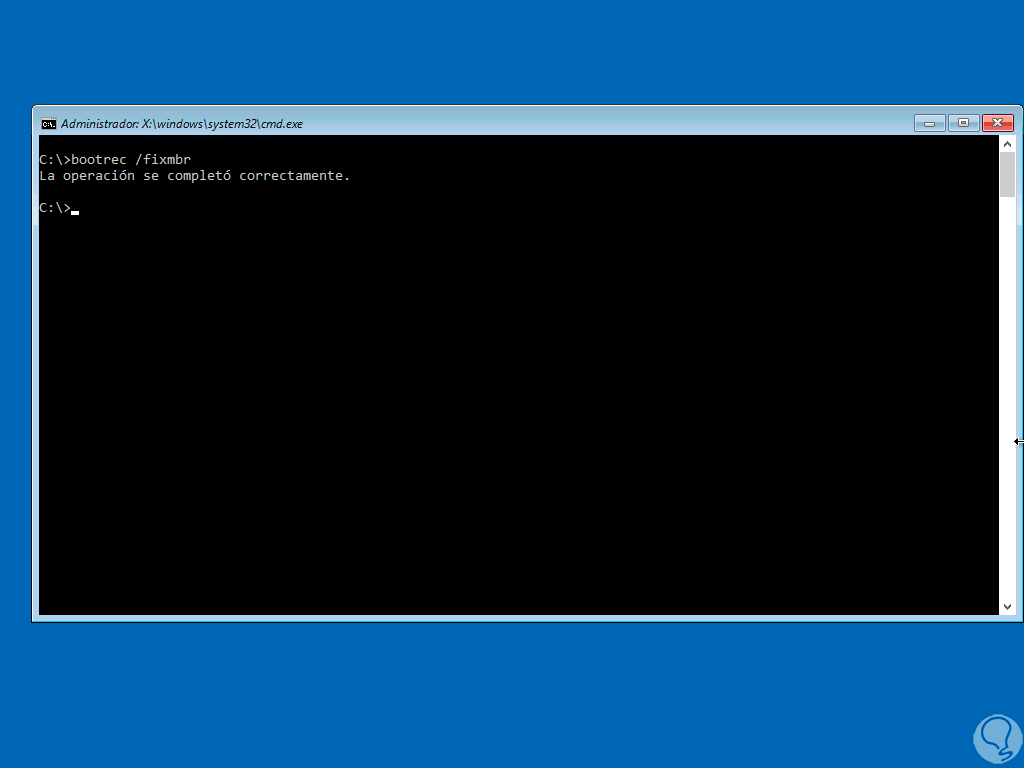
Fix errors in MBR:
bootrec /fixmbr
step 24
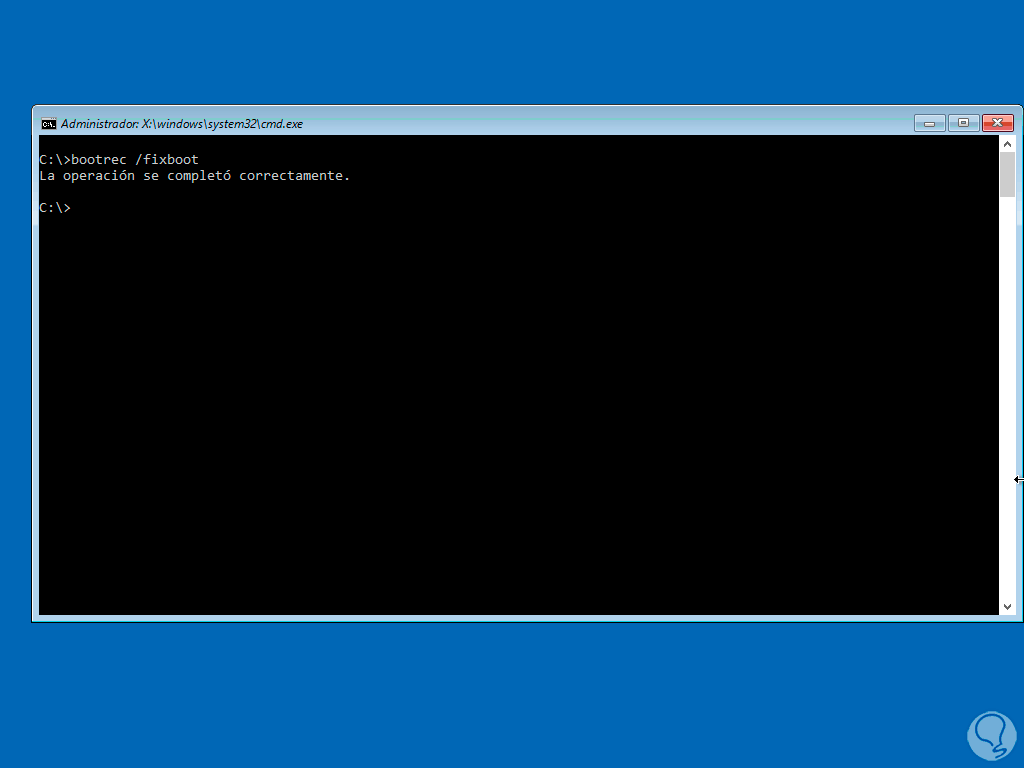
Fix errors on startup:
bootrec /fixboot
step 25
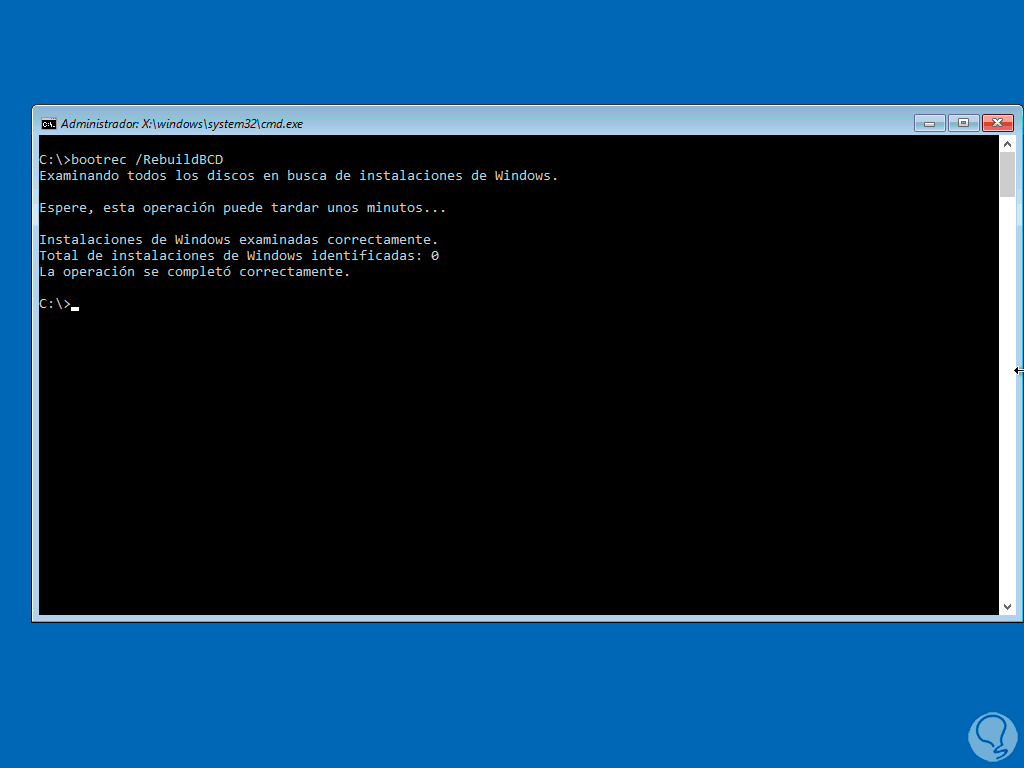
Rebuilds BCD:
bootrec /RebuildBCD
Wait for the process to finish:
step 26
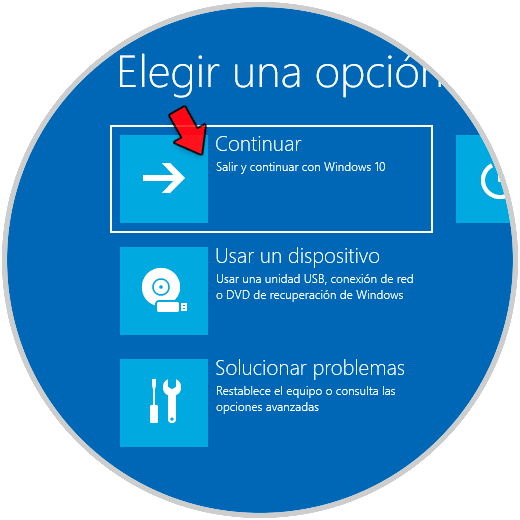
We exit the console and click "Continue" to access Windows 10:
Step 27
The system will be rebooted:
Step 28
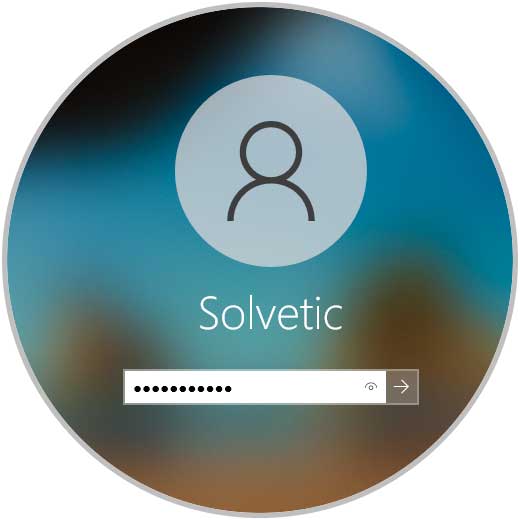
Log in:
Step 29
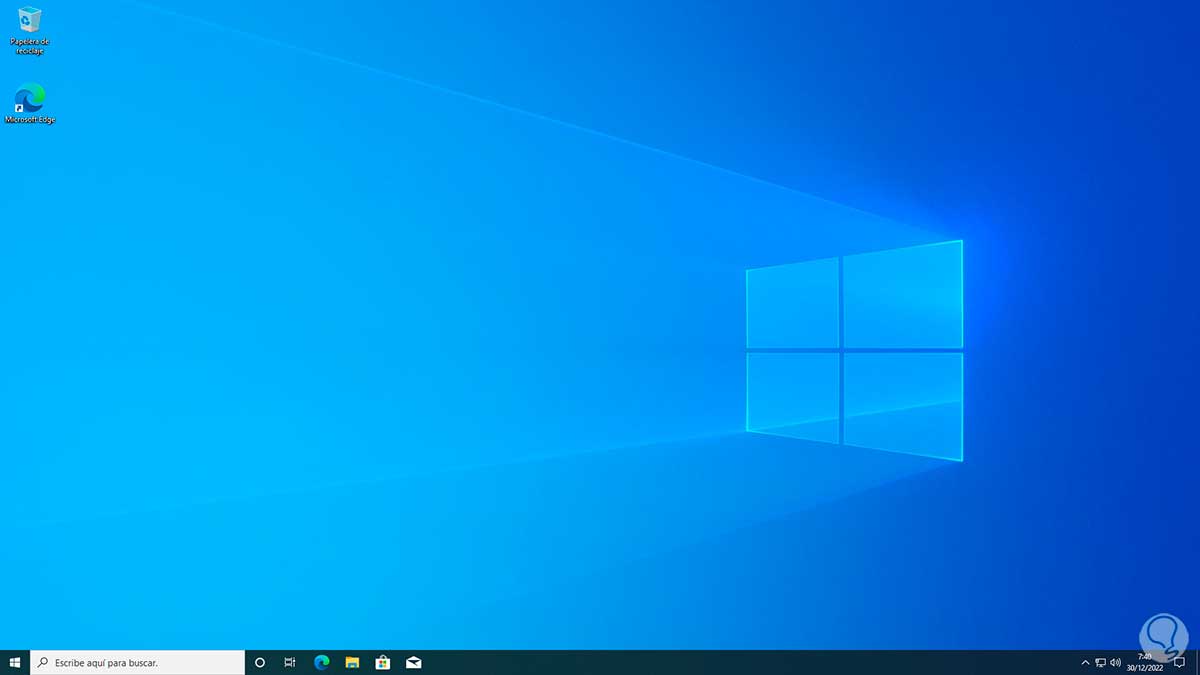
We access Windows 10:
step 30
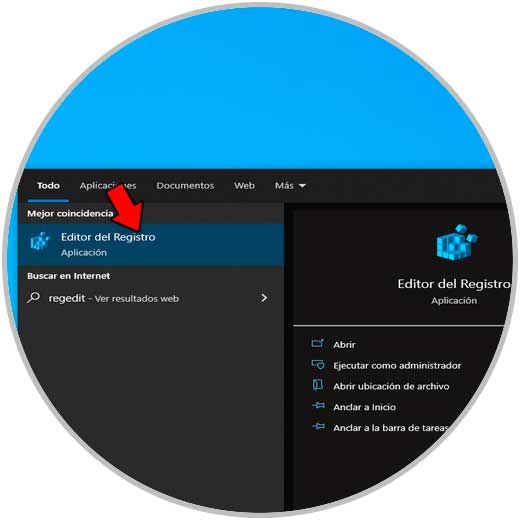
Now we open the Registry Editor:
step 31
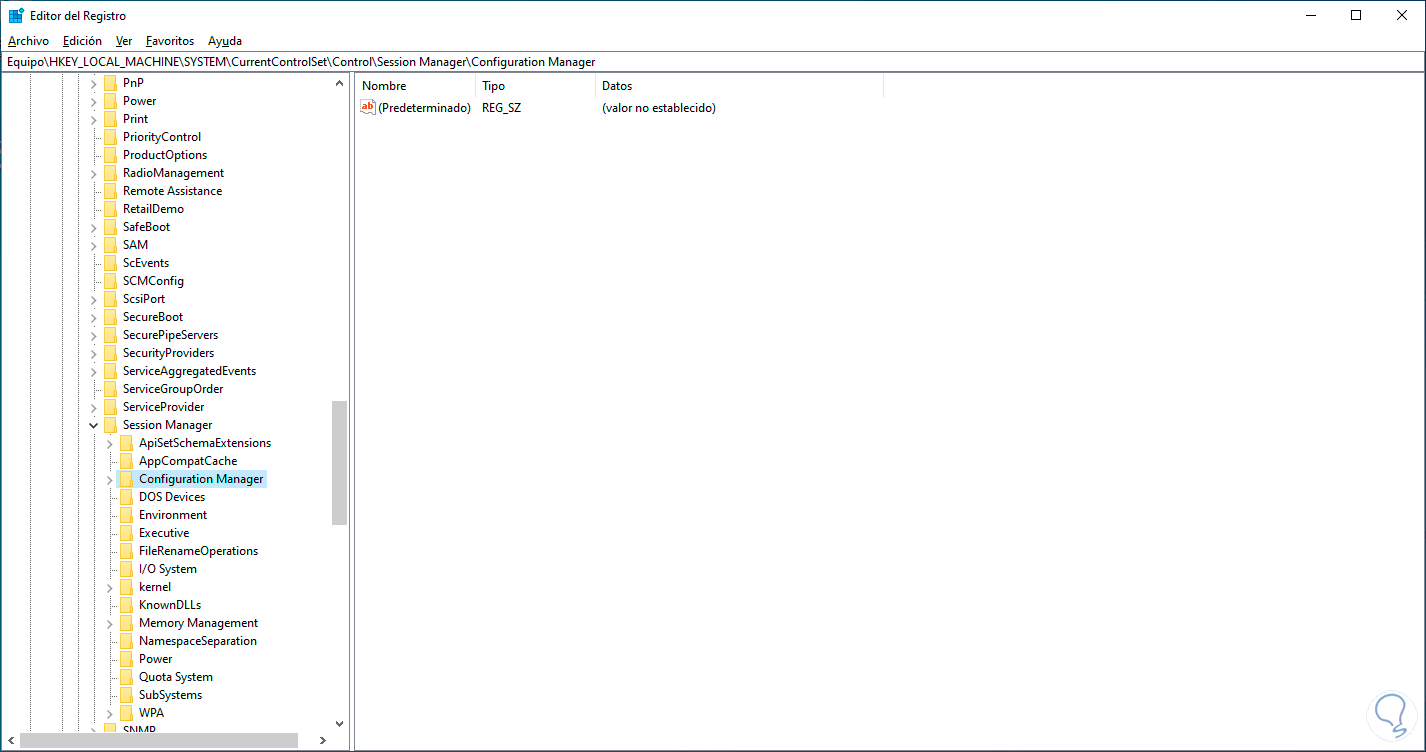
Let's go to the route:
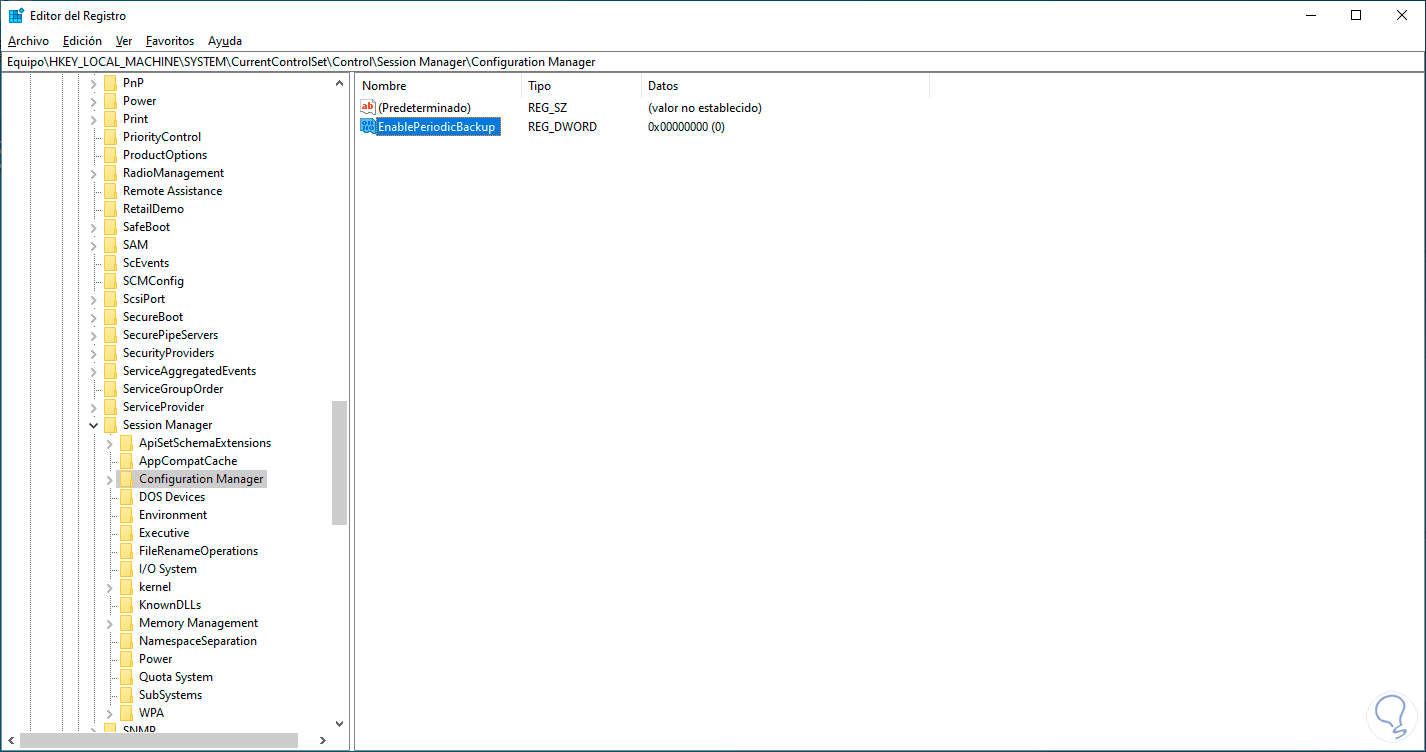
HKEY_LOCAL_MACHINE - SYSTEM - CurrentControlSet - Control - Session Manager - Configuration Manager
step 32
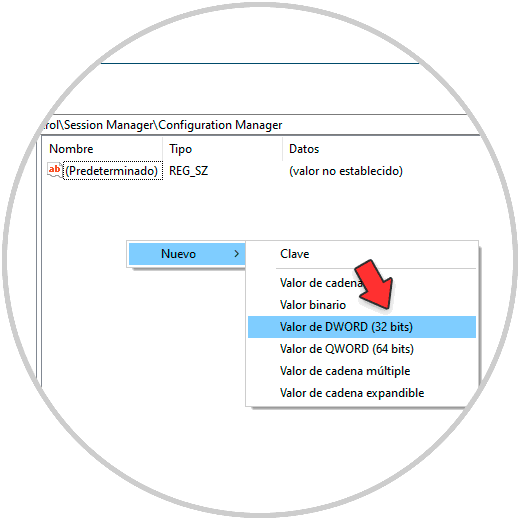
We right click somewhere and select "New - DWORD Value (32 bits)":
Step 33
Assign the name "EnablePeriodicBackup":
Step 34
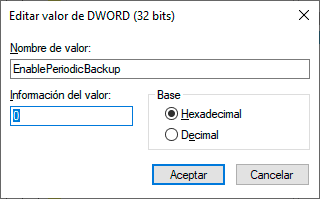
We double click on this value to see its properties:
step 35
Assign the value 1:
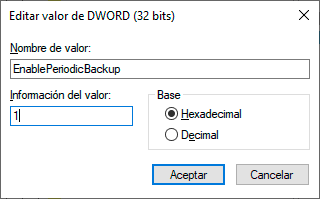
Apply the changes, we seek with this file to create backup copies every so often.
This is the way to recover access and repair the startup of Windows 10.