We constantly use hard drives in Windows 10/11, these can be external or partitions of the base drive and these drives allow us to have a means to store information or perform other tasks associated with media of this type, but an error that Windows may present when trying to access the hard disk is an access denied error, that is, for some reason you do not have permission to enter and work on the disk..
Many times the configuration of the system or of the disk itself prevents us from accessing it and does not allow us to see the content that is on it. The causes of this are varied and TechnoWikis will give you a series of solutions to correct this error and thus have normal access to the disk drive. This will allow you to fix the error Cannot access Hard Disk Access Denied Windows.
To stay up to date, remember to subscribe to our YouTube channel!
SUBSCRIBE ON YOUTUBE
1 Check disk errors in Windows
Step 1
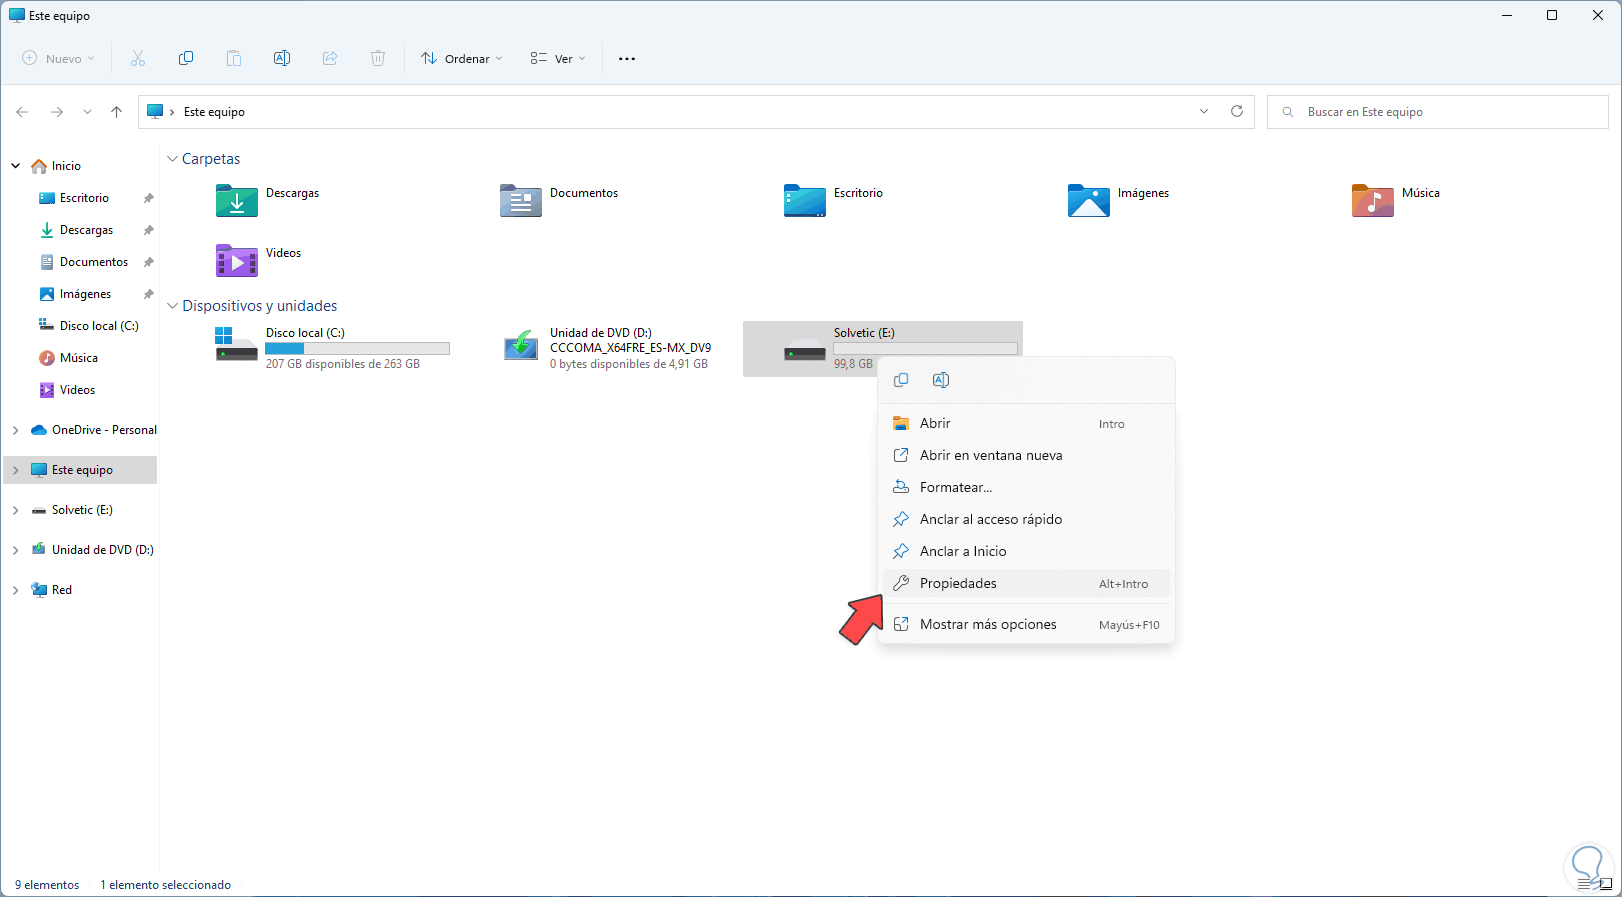
This is a function integrated into the operating system itself which performs an analysis of the unit to detect and correct errors, for its use we open the File Explorer, then we right click on the disk with the error and there we select the "Properties" option :
Step 2
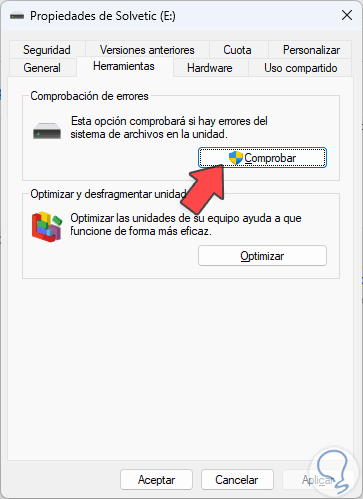
In the pop-up window we go to the "Tools" tab where we will see the following:
Step 3
We click on "Check" to perform the check for errors and this analysis focuses on the file system of the unit, the following message will be displayed:
Step 4
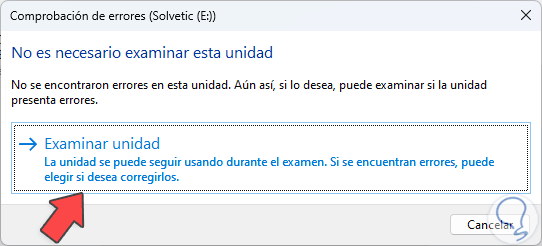
We confirm the process by clicking on "Examine unit" and the analysis process will begin:

step 5
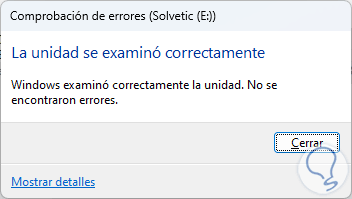
At the end of the analysis we will see the following:
step 6
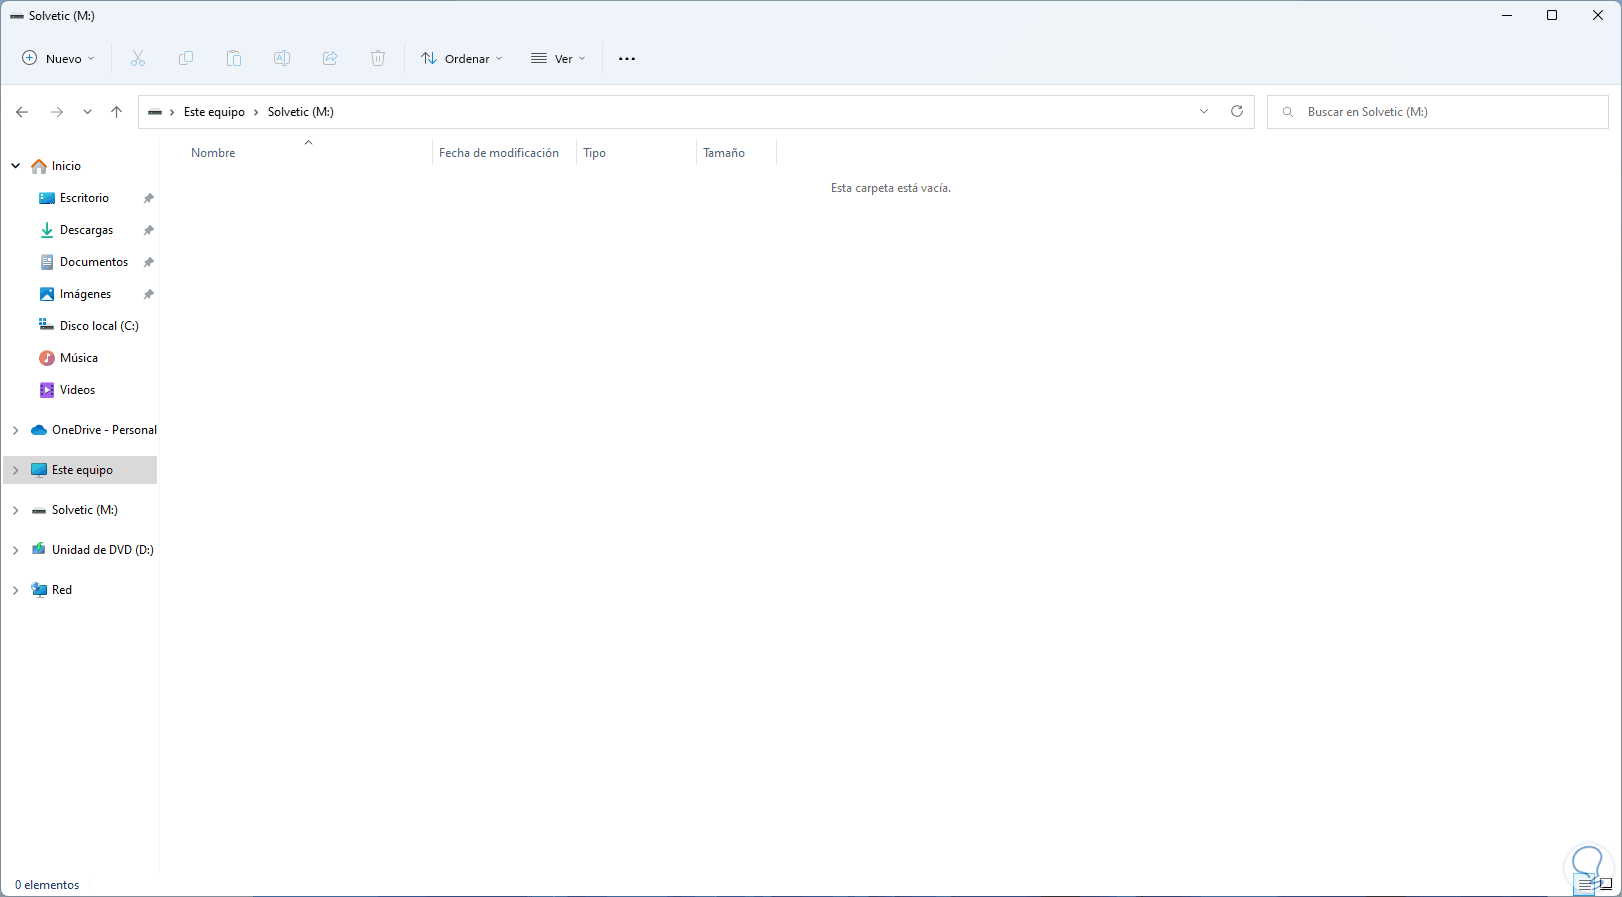
Access the disk to verify that it works without errors:

2 Check disk errors in Windows
The permissions in Windows are keys to access various elements of the hard drive so that if any permission is not granted we will see the error in question, to check this again we go to File Explorer.
Step 1
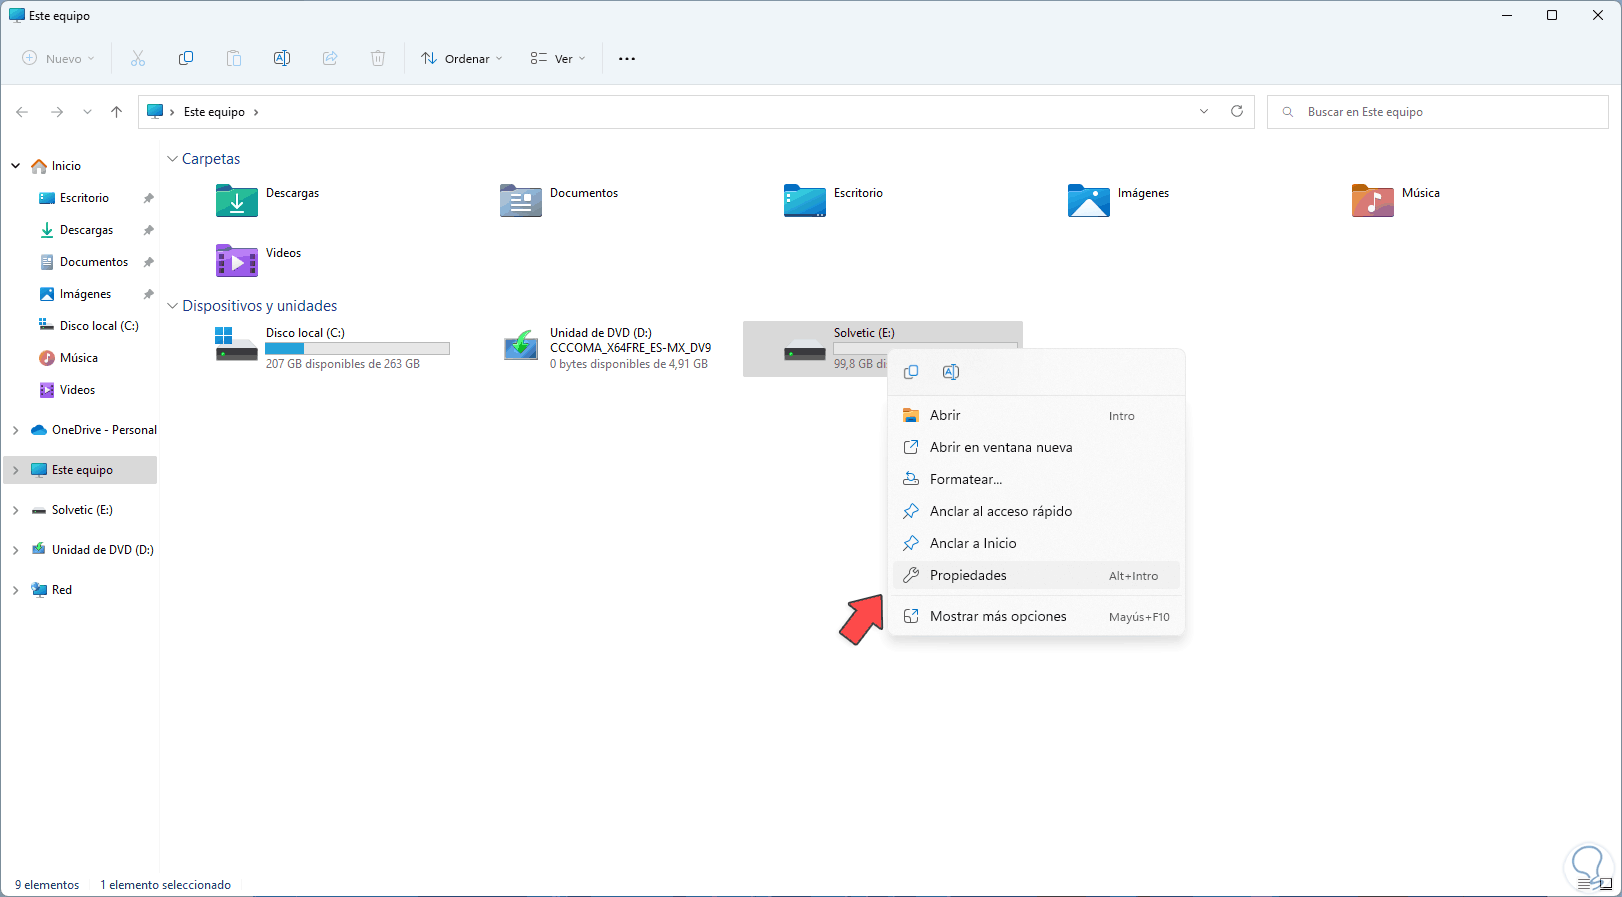
We right click on the disk with error and select "Properties":
Step 2
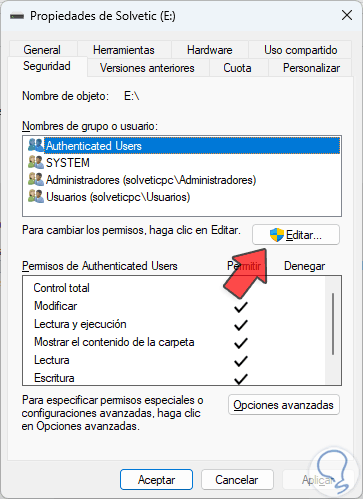
In the pop-up window we go to the "Security" tab. We click on "Edit" to see the structure:
Step 3
There we check the permissions of the Administrators group:
Step 4
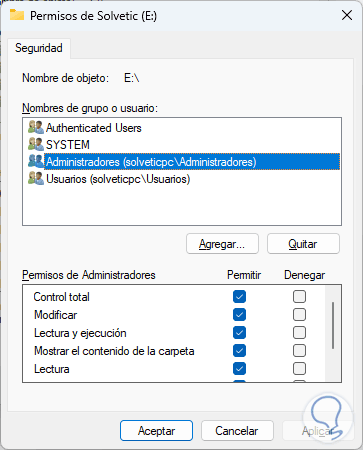
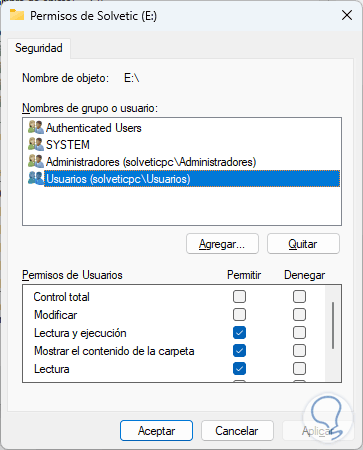
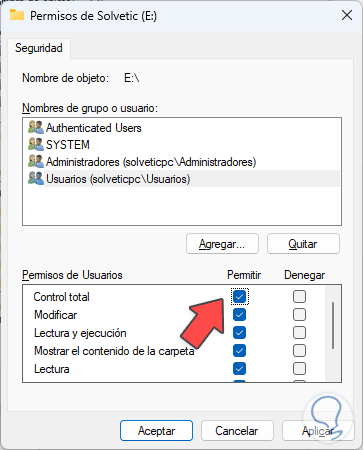
Now we validate the permissions of the Users group, which is where all Windows users are by default.
step 5
We activate the "Full control" box. Apply the changes.
step 6
Access the disk to validate its use:

3 Change drive letter in Windows
Windows automatically assigns a letter to the hard drives in order to recognize them locally and as users it is possible to identify them and work on them, but it is possible that the current letter assigned has problems with the file system, it is enough to change said letter to check if the error is corrected.
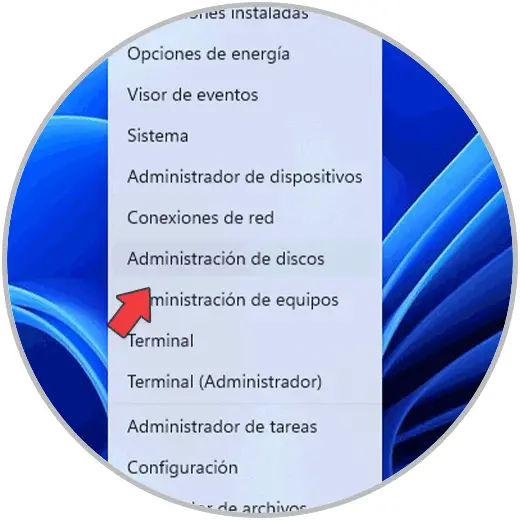
Step 1
We open the Disk Manager:
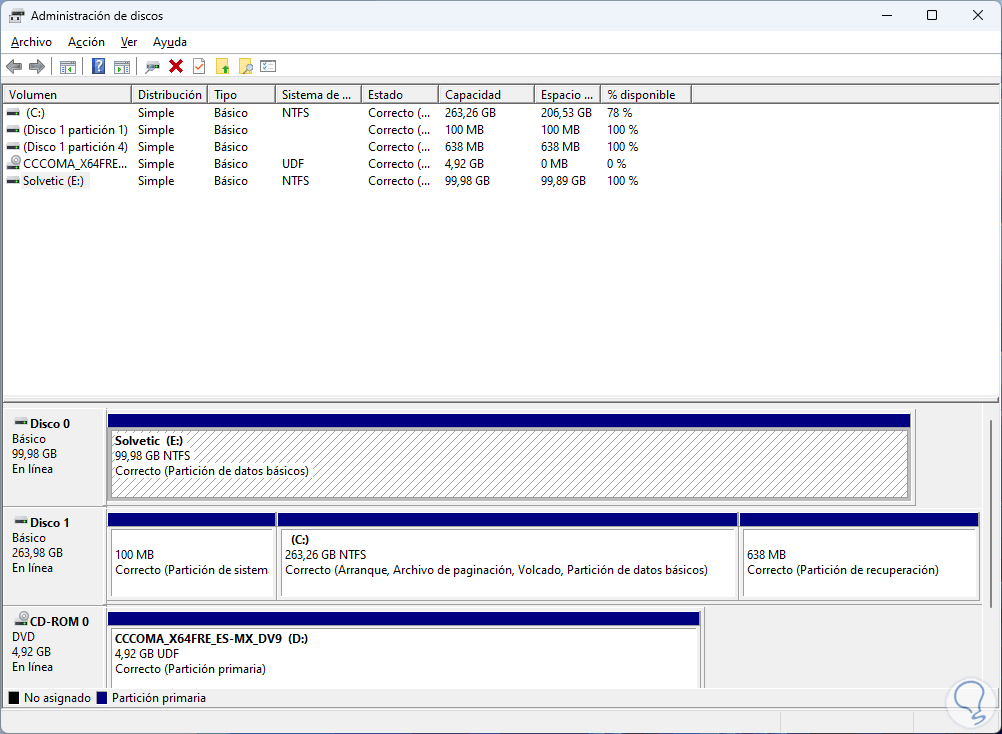
Step 2
We will see the current units of the team:
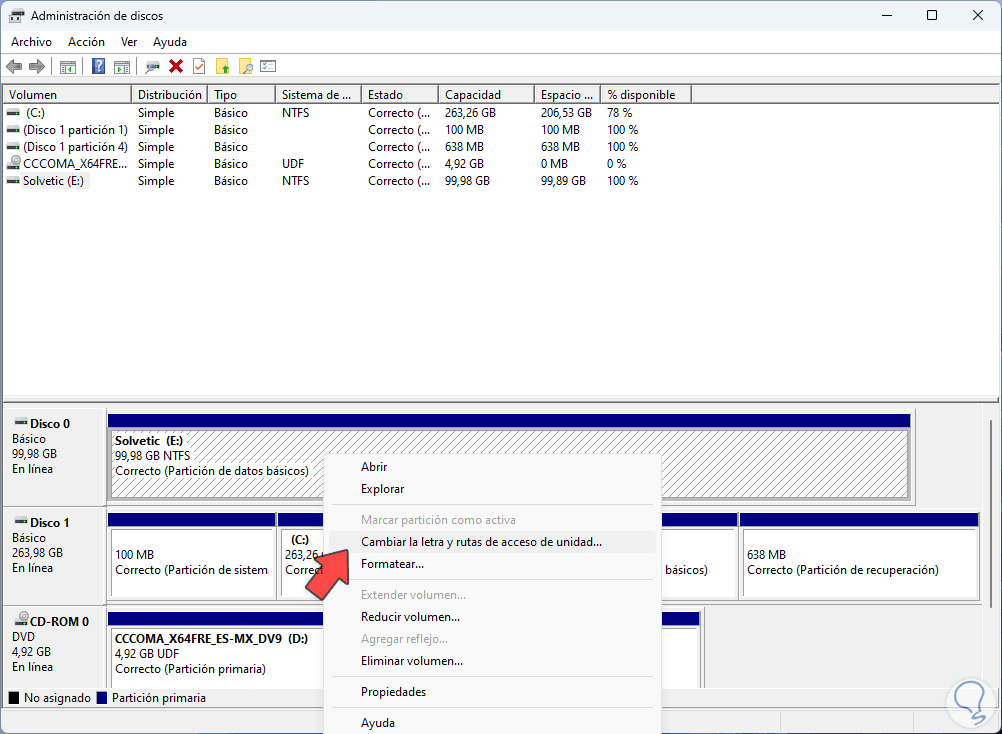
Step 3
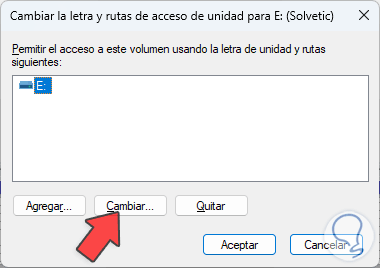
We right click on the disk with the error and select the option "Change drive letter and paths":
Step 4
The following window will open:
step 5
We click on "Change" to select the new letter:
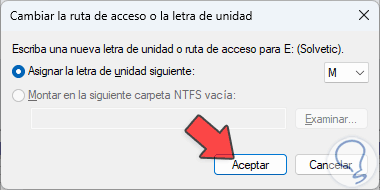
step 6
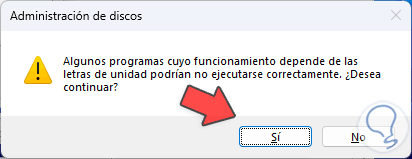
Apply the changes and we will see the following warning:
step 7
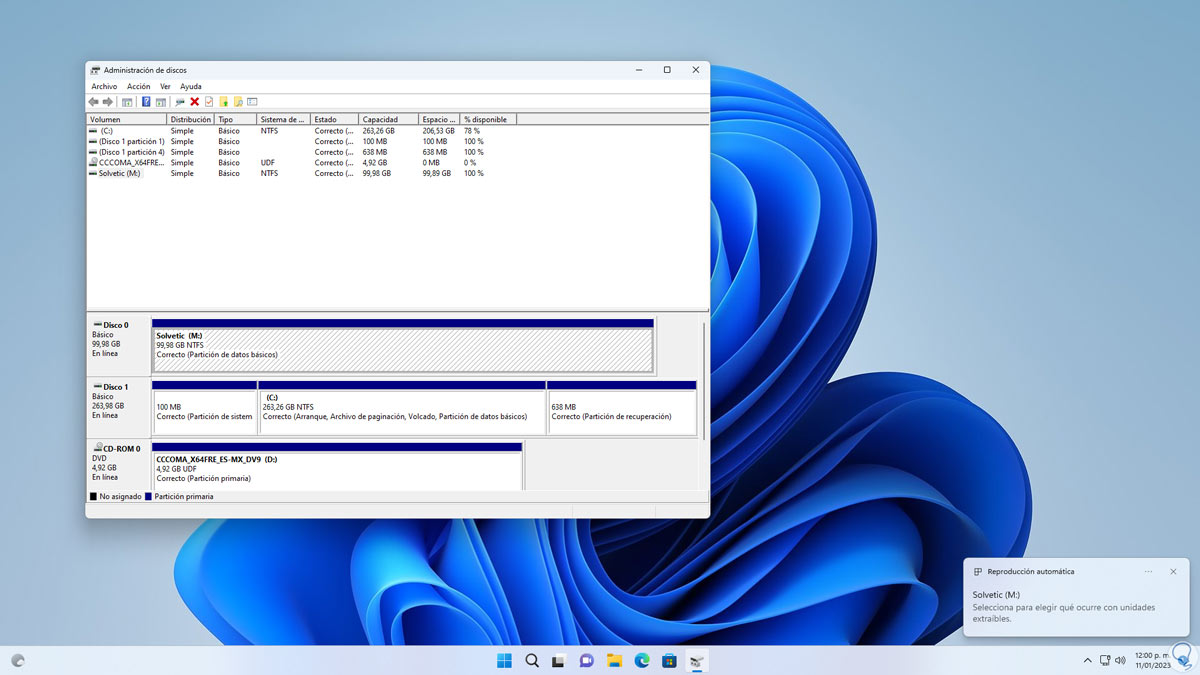
We confirm the operation and we will see the letter change applied:
step 8
After this we can open the hard drive to validate that the access denied does not appear:
3 Check Windows disk errors
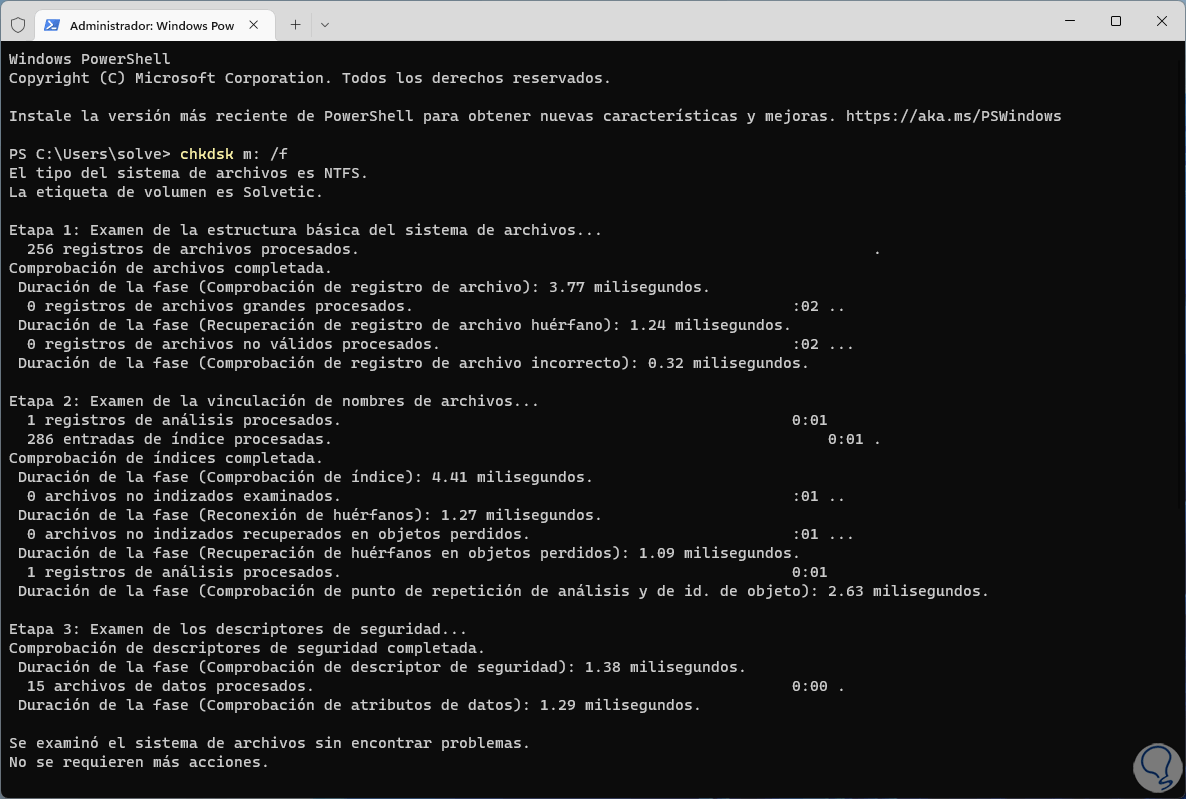
From the terminal we can use the CHKDSK (Check Disk) command to run an analysis of the disk with error, this command analyzes the metadata of the NTFS file system and the file system of the indicated volume to search for logical and physical errors.
Step 1
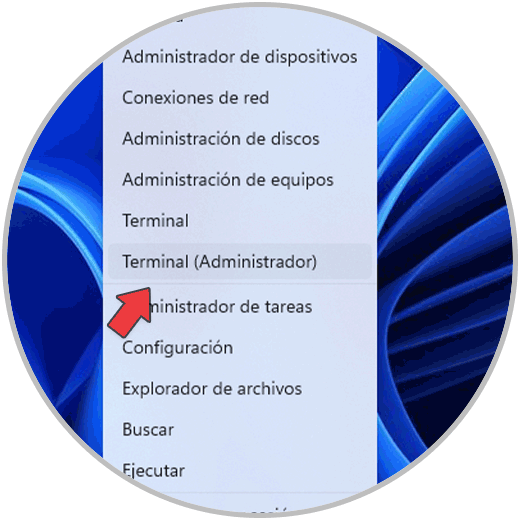
For its use we open the terminal as administrator.
Step 2
In the console we execute:
chkdsk drive_letter: /f
Step 3
Press Enter to see the result:
Step 4
Access the disk:

4 Format Windows disk
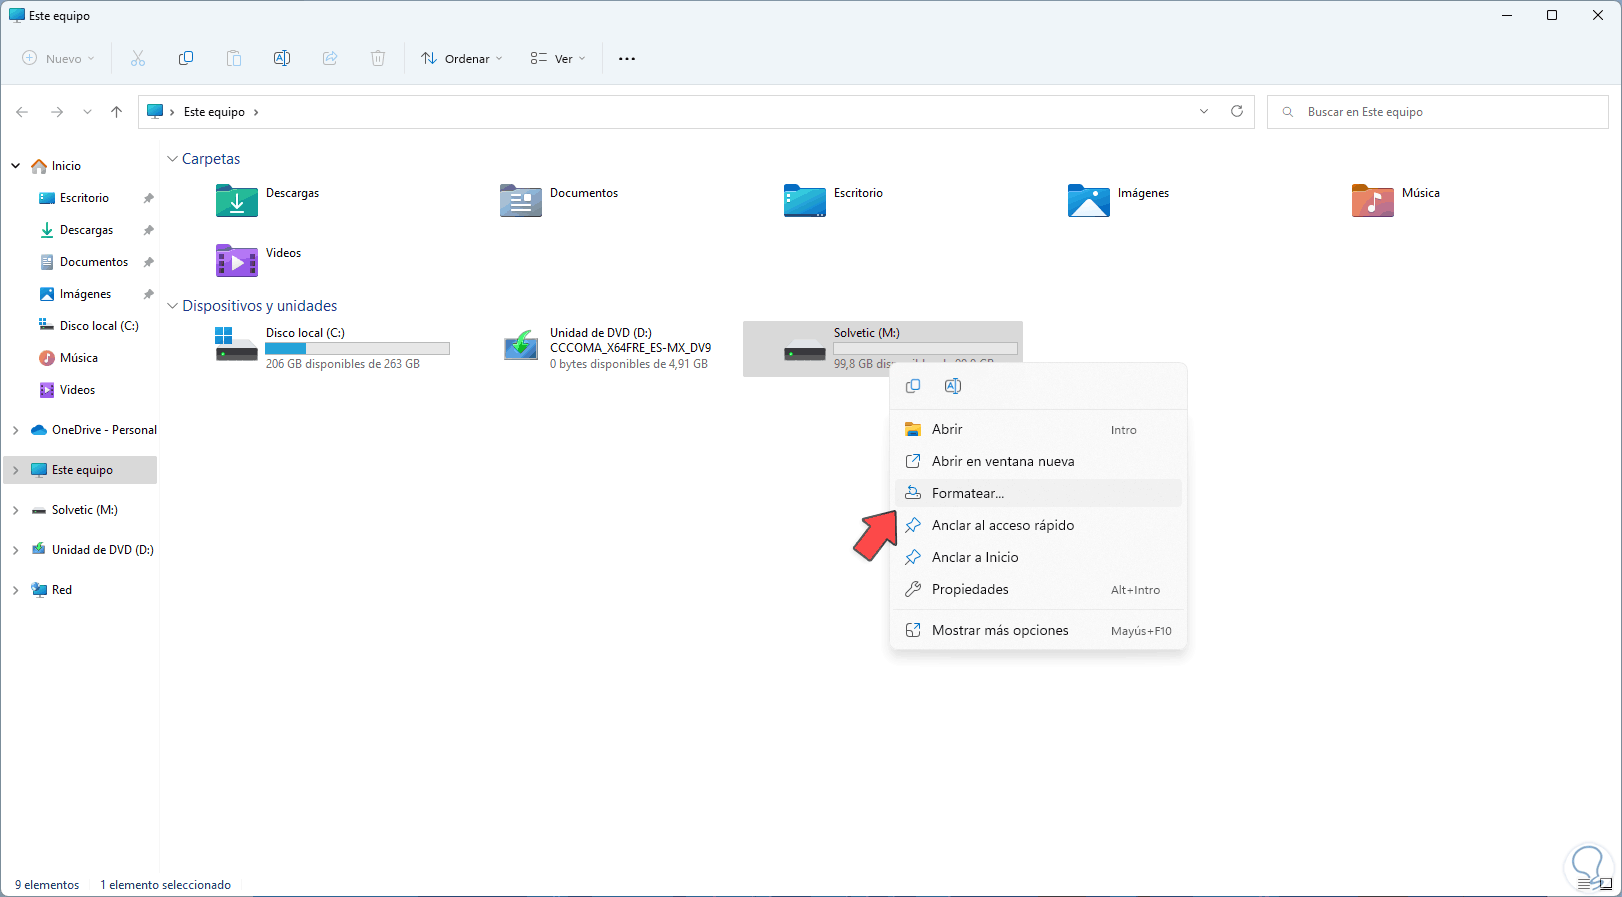
Finally we can format the drive to make it fully usable, we open File Explorer.
Step 1
We right click on the disk with error and select "Format":
Step 2
The following will open:
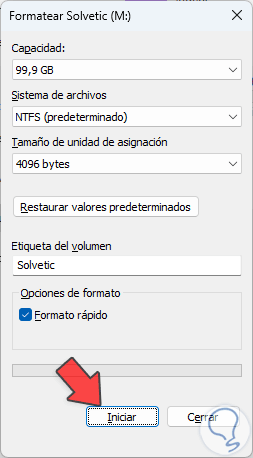
Step 3
We define the parameters such as:
- File system to be used (NTFS, FAT32, ExfAT)
- We will see the capacity of the hard drive
- We can adjust the allocation unit based on the selected system
- Name assignment (label) to identify the unit
- Apply or not the quick format
Step 4
We click on "Start" and we will see the following:
step 5
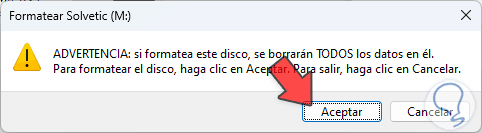
Confirm the process to apply the format:
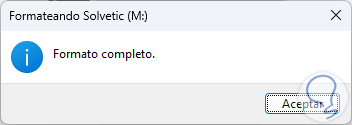
step 6
Access the hard drive to confirm that the error is no longer present:
We see how each of these options is ideal for correcting the access denied error and having the freedom to work on the hard drive..