One of the most used applications through the times for the creation and editing of professional presentations has been PowerPoint which has been evolving integrating new and better functions and features not only of transition but of presentation and format of slides . One of the simplest ways but that generate a positive visual impact in a presentation is the inclusion of edges to the slide to highlight an idea or simply to represent the data in a much more structured way ..
Being able to customize our slides allows us to create more creative compositions than the basic ones that we can find a priori. Both the content and the form are vital to attract attention when we show a PowerPoint presentation as it will reflect to a greater or lesser extent the effort placed. That's why a trick as simple as adding borders and frames as modifying the bottom of a slide can give us differentiating points. TechnoWikis will explain how we can apply a border or frame to a PowerPoint presentation. This process applies to both the 2016 edition and the new 2019 edition of this valuable tool.
1. Add a border to a slide using a shape outline in PowerPoint 2019, 2016
Step 1
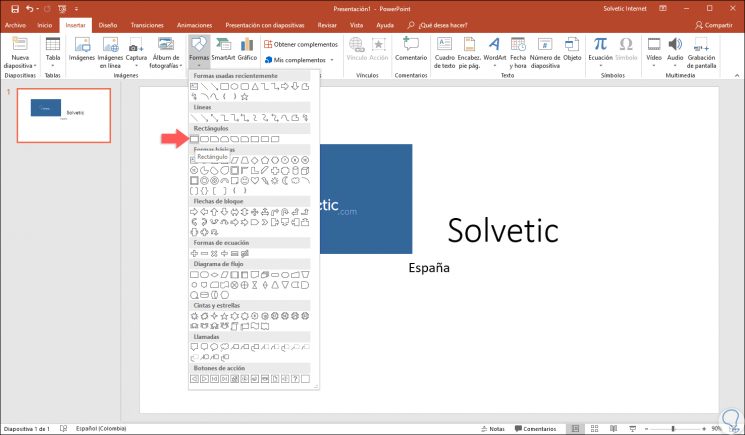
To start this process, we must access the PowerPoint presentation and there select the slide in which the border will be added, we must go to the “Insert†menu and in the “Illustrations†group click on the “Forms†option and a Useful option is to select a rectangle that suits the needs in the "Rectangles" section:
Step 2
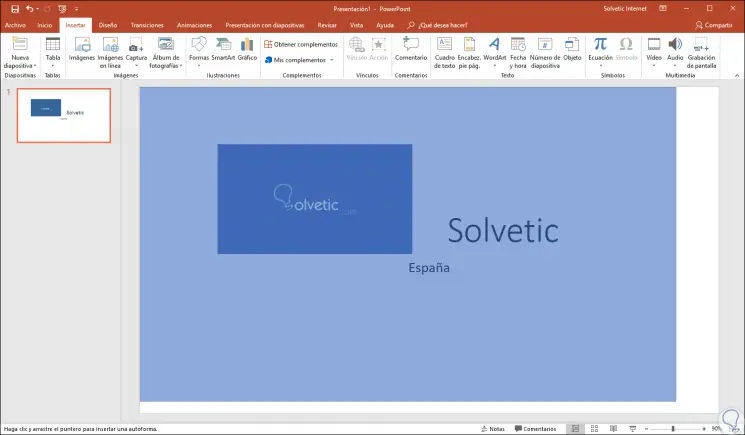
When clicking there, a cross-shaped symbol will appear, we must click on it with the mouse and place this cross symbol in the upper left corner of the slide and then simply press and drag the mouse to draw a rectangle shape throughout the slide, we can release the mouse to finish applying the rectangle on the slide:
Step 3
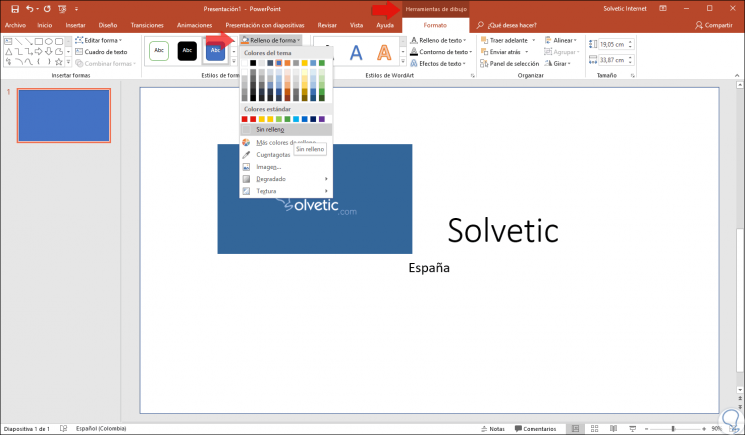
When you do this, we will see a new menu called “Drawing Tools†and there it will be necessary to click on the “Shape Fill†line and select the “No Fill†option since automatically the entire slide will be covered with the default color of the rectangle :
Step 4
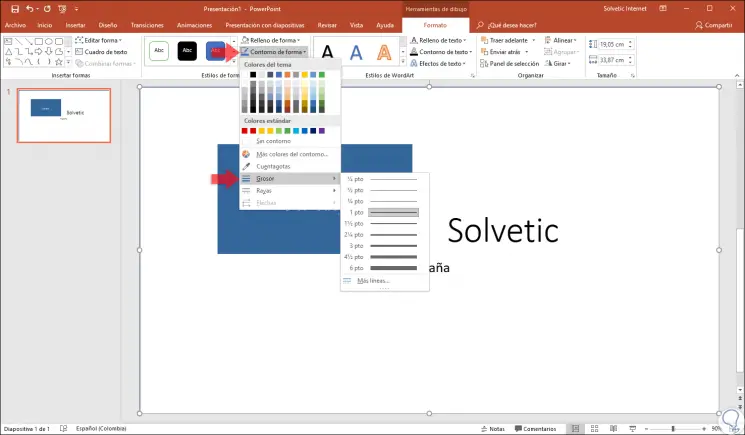
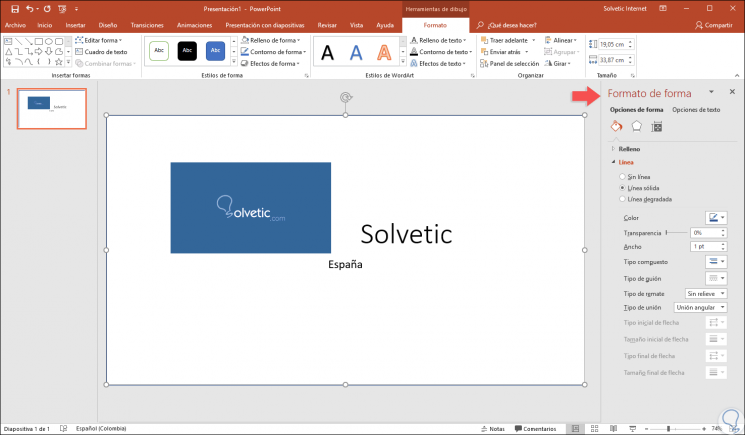
Once this option is selected, it will be possible to apply a new border style since the rectangle will be applied with a thin line and the objective is to highlight the border contour, to establish a different border click on the “Shape contour†section and there we click on the "Thickness" section and the multiple alternatives to be used for the thickness and style of the border will be displayed in PowerPoint:
Step 5
We can see that at the bottom we find the option “More lines†and clicking there on the right side of the slide will display a full menu of options to apply formats and filters to the edges:
Step 6
There we can specify parameters such as:
- Type of script and many more options.
Step 7
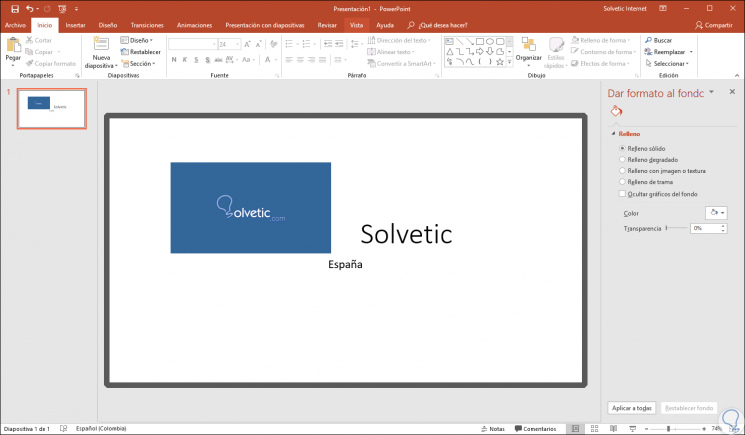
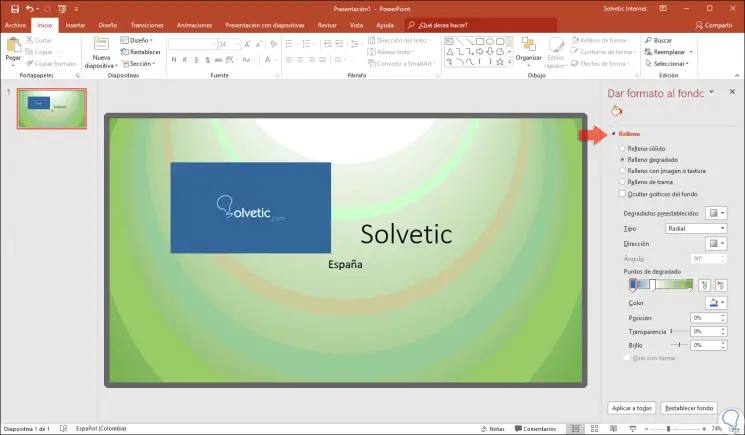
Once we define the best option for the border, we will see a new side menu:
Step 8
This menu is intended to configure the fill of the slide in general and we can define gradients, contours and transparencies to use:
Step 9
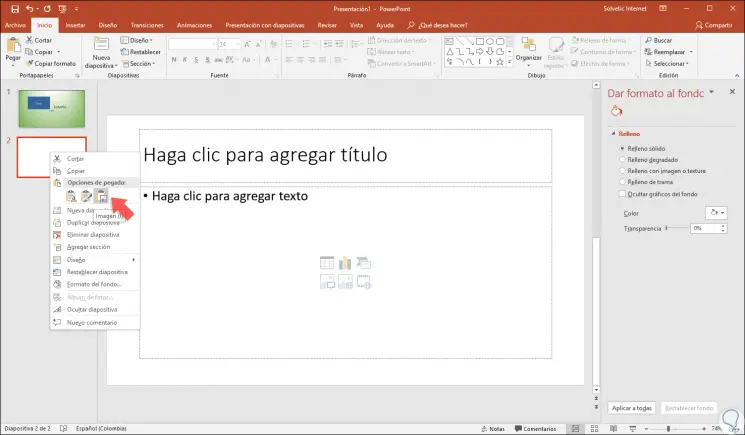
If we want to copy this same format to other slides, we must copy the original slide from the “Start / Copy†menu and then right click on the destination slide and select “Paste†option:
2. Add a border to a slide using the Bing search engine in PowerPoint 2019, 2016
This option allows us to add much more professional borders which are hosted on the network, remember that PowerPoint integrates a function that allows you to upload images from the Internet through the Bing search engine.
Step 1
To do this, we go to the “Insert†menu and there we click on the “Online images†option:
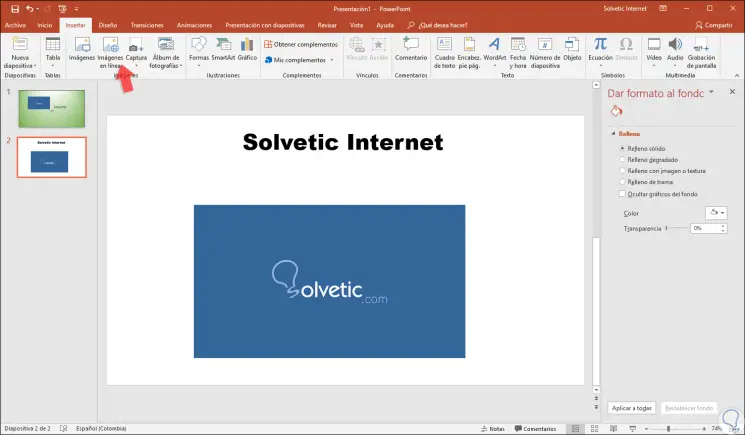
Step 2
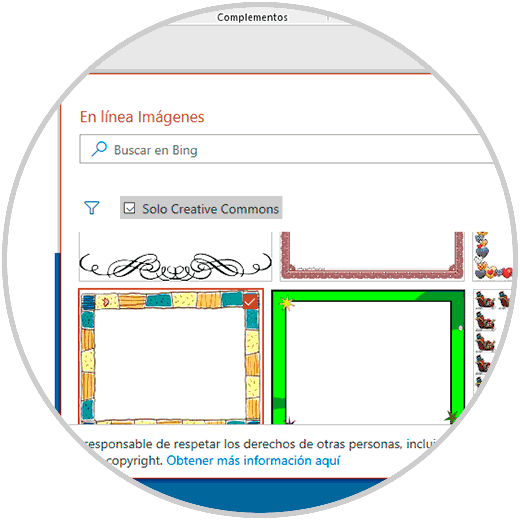
In the pop-up window we will enter the keywords about the type of borders we want to use for the slide:
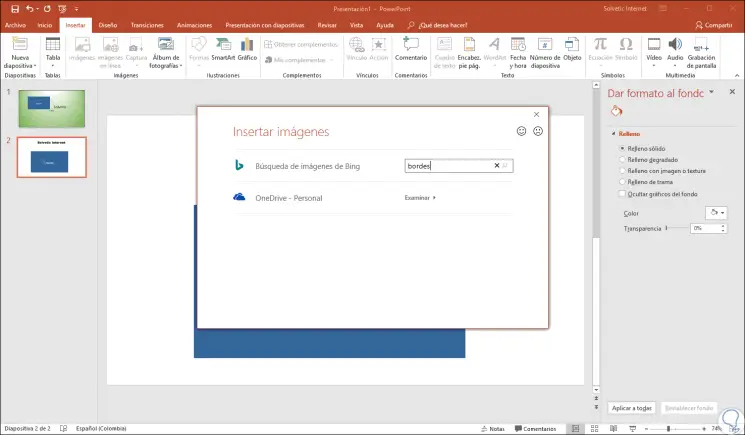
Step 3
Now press the Enter key or click on the magnifying glass icon to start the process of searching for edges in the network. There we select the desired border and click on the "Insert" button.
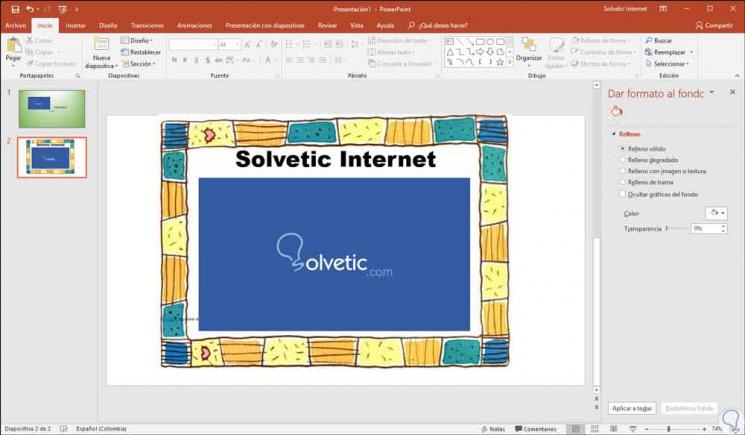
Step 4
Now we just have to adjust the new border as needed on the slide and so we will have a new style for the current presentation:
As we can see, there are these two options to add a border to our PowerPoint 2016 or 2019 presentation and thus look much more professional..