Windows 11 has hundreds of processes and services that allow everything in Windows 11 to work properly, but one error that some users run into is the “Procedure entry point not found” error..
It is important to know that in an operating system, software entry points refer to a point at which process control is transferred from the operating system directly to the program. In the event that an entry point is not found, this indicates that the file necessary to transfer the process is damaged or not present.
An advantage of this error in Windows is that the message has the syntax "The entry point of the procedure FILENAME could not be located in the dynamic link library msvcrt.dll" which tells us the source or where the process is missing. Usually the error is linked to DLL files which is a dynamic link library file and is a shared resource available to applications..
With them, the system does not install a copy in each program folder, but instead uses a shared library of common files in order to optimize performance.
TechnoWikis will explain some methods to correct this error in Windows 11..
To stay up to date, remember to subscribe to our YouTube channel!
SUBSCRIBE ON YOUTUBE
1 Procedure Entry Point not found Windows 11 Solution by installing C++ Redistributable
This refers to a set of Visual C++ Redistributable packages which are responsible for installing the runtime components necessary to run C++ applications compiled with Visual Studio 2015 but which, being based on them, most applications can give rise to the mentioned bug, the packages are installed with the runtime components for the C Runtime (CRT), Standard C++, MFC, C++ AMP, and OpenMP libraries.
Step 1
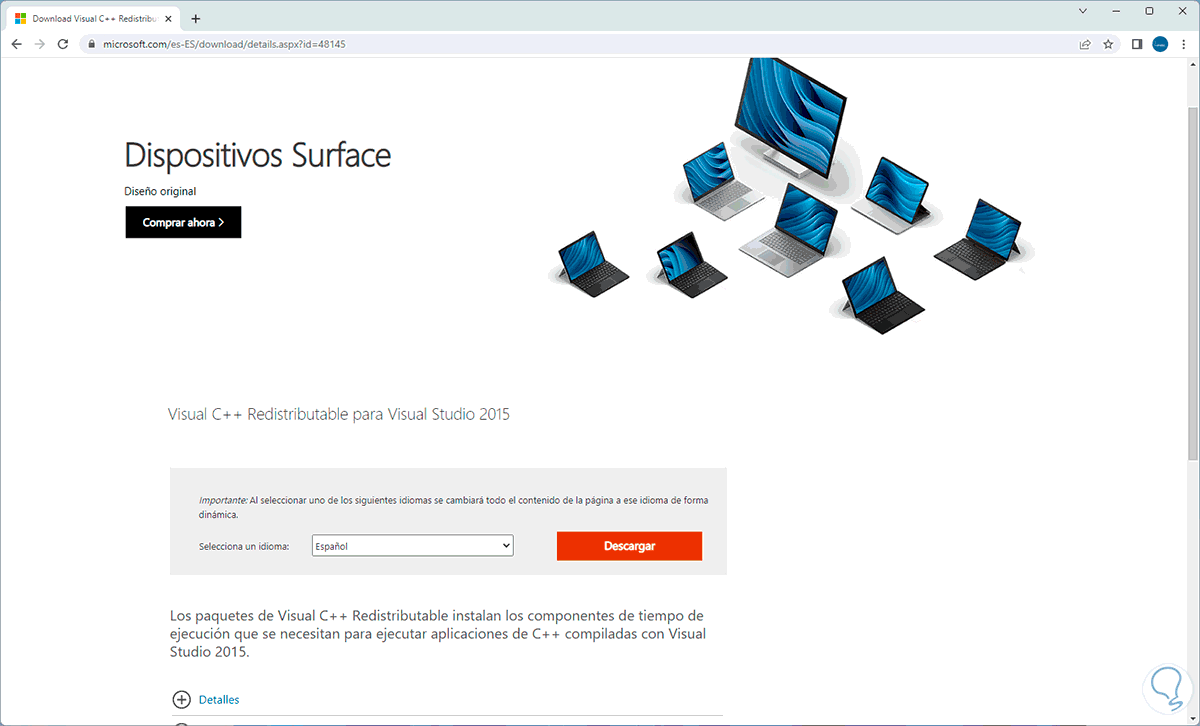
We can download these packages from the following link:
Visual C++ Redistributable
Step 2
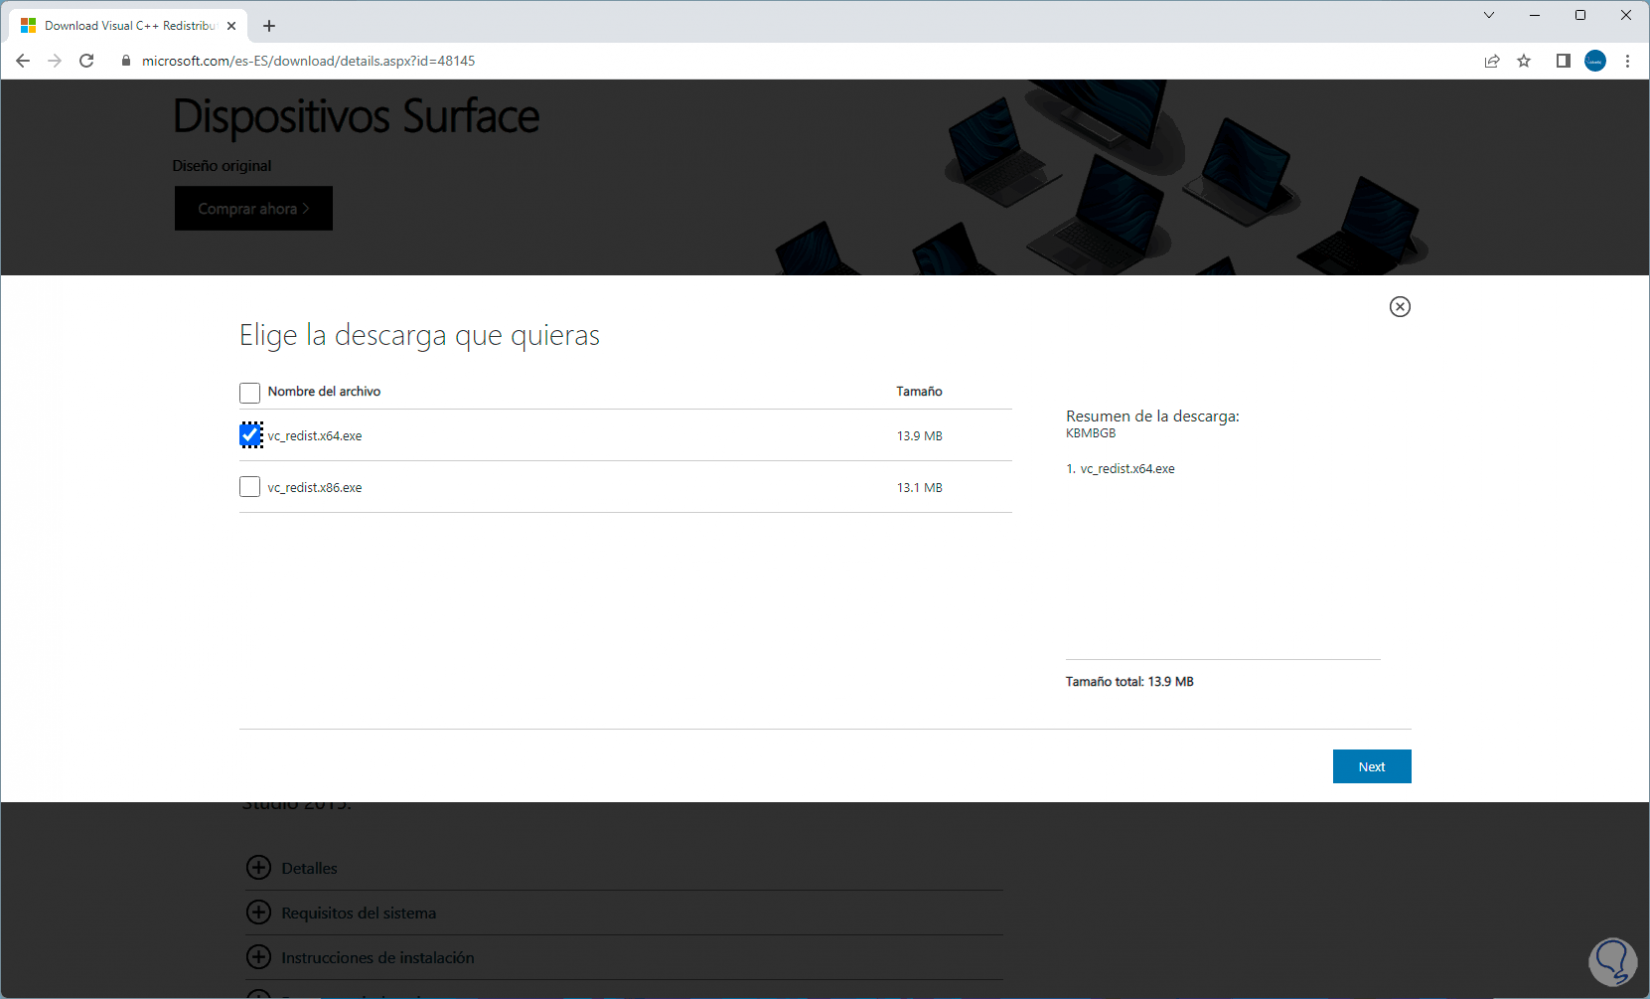
There we click on Download and then we download the file according to the architecture of the PC, 32 or 64 bits:
Step 3
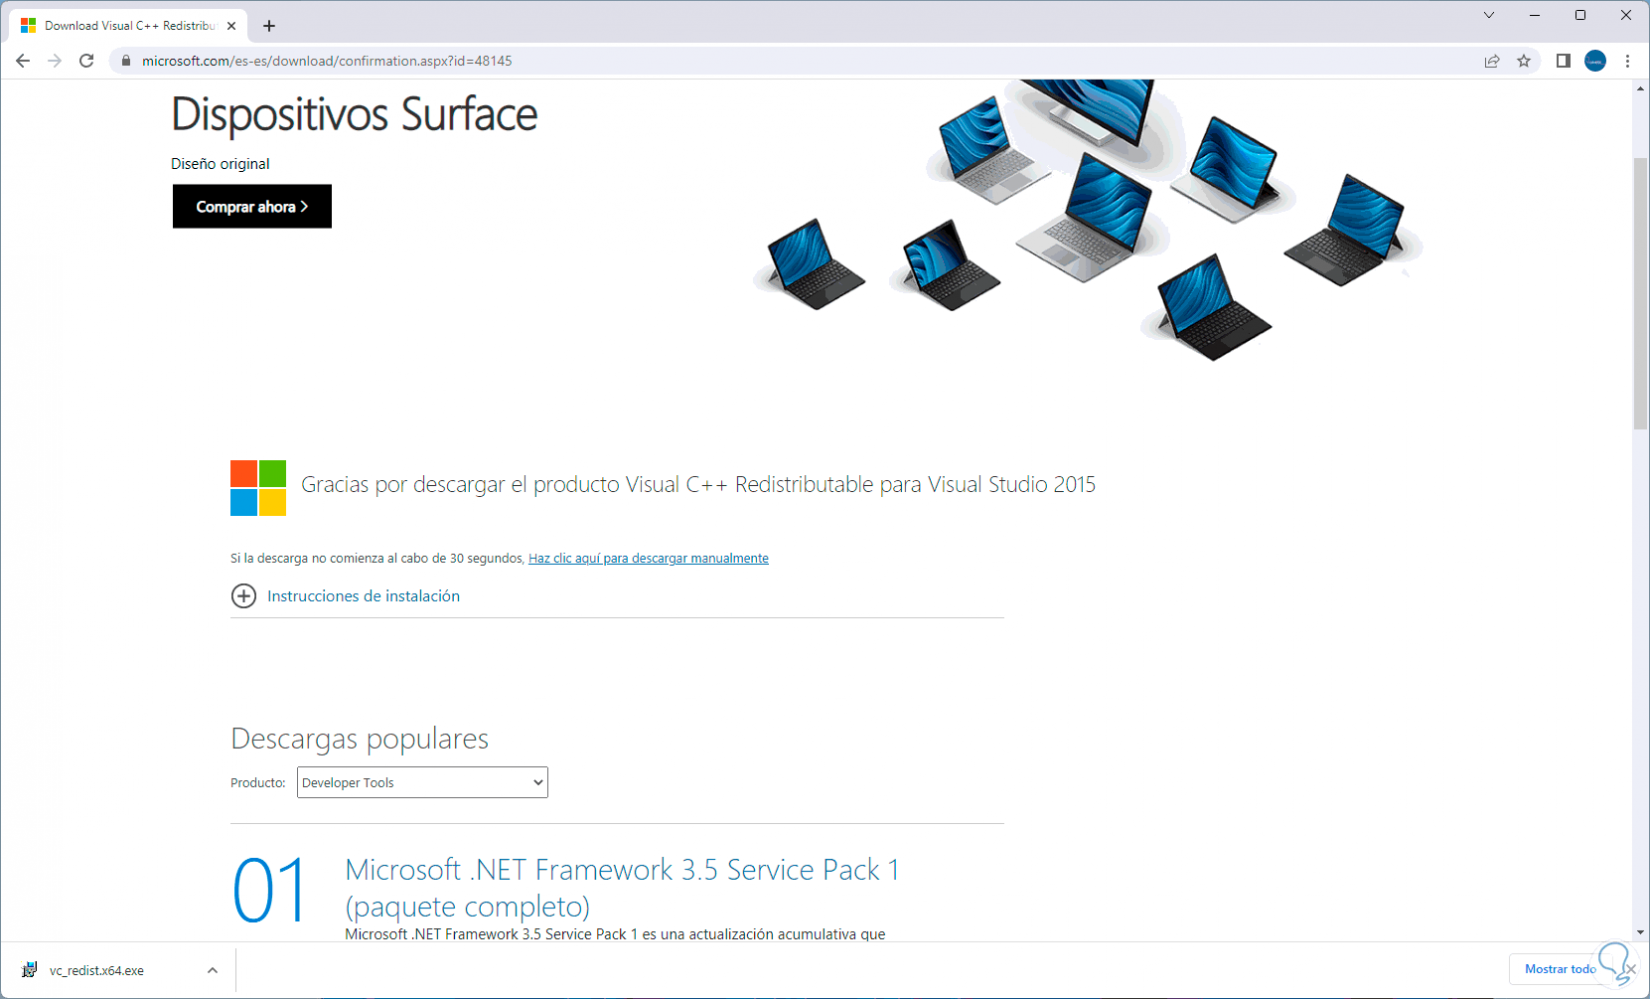
We wait for the download to finish:
Step 4
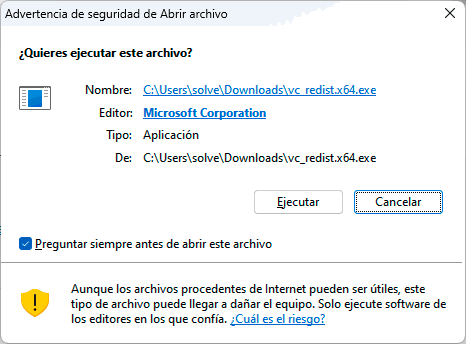
Run the file and we will see the following window:
step 5
In the pop-up window we accept the license:

step 6
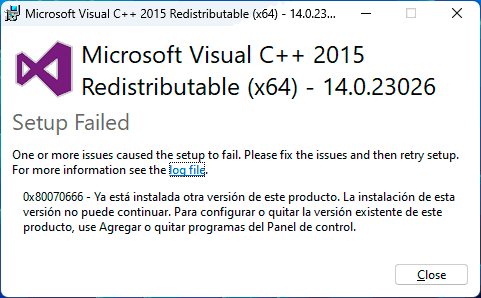
You may see an installation error:
step 7
To validate this, open the Controller Panel:
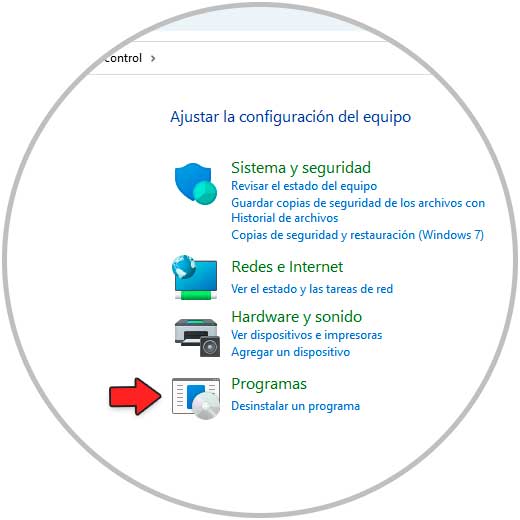
step 8
We go to "Programs - Programs and features":
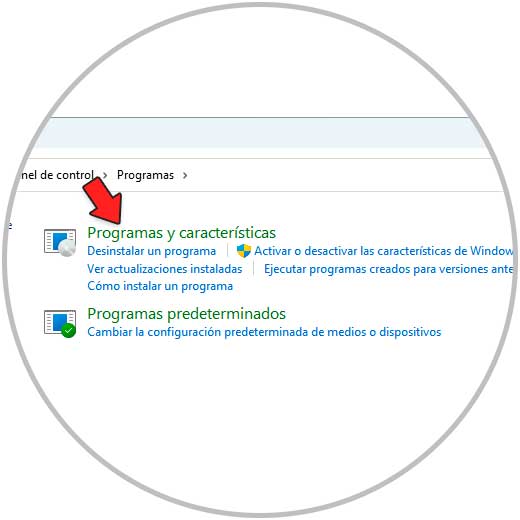
step 9
There it is possible that Microsoft Visual C++ has already been installed via Windows Update:

For this reason, the error appears because the equipment already has the packages.
2 Procedure Entry Point not found Windows 11 Solution from Terminal
From the terminal it is possible to execute a command to carry out a comprehensive analysis of the NTFS file system.
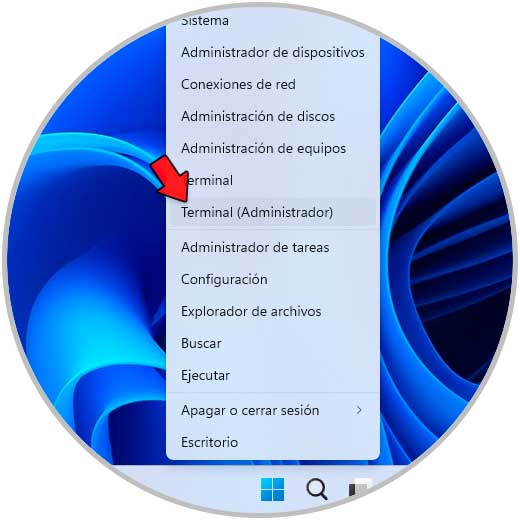
Step 1
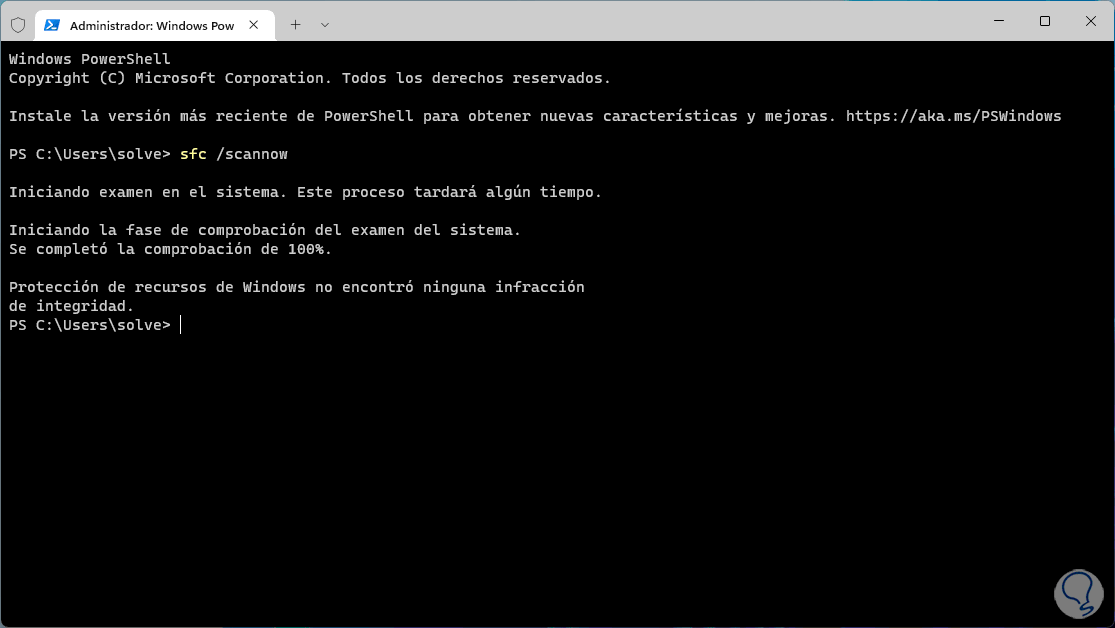
To achieve this we open the Terminal as administrator:
Step 2
Execute:
sfc /scannow

Step 3
Wait for the process to finish:
Note
It is possible to execute the following commands if desired:
- DISM.exe /Online /Cleanup-image /Scanhealth
- Dism.exe /Online /Cleanup-Image /CheckHealth
- DISM.exe /Online /Cleanup-image /Restorehealth
- Dism.exe /Online /Cleanup-Image /startComponentCleanup
Step 4
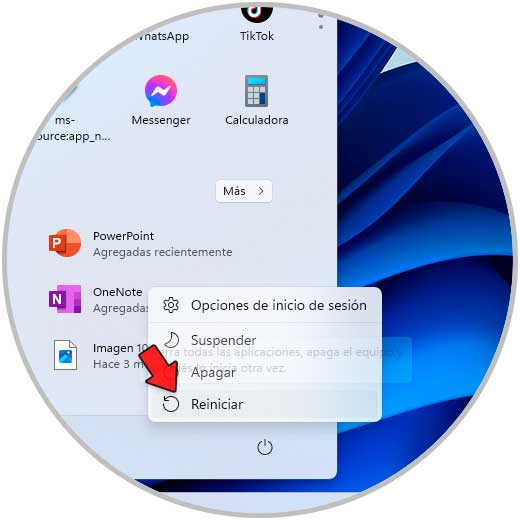
Once this is done, restart Windows 11:
step 5
Wait for Windows to restart to verify that the error has been fixed:

3 Procedure Entry Point not found Windows 11 Solution installing plugins
At this point we can download a series of Microsoft add-ons which may already be present on the computer thanks to Windows Update but the lack of them can trigger the error.
Step 1
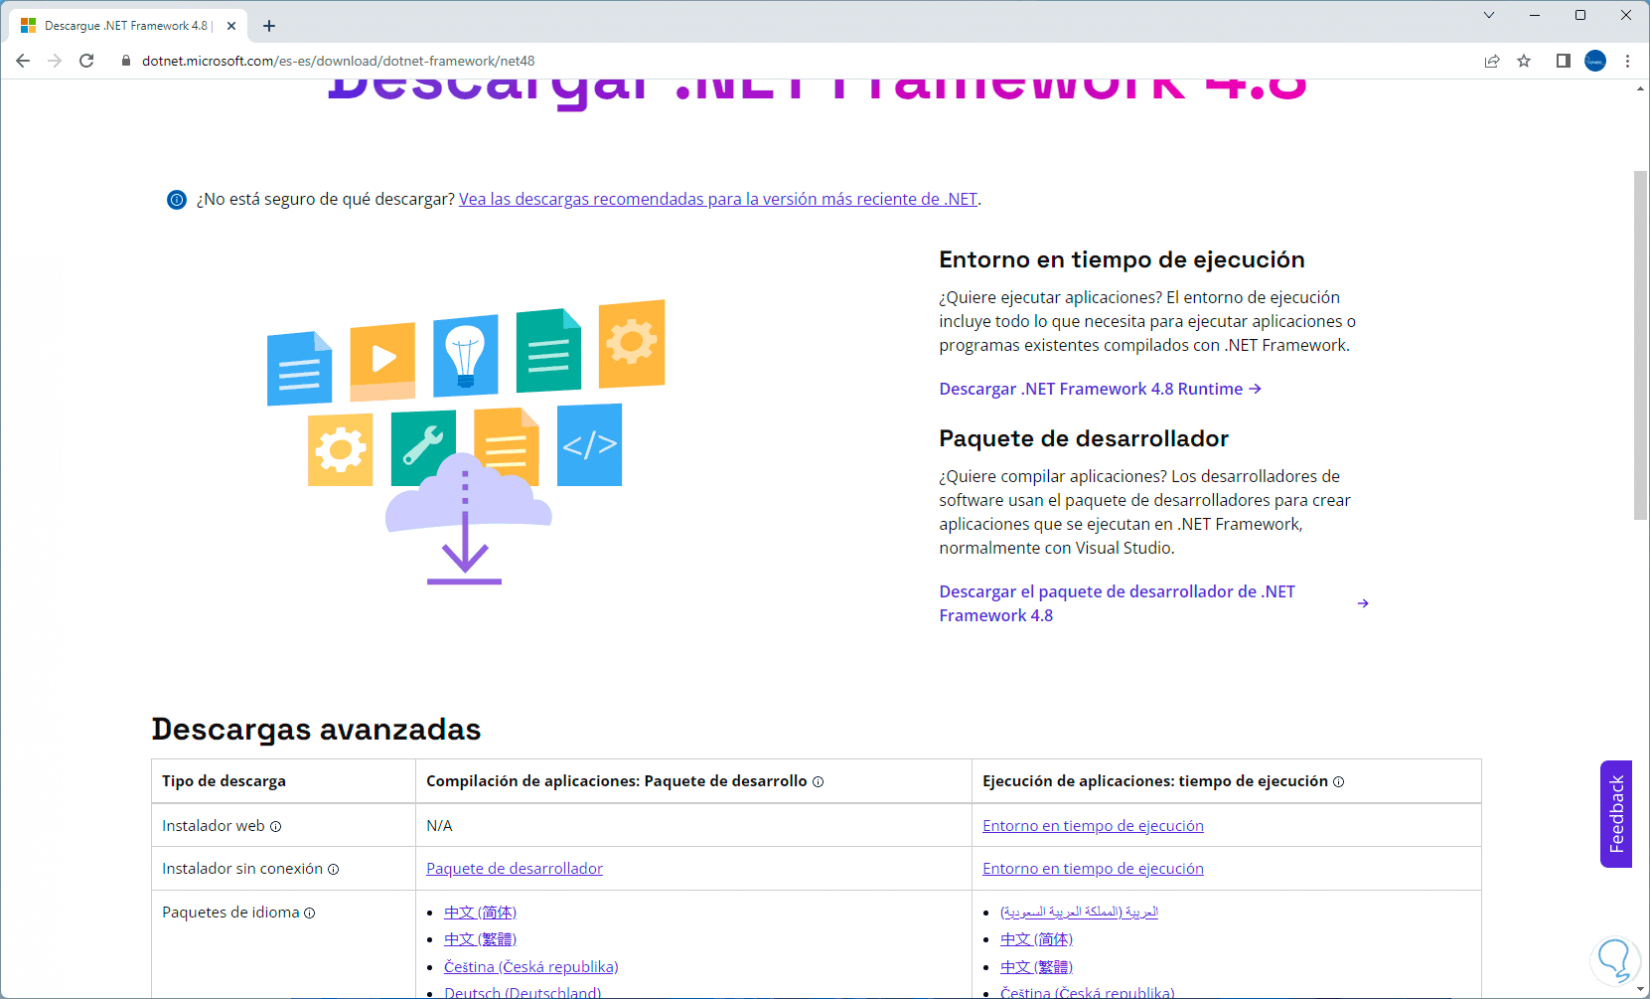
First of all we will go to the URL of the .NET Framework in the following link:
.NET Framework

Step 2
Download the recommended version:
The .Net Framework gives us the tools to create applications and services in the cloud, but in the same way, many of the applications that we open in Windows 11 are based on .Net.
Step 3
We execute the file and follow the steps of the wizard, it is possible that it is already installed on the PC thanks to Windows Update updates:
Step 4
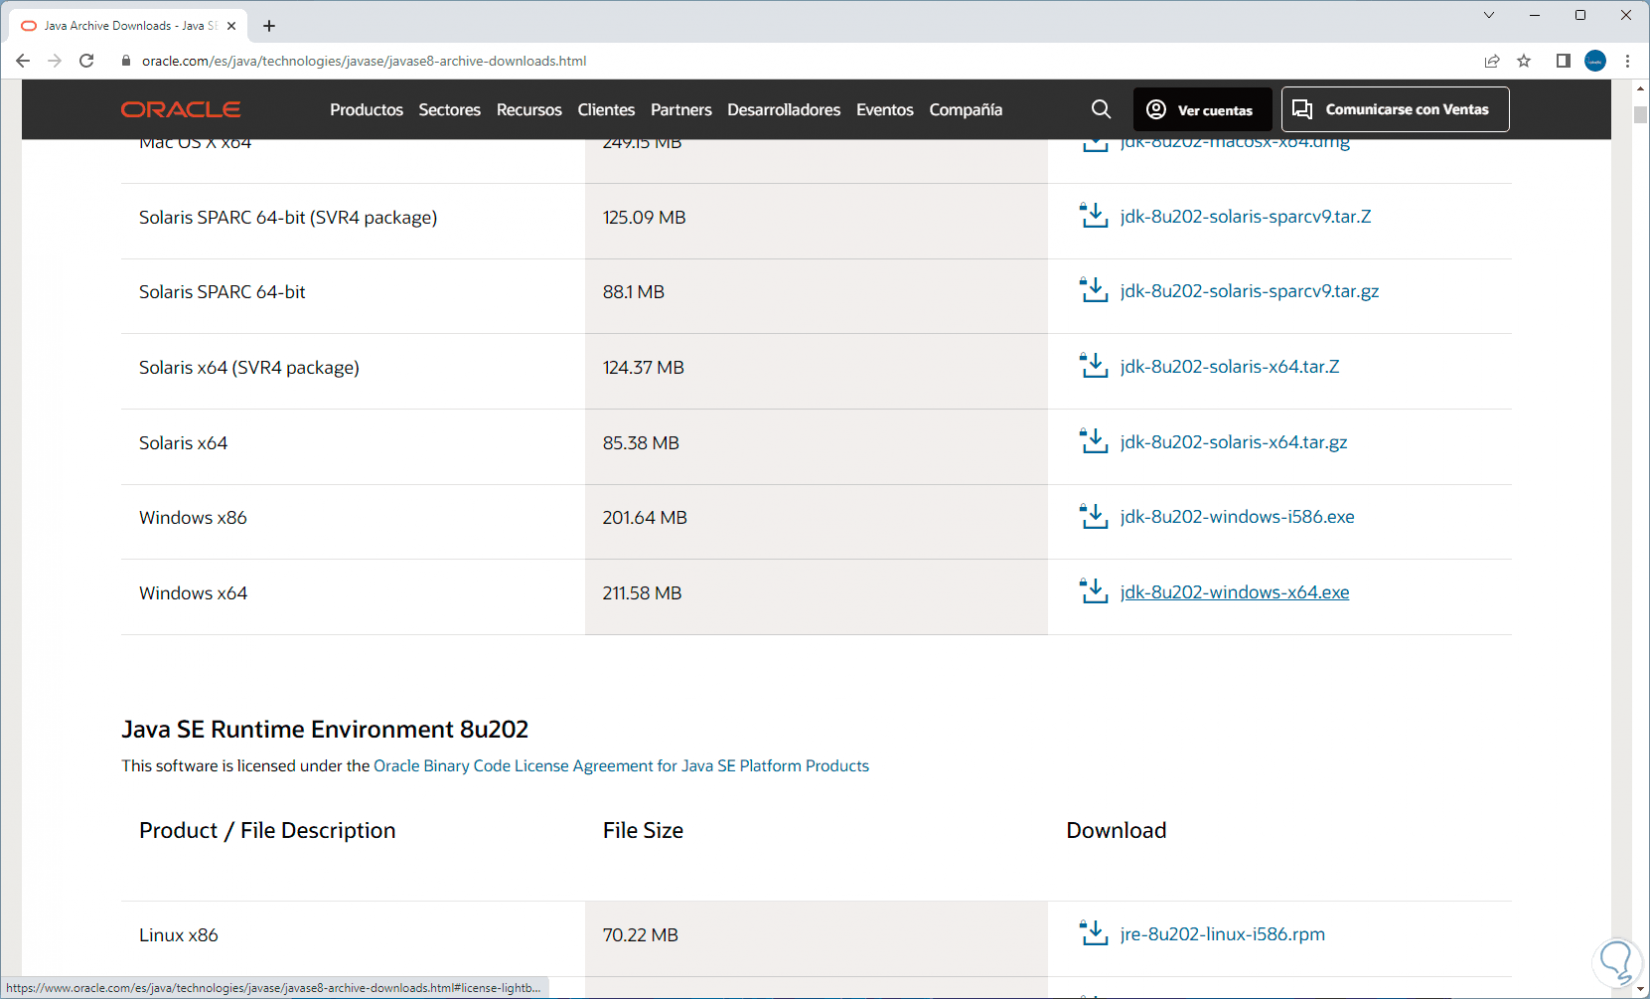
Now we go to the URL of the Java Development Kit or Runtime Environment:
Java
step 5
There we download the Windows version:
step 6
By clicking there we must activate the box to proceed with the download:
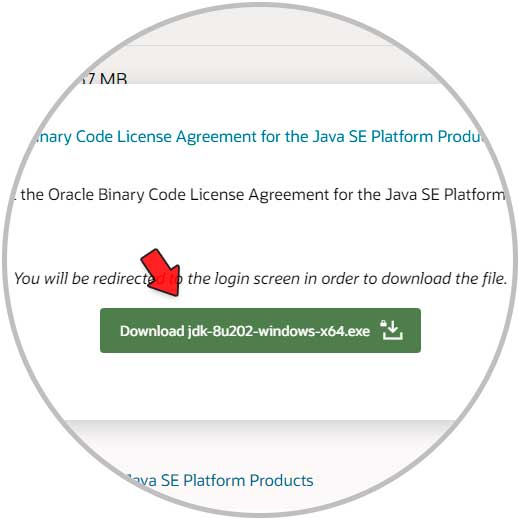
step 7
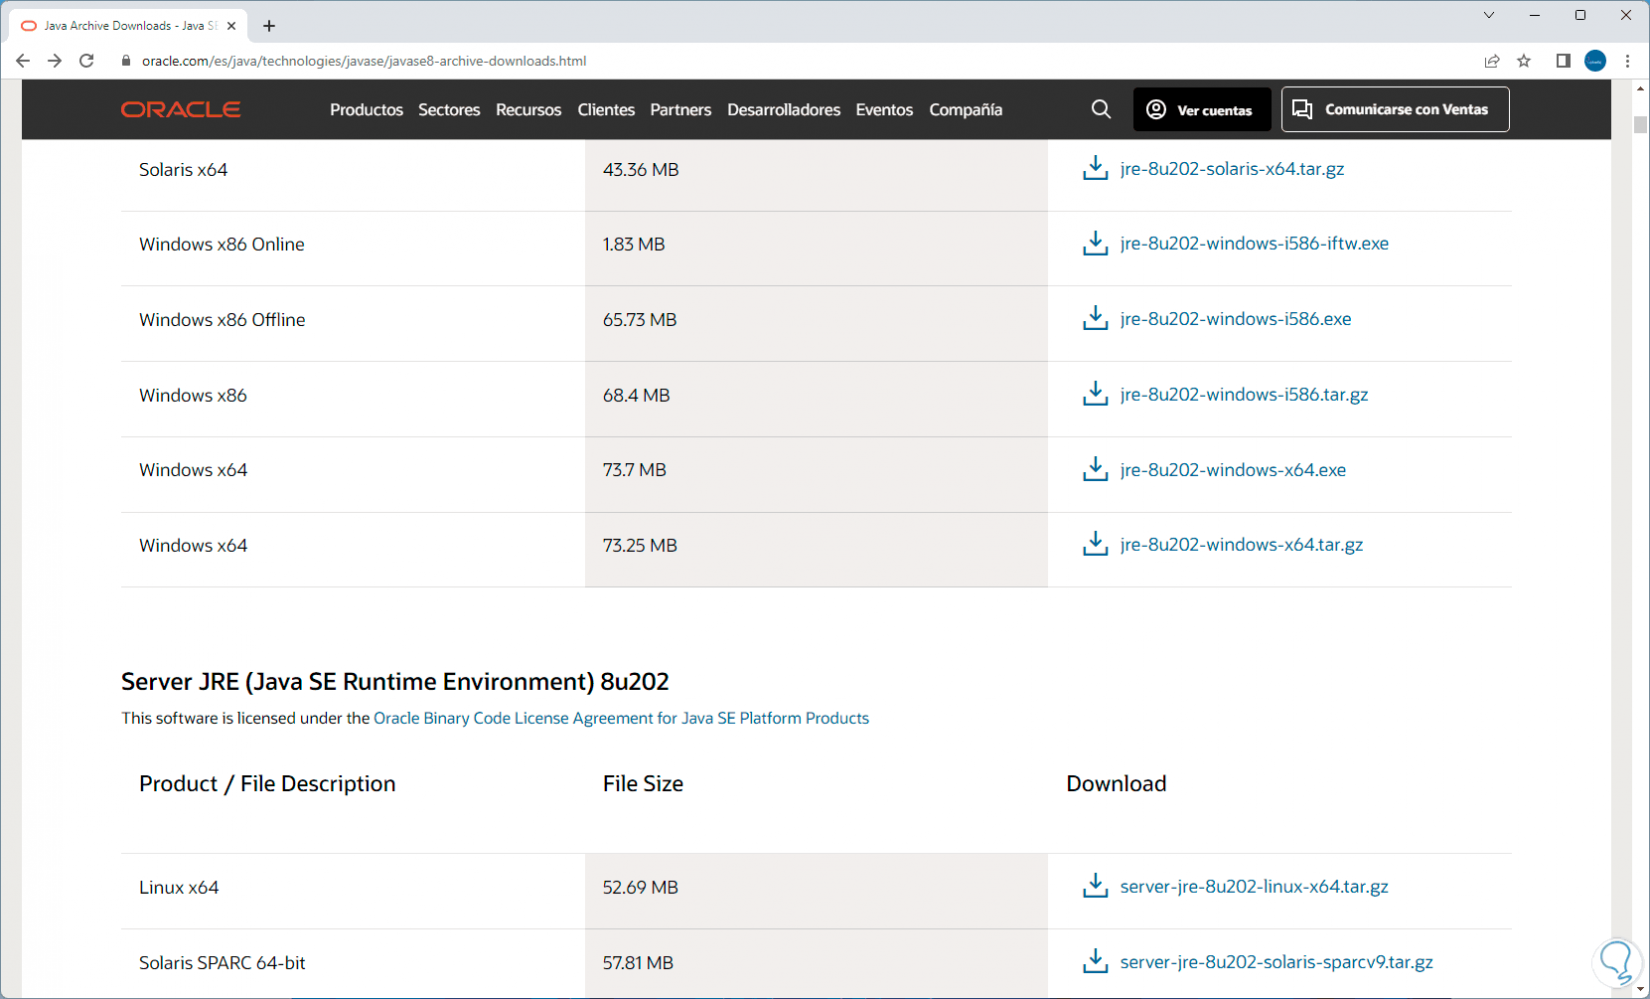
Note: we can download the complete kit or just JRE:
Note
Java login is required.
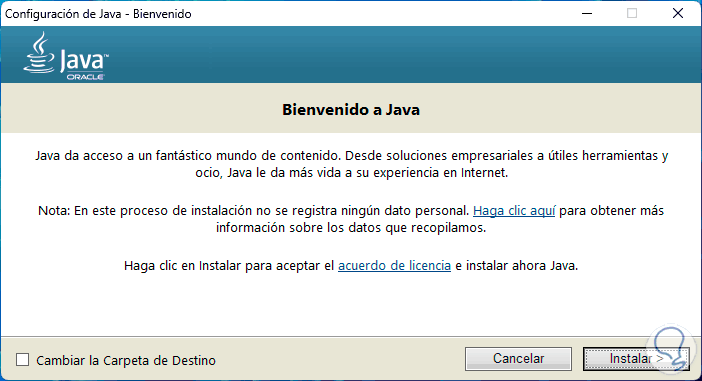
step 8
We execute the file and the wizard will open:
step 9
We click on "Install"
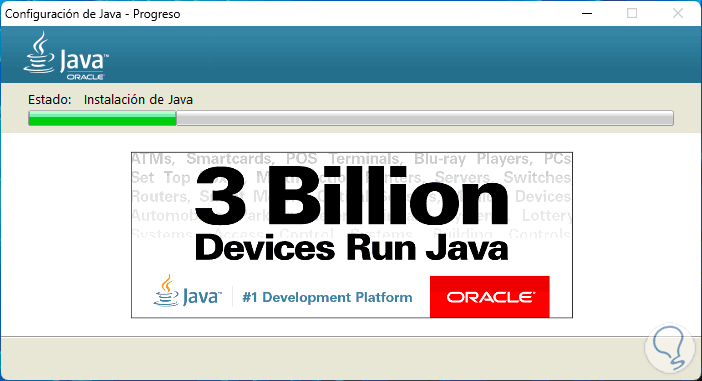
step 10
Then we will see the following:
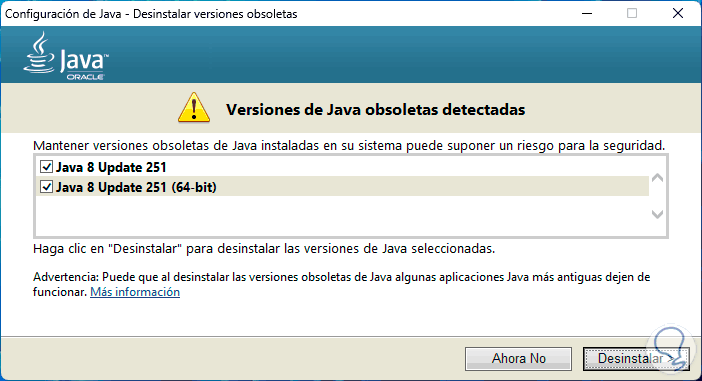
step 11
There we are going to remove old versions of Java, click on "Uninstall" to start this process:
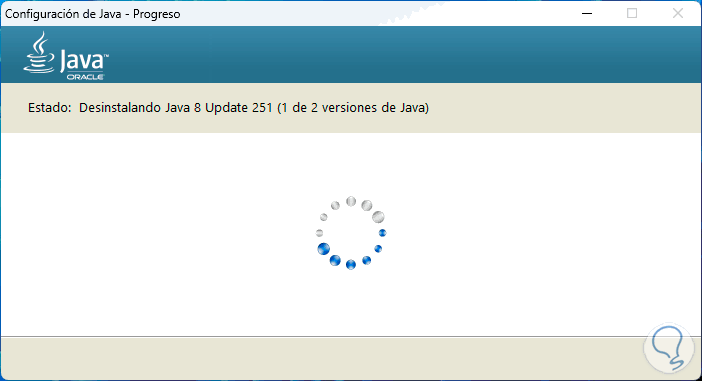
step 12
We will see the following:
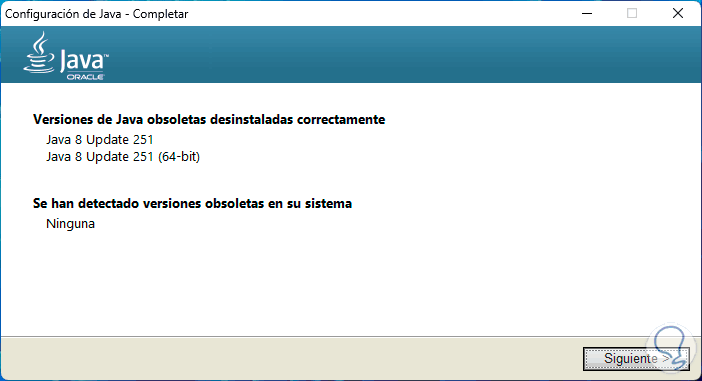
step 13
We click "Next" to complete the process:
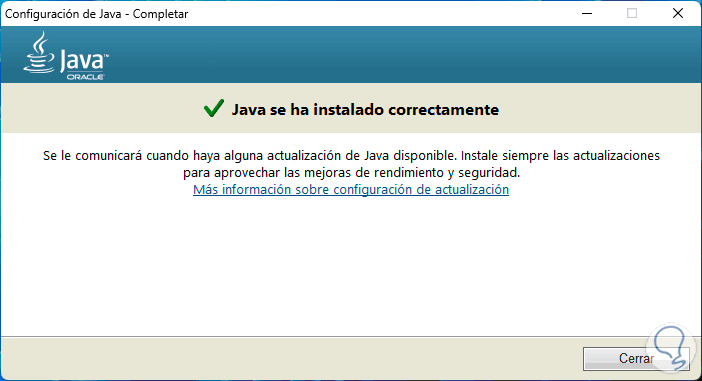
Java is a language in which thousands of programs and applications are created so it becomes essential to have it installed in Windows 11.
step 14
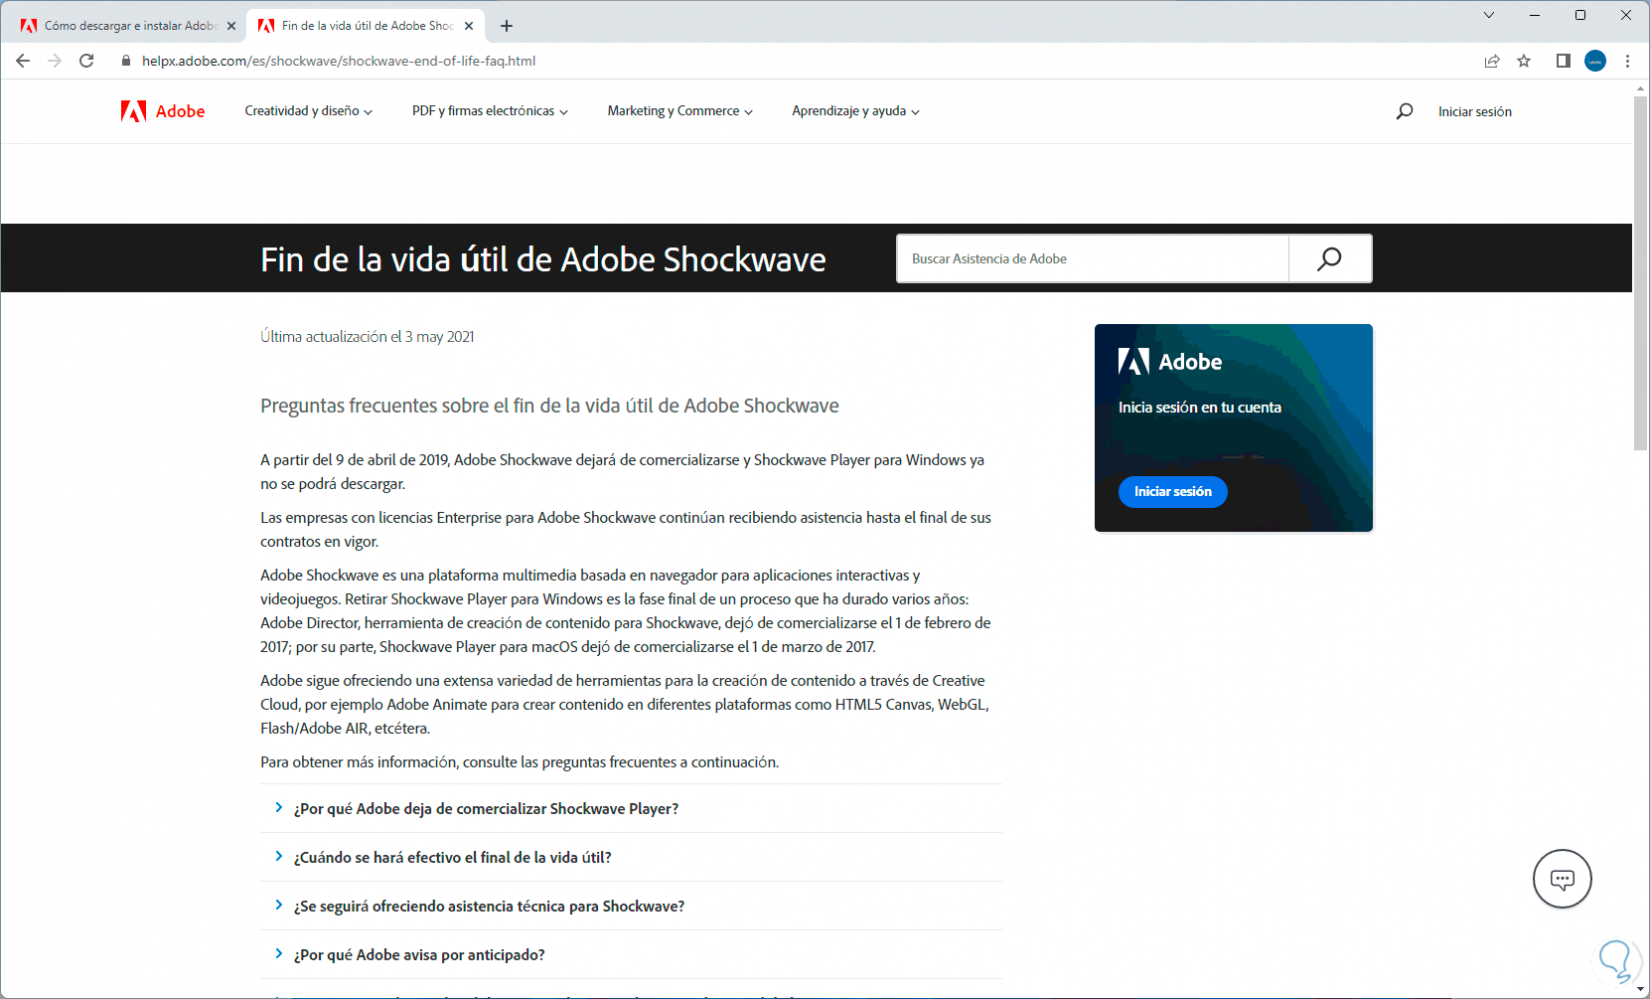
After this we go to the Shockwave URL:
shockwave
Shockwave is part of Adobe and allows you to handle multimedia themes but we validate that it is no longer supported for Windows 11:
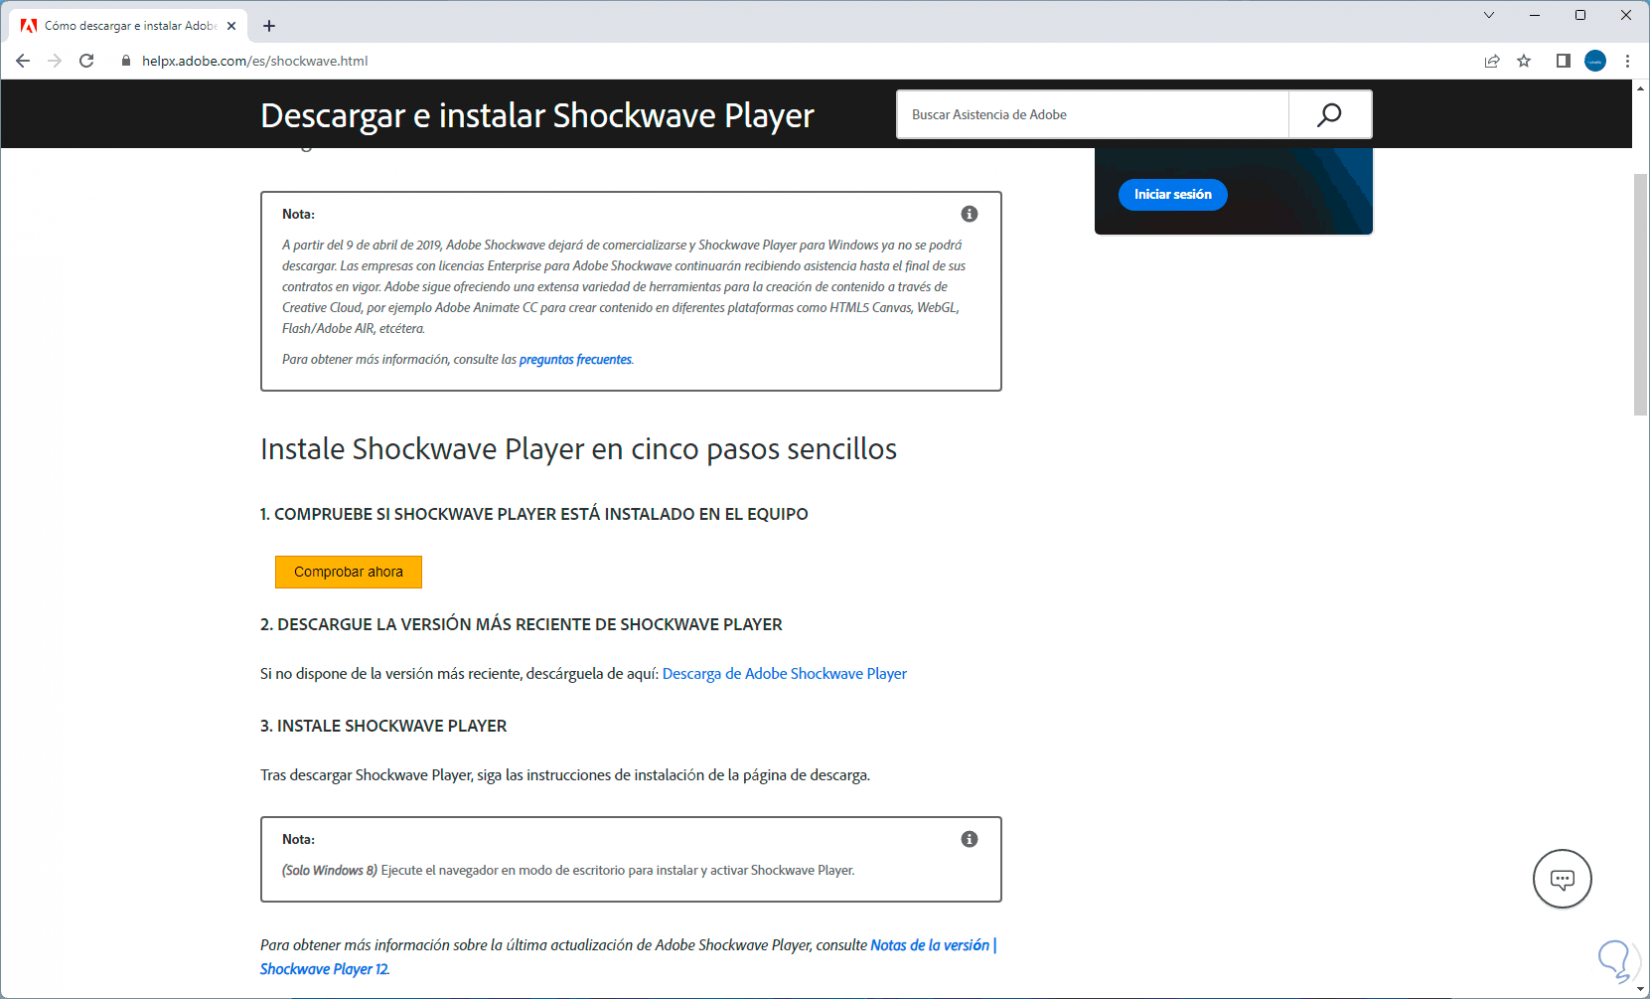
step 15
We can click on the download link to confirm the unavailability:
Now we will go to the Microsoft Silverlight URL:
Silverlight
step 16
Developed by Microsoft, it is a development tool for web and mobile applications, as such Silverlight is a plugin endorsed by the .NET Framework and compatible with multiple browsers, when we go to the URL we will see the following:
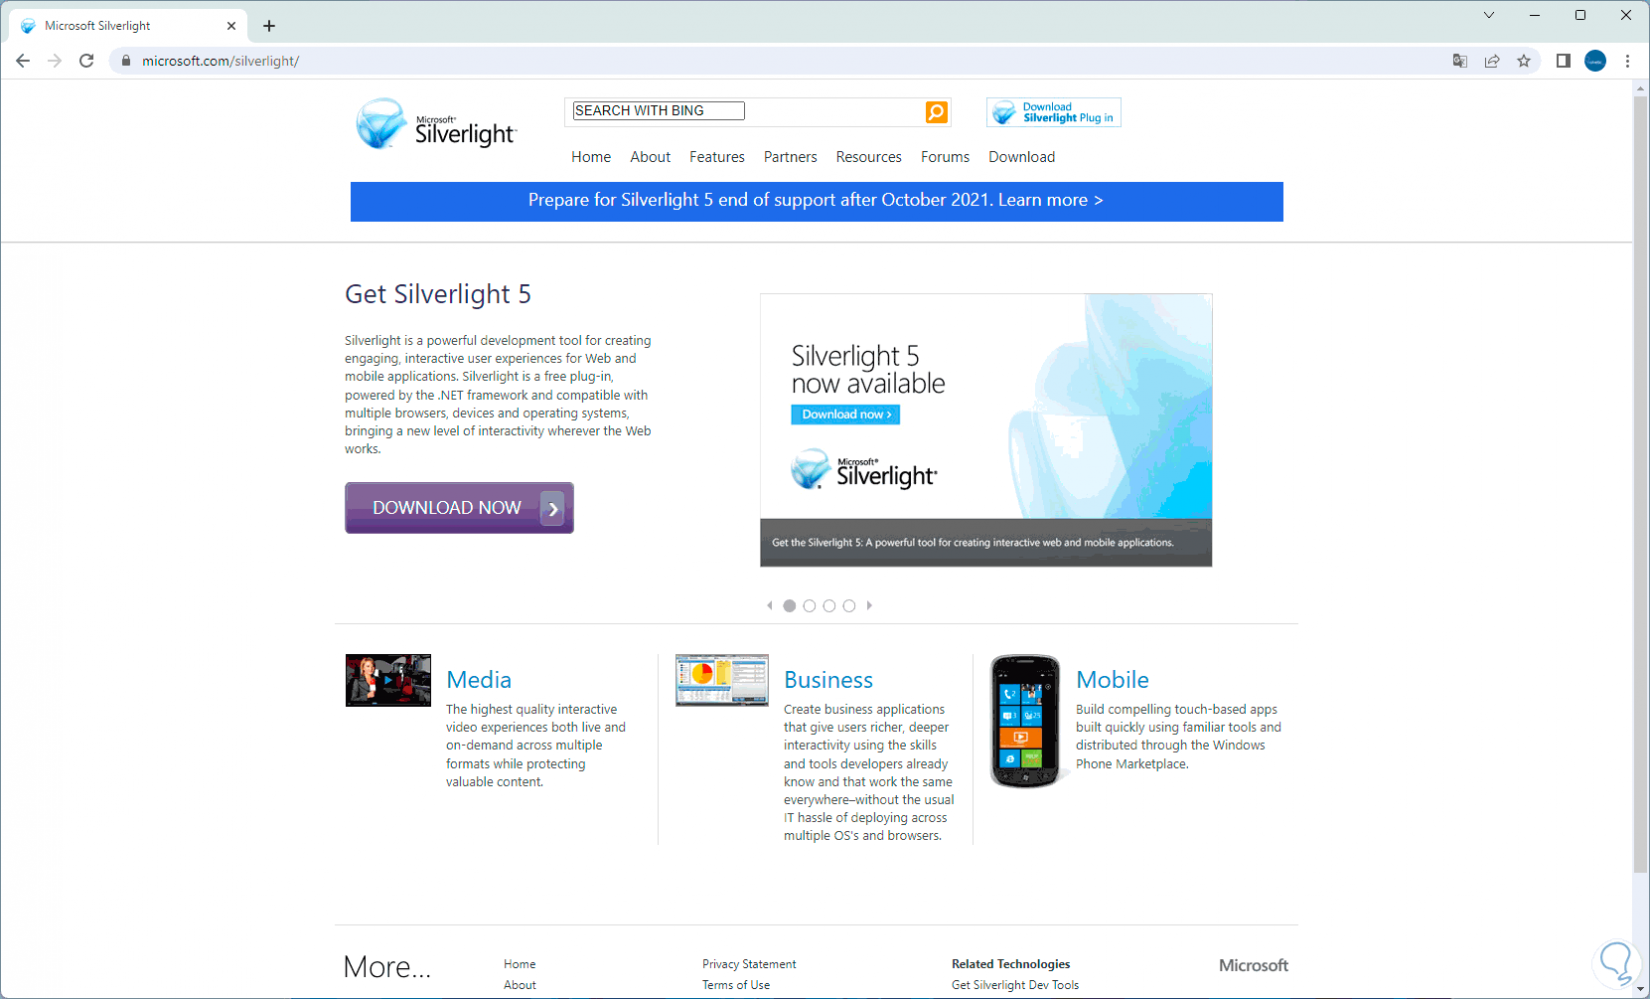
step 17
When clicking on the download button, an error will appear since it is not compatible with Windows 11:
step 18
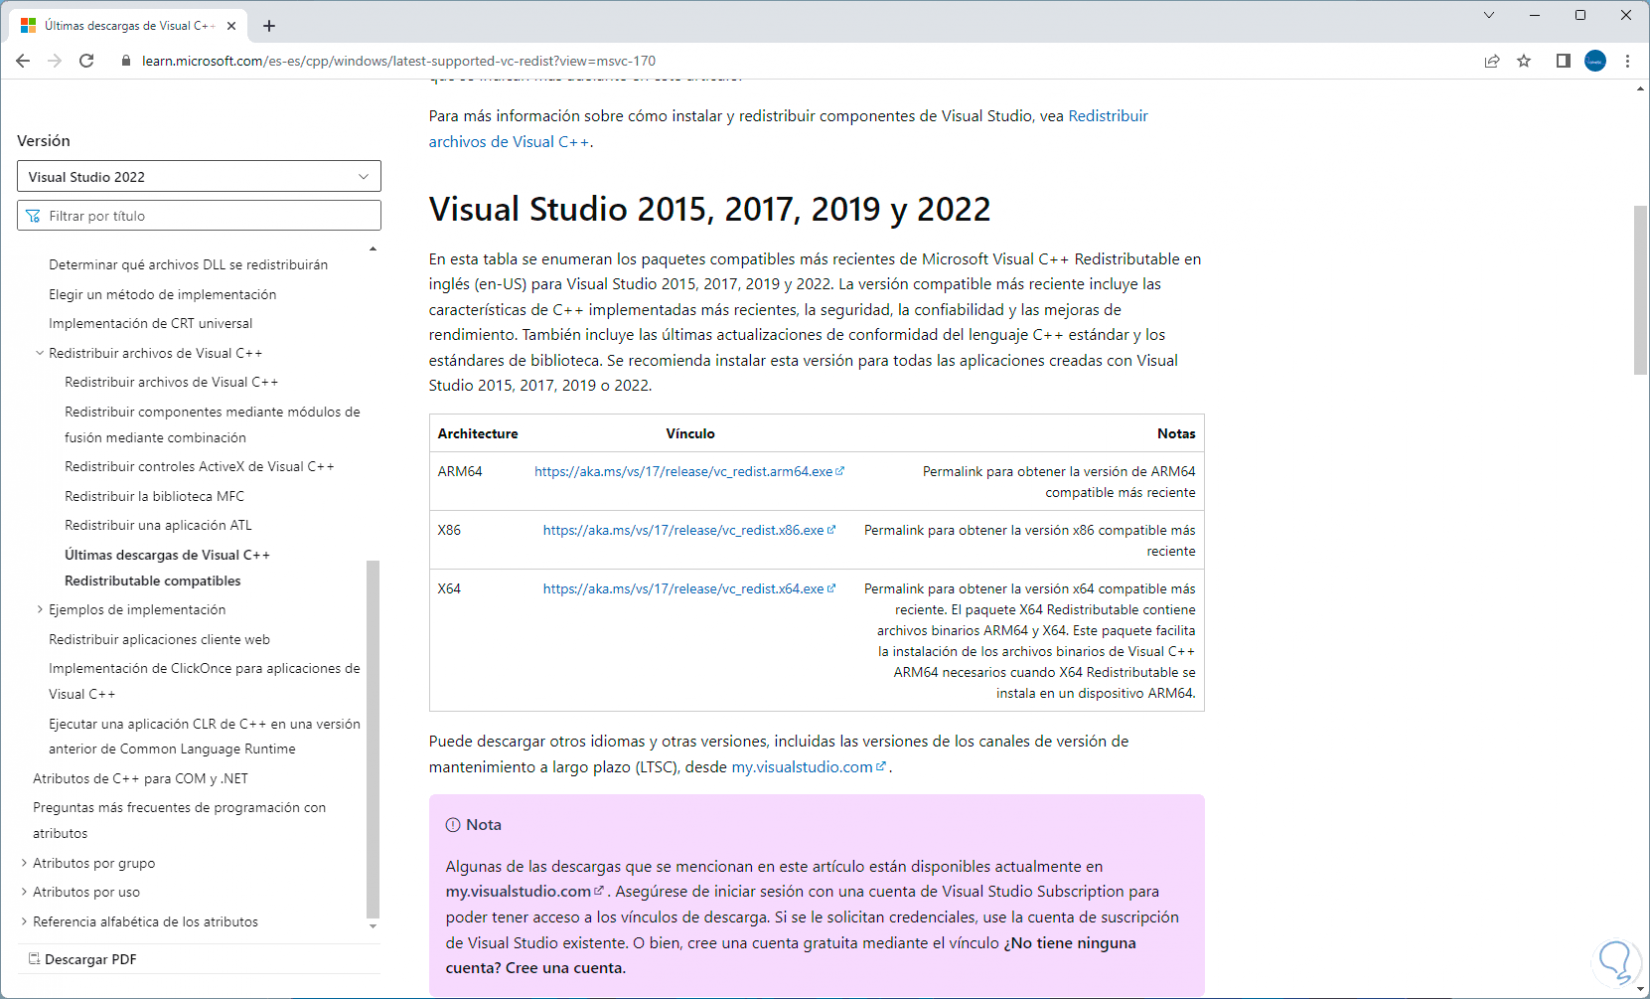
Let's go to the Microsoft Visual C++ Redistributable URL:
Microsoft Visual C++ Redistributable
step 19
This is responsible for installing the Microsoft C and C++ runtime libraries:
step 20
We download the version of the architecture of the PC, then we execute the file:
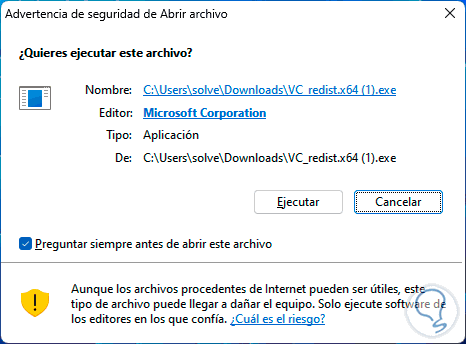
step 21
We click on "Execute" to accept the license of use:

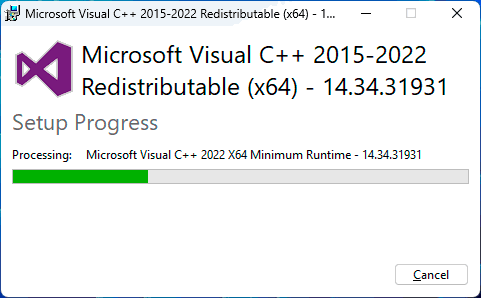
step 22
We click on "Install" to start the process:
Step 23
At the end we will see the following:
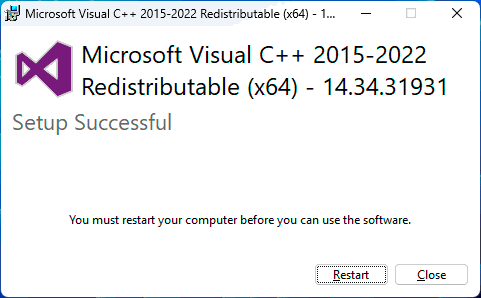
We can restart the computer.
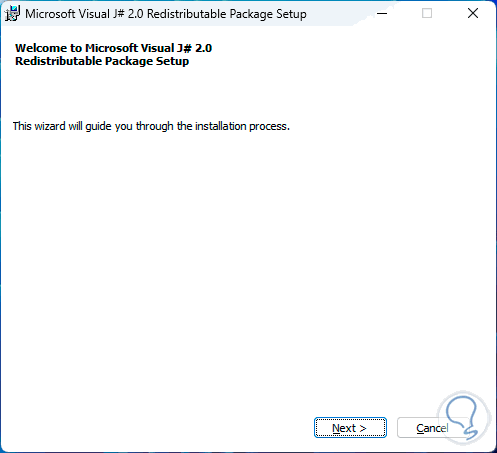
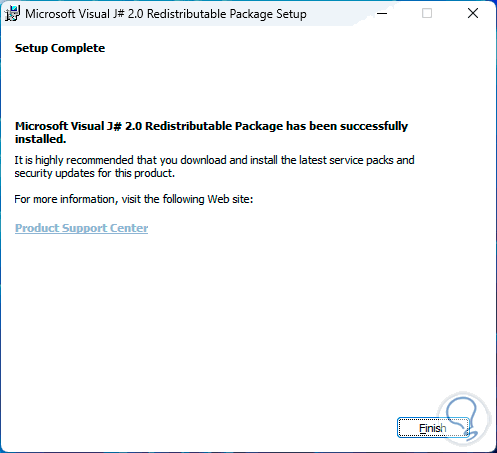
step 24
Let's go to the Microsoft Visual J# Redistributable URL:
Microsoft Visual J# Redistributable
36
This is a plugin for building Visual J# based applications and services and will only run on the .NET Framework but does not support Java Virtual Machines.
step 25
Download and run the file:
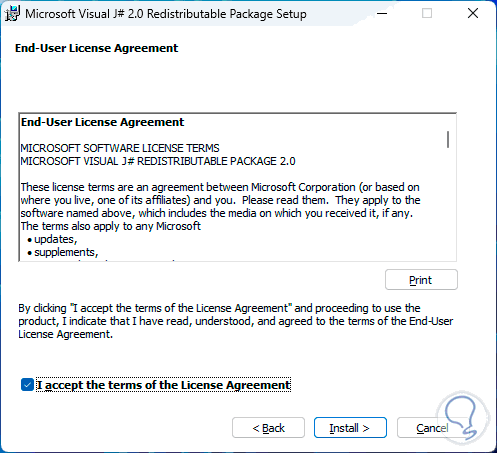
step 26
We click Next to accept the license:
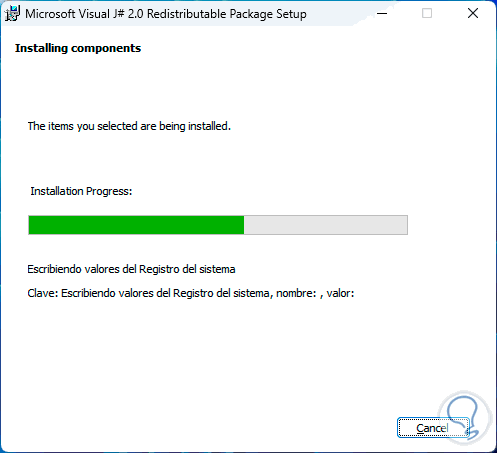
step 27
The installation will take place:
Step 28
We hope it ends:
Step 29
After this restart Windows 11:
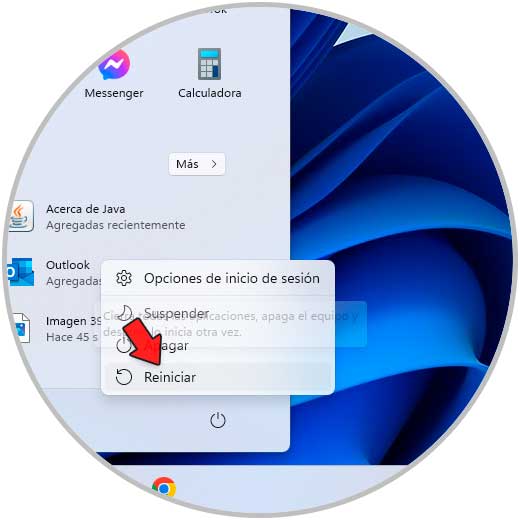
step 30
The system will reboot:

step 31
When logging in we will no longer have the error:

These are the options to fix this error in Windows 11 and have access to applications and programs.