Microsoft Word offers us a series of options to represent the text with bullets for example and documents in the best possible way and without a doubt that one of the most complete ways to achieve an order of the text and ideas is using the index. The index in Word allows you to list the terms and topics available in the text and the pages where they are named again..
In order to create the index, the index entries will be marked indicating the name of the main entry as well as the cross reference and thus give rise to the index, directing to the exact point indicated. Word allows us to create indexes for words, phrases or symbols.
In this tutorial we will see how to create an automatic index and thus have much more precise control over the topics in the document. You will see all the steps you must follow to do so in detail..
To stay up to date, remember to subscribe to our YouTube channel!
SUBSCRIBE ON YOUTUBE
How to make an automatic index in Word
Step 1
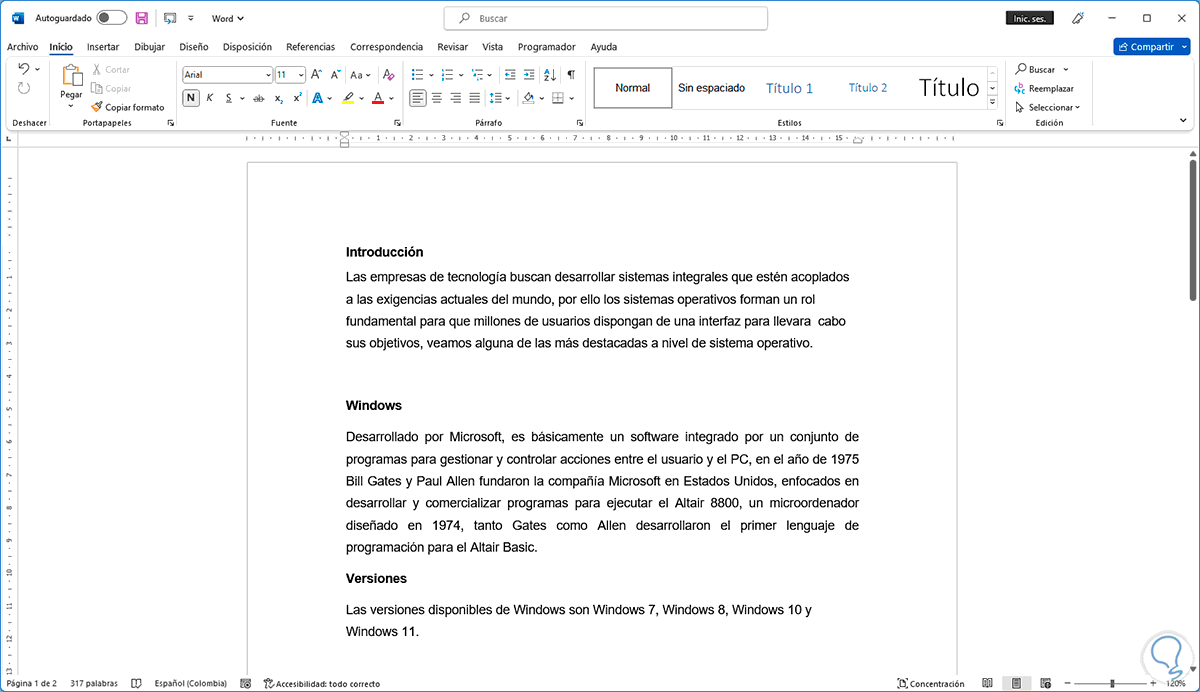
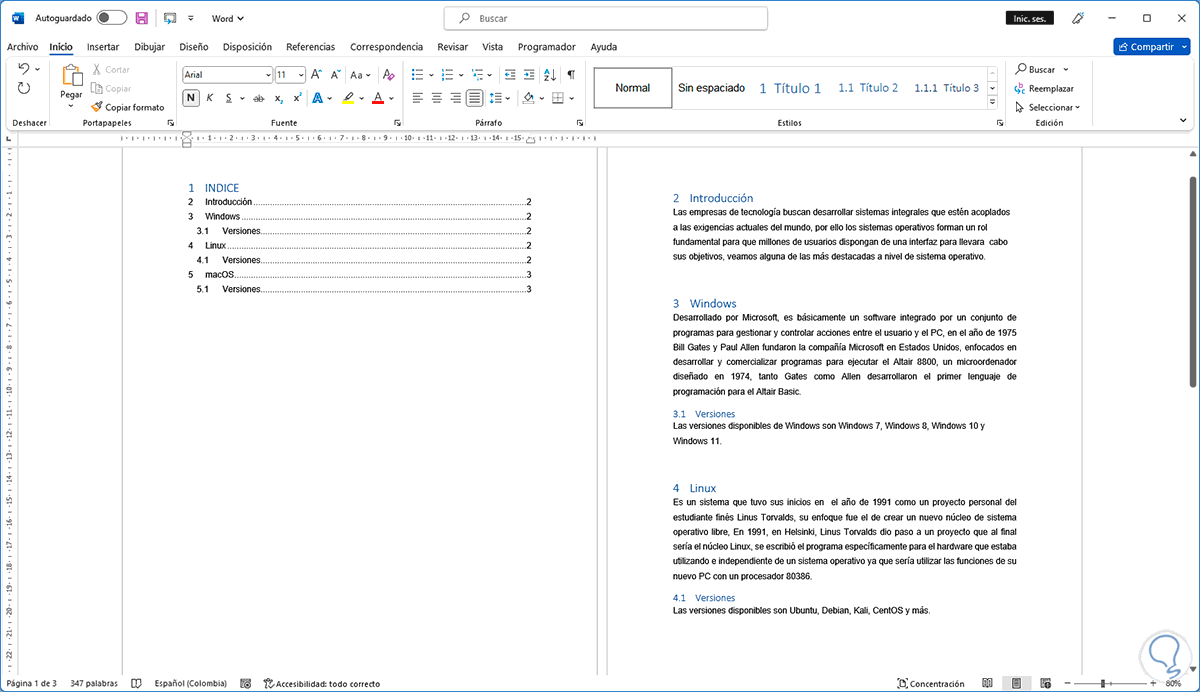
Open Word to see the text to work on:
Step 2
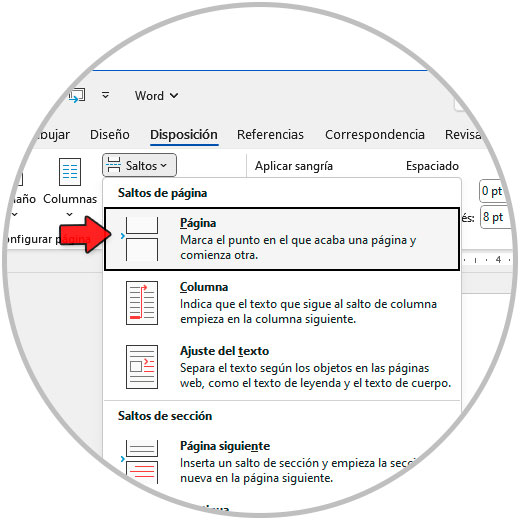
We place the cursor in the initial part of the paragraph and go to the menu "Layout - Breaks - Page":
Step 3
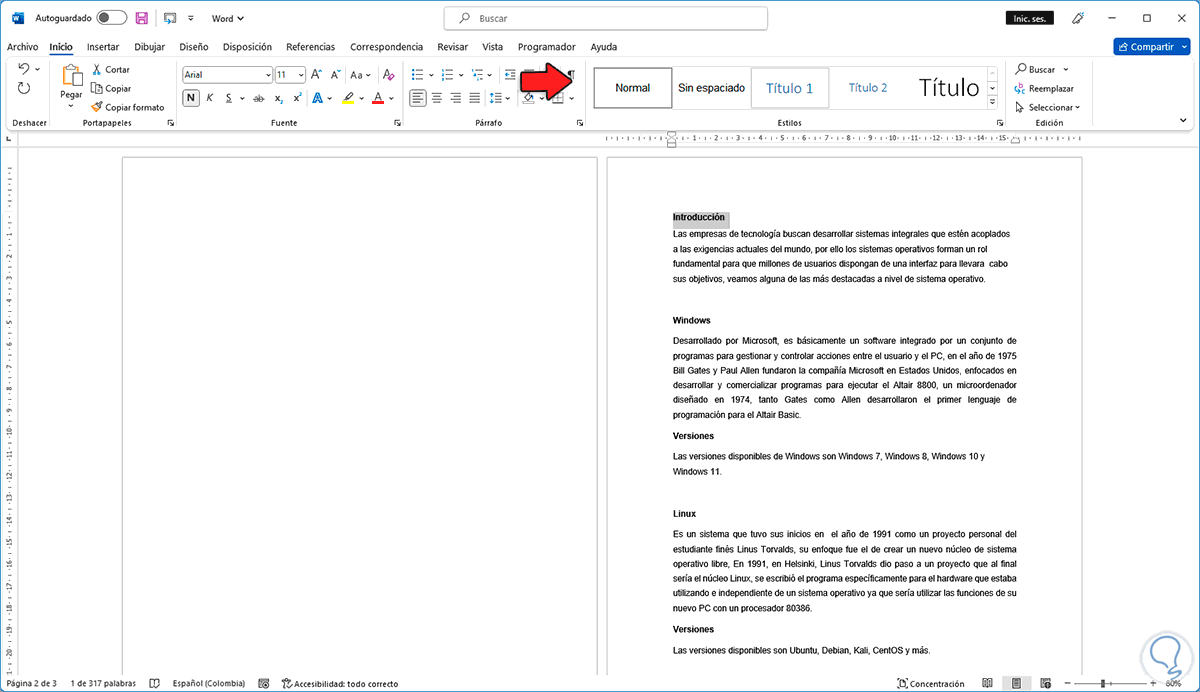
We will see that a page is added to the beginning of the document:
Step 4
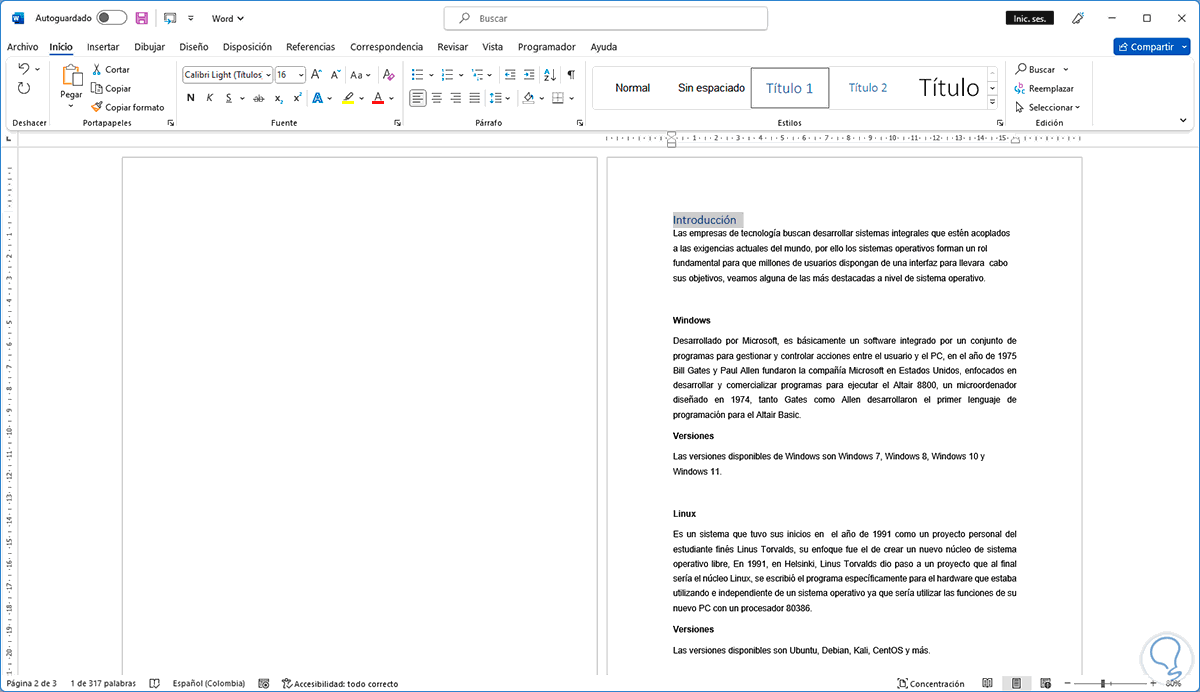
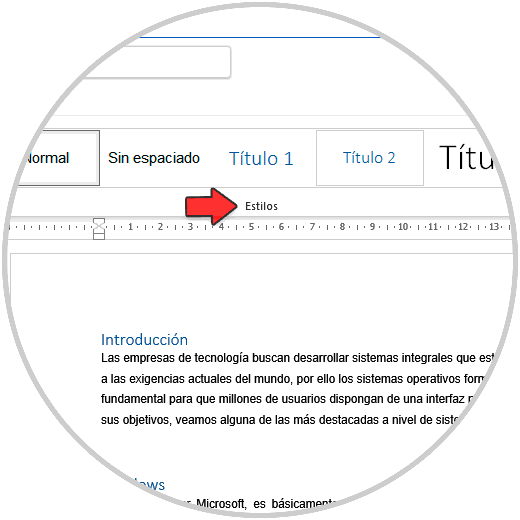
In the text we select the main headings and click on "Heading 1" in the Start menu in the "Styles" group:
step 5
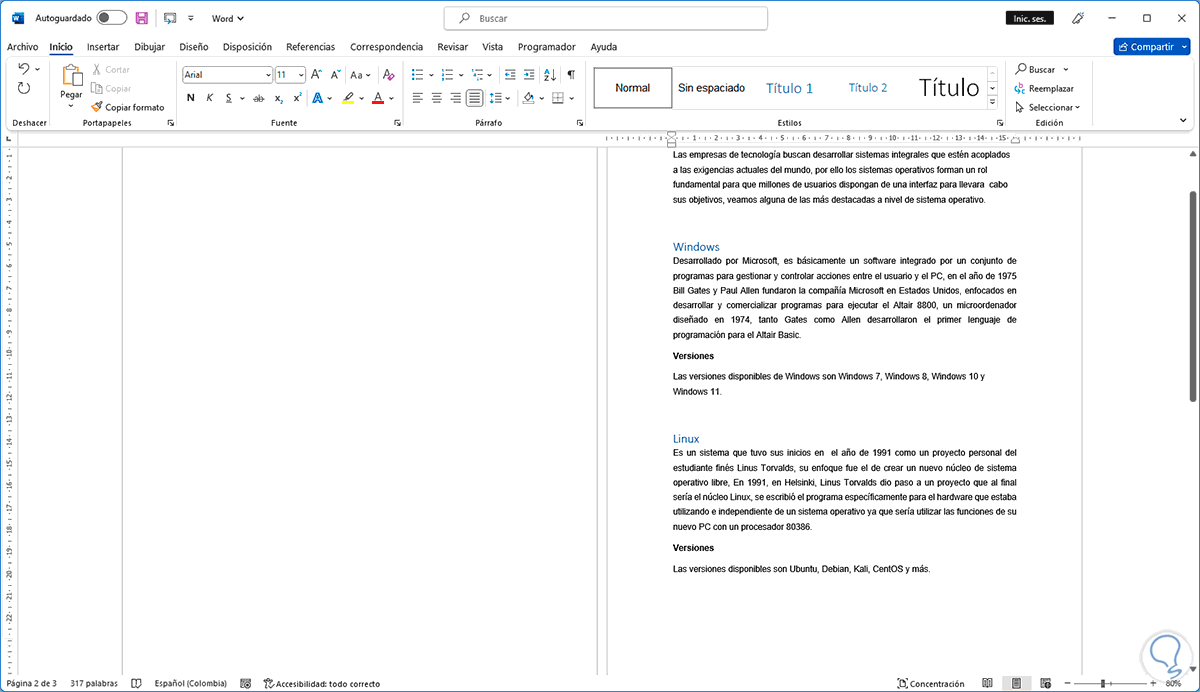
By clicking on "Title1" we will see the following:
step 6
We repeat this process for all titles:
step 7
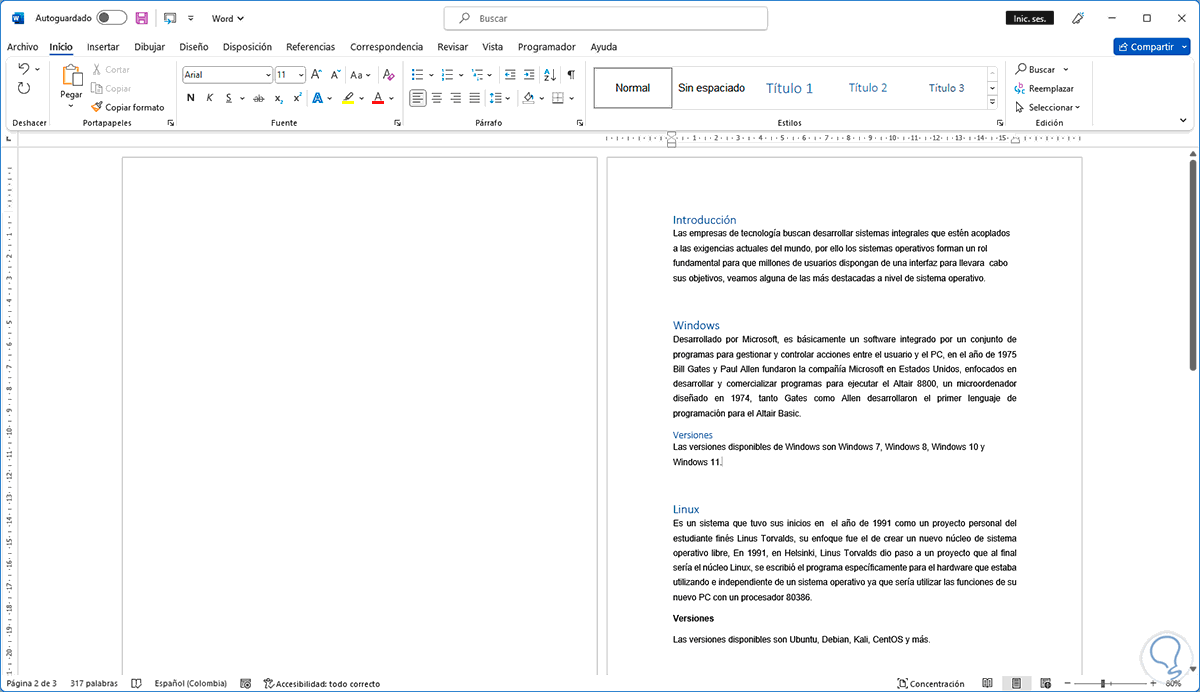
Now we select the subtitles and click on "Title 2" in the Start menu in the "Styles" group:
step 8
These will have the following appearance:
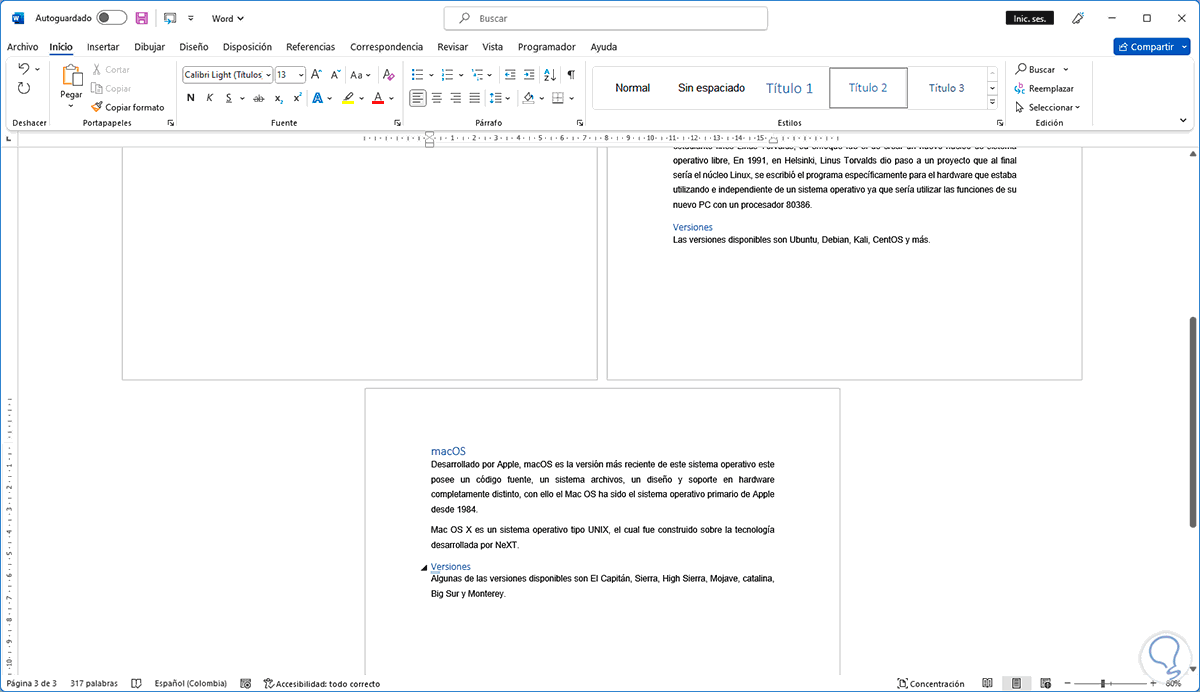
step 9
We repeat this process for all those that are considered subtitles:
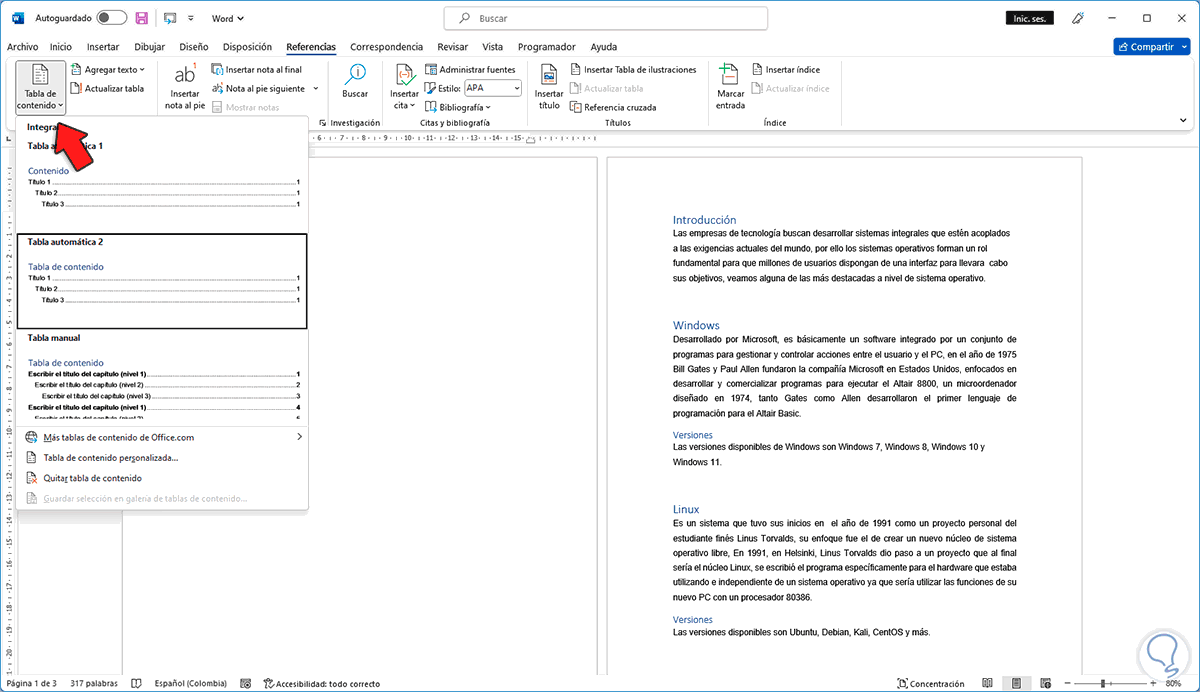
step 10
We place the cursor on the blank sheet and from the "References" menu we click on "Table of Contents" and select one of the available options:
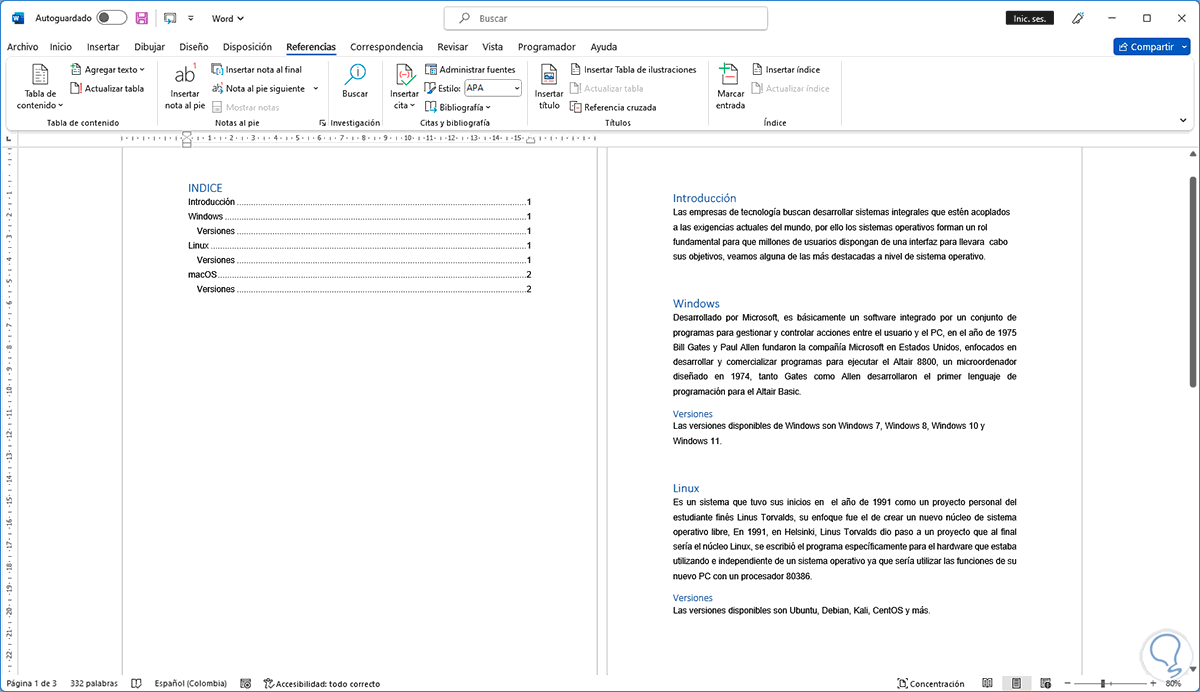
step 11
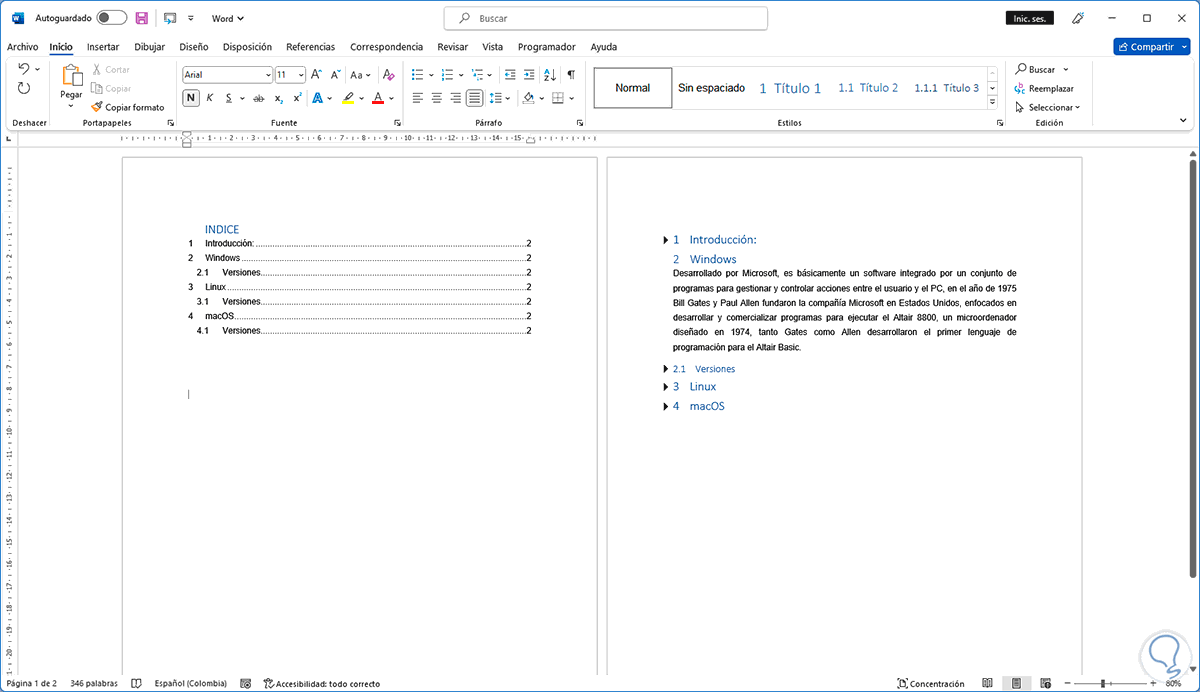
We will see the table of contents added:

step 12
Adjust the table of contents on the initial sheet if necessary using the delete key and we can rename the table.
step 13
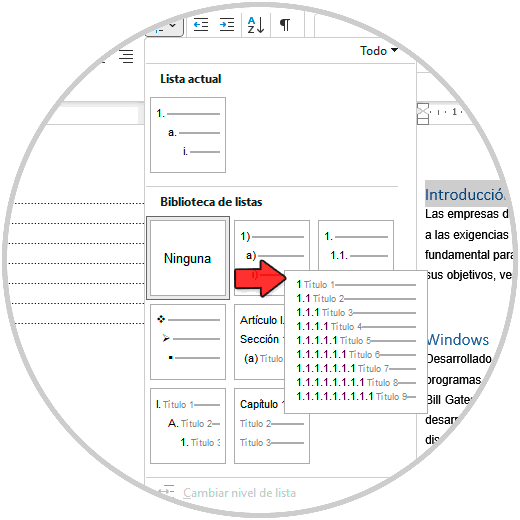
To add a number we go to the initial title, in the Start menu we click on "Multilevel list" in the "Paragraph" section and click on the desired model:
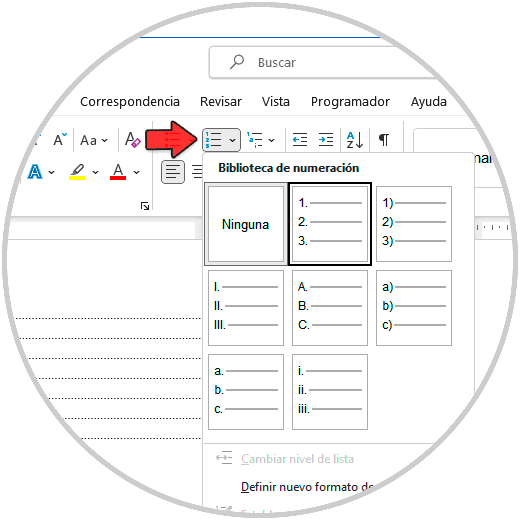
step 14
In this case we will use the titles option:
step 15
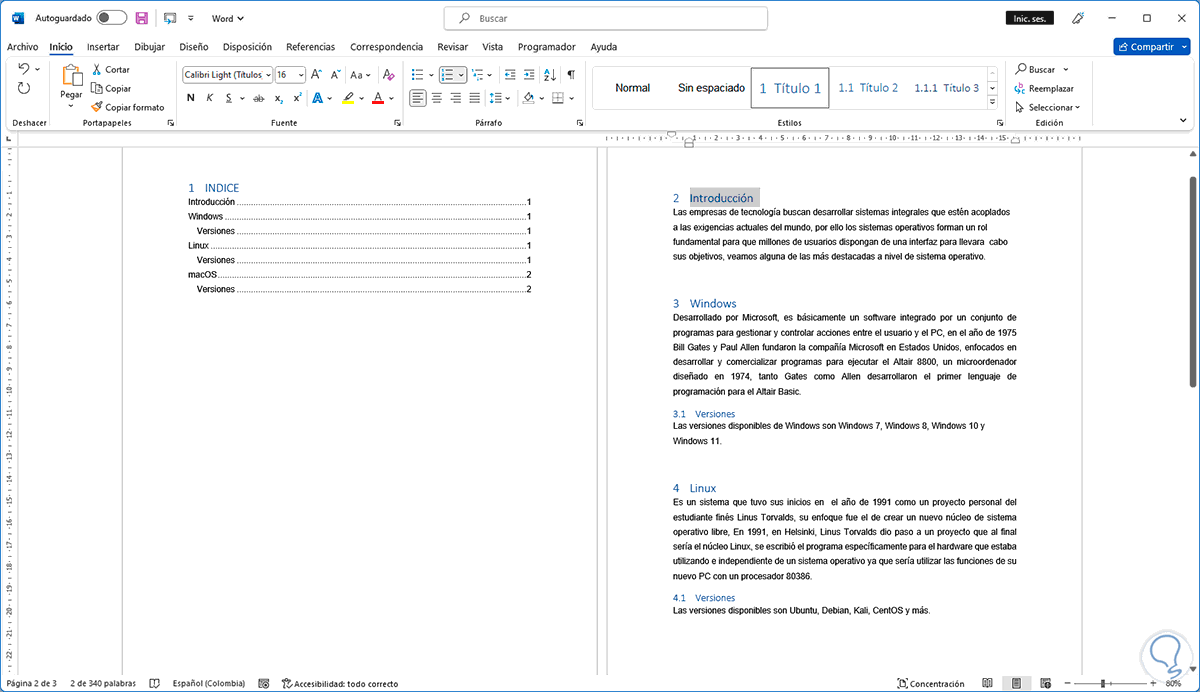
Automatically the numbering will be applied to the titles and subtitles:
step 16
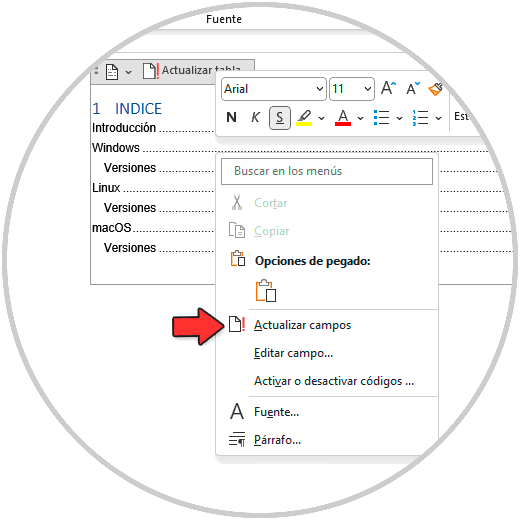
We right click on the table of contents and select the "Update fields" option:
step 17
We will see the following message:
step 18
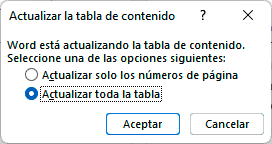
We activate the "Update the entire table" box and apply the changes to see the new structure in the table of contents:
step 19
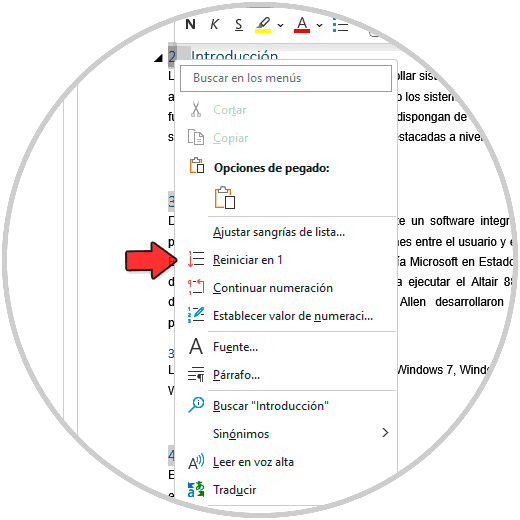
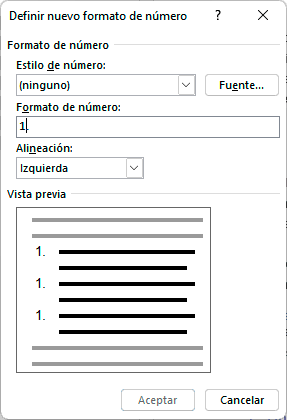
To start at number 1, right click on the title and select the "Restart at 1" option:
step 20
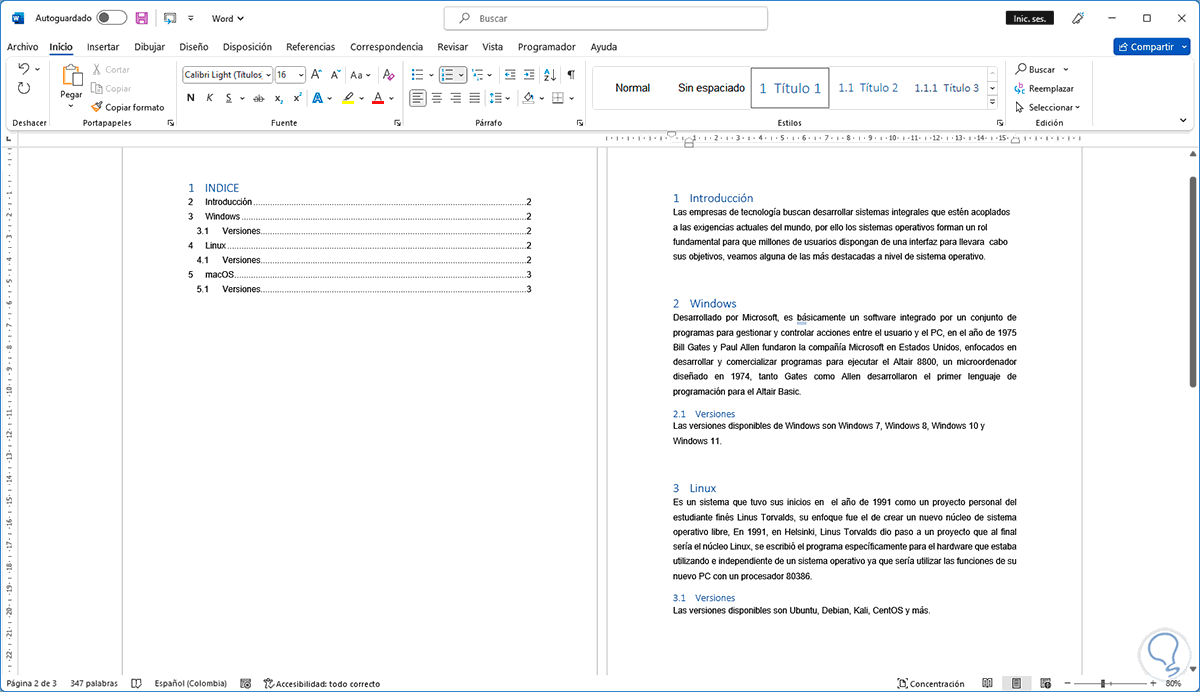
We will see the change in numbering:
step 21
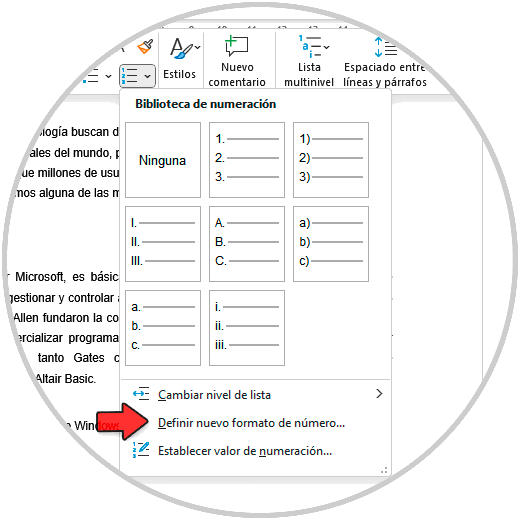
To adjust the point in the number if desired, we right click on the number and select "Define new number format":
step 22
We will see the following:
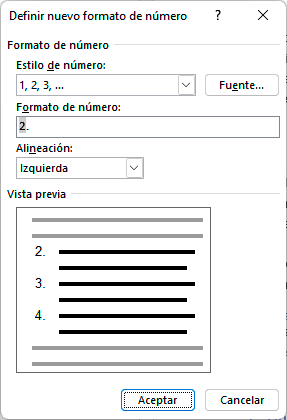
Step 23
There we simply delete this value and enter the number followed by a point again:
We apply the changes.
step 24
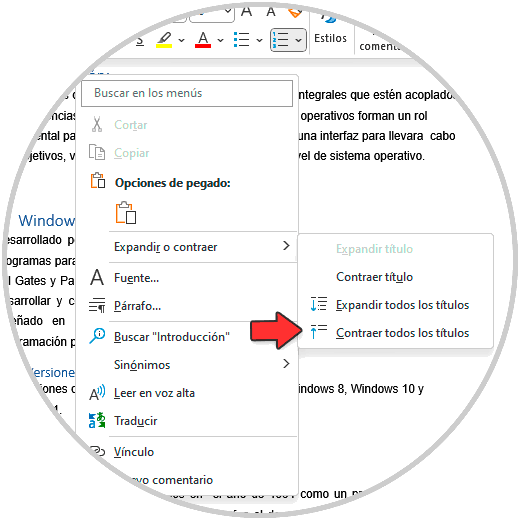
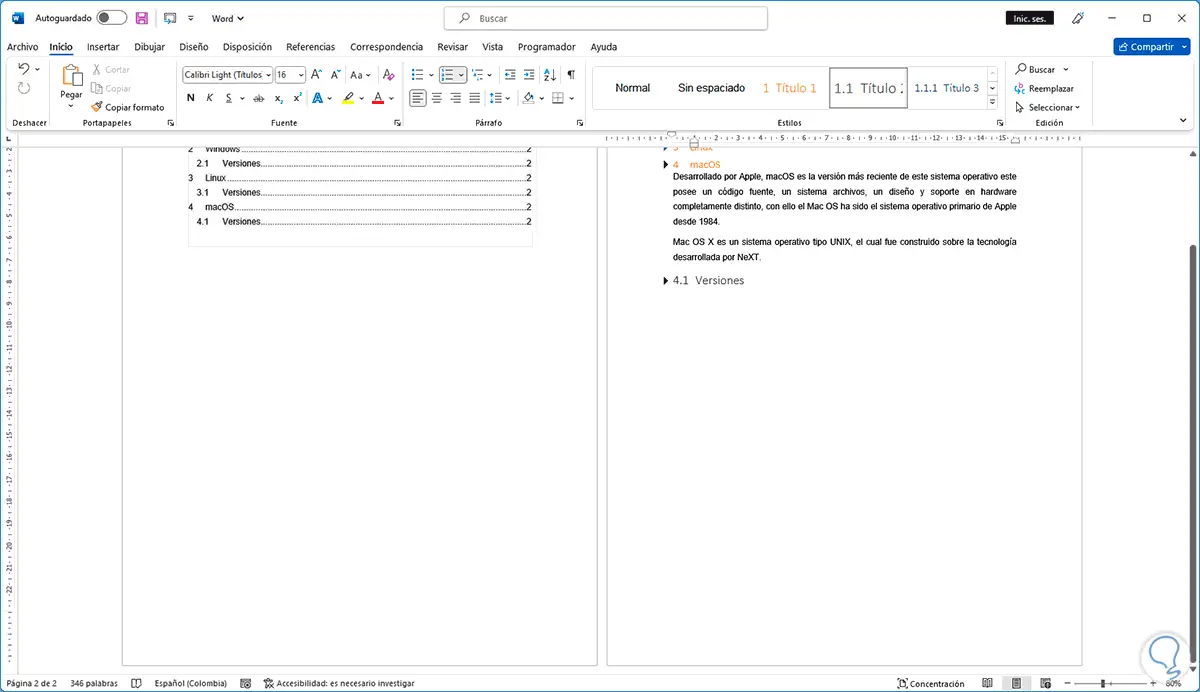
To have a better order of the document, we right click on the title and in "Expand or collapse" we select the option "Collapse all titles":
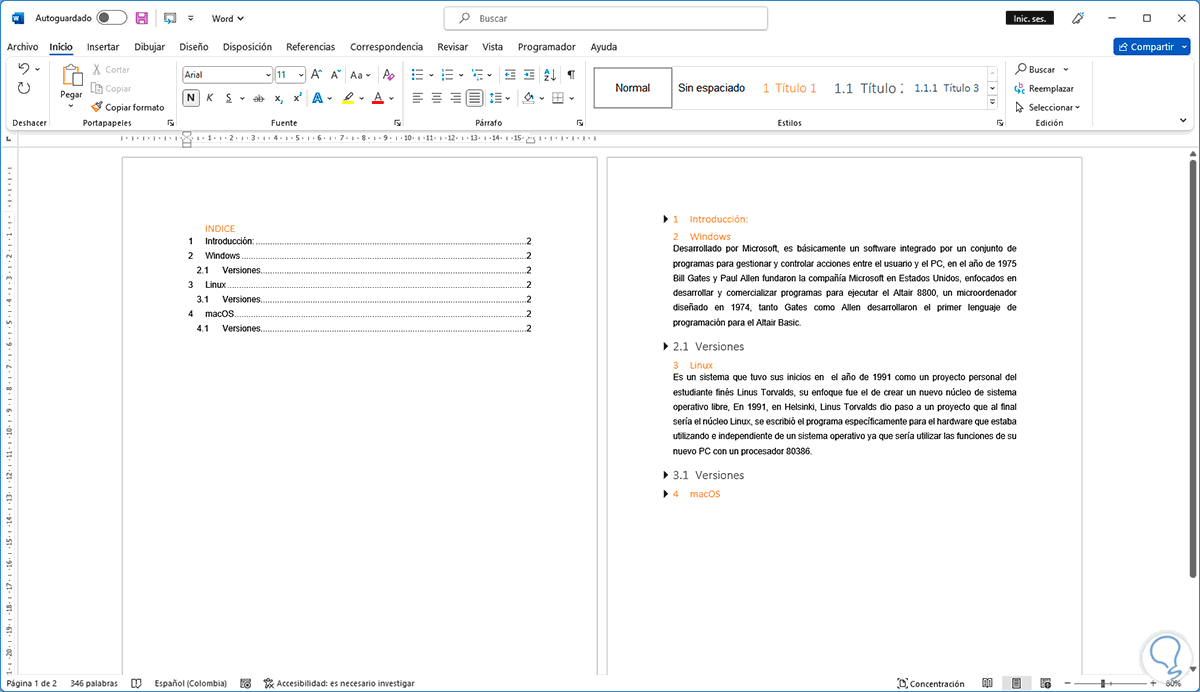
step 25
We will see the following:
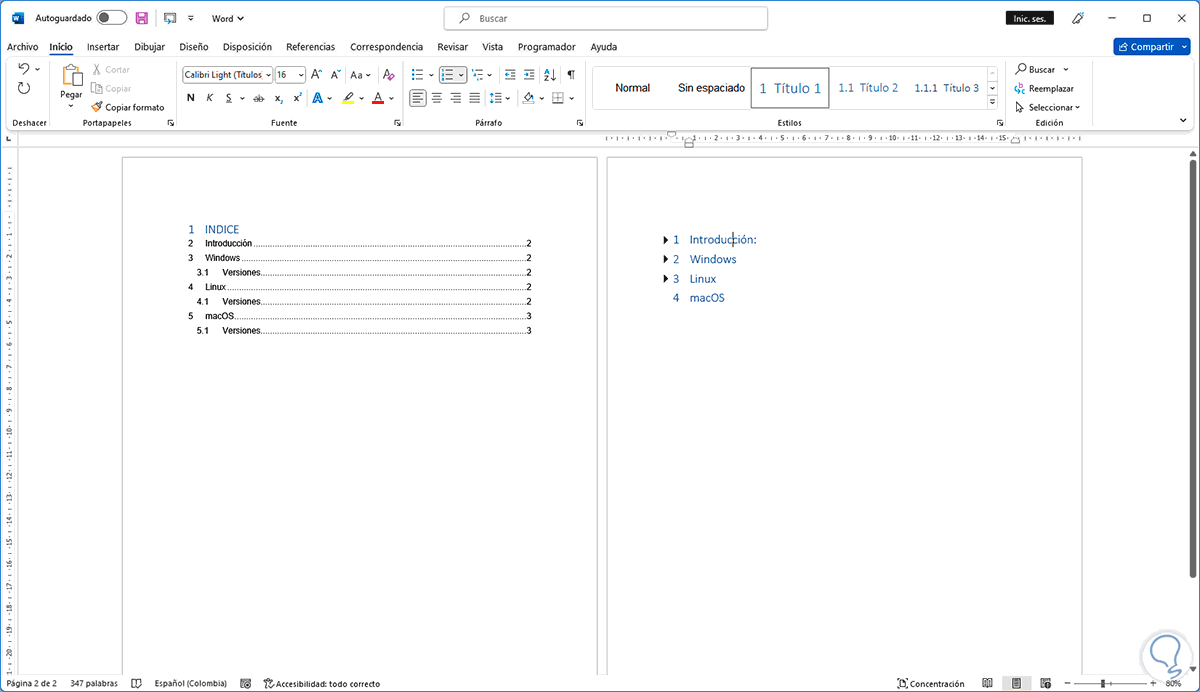
step 26
We can see a much more organized way of working with the data, we update the table again:

step 27
We confirm that the entire table is updated:
27
Step 28
It is possible to display the options of each title or subtitle:
Step 29
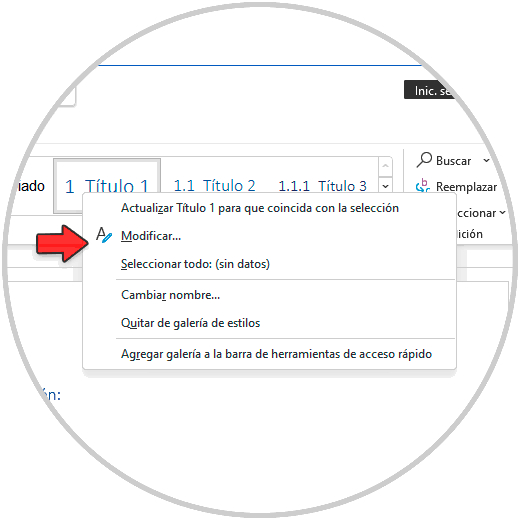
We right click on "Title 1", select "Modify":
step 30
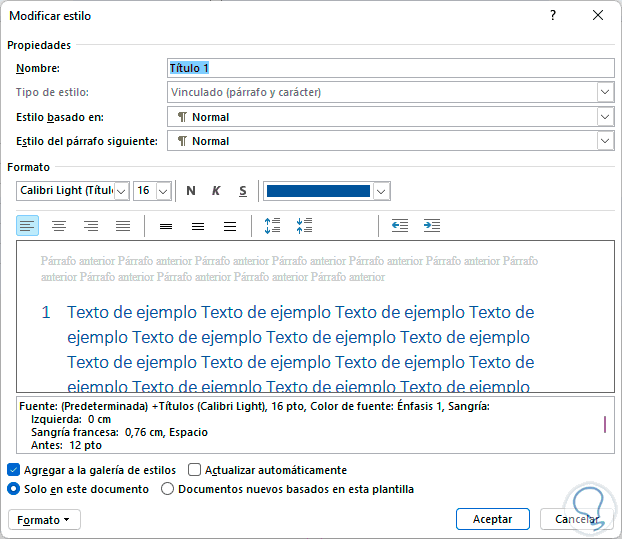
We will see the following:
step 31
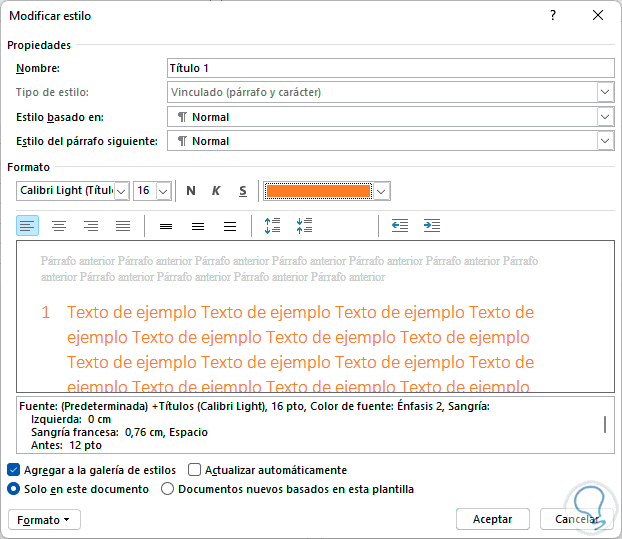
We make the adjustments in terms of text and then apply the changes:
step 32
When applying the changes, it will automatically be applied to all segments that have been marked as Title 1:

Step 33
Now we right click on "Title 2", select "Modify":
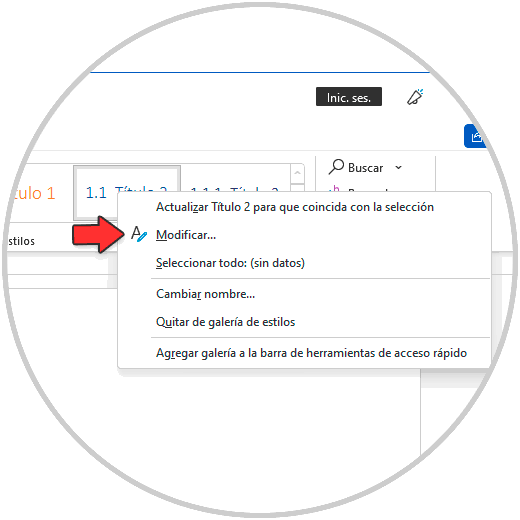
Step 34
In the displayed window we make the adjustments that are considered necessary:
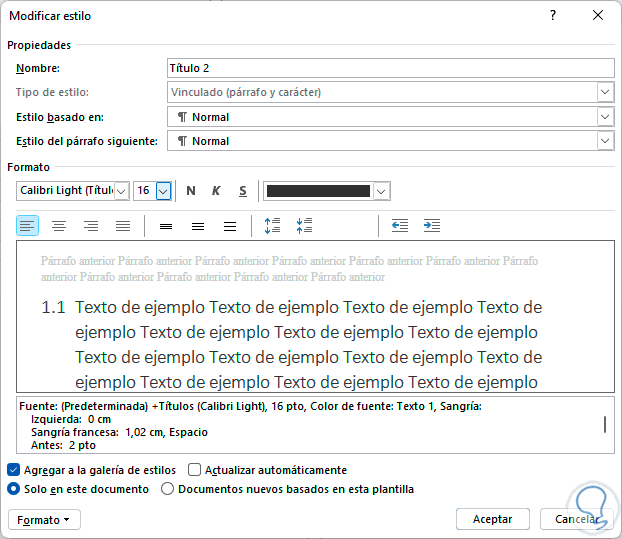
step 35
We apply the changes and all the titles will be modified:
Step 36
To access a text, we click by pressing the Ctrl key in the table on the desired line:
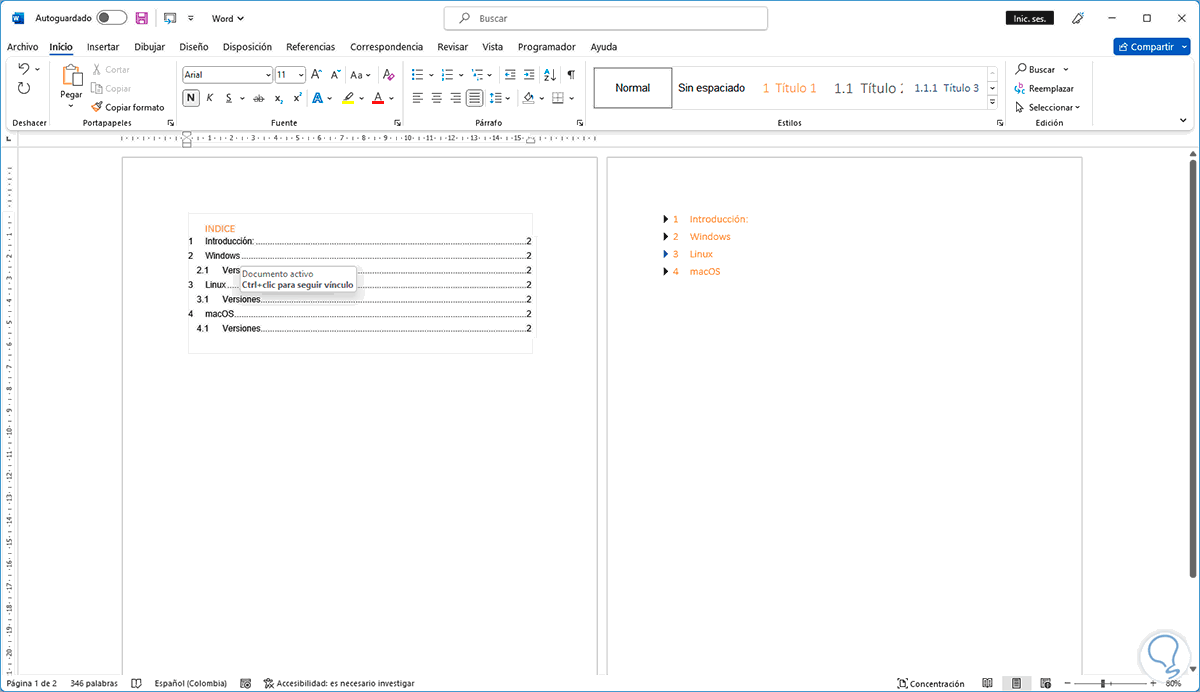
Step 37
By pressing Ctrl + click we will be redirected to that text:
This is the way in which we can insert an automatic index in Word in order to work in a much more complete way on the content of a document..