Microsoft Outlook in its different versions makes use of PST files for hosting and managing user data and without these it would be impossible to access our email. When we add a new email account to Outlook , in its different editions, a local copy of the information is automatically created on the computer , and thanks to this it will be possible to access synchronized or previously downloaded email messages, calendar information , contacts and tasks without internet connection and various other actions..
A PST file, contains the messages and more elements of Outlook and is saved on the computer locally, in addition to this, we can use an Outlook data file (.pst) to carry out backups or export elements of any email account.
In a changing world full of information like the current one, it is important to learn how to create new PST files to always keep the information stored there. Now we will see how to create a new PST file in Outlook and this process applies to both Outlook 2016 and 2019..
1. How to create PST file Outlook 2019, 2016 from start menu
Step 1
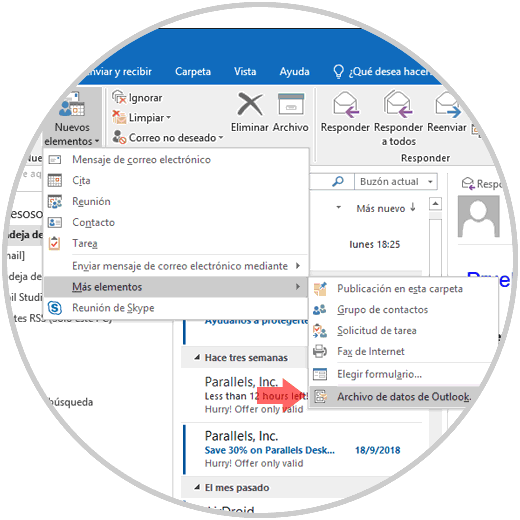
To start, we will go to the Start menu and there we click on the button New elements / More elements and there we select the option Outlook Data File:
Step 2
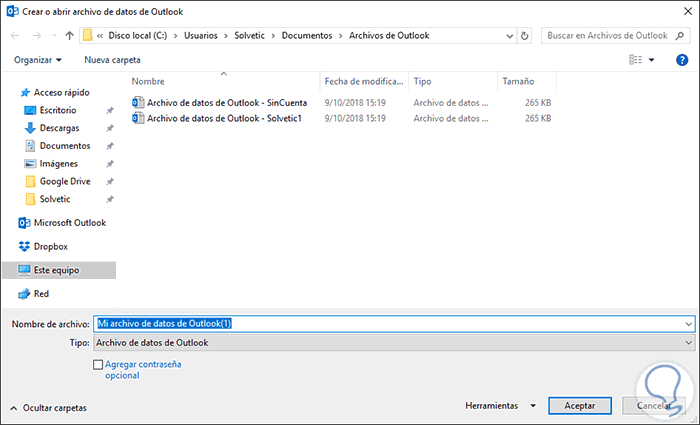
By default Outlook stores this PST in the C: \ Users \ USER \ Documents \ Outlook directory.
Step 3
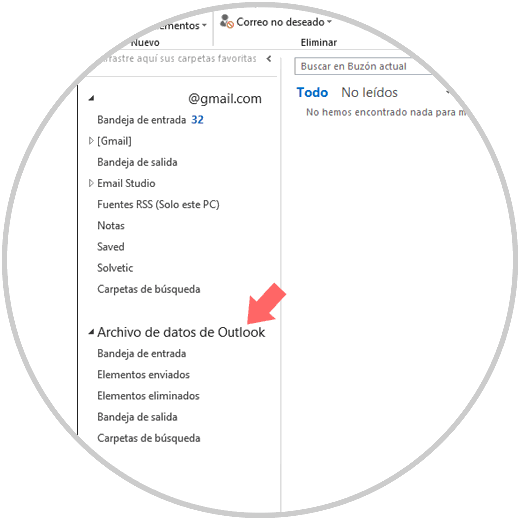
There we select the PST file and click on the OK button, now, with this PST file created, Microsoft Outlook automatically adds it to the user's profile on the left side of the Start tab.
Step 4
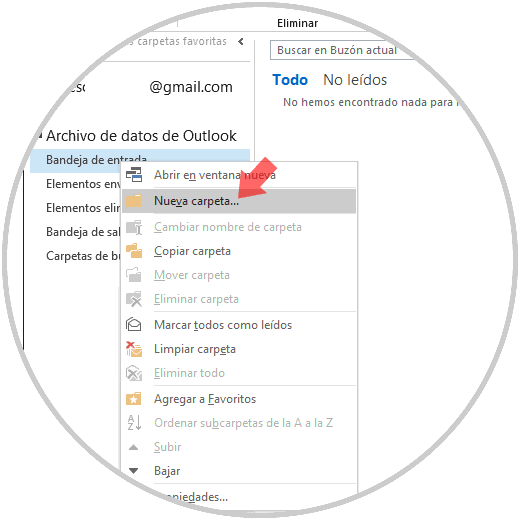
There we can click on any of the available options and create new folders if we wish:
When the folders have been created, we can drag and drop the emails to the PST file and they will automatically be moved to the new file where it was created.
1. How to create PST file Outlook 2019, 2016 from File menu
Step 1
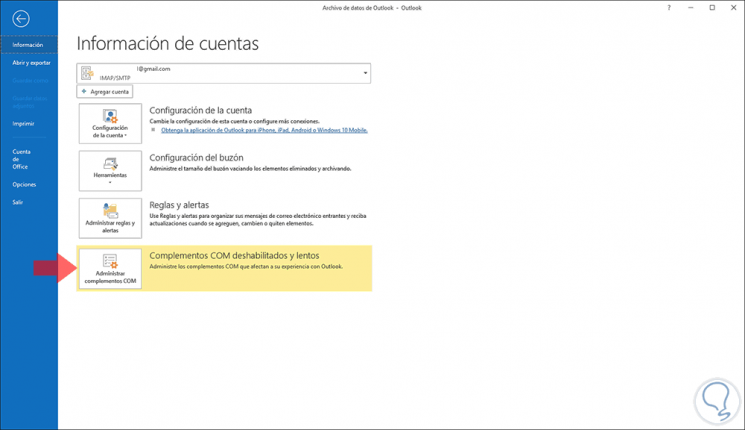
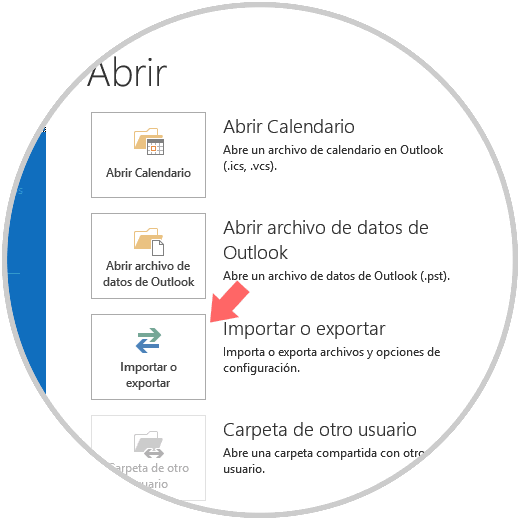
Another way to perform the process of creating a PST in Outlook is by going to the File menu and there selecting the Open and export option:
Step 2
The following window will be displayed where we will click on the Import or export option:
Step 3
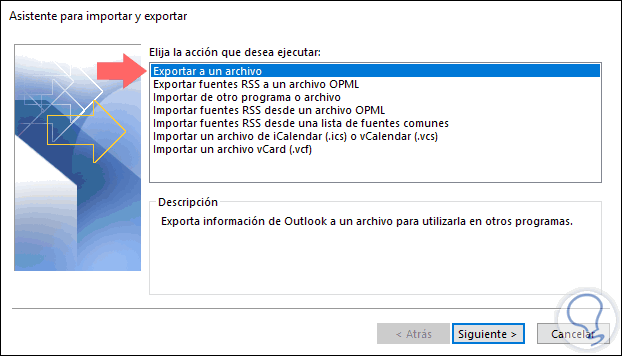
In the pop-up window we select the option Export to a file:
Step 4
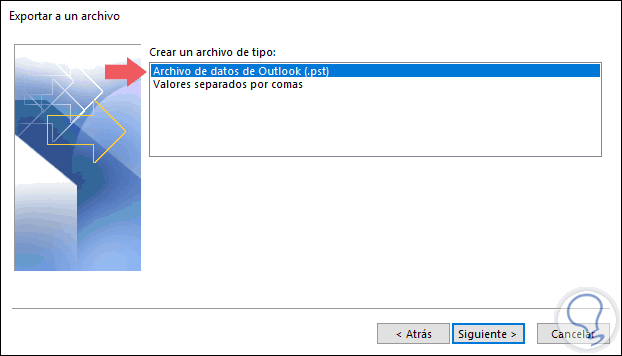
Click Next and then select the option Outlook Data File (.pst):
Step 5
Again click on Next and now we must select the email account that we are going to export:
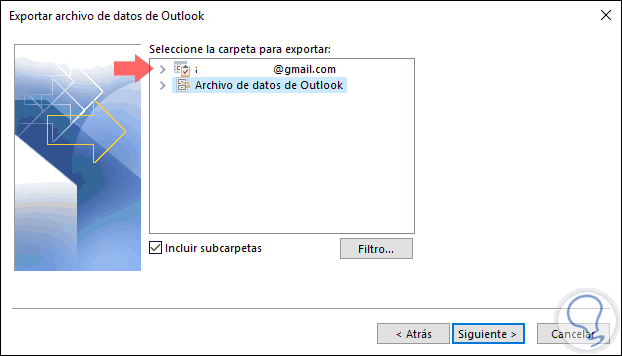
Step 6
Once selected we will see the following options:
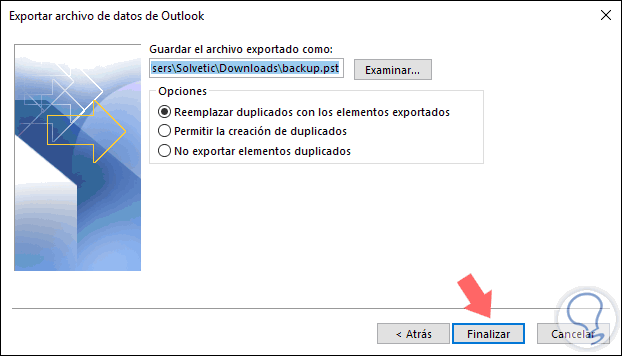
Step 7
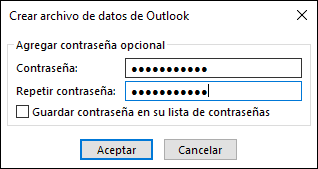
There we can define the action to be performed with the duplicate elements, click on the Finish button to complete the process and the following pop-up window will be displayed where we will enter and confirm a password:
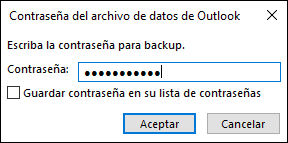
Step 8
Click on OK for confirmation and you will need to enter the password to access the backup file:
Now we can access the new PST file and make the necessary modifications.
With any of these methods it will be possible to create an Outlook 2016 or 2019 PST file and always have the integrity of the information..