The use of e-mail is one of the activities carried out daily since we usually receive both personal and corporate information of various levels of importance. With the passage of time we have seen how the mail platforms have been updated to offer better experiences to the end user and within the Office 2019 suite we find Outlook which has integrated improvements and new features focused on the administration of both mail and aspects global as are the calendars, contacts and others in a simple but completely dynamic way..
Outlook is composed of a .pst extension file that was previously essential, but with new technologies it is not so. We are likely to create .pst files of emails that take up considerable space in the tray, and best of all, we will do two things simultaneously, first we create the .pst to host those emails there and free up space and secondly By having a .pst, we will be available at any time that is required to access these emails. We will see how to have a backup of our emails and data and thus have them safely.
TechnoWikis will explain how to create a backup with a .pst file in a secure and functional way in Outlook 2019..
What is a .pst file?
The moment we add an email account in Outlook, a local copy of the data will automatically be created on the computer, this is done in order to be able to access the downloaded or synchronized email messages at any time, as well as go to calendar information, contacts and others without an Internet connection being necessary.
Outlook data files (.pst) basically contain the messages and all the elements that make up Outlook 2019 and save them on your computer and these types of files are ideal for creating backup copies, as well as for exporting items using any type of current email account.
1. PST and IMAP account PST backup differences in Outlook 2019, 2016
In a POP3 account, data related to your Outlook account is stored locally within your computer in the form of a pst file. If we want to make a copy of the emails you will have to talk to your POP3 provider.
Possible alternatives in POP3
- Switch to another reliable email provider, such as Gamail or Outlook with an Exchange account.
- Export the rest of the files individually (Contacts, notes ...)
- Caching ost or pst files is not highly recommended because they are not 100% restorable)
In an IMAP account, your related files are stored in a pst, ost file or a mix of both. Both emails and their corresponding folders are saved on an IMAP server and are synchronized with Outlook generating a local cache file on the PC. The good thing about IMAP and Exchange accounts is that emails are automatically archived so we can always access them at any time..
Depending on the version we will have to in an IMAP account:
Outlook 2007 and Outlook 2010 versions
The cache is saved in a pst file.
Outlook 2019, 2013, 2016 and Office 365 versions
The email cache will be saved with an ost file. .
It should be noted that items such as Contacts, Notes or Calendar are not saved or linked synchronously with the IMAP server because it is only compatible with emails. Depending on the version they will also be stored like this:
Outlook 2007 and Outlook 2010 versions
Contacts, calendar, notes and tasks will be saved in an individual pst file.
Outlook 2019, 2013, 2016 and Office 365 versions
The calendar, notes, tasks and contacts will be saved in the same ost file. (you can generate a pst file as we will see below).
In an IMAP account, we basically depend on the service provider, such as the company where we work or trust other alternatives. Therefore, the copy of emails depends on the mail provider. To make a backup of the Contacts, Calendar, Tasks and Notes we will use a pst closing Outlook.
2. How to backup when creating POP3 and IMAP account PST in Outlook 2019, 2016
Step 1
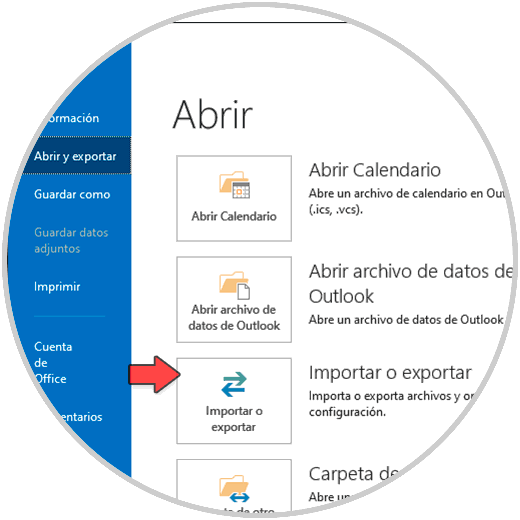
For this method we will go to the File menu and there we go to the “Open and export†section:
Step 2
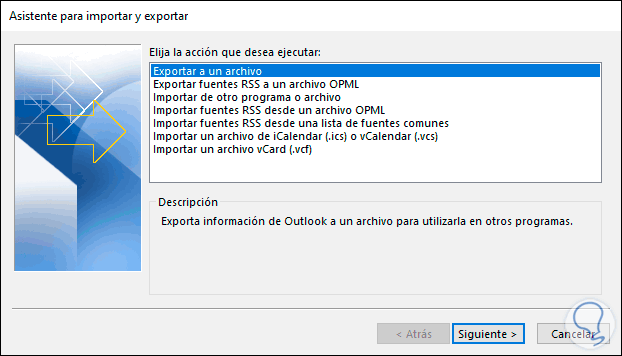
Once there we click on “Import or export†and in the pop-up window we select the “Export to a file†line:
Step 3
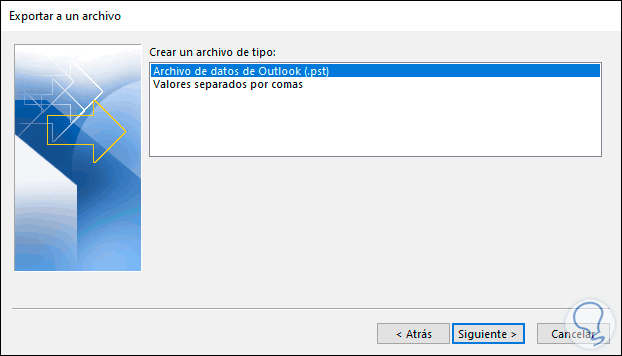
We click Next and then select “Outlook data file (.pst):
Step 4
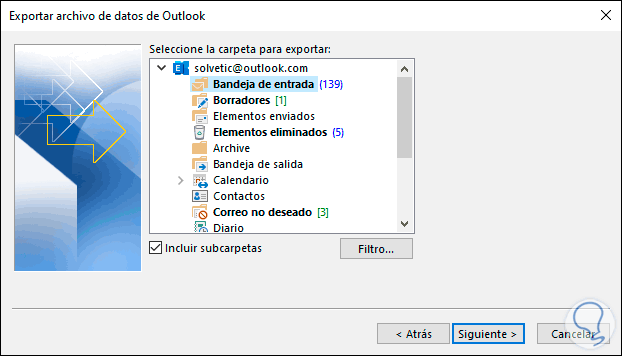
We click Next again and this time we will define which folders (and subfolders) to be exported:
Step 5
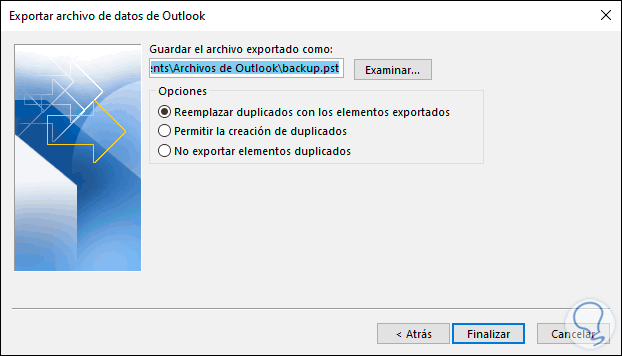
We click Next and now we find a series of options associated with duplicate files:
Step 6
If we want to edit the path where the .pst file will be saved, click on Browse and define the new path:

Step 7
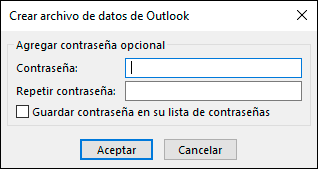
We click Finish to complete the export process and as a security measure we are given the option to add a password:
Step 8
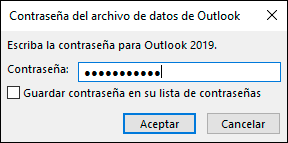
This is an optional step and after this we click on OK to start the export of the Outlook 2019 .pst file and if we have assigned a password we must enter it again:
Step 9
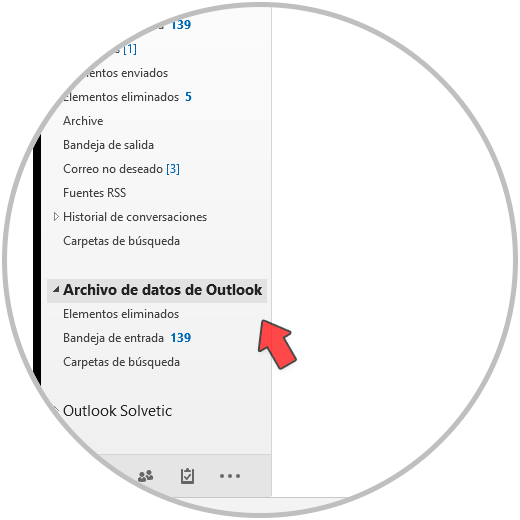
When this is over we will see access to the backup in Outlook:
3. How to manually backup PST of POP3 and IMAP account in Outlook 2019, 2016
We can go to the route where the data files that we have linked to Outlook are stored, depending on the version we will have these routes. To access them we will do the following
Step 1
Press the following key combination:
+ R
Step 2
Now copy and paste one of these routes according to your version. Then press Enter.
Outlook 2007 and earlier versions with Windows XP
C: \ Documents and Settings \% username% \ Local Settings \ Application Data \ Microsoft \ Outlook \
Outlook 2007 and earlier versions with Windows Vista, Windows 7, Windows 8 and Windows 10
C: \ Users \% username% \ AppData \ Local \ Microsoft \ Outlook \
Outlook 2010 and earlier versions with Windows XP
C: \ Documents and Settings \% username% \ My Documents \ Outlook Files \
Versions of Outlook 20010 and earlier with Windows Vista, Windows 7, Windows 8 and Windows 10
C: \ Users \% username% \ Documents \ Outlook Files \
Outlook 2019, 2013, 2016 and Office 365 versions
C: \ Users \% username% \ Documents \ Outlook Files \
Step 1
We can also go to the File path - Account Settings within Outlook.
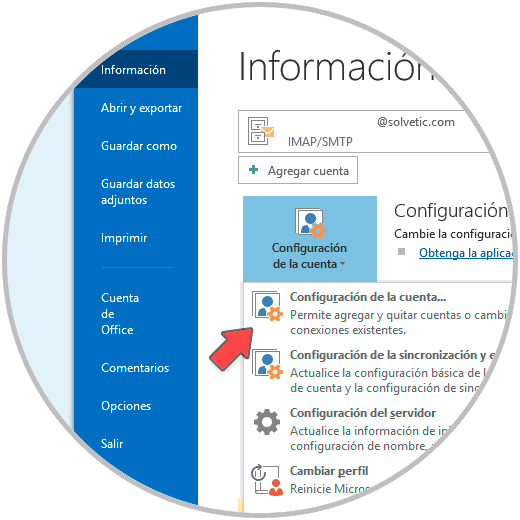
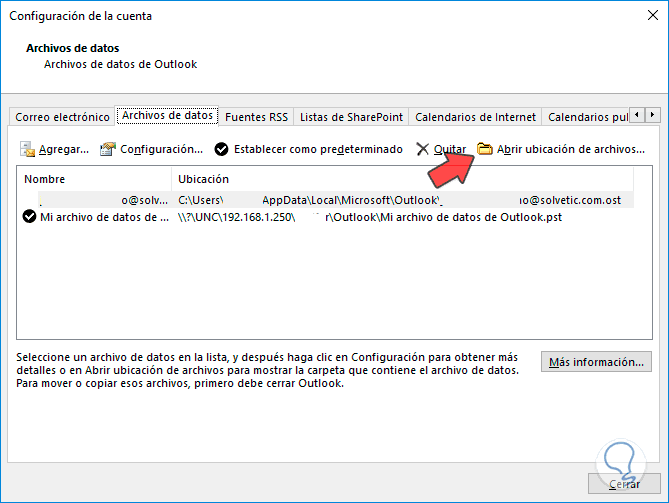
Step 2
Now we go to the “Data file†tab and click on our ost or pst file and then on “Open file locationâ€. The path where they are stored will open. Now we just have to close Outlook and copy our data to another location.
Note
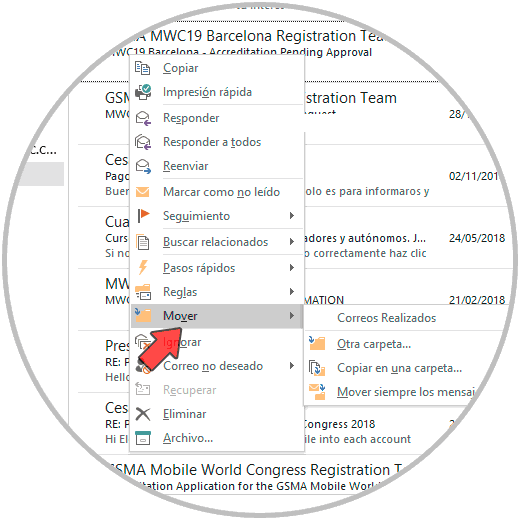
In an IMAP account, the emails are synchronized automatically but we can move them to our pst data file by right clicking on the email or emails - move and choose the location:
[panelwarning = 'Note'] In an IMAP account, the emails are synchronized automatically but we can move them ourselves to our pst data file by right clicking on the email or emails - move and choose the location:
4. Create backup PST file from the start of Outlook 2019, 2016
We leave you with this option so that you can create a custom PST on a specific route and save your emails and data there in an account. You can create the data file on a particular disk or server and thus have the backup.
To keep up, remember to subscribe to our YouTube channel! SUBSCRIBE
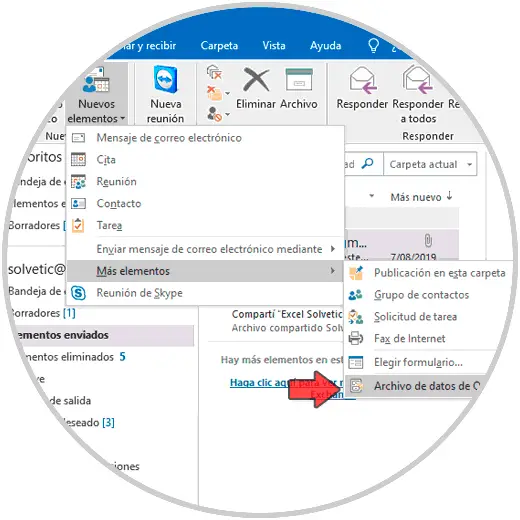
Step 1
For this process, we open Outlook and we will go to the Start menu and there, in the New group we click on the “More elements†option and then select “Outlook data fileâ€:
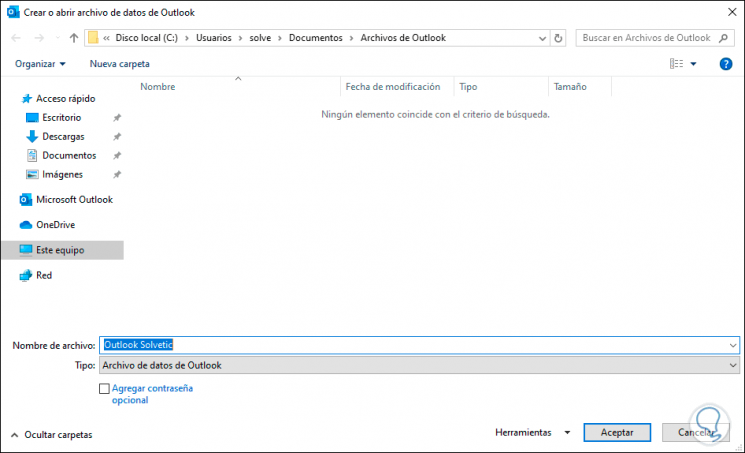
Step 2
The following window will be displayed where we will assign the name of the .pst file, note that by default Outlook 2019 hosts this file in the path. We can change this path for better access to the file. We click OK to save the PST file there.
C: \ Users \ user \ Documents \ Outlook Files
Step 3
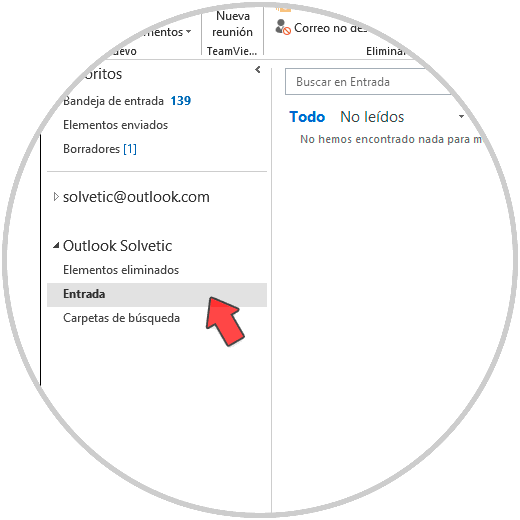
Once the PST file has been created, Outlook 2019 will automatically integrate it to our profile on the left side of the Start menu:

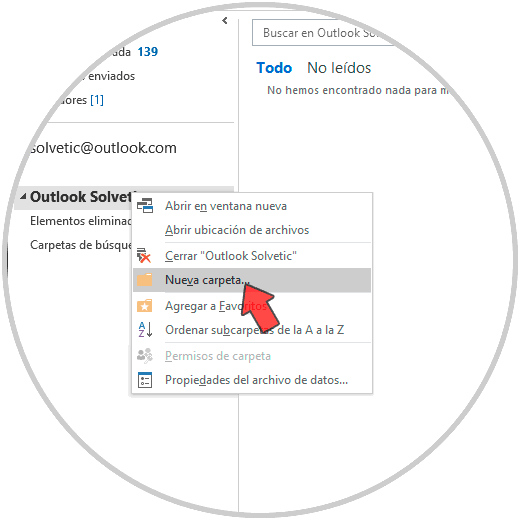
Step 4
There it will be possible to create folders for a much more direct control of the mail items, for this we right click on the name and select “New folderâ€:
Step 5
Then we assign the desired name:
With any of these methods it will be possible to create and back up email messages using the .pst files and thus have these emails available at any time.