It is normal that when we are working with the editions of our photographs we find ourselves indecisive when choosing one configuration or another to apply to our final edition. Sometimes even the editions are very similar, but a specific setting changes with which we do not know very well how to decide. In the PC version, Lightroom allows you to do a magnified comparison of the original and current version of the image, something similar in Lightroom Mobile if we hold the image and release it..
The problem comes when we have more configurations than the current one and we want to transform them into possible final versions of our photography. While we could create presets, this would not be very convenient as we would be creating presets that we do not intend to use beyond the current edit as they are just possibilities. That is why creating possible virtual versions will help us to have versions of a photograph without having to export them or create previous adjustments.
Features of creating versions
Some of the features that we can highlight for the Lightroom Mobile versions are:
- You save space on the device as it is not a full export.
- Deleting the version is not deleting the original photo.
- Version name customization.
- If you delete the original image you will lose the created versions.
- Quick comparison between versions.
- Possibility of creating several versions.
- You can delete the versions you choose.

These versions are going to be really useful since in a virtual way we will have several photographs in one, among which we can change to achieve different possible results of our photography. Since it is possible that the same photograph ends up on different platforms, it is quite useful to have the same image with different appearances that we can later save or not on our mobile devices..
That is why today we are going to see how we can generate different versions of a photograph in Lightroom Mobile.
To stay up to date, remember to subscribe to our YouTube channel!
SUBSCRIBE ON YOUTUBE
Create different versions of a Lightroom Mobile photo
When we create these versions of our photography, we are generating a kind of virtual copies that allow us to have different views of the same image, but without the need to see them stored on our device to compare the differences. Imagine that you are editing a photograph and there are two forms of configuration that already bring a lot and with which you cannot decide. If you create different versions of the same file, you will be able to see how the appearance of the photograph changes according to each version instantly and easily.
It may also be the case that the same photograph is going to be located in different places and for this reason the configuration of settings that we apply to each one will surely be different. By being able to work with the possibility of applying personalized versions, we will be able to apply it without problems and without having to do the entire adjustment process from scratch, depending on the configuration that we prefer at any given time..

Therefore, we are going to show you how we can create different versions of the same photograph in Lightroom Mobile, thus having the possibility of creating all the ones we need and switching between them very quickly.
Step 1
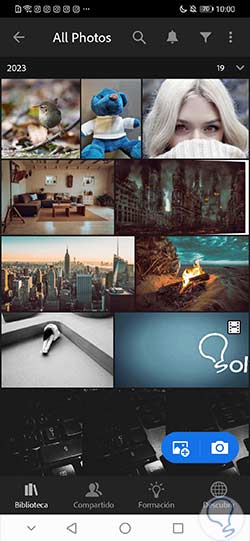
The first thing we will do is open our base image from Lightroom Mobile, whether we already have it imported or importing it or creating it with the blue icons below.
Step 2
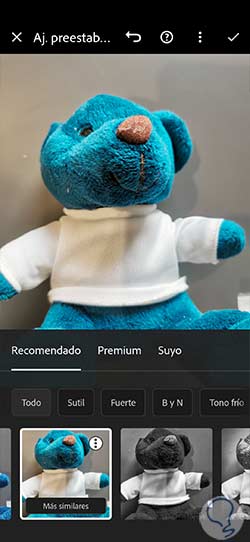
Once we are in the Edit panel, we will be able to apply changes to our photograph. We will start with a first configuration that we want to test to see the result.
Step 3
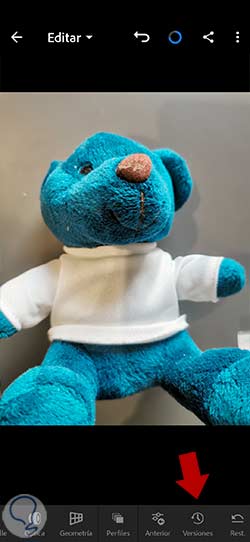
Once we have our edition ready, we will be able to generate the first version that we want to create for the photograph. To do this, click on the lower icon of "Versions".
Step 4
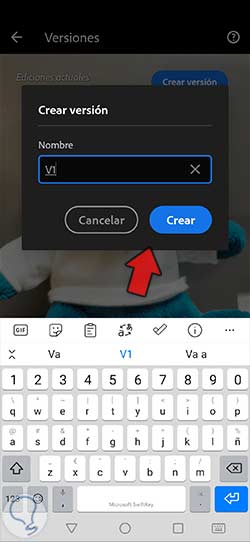
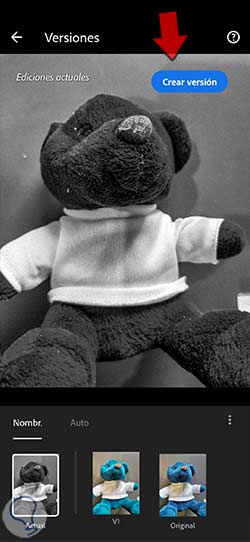
We will see that a new window opens from where we will see the versions currently created at the bottom or generate a new one. To create a new version with the current settings, click on the "Create version" option.

step 5
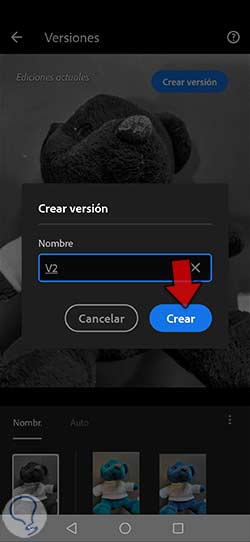
The next thing we will do is give our new version a personalized name to differentiate it from the others and we will create it under the “Create” button.
step 6
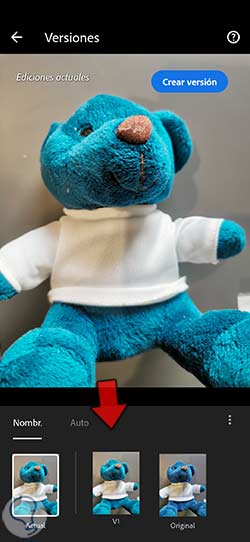
Once we create our version we will see that it appears in the "Named" category with the name we have given.
step 7
The good thing about this option is that we can create different versions with different settings to later be able to go to them quickly. If we have another configuration that we like we can create a new version in the same way:
step 8
We also give a name that distinguishes this new version and we create it with “Create”.
step 9
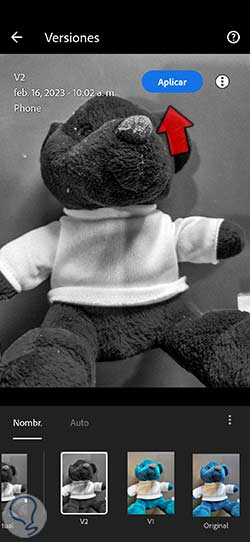
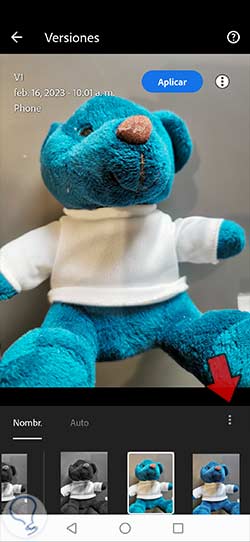
When we want to switch between versions we will come to this screen and click on the version we want to apply. Then click on "Apply" for this version to become effective.
step 10
To delete all the versions that have been created, whether automatic or manually named, we can click on the three lower points.
step 11
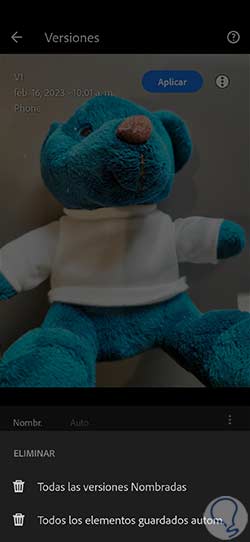
We will see that two options appear to delete both the named versions and the automatically saved ones.
step 12
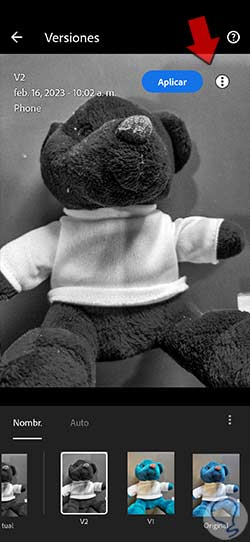
If you want to rename or delete a specific version, click on it and then click on the three upper dots next to "Apply".
step 13
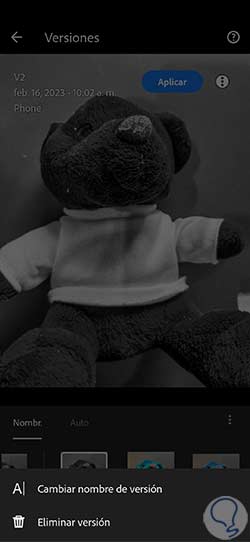
Here a window will appear where we can choose if we want to “Change version name” or “Delete version”.
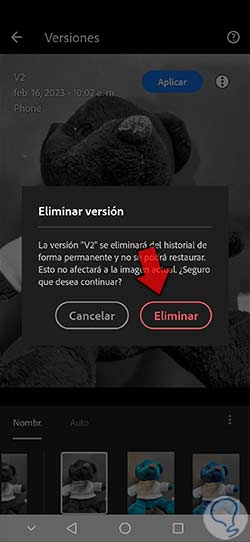
step 14
If we click on "Delete version" we will have to confirm the action by clicking on the "Delete" button that appears.
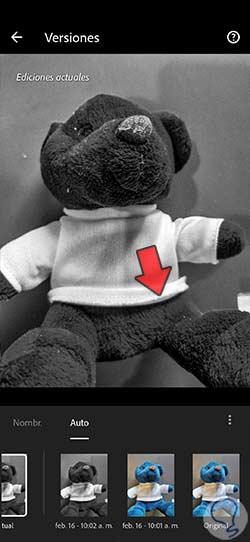
step 15
In the "Auto" section we can see the versions that have been created automatically in Lightroom Mobile.
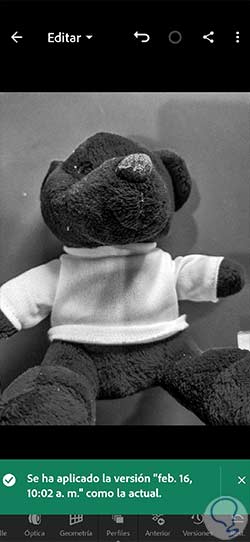
step 16
When we apply a version by clicking on it for our photograph we will see the notice that it has been applied correctly.
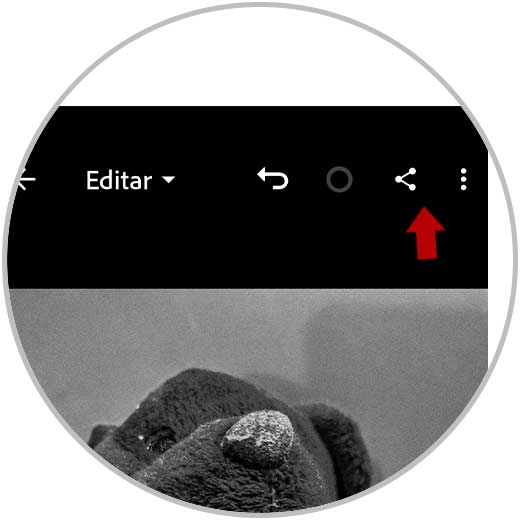
step 17
When you want to save the final photo with one of the versions created, you just have to apply the version you want and then return to the "Edit" panel.
Tap the share icon that appears at the top of the photo.
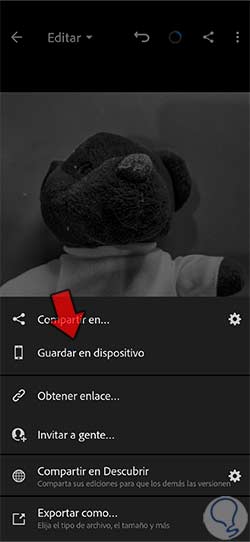
step 18
Finally, we will choose an option to export our photograph. If you want to save it directly to your mobile device, you can click on “Save to device”.
You can do this for each version you want to export by clicking on it and then saving it to your device to compare the different editions.
In this way we will be able to create different versions of our photography with different configurations and adjustments so that we can apply each one of them when we need to in Lightroom Mobile.