The connection to Wi-Fi networks is something that is done on thousands of Windows computers, both laptops and desktops or PCs, in order to connect to the Internet and have access to the millions of options that the network offers us, in the case of Wi-Fi networks. Fi we must connect to an available network in the range and to which we have permission to do so by knowing its password:
In some computers when trying to establish the connection to the Wi-Fi network we can see the error that "It is not possible to connect to this network", the causes are varied and the first thing we must do are some things like:
- Verify that the network access password is correct
- Check that the modem is on
- Check that the network is available (we can see that other devices have access)
If the connectivity error persists, follow the steps that TechnoWikis will teach you in this tutorial. Next we will see different ways to solve the PC error It is not possible to connect to this network in a simple and detailed way, step by step each of the options..
To stay up to date, remember to subscribe to our YouTube channel!
SUBSCRIBE ON YOUTUBE
1 Cannot connect to this network Solution forgetting the network
This step allows us to do a new refresh of the networks and it is forgetting the network to which we connect frequently and it is ideal when the network has undergone some type of changes such as passwords, scope, etc.
Step 1
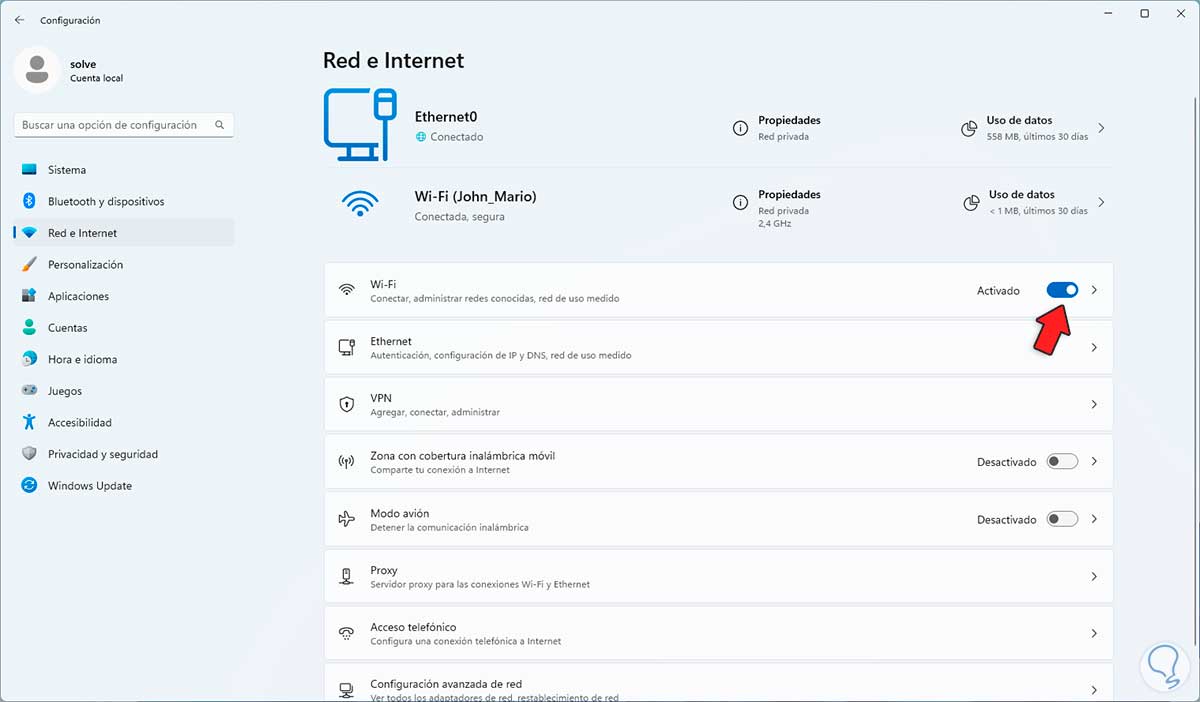
For this method we will go to "Start - Settings - Network and Internet - Wi-Fi":
Step 2
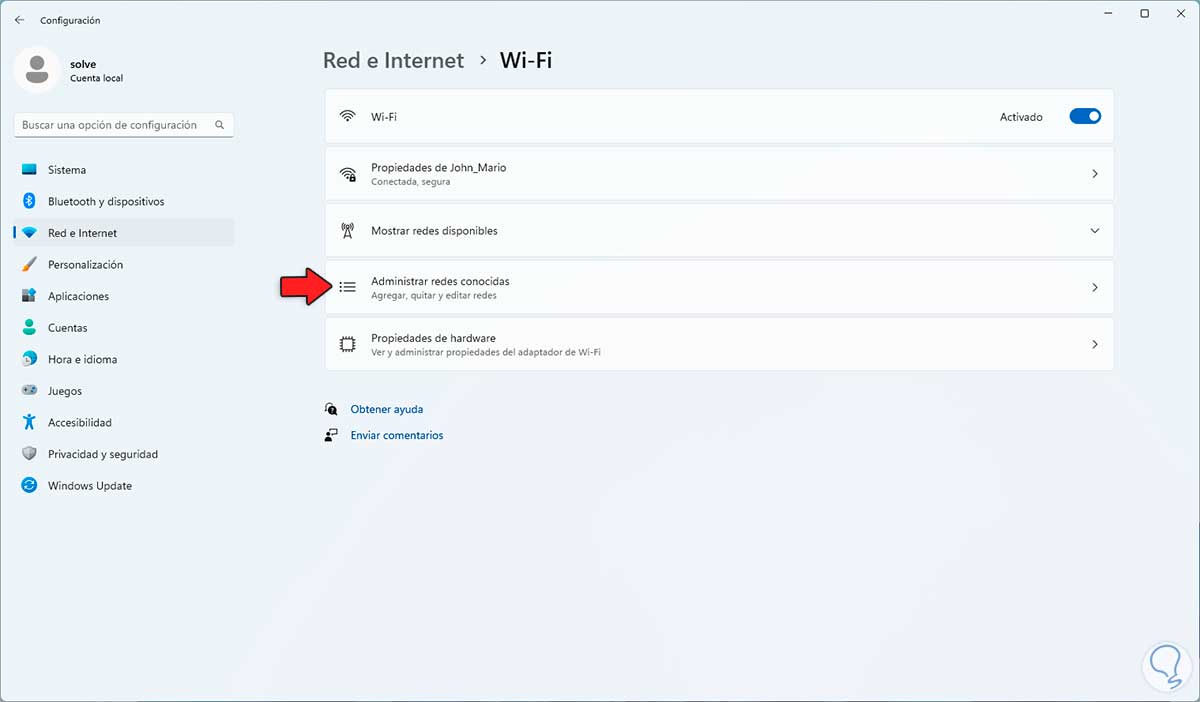
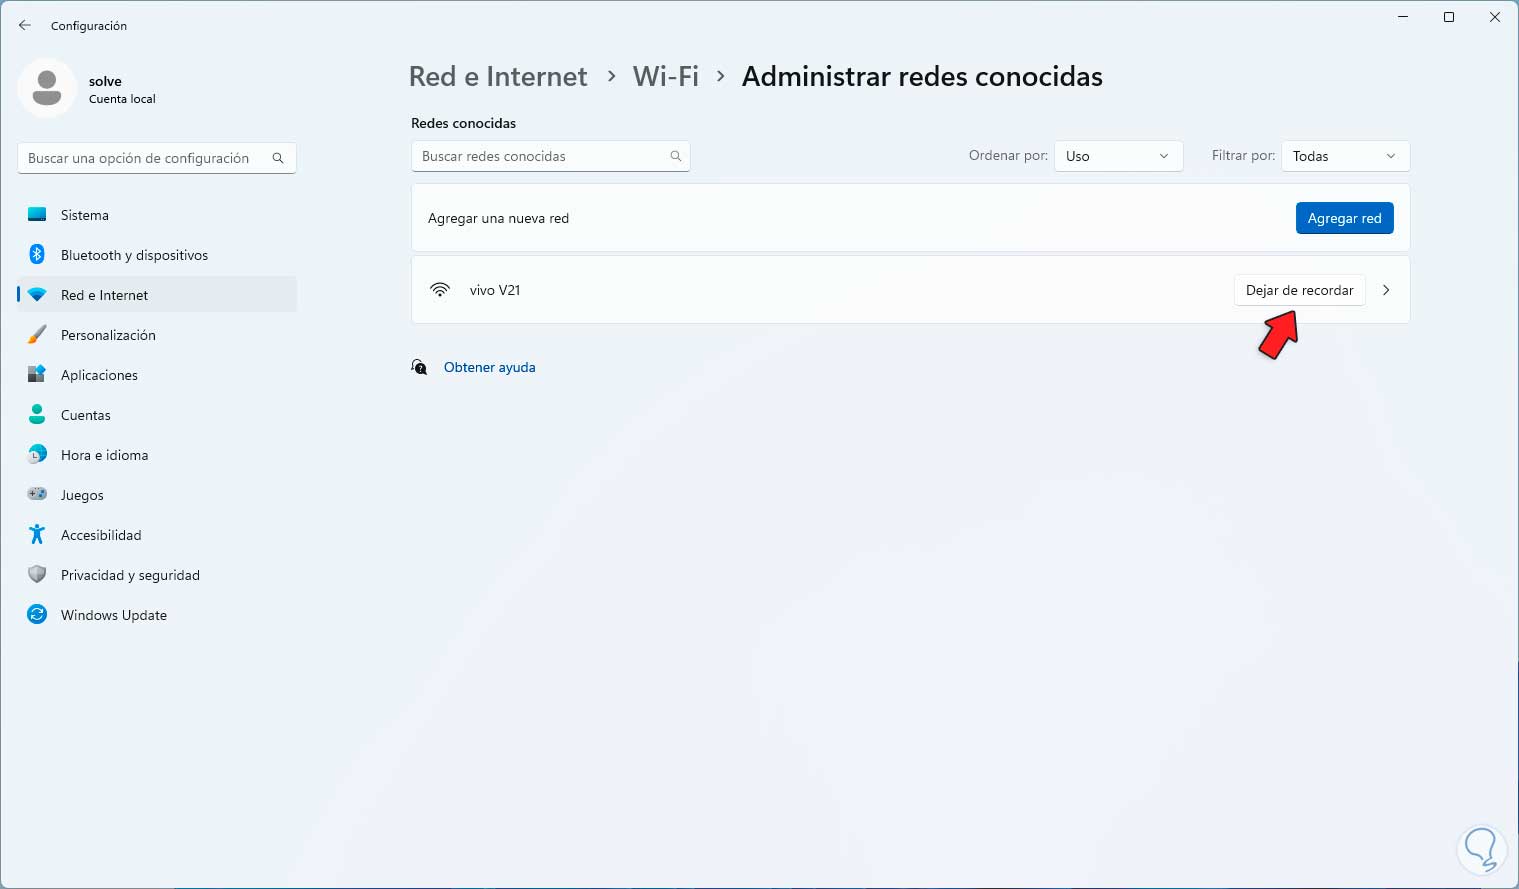
By clicking there we must click on "Manage known networks":
Step 3
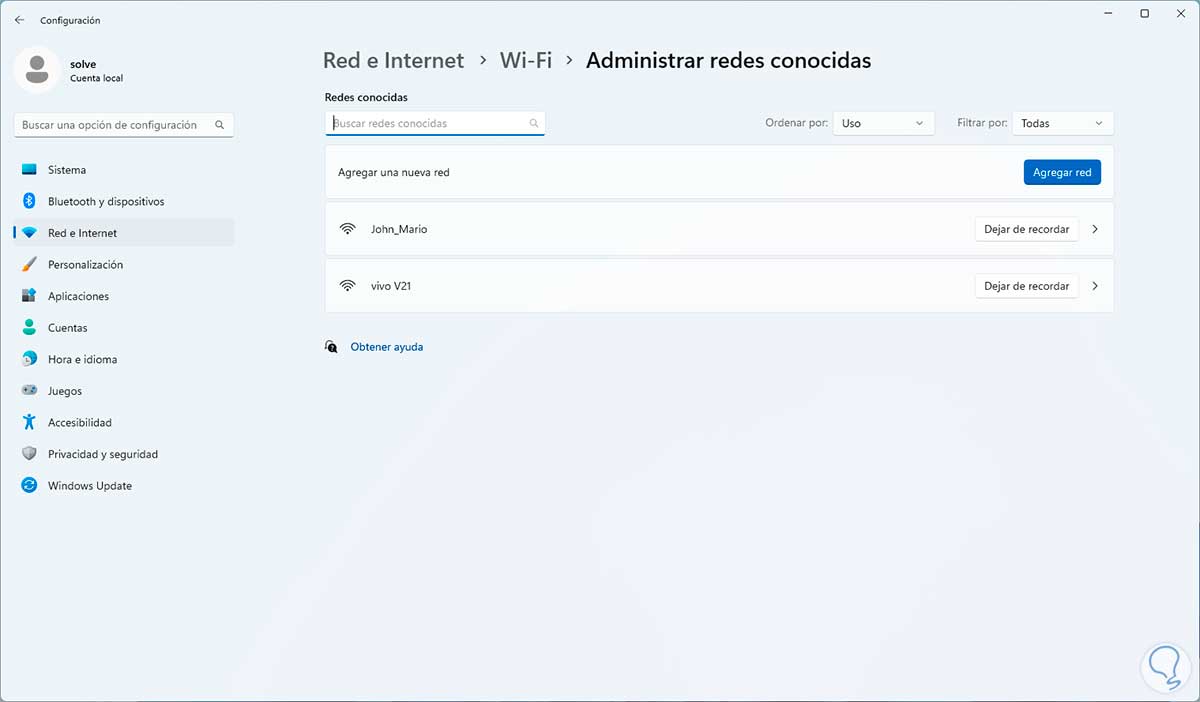
We will see the networks to which we connect in Windows:
Step 4
On the faulty network we click on "Stop remembering" and the network will be deleted:
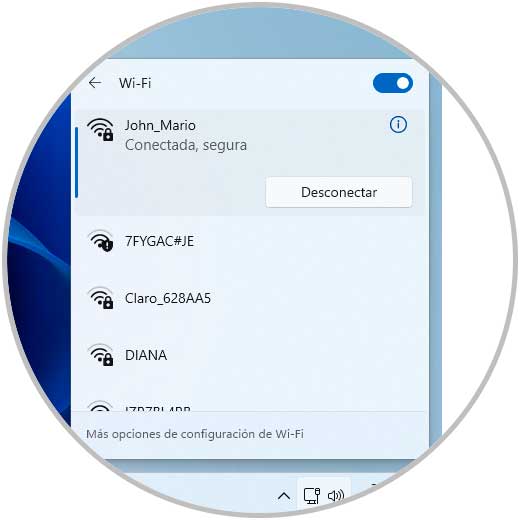
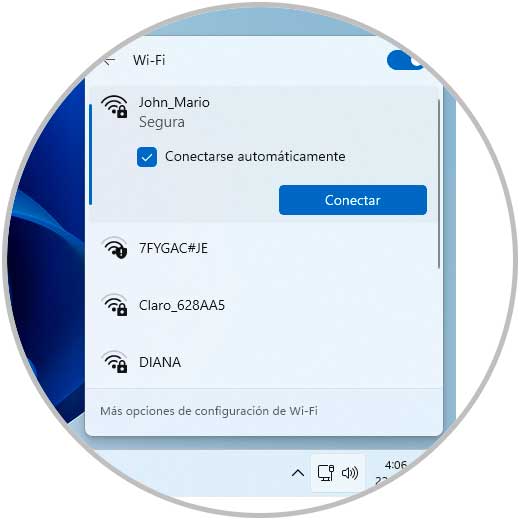
step 5
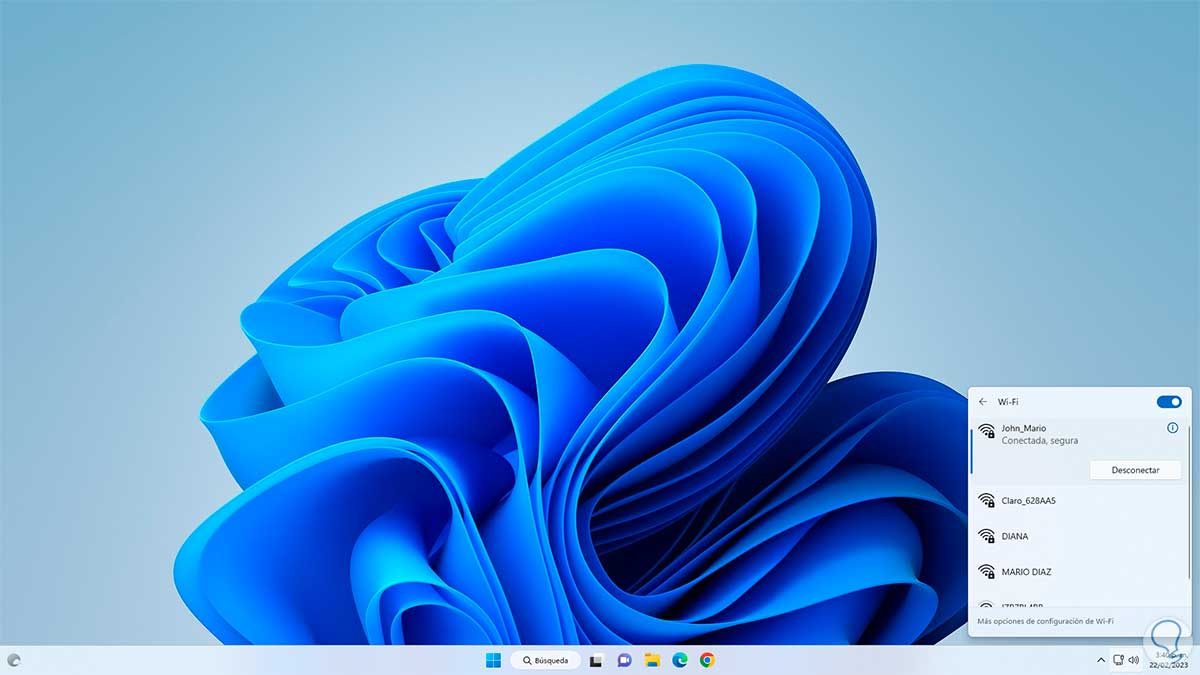
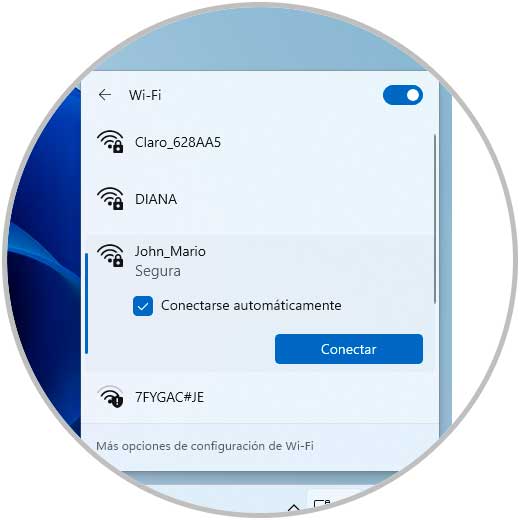
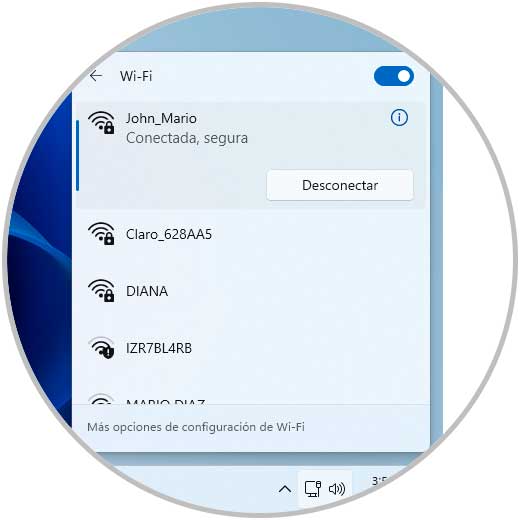
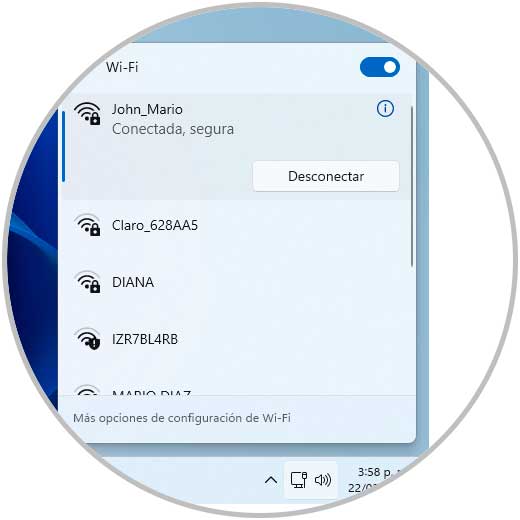
We tried to connect you to the Wi-Fi network:
step 6
We click on "Connect" to see if it connects to the network:

2 Cannot connect to this network Solution by reactivating the adapter
With this option we seek to deactivate and activate the Wi-Fi adapter, this will update the internal processes of the adapter.
Step 1
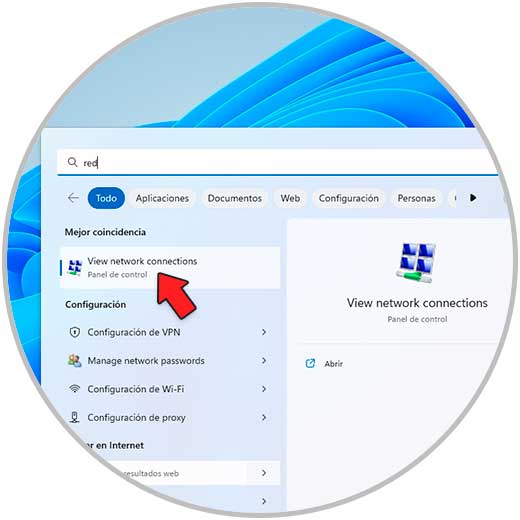
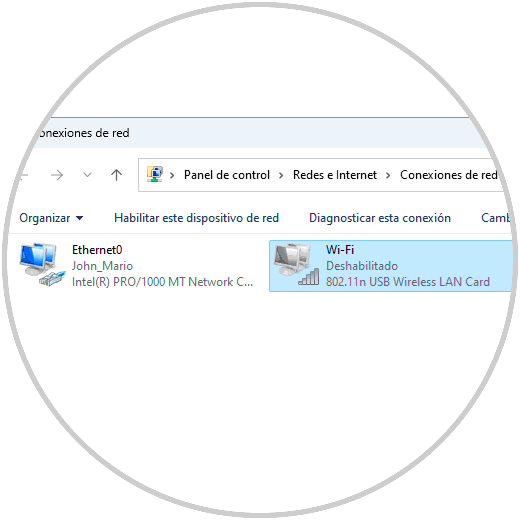
To do this, in the search engine we enter "network" and click on "See network connections":
Step 2
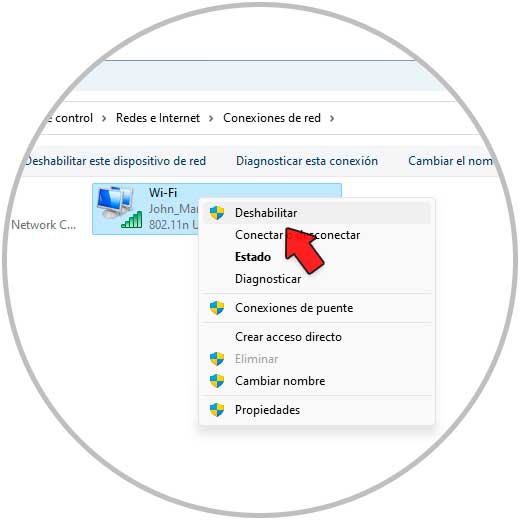
We right click on the Wi-Fi adapter and select the "Disable" option:
Step 3
The Wi-Fi adapter will be disabled:
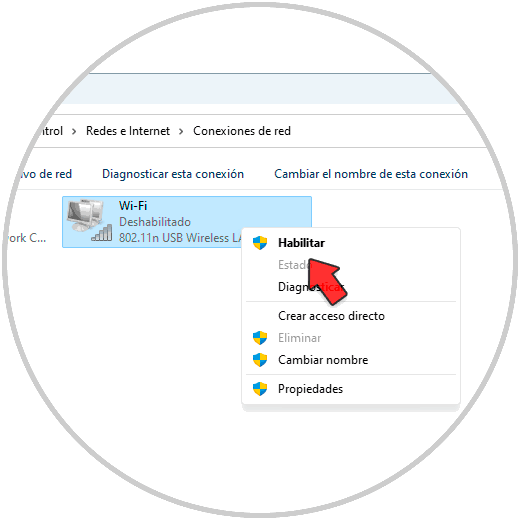
Step 4
Again we right click on the Wi-Fi adapter and this time we select the "Enable" option:
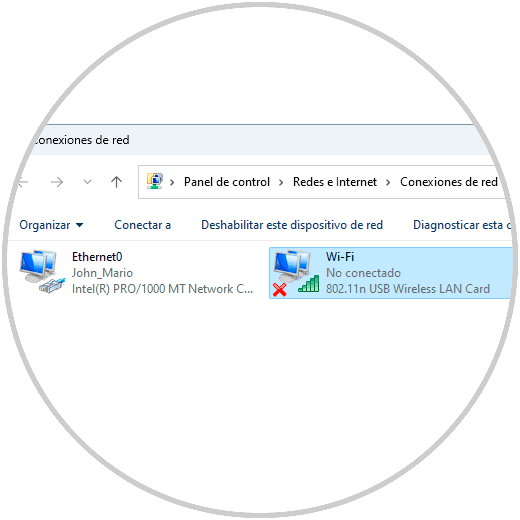
step 5
The adapter will be active in a moment:
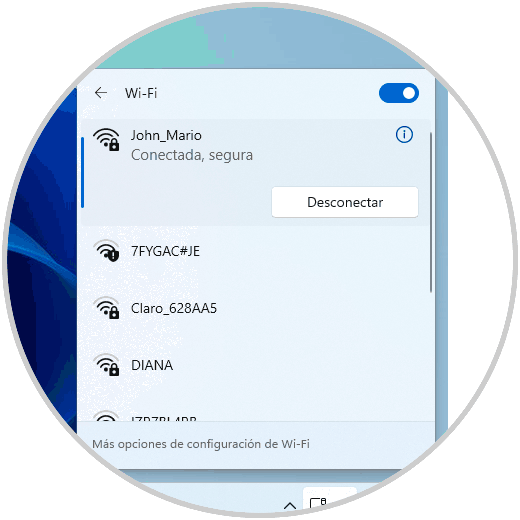
step 6
Try to make the connection:
3 Cannot connect to this network Solution using the Troubleshooter
This is a tool integrated into Windows and with which a complete and detailed analysis of various factors such as processes and services that can affect the Wi-Fi network will be made and if something incorrect is detected, proceed with its respective solution.
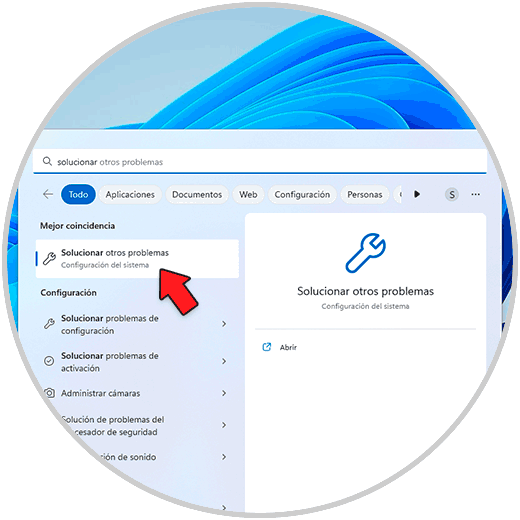
Step 1
In the search engine we enter "solve" and click on "Solve other problems":
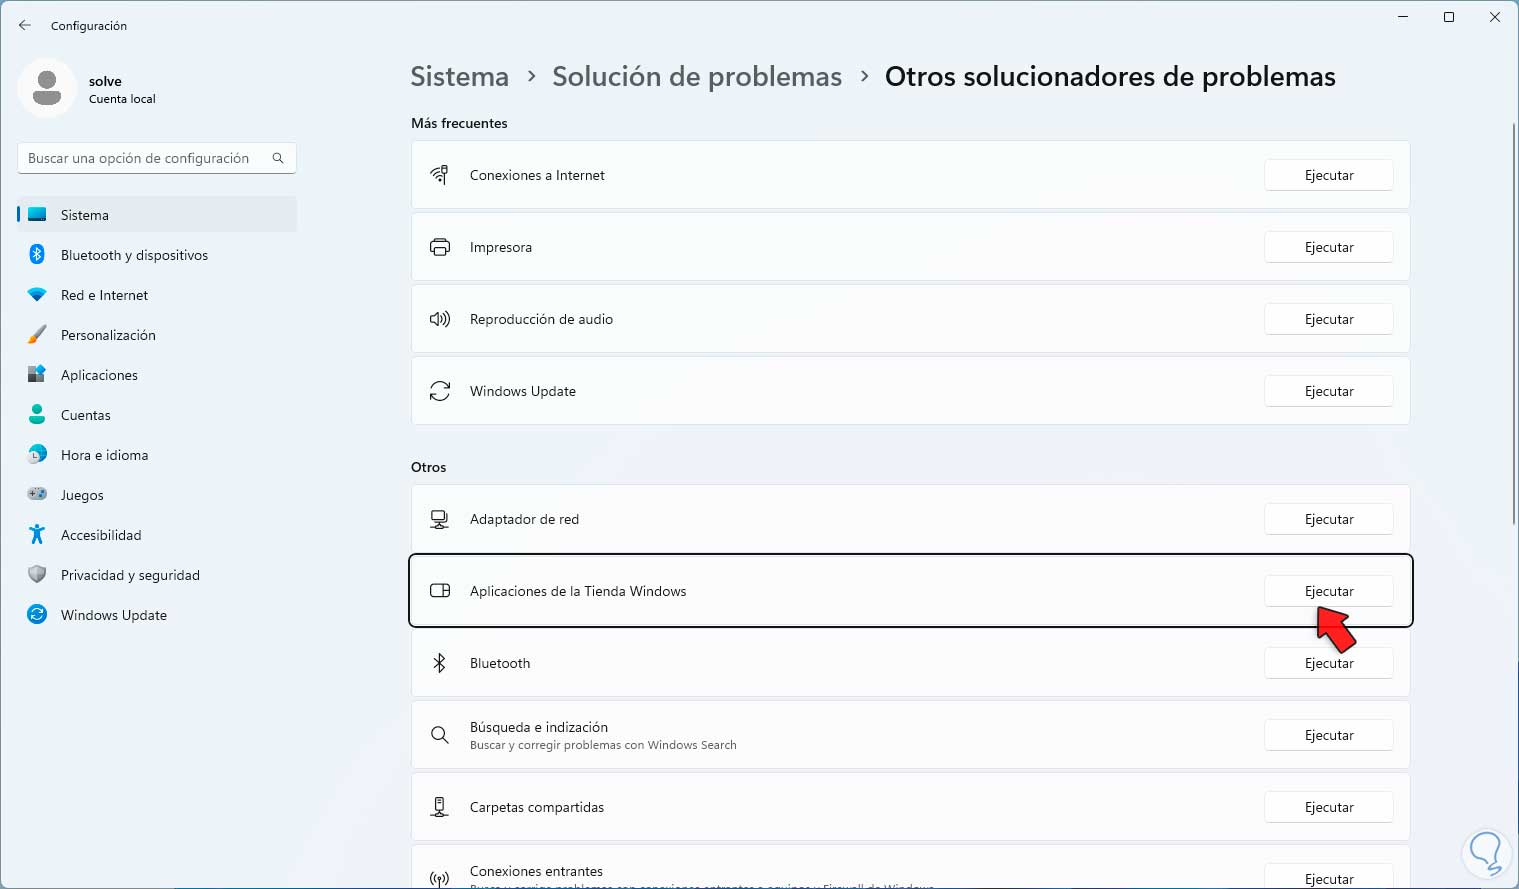
Step 2
In "Network adapter" we click "Run":
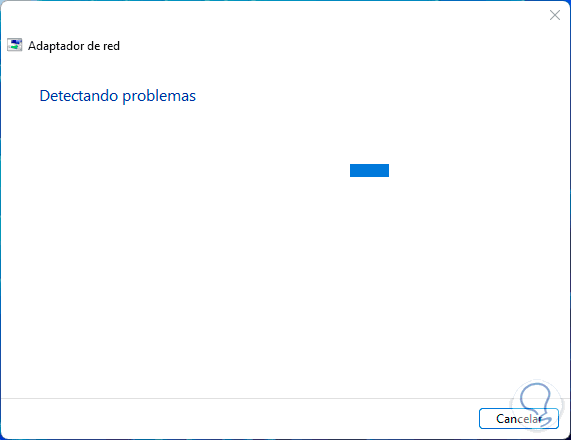
Step 3
The wizard will open:
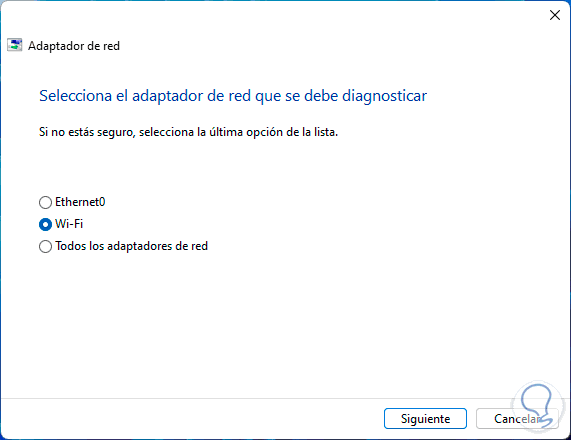
Step 4
Select Wi-Fi network:
step 5
Wait for the process to continue:
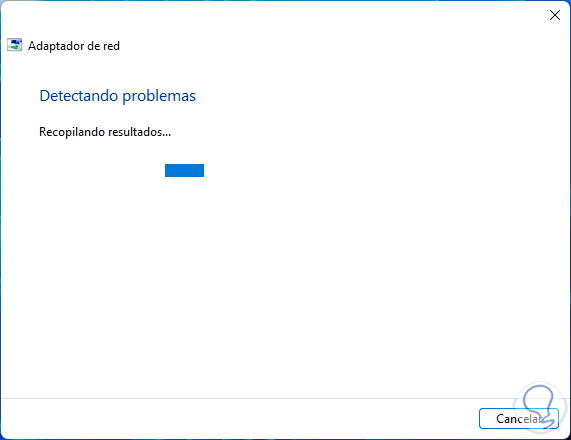
step 6
After this check that the connection is functional:
4 Cannot connect to this network Solution by changing DNS
The DNS (Domain Name System) is in charge of translating domain names into IP addresses and vice versa and by default this is provided by our provider but it usually happens that their DNS servers are overloaded with requests and our DNS can collapse giving connection errors. To solve this it will be possible to use a public DNS like Google's and validate if the error is corrected.
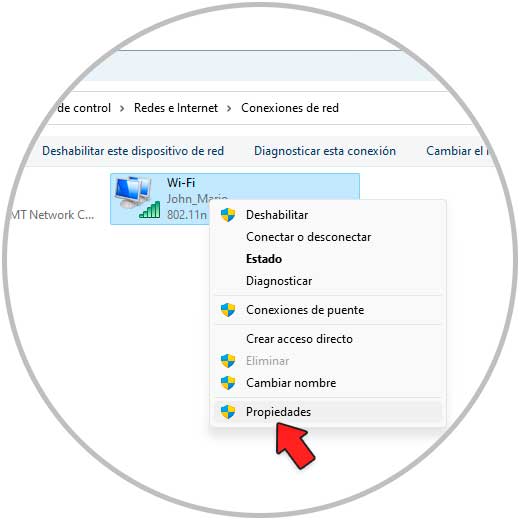
Step 1
In the adapters we right click on the Wi-Fi and select "Properties":
Step 2
In the pop-up window we select the IPv4 protocol and click on "Properties:

Step 3
The following will open:
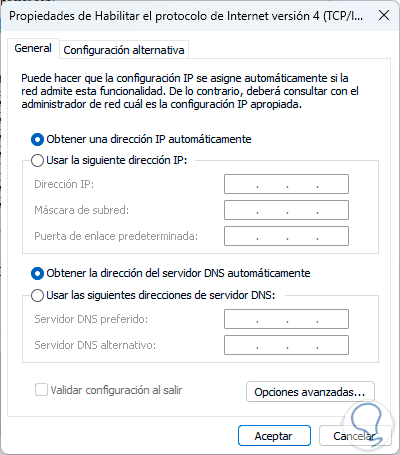
Step 4
We activate the "Use the following DNS server addresses" box and assign a public IP, Google's will be:
- In Preferred DNS Server we establish 8.8.8.8
- In Alternative DNS Server we enter 8.8.4.4
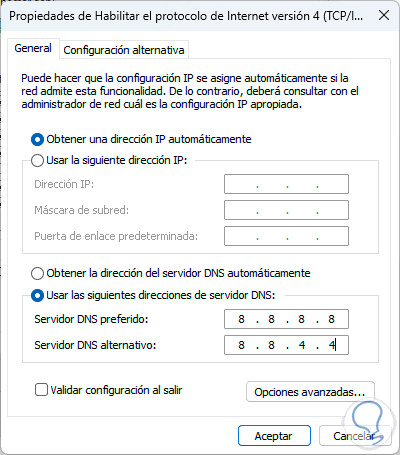
Apply the changes.
step 5
Establish the connection to the Wi-Fi network:
5 Cannot connect to this network Solution from Console
Step 1
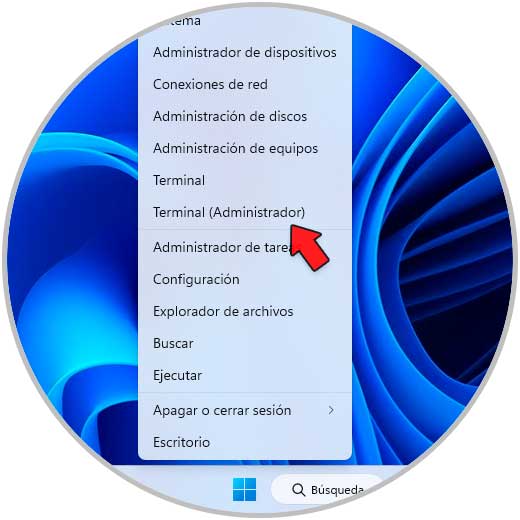
Through a series of commands it will be possible to recover the optimal functioning of the Wi-Fi network, we open the Terminal or CMD as administrator:
Step 2
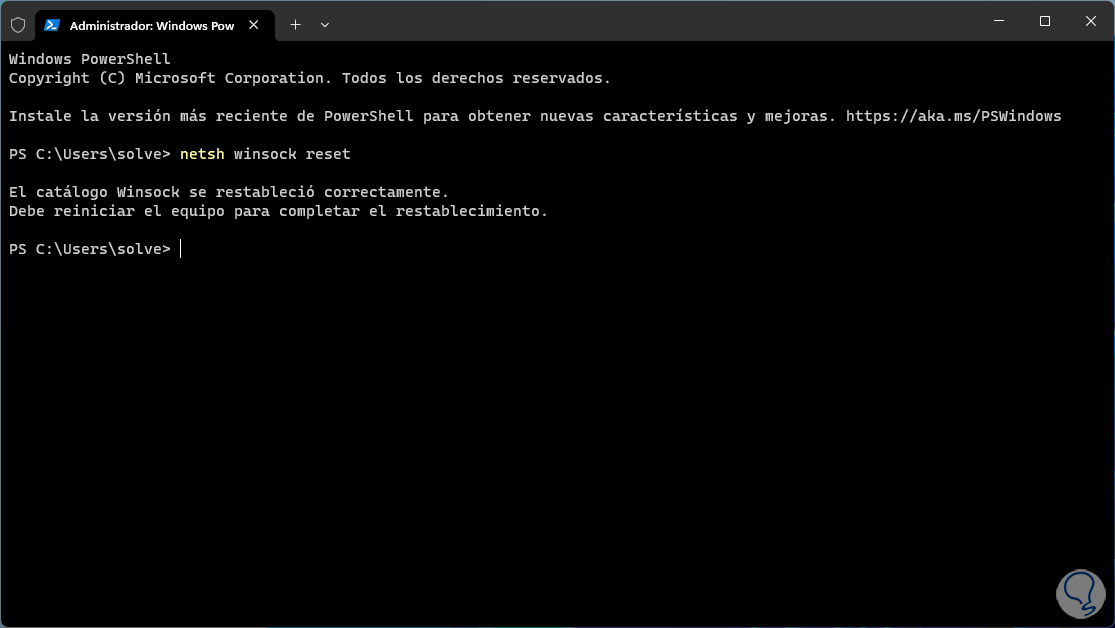
We reset WinSock with the command:
netsh winsock reset
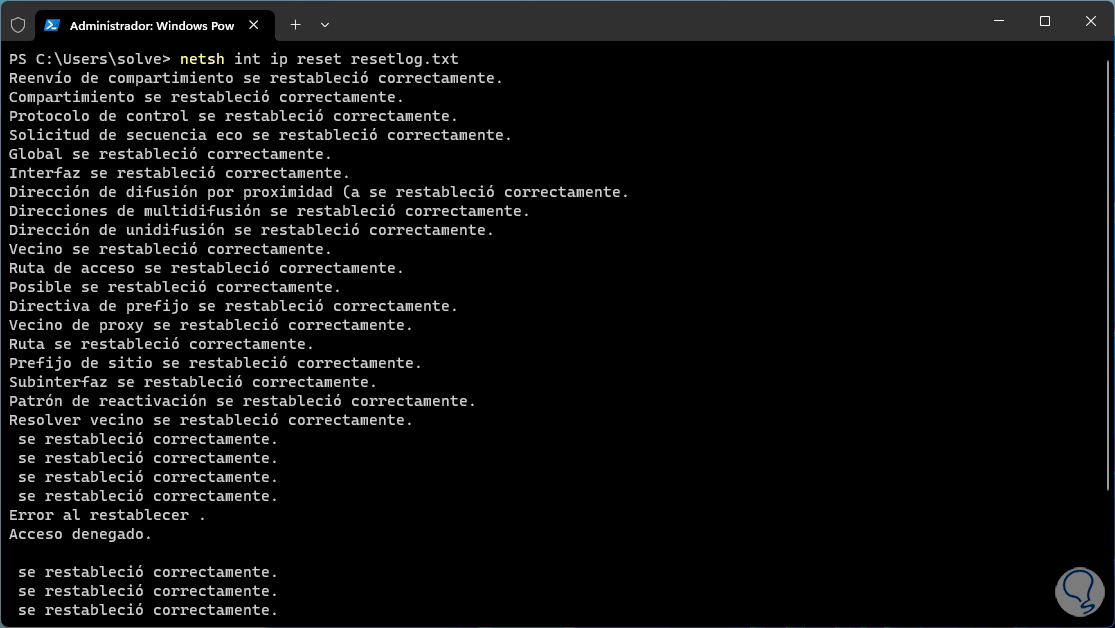
Step 3
Now we execute the following:
netsh int ip reset resetlog.txt
Step 4
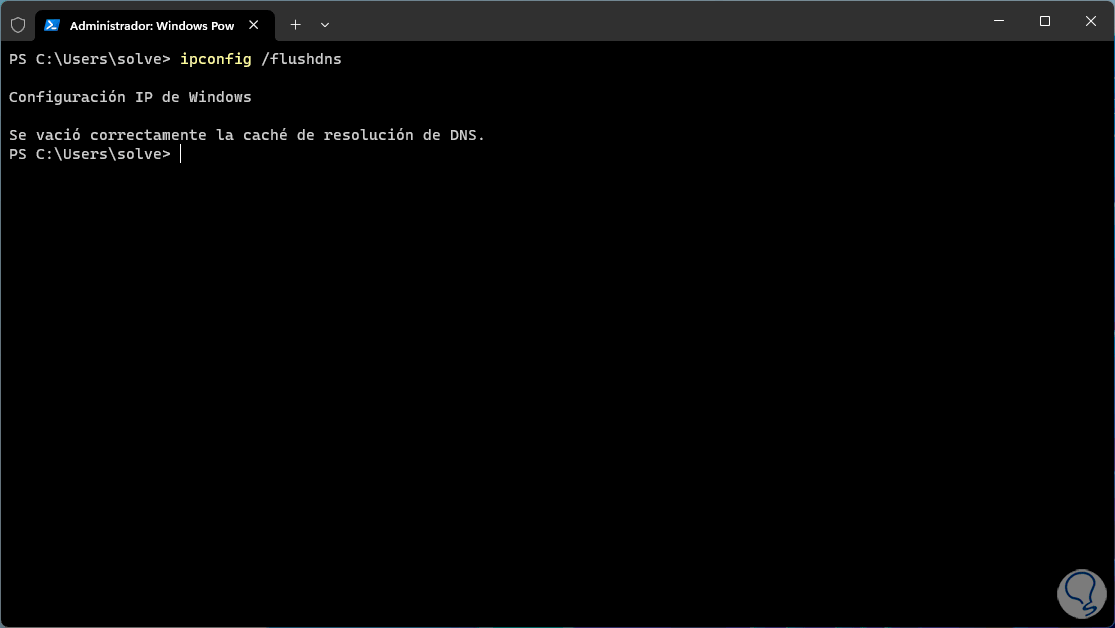
We release the DNS cache:
ipconfig /flushdns
step 5
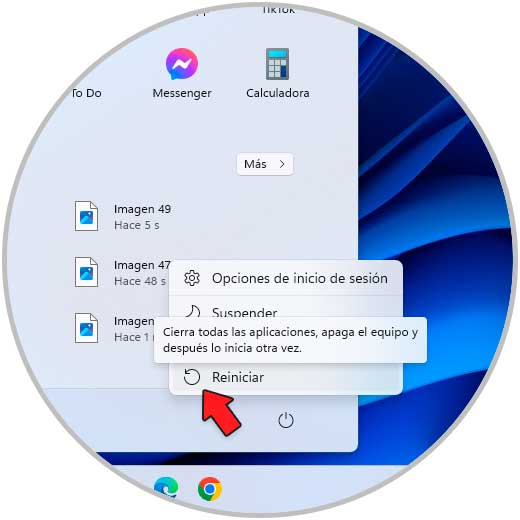
We exit the console and restart Windows:

step 6
We wait for the system to be rebooted:

step 7
By logging in we validate that it is possible to connect:
6 Cannot connect to this network Solution by updating driver
Having an outdated driver is the root of numerous errors, including the inability to connect to the Wi-Fi network.
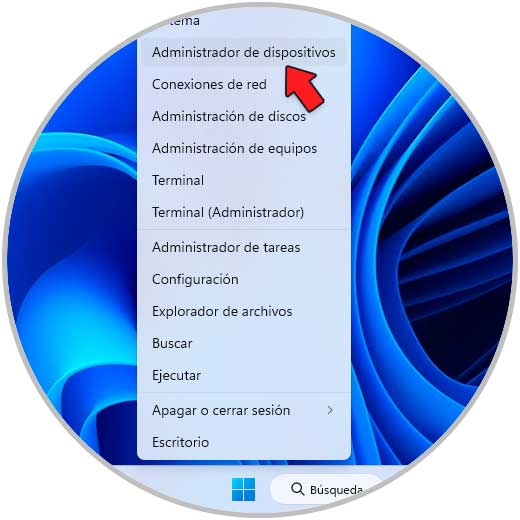
Step 1
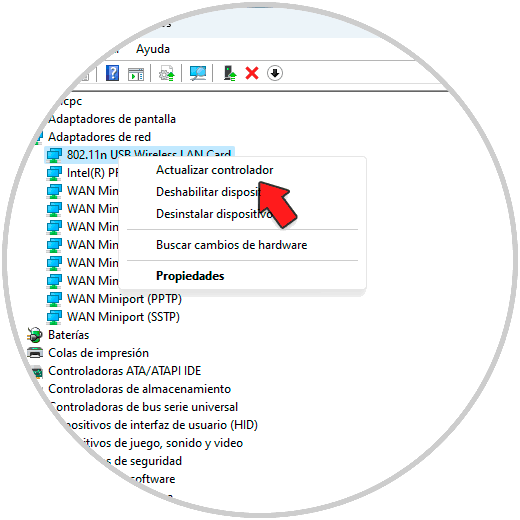
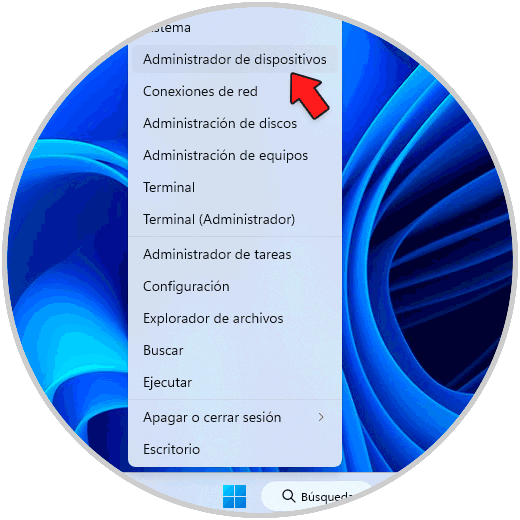
In order to update the driver we open the Device Manager:
Step 2
In "Network adapters" we right click on the driver and select "Update driver":
Step 3
We will see this:
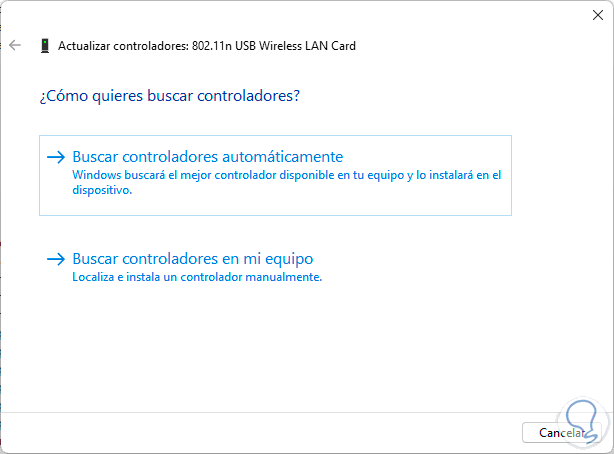
Step 4
We click on "Search for drivers automatically" and wait for the process to finish:
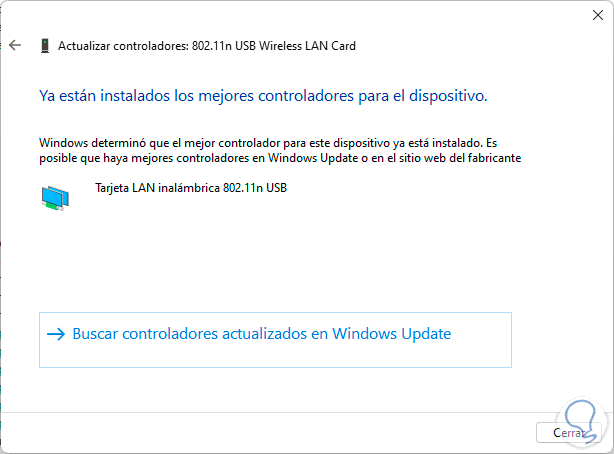
step 5
Establish the connection to the Wi-Fi network:

7 Cannot connect to this network Solution by reinstalling the driver
With this method it will be possible to reinstall the driver in a simple way and this will do a total renovation of the Wi-Fi network driver processes.
Step 1
To do this we open the Device Manager:
Step 2
In "Network adapters" we right click on the Wi-Fi driver and select the "Uninstall device" option:
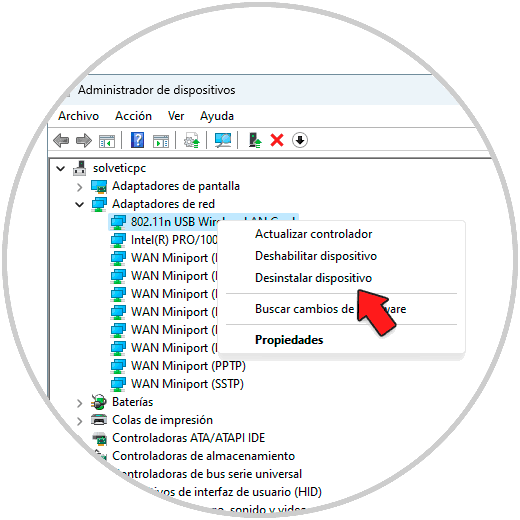
Step 3
We will see the following message:

Step 4
Confirm the process by clicking "Uninstall":

step 5
We will see that the driver has been uninstalled:
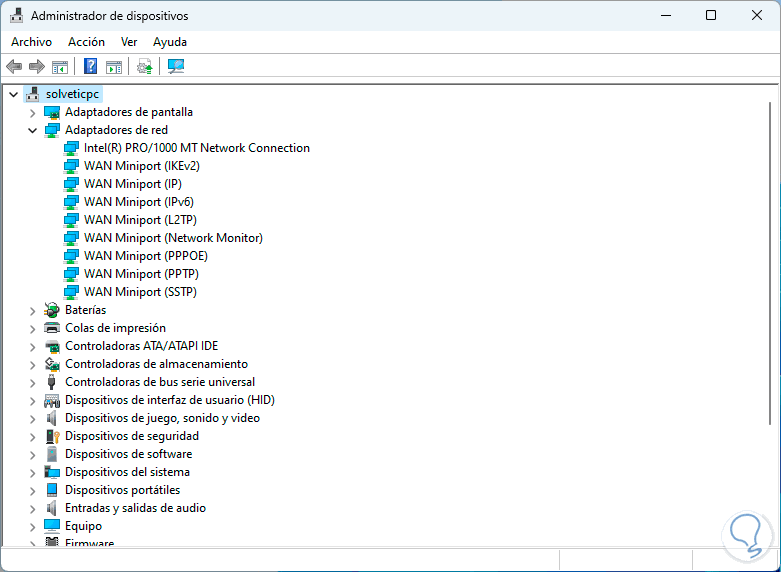
step 6
We go to the "Action - Search for hardware changes" menu:
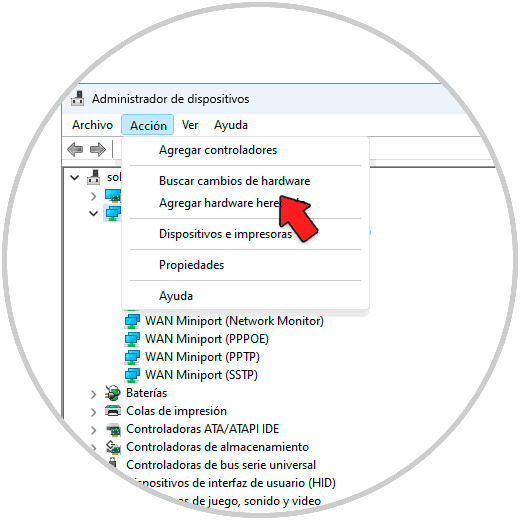
step 7
This will cause the Wi-Fi driver to be installed again:
step 8
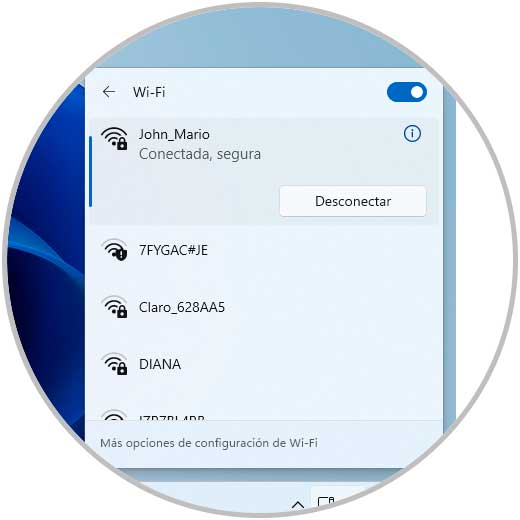
We connect to the Wi-Fi network to validate that it is possible:

8 Cannot connect to this network Solution by resetting the adapter
Finally it will be possible to reset the adapter to its default values so that all associated services can optimize connectivity to the Wi-Fi network.
Step 1
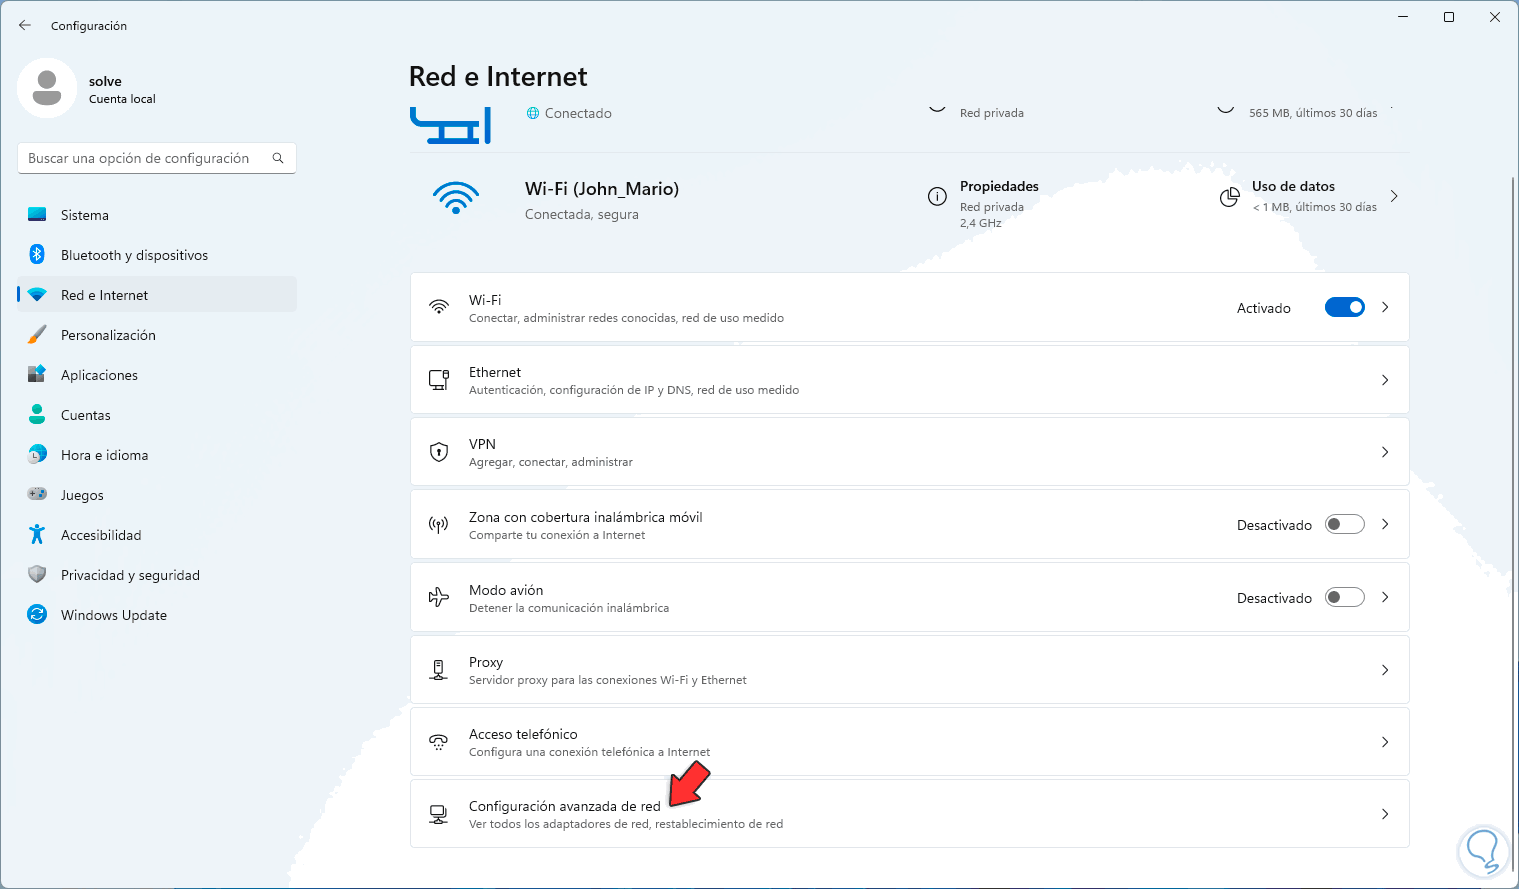
To achieve this we go to "Start - Settings - Network and Internet - Advanced network settings":
Step 2
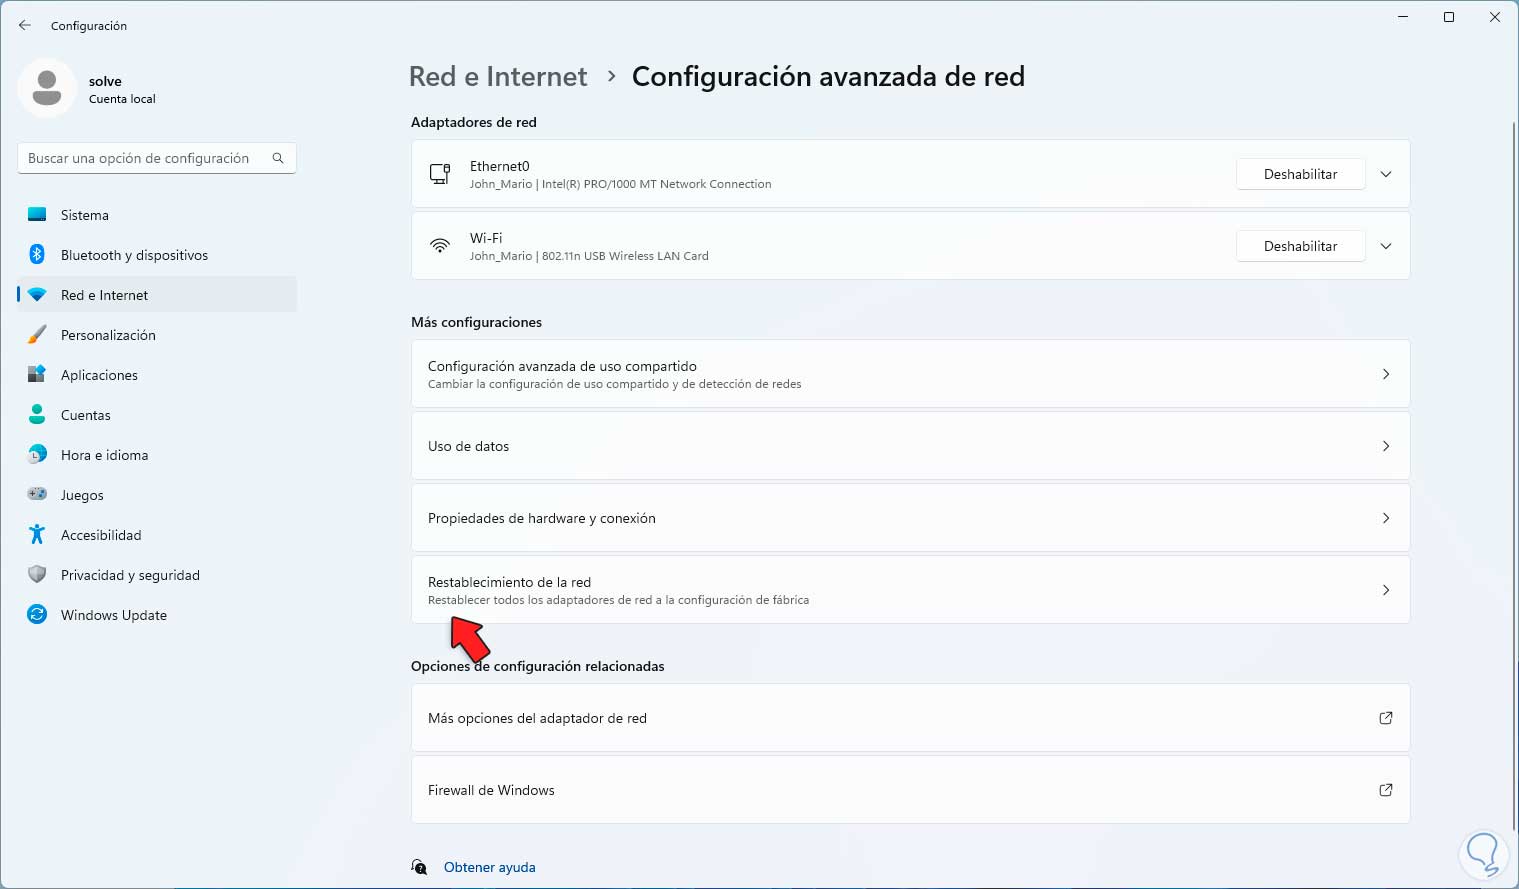
Then we click on "Network reset":
Step 3
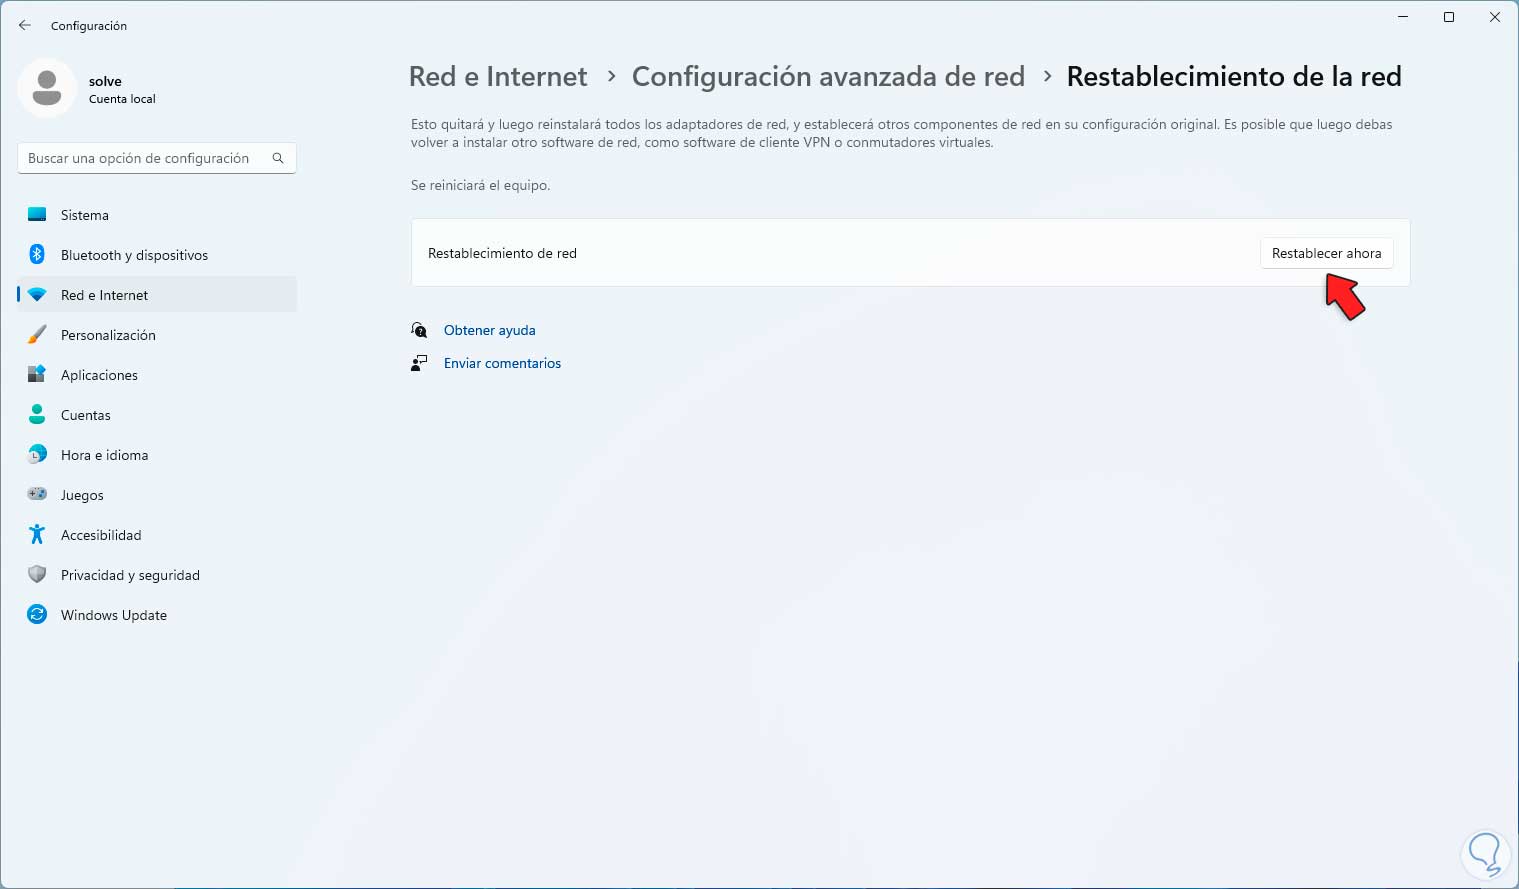
Now we click on "Reset now":
Step 4
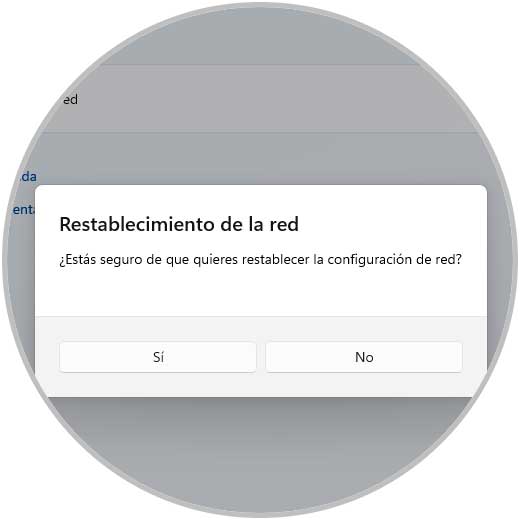
We must confirm the action:
step 5
We will see the following message:
step 6
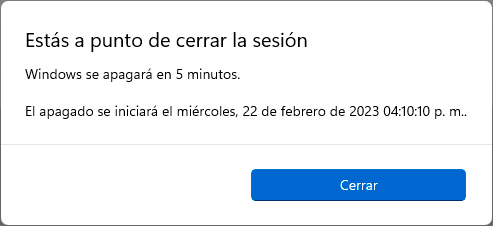
Restart Windows:
step 7
Windows will restart:

step 8
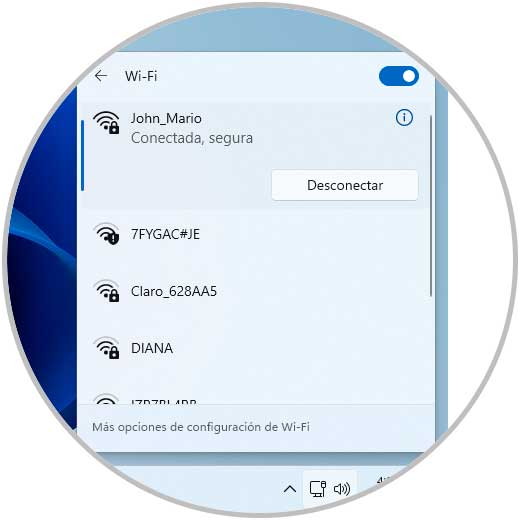
Confirm that it is possible to connect to the Wi-Fi network:
step 9
The connection will be successful:
Each of these options will help us to have secure access to the Wi-Fi network available in Windows..