Windows Server 2016 and 2019 provide us with several practical functionalities to maximize the administration of each of the object alternatives that are implemented there. One of these are the users, thanks to which thousands of administrative and productive tasks are executed in the organization..
The creation of a user in the active directory does not require a lot of work, but if it is required to create multiple users it can take time that can be used for other more relevant system tasks; especially if it is about creating several users from a single department, which will have the same configuration at the level of roles and parameters. In this case, the most practical way that Windows Server 2016 and 2019 gives us is to create a base user with all the settings and then create a template for this user, which will be used for everyone else. This saves time as it avoids creating user by user by adding roles and other details.
This is why TechnoWikis will explain how we can create a user template in Windows Server 2019, but the process is the same for Windows Server 2016..
Step 1
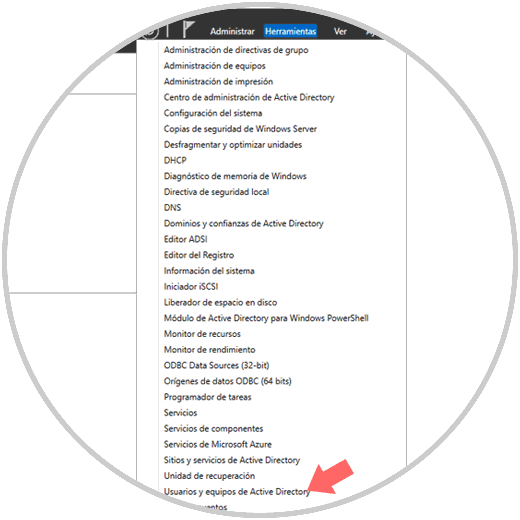
To start this process we will go to the "Server Administrator" and there, in the "Tools" menu, select the "Active Directory Users and Computers" option:
Step 2
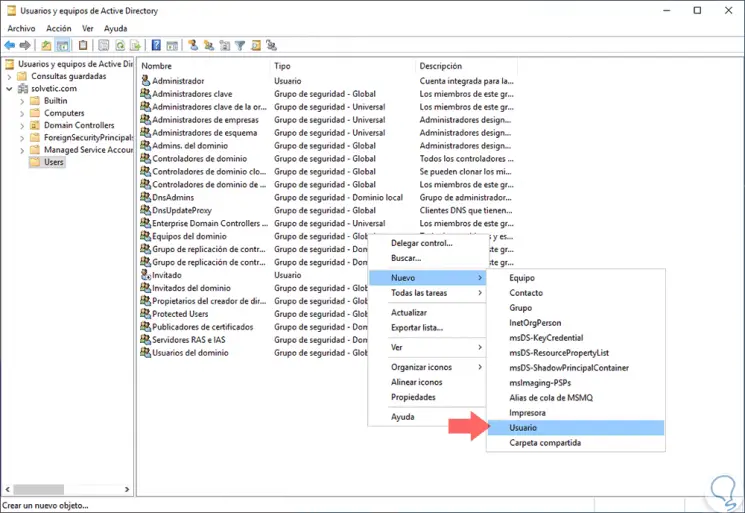
In the console that will be displayed, we will go to the "Users" section and there we will right click somewhere free to select the "New" / "User" option:
Step 3
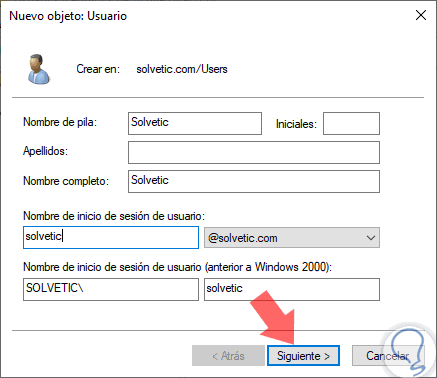
We proceed to create the new user as necessary. Click on "Next".
Step 4
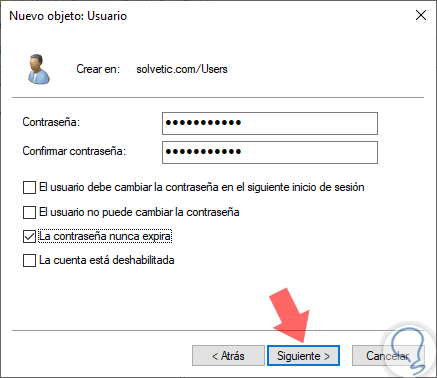
Next, we assign the password and define how the account will be managed, this implies defining if the account will be disabled, if the user must change the password, etc. Click on "Next" again.
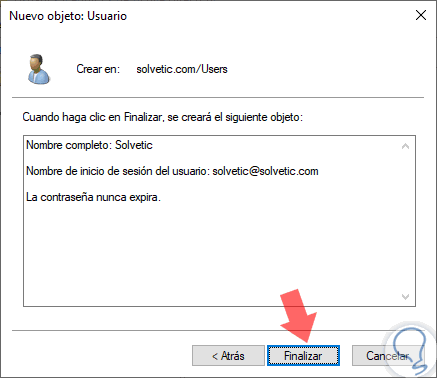
Step 5
We will see a summary of the account to create. Click on "Finish" to complete the process.
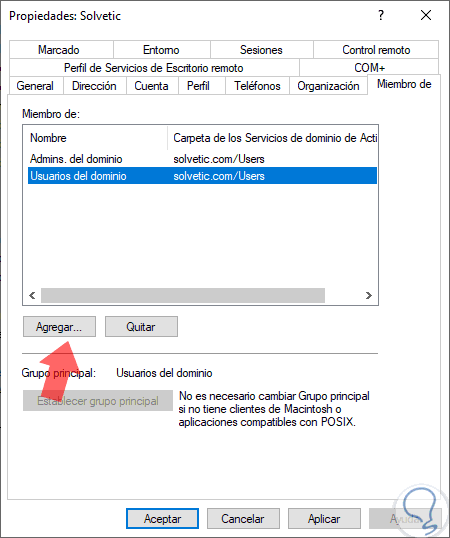
Step 6
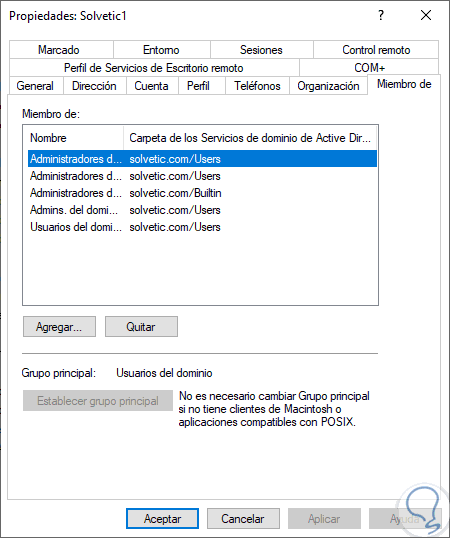
Now we will double click on the new user and in the window we will go to the "Member of" tab to add the groups in which the users will be. There we can click on the "Add" button to enter all the required groups.
Step 7
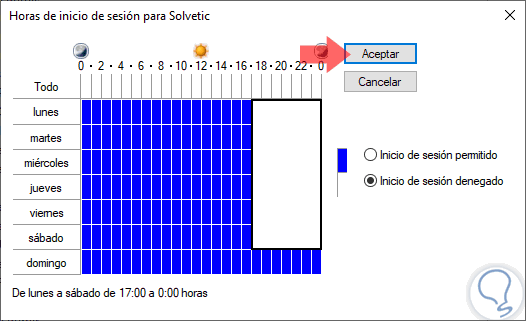
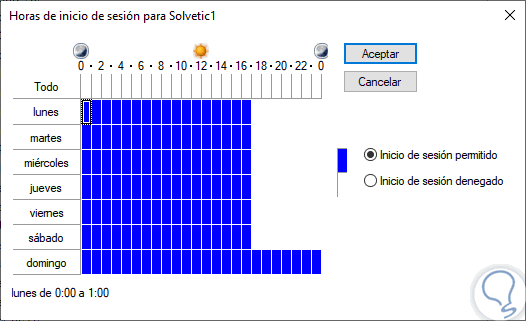
We can go to the "Account" tab where we will see the following. If we wish, click on the "Login time" button to define in what time range the user will have permission to log in to the domain.
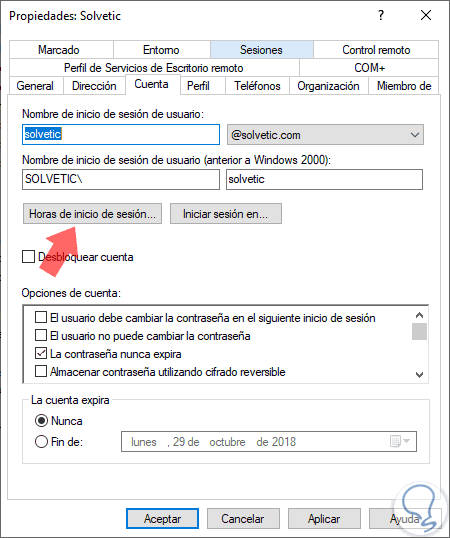
Click on "Accept" to apply the changes.
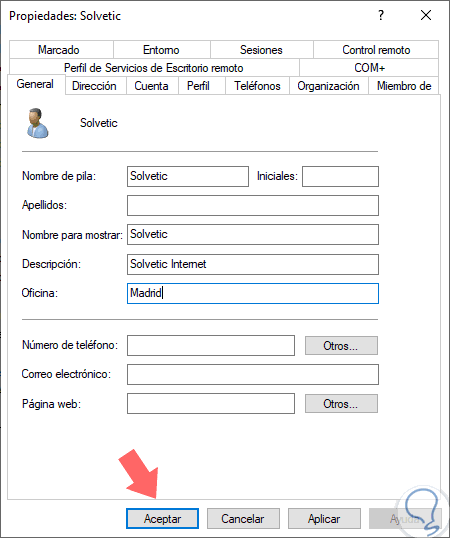
Step 8
Likewise, we can enter all the data that we consider necessary for such user. Once this is defined, click on the "Apply and Accept" button to save the changes.
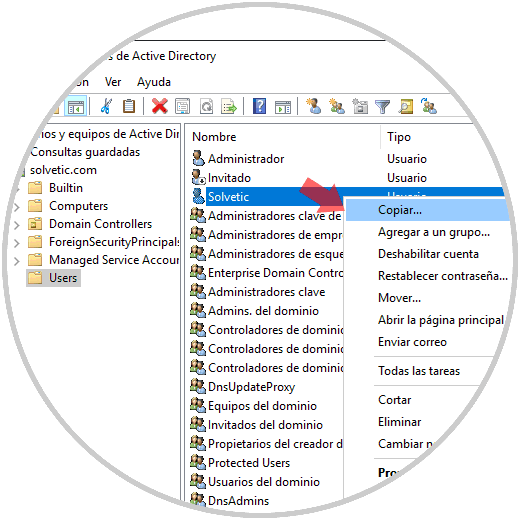
Step 9
Now we will right click on the user created and edited and select the "Copy" option:
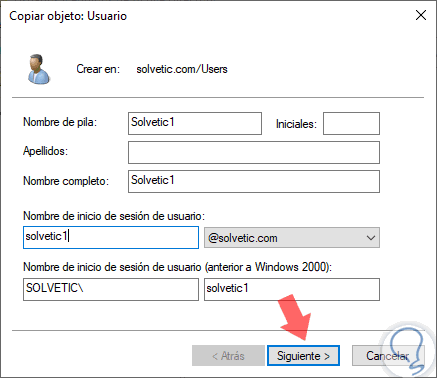
Step 10
The following window will be displayed where we enter the details of the new user. In the next window we enter the password.
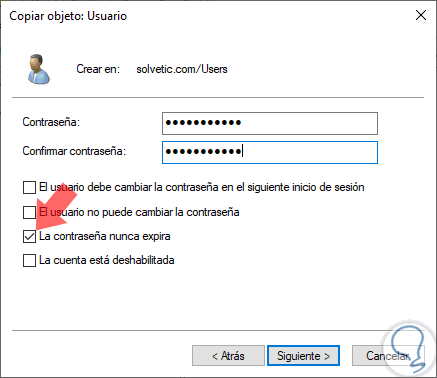
Step 11
We can see that the option defined in the previous user is applied, in this case "The password never expires". Click on "Next". Then in "Finish" to complete the creation of the user.
Step 12
Once created we will double click on this user and we can see that all the changes that were applied to the initial user are reflected to this new user:
It's that simple to create a template for a user and allow their entire profile to be applied to all other users created based on it..