The use of the Smart Band allows us to have constant monitoring of our daily physical activity, including data such as the number of steps we take, the distance we travel or the calories we expend, among others. Having such an easy-to-carry gadget makes it easier for us to set physical goals that help us maintain a healthier and more active life. We can also use our Smart Band such as the Redmi Smart Band 2 to monitor sleep and thus control the quality of sleep we have and be able to improve it, something very useful if we have problems at bedtime..
Other positive points that we can achieve when having a Smart Band is to receive notifications on our phone of what happens on it, such as the notification of calls, messages or even application alerts. This will save us from having to constantly look at the phone and only by looking at our Redmi Smart Band 2 will we know what is happening.
That is why today we are going to help you know how to synchronize and link the Redmi Smart Band 2 and start using it in a personalized way..
To stay up to date, remember to subscribe to our YouTube channel!
SUBSCRIBE ON YOUTUBE
How to sync Redmi Smart Band 2
Step 1
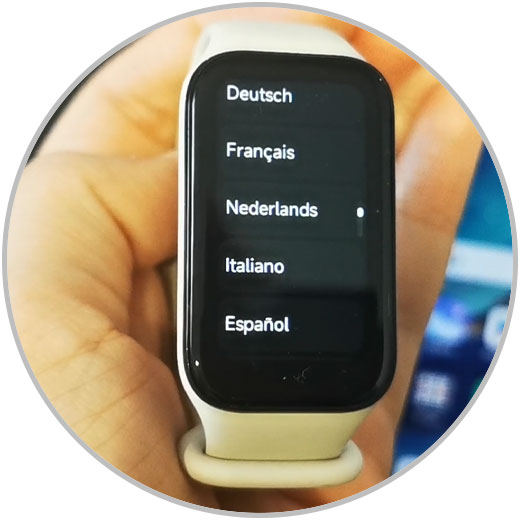
Once our Redmi Smart Band 2 has enough charge we can start using it. The first thing we will see is the possibility of choosing the interface language:
Step 2
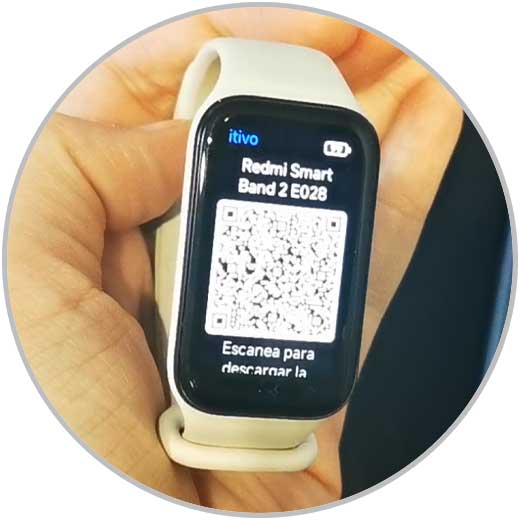
Now the QR code will appear on the screen that we can scan on our mobile to find the "Xiaomi Wear" or "My Fitness" app and that you can also find in your Play Store or App Store:
Step 3
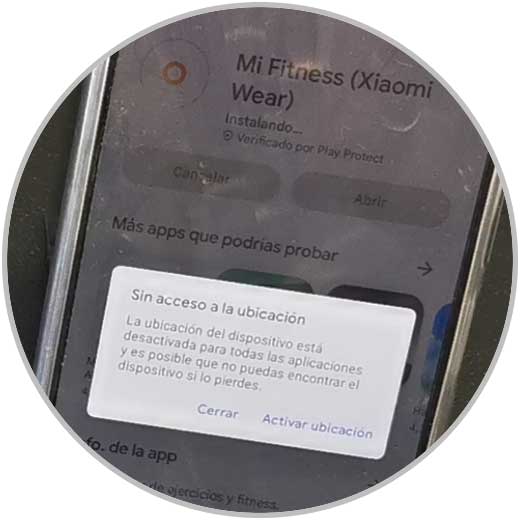
We install the application and wait for the process to complete. It will surely ask us for location permission.
Step 4
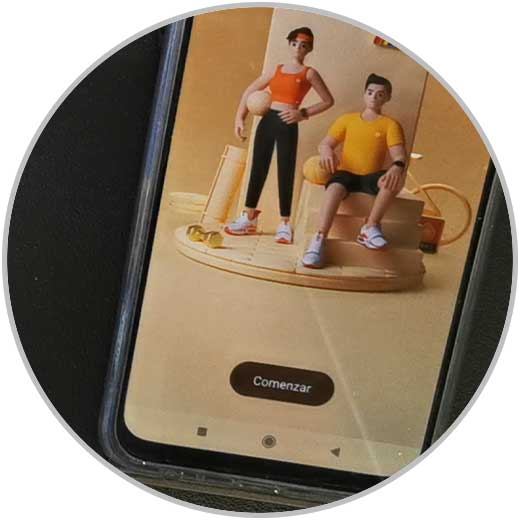
Once we install the Mi Fitness application we are going to log in with a Xiaomi account and if you do not have one you will have to create it.
step 5
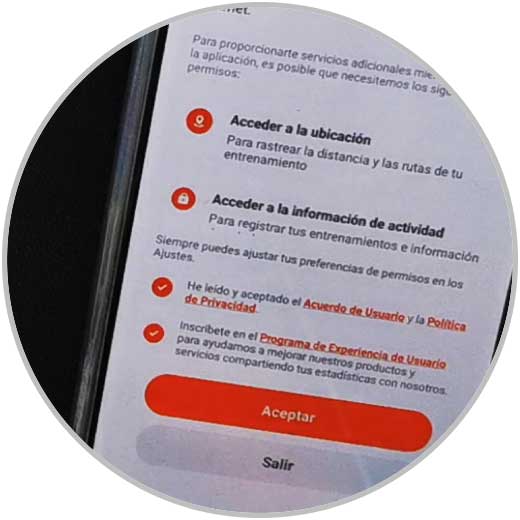
We will accept the "Terms and Conditions" as it appears:
step 6
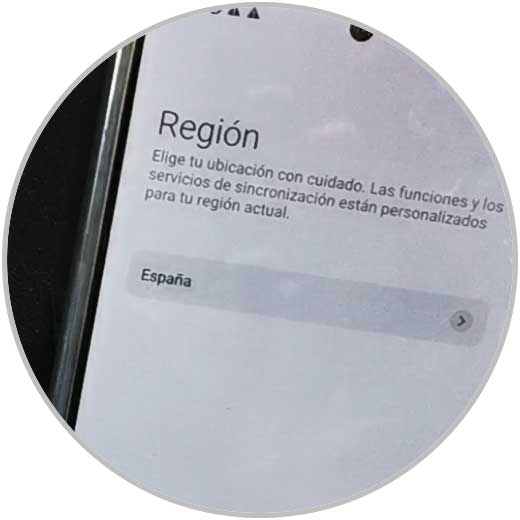
We select our region and continue.
step 7
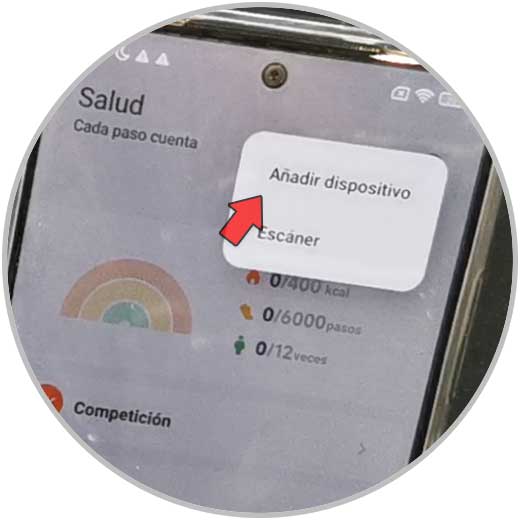
To add our Xiaomi Band we are going to click on the upper add icon and choose "Add device".
step 8
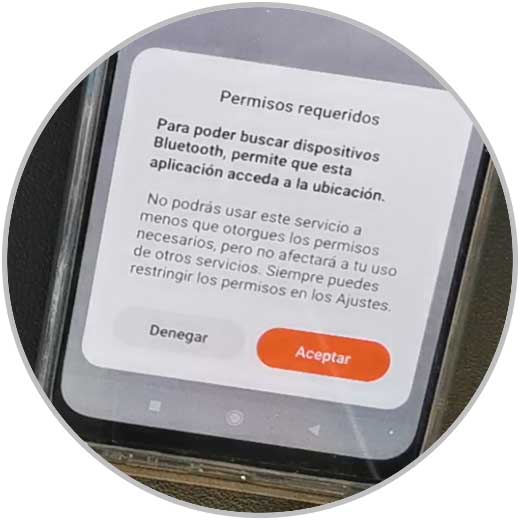
We are going to accept the necessary permissions that the application requires, such as Bluetooth or Location to find the band.
step 9
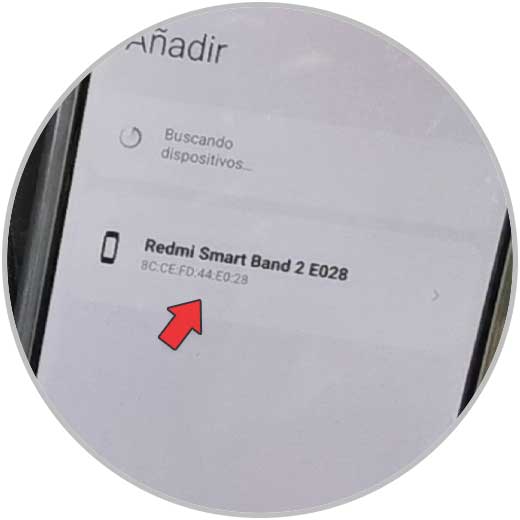
We will see that the search for devices begins among which our Redmi Smart Band 2 should appear. We will click on it.
step 10
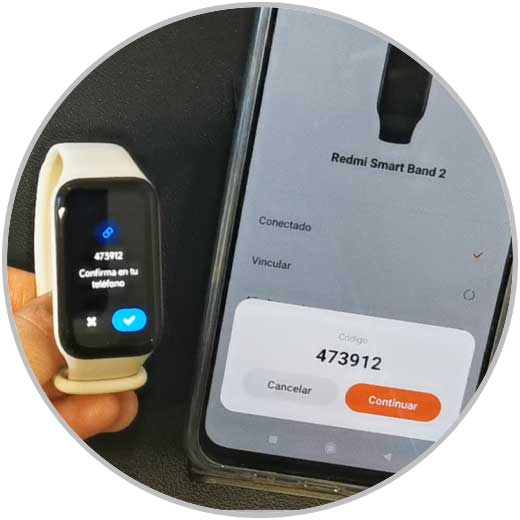
We wait a few seconds and we will see that a notice appears on the mobile and on the Smart Band 2 with a code that we must confirm.
step 11
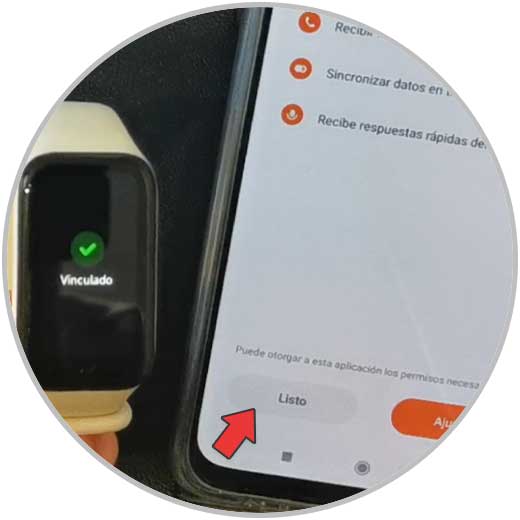
Click on "Done" to continue.
step 12
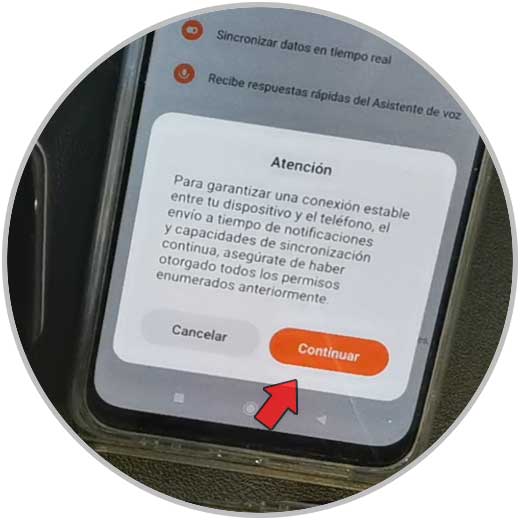
We continue the process allowing notification permissions so that notifications appear on the bracelet.
step 13
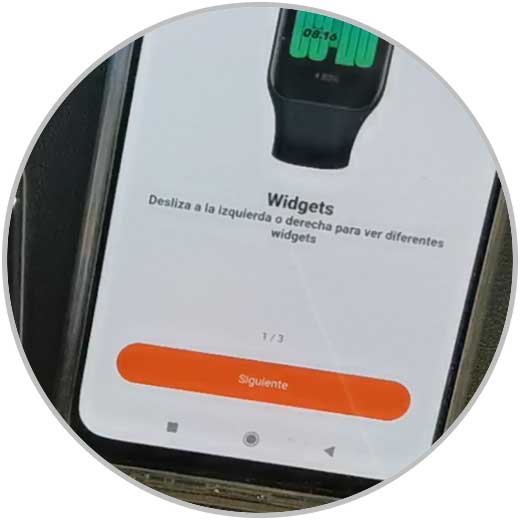
We follow the process and you will see that it shows you examples to know how to use your Redmi Smart Band 2
step 14
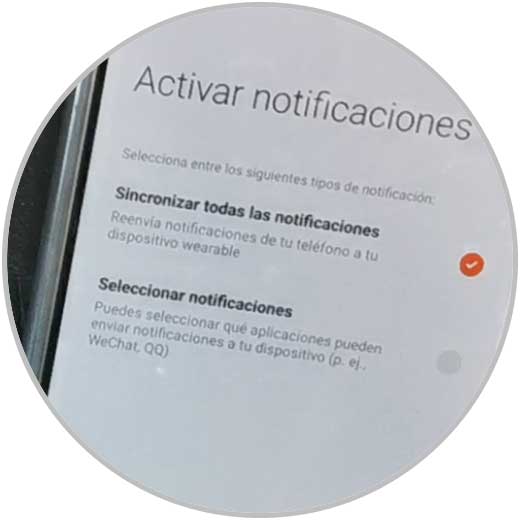
After that, a notification settings window will appear.
We can choose "Select notifications" if you want to manually choose which applications show notifications or "Synchronize all notifications" if we prefer to do it in a general way.
You can also modify this later when you need it..
step 15
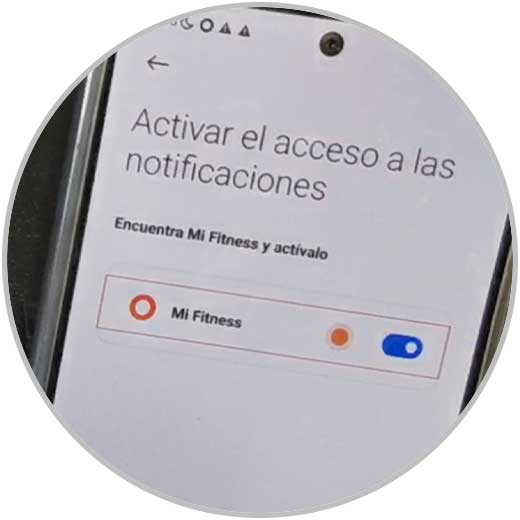
We activate Access to notifications to the "Mi Fitness" or Xiaomi Wear application by clicking on the application and giving permissions.
step 16
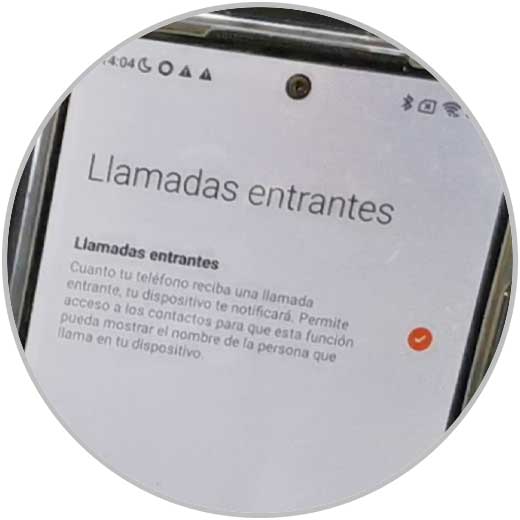
If we go back, it will also ask us about the permissions of incoming calls to be able to give permissions, including Contacts.
step 17
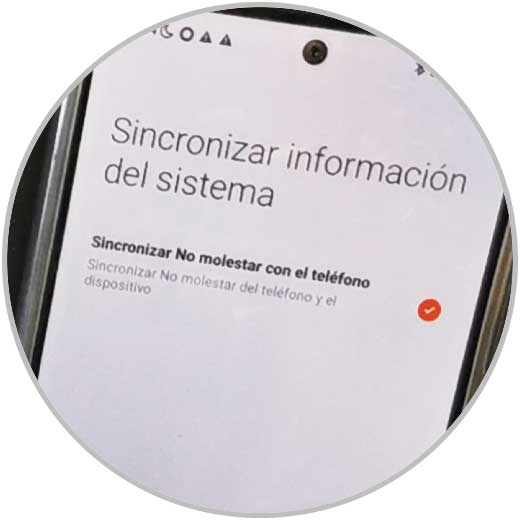
We can also synchronize the Do Not Disturb mode with the phone.
step 18
After that you can set goals and start using your Redmi Smart Band 2 as well as configure it as you want.
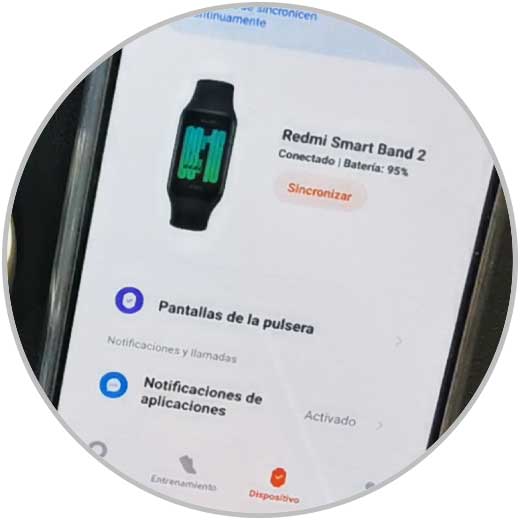
In this way we will be able to synchronize our Redmi Smart Band 2 with our phone in a complete way.