Microsoft Word offers us various options to customize the way we see the data in the documents and one of the most striking is to add various background styles, this highlights the presentation and gives it a touch of elegance, there are various ways to use the background in Word and in this tutorial we will see them to make documents something special. On some occasions we are going to need to provide a plus of personalization to our Word documents where configuring a background can give the file a specific character..
Setting a custom background can be an effective way to add style and design settings to our Word document. Depending on the image that we provide in the background, we can even give our document an elegant and sober look. We could also use this fund to strengthen our brand identity, which will also differentiate us from others and make our brand stand out. That is why we are going to see how to change Word color or change Word background image completely.
To stay up to date, remember to subscribe to our YouTube channel!
SUBSCRIBE ON YOUTUBE
How to Change Background Image or Color in Word
Step 1
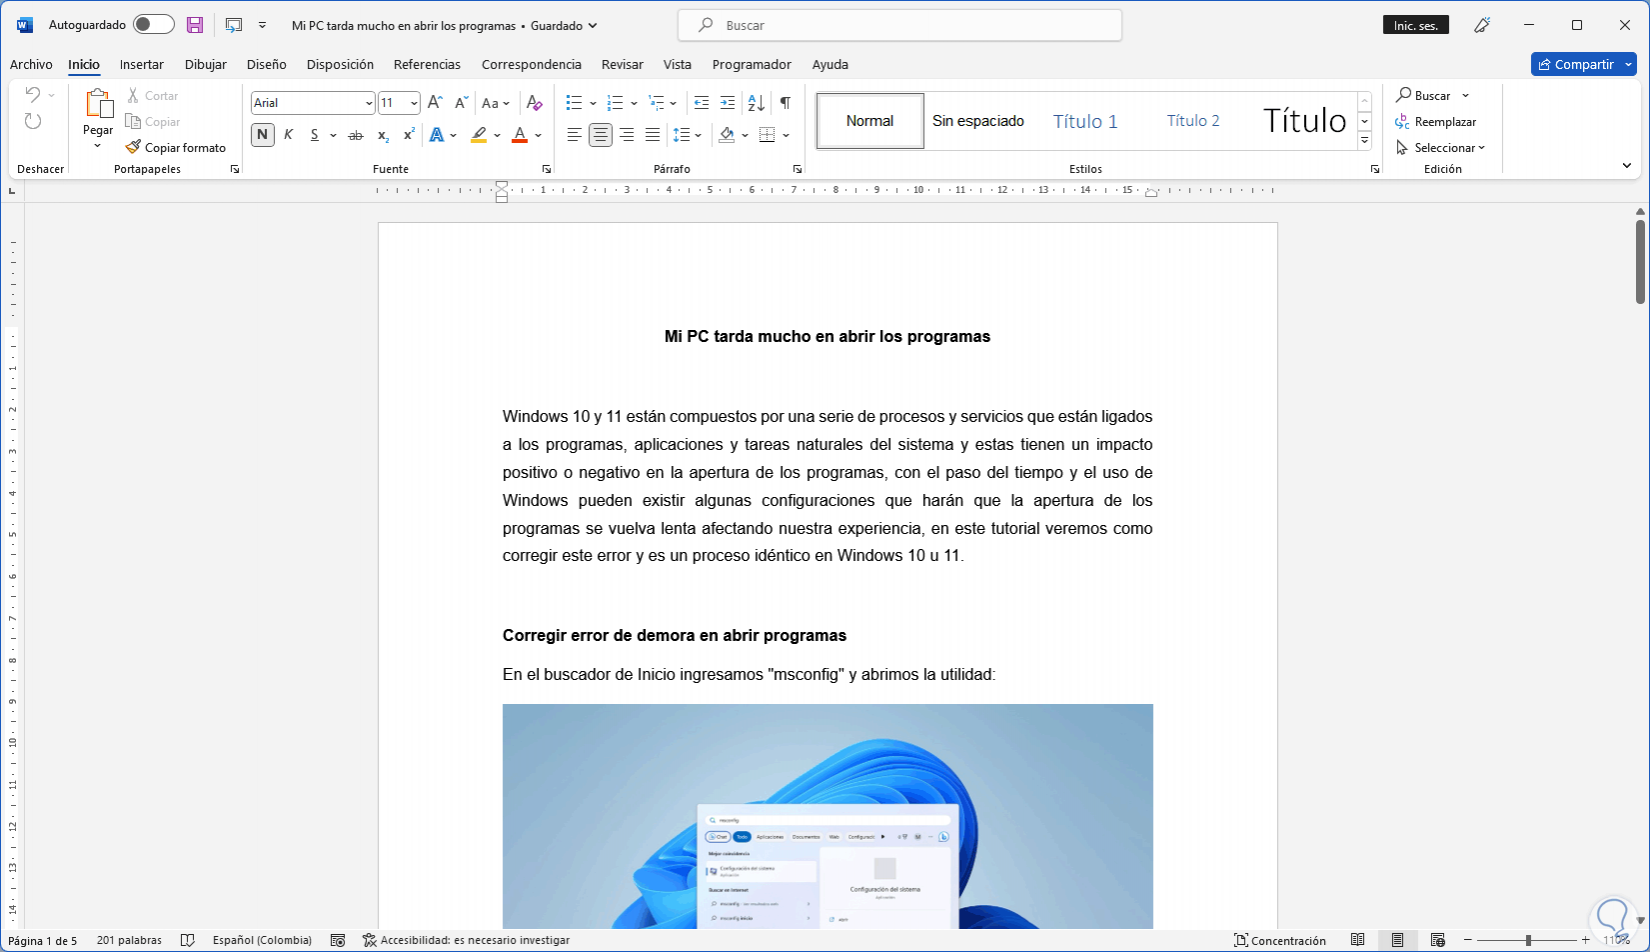
Open Word to view the document to which the background will be added:
Step 2
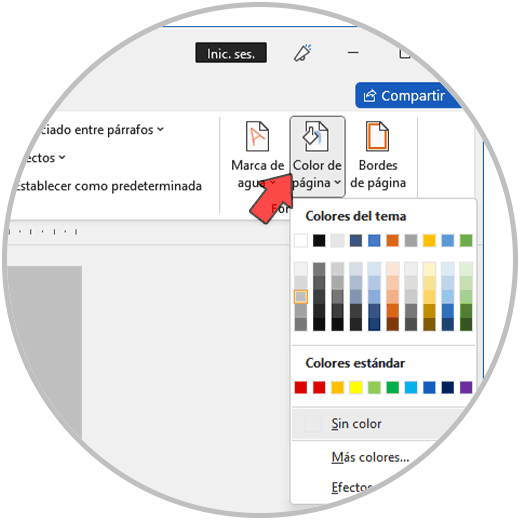
We go to the "Design" menu and in the "Page color" option we select one of the available colors:
Step 3
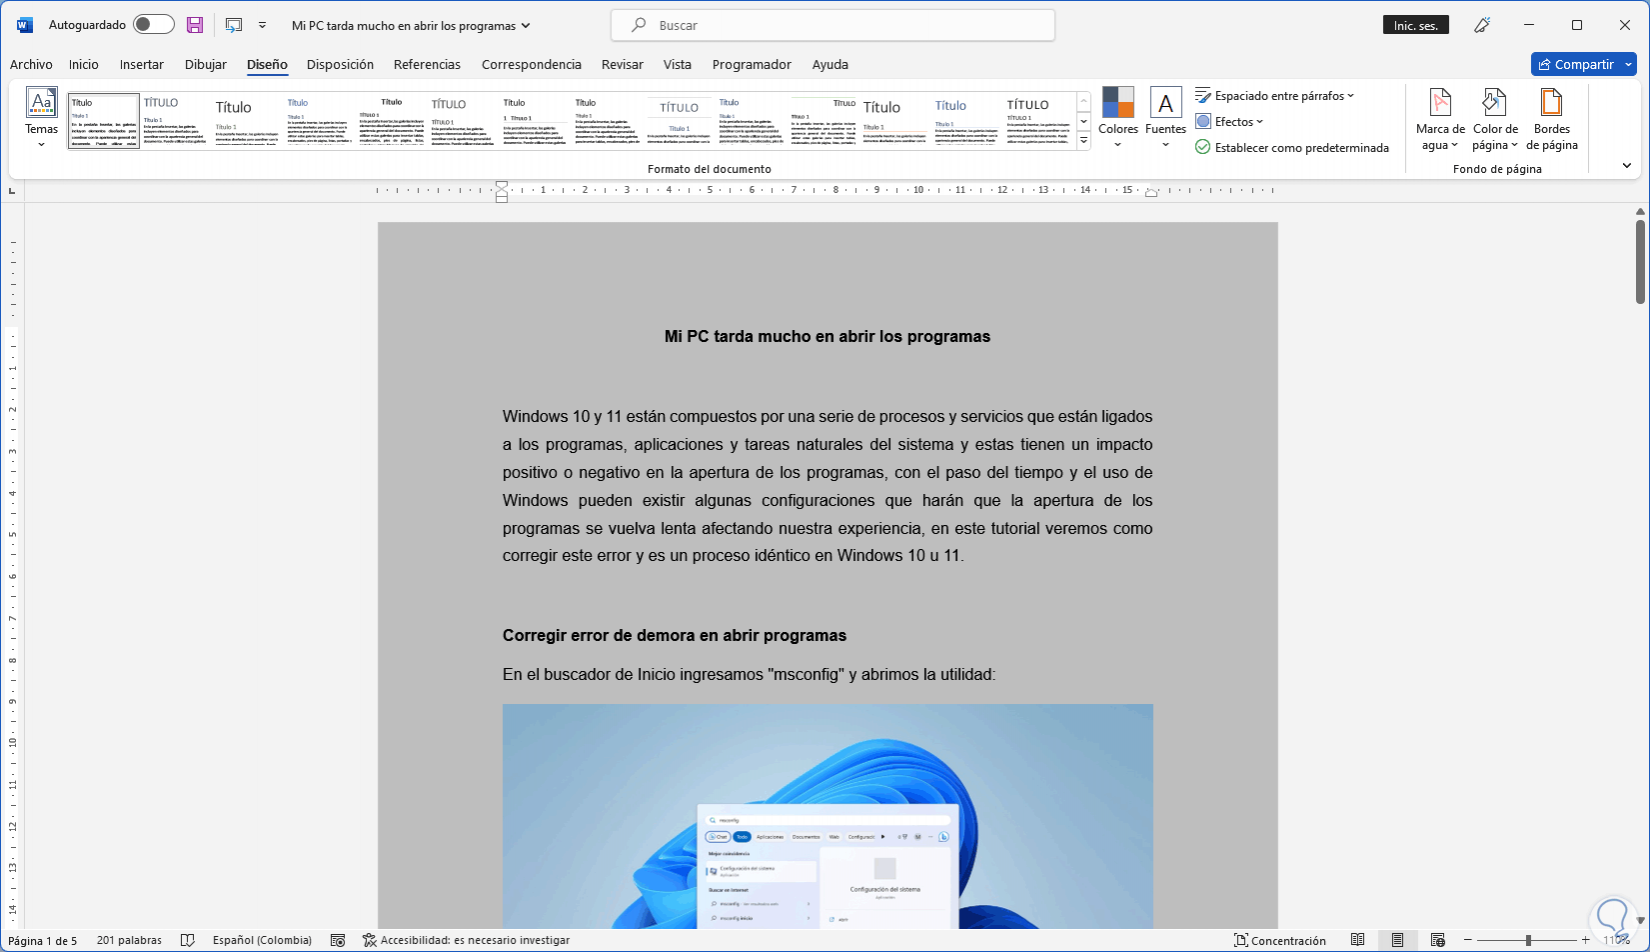
This will apply to the entire document:
Step 4
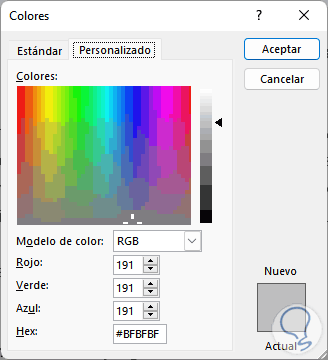
It is possible to click on "More colors" to use the color palette and thus customize the background color:
step 5
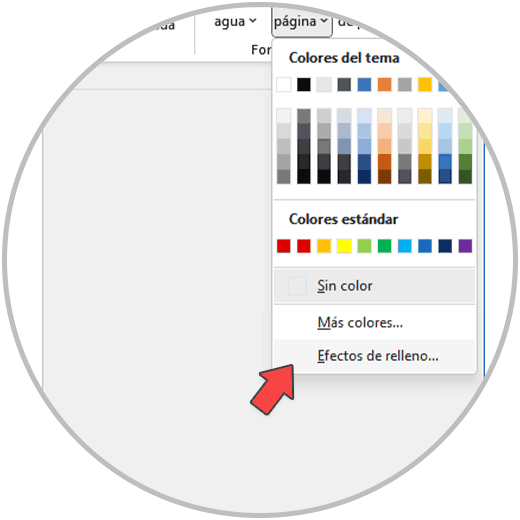
In "Page Color" click on "Fill Effects":
step 6
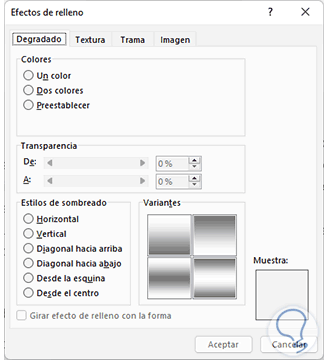
The following window will open:
step 7
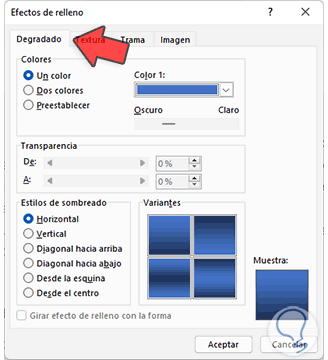
In the "Gradient" tab it is possible to select one or two colors for the style to use:
step 8
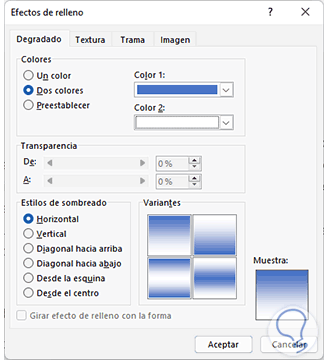
We select the effect to use:
step 9
Apply the changes:
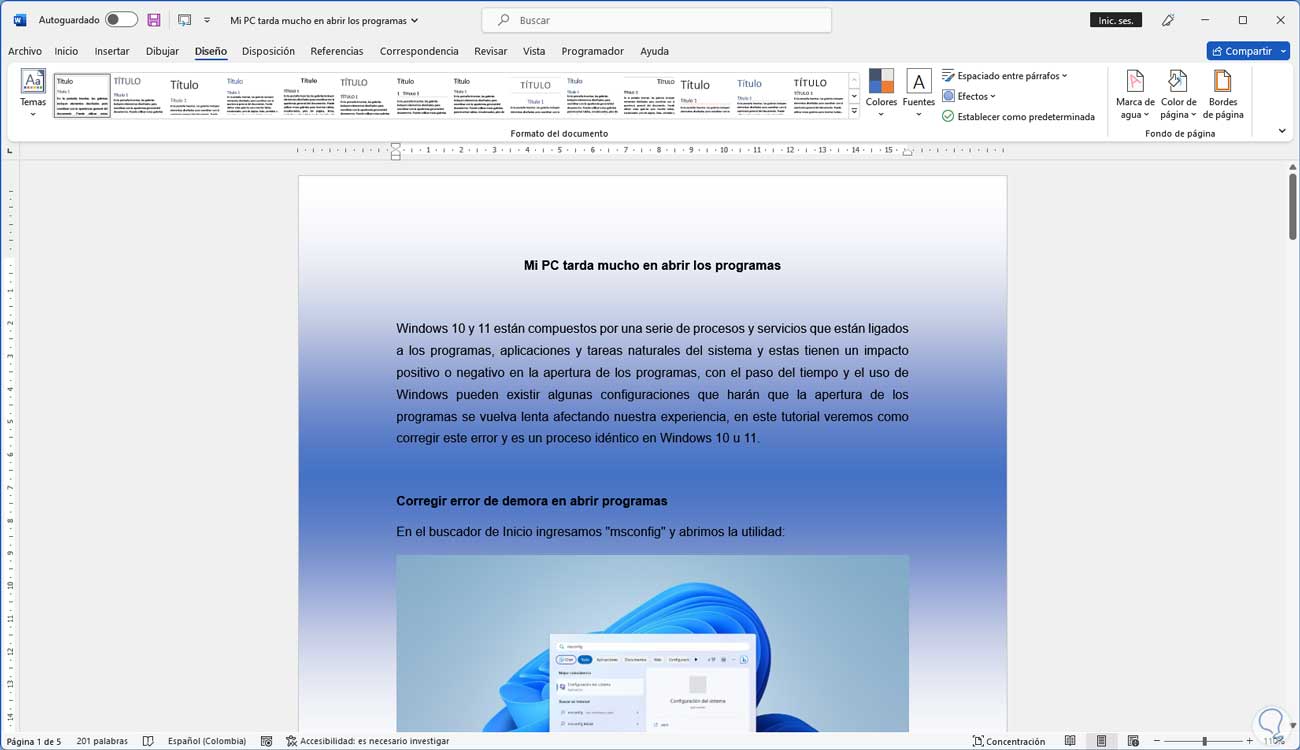
step 10
In "Page color" we click on "Fill effects" and now we go to the "Texture" tab:
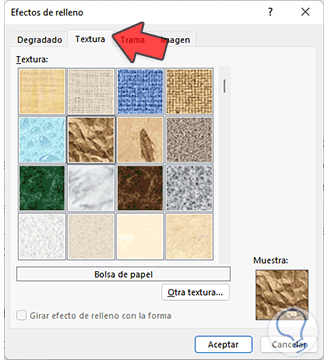
step 11
It is possible to select any of the available options and in the "Sample" box we will see the form of this, apply the changes:
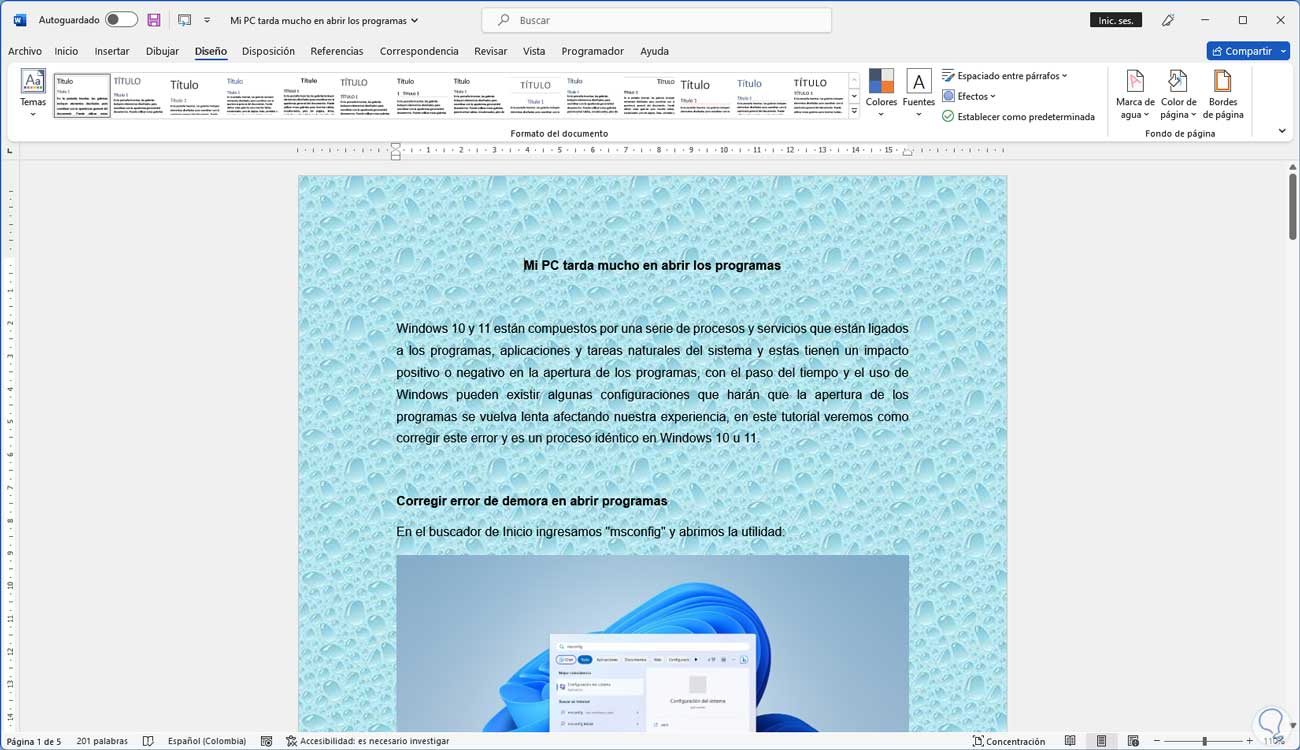
step 12
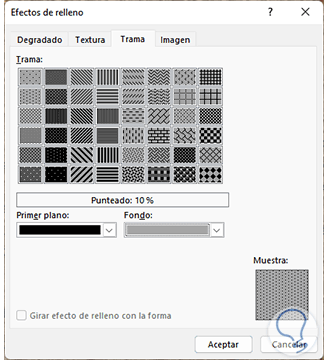
In "Page color" we click again on "Fill effects" and this time we go to the "Patter" tab:
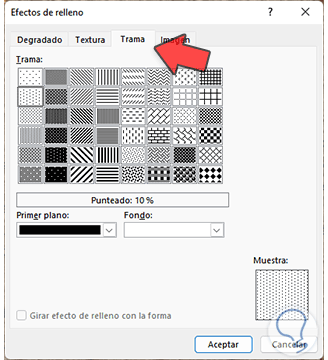
step 13
It is possible to define the colors and style to use. Apply the changes:
step 14
Under "Page Color" click "Fill Effects."
step 15
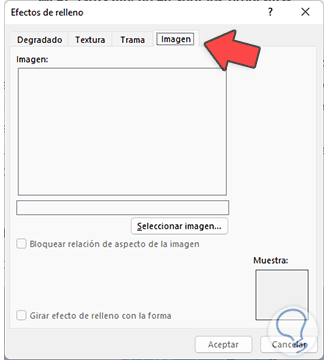
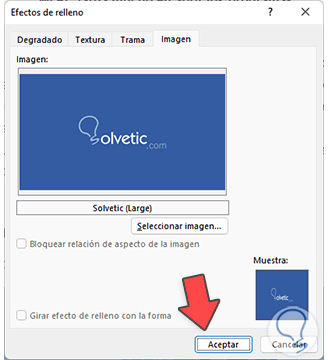
And now we go to the "Image" tab:
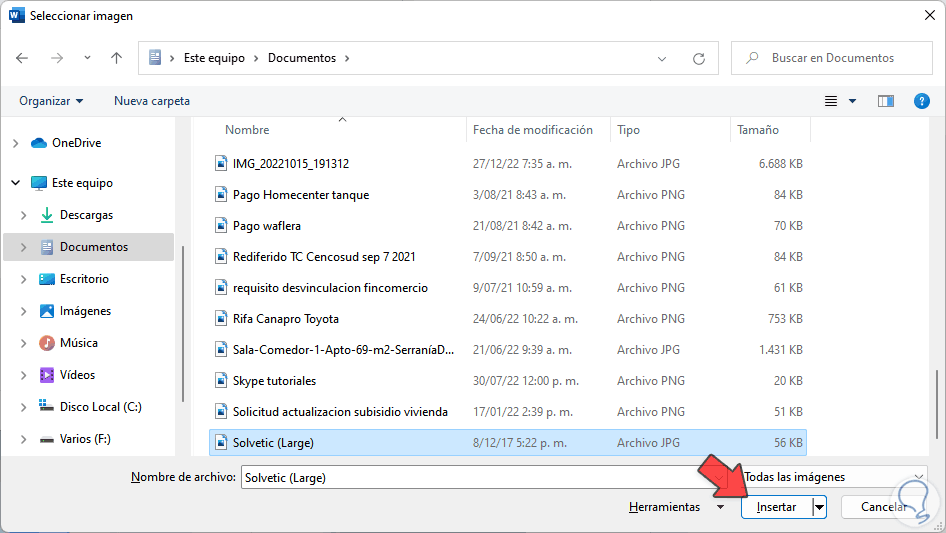
We click on "Select image" and select the desired image:
step 16
Click on “Insert”. Apply the changes:
step 17
Once we select the image we accept the changes to apply them.
step 18
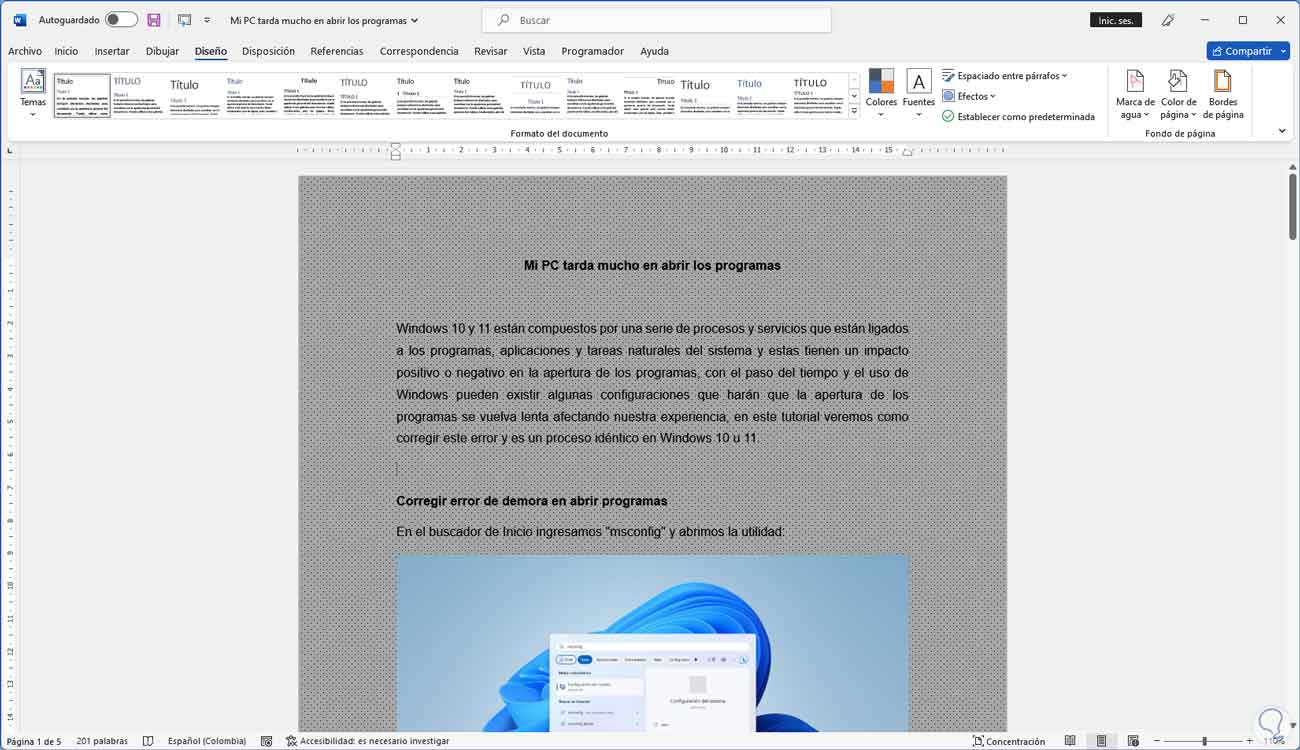
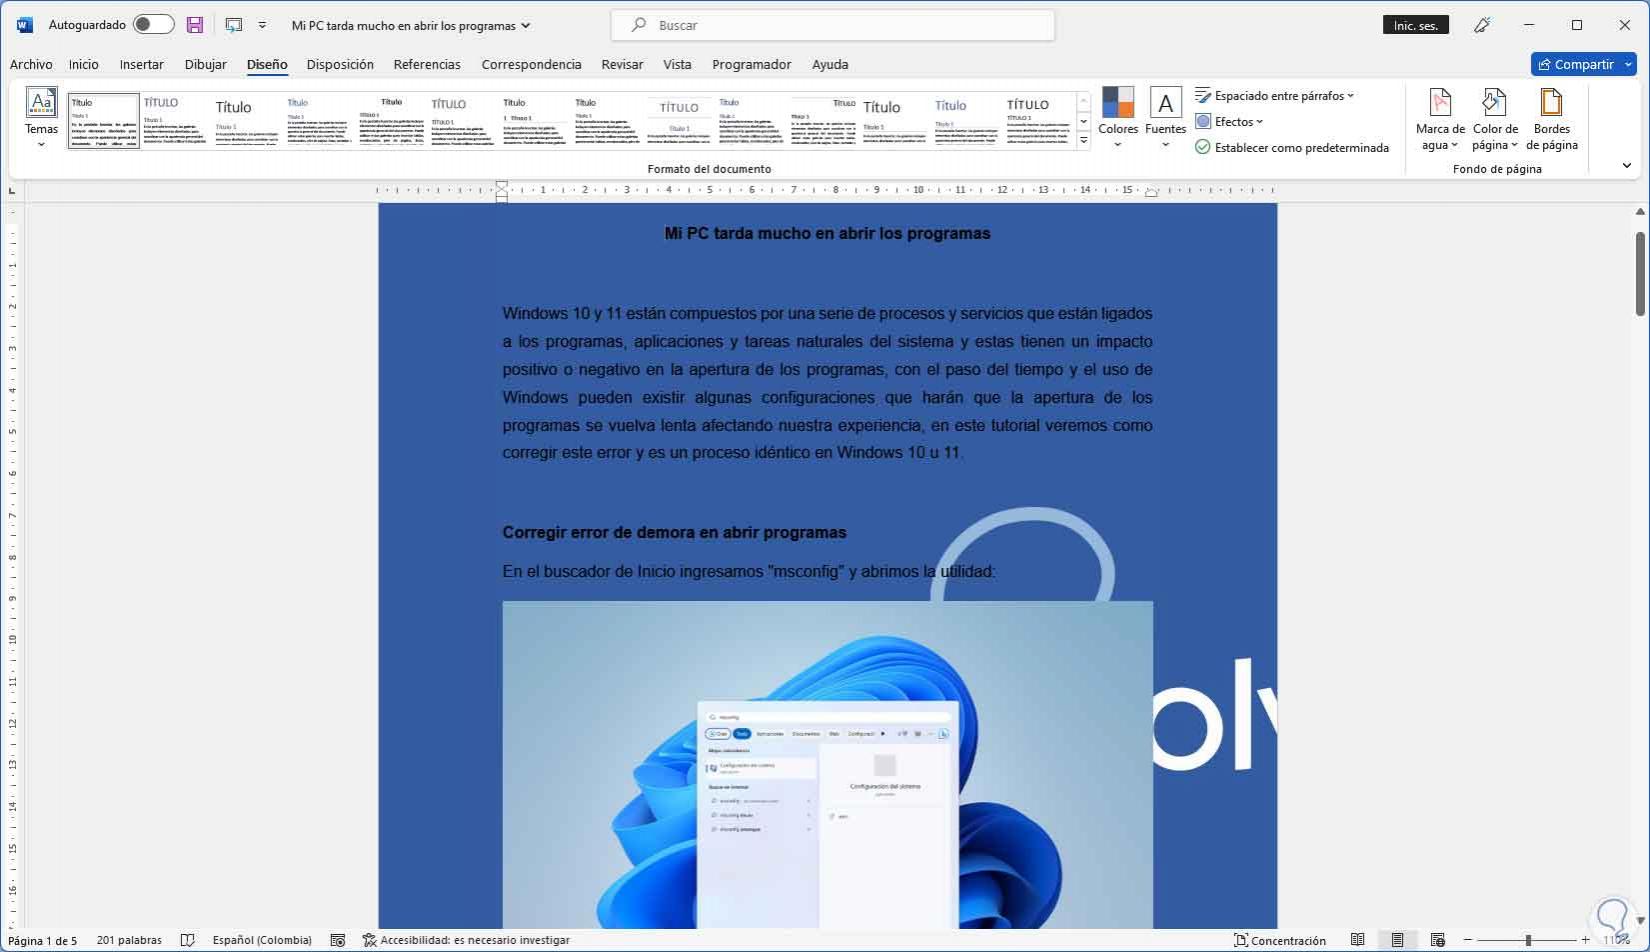
We see the changes applied in the document:
step 19
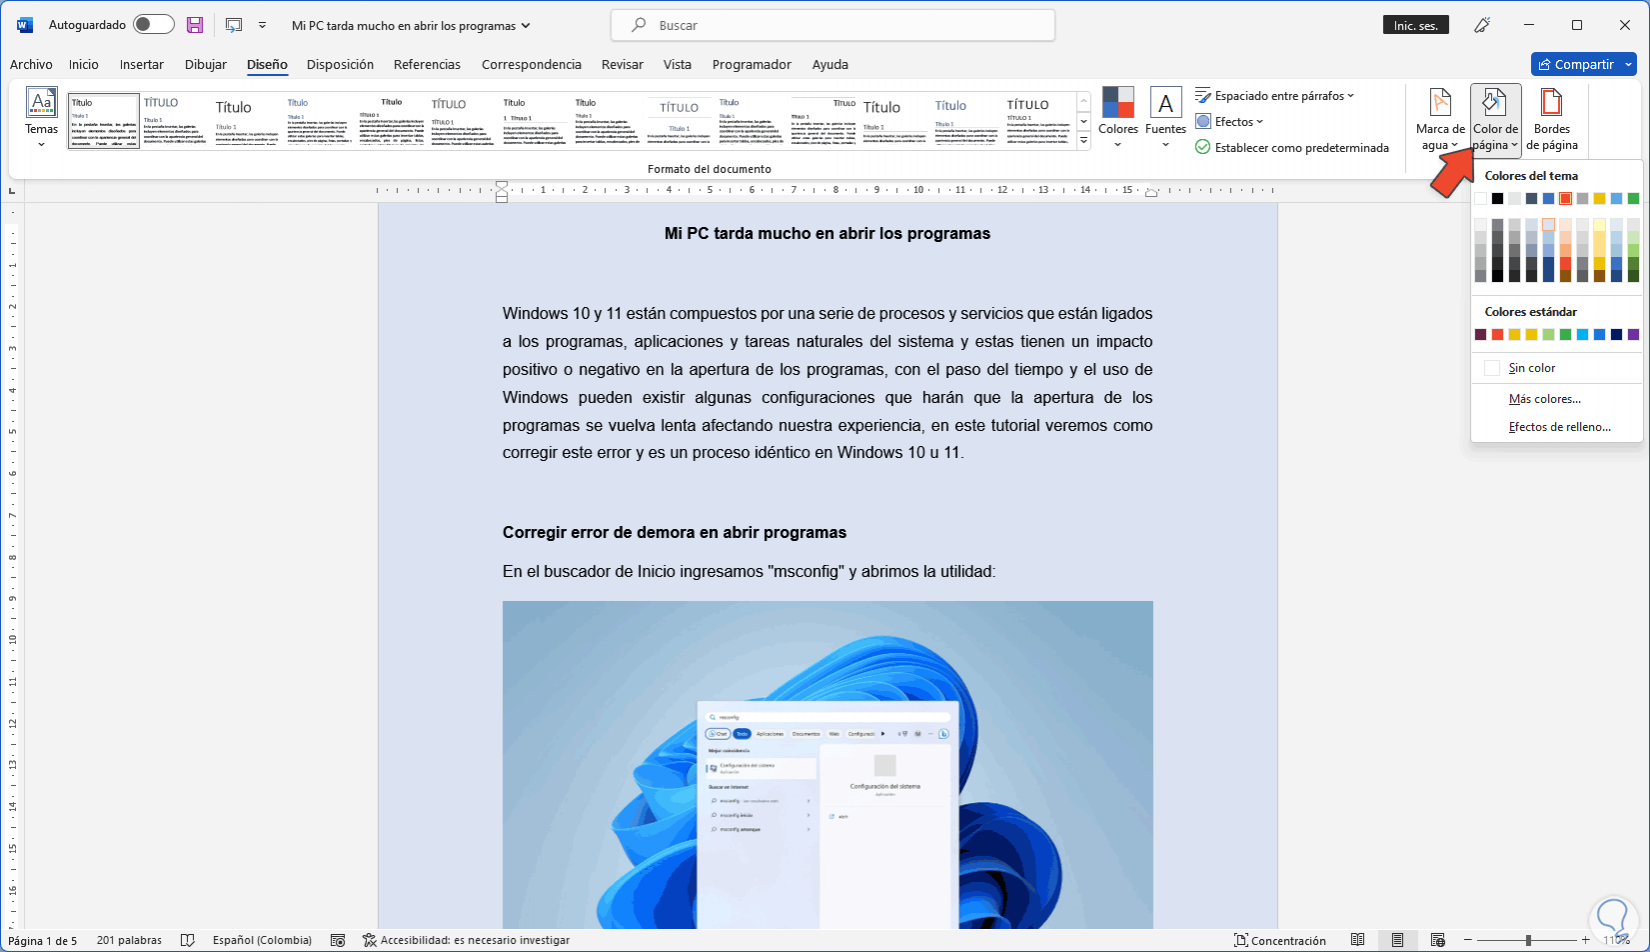
To change the background, just go to "Page Color".
step 20
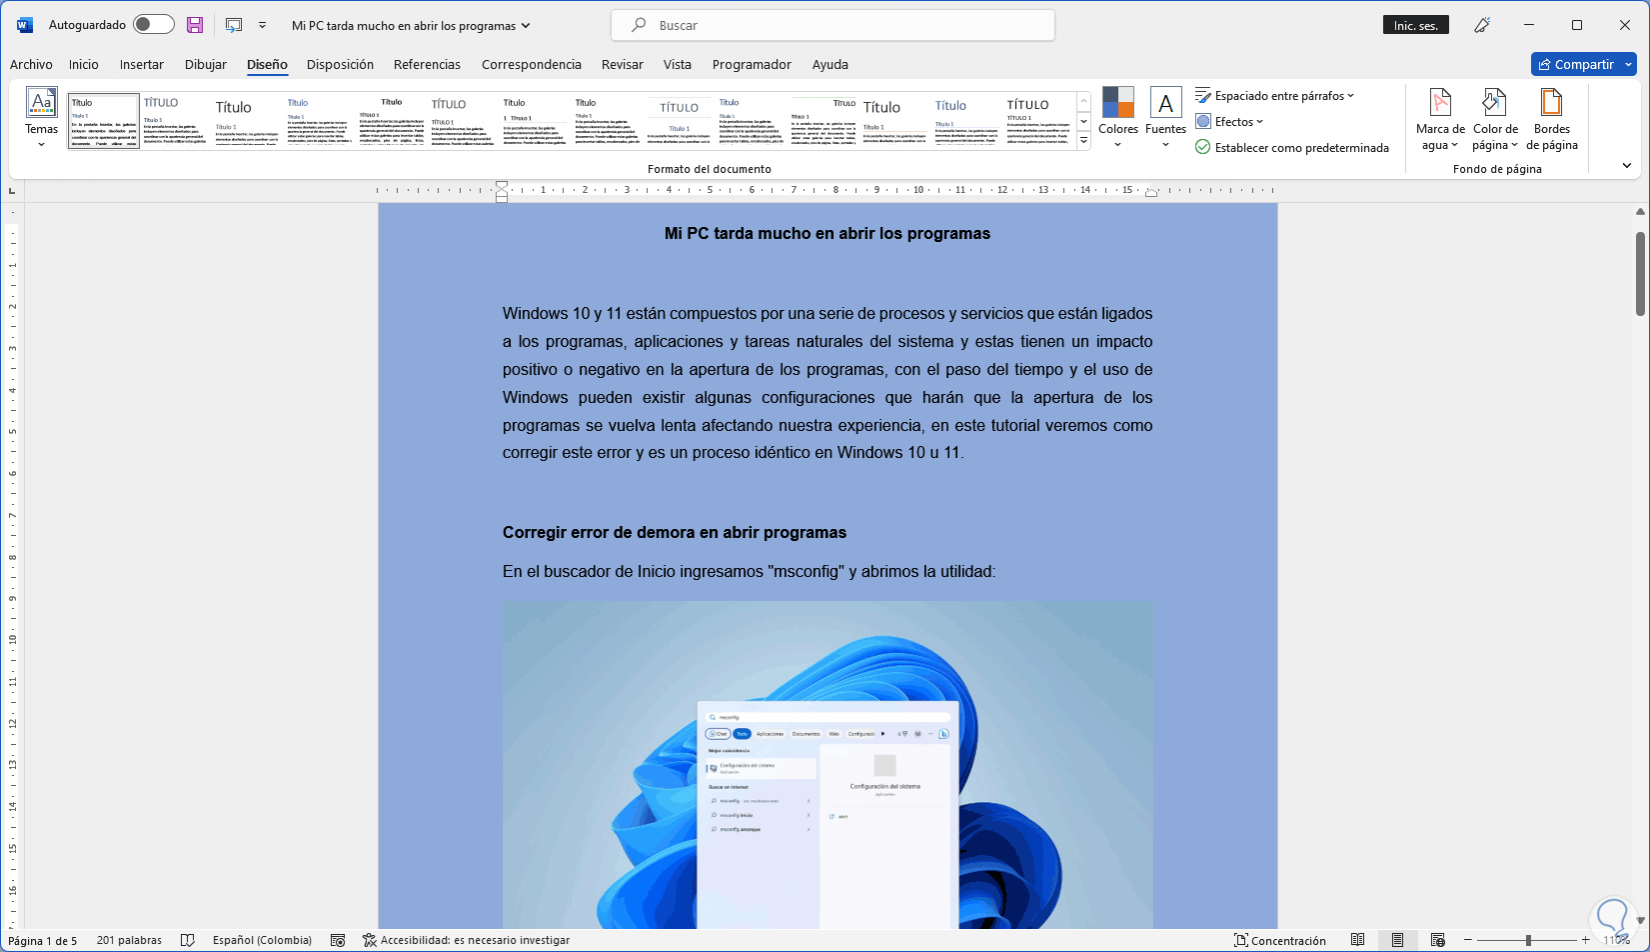
Now there we will define the type of change to make. We can use color or shape:
step 21
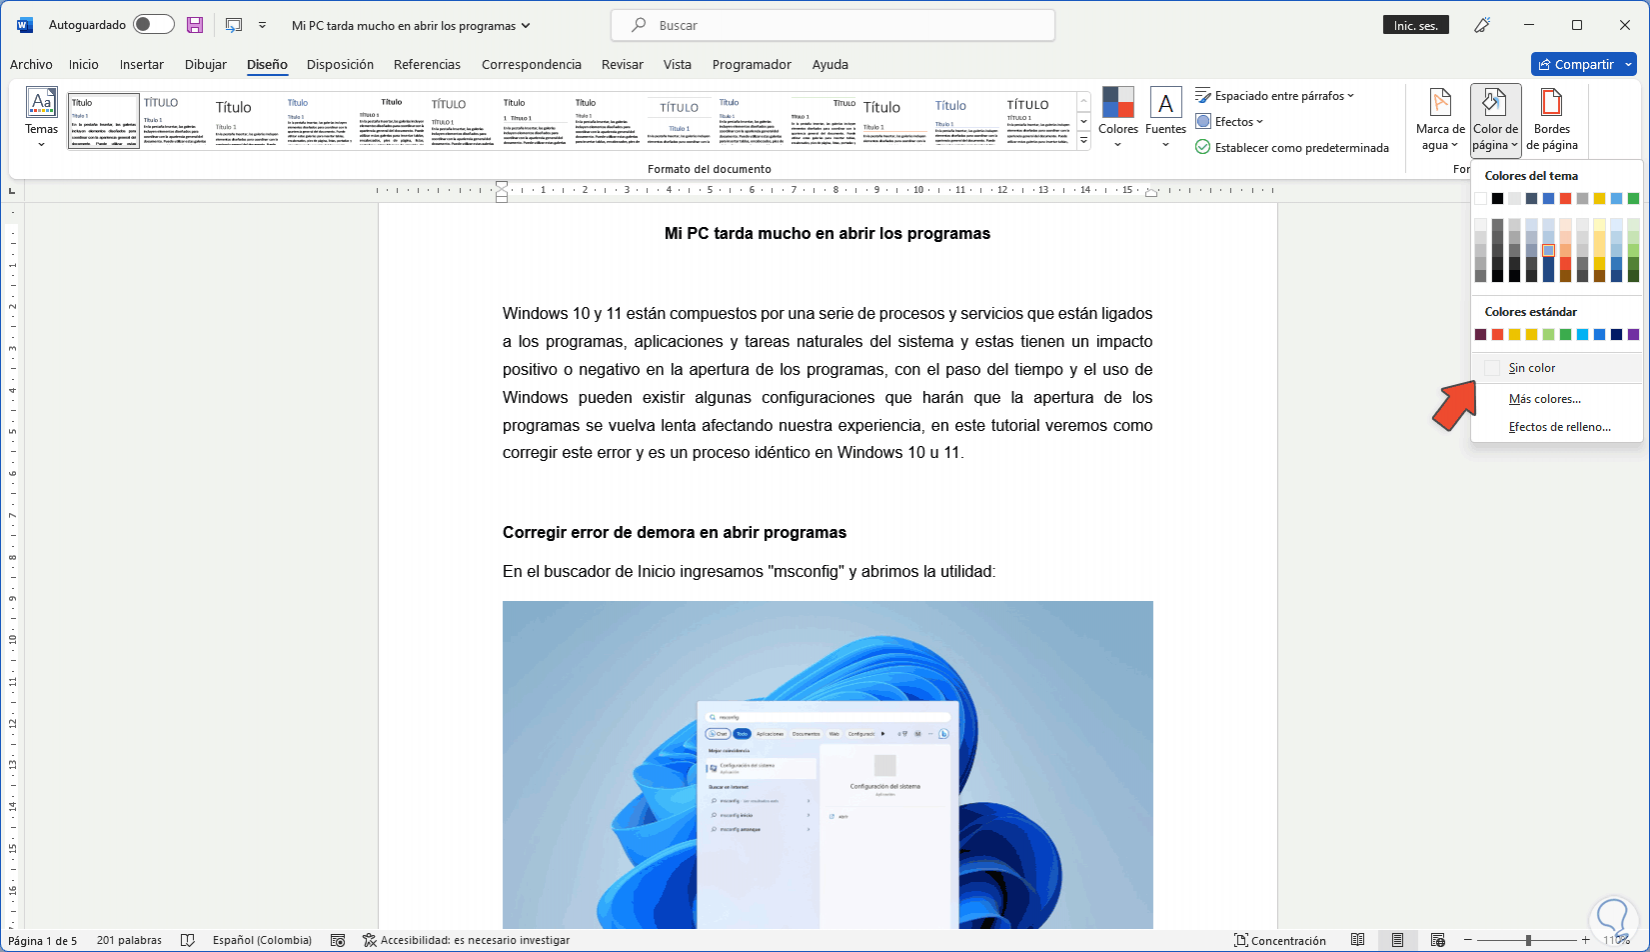
To remove the background in "Page color" we click on "No color":
Step 23
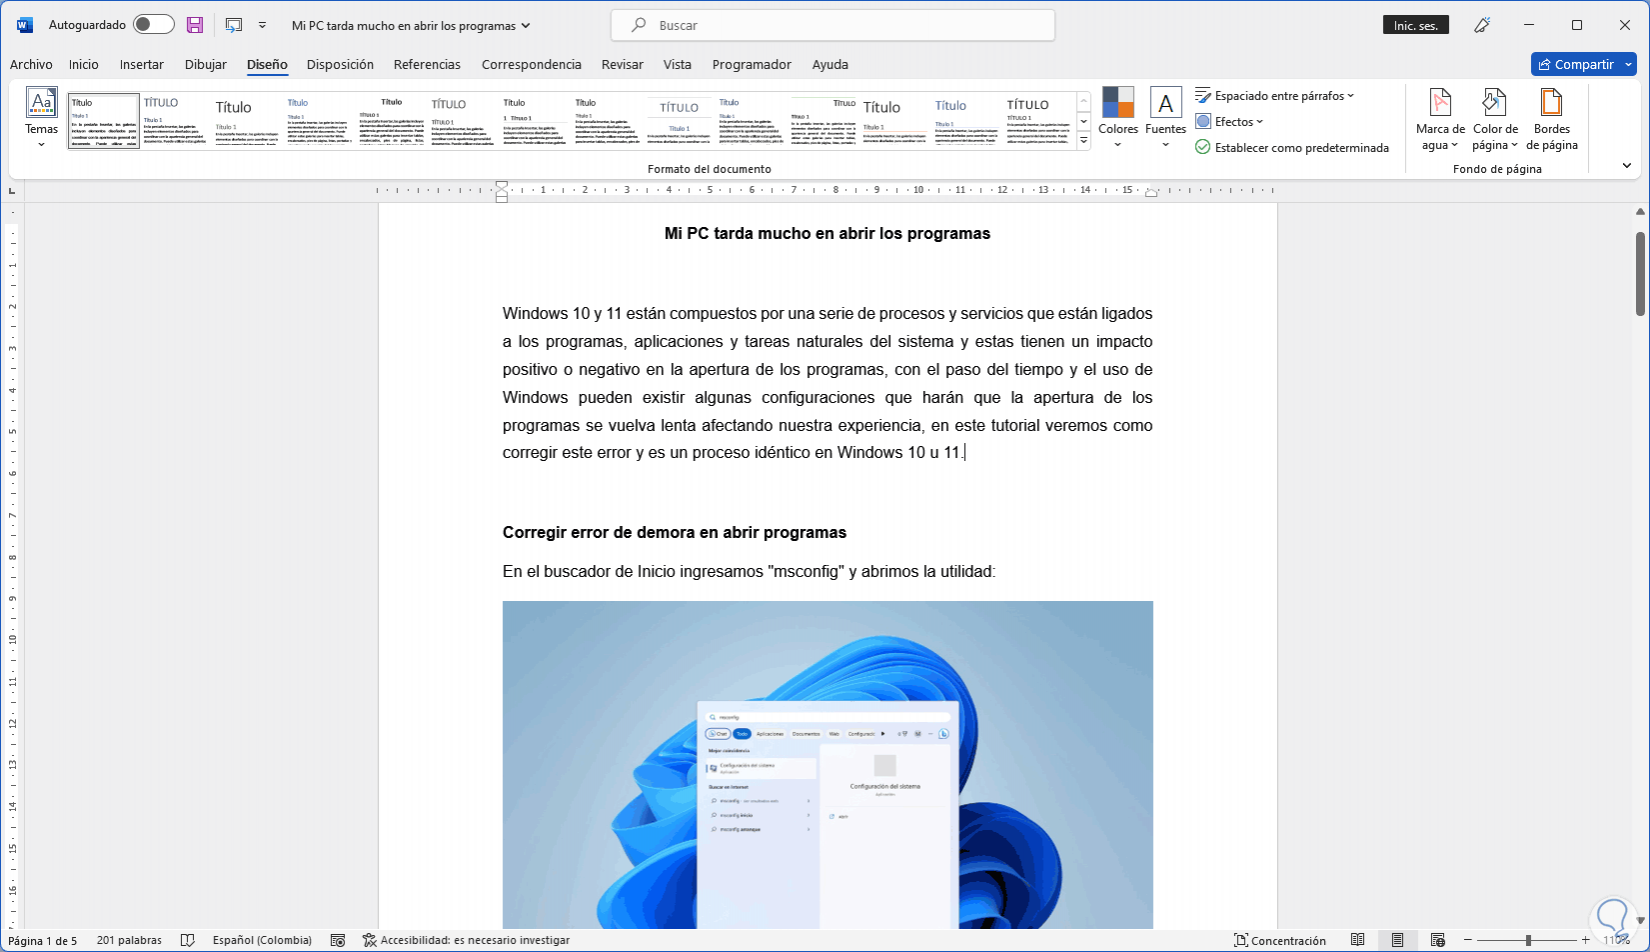
We will see that the document will have no background:
step 22
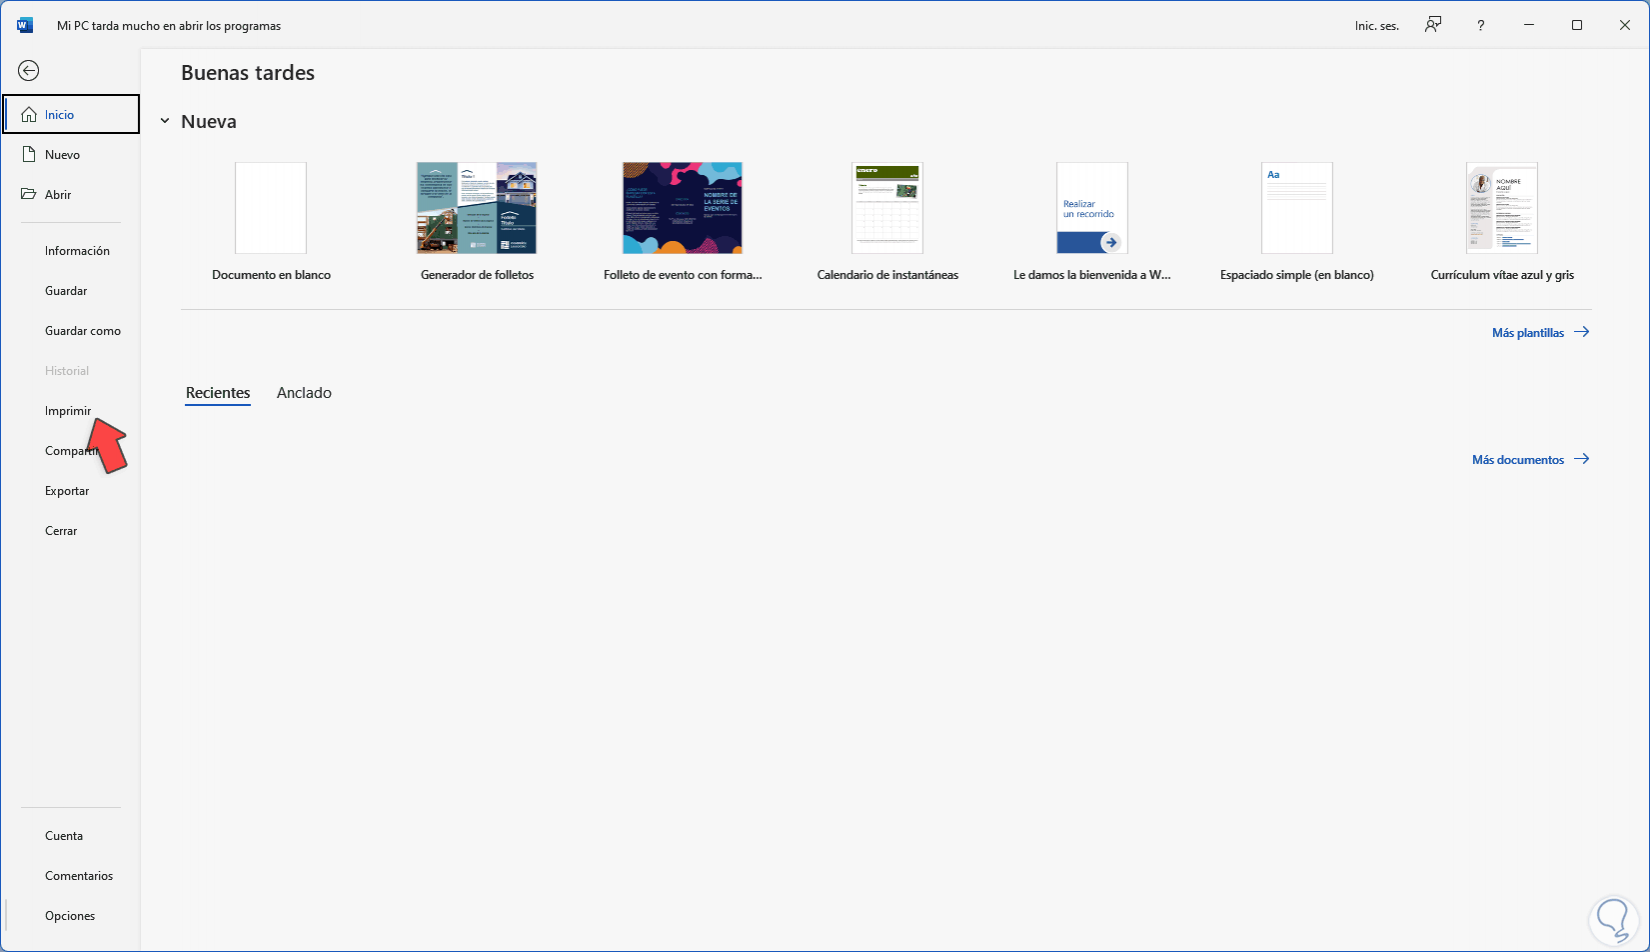
To print a background in Word, we go to "File - Options":
Step 23
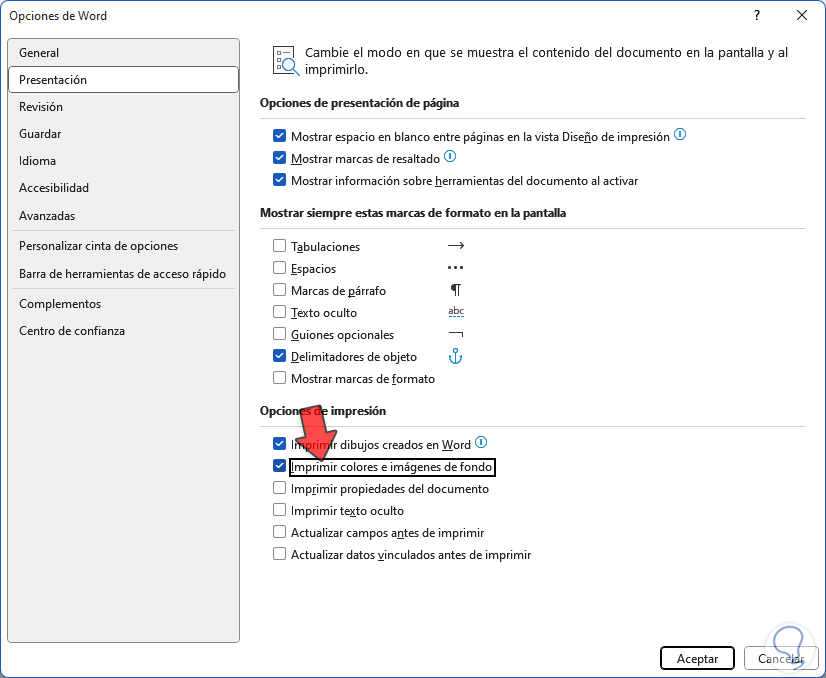
In "Presentation" activate the box "Print background colors and images":
step 24
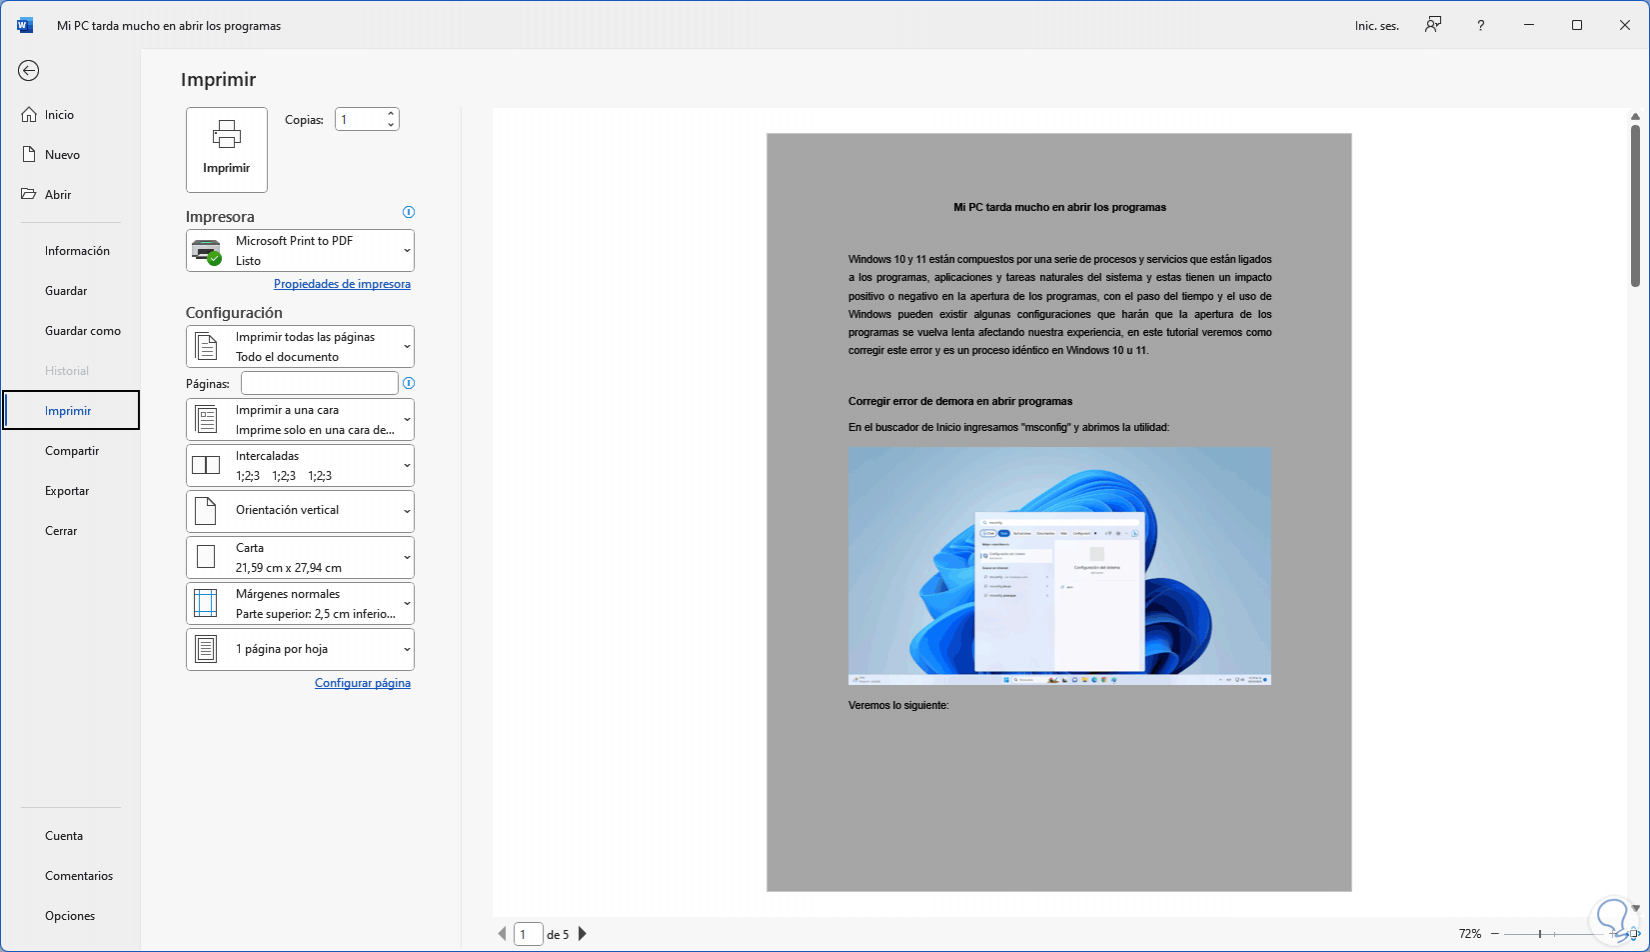
We apply the changes and in "File - Print" we will see that it is possible to print the background:
These are the options to add a background in Word and thus customize the document to use..