As you probably already know, the Recycle Bin is a really useful tool when we want to maintain order and cleanliness on our computer. You have to keep in mind that the Recycle Bin is a place where we must add those files that we no longer need, such as images, videos or documents. The Recycle Bin is a transitory place where all those elements that we do not need but that will not mean their final deletion were. Let's say that the Recycle Bin is a temporary deletion phase where we can recover files deleted by mistake and that we still need..
In this sense, you have to be careful and not use the Recycle Bin as a storage place for files that have some kind of importance because you will be taking up space unnecessarily and you run the risk of it being deleted at some point. Ideally, you should do a regular review of the Recycle Bin to analyze how much space you have occupied and if it is possible to perform a permanent deletion of what it contains. In case you encounter the error that you cannot send files to the Recycle Bin, you can try one of the following options that we propose to solve and repair the Recycle Bin when we see that the deleted files do not go to the Trash of recycling .
To stay up to date, remember to subscribe to our YouTube channel!
SUBSCRIBE ON YOUTUBE
1 Enable file deletion in Recycle Bin
Step 1
The first thing will be to open the Recycle Bin by double clicking on its icon that you can normally find on the Desktop.
Step 2
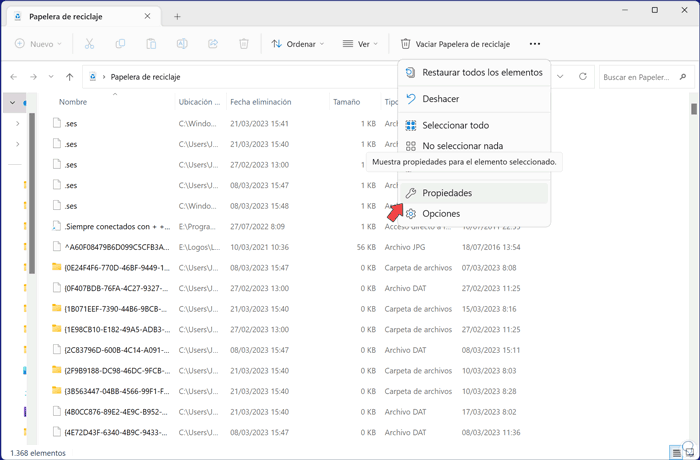
Within the window that opens we are going to go to the three points that appear to see options here. Then click on the "Properties" option.
Step 3
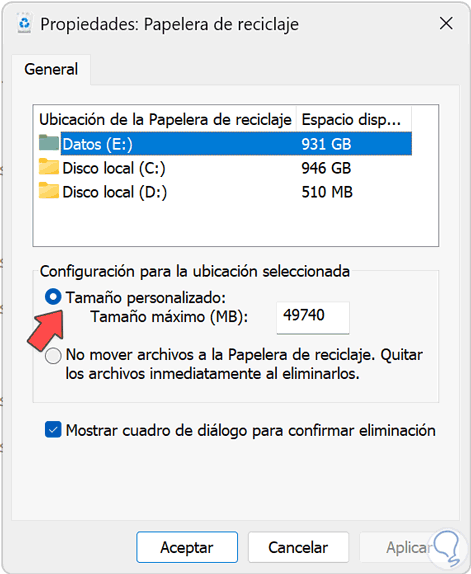
Here we check if we have the "Do not move files to the Recycle Bin" option active. In almost this case, we have to activate the "Custom size" option instead. Do this by checking this setting on each disk that appears.
2 Repair disk errors with CMD
Step 1
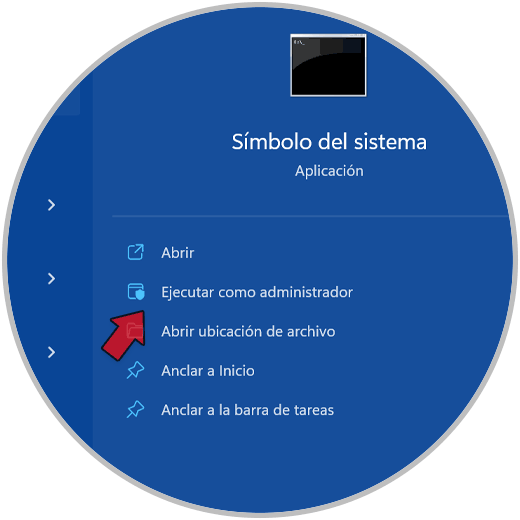
Since it could be a temporary error associated with the file system or the disk, we are going to use a series of commands to try to repair it. To do this we will open CMD as administrators from the search menu:
Step 2
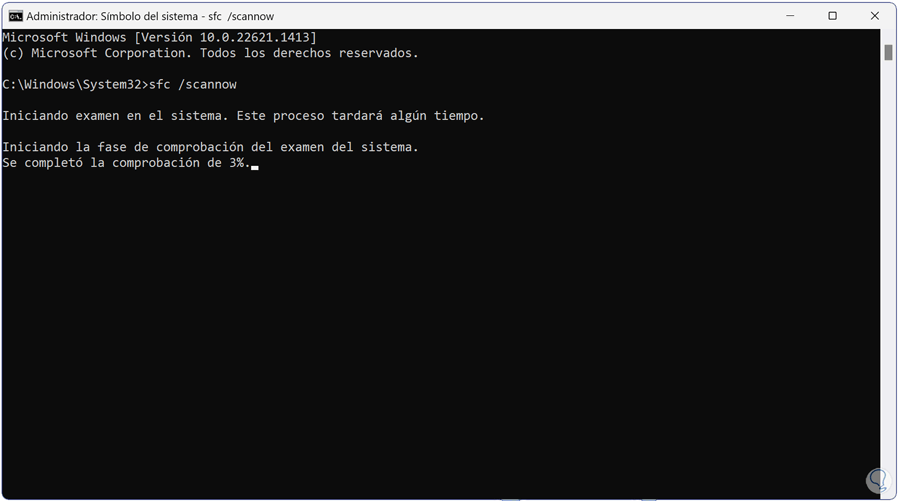
We are going to put each command that we will teach you to try to repair possible errors:
sfc /scannow
Step 3
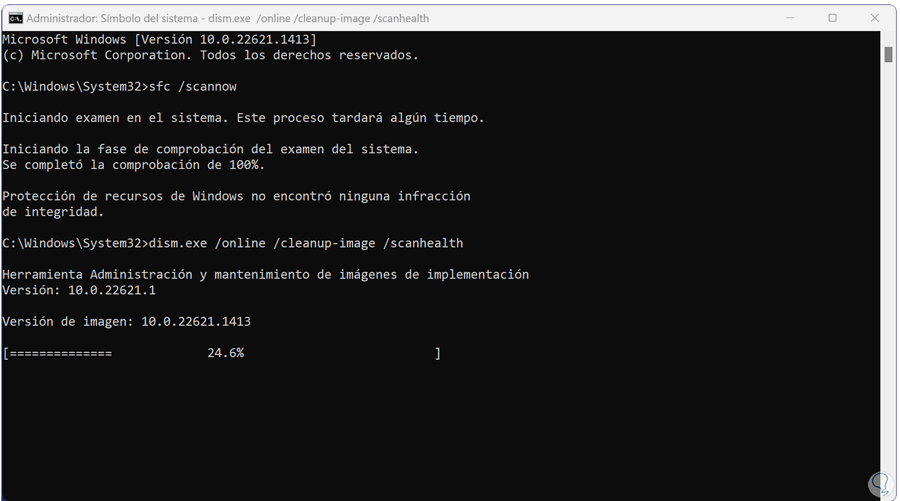
We continue by running the following dism command to scan the Windows image and check for possible corruption:
dism.exe /online /cleanup-image /scanhealth
Step 4
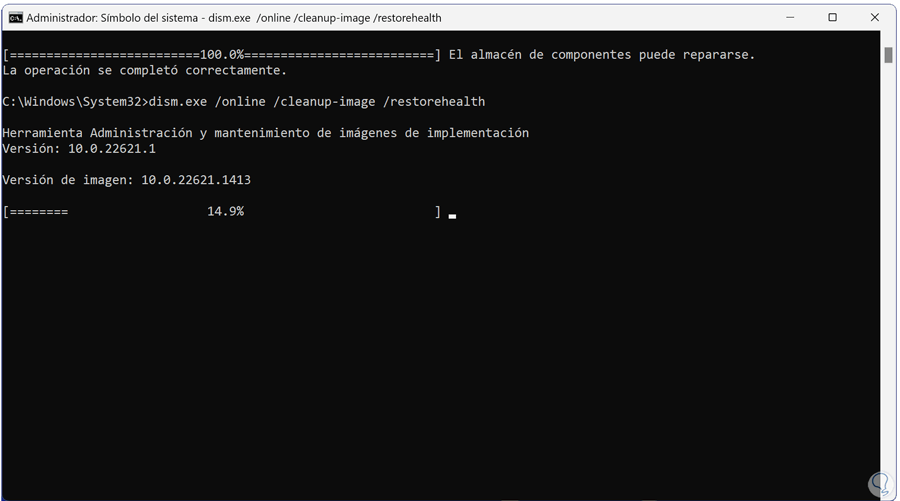
We continue with the use of the following command with which we are going to restore the Windows 11 image in this case:
DISM /Online /Cleanup-Image /RestoreHealth
step 5
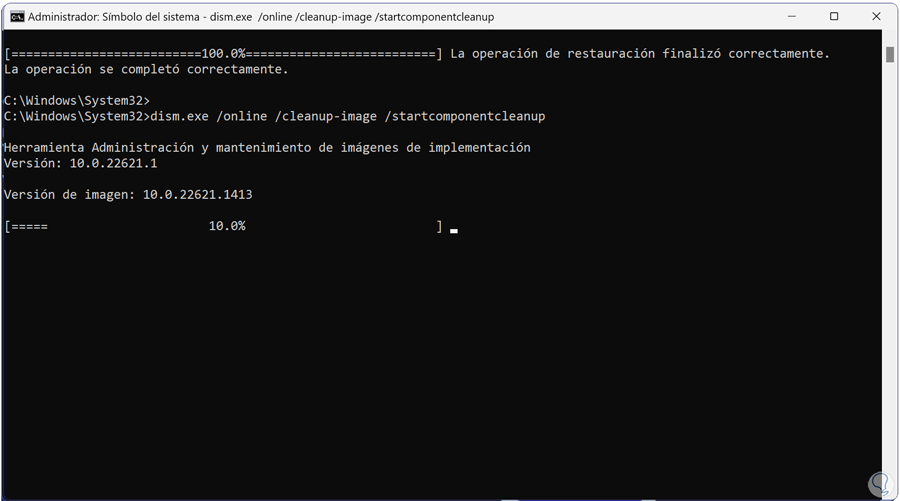
We will finish the Winodws 11 image repair using the following command. After it finishes its process we can exit the terminal.
dism.exe /online /cleanup-image /startcomponentcleanup
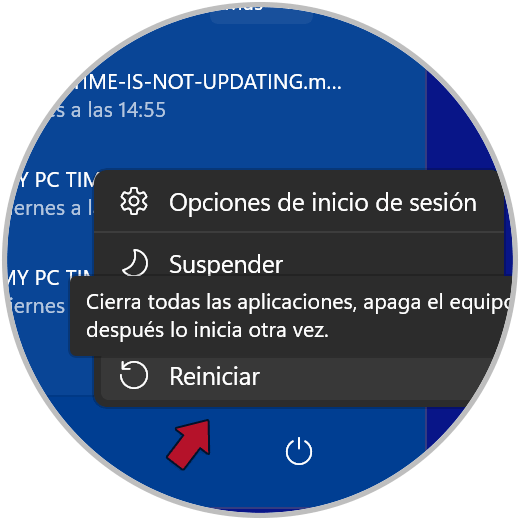
step 6
Finally we will restart the computer to definitively apply the changes.
With these options we will be able to send Files to the Recycle Bin and no error will appear in this regard..