To stay up to date, remember to subscribe to our YouTube channel!
SUBSCRIBE ON YOUTUBE
In Windows 11 or 10 we perform countless actions to manage folders and files and apart from editing them, one of the most common is deleting this type of elements. We normally do this using two options:
Options
- Selecting the file or folder and pressing the Del or Del key
- Right click on the object and then click Delete
- Select the file or folder and click the Delete icon
Although this is generally a task that is carried out without errors, on our PC we may find that it is not possible to delete files or folders..
If you have this situation, this tutorial is for you since we will teach you how to delete files and folders on your PC using a safe method.
1 How to delete files in Windows 11
Step 1
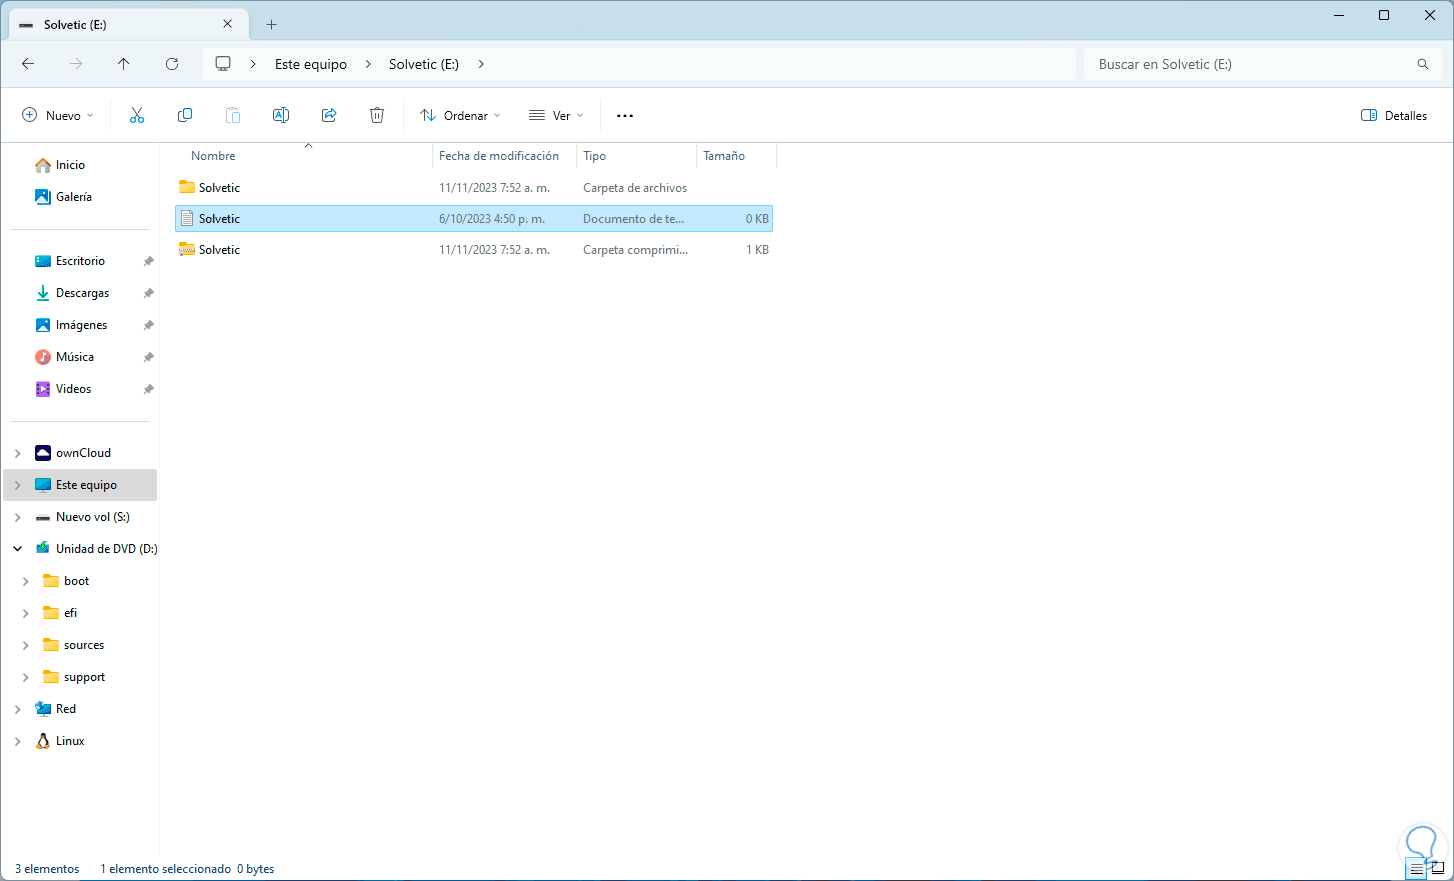
Our first example will be to delete a file, first let's check the path where the file is:
Step 2
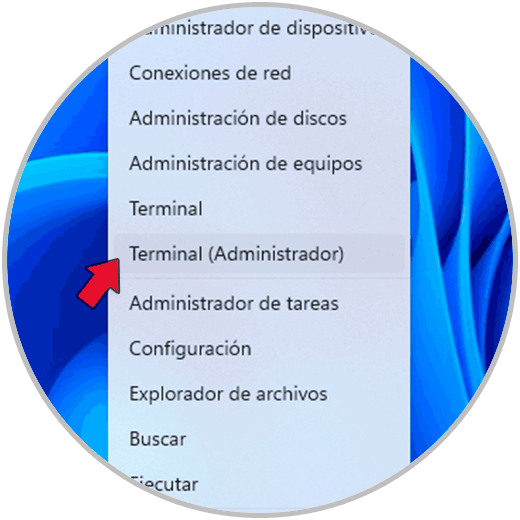
After this, we right click on Start and click on “Terminal (Administrator)”:
Step 3
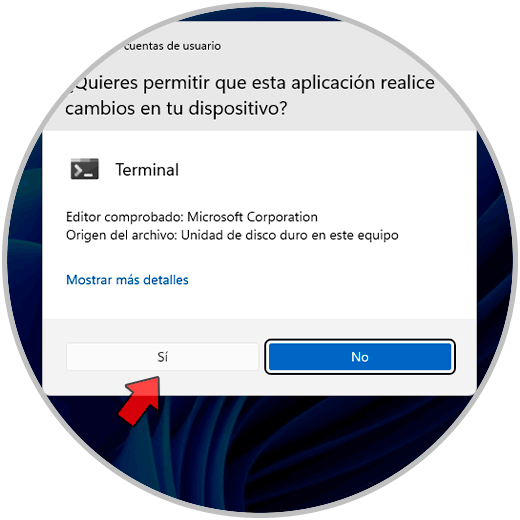
In the UAC message we click “Yes” to access:
Step 4
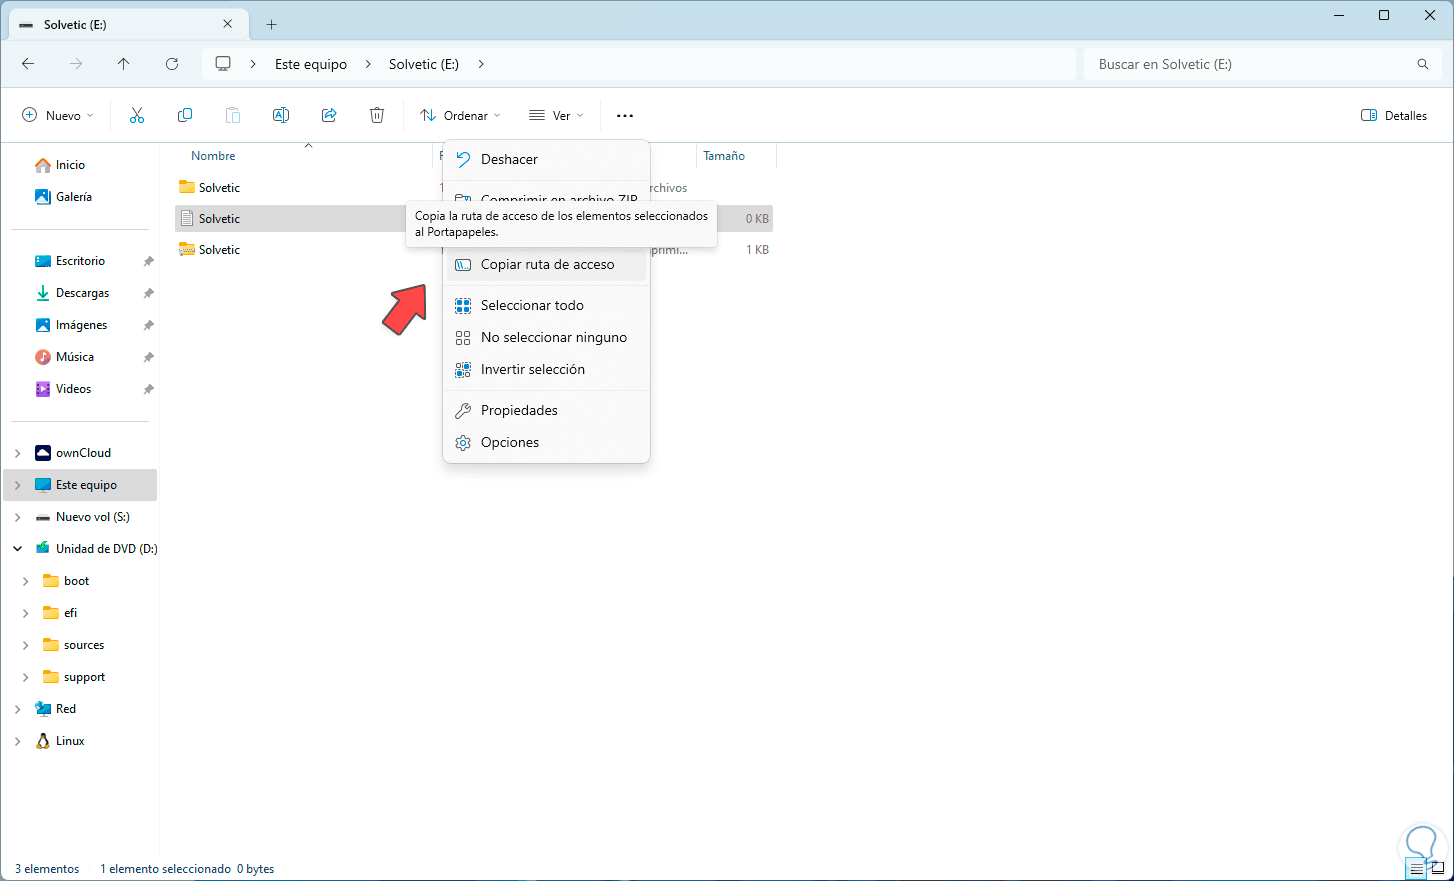
Now, in File Explorer, we select the file, click on “More information” and then select “Copy path”:
Step 5
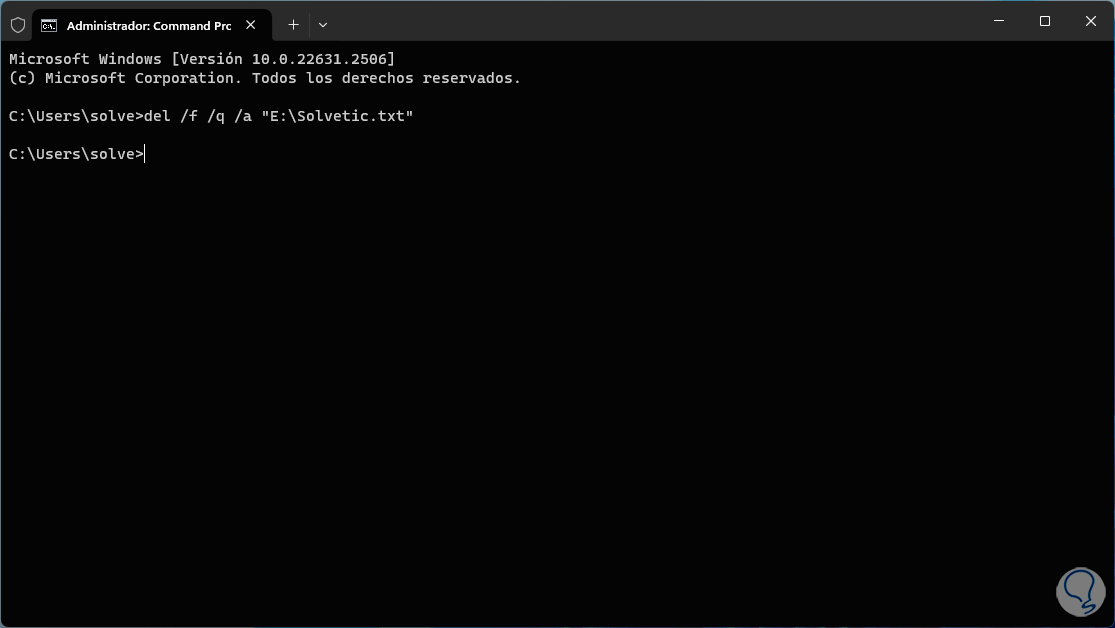
Now, in the console we are going to execute the following:
del /f /q /a “file path”
Step 6
This command allows us to delete one or more files based on the criteria that we indicate, the parameters we have used are:
- /f: is responsible for forcing the deletion of read-only files.
- /q: activates silent mode, that is, it does not ask for confirmation of deleting the file.
- /a: Allows you to delete files based on file attributes such as r (read-only files), h (hidden files), i (files without indexed content), s (system files), a (files ready to archive), ol (analysis points).
Step 7
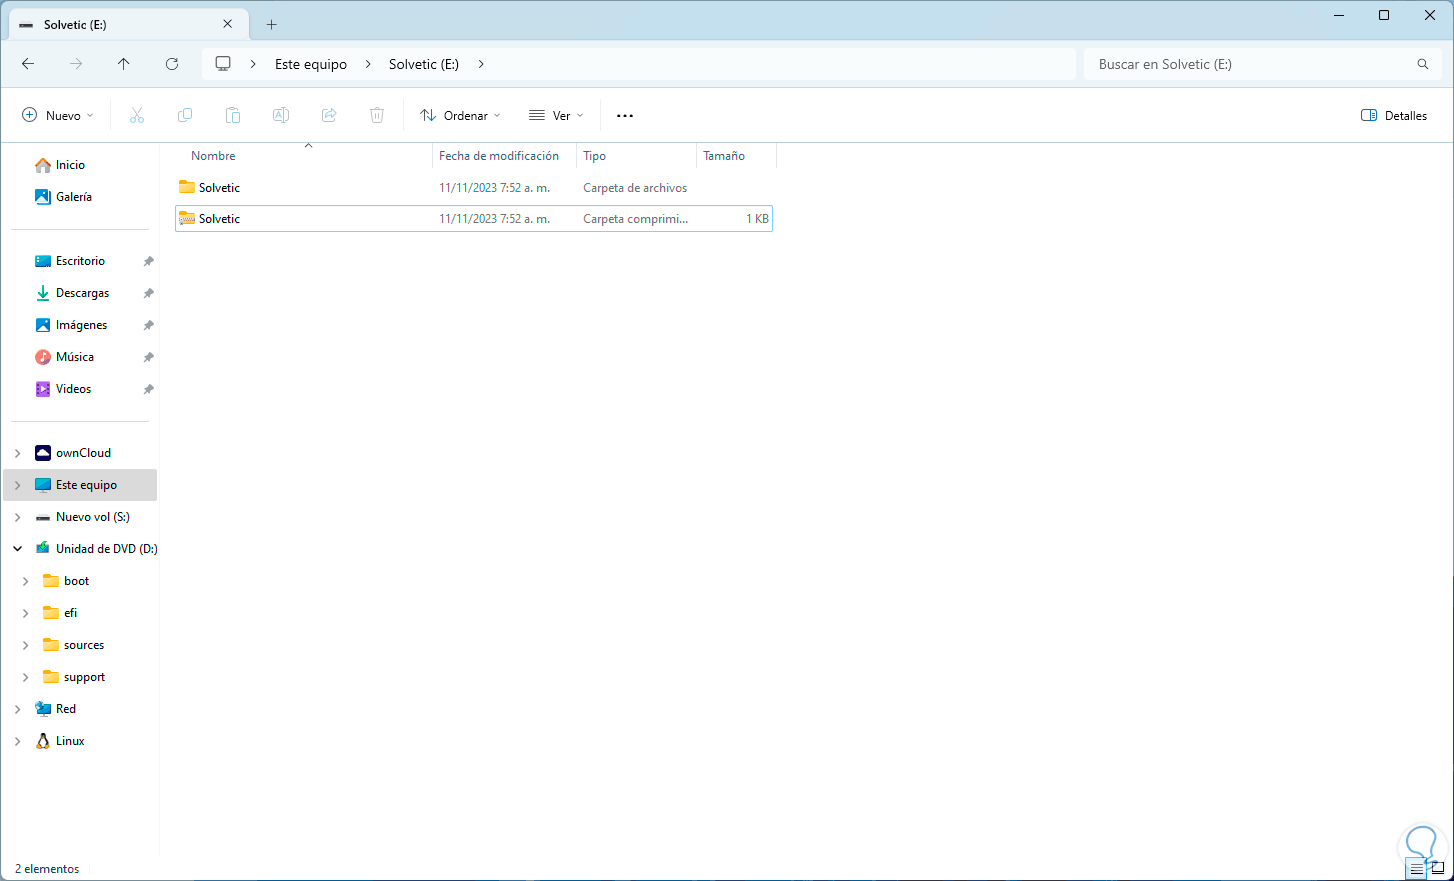
After executing the command, we check that the file has been deleted:
2 How to delete folders in Windows 11
Step 1
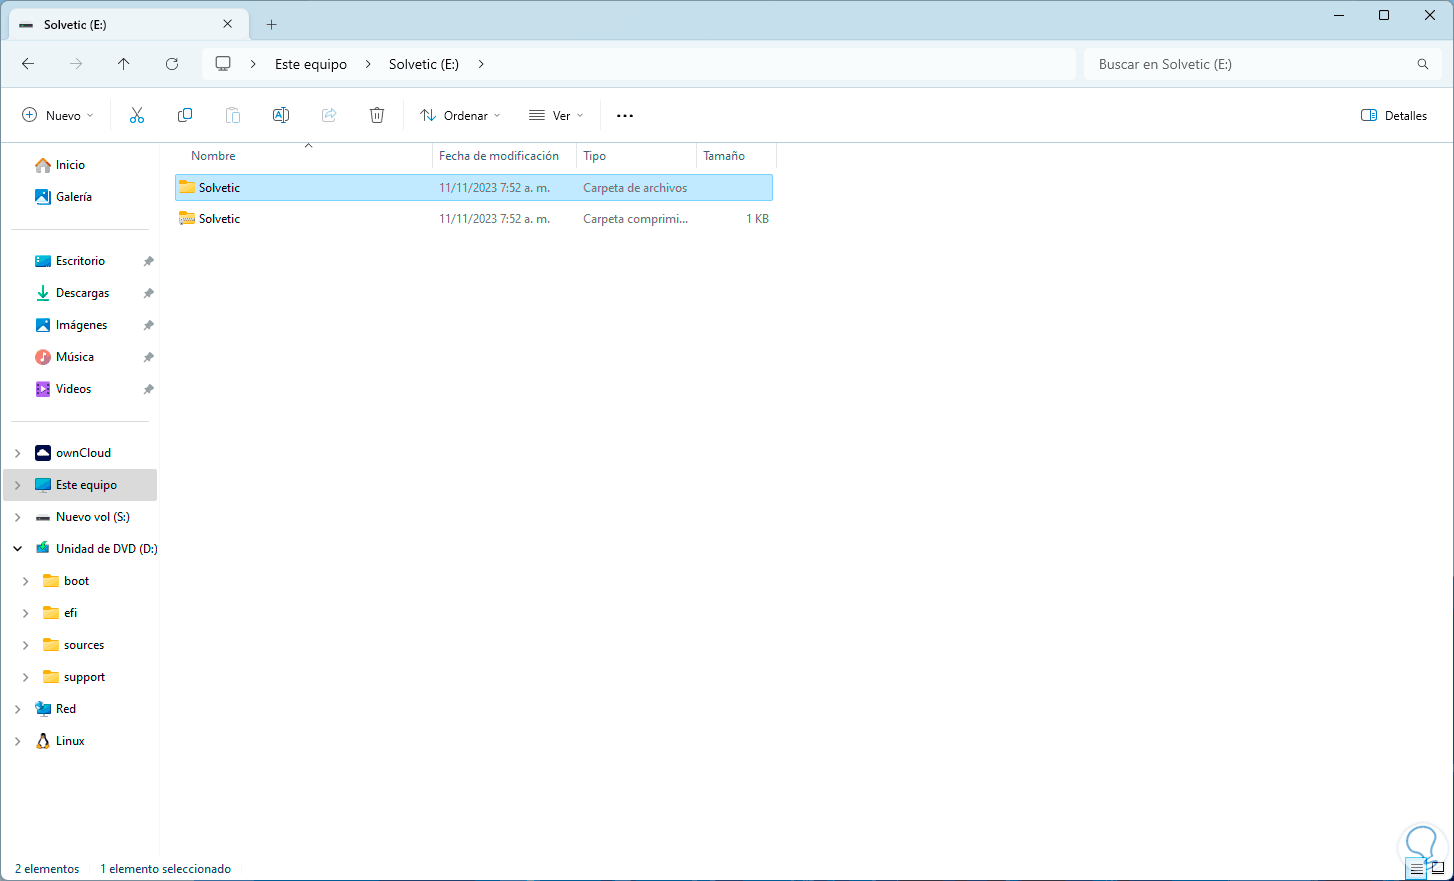
Another option to use is to delete folders that give an error, for this method we first check the path where the folder is:
Step 2
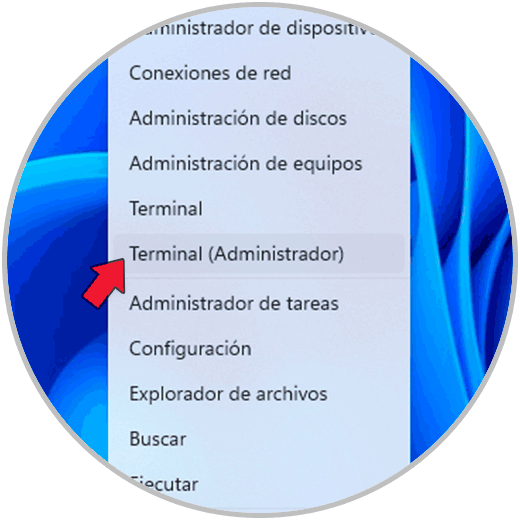
We right click on Start and then click on “Terminal (administrator)”:
Step 3
We accept system permissions:
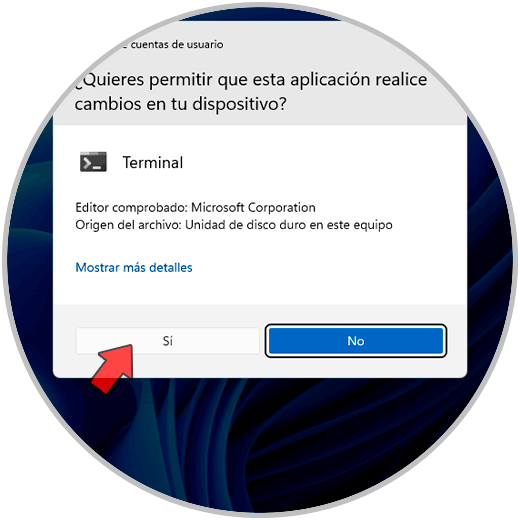
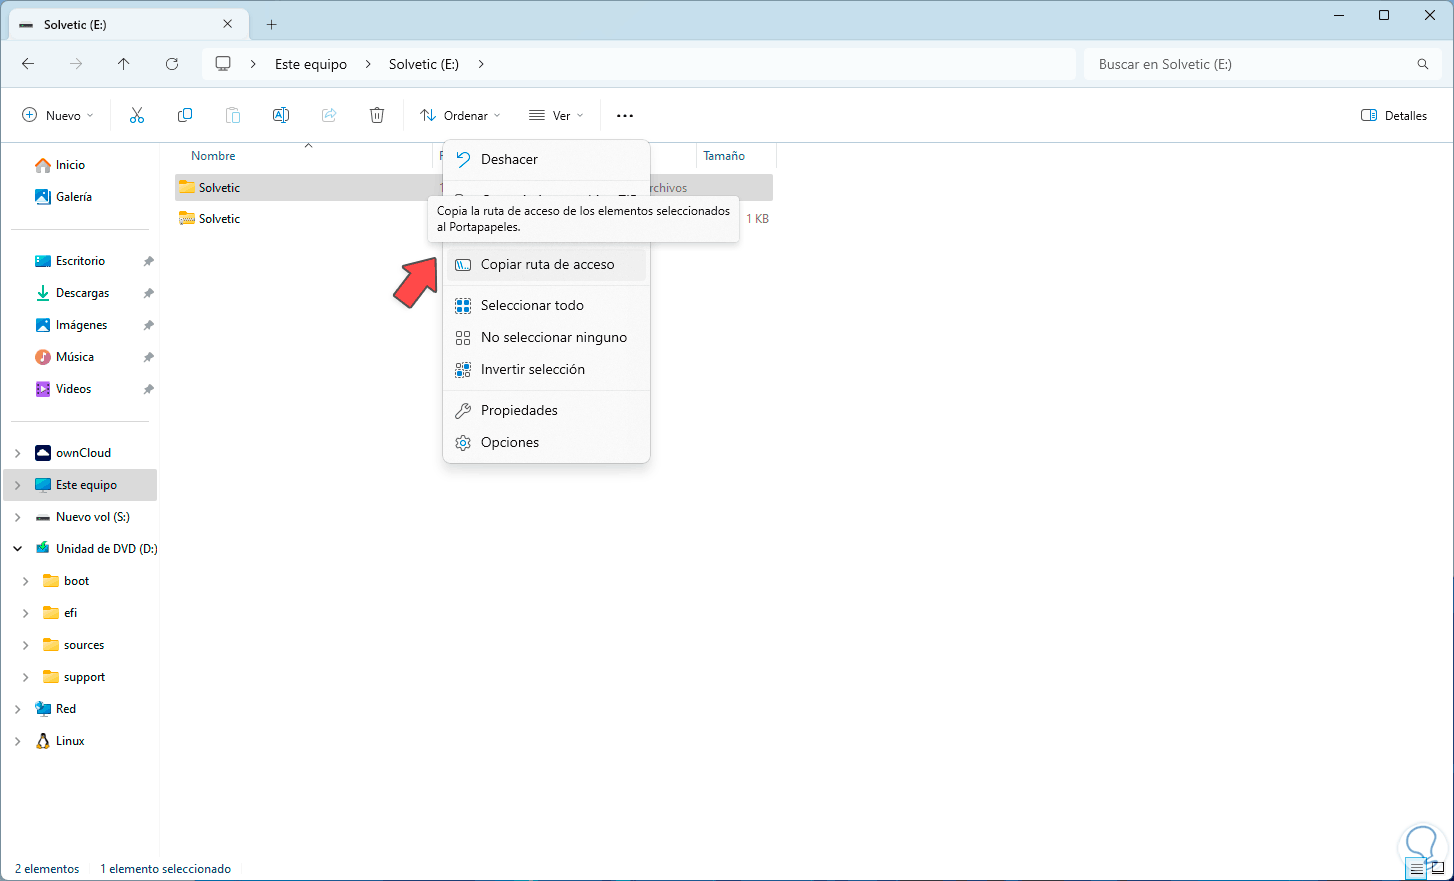
Step 4
First, in Explorer we select the folder to delete, click on “More information” and click on “Copy path”:
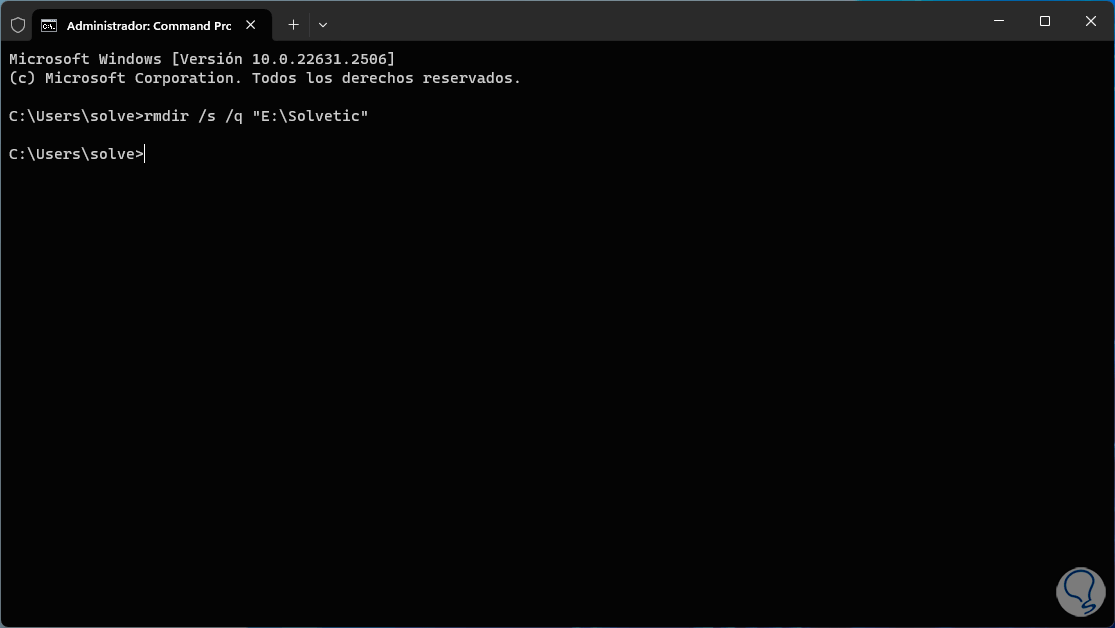
Step 5
Now in the console we are going to execute the following:
rmdir /s /q “Folder path”
Step 6
The rmdir command is responsible for deleting a Windows directory, the parameters used are:
- /s: allows you to delete a directory tree including all files
- /q: makes use of silent mode to not request confirmation of the process
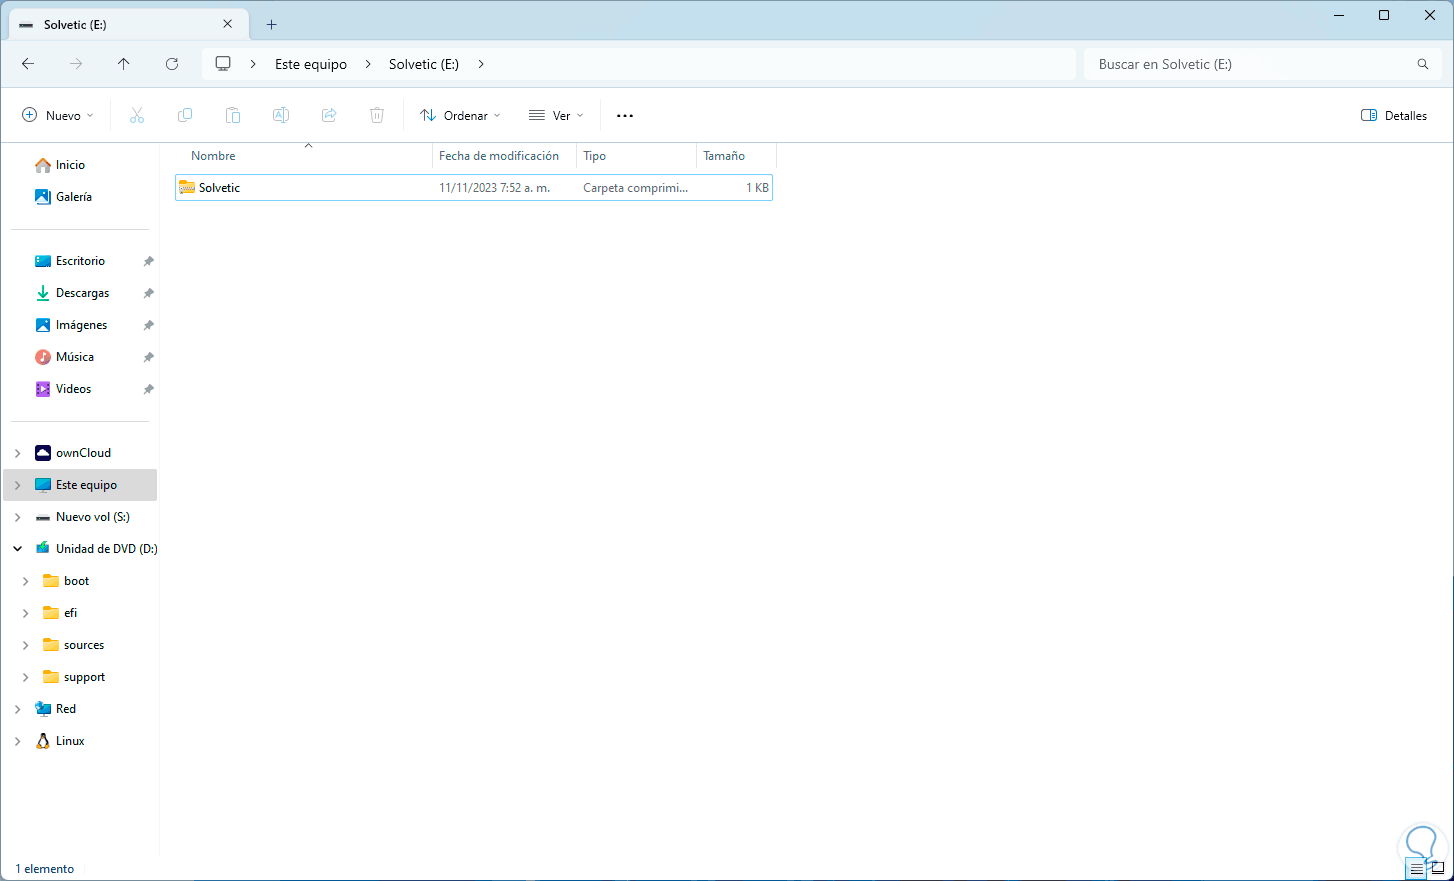
Step 7
When it runs, we check that the folder has been deleted correctly:
3 How to delete zip files in Windows 11
Step 1
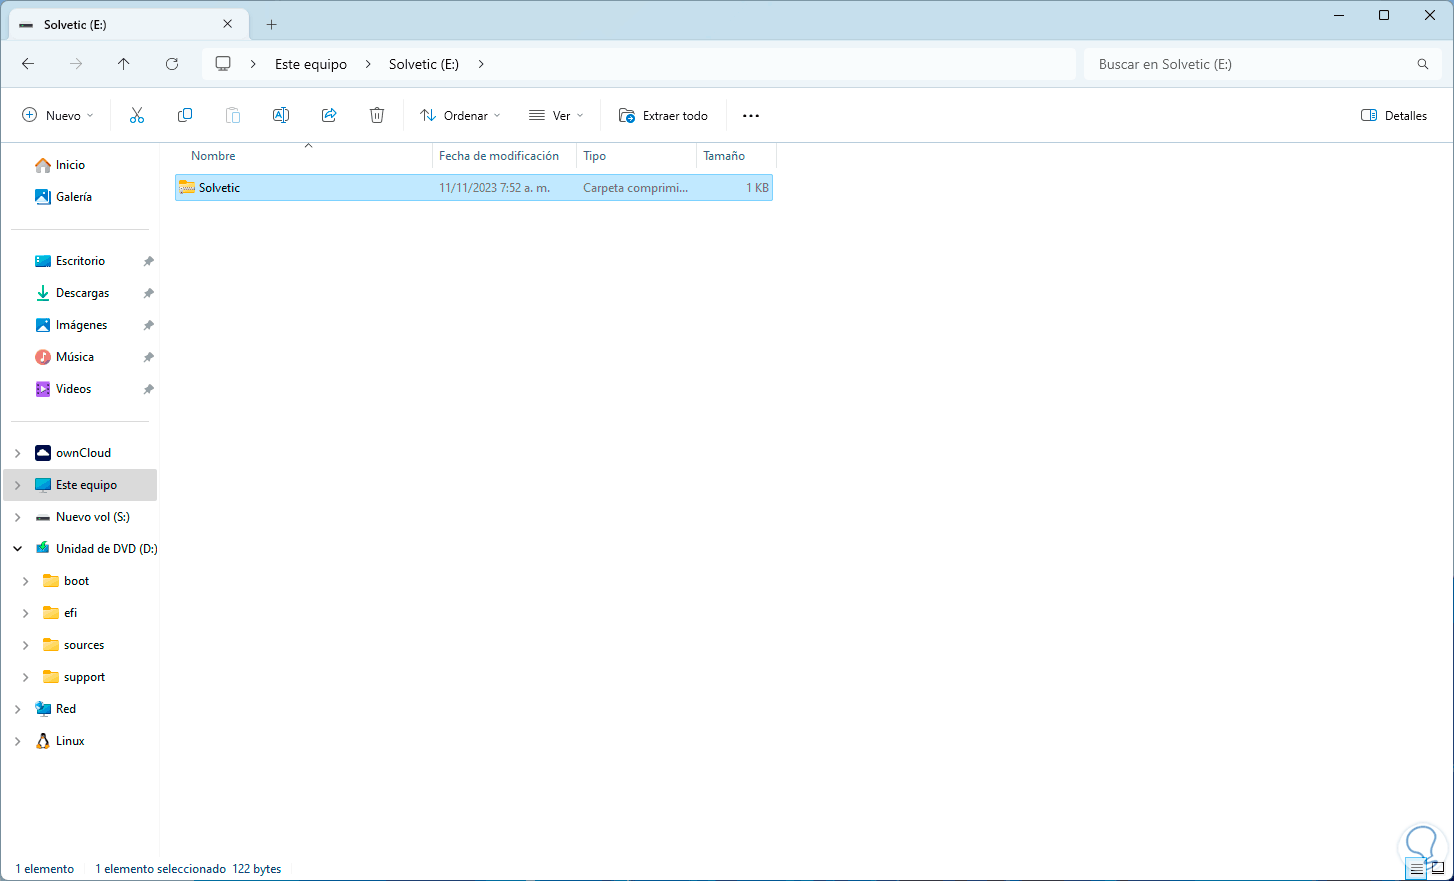
This is another option to use, deleting a compressed file, in this case we check the path where the file is located.
Step 2
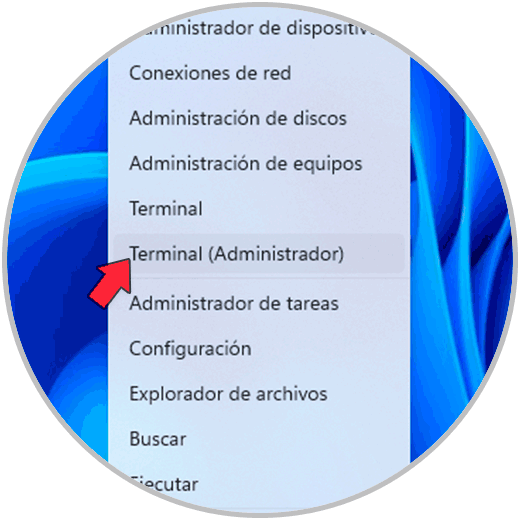
Then, we right click on Start and click on “Terminal (Administrator)”:
Step 3
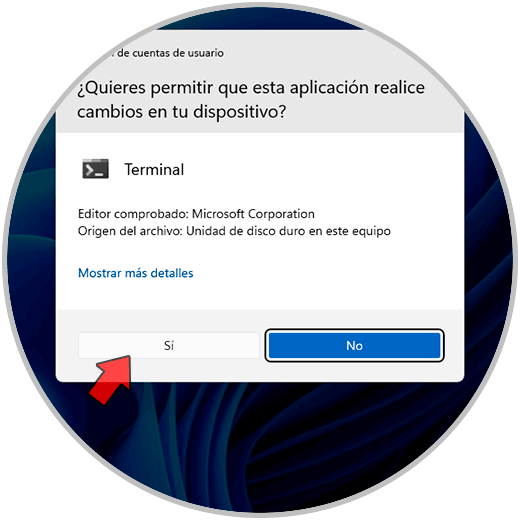
We accept the permissions:
Step 4
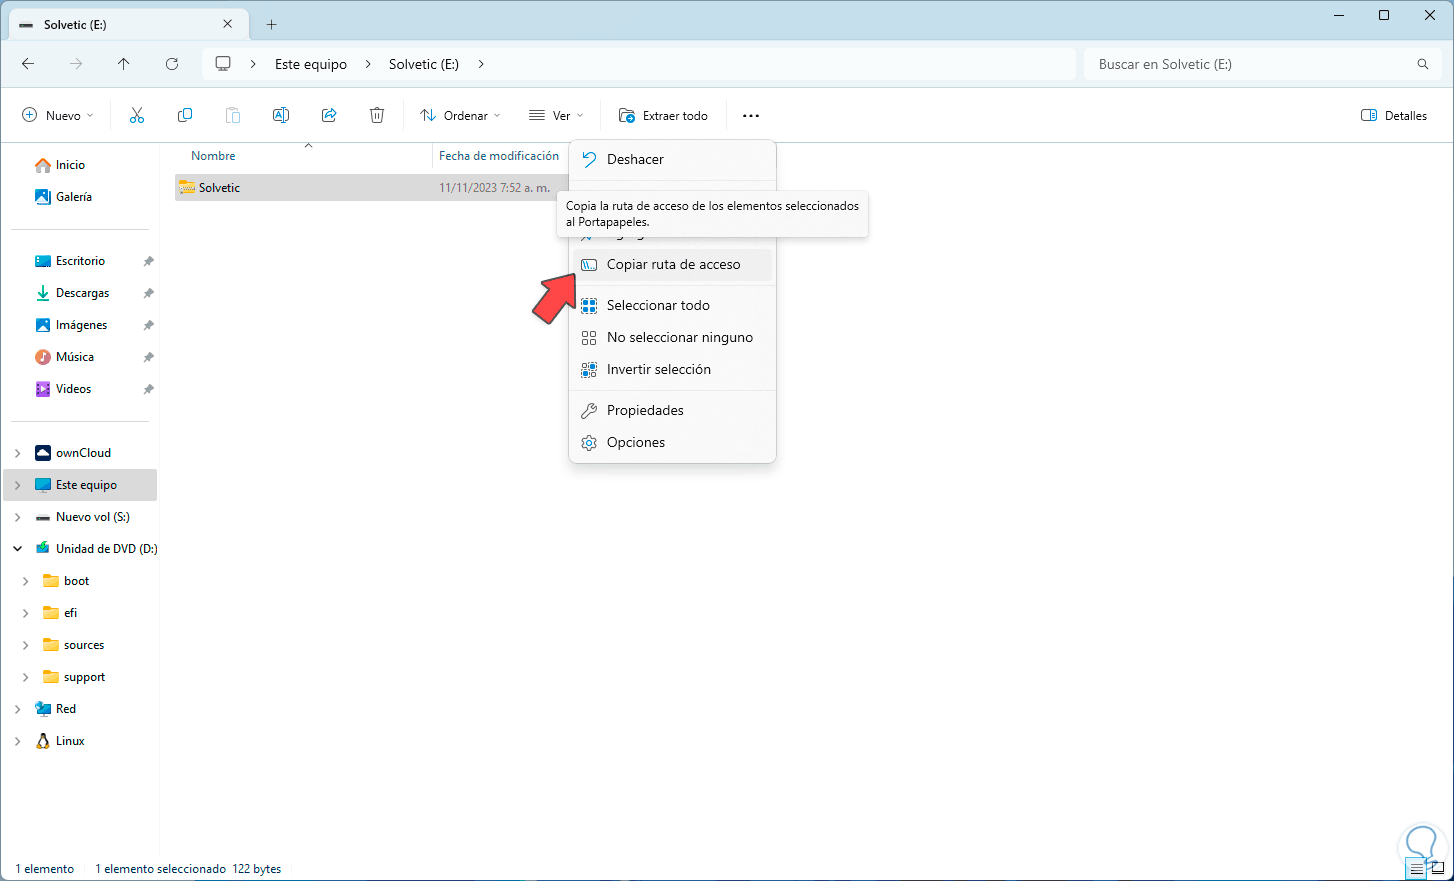
In Explorer, click on “More information” and click on “Copy path” on the file:
Step 5
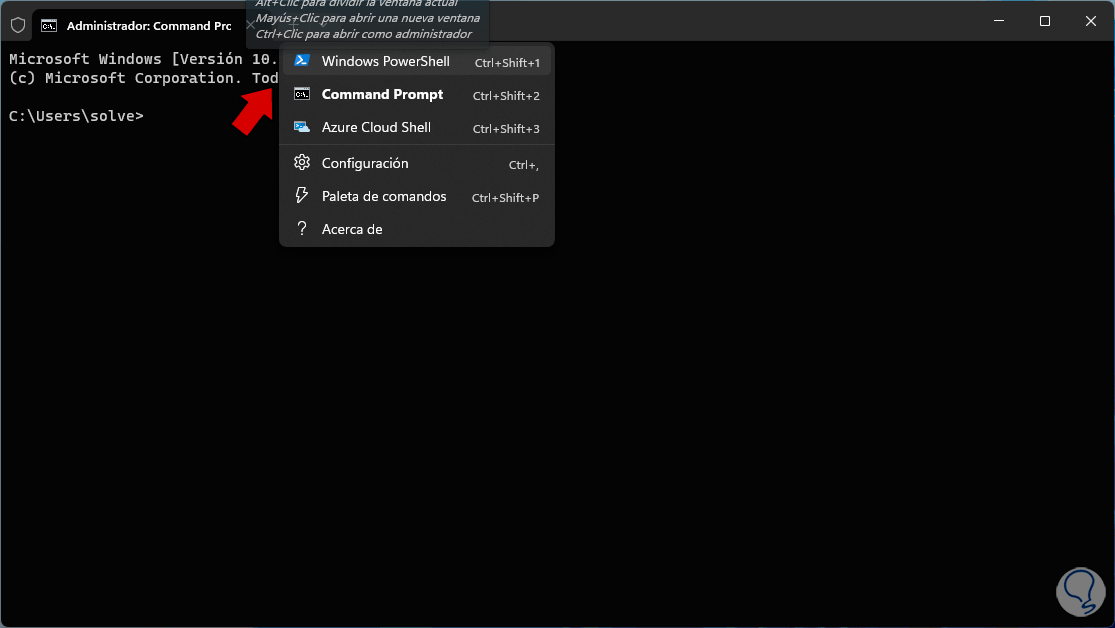
Now, in the terminal, click on the top menu and select “Windows PowerShell”:
Step 6
In this mode, we execute the following command:
Remove-Item -Path (zip file path) -force
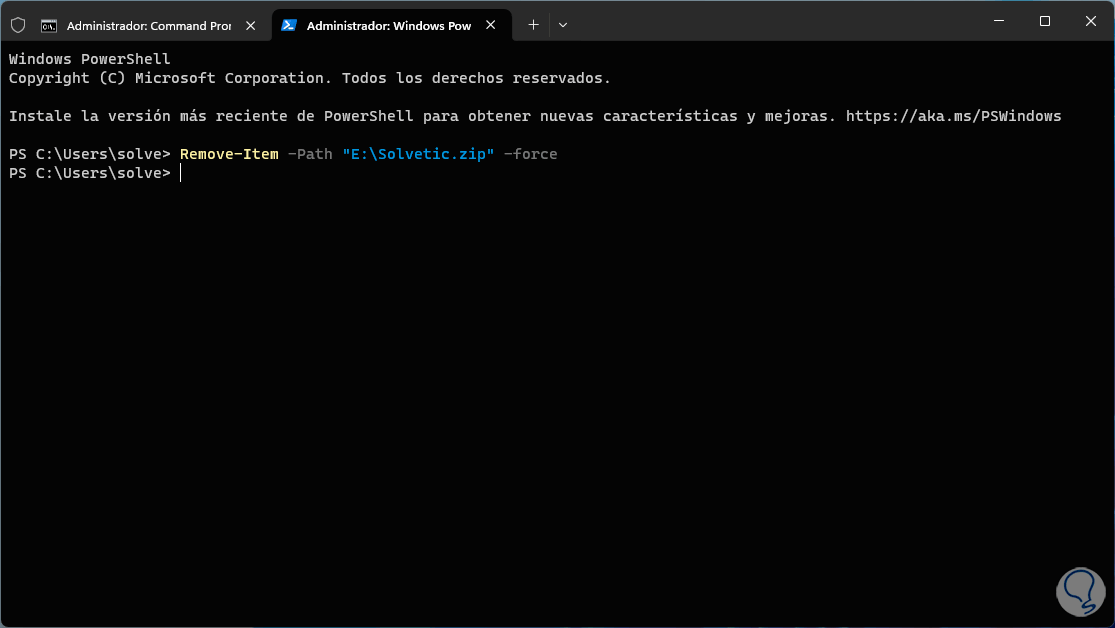
Step 7
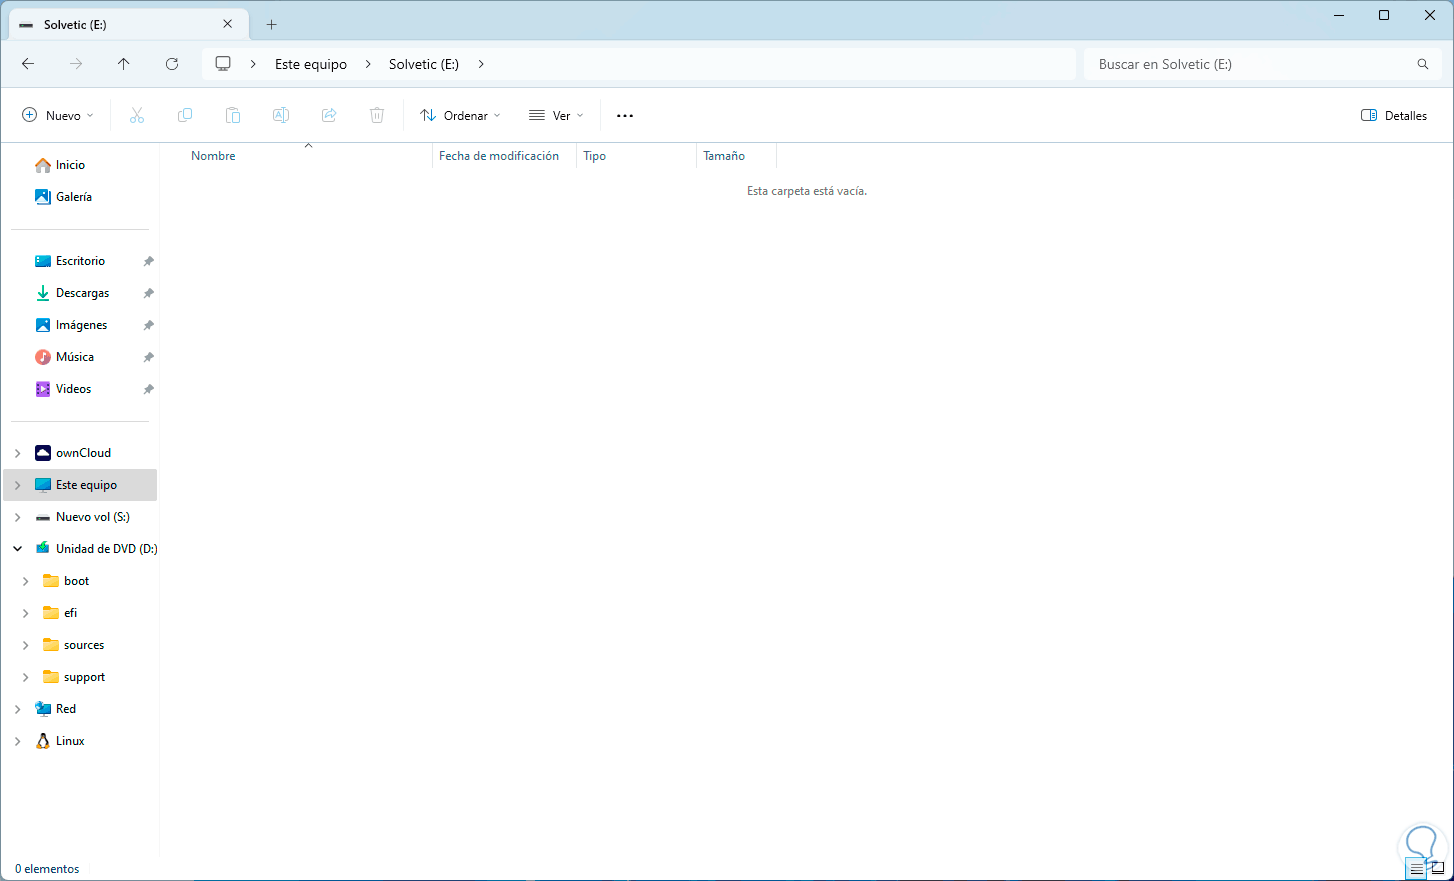
We press Enter and then check that the file has been deleted:
These are comprehensive and functional ways to delete files and folders in PBC..