Discord is a platform from which it is possible to broadcast live, interact with friends and people through chat, use voice, video and text chat, perform numerous actions online and in general be part of a community of millions of users. in the world and one of the advantages that Discord offers the user is to create a server in Discord to later create Discord channels..
Let's have that everything we do in Discord is done through the servers, this server can be made up of several channels, categories and more and each one with its respective security settings, we can customize this server to our liking and it is for this reason that in TechnoWikis we will explain the step by step to create and configure a server in Discord.
To stay up to date, remember to subscribe to our YouTube channel!
SUBSCRIBE ON YOUTUBE
How to create and configure a server on Discord
Step 1
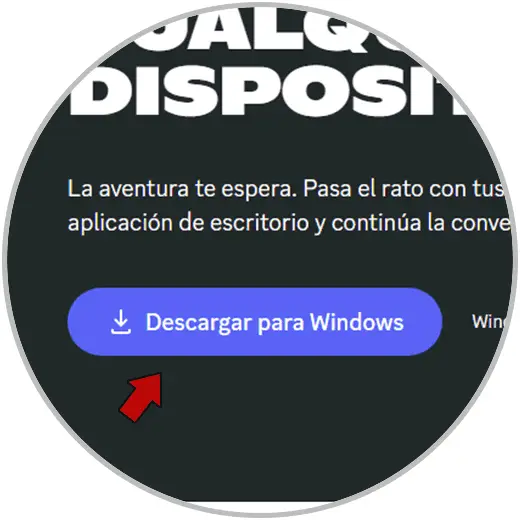
In case of not having Discord we can download it at the following link:
discord
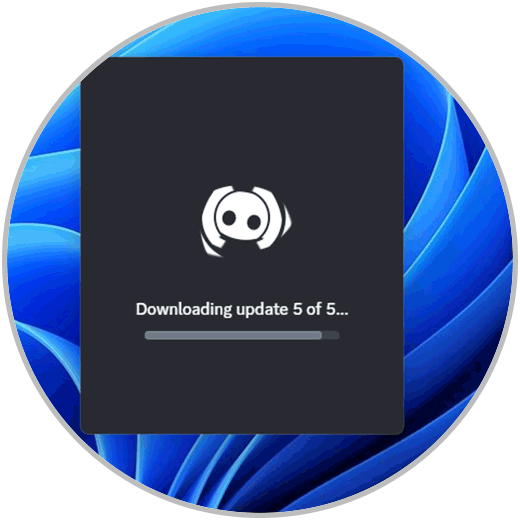
Step 2
Once we download and execute the file we must wait for the installation process to complete:
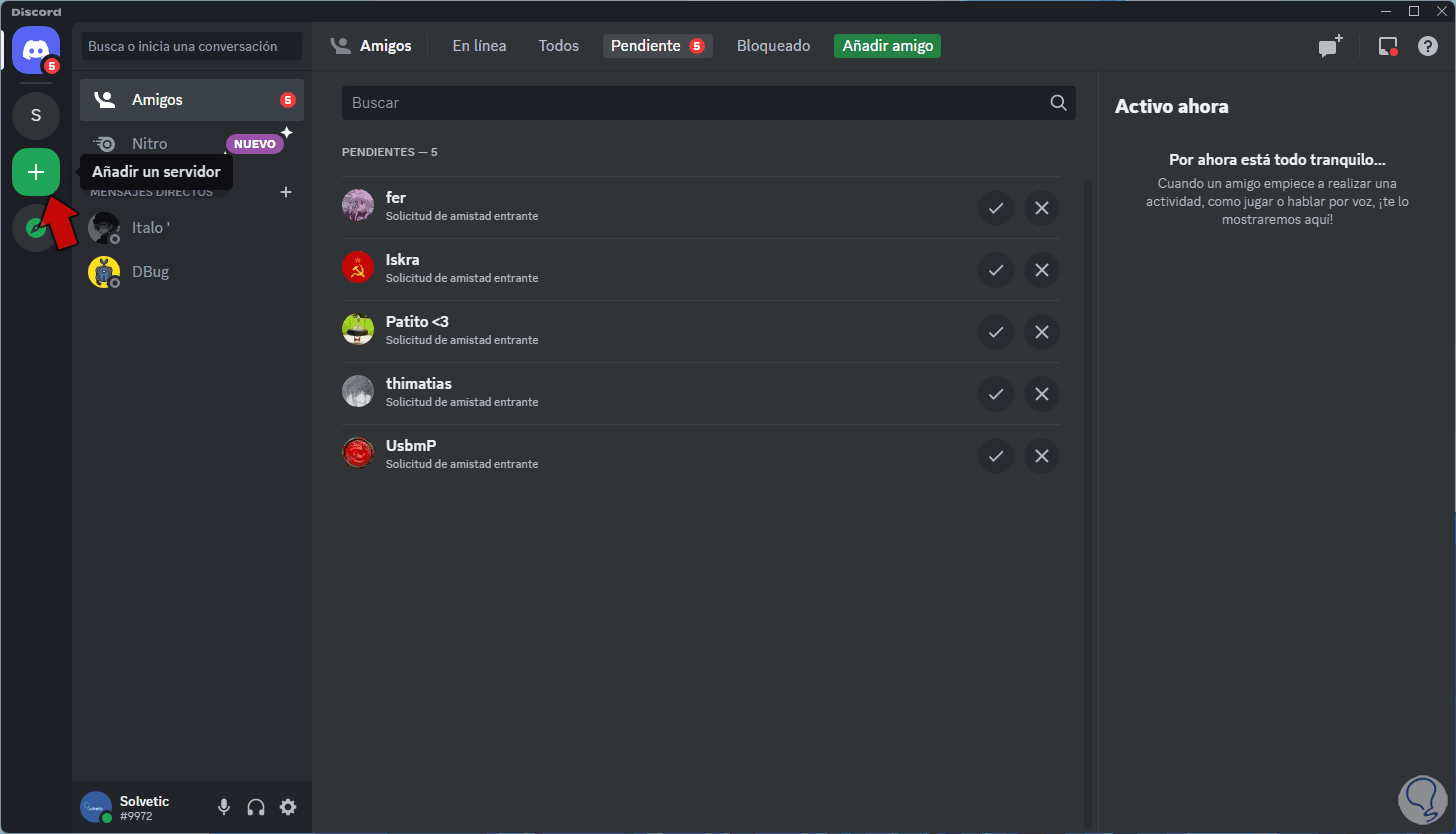
Step 3
Now we open Discord and click on the + sign (add a server):
Step 4
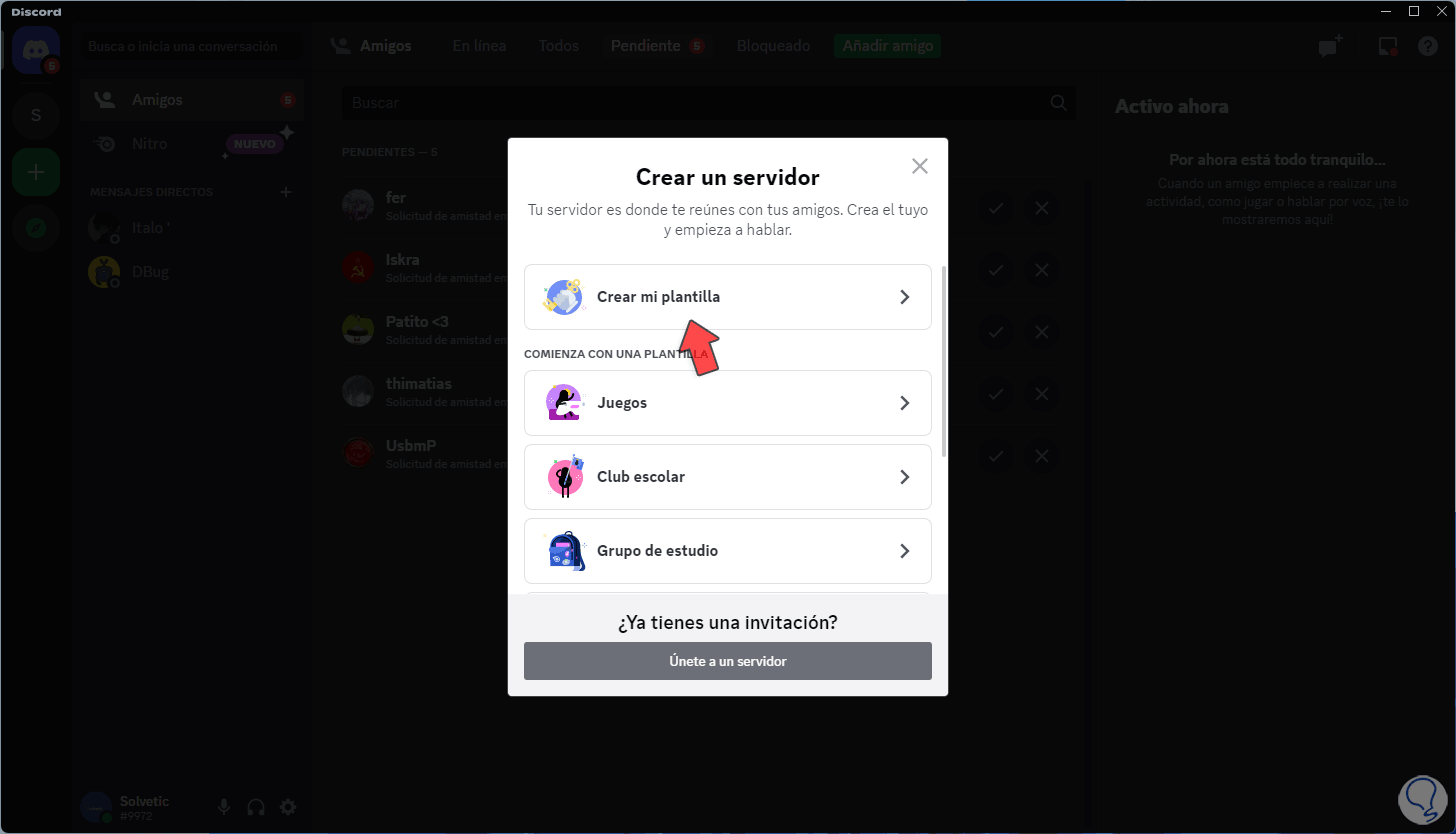
The following window will open:
step 5
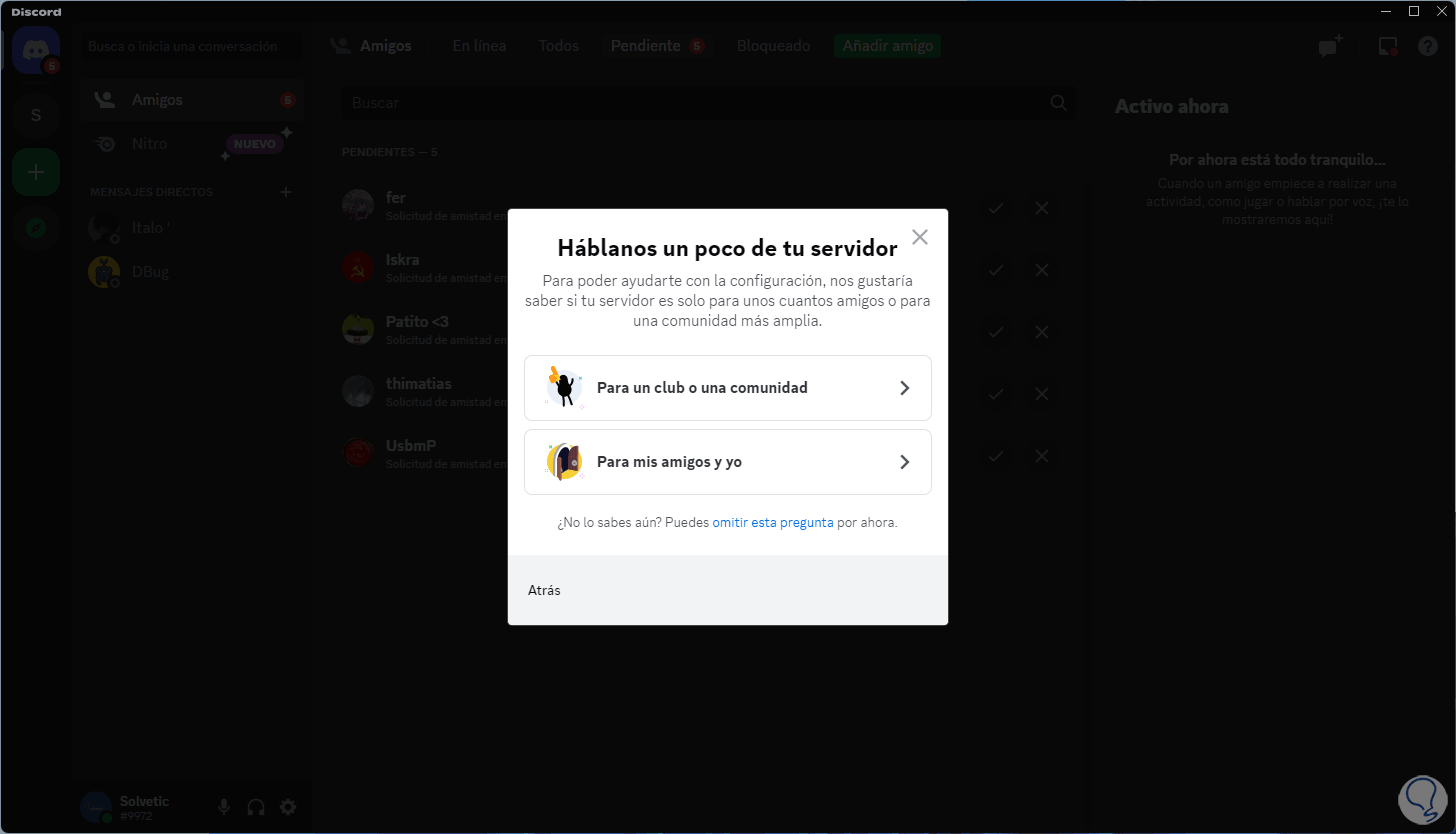
We click on "Create my template" but if we have a specific objective we can click on one of the already predefined sections (games, school, study), by clicking there we will see the following:
step 6
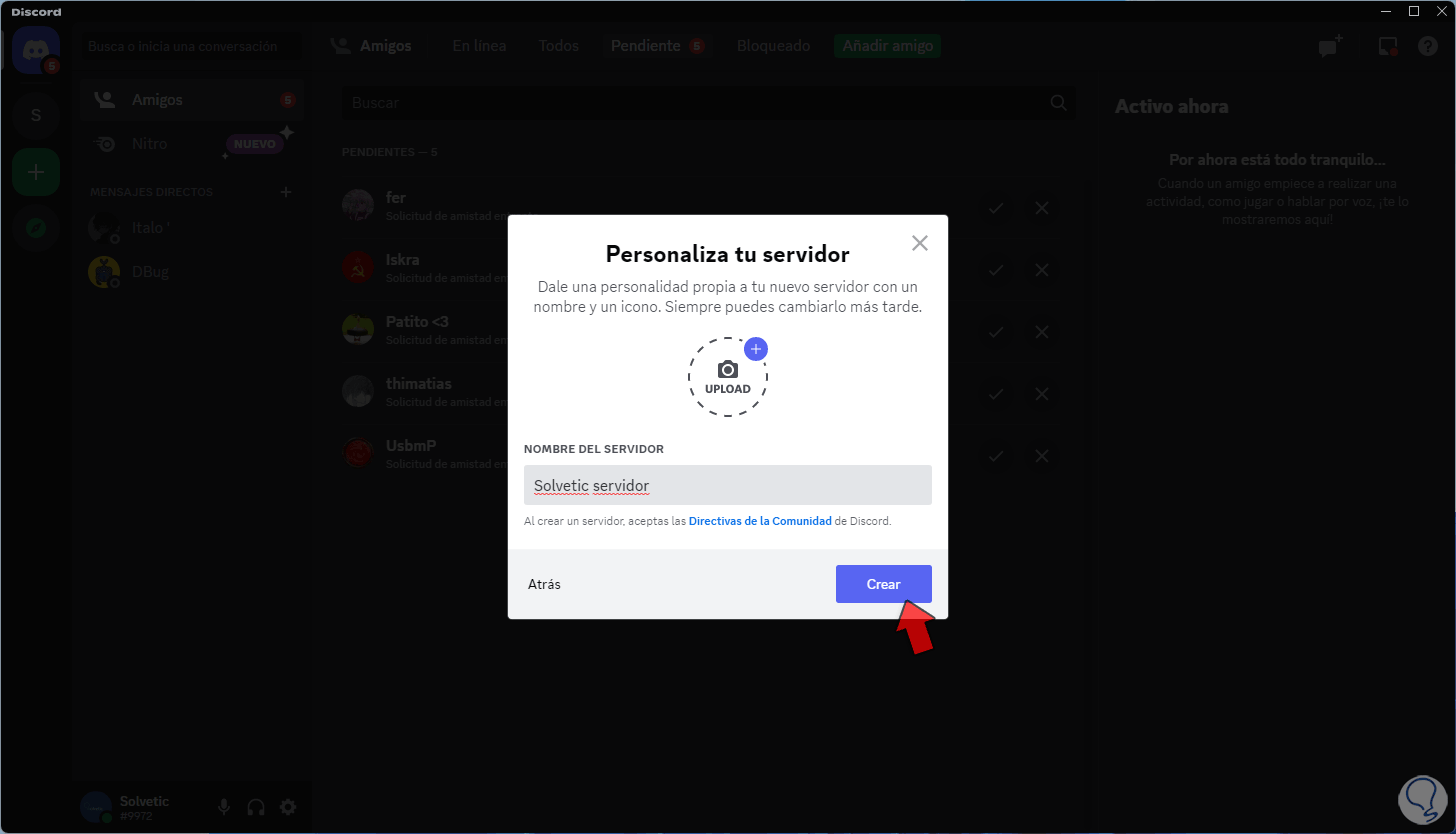
There we can select the target focus of the server (friends or community), if we don't know we can click on "skip this question", now we assign a name and click on "Create" to access the new server:
step 7
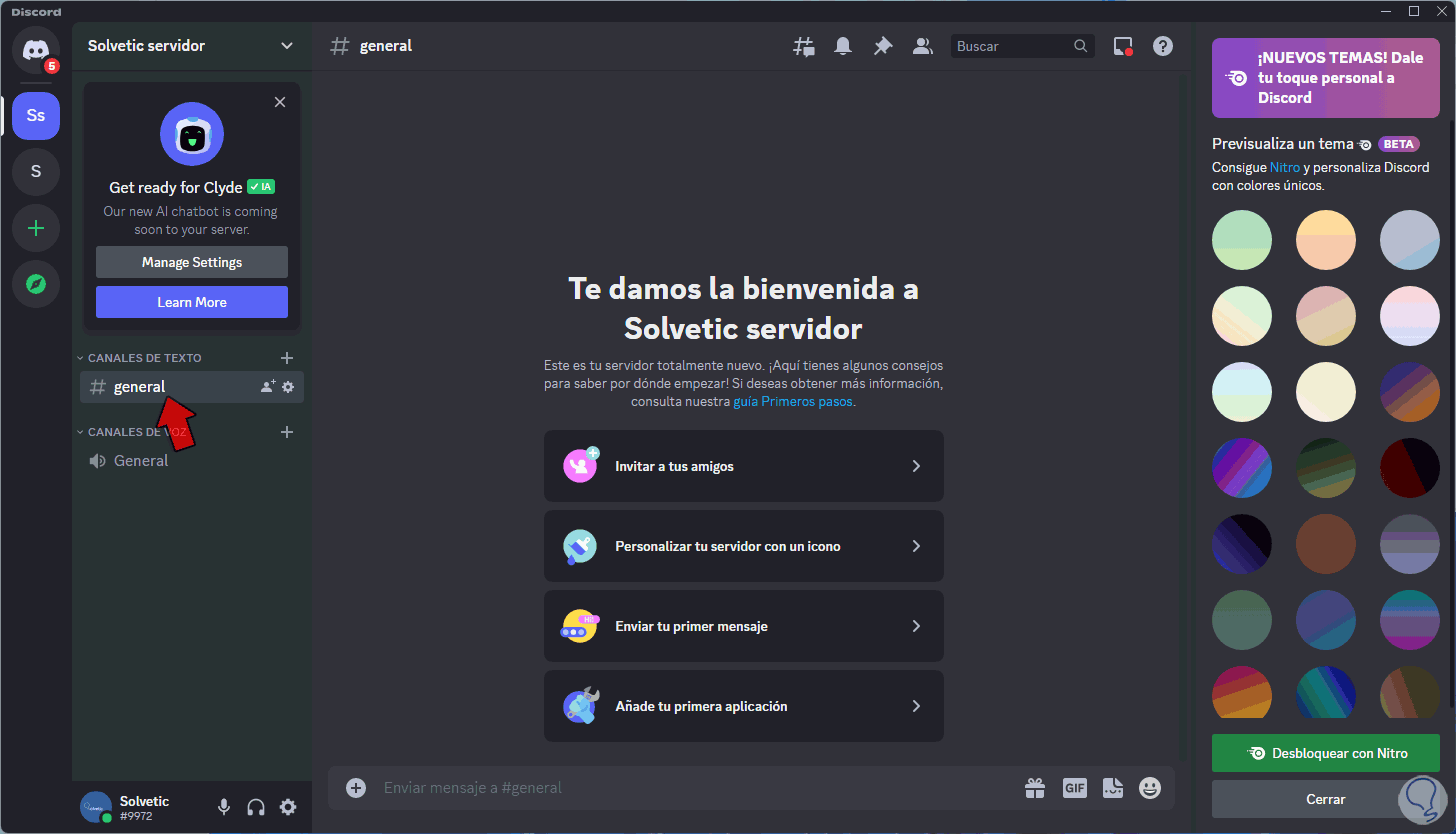
When doing this we will see the server created with your name on the left side of Discord:
step 8
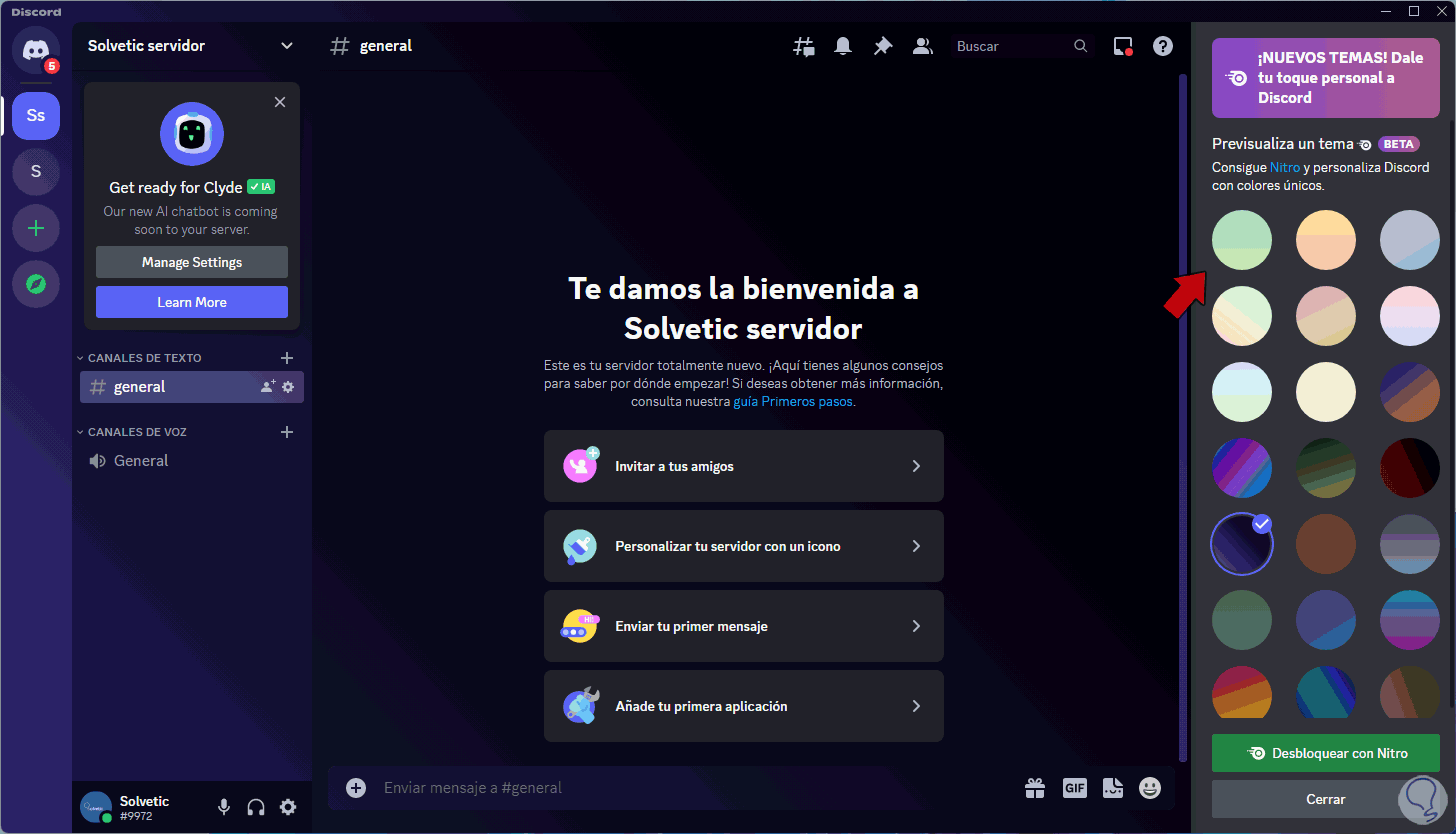
It is possible to assign a new style color by clicking on one of the available colors:
step 9
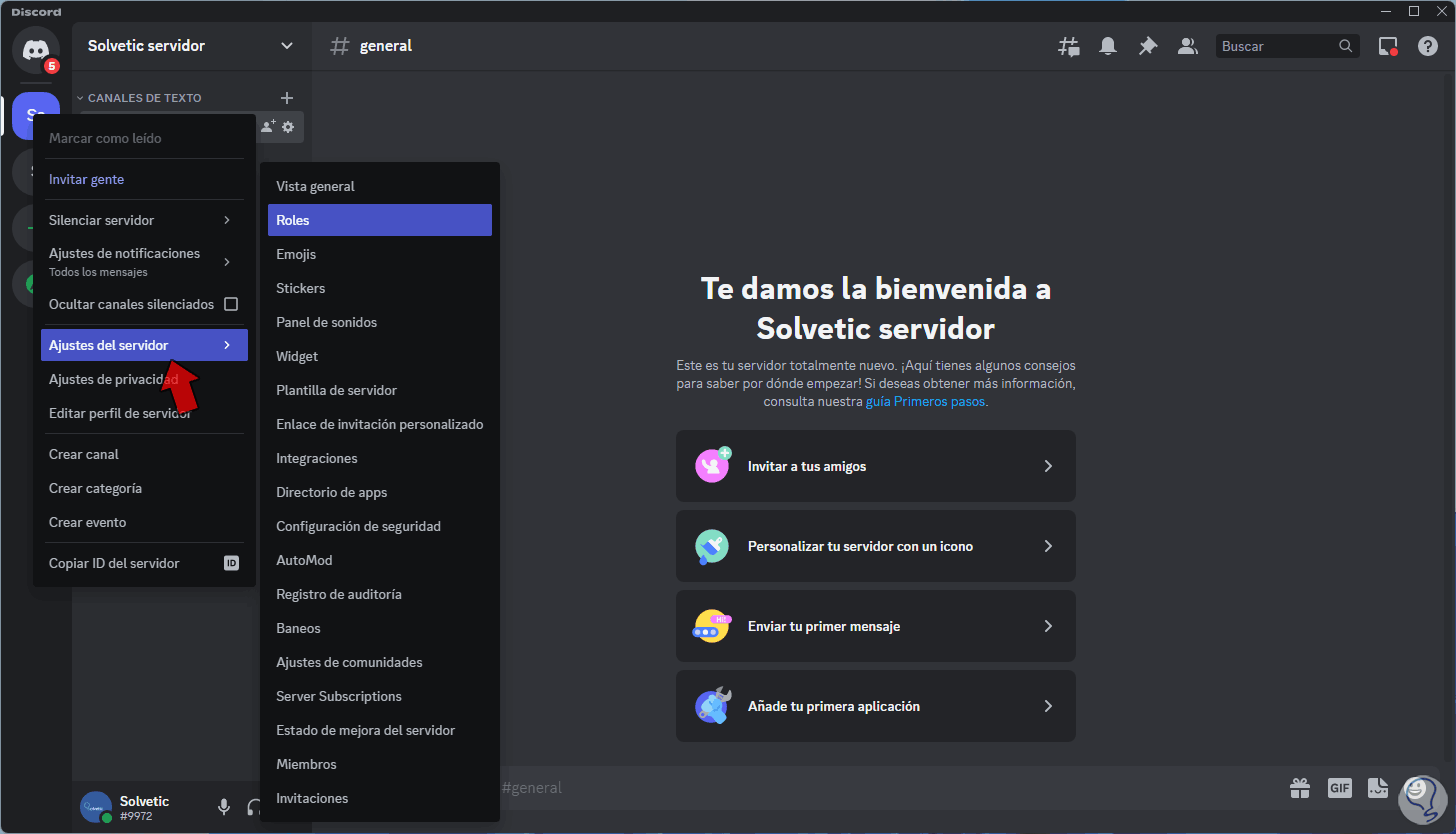
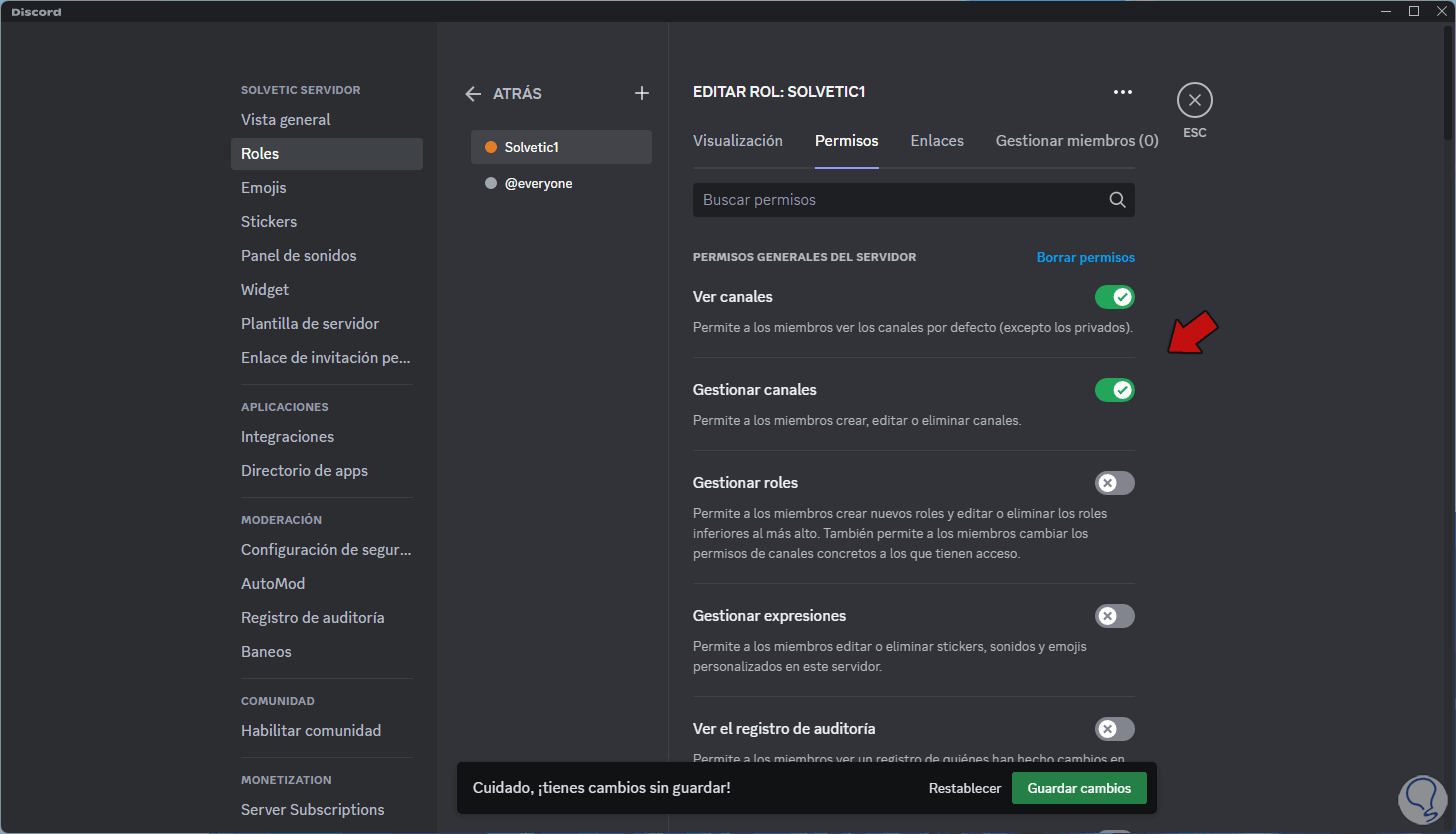
It is time to assign roles, these roles grant users specific permissions to manage Discord's general options such as managing users, applications, etc., for this we right click on the server and select "Server settings - Roles" :
step 10
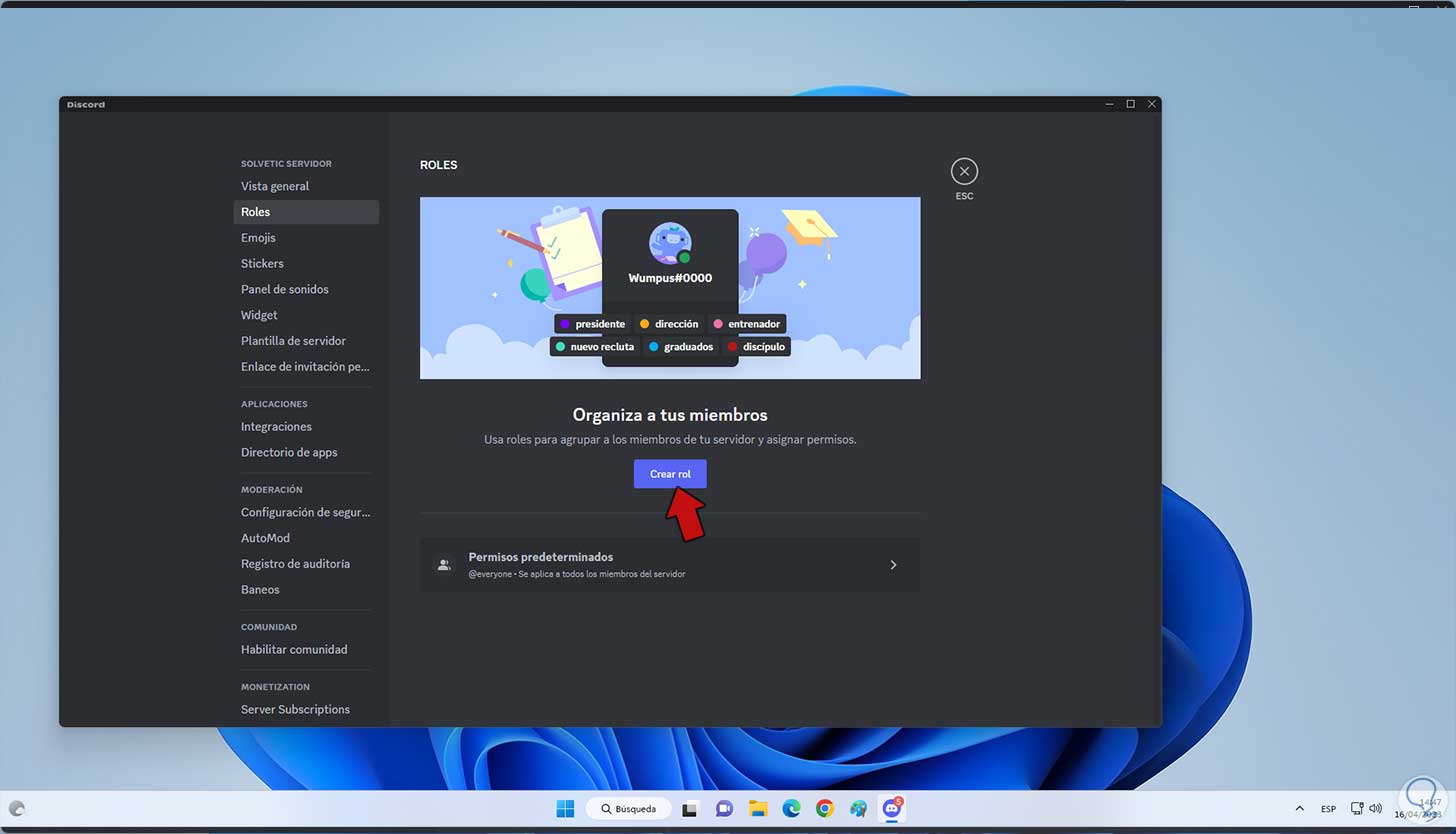
We will see the following: We click on "Create role"
step 11
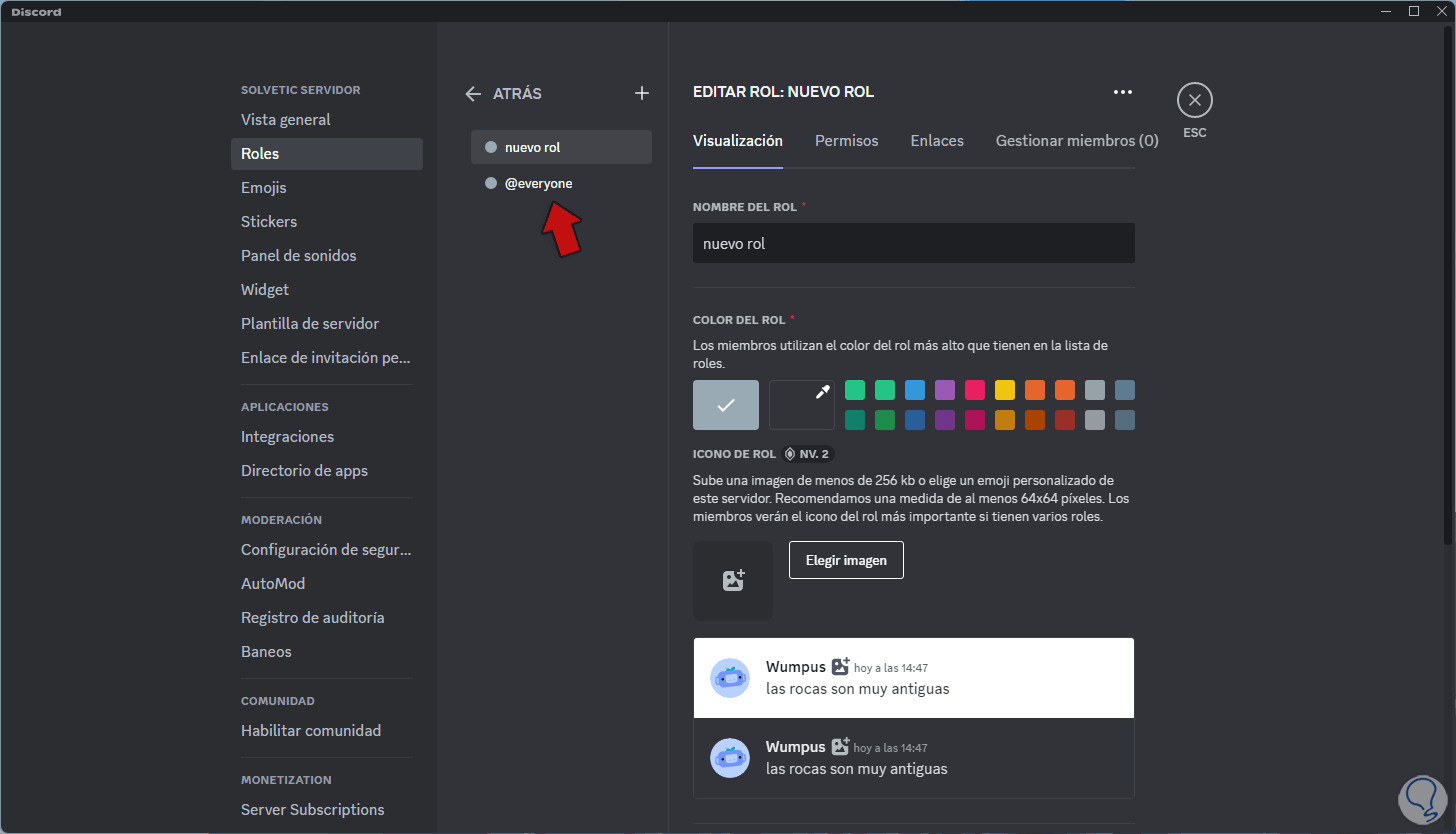
The following will open. We see a segment already set by default (@everyone) and the option to create a new role at the top.
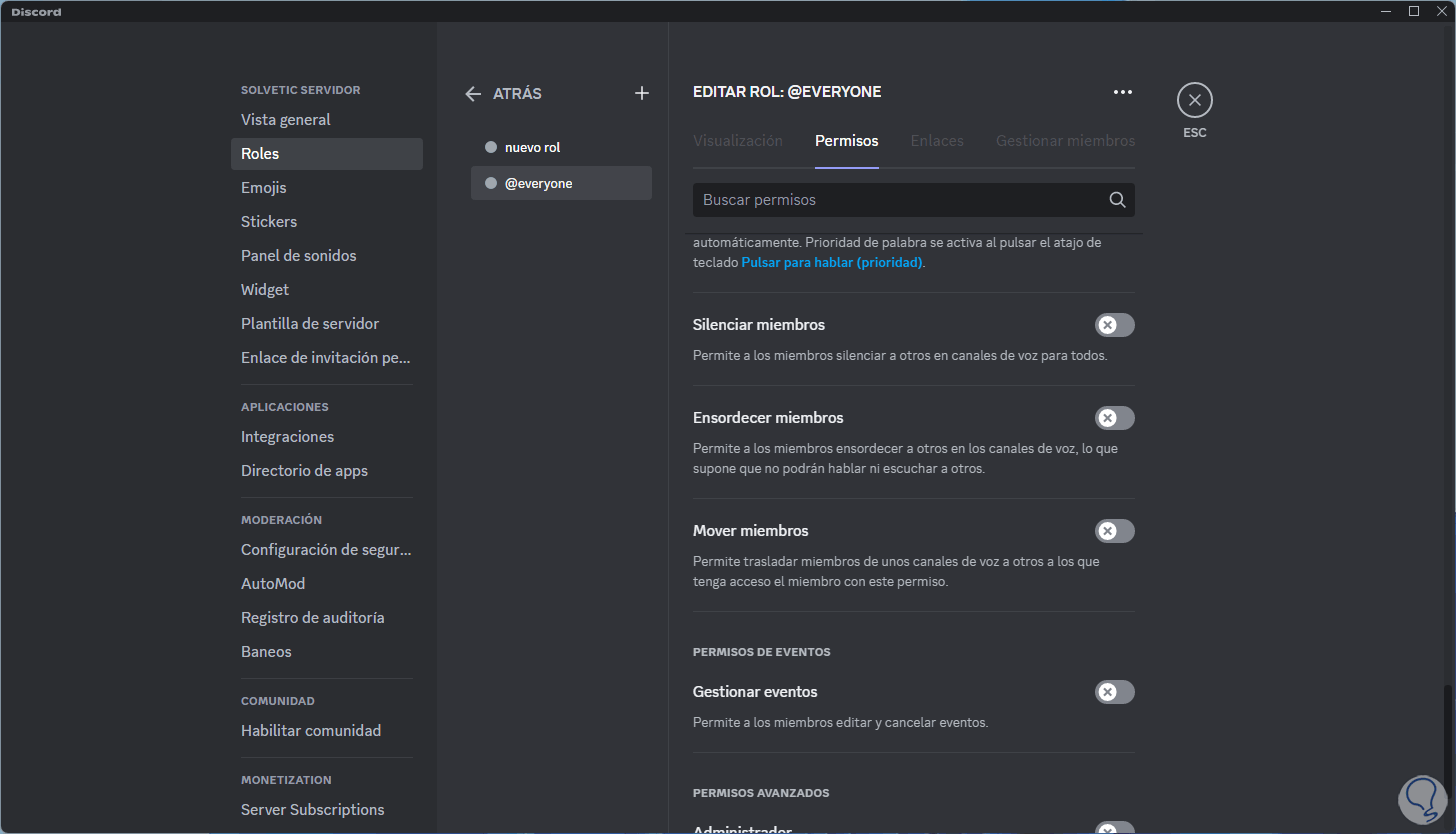
We must select a role to manage the permissions associated with it, in this case we select "@everyone"..
step 12
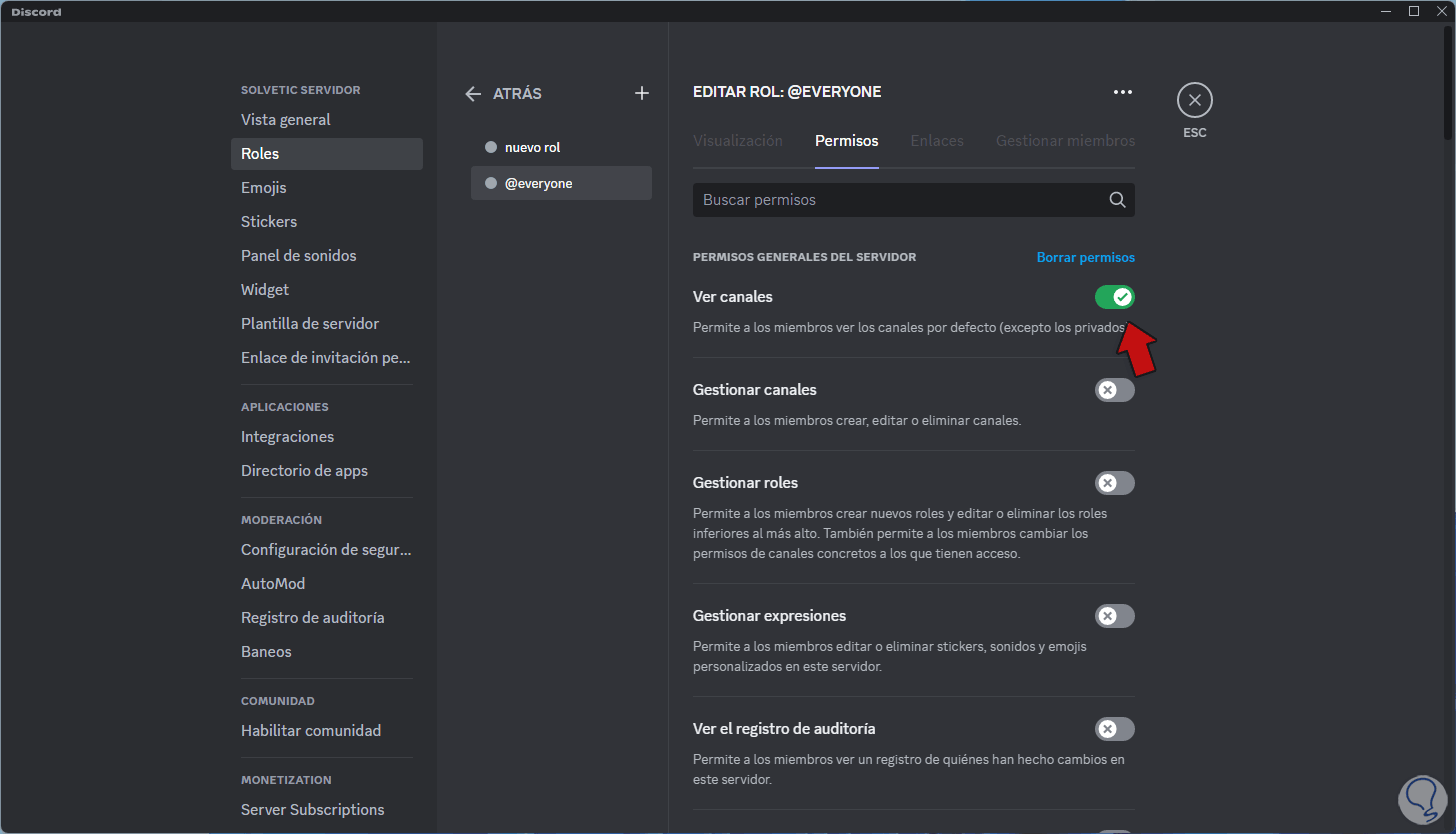
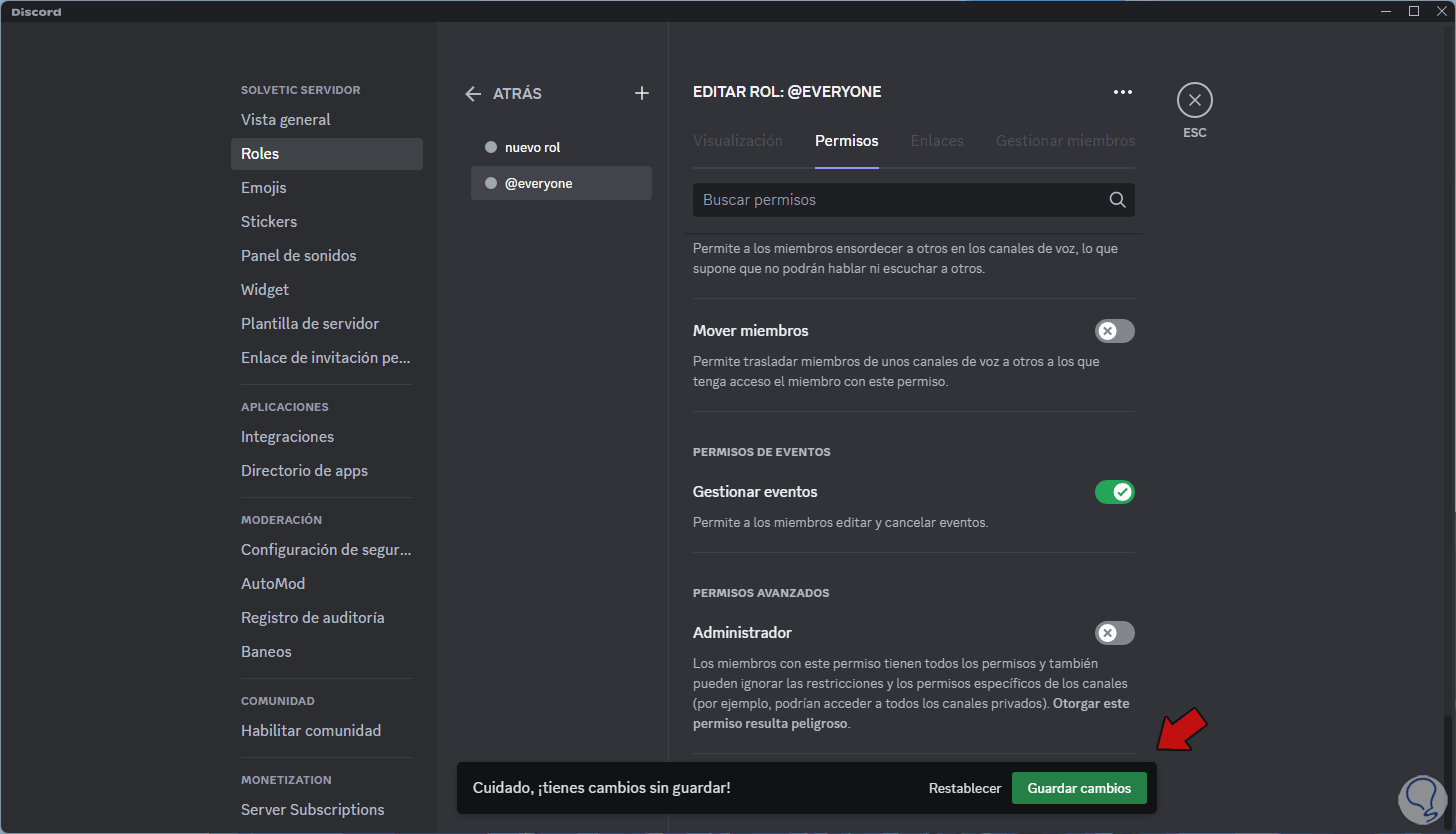
In the "Permissions" tab we adjust the desired permissions by activating their switch:
step 13
At the bottom we find many more permission options:
step 14
We activate the required permissions. Apply the changes.
step 15
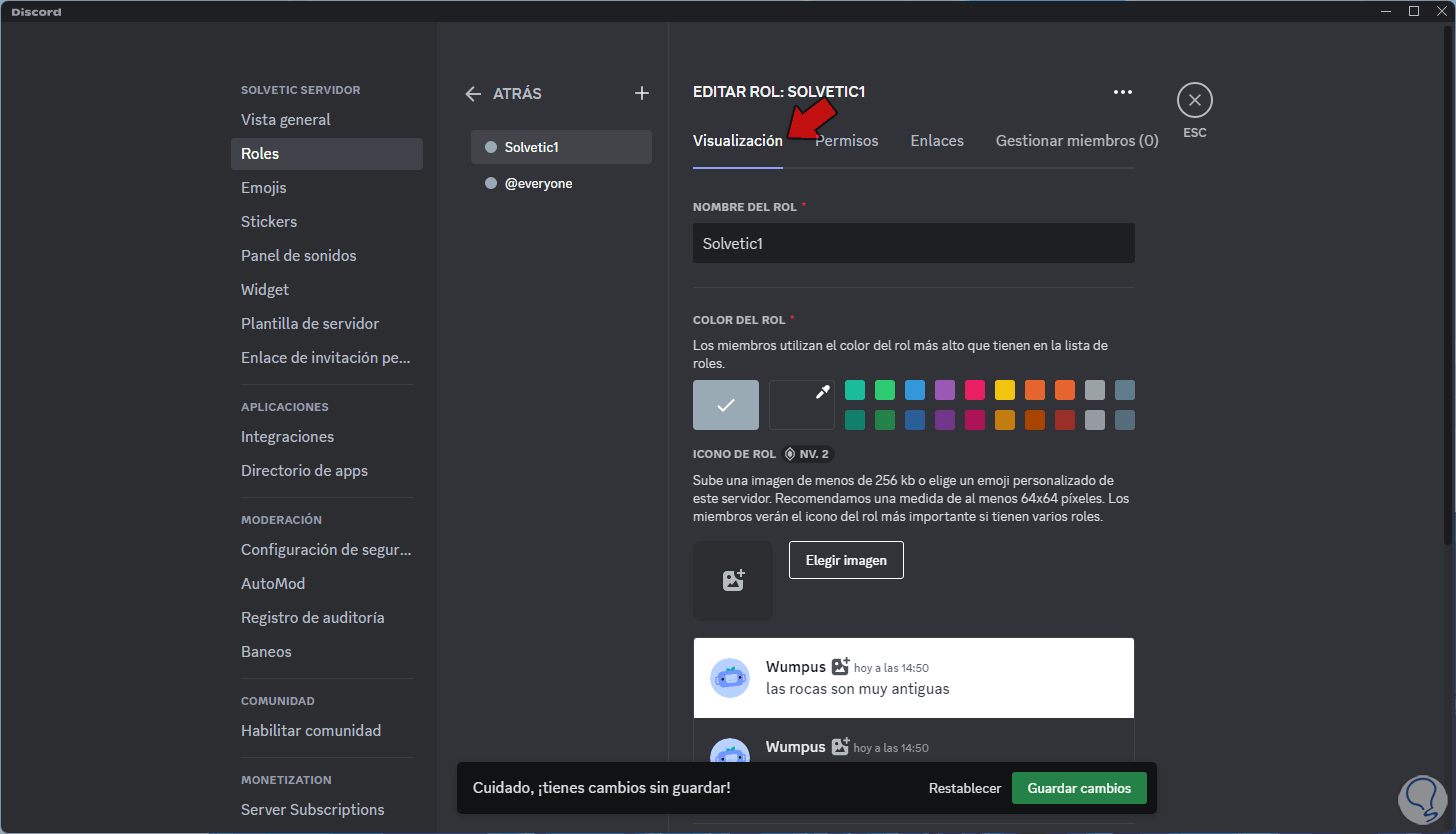
We click on "new role" and in the "Display" tab we assign the name and it is possible to apply a color to the defined role:
step 16
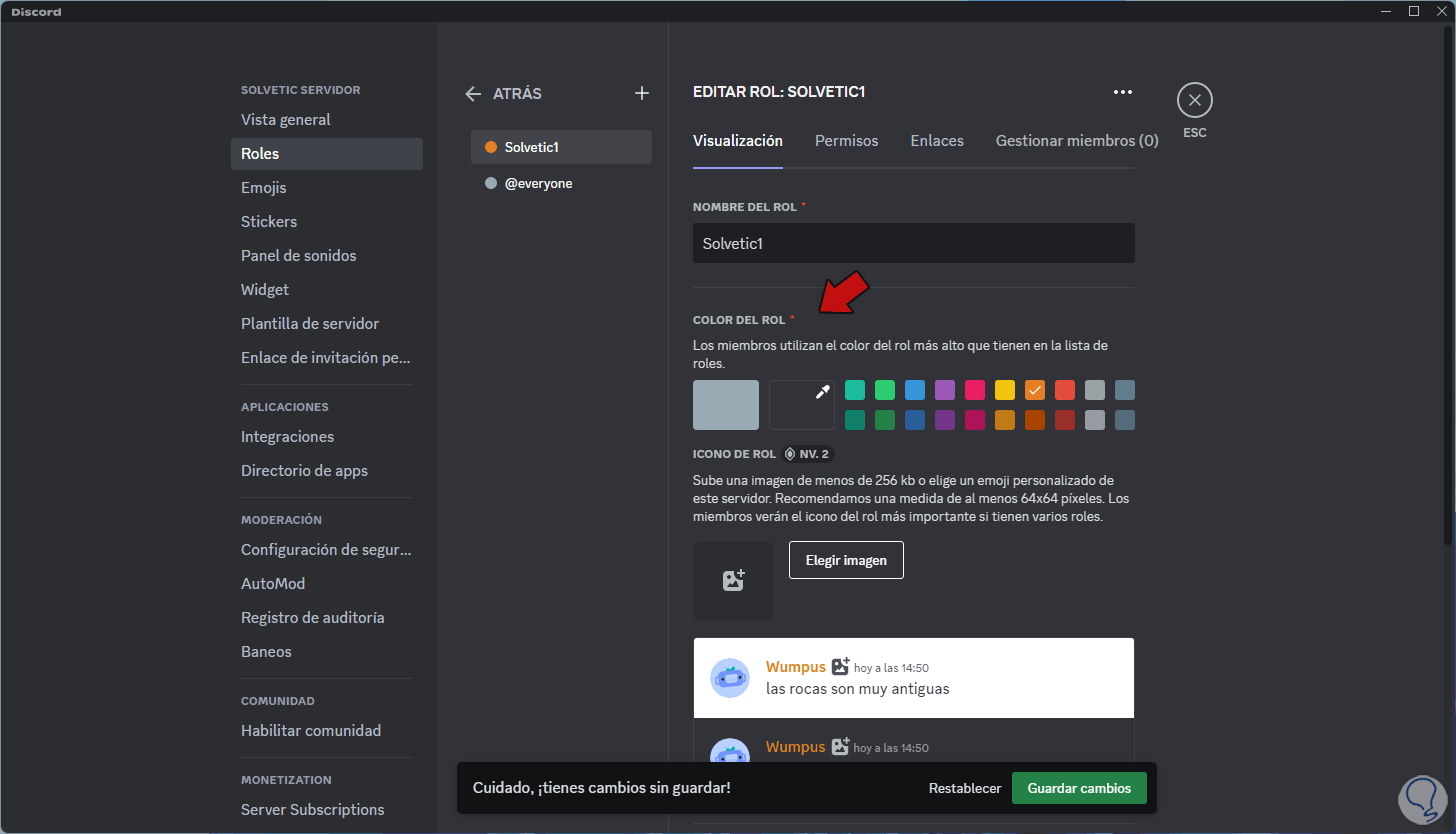
We click on the color tab so that it is applied automatically:
step 17
In the "Permissions" tab set the desired permissions. Apply the changes.
step 18
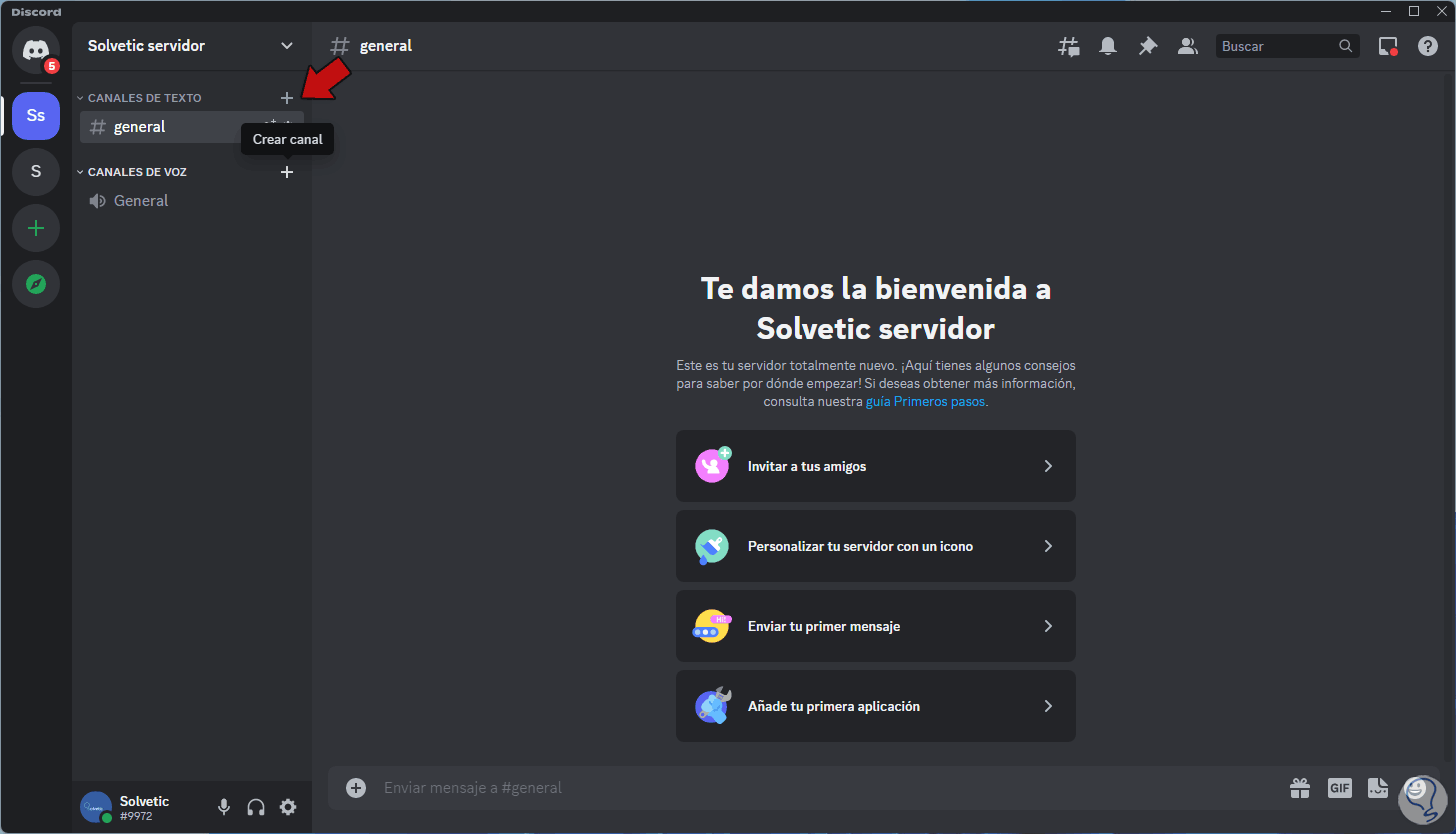
Now it's time to create a channel, by default Discord has a text channel, but it is possible to create a voice chat channel with which it is possible to chat with friends and users using the integrated messaging system or create a voice chat channel. video chat for which it will be necessary to have a camera connected to the PC or equipment, Discord is also compatible with video chat for this type of task.
In the "Text channels" section, click on the + sign (Create channel)":
step 19
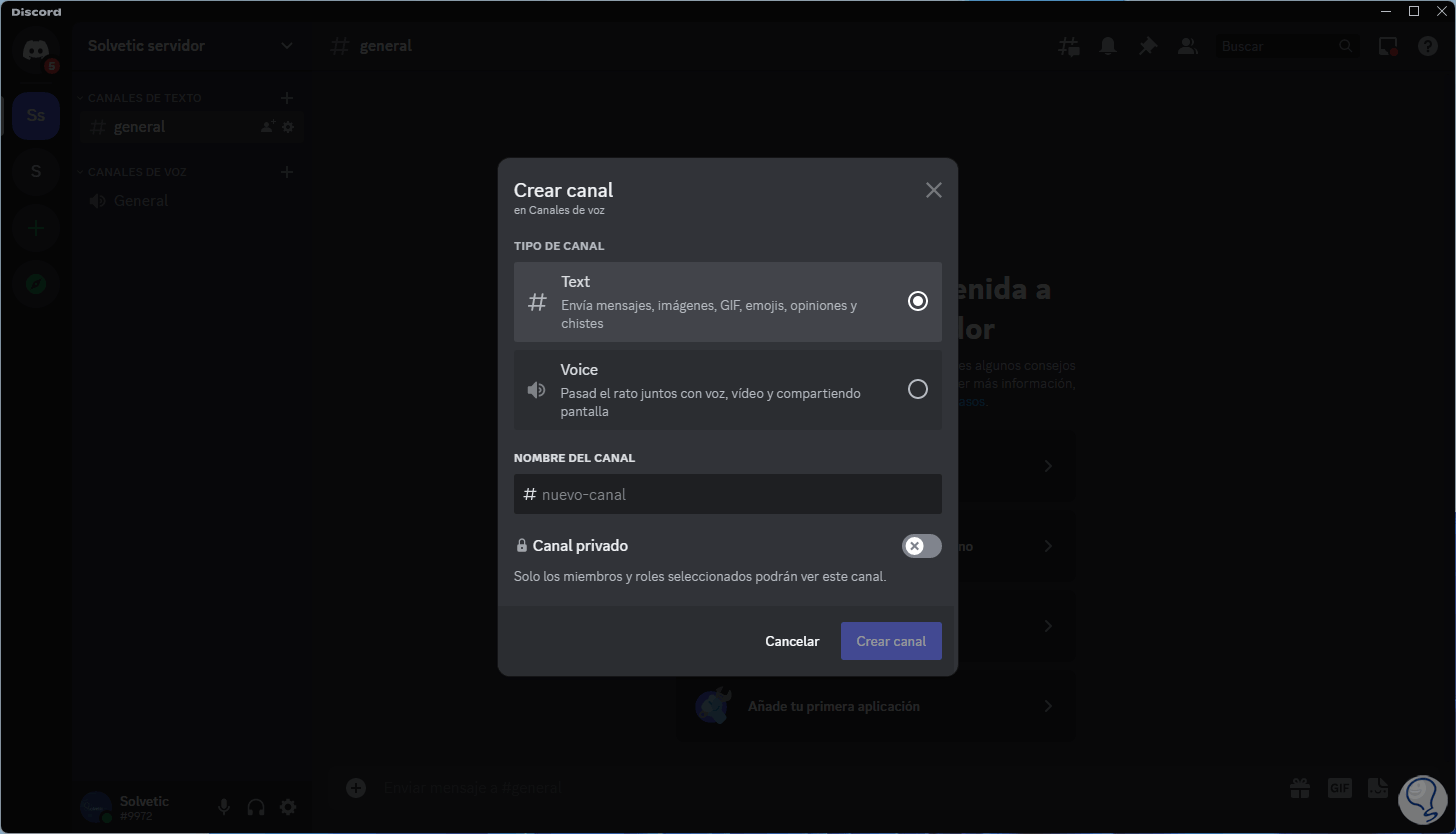
The following will open.
step 20
We select the type of channel or enter a custom channel:
step 21
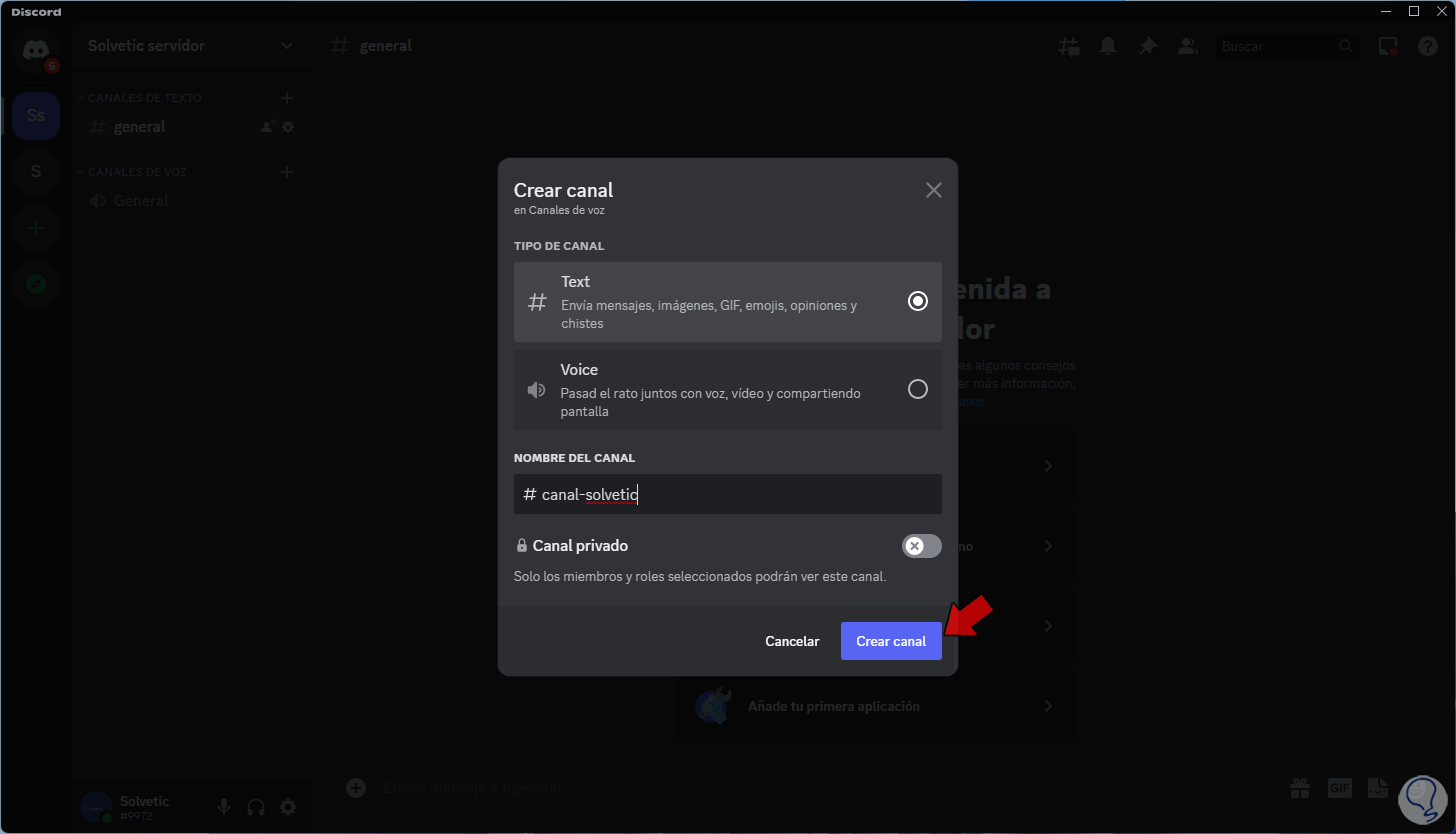
We click on "Create channel" for its creation:
step 22
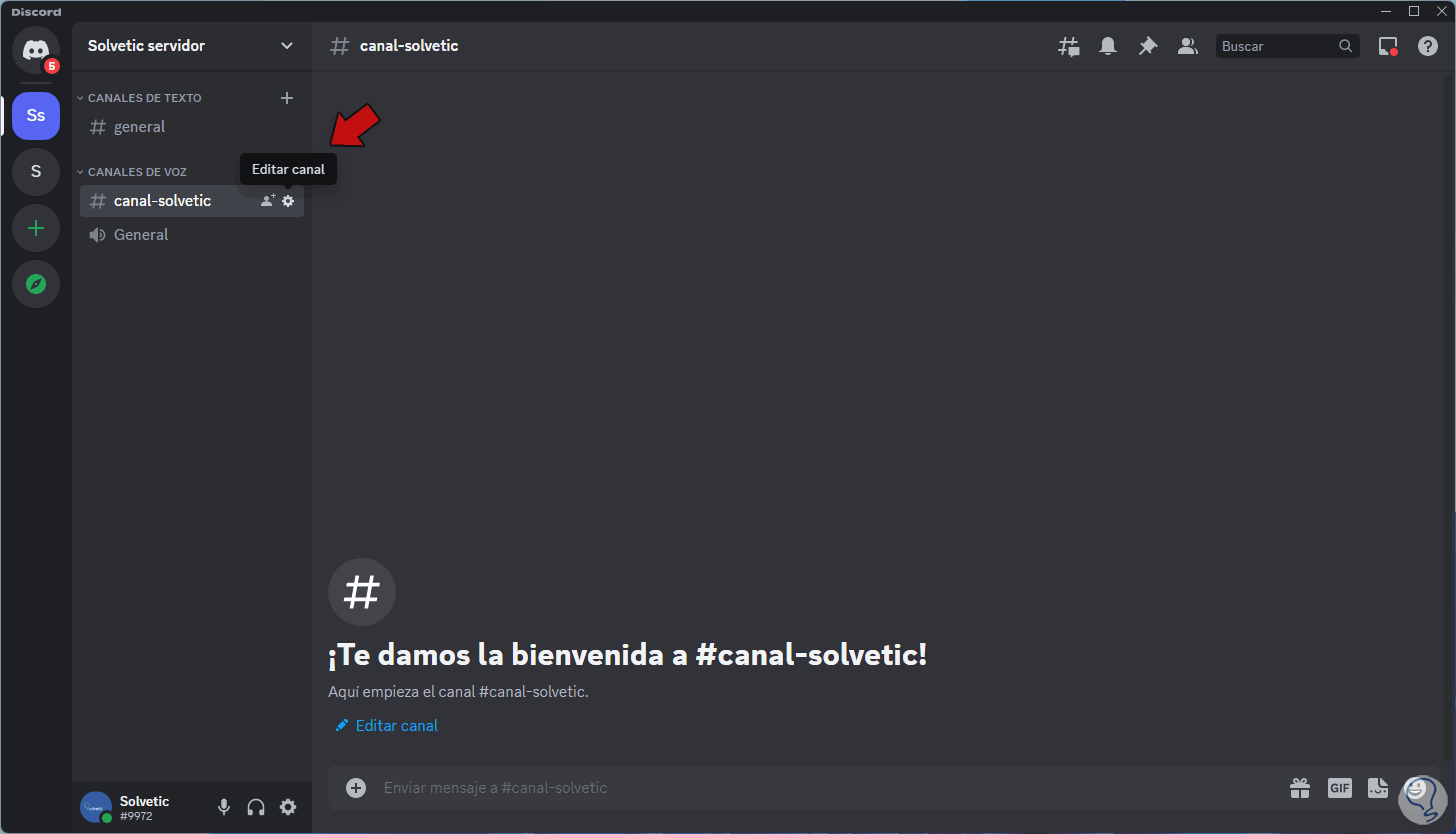
We click on "Edit channel":
Step 23
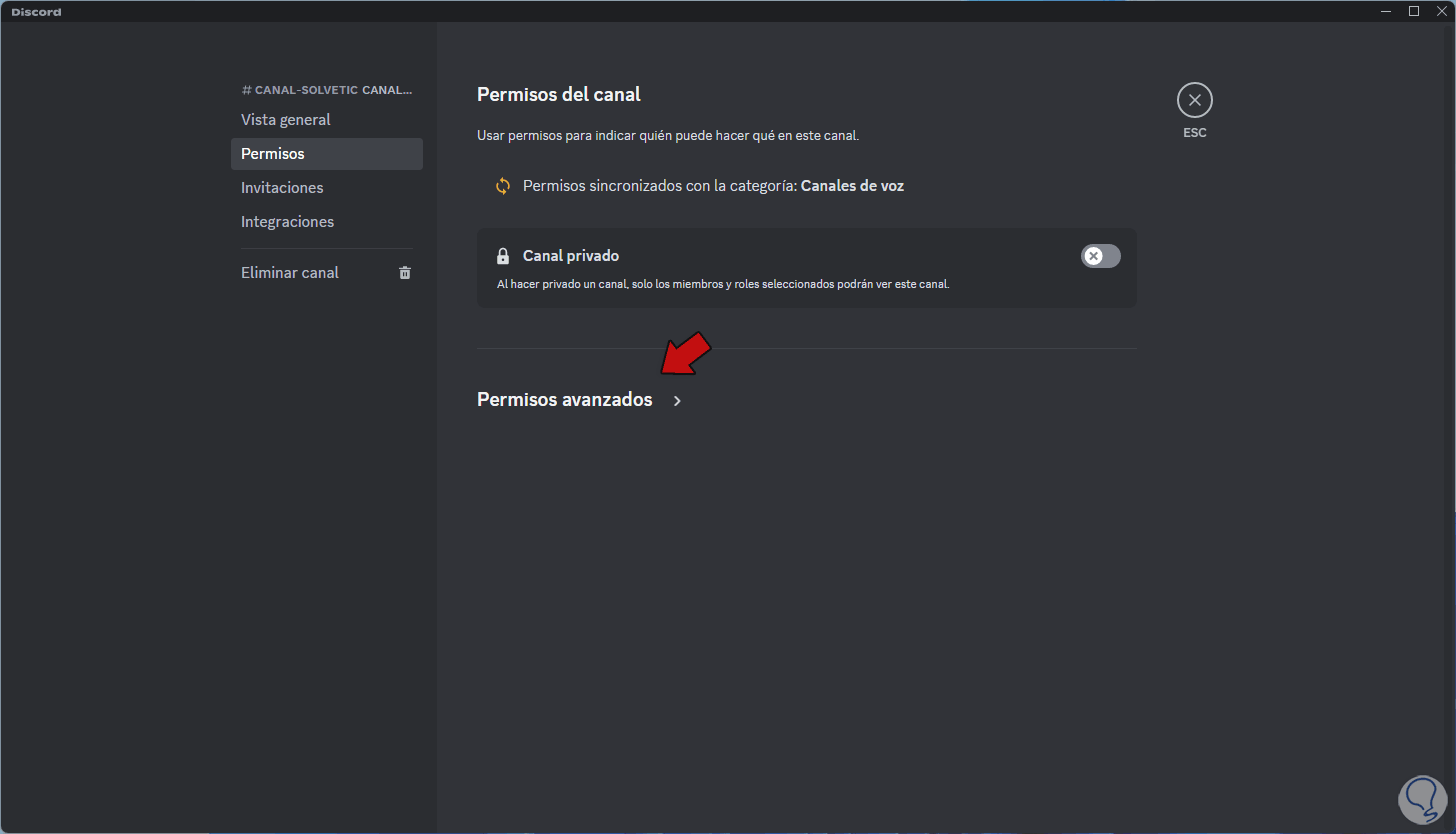
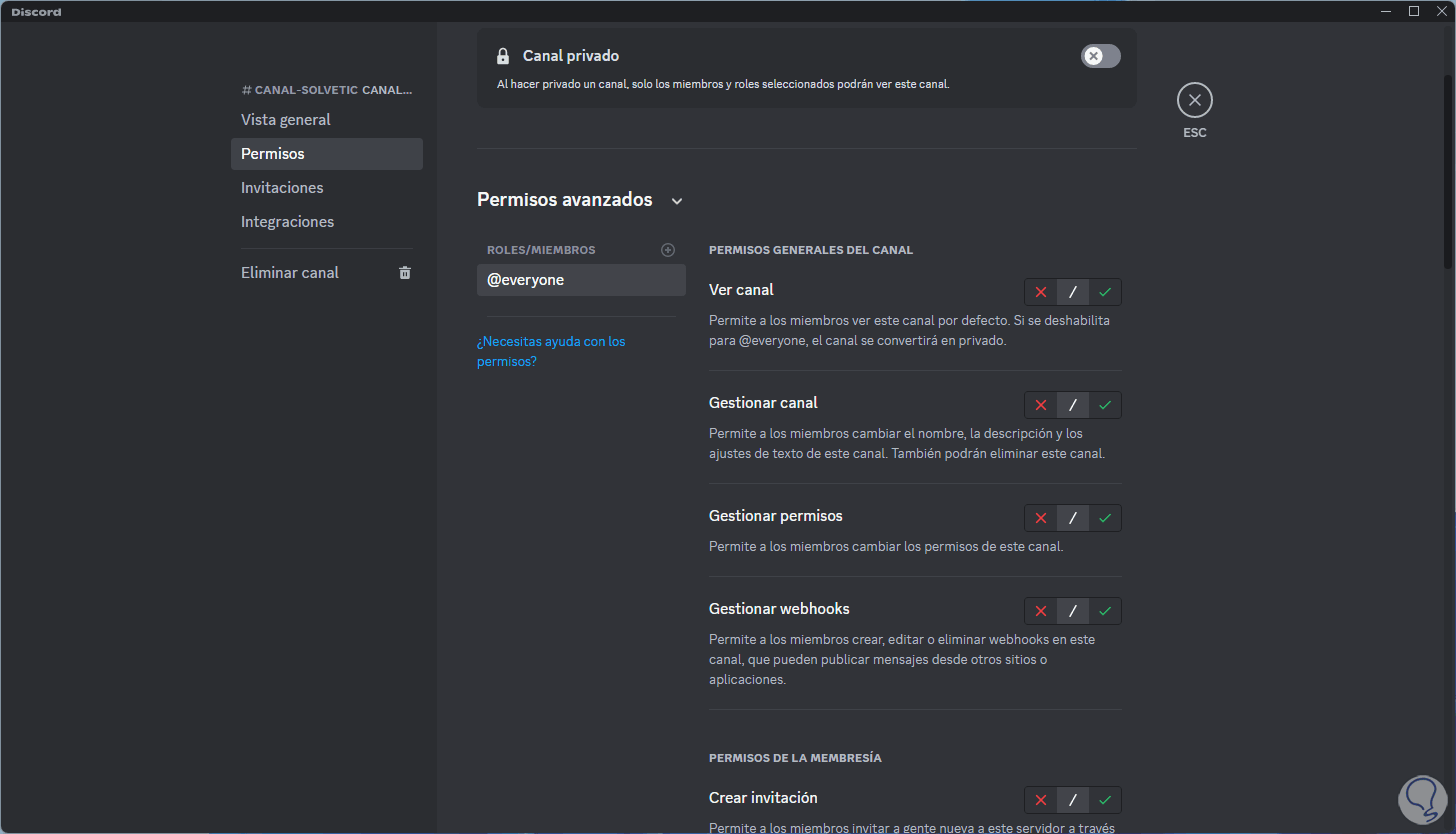
In "Permissions" we validate the permissions that can be modified:
step 24
We can click on "Advanced permissions" to have access to a set of special permissions for the created channel:
step 25
Now in the central Discord console we right click on the server and select the "Create category" option:
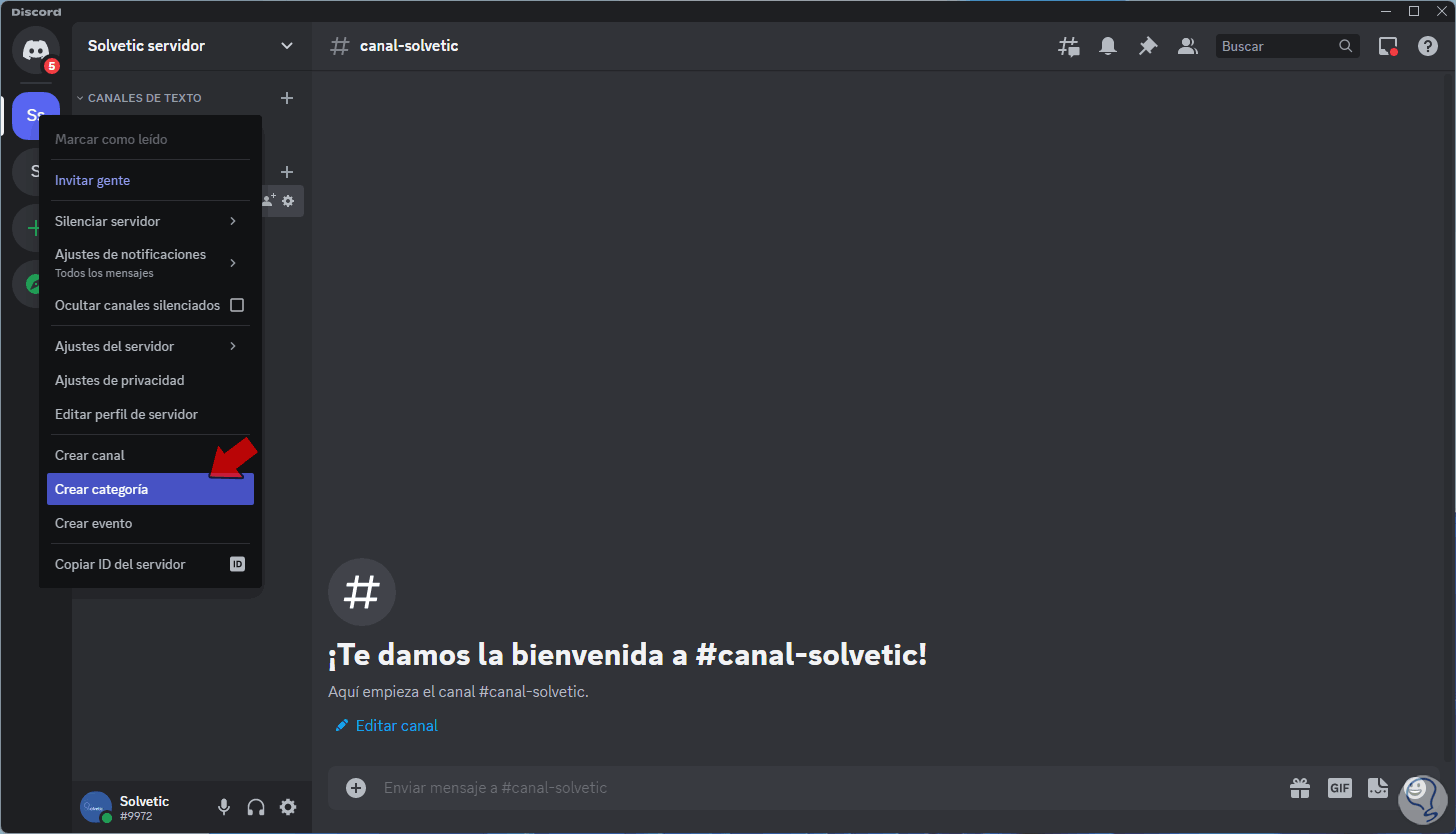
step 26
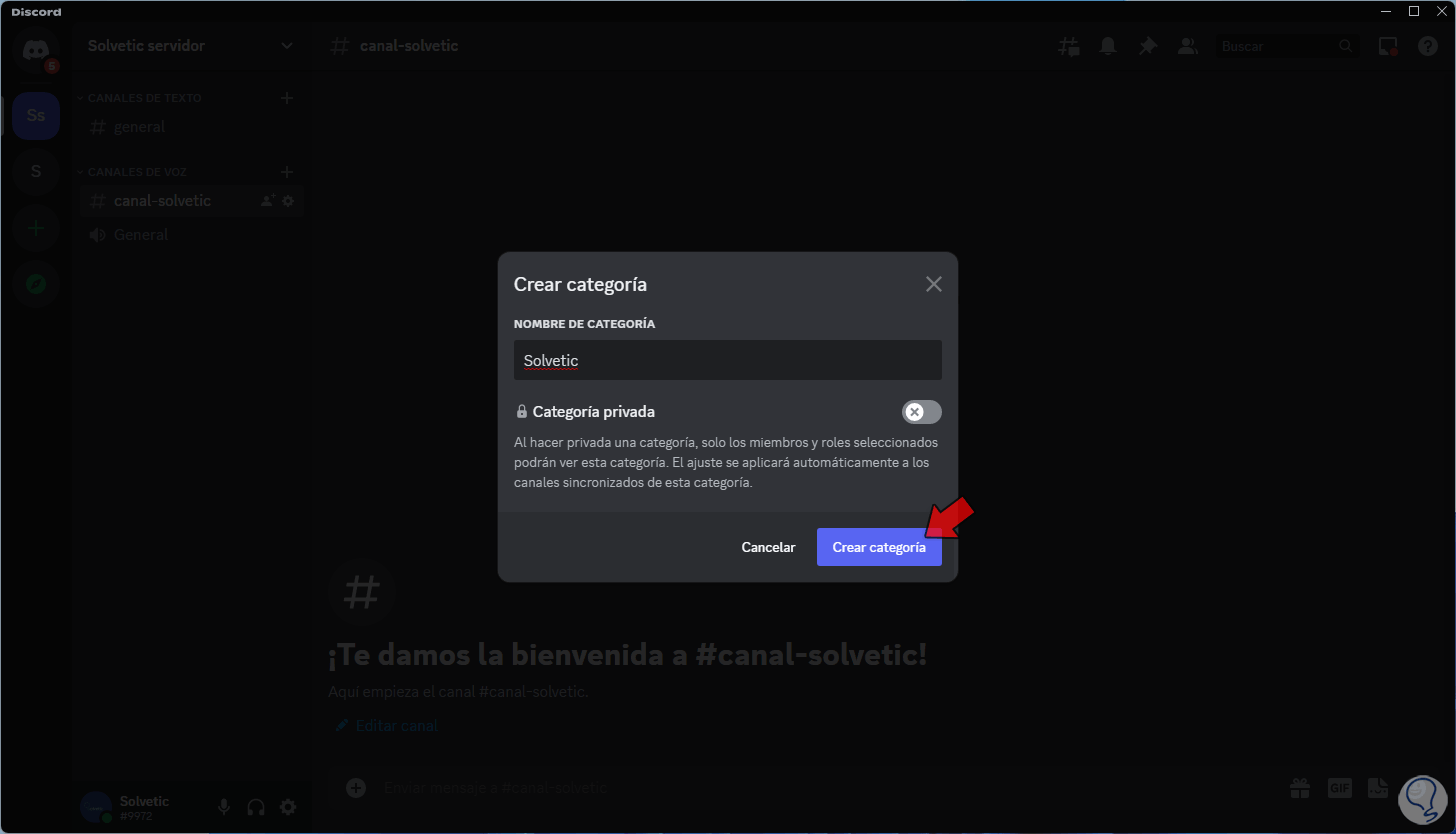
The categories allow us to order the content to be used in Discord in a much more controlled way, it will be possible to use the category permissions to update and manage the channels that are in that category, by clicking on "Create category" we assign a name to this and apply the changes:
step 27
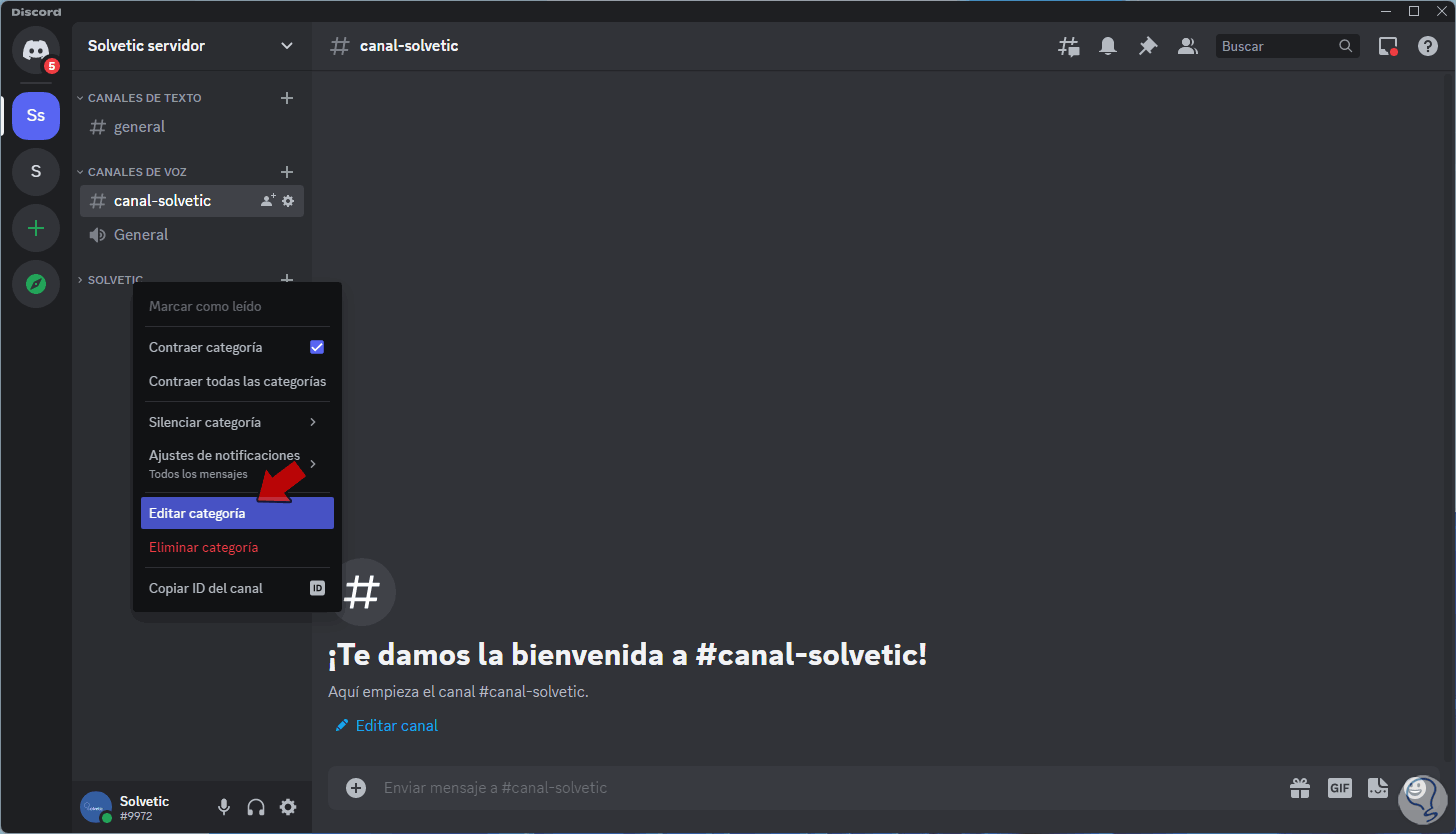
We will see the category created in Discord, there we right click on the new category, select "Edit category":
Step 28
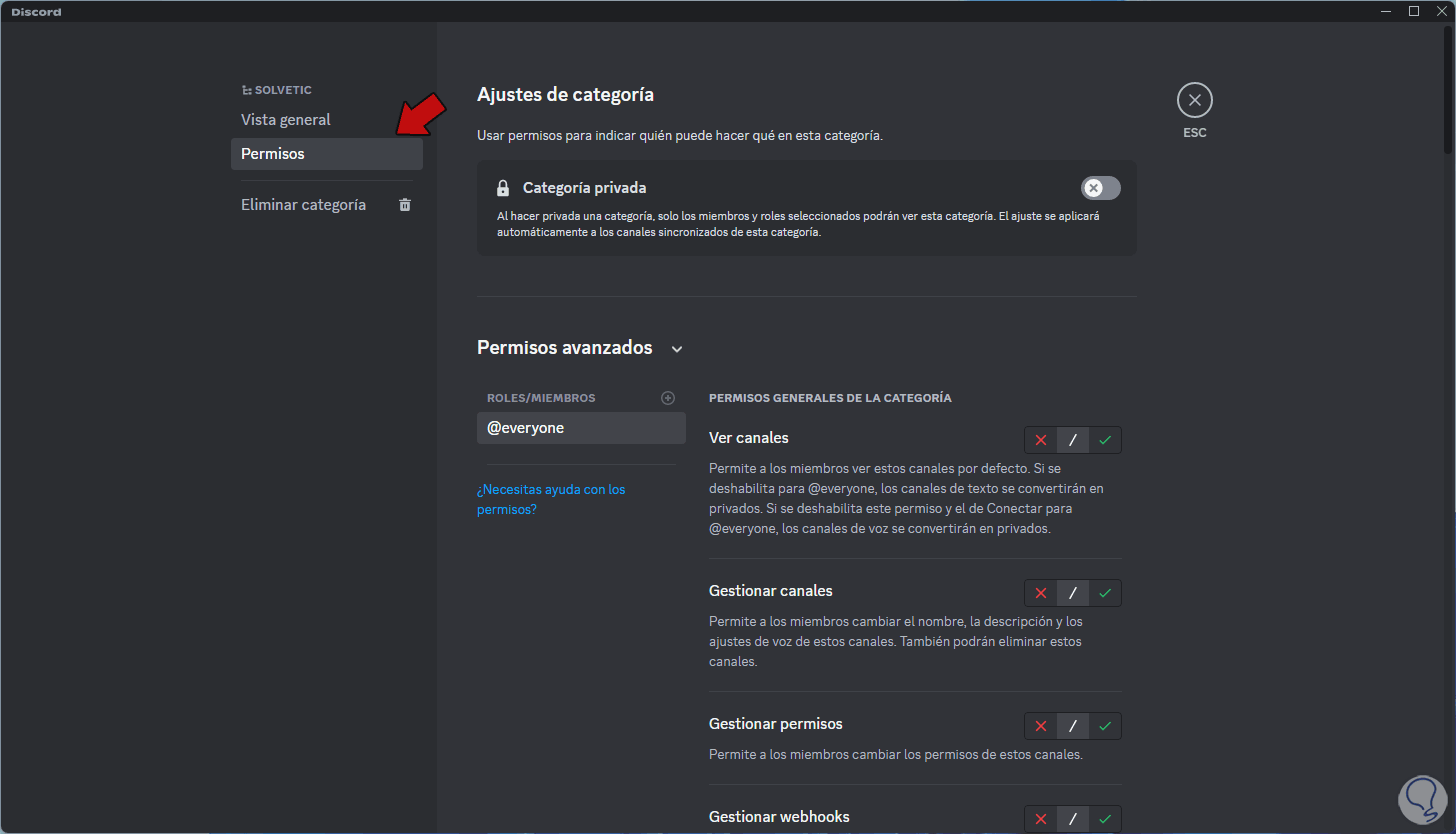
In "Permissions" we adjust the desired permissions:
Step 29
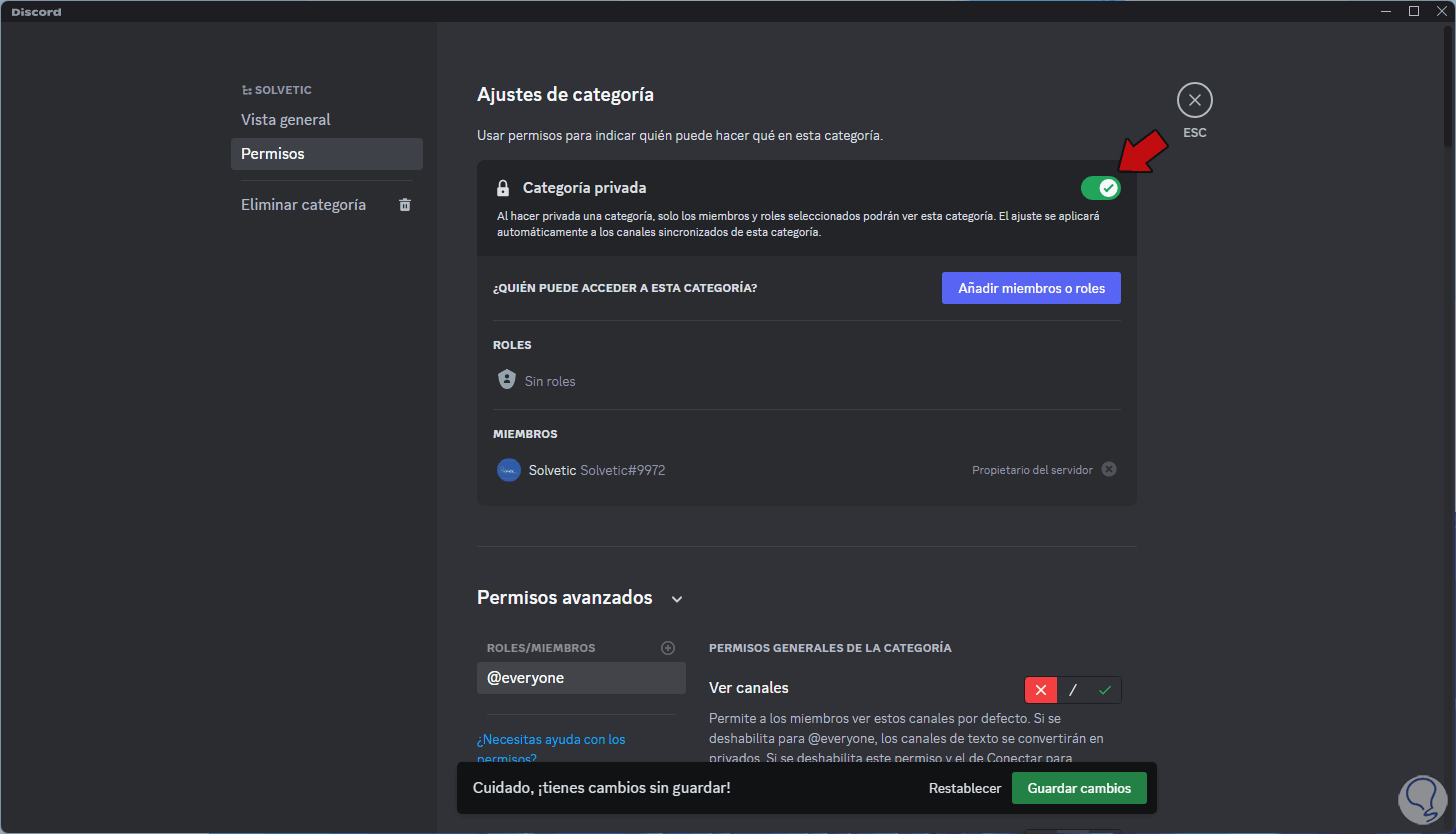
We activate the "Private category" switch so that our category is only available to our friends:
step 30
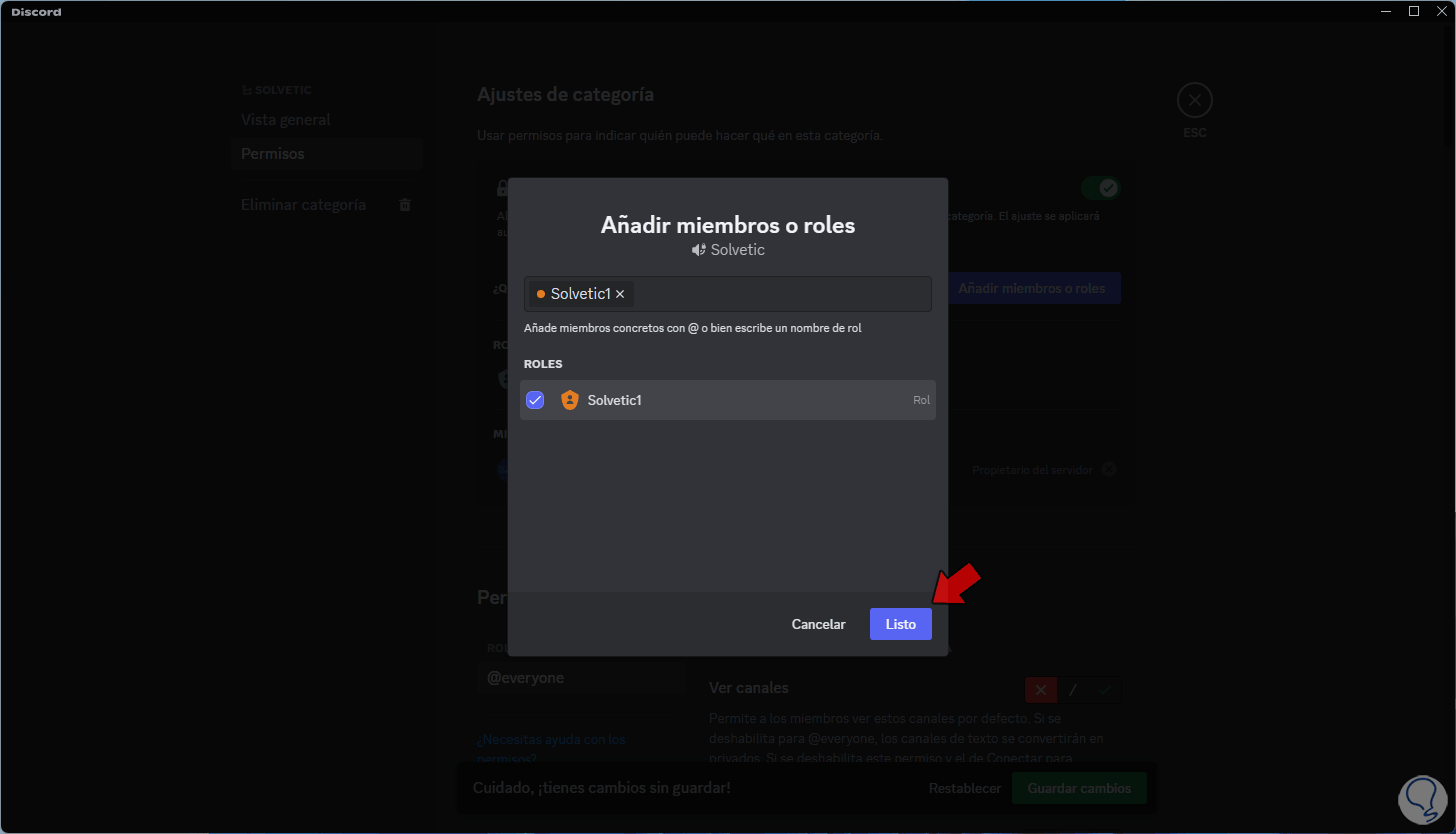
It is possible to add roles or users by clicking on "Add members or roles":
This is all the way we can create and manage our Discord server as we deem necessary to have its functions to the fullest.