Programming languages have become an essential part for millions of users who use them to create applications or to execute tasks related to data, one of the most used languages is Python, Python is an object-oriented programming language thanks to which the developer has a robust, secure language that can be scalable..
Features version 3.10.7
The current version of Python is version 3.10.7 which offers us features such as:
- Context managers in parentheses are supported
- New writing features such as now being able to write union types X | And or improvements to explicit type aliases
- New functions in the standard library
- Error messages have been improved for better management
- Structural pattern matching
- Sequence patterns now support wildcards: [x, y, *rest] and (x, y, *rest)
- New features associated with type hints
- Added a new type of union operator
Features version 3.11
Now, version 3.10.7 is currently the stable version but version 3.11 is available, which is in beta phase and offers features such as:
- Using = instead of == for comparisons
- Alternative option of EncodingWarning and encoding="locale"
- New features related to type hints
In this tutorial TechnoWikis will explain how to manage Python on Linux.
Note
Although it is possible to install version 3.11, many of its functions will be unstable because it is a test version, so we will use the stable version.
To stay up to date, remember to subscribe to our YouTube channel!
SUBSCRIBE ON YOUTUBE
1 Install a different version of Python Linux
Step 1
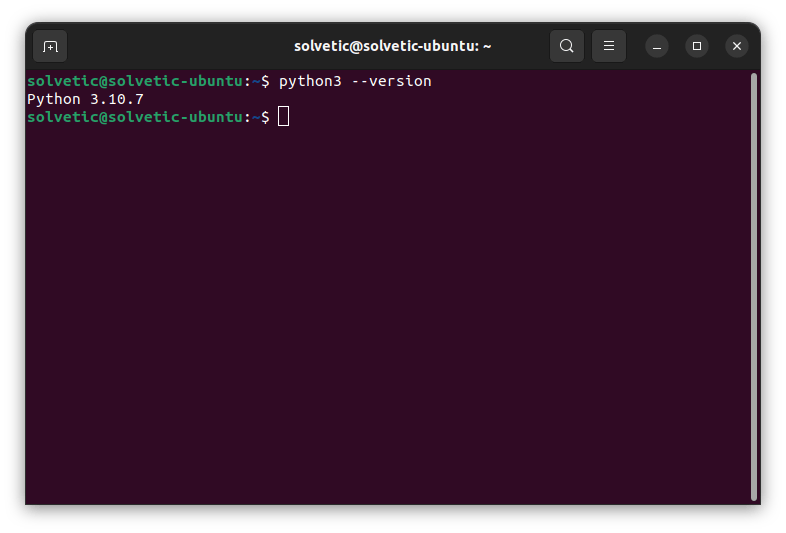
For this case we open the terminal and validate the current version which is pre-installed by default in the operating system:
python3 --version

Step 2
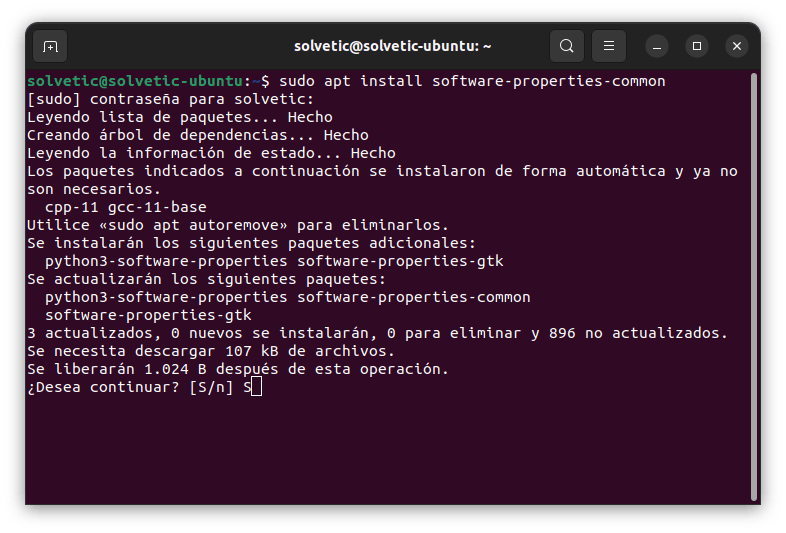
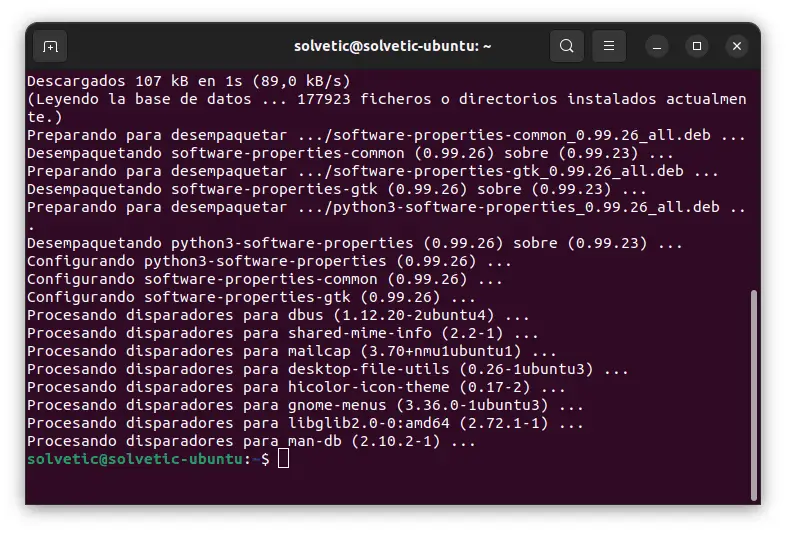
Now we are going to install software-properties-common, this is an option to manage the apt repositories of the system, with it it is possible to manage the distribution and sources of software from independent software providers, to install it we execute:
sudo apt install software-properties-common
Step 3
We enter the letter S to confirm the process:
Step 4
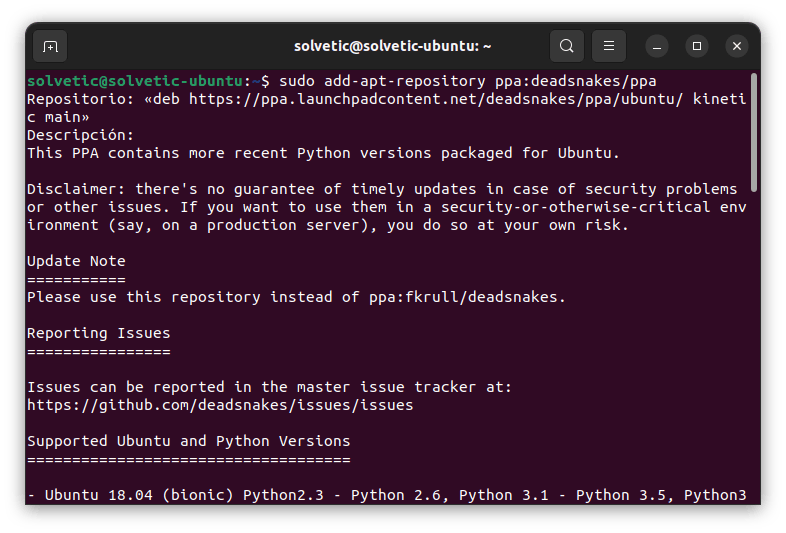
We add the following repository:
sudo add-apt-repository ppa:deadsnakes/ppa
step 5
We will see the following:
step 6
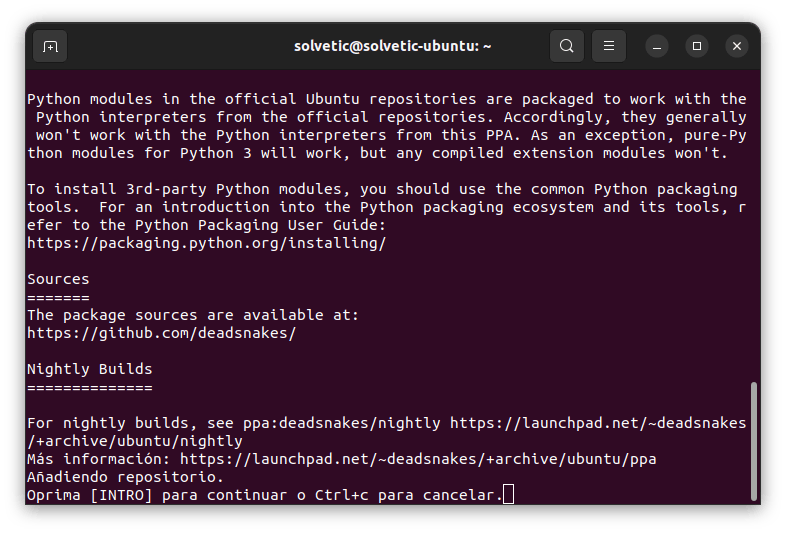
Press Enter to confirm:
step 7
This repository contains the most recent versions of Python packaged for Ubuntu, within their parameters are highlighted.
- `python#.#-dev` : which includes development headers for building C extensions
- `python#.#-venv`: which provides the `venv` module of the standard library
- `python#.#-distutils` : Integrates the `distutils` module from the standard library
- `python#.#-lib2to3`: provides the `2to3-#.#` utility as well as the `lib2to3` standard library module
- `python#.#-gdbm`: Provides the `dbm.gnu` standard library module
- `python#.#-tk`: Delivers the `tkinter` standard library module
step 8
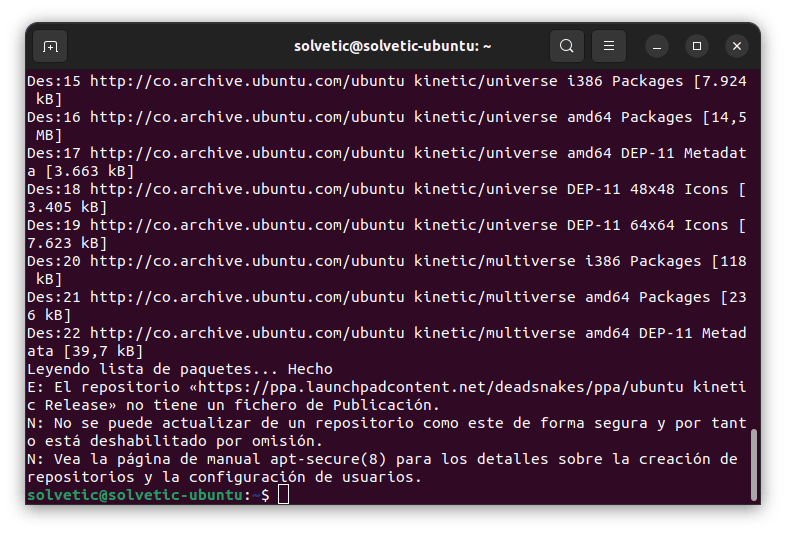
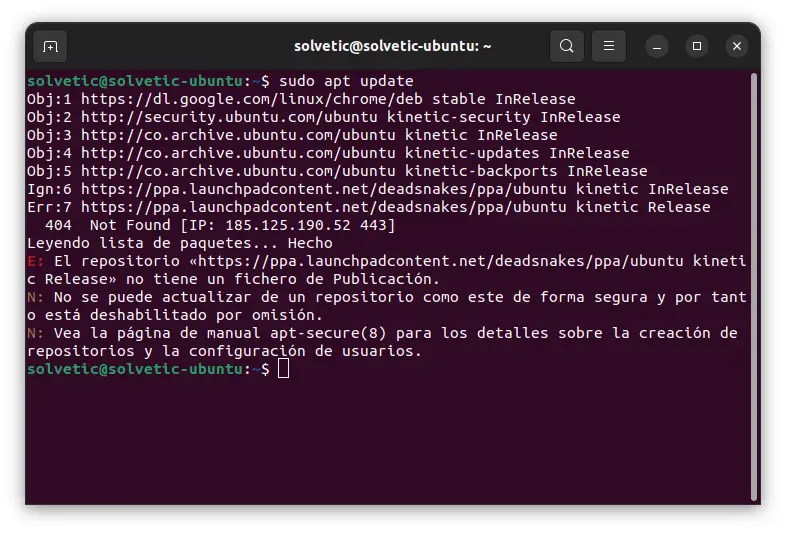
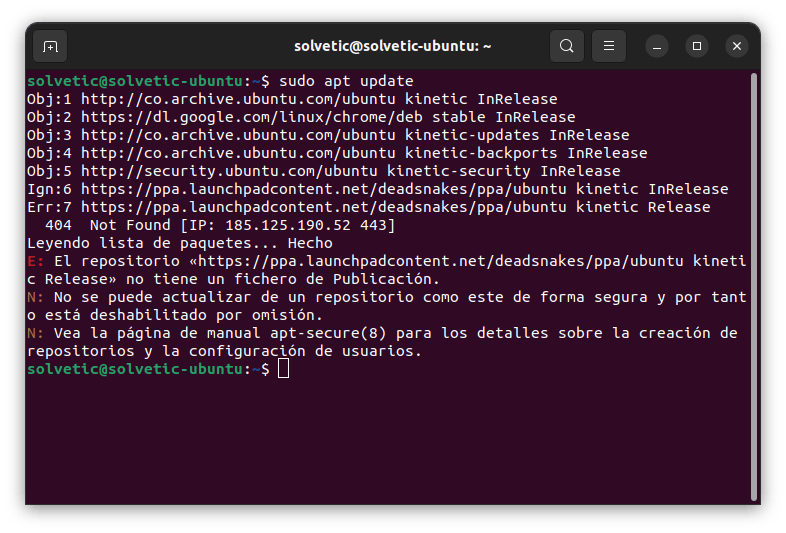
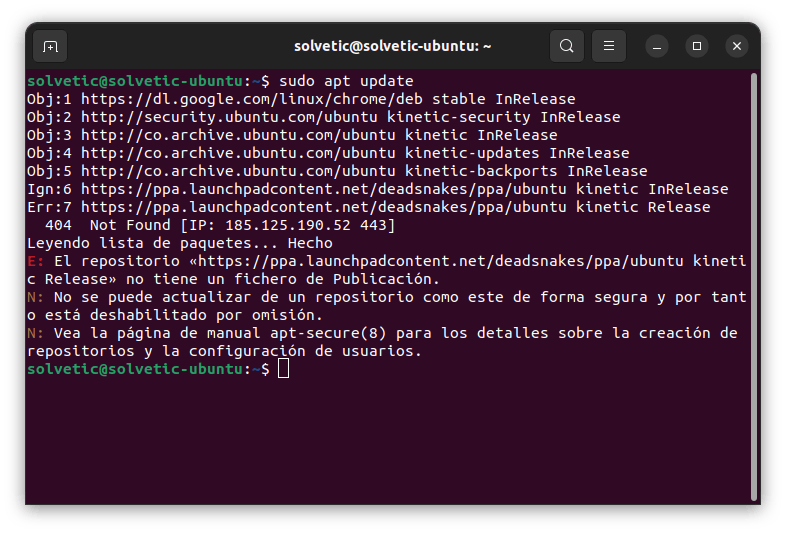
We update the system:
sudo apt update
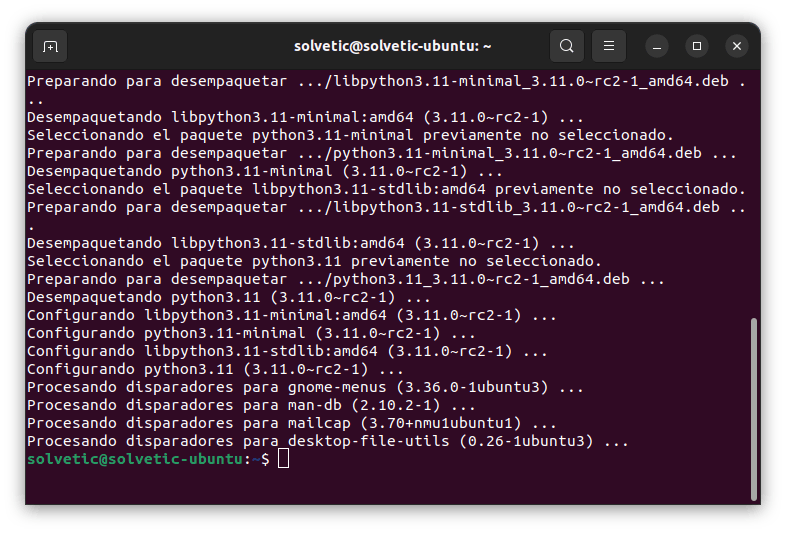
step 9
We install the most recent version of Python, in this case as an example we will use the Python beta:
sudo apt install python3.11
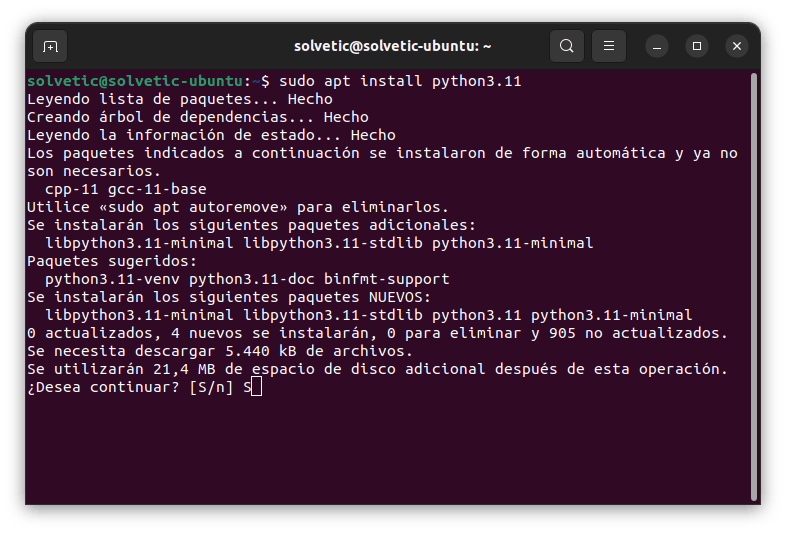
step 10
We confirm the process by entering the letter S:
step 11
Check the global version of Python:
python3 --version
step 12
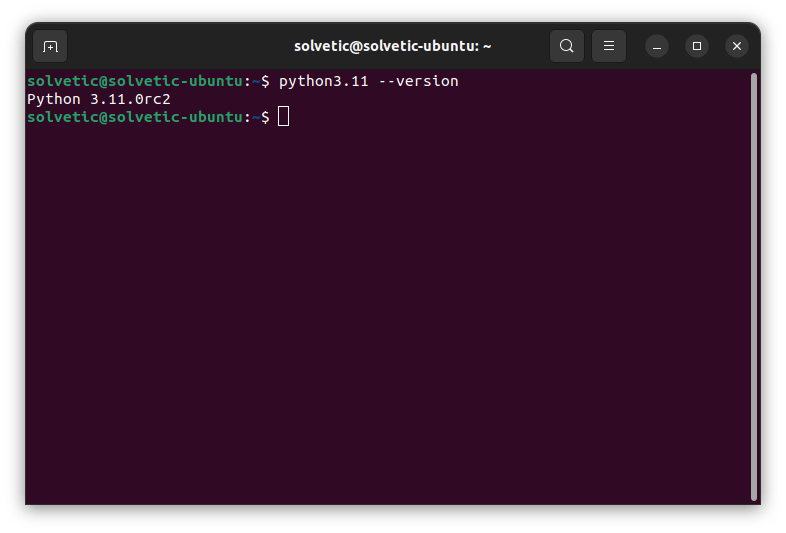
We can validate the Python beta version with the command:
python3.11 --version
Now we are going to talk about Python virtual environments, when using Python, applications will make use of packages and modules that are included in the standard library and it is possible that some app requires a specific version of a library, to avoid errors we can create a virtual environment, this is a directory where the python installation for a particular version is, as well as extra packages..
2 Create virtual environment Python Linux with Venv
Step 1
The Venv virtual environment is the simplest way to create a virtual environment in Python since it is the default value, for its use we open the terminal and update the system:
sudo apt update
Step 2
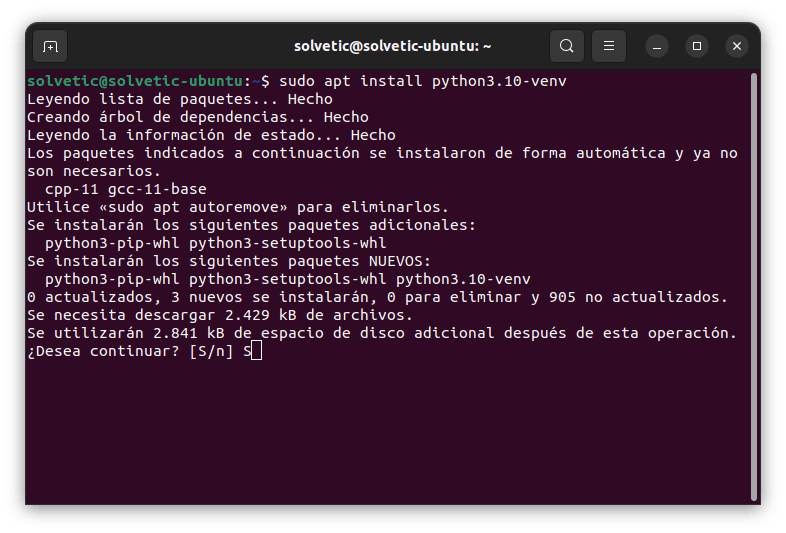
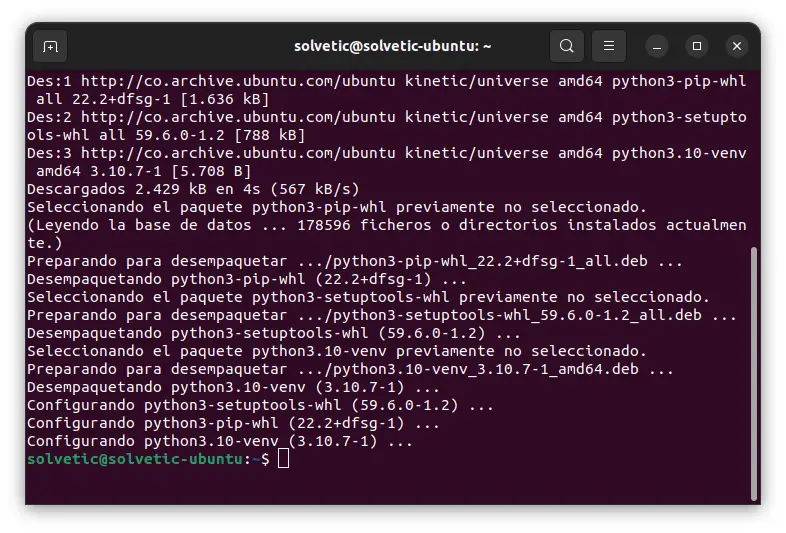
We install the Python Venv environment:
sudo apt install python3.10-venv
Step 3
We confirm the process:
Note
In case of using a different version of Python, it should replace 3.10.
Step 1
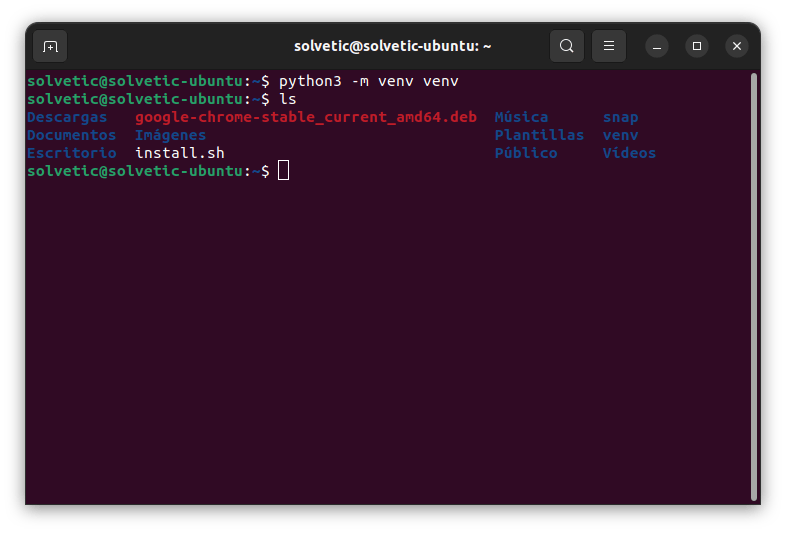
We create a new virtual environment by running:
python3 -m venv venv
Step 2
We use "ls" to see the environment:
Step 3
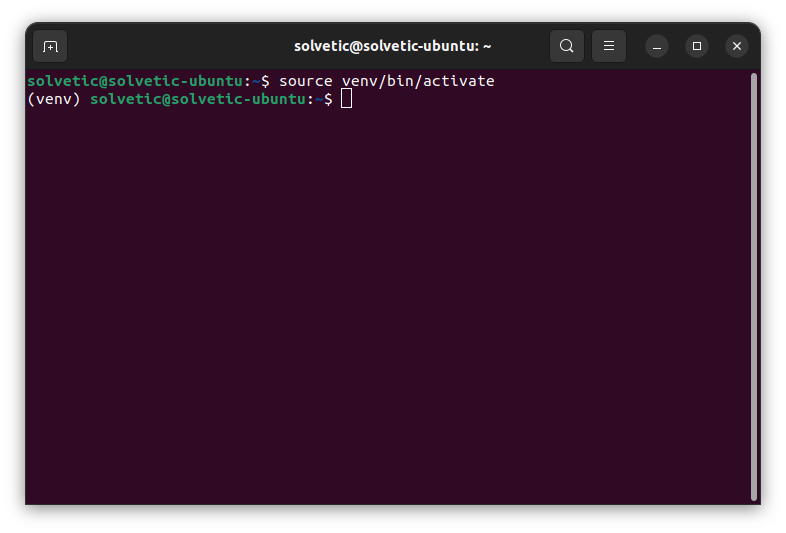
We must activate the virtual environment:
source venv/bin/activate
Step 4
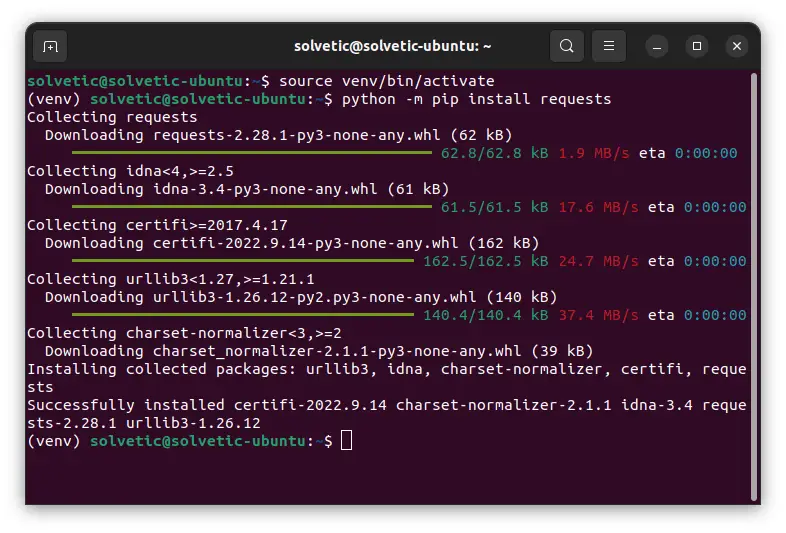
We see the legend (venv) at the beginning of the console prompt, we install the dependencies with the command:
python -m pip install requests
step 5
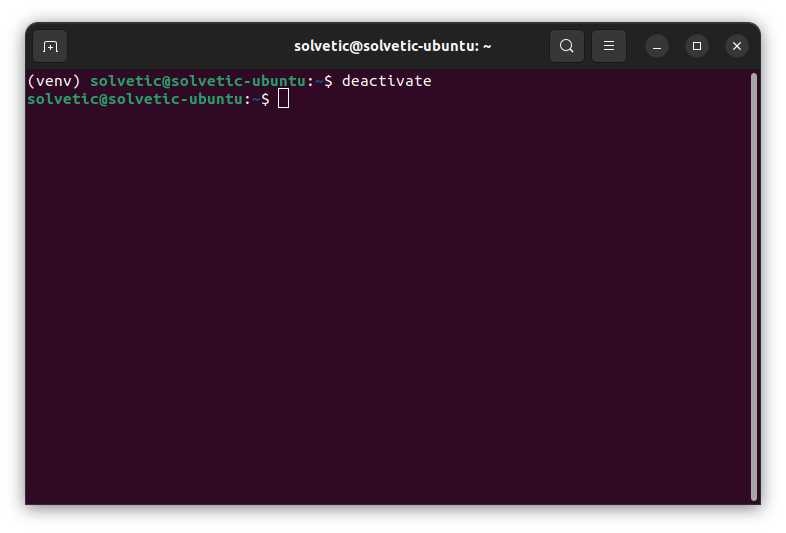
We deactivate the virtual environment with the command:
deactivate
3 Create virtual environment Python Linux with Virtualenv
Step 1
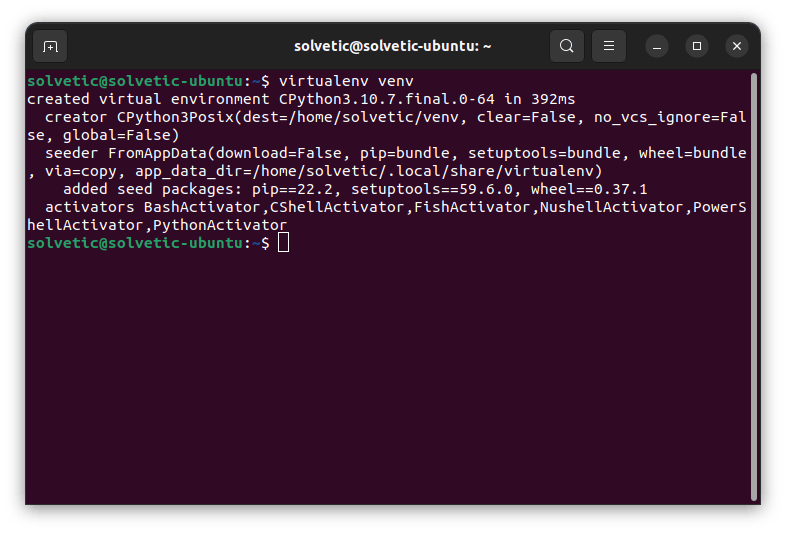
Virtualenv is another tool to create Python virtual environments, it is made up of a set of Venv, this allows you to do the same functions and more than Venv, one of its advantages is that it is possible to create different virtual environments using different versions of Python as well as use different and specific versions of the same package in different projects, for its installation we open the terminal and create the virtual environment::
virtualenv venv
Note
in case of error we can install Virtualenv with the command:
sudo apt install python3-virtualenv
Step 2
Once the environment is created, it is time to activate it with the command:
source venv/bin/activate
Step 3
It is possible to create an environment with another version of Python: using the syntax:
virtualenv --python="/usr/bin/Python#.#" venv
Step 4
Then the state is validated:
python --version
step 5
We deactivate the virtual environment:
deactivate
4 Create virtual environment Python Linux with Python Script
It is possible to install the script package since using the python command will automatically use the python3 binaries, this "python-is-python3" package is available in the Ubuntu repositories and it is possible to install it through the script manager apt packages
Step 1
To do this we open the terminal and update the system:
sudo apt update
Step 2
We install the repository by running:
sudo apt install python-is-python3

Step 3
Once installed we check the version of Python. We see that the stable version of Python is used.
python3 --version

With each of these options it is possible to install a version of Python as well as create virtual environments for its management.