Current operating systems, as well as their components (services, processes and applications), currently suffer attacks of various types both internally and externally by categorized threats of all kinds and if we are administrators or advanced users we will have to be prepared before these attacks and learn to have a special system of protection. But for this the basic thing is to determine what vulnerabilities the team presents to work on them, TechnoWikis in this tutorial will clearly explain how to use Vuls to carry out this analysis..
what is vuls
Vuls has been developed as an open source vulnerability scanning tool that has the ability to detect vulnerabilities in operating systems and applications in a local network environment using various sources of vulnerability information. Within these we find databases of public vulnerabilities, security bulletins from software providers and threat intelligence services, this is key since these databases are updated every day and thus we are on par with new vulnerabilities that appear.
Vuls is compatible with multiple operating systems and applications, and makes use of various types of scanning for vulnerability detection tasks, this ranges from port scans, verification of software versions to the detection of vulnerabilities in files and configurations which can being hidden as something normal worse trigger a series of problems in the system.
Vuls Characteristics
Among the main features of Vuls we find:
- Integration with popular vulnerability management systems such as JIRA and GitHub in order to automate the management of vulnerabilities that are detected.
- Automatic system and application scanning function.
- Create detailed reports about the vulnerabilities detected, this report has analysis of the severity of the vulnerability, as well as a series of recommendations to correct them.
- Support for multiple operating systems and applications.
- Compatible with Apache, MySQL and more.
- Scan in offline mode without Internet access.
- It allows scanning without root privileges and without dependencies.
- You can detect processes that are affected by update processes using yum-ps.
- It is possible to start Vuls in server mode and have it listen as an HTTP server.
- Scan results can be created in JSON format.
- We can do analysis of middleware, programming language libraries and frames to detect vulnerabilities.
- Support software registered with CPE.
Let's see how to use this powerful tool to keep our systems functional..
To stay up to date, remember to subscribe to our YouTube channel!
SUBSCRIBE ON YOUTUBE
How to do a Vulnerability Scan with Vuls
Step 1
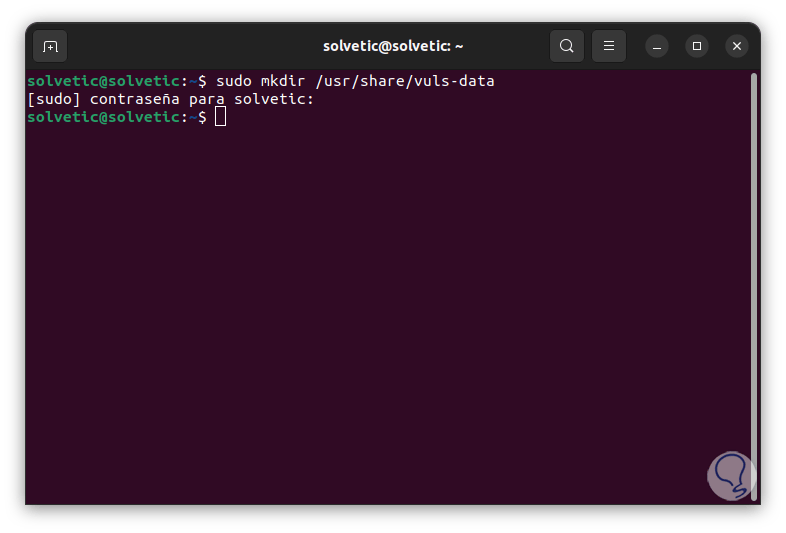
We open the terminal and we are going to install the dependencies, we create the directory for the data:
sudo mkdir /usr/share/vuls-data
Step 2
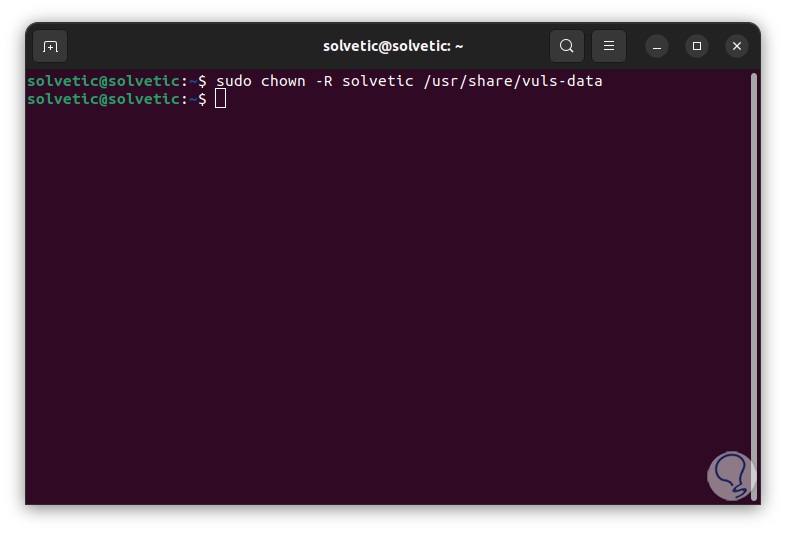
We assign user access:
sudo chown -R (user) /usr/share/vuls-data
Step 3
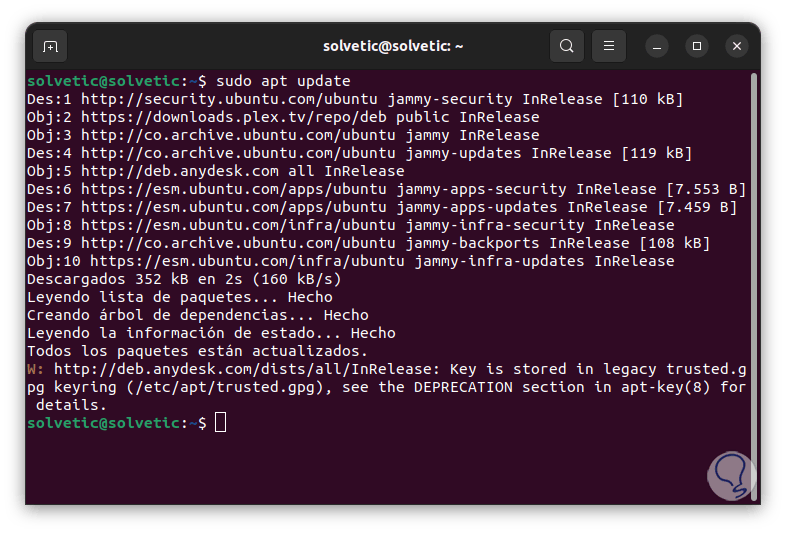
We update the system:
sudo apt update
Step 4
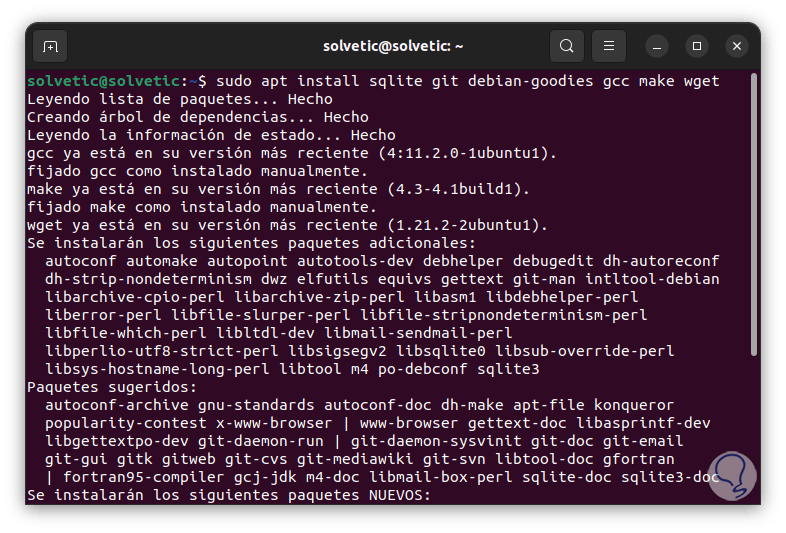
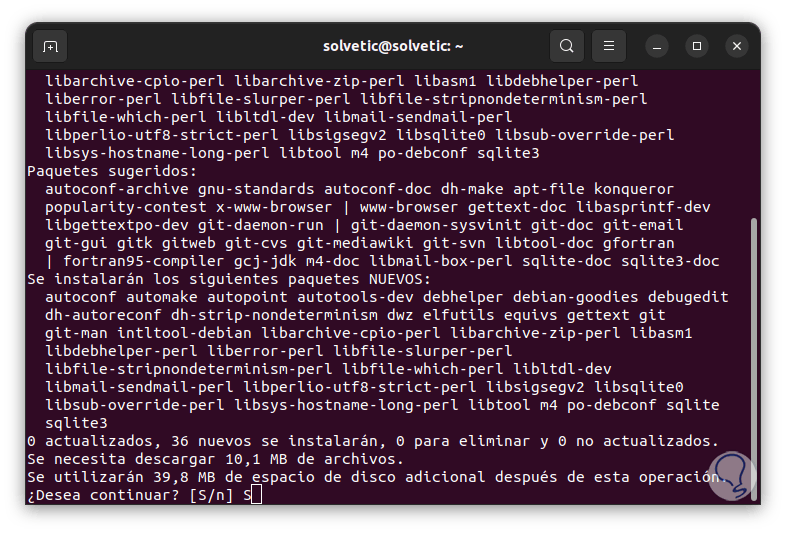
After this we install the necessary utilities so that everything works optimally:
sudo apt install sqlite git debian-goodies gcc make wget
step 5
We confirm the operation by entering the letter S:
step 6
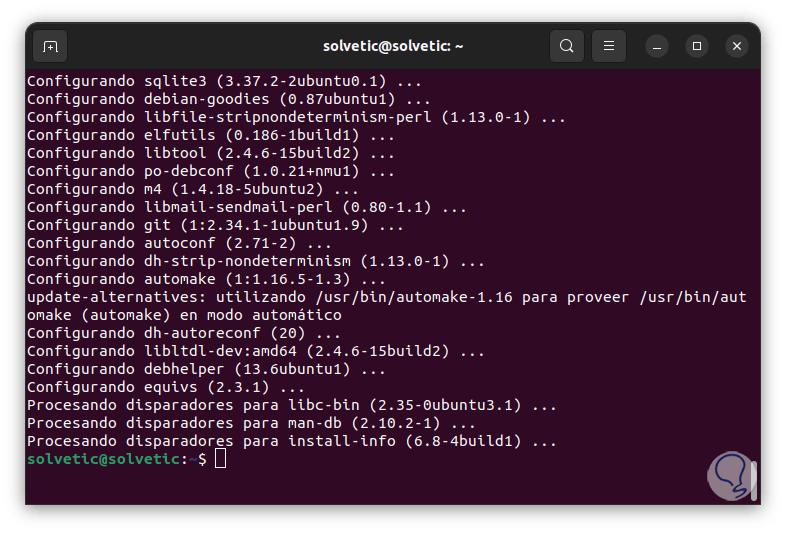
We hope this process will come to an end:
step 7
sqlite is a database system with which the vulnerability information will be stored, debian-goodies integrates the checkrestart utility which offers information about the packages that can and should be restarted in part of the process.
Now we are going to install Go, this is an efficient programming language thanks to which it will be possible to manage large and complex applications in a simple way, its structure is simple and allows you to create high-performance applications, some of its features are..
- Makes effective use of various CPU cores and has native support for concurrency
- Your variables must be declared with a specific data type
- It has support for cross-compiling
- Integrates a garbage collector that allows memory management
step 8
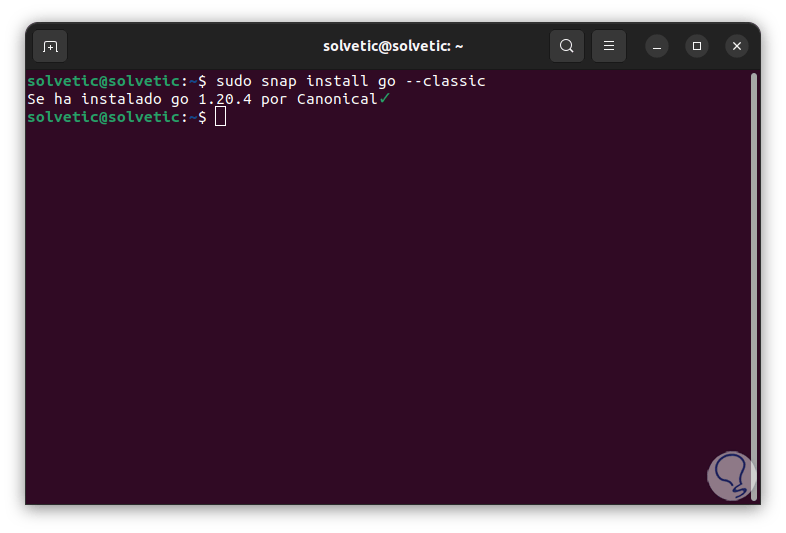
For its installation we execute:
sudo snap install go –classic

step 9
We hope it reaches the end:
step 10
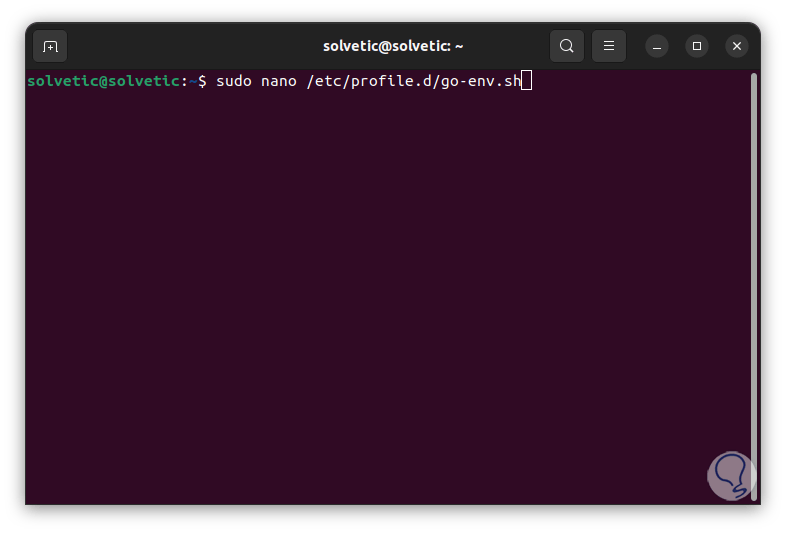
For optimal operation, Go needs to have environment variables where GOPATH and PATH will be configured, GOPATH specifies the working directory for Go and PATH, it is where the directories where the programs will go are stored, these environment variables must be configured each time that the user logs in, but to avoid this and automate the action we are going to create a new executable file called go-env.sh in /etc/profile.d, for this we enter:
sudo nano /etc/profile.d/go-env.sh
step 11
We enter the following. The "export" command sets the environment variable to the specified value.
export GOPATH=$HOME/go export PATH=$PATH:$GOPATH/bin:/snap/bin

step 12
We save the changes using the following key combination:
Ctrl + O
We exit the editor using:
Ctrl + X
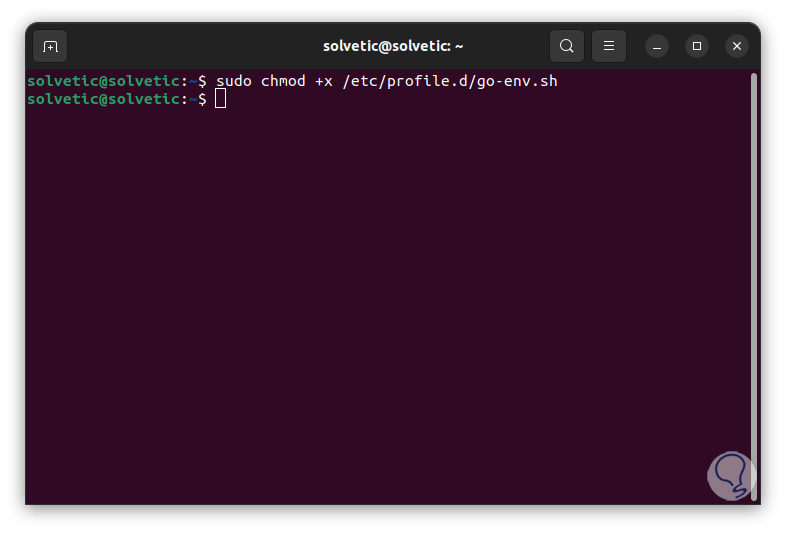
step 13
We assign execution permissions:
sudo chmod +x /etc/profile.d/go-env.sh
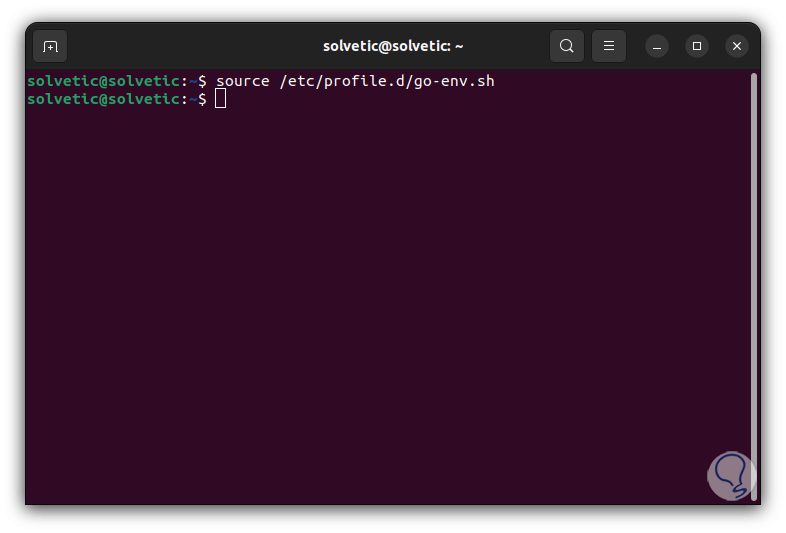
step 14
To avoid the login we execute the following:
source /etc/profile.d/go-env.sh
step 15
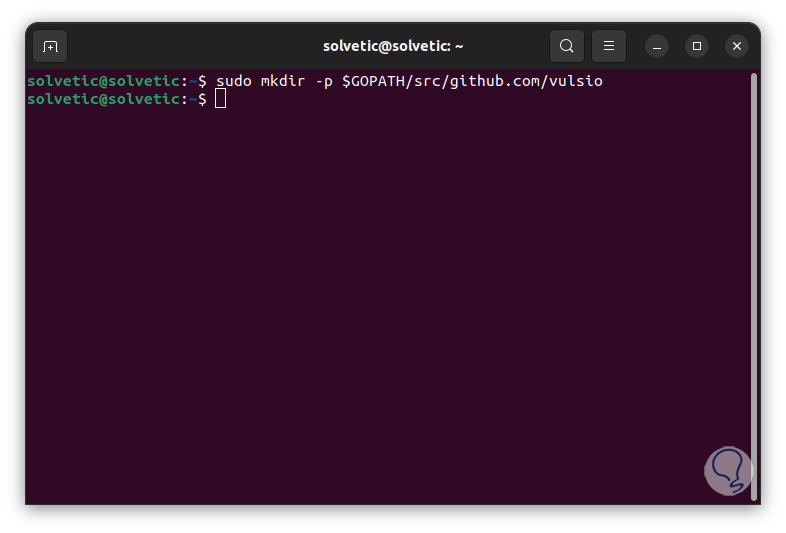
As we mentioned, the vulnerabilities are hosted in various libraries where Vuls will go to update itself and allow the system to be in optimal conditions, go-cve-dictionary, a Go package, provides us with access to the National Vulnerability Database or NVD ( National Vulnerability Database), NVD is the US government's repository for publicly available cybersecurity vulnerabilities.
There we find vulnerability identifications (CVE, vulnerabilities), summaries and analysis of the impact of these vulnerabilities on the machine and it is in a readable format, Go will store the packages in $GOPATH/src/, we install the Go-cve-dictionary, For this we create the directory:
sudo mkdir -p $GOPATH/src/github.com/vulsio
step 16
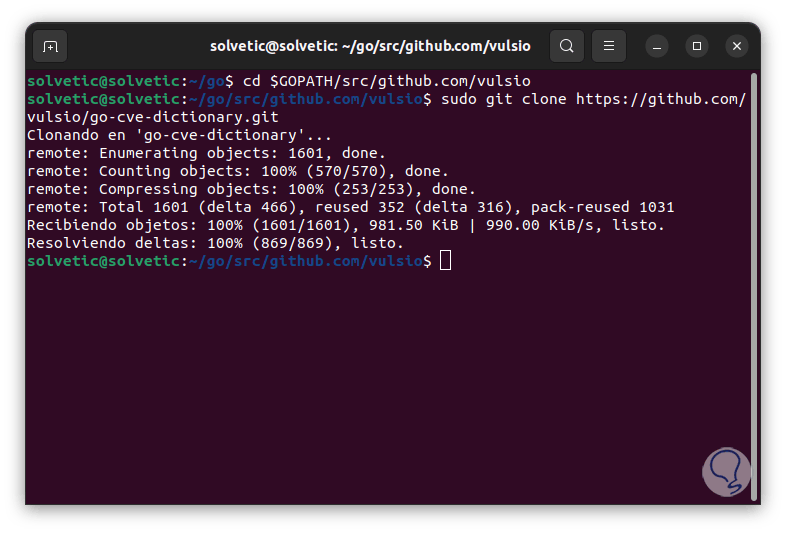
We access the folder:
cd $GOPATH/src/github.com/vulsio
step 17
We clone the dictionary from the repositories:
sudo git clone https://github.com/vulsio/go-cve-dictionary.git
step 18
We access the directory:
cd go cve dictionary
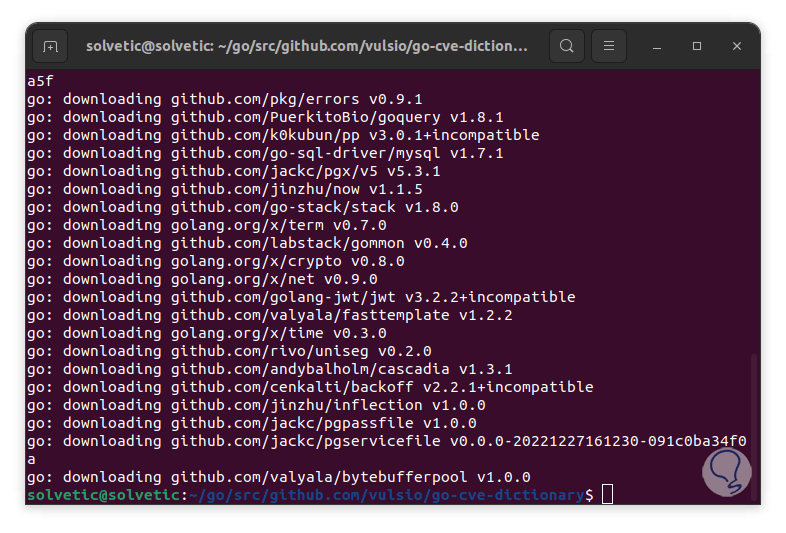
step 19
We compile the files:
sudo make install

step 20
We wait for this process to finish:
step 21
You can copy the files to the base system:
sudo cp $GOPATH/bin/go-cve-dictionary /usr/local/bin
step 22
go-cve-dictionary requires access to a log output directory, so we create it:
sudo mkdir /var/log/vuls

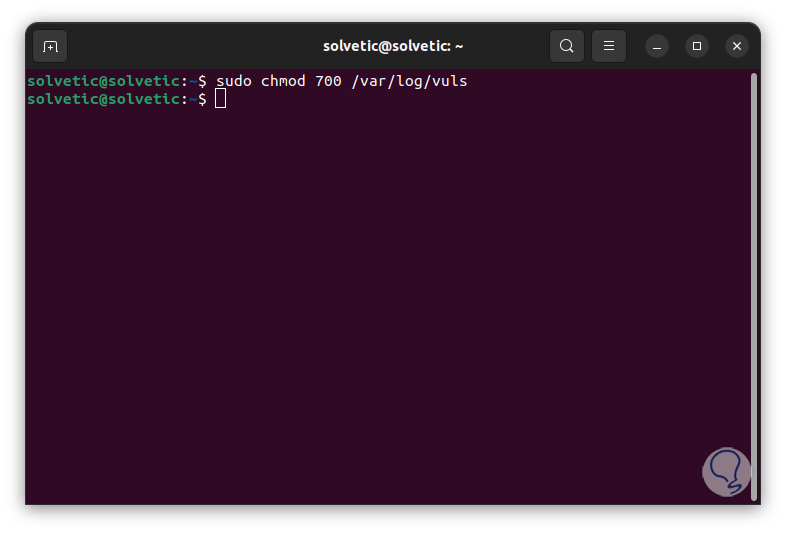
Step 23
We assign the permissions:
sudo chmod 700 /var/log/vuls
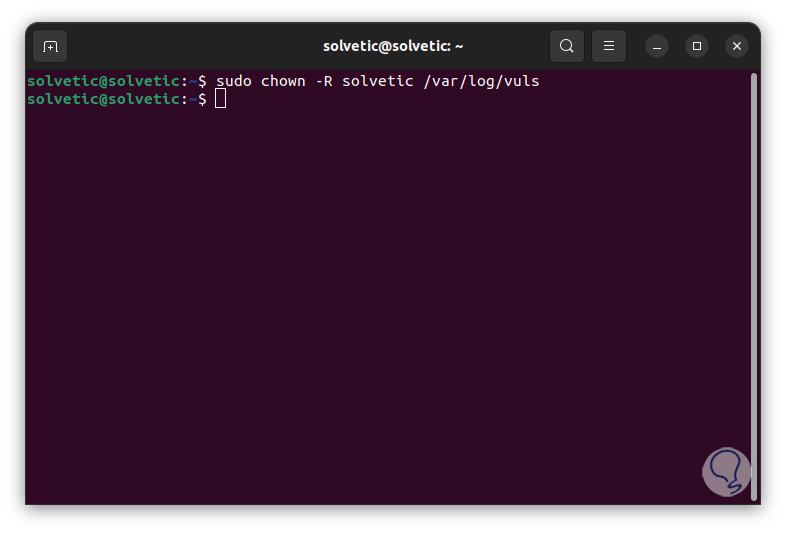
step 24
Allow user access:
sudo chown -R (user) /var/log/vuls
step 25
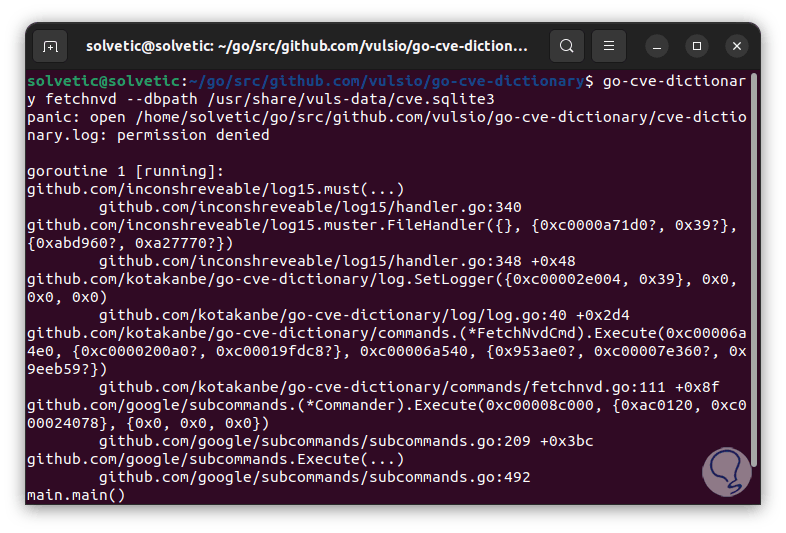
We run the vulnerability scan from NVD:
go-cve-dictionary fetchnvd --dbpath /usr/share/vuls-data/cve.sqlite3
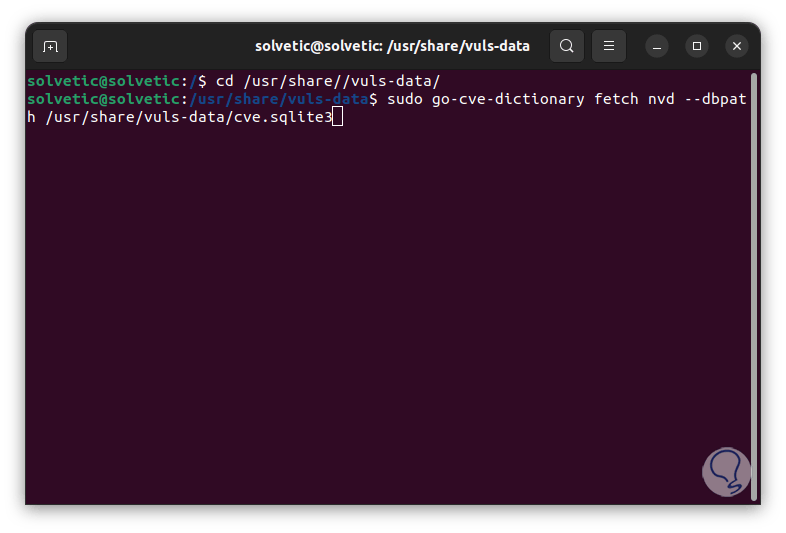
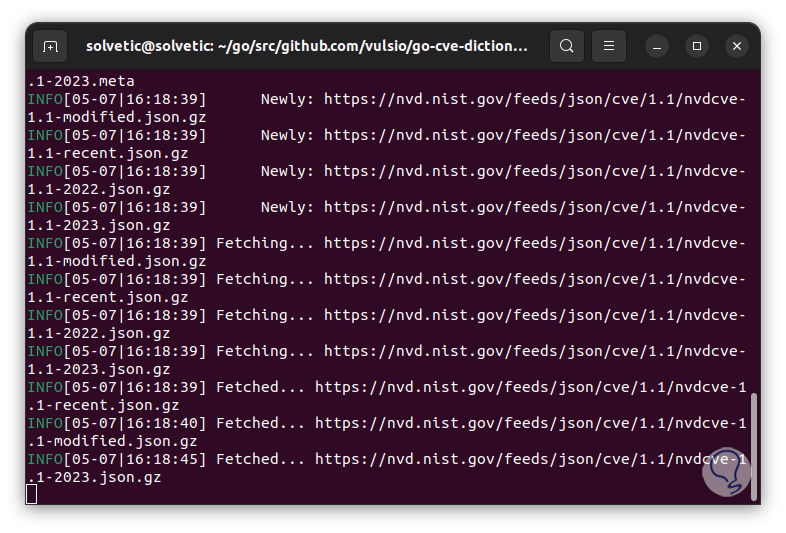
Step 26
The analysis process will start:
Step 27
We will see specific details of each vulnerability:
Step 28
The go-cve-dictionary options are:
- jvn: get the JVN vulnerability dictionary
- nvd: Retrieves the NVD vulnerability dictionary
- --config string: configure the string configuration file
- --dbpath string: is the SQL connection string
- --debug: indicates debugging mode (default: false)
- --debug-sql: is SQL debugging mode
- --log-json: create a JSON log output
- --log-to-file: create a log of output to file
Step 29
Another vulnerability dictionary is Goval, this is a Go package with which you have access to the OVAL database for Ubuntu, OVAL (Open Vulnerability and Assessment Language), is an open language to express checks in order to determine if there are software vulnerabilities in the system, it will use the NVD database as its source of information for vulnerabilities.
We are going to install the Goval dictionary, for this we go to the route:
cd $GOPATH/src/github.com/vulsio
step 30
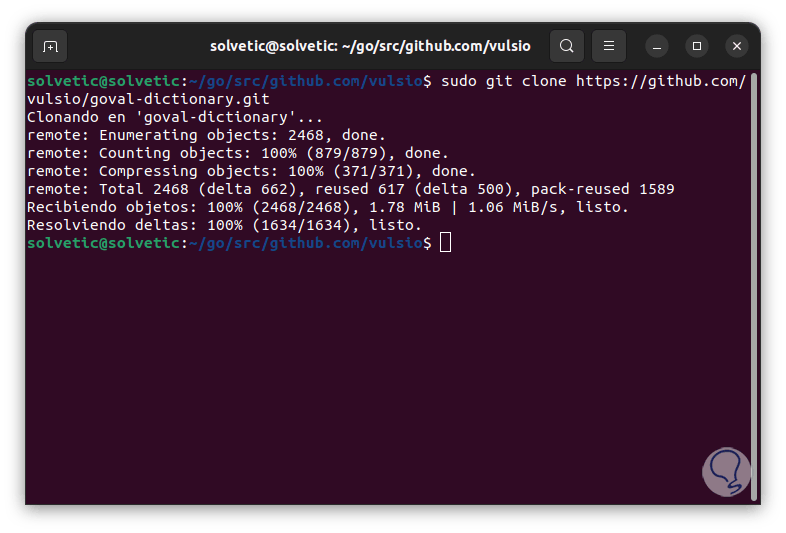
We clone the directory:
sudo git clone https://github.com/vulsio/goval-dictionary.git
step 31
We access the directory:
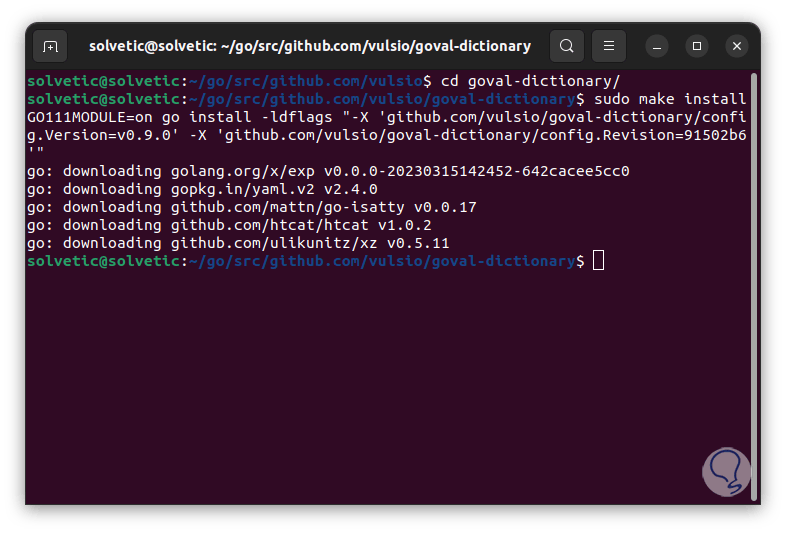
cd goval dictionary
step 32
We install the plugins:
sudo make install
Step 33
We ran an analysis for some of the available distributions:
sudo goval-dictionary fetch-ubuntu --dbpath=/usr/share/vuls-data/oval.sqlite3 22
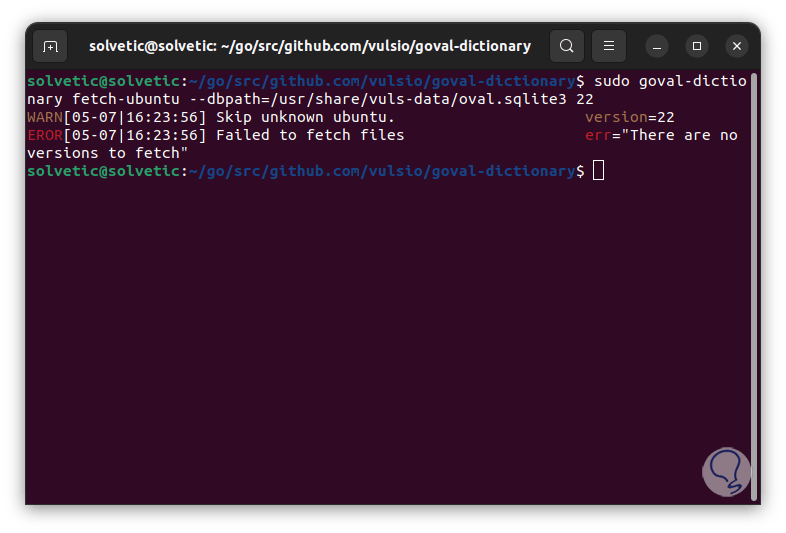
Step 34
With the fetch parameter we can add systems like:
- Red Hat, CentOS, Alma Linux, Rocky Linux
- ubuntu
- Debian
- Oracle
- suse
- Alpine
step 35
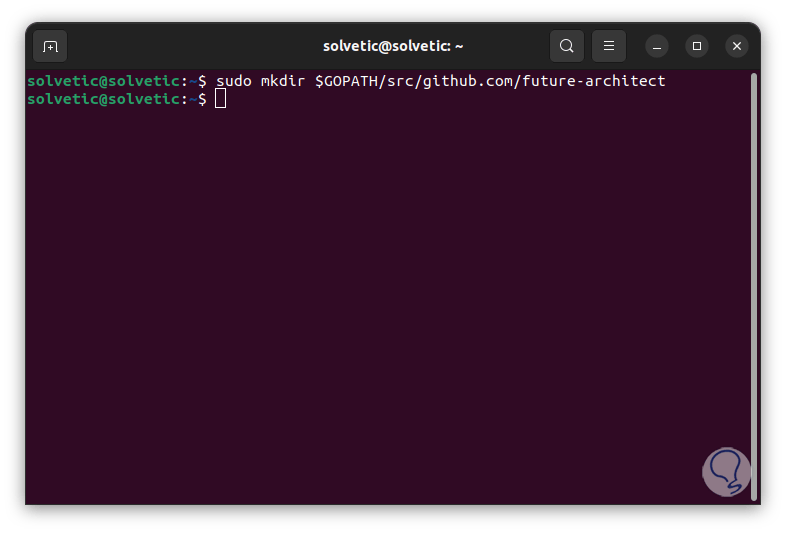
In the final part we enter the number of the version to analyze. It is time to install Vuls, we install Vuls from the repositories, first of all, we create the directory:
sudo mkdir -p $GOPATH/src/github.com/future-architect
Step 36
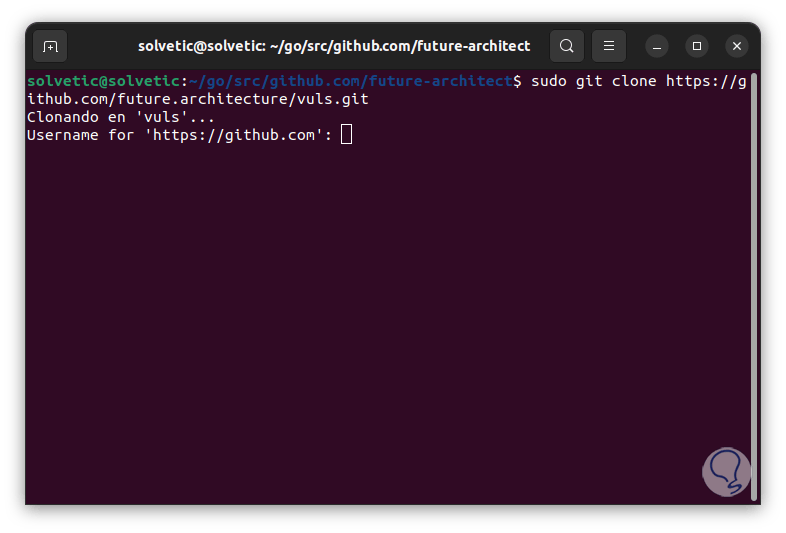
Access the directory:
cd $GOPATH/src/github.com/future-architect
Step 37
Try to download the repository from the official site:
sudo git clone https://github.com/future-architect/vuls.git
Step 38
There we must have an account created, but with the latest versions we will see the following:
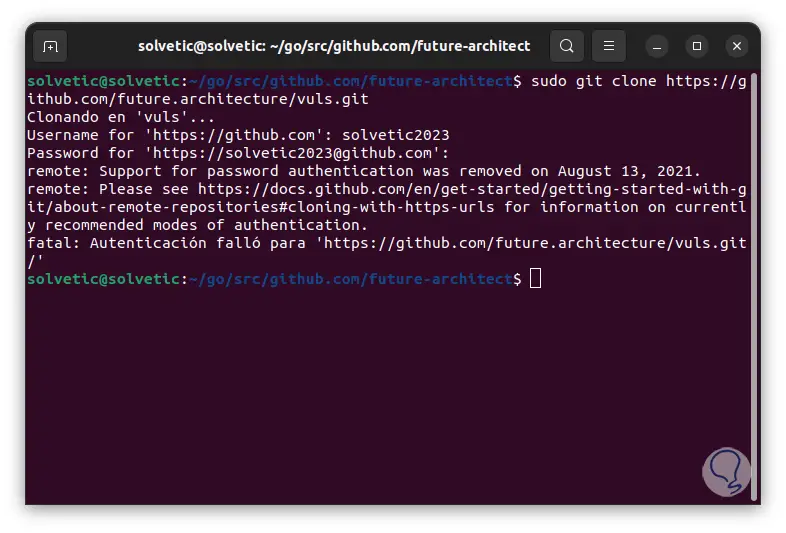
Step 39
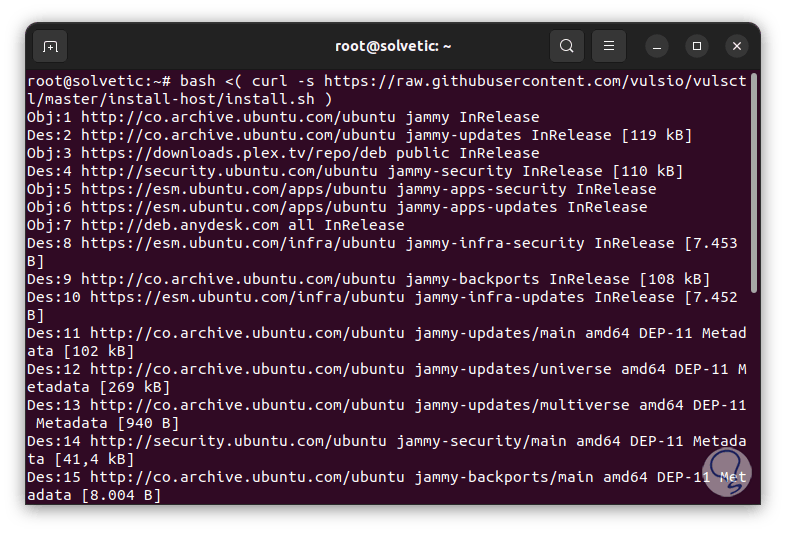
We see that there is no support for this type of authentication, in this case we access as root using "sudo -i", then we execute:
bash <( curl -s https://raw.githubusercontent.com/vulsio/vulsctl/master/install-host/install.sh )
step 40
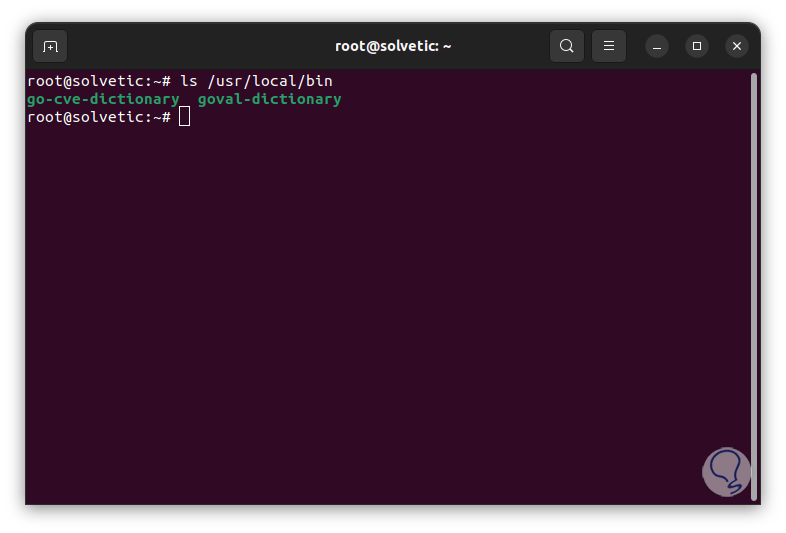
We validate the binaries:
ls /usr/local/bin/
Step 41
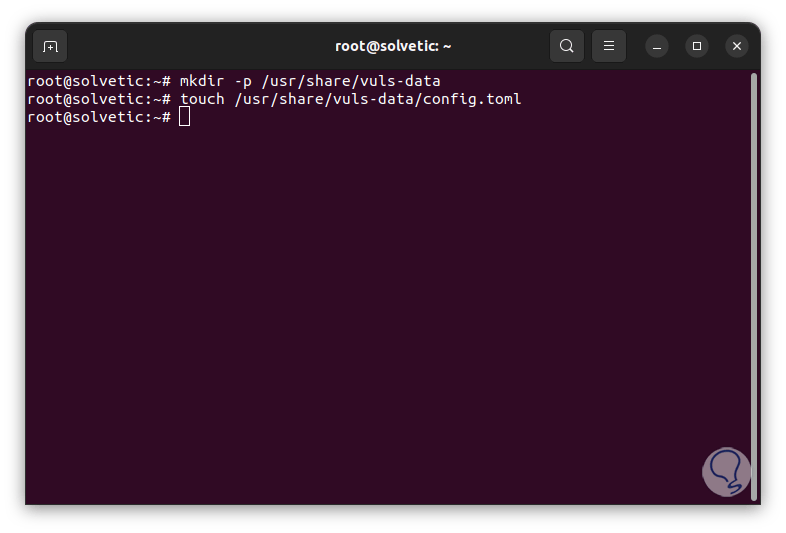
We create a new directory and create the configuration file:
mkdir -p /usr/share/vuls-data touch /usr/share/vuls-data/config.toml
step 42
We edit the file:
nano /usr/share/vuls-data/config.toml
Step 43
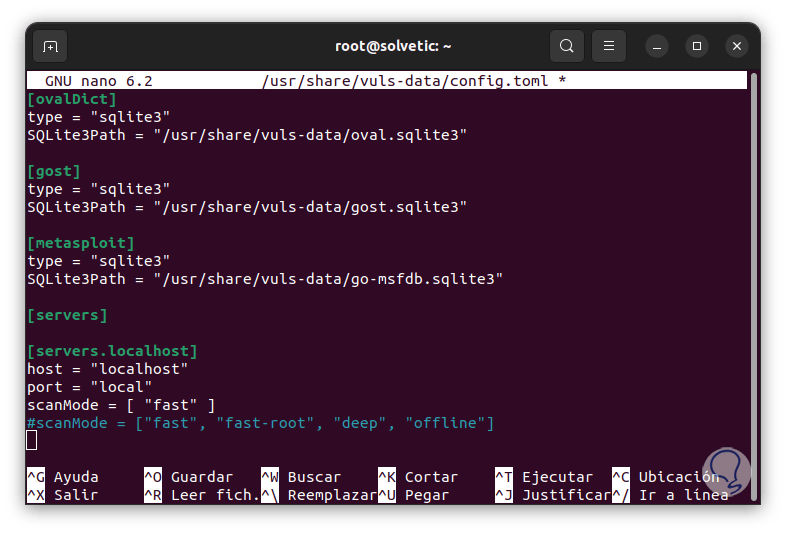
We enter the values:
[cveDict] type = "sqlite3" SQLite3Path = "/usr/share/vuls-data/cve.sqlite3" [ovalDict] type = "sqlite3" SQLite3Path = "/usr/share/vuls-data/oval.sqlite3" [gost ] type = "sqlite3" SQLite3Path = "/usr/share/vuls-data/gost.sqlite3" [metasploit] type = "sqlite3" SQLite3Path = "/usr/share/vuls-data/go-msfdb.sqlite3" [servers ] [servers.localhost] host = "localhost" port = "local" scanMode = [ "fast" ] #scanMode = ["fast", "fast-root", "deep", "offline"]

Step 44
We see each recorded data:
step 45
4 vuls databases will be defined using the SQLite3 format which are:
- CVE (Common Vulnerabilities and Exposures)
- OVAL (Open Language of Assessment and Vulnerability)
- Gost – This uses the security scanner from Linux distributions like Redhat, Debian, Ubuntu, and Microsoft Windows.
- CVE of the Metasploit-Framework modules
Step 46
We save the changes using the following key combination:
Ctrl + O
We exit the editor using:
Ctrl + X
Step 47
We access the directory:
cd /usr/share/vuls-data/
Step 48
Run the configuration test:
vuls config test
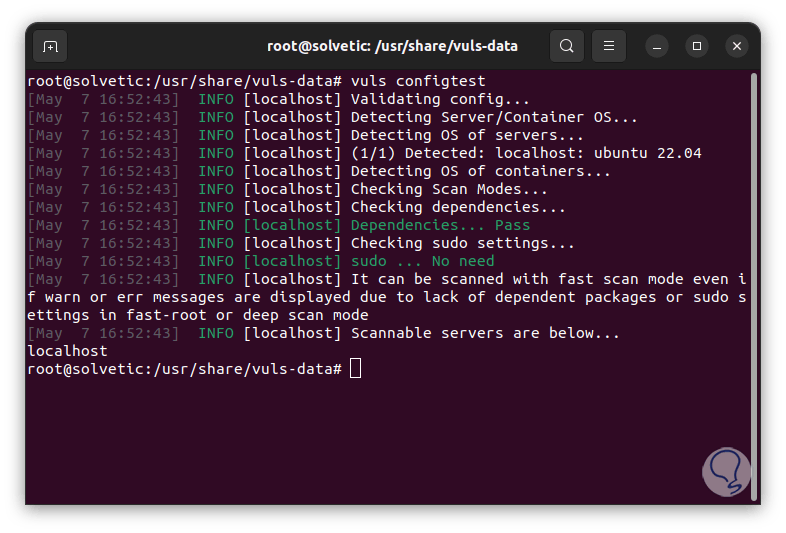
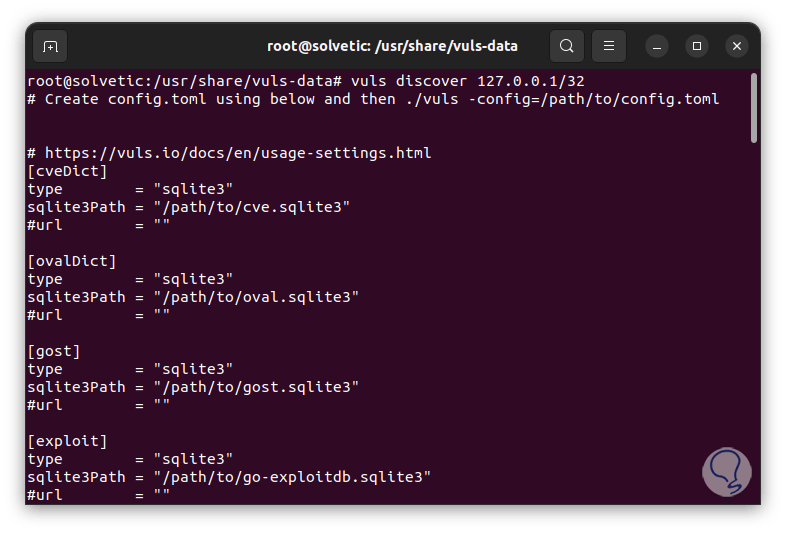
Step 49
We create a configuration file:
vuls discover 127.0.0.1/32
step 50
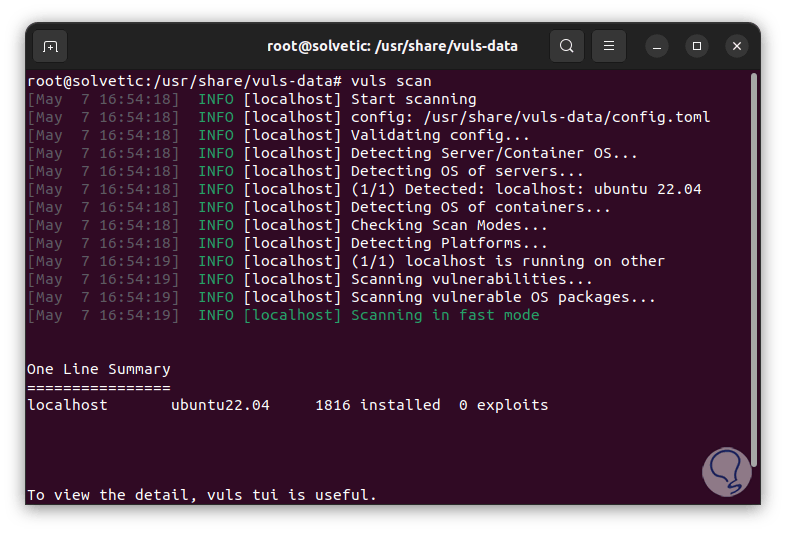
We run a general scan:
vuls scan
step 51
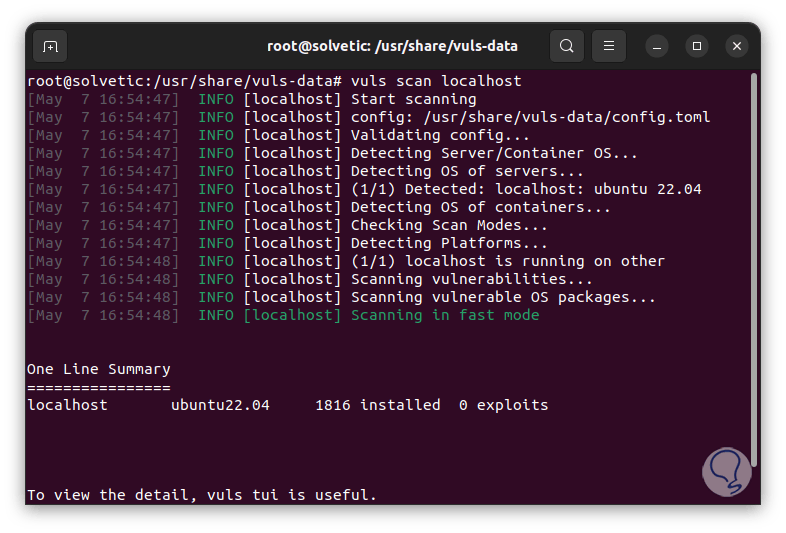
For a scan on a specific computer run:
vuls scan localhost
step 52
There we see details such as the type of system, number of packages installed and threats detected.
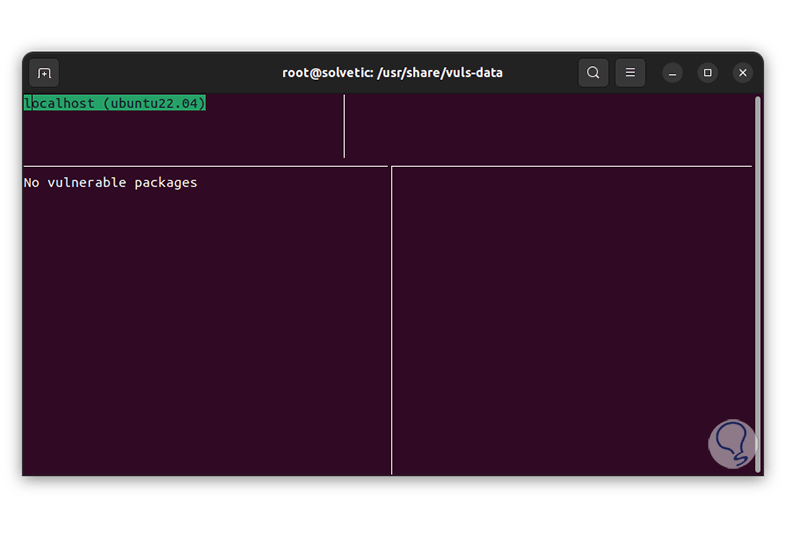
To see the data graphically (applies when vulnerabilities are detected) execute:
vuls tui
step 53
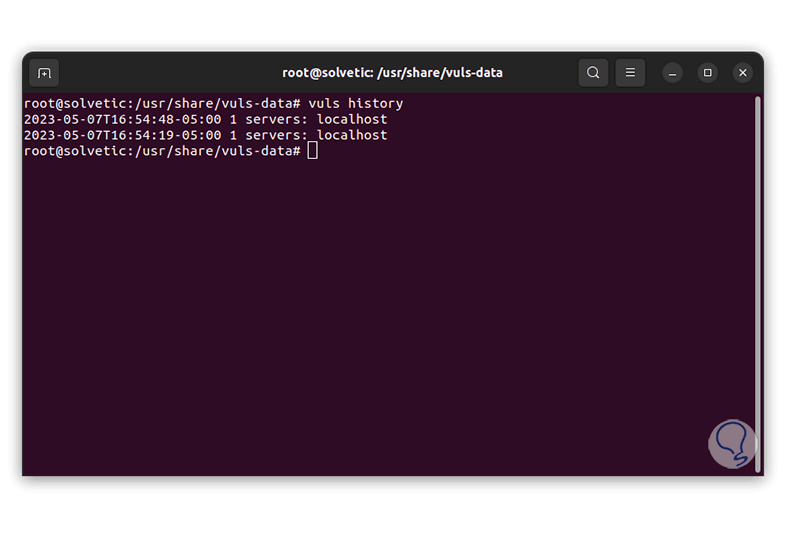
To review the history we execute:
vuls history
Vuls is an integral utility to check our system, or other equipment, and thus be sure that they do not have any threat that puts their integrity at risk.