Everyone who is in the world of server administration always likes the development of applications and tools from where we can manage many aspects of our server both hardware and software. One of the options that has been present several years ago, is Webmin and therefore TechnoWikis will explain in detail what it is and how to install it on CentOS 8 ..
What is Webmin?
Webmin has been developed as a GUI interface which is web based and thanks to which it will be possible to manage some aspects and parameters of the UNIX system.
Webmin is compatible with all browsers that support the use of tables and forms, as well as Java (exclusive for the File Manager module) and with Webmin it will be possible to configure user accounts, manage Apache, file sharing and many tasks more than CentOS 8.
The Webmin utility consists of both a web server and various CGI programs which are constantly updated and these in turn update system files such as / etc / passwd. It should be noted that both the web server and CGI programs have been written in Perl 5 and do not use non-standard Perl modules.
Webmin Actions
When using Webmin it will be possible to carry out actions such as:
- Configure firewalls to allow or not allow access to the network.
- Create, edit or delete Unix accounts.
- Install, view or remove software packages in RPM and other compatible formats.
- Configure disk quotas to manage the storage of hard drives.
- Export files and directories to other systems using the NFS protocol.
- Manage databases, tables and fields if the server has been configured as MySQL or PostgreSQL databases.
- Create and configure virtual web servers for the CentOS 8 Apache web server.
- Share files to Windows operating systems through Samba Windows File Sharing.
- Edit the IP address of the computer, the DNS server configuration or the routing configuration.
One of the great advantages of using Webmin is the ability to protect ourselves from the syntax errors that we can make when editing configuration files, because if one is badly configured, we can trigger chain errors. Webmin warns us before executing any action that is considered dangerous..
Webmin has been created with a modular design which implies that each function is available in a module whose installation or removal can be performed without affecting everything else. The Webmin modules are responsible for managing services or servers such as Unix users, the Apache web server , etc.
Webmin will read the standard CentOS 8 configuration files and update them directly by optimizing many administrative tasks. We must remember that TechnoWikis reminds you that Webmin runs with all root privileges, which will give you access to all server parameters..
In this case we will talk about Webmin in CentOS 8 but it is possible to install it in more than 30 different operating systems.
1. How to install Webmin on CentOS 8
Step 1
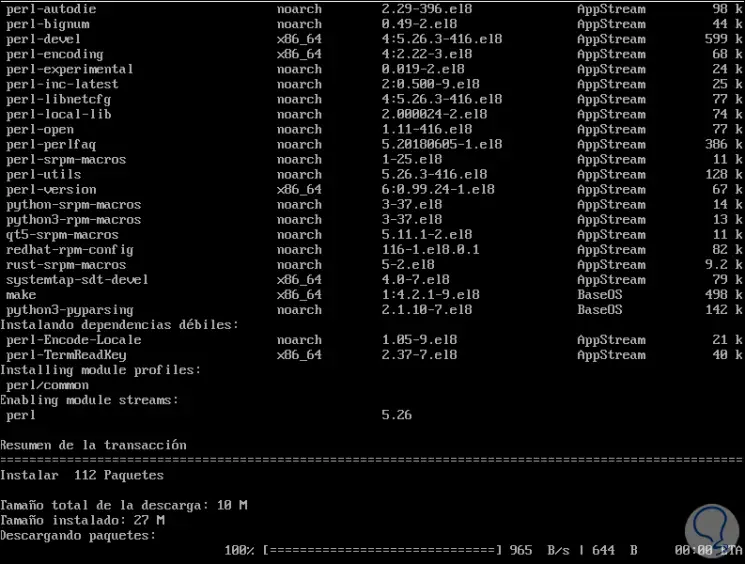
To start we go to CentOS 8 and execute the following command:
yum -y install @perl
Step 2
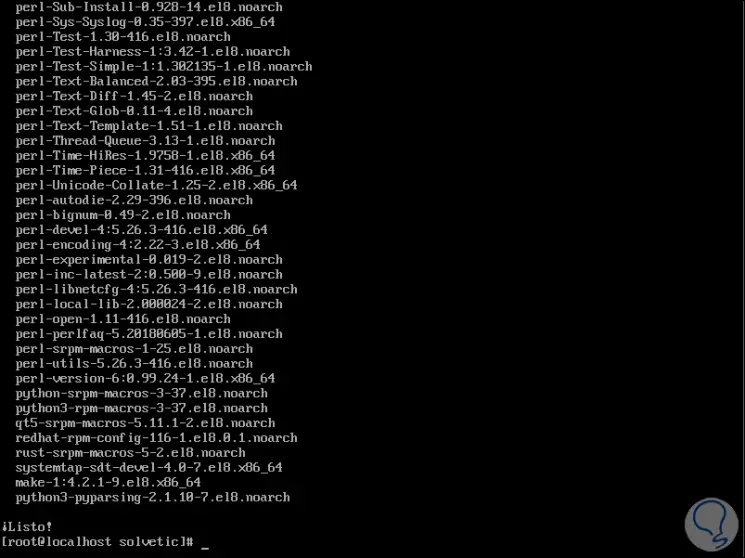
This is responsible for installing the Perl language along with the required dependencies:
Step 3
Once this is done we can install Webmin on CentOS 8. To know the latest version available we can visit the following link:
Webmin
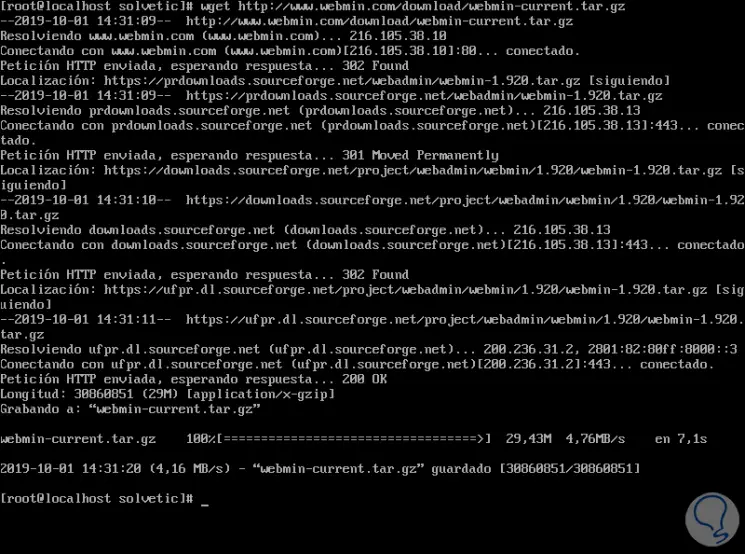
So to install the most recent version we will execute the following:
wget http://www.webmin.com/download/webmin-current.tar.gz
Step 4
Note
If you do not have the wget command, we can install it by running:
yum -y install wget
There is the process of downloading the latest version available:
Step 5
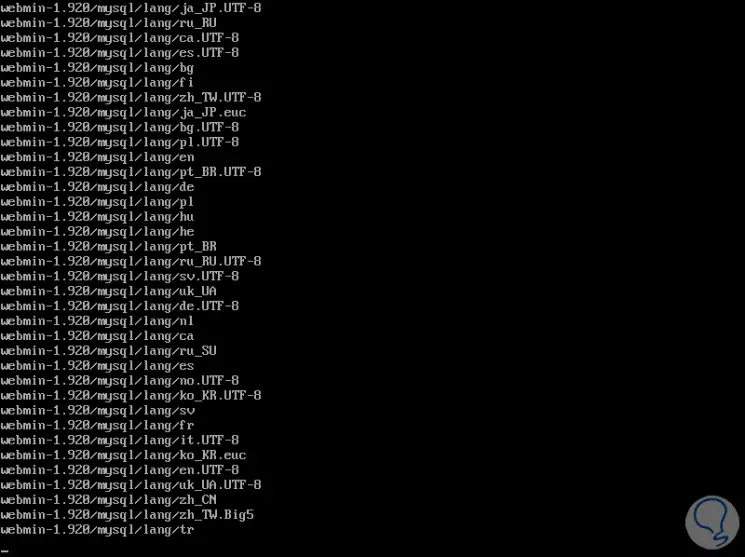
We proceed to decompress the tar.gz file:
tar xvf webmin-current.tar.gz
Step 6
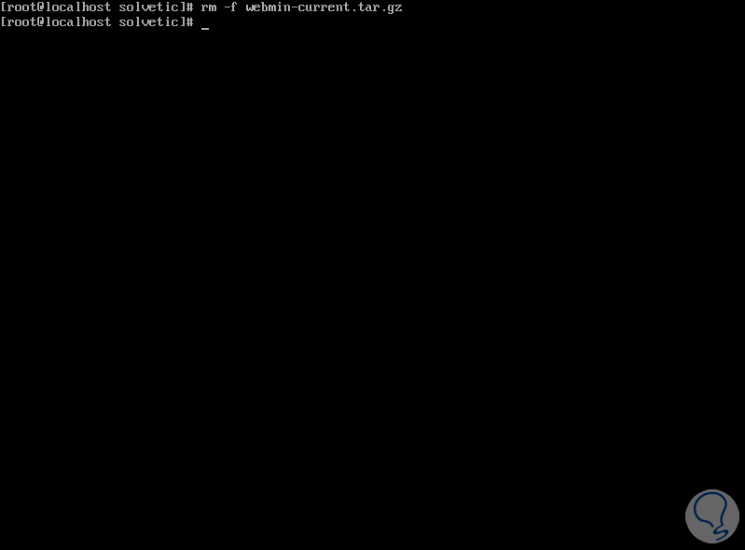
Now we delete the downloaded file:
rm -f webmin-current.tar.gz
Step 7
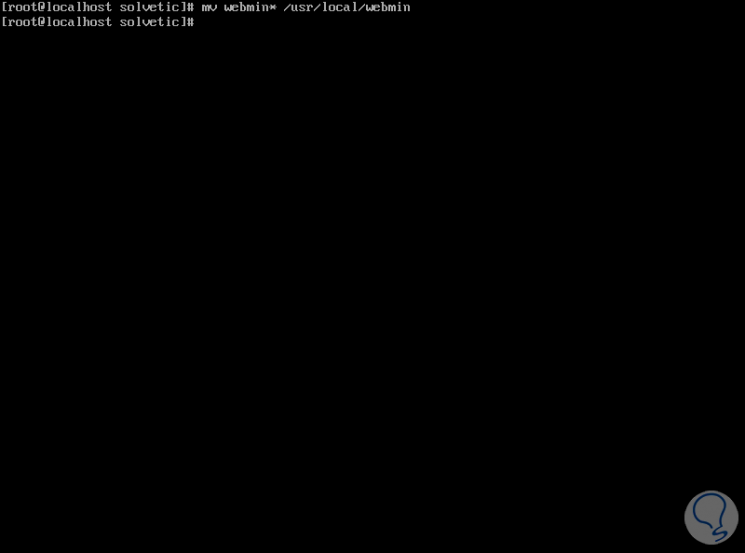
Now let's move the created Webmin folder:
mv webmin * / usr / local / webmin
Step 8
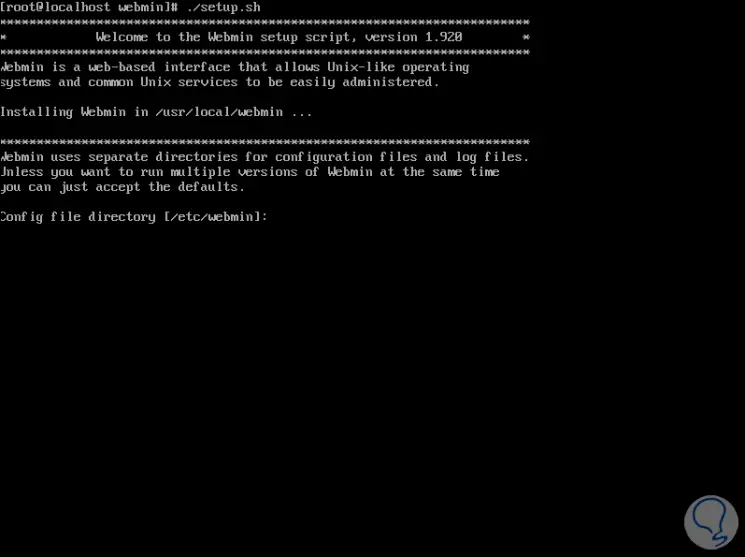
We access the working directory / usr / local / webmin / and there we will run the Webmin installation script:
cd / usr / local / webmin / (directory access) ./setup.sh( Script Execution)
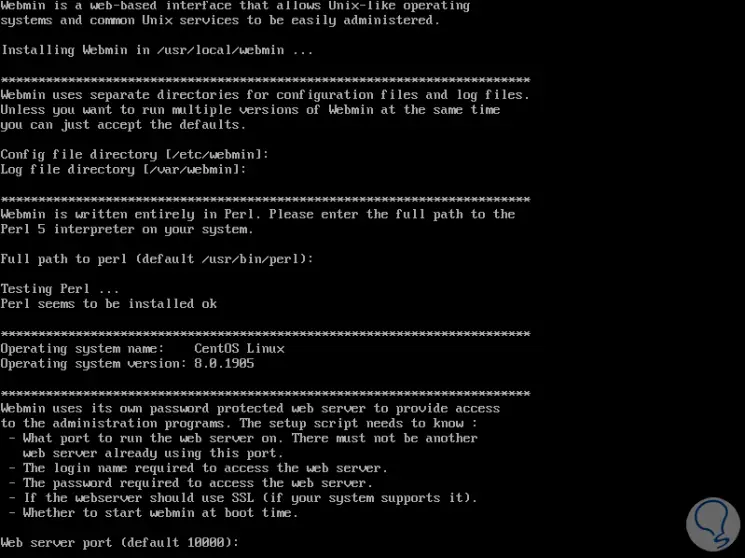
We will see the following:
Step 9
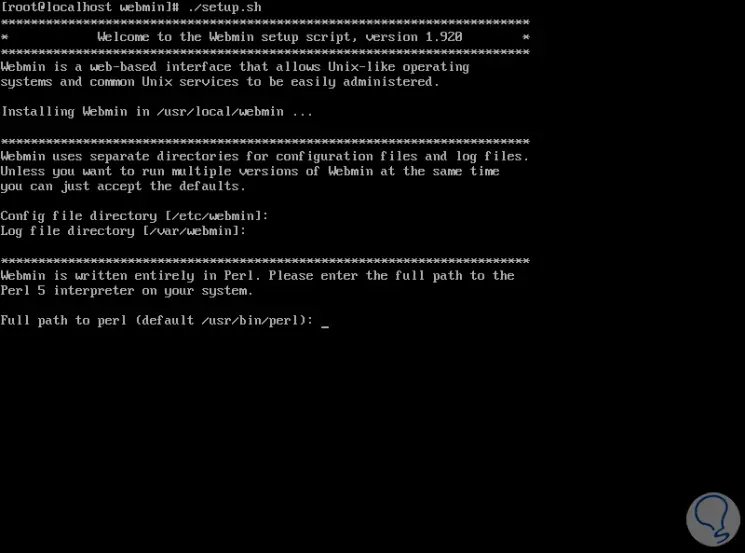
There we can press Enter to configure the following:
Step 10
After configuring Perl we see the default web access port:
Note
If we want to modify this port we must enter it and press Enter.
Step 11
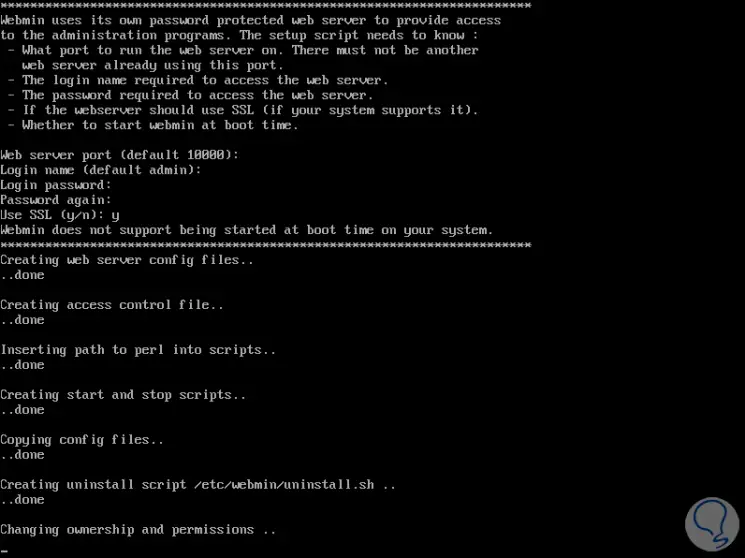
Then we enter the username (by default admin) and assign password:
Step 12
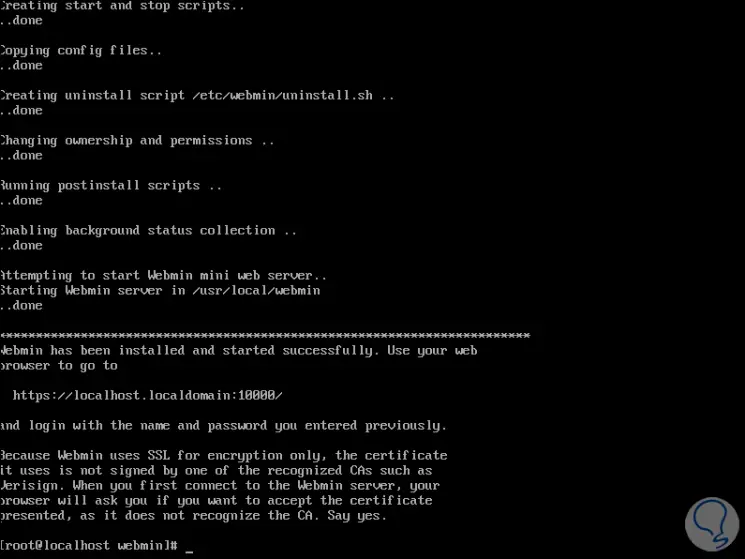
There we give way to the Webmin configuration process in CentOS 8 and once finished we will see the access method:
Step 13
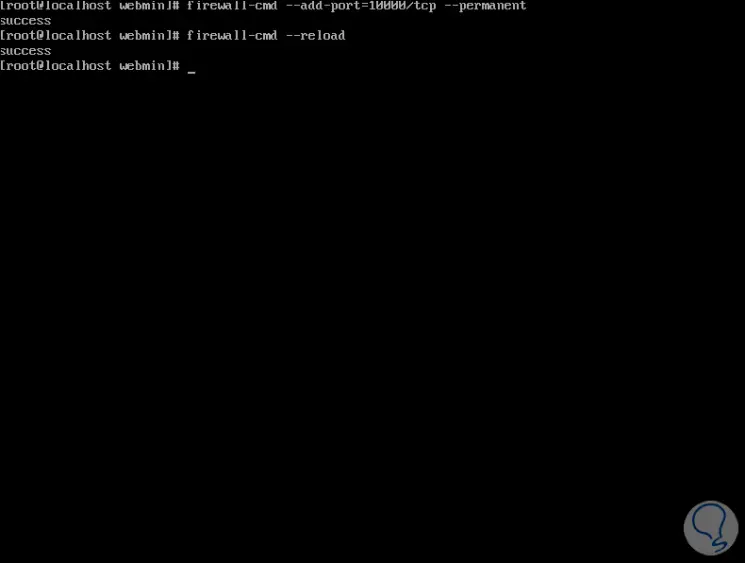
Now we are going to grant permission to that port in the system firewall:
firewall-cmd --add-port = 10000 / tcp --permanent firewall-cmd –reload
2. How to access Webmin in CentOS 8
Step 1
It will now be possible to access Webmin with one of the following options:
http: // IP_address: 10000 http: // Name _Equipment: 10000
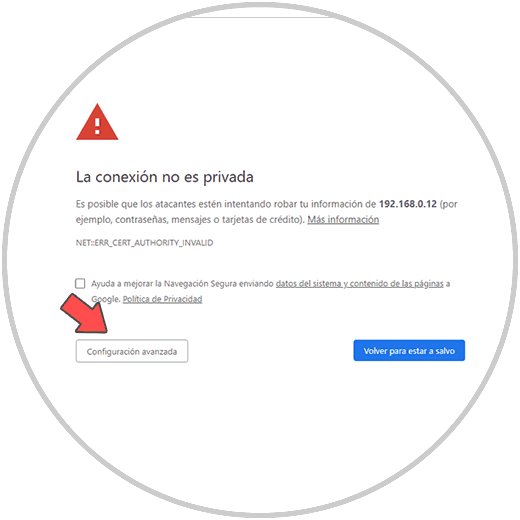
When accessing we will see the following. There we click on the "Advanced Settings" button:
Step 2
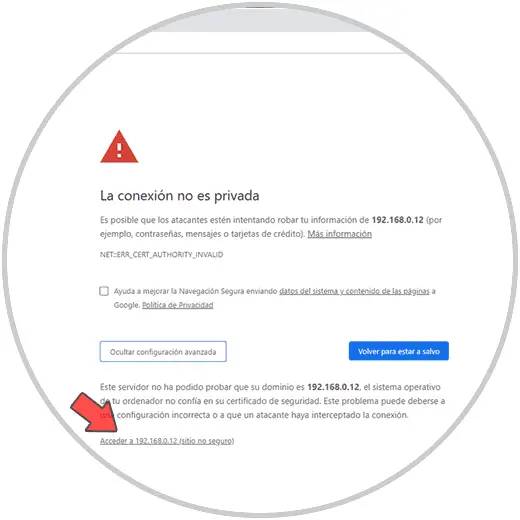
Click on the "Access IP" line to access the Webmin login environment in CentOS 8:
Step 3
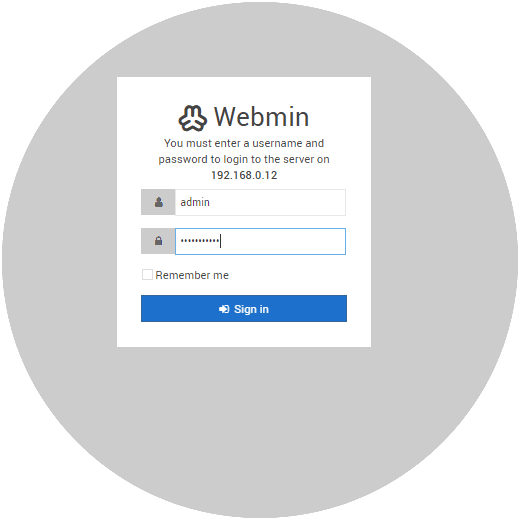
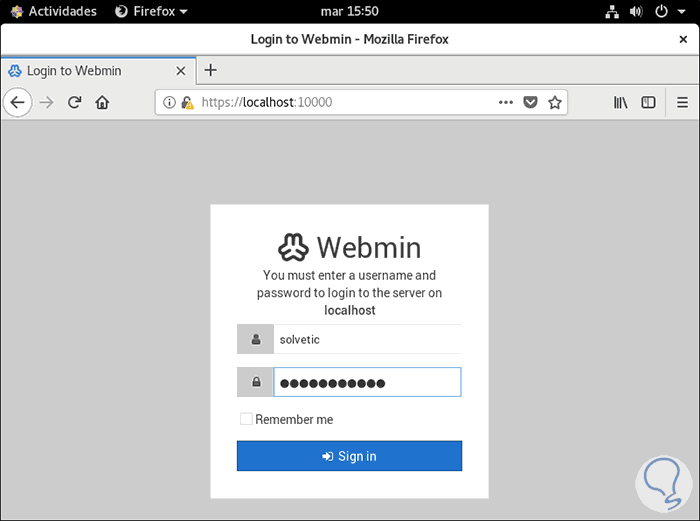
Enter the username and password that we assigned during the configuration process and click on Sign in to access Webmin:
Step 4
Center panel
In the central panel we have the following:
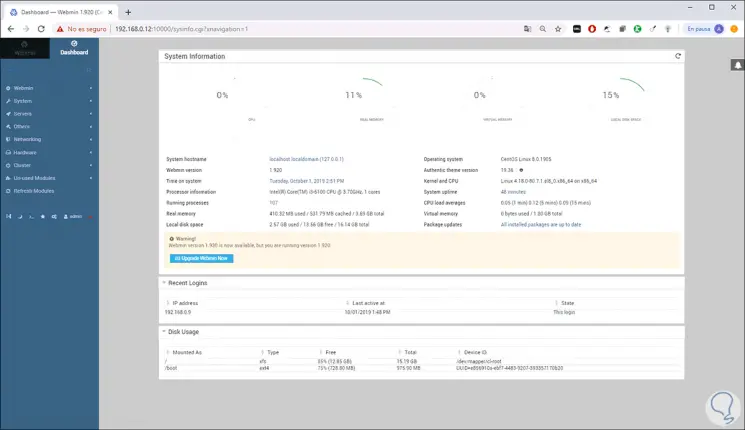
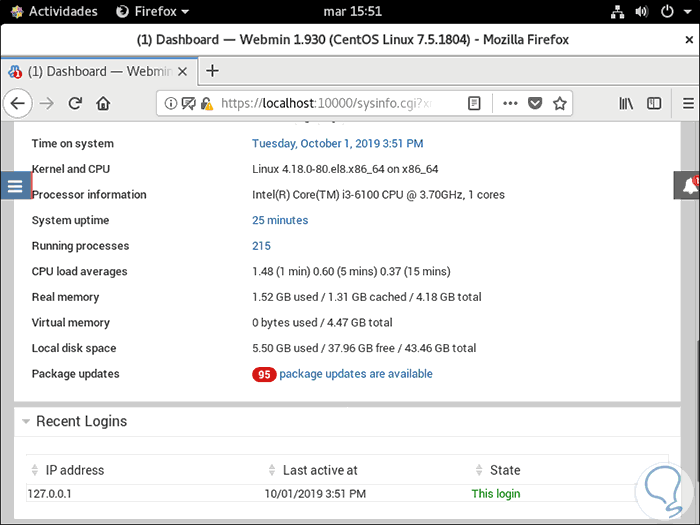
At the bottom we can see the recent logins, as well as the use of hard disk.
Webmin
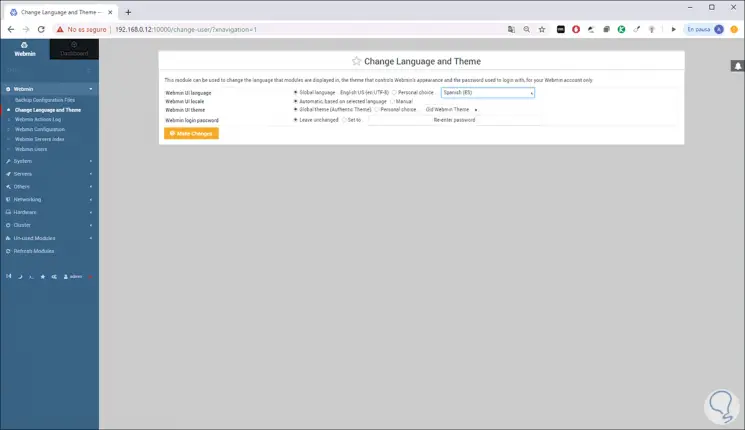
In the "Webmin" section we find some aspects of utility configuration such as:
- Set the interface language.
- Assign a topic (light or dark).
- Generate the configuration of the files.
- Access the Webmin server index.
System
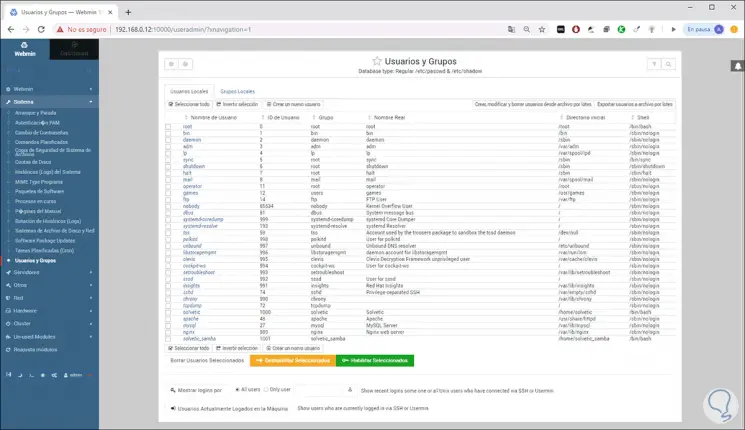
In the "System" section it will be possible:
- View the logins, as well as the closing of the same.
- Authentication through PAM.
Servers
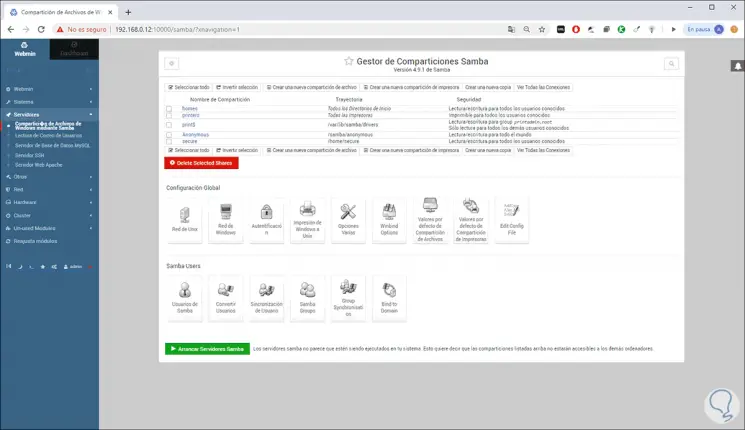
In the "Servers" section we can access configurations such as:
In this case we must first install each of the applications for Webmin to access them:
Others
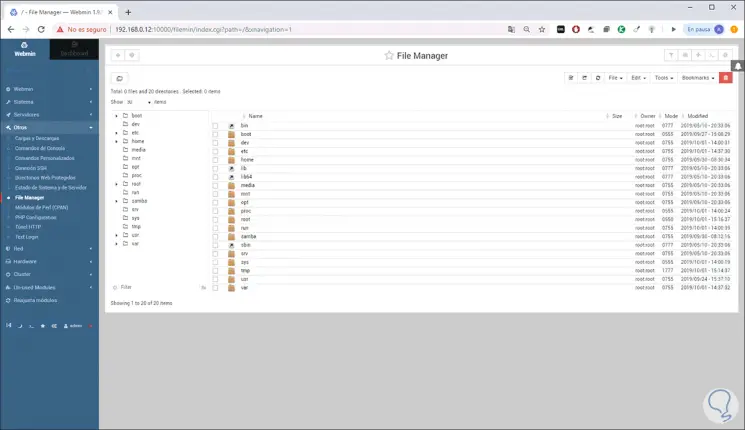
In the "Other" section we can see a series of utilities such as:
- View upload and download to server
- Access the terminal to execute commands
- Establish SSH connections
Net
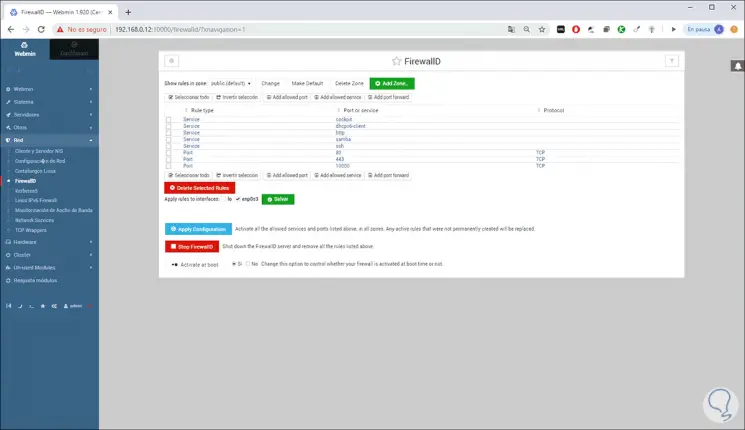
In "Red", as the name says it all, we can configure:
- Permissions on the CentOS 8 firewall
Hardware
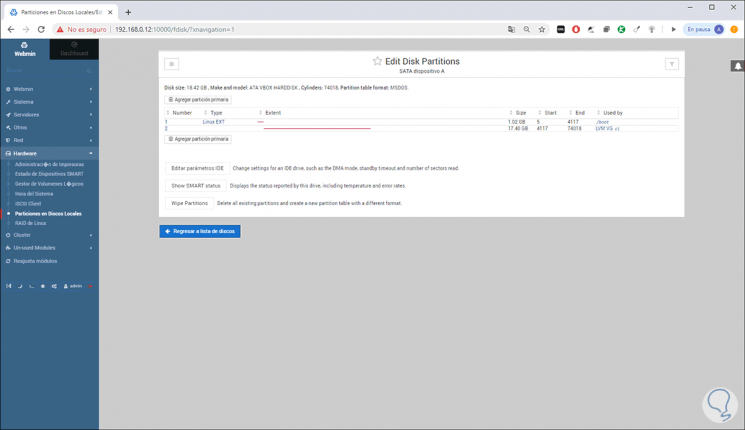
In "Hardware" we can configure:
- Configure CentOS 8 partitions.
- View the status of SMART devices and more.
Cluster
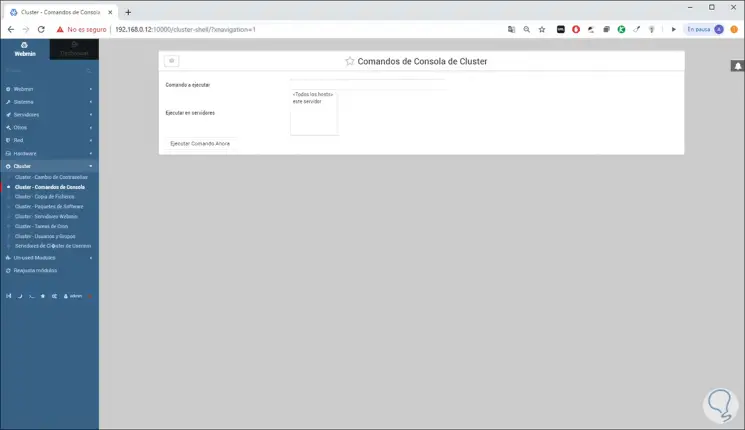
In the "Cluster" section it is possible to configure everything related to clusters as:
- See console commands and more tasks.
Un-used modules â€
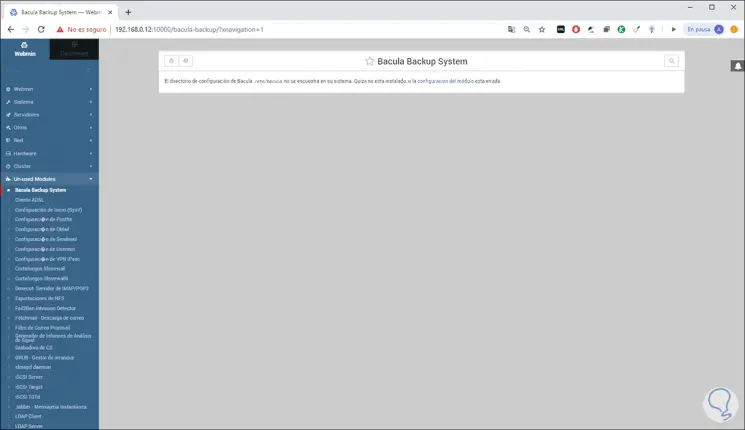
In the “Un-used modules†line we can see all the modules that are no longer active from Webmin:
Reset modules
The "Reset modules" option is responsible for resetting Webmin modules in CentOS 8.
At the bottom we find some icons where we can perform tasks such as:
- Change the theme of the interface.
You have learned to install Webmin through the wget command, but now TechnoWikis will explain another equally effective method.
3. How to install Webmin on CentOS 8 using RPM
Although originally this is a method that applies to RedHat 8, being CentOS a derivation of this we can do it without problem, this process will be done in CentOS 8 GUI.
Step 1
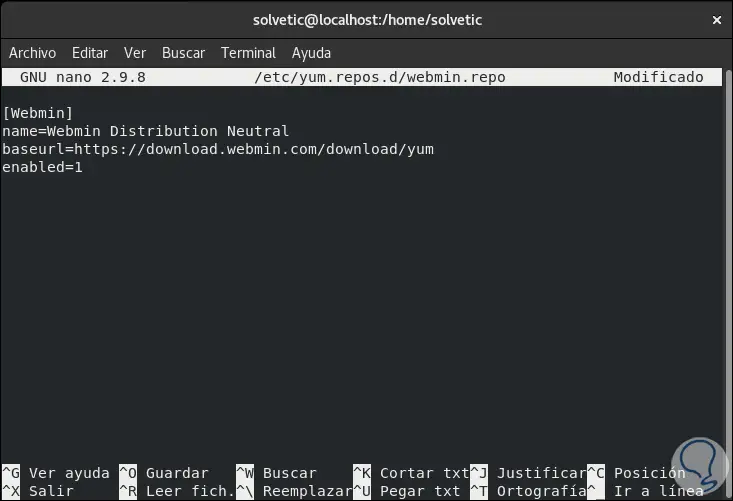
The first step is to add the Webmin repository by running the following:
nano /etc/yum.repos.d/webmin.repo
In the new file created we will add the following:
[Webmin] name = Webmin Distribution Neutral baseurl = https: //download.webmin.com/download/yum enabled = 1
Step 2
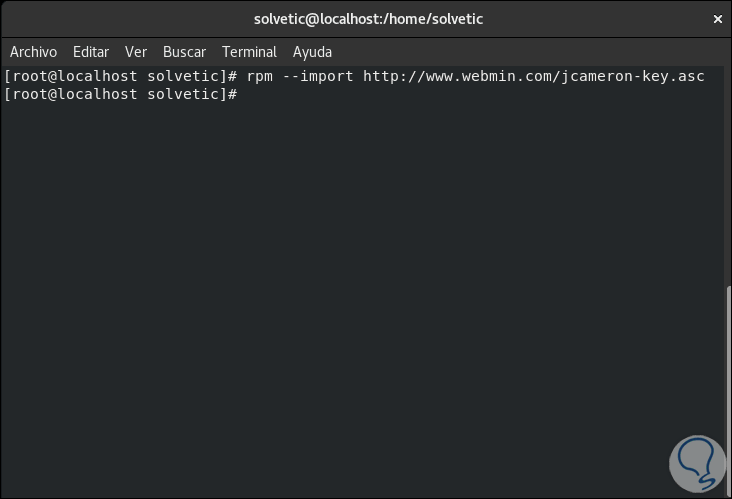
We save the changes using the Ctrl + O keys and exit the editor using the Ctrl + X keys. Now we import the GPG repository key:
rpm --import http://www.webmin.com/jcameron-key.asc
Step 3
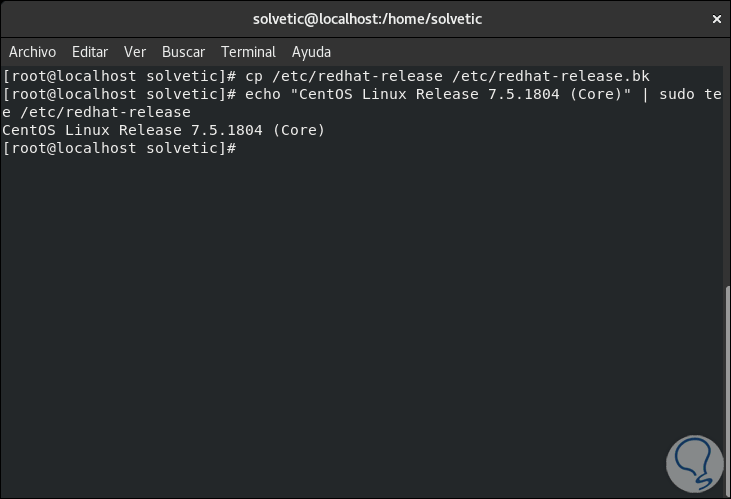
To take into account, the current version of Webmin does not validate the RHEL system (in this case CentOS 8) we will temporarily change the system version:
cp / etc / redhat-release /etc/redhat-release.bak echo "CentOS Linux release 7.5.1804 (Core)" | sudo tee / etc / redhat-release
Step 4
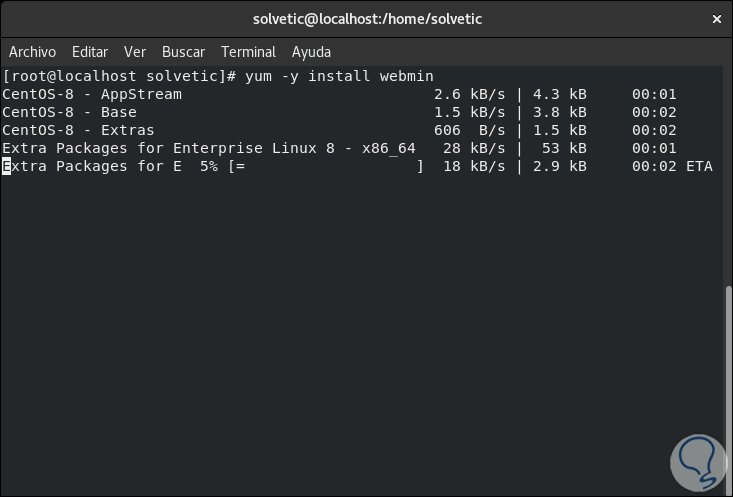
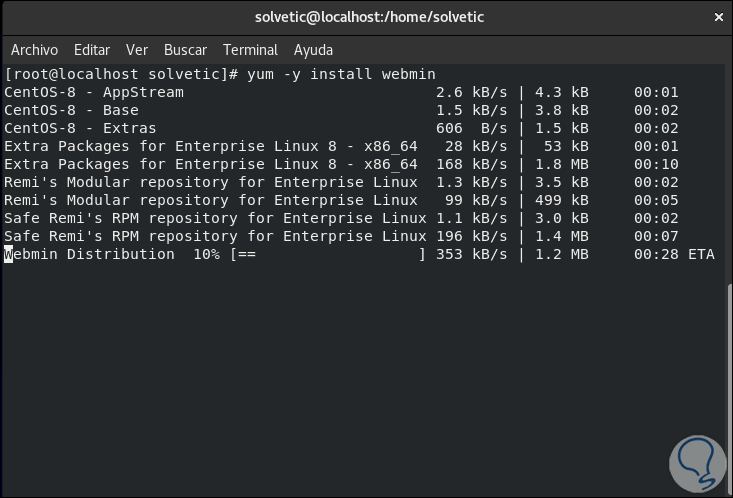
Version 7.5 has been defined instead of CentOS version 8. Now we install Webmin by running:
yum -y install webmin
Step 5
We can see that Webmin packages are loaded:
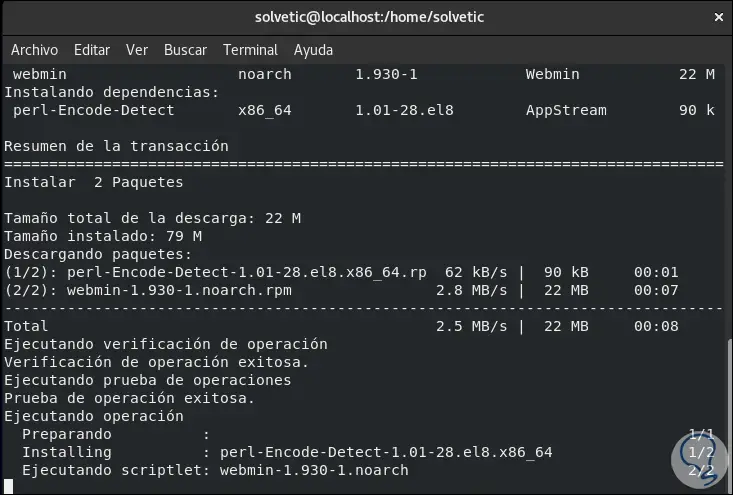
Step 6
After this, they proceed with their installation:
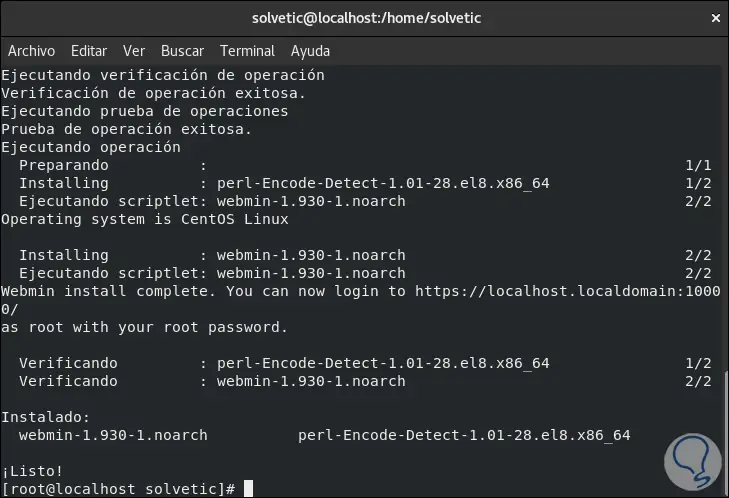
Step 7
Once the installation is finished we will see the following:
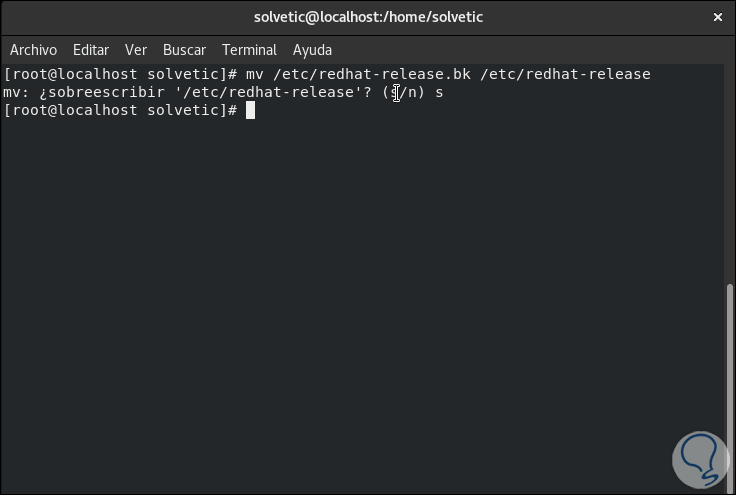
Step 8
Now we are going to move the CentOS version file to its original location:
mv /etc/redhat-release.bak / etc / redhat-release
Step 9
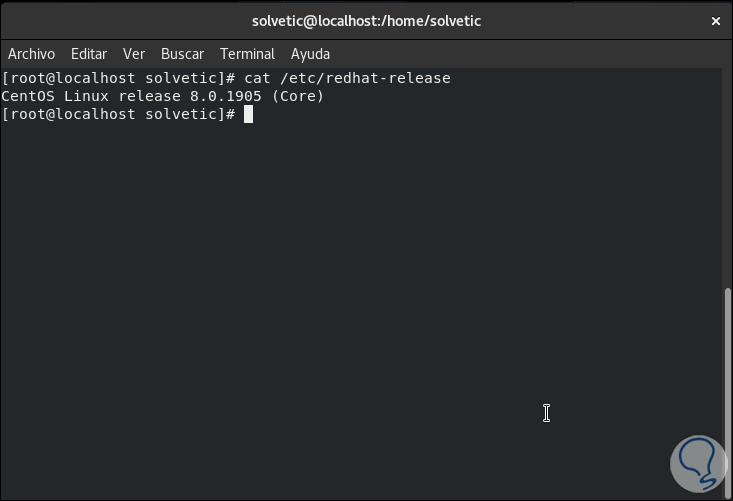
We check the version:
cat / etc / redhat-release
Step 10
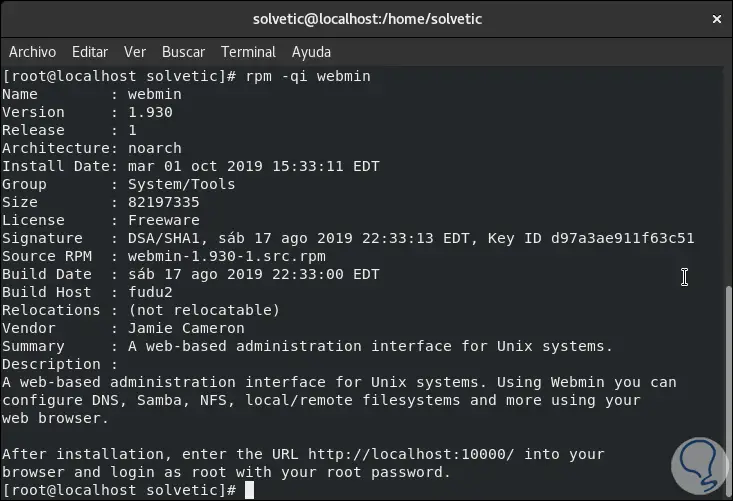
To know details of the Webmin RPM package we execute:
rpm -qi webmin
Step 11
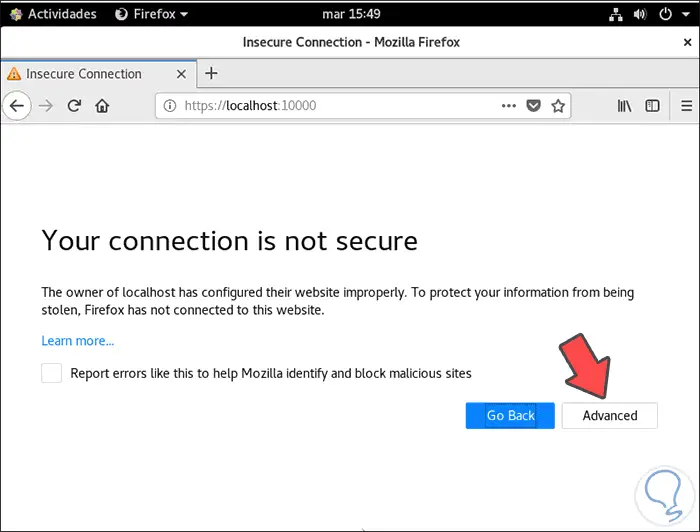
We access Webmin using the syntax:
http: // localhost: 10000 /
At the beginning we will see the security warning:
Step 12
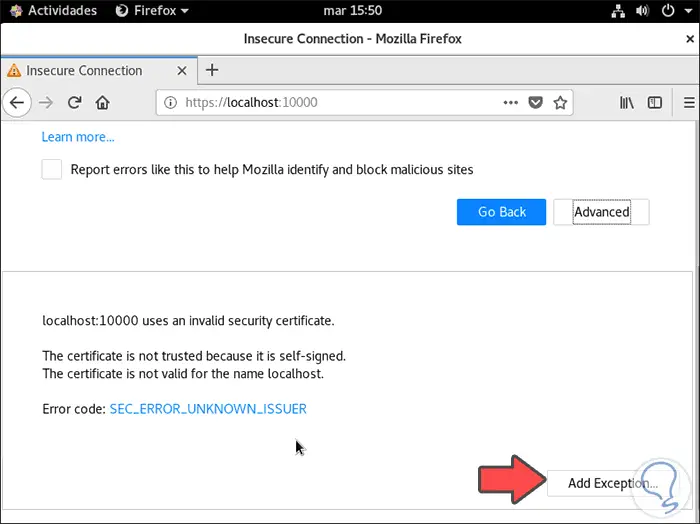
We click on Advanced and we will see the following:
Step 13
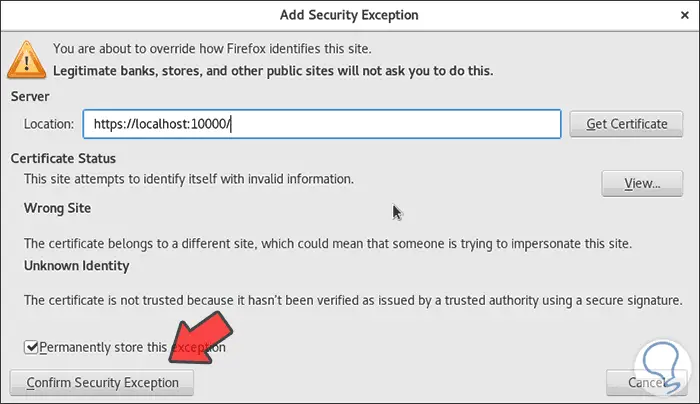
We click on Add Exception and in the displayed window we click on “Confirm Security Exceptionâ€:
Step 14
Now we can enter with our credentials:
Step 15
So we have installed Webmin on CentOS 8 using RPM:
If you want to know more about the available Webmin modules you can visit the following link:
Webmin
Thus, TechnoWikis has explained to you in a simple way how to install Webmin on CentOS 8 both normally and with RPM.