Knowing the speed of our network card in Linux is super important since, based on the compatible values of the card, everything related to cabling can be configured, since it comes in different categories and offers different speeds and if the network card It is not compatible, it will only reach a point and from there it will not pass, some of the speeds available in Ethernet cable are:
The higher the speed we will have better performance and a greater transport capacity (sending and receiving) of the data. To have precise control over the real-time speed of the network card in Linux we will use iperf3..
iPerf3 is a utility which provides the user with a mechanism for active measurement of the maximum achievable bandwidth in our local network through the network card used, this utility is compatible with synchronization, buffers and protocols TCP, UDP, SCTP both with IPv4 as with IPv6.
Characteristics
Among its most outstanding characteristics we find:
- Can handle multiple connections
- We can use iPerf3 on systems like Windows, Linux, Android, MacOS X, FreeBSD, OpenBSD, NetBSD and more.
- We can perform TCP and SCTP tests.
- Support for TCP window size using socket buffers.
- Bandwidth measurement in real time.
- It allows creating UDP flows of defined bandwidth.
- We can measure packet loss and delay jitter.
- Both the client and the server can have multiple simultaneous connections.
- The test can be run for a specific time.
- A server accepts only one concurrent client.
- You can run the server as a daemon.
- It is possible to use SCTP instead of TCP.
- Supports disk read tests.
- A congestion control algorithm may be established.
- It offers output in JSON format and more.
Now we are going to see how to use iPfer3 to monitor our speed of the network card and for this it is possible to use the local IP or some remote IP..
To stay up to date, remember to subscribe to our YouTube channel!
SUBSCRIBE ON YOUTUBE
How to see Linux network card speed
parameters
There are a number of parameters to use with iPerf3, some of these are:
- -p, --port n: indicates the server port for the server to listen on and the client to connect to, default is 5201.
- --cport n: is an option to specify the client-side port.
- -f, --format [kmKM]: Specifies the format for printing bandwidth numbers, options are 'k' = Kbits/sec, 'K' = KBytes/sec, 'm' = Mbits/sec, ' M' = MBytes/sec
- -i, --interval n: allows us to define the time interval in seconds between the periodic reports of bandwidth, fluctuation and loss of the card.
- -A, --affinity n/n,mF: Set CPU affinity, if applicable and available for Linux and FreeBSD.
- -V, --verbose: Provides more complete output.
- -J – Provides output in JSON format.
- --logfile file: Output to a log file.
- --d, --debug: Skip debugging output.
- -v, --version: display the version information.
- -s, --server – Run iPerf in server mode.
- -I, --pidfilefile: is responsible for writing a file with the ID of the process used.
- -D, --daemon: Run the server in the background as a daemon.
- -c, --client host: Run iPerf in client mode.
- -u, --udp: Will use UDP instead of TCP.
- --sctp: Use SCTP instead of TCP.
- -t, --time n: indicates the time in seconds to transmit the information.
- -n, --num n[KM]: is the number of buffers to transmit.
- -4, --version4: only makes use of IPv4.
- -6, --version6: Will only use IPv6.
Step 1
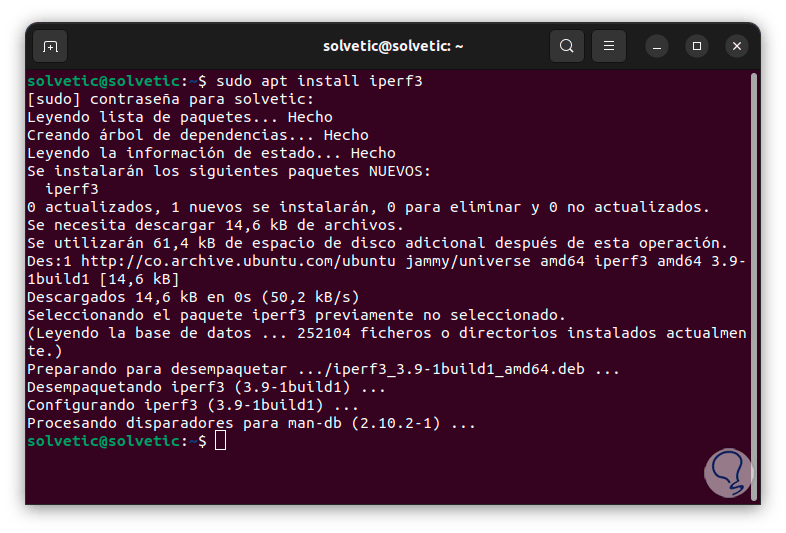
To start we open the terminal in Linux and we are going to install the ipfer3 utility using the command:
sudo apt install iperf3
Step 2
For other versions of Linux we can use the following commands:
sudo yum install iperf3 (RHEL/CentOS/Fedora and Rocky/AlmaLinux) sudo emerge -a net-misc/iperf (Gentoo) sudo pacman -S iperf3 (Arch Linux)
Step 3
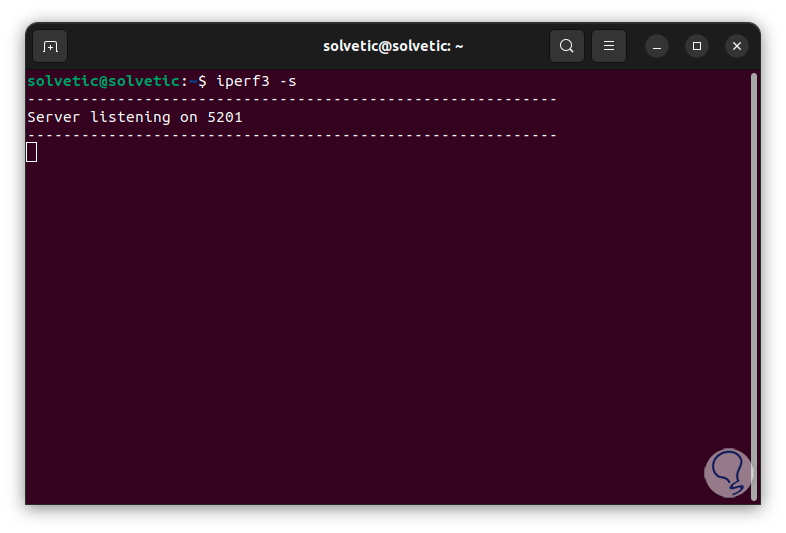
Now it is time for the iPerf3 server mode to be activated, this mode will do the local or client monitoring, for this in the terminal we execute “iperf3 -s”:
Step 4
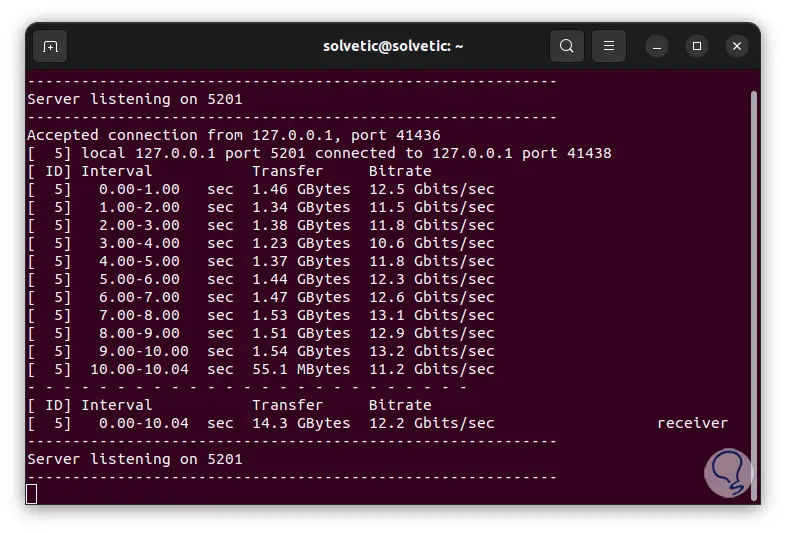
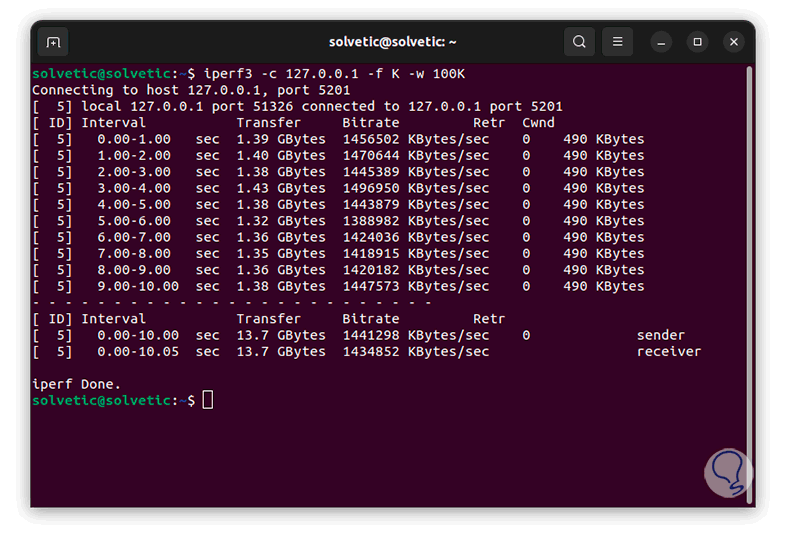
To see the operation of iperf3 we will open another window of the console, there we will carry out an analysis of the speed of our local network card, for this case we enter the command:
iperf3 -c 127.0.0.1 -f K

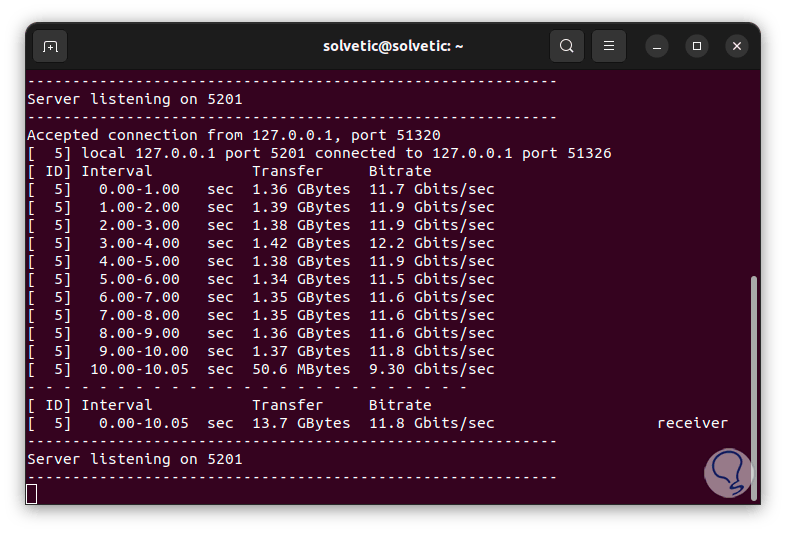
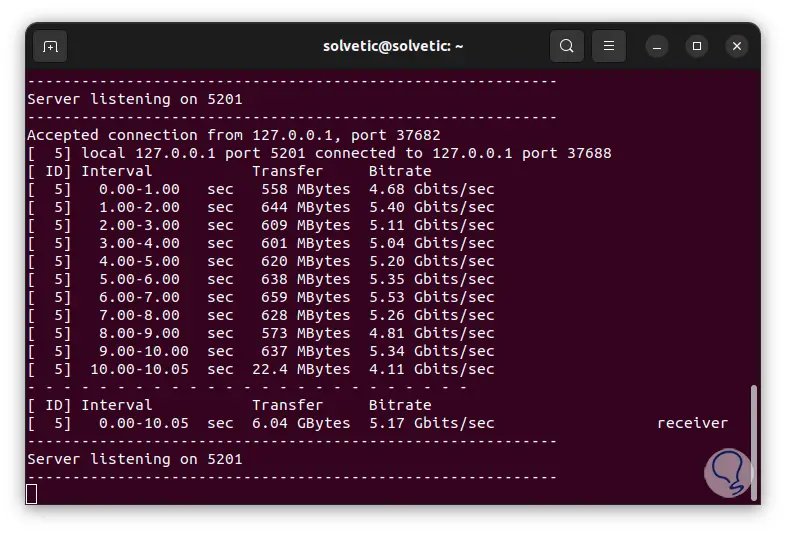
step 5
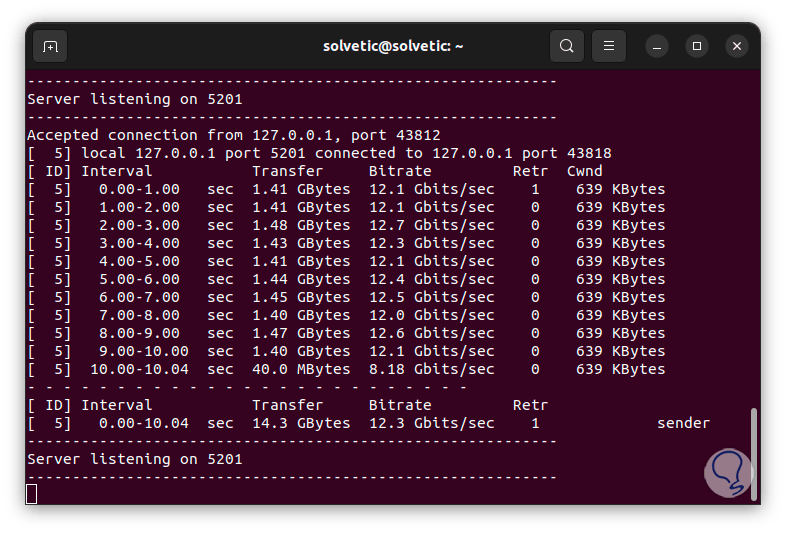
We will see in the console window that is as a server the results in real time:
step 6
There, and in most of the results, we find details such as:
step 7
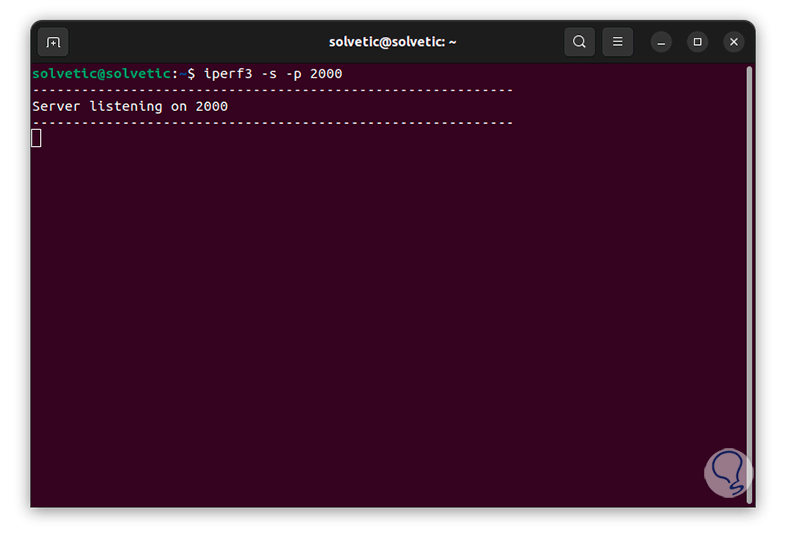
The server will continue with the listening function waiting for the orders to use, now it is possible to enter a special port, for this it will be necessary to use the following syntax:
iperf3 -s -p #port
step 8
We press the Enter key to wait for there to be activity on that port and for it to be reflected in the server window.
step 9
If the purpose is to see the size of the TCP window or socket buffer, we must use the command:
iperf3 -c 127.0.0.1 -fK -w #K
step 10
On the server we will see the respective results. The server will continue to listen.
step 11
It is possible to check the speed in reverse mode, that is, the server sends and the client receives, TechnoWikis teaches you how to do it using the command:
iperf3 -c 127.0.0.1 -f K -w #K -R
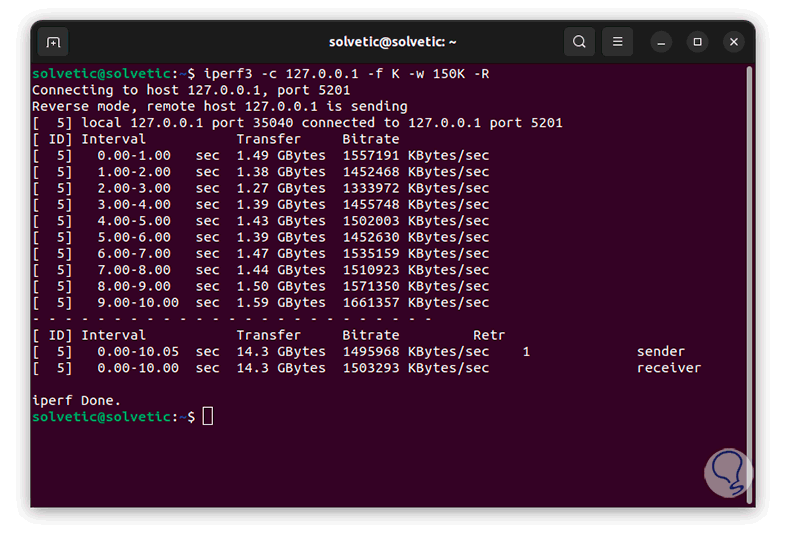
step 12
At the top we can see the legend "Reverse mode" indicating this function, on the server we will see the respective result:
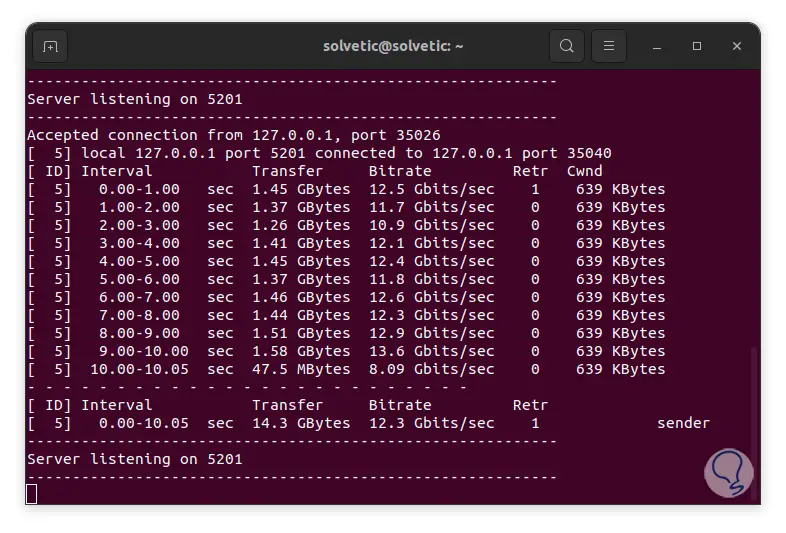
step 13
Another option with which we can see data is using the bidirectional mode which measures the bandwidth in both directions simultaneously, if you want to use this you will enter the following in the terminal:
iperf3 -c 127.0.0.1 -f K -w #K -d
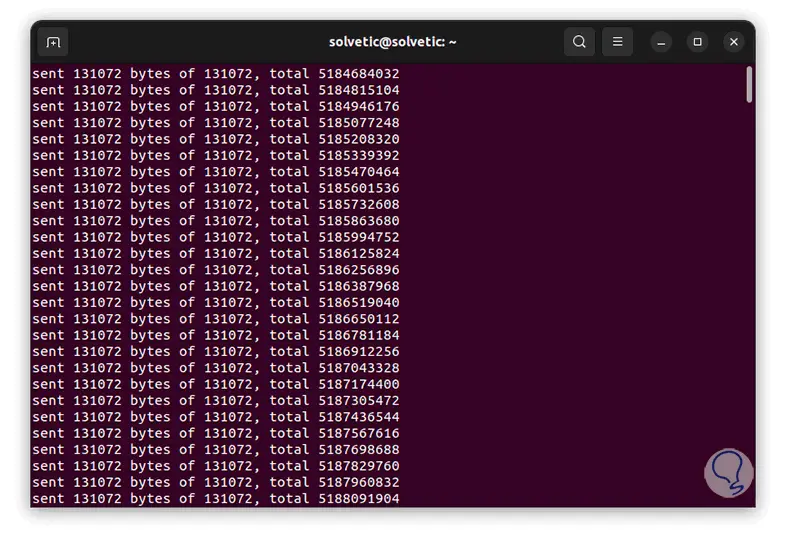
step 14
Once the process is finished we will see a result with a different structure:
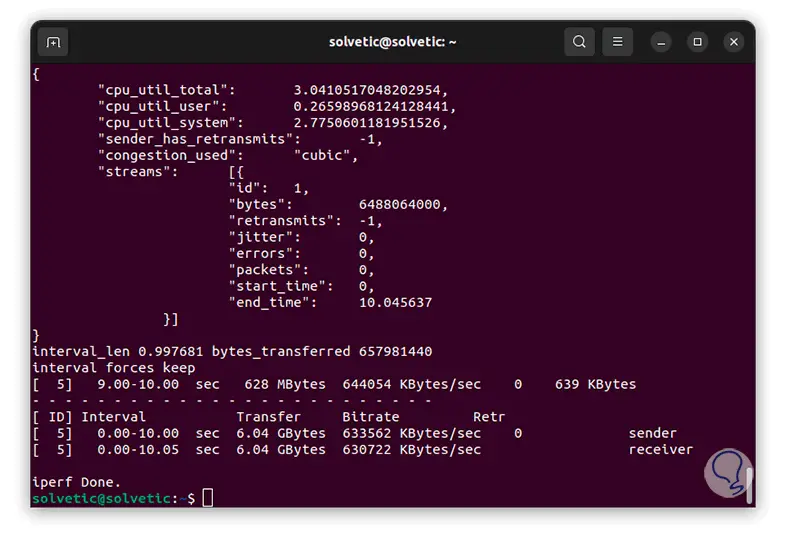
step 15
We will see all the values and intervals used in the analysis of the speed of the network card. We go to the server to review the generated result:
step 16
Another option is to have access to the server results in the client window, to do this we are going to enter the command:
iperf3 -c 127.0.0.1 -f K -w #K -R --get-server-output
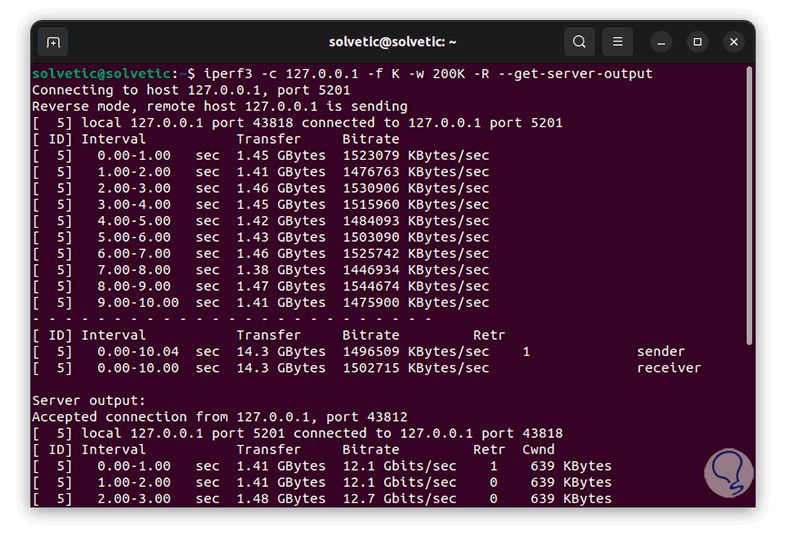
step 17
We must wait for this process to finish to see the complete result and in the server window we will have the results:
step 18
Continuing with the options it is possible to assign the number of parallel clients in the results, follow the example of TechnoWikis for this option:
iperf3 -c 127.0.0.1 -f K -w #K -P #
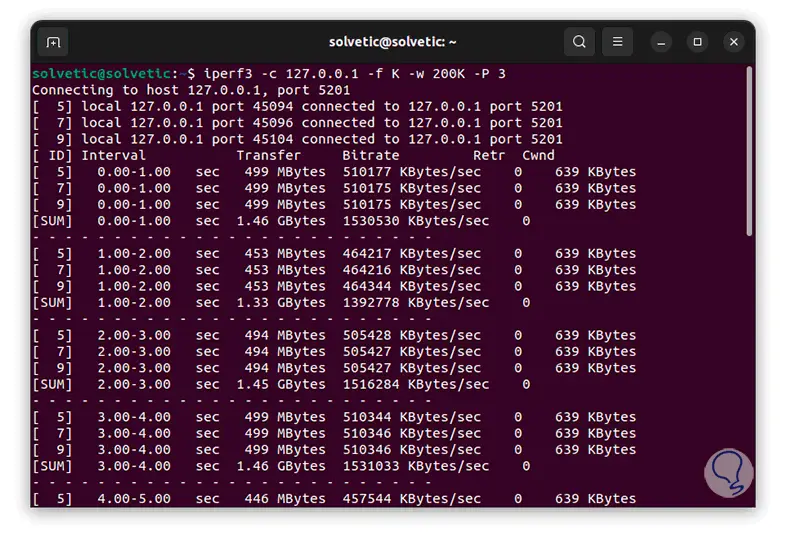
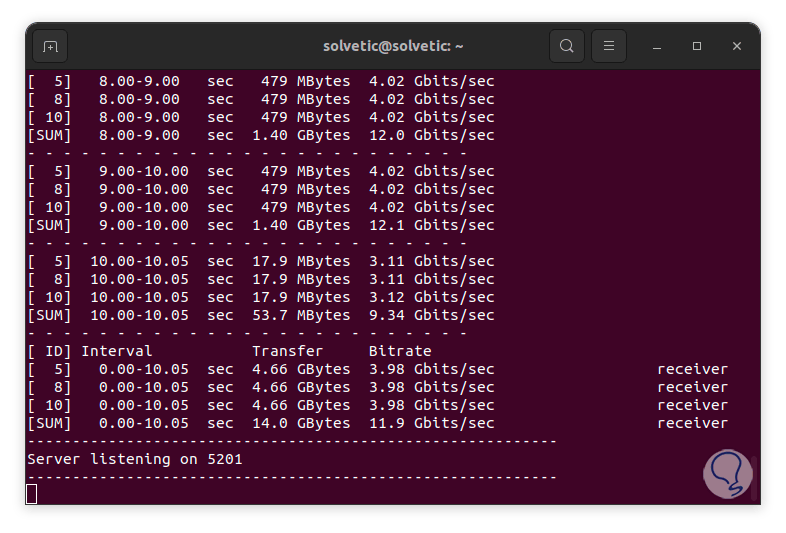
step 19
We can see the results in interval format, as a result we will see the following on the server. There we see each interval used with their respective times.
Note
you can change the IP 127.0.0.1 by the IP of the remote computer in the local network.
We see how iPerf3 is a complete solution to have all the details of our network card in Linux.