To stay up to date, remember to subscribe to our YouTube channel!
SUBSCRIBE ON YOUTUBE
The speed of the network is a fundamental piece in most of the activities and tasks that we carry out today since we can see how everything today works online, so, if the speed of the network is slow, this will cause everything to slow down. be affected, giving rise to numerous problems both with the system itself, as well as with shared resources and applications that work directly with the Internet..
Internet speed allows us to measure and know the time it takes for a quantity of data to be sent from a server to our device and vice versa. Let us remember that this speed is measured in Mbps.
Speeds
Current internet speeds vary based on the provider, technology used and more, we find various types such as:
- 0–5 Mbps: functional for sending emails, basic browsing, etc.
- 5–40 Mbps: this speed allows you to play online, watch HD videos, and use multiple devices simultaneously.
- 40–100 Mbps: This speed allows you to stream in 4k, download large files, play online games, and use on more devices.
- 100–500 Mbps: much better speed, allows the network to be used on more devices at the same time, access 4K streaming on multiple devices and more.
- 500–1,000+ Mbps: we are talking about the latest where interoperability is broad, access to multiple platforms does not affect, use on multiple computers will flow normally and much more.
TechnoWikis will explain how to measure the speed of the local network in Windows using some available methods..
1 Measure network speed from menu
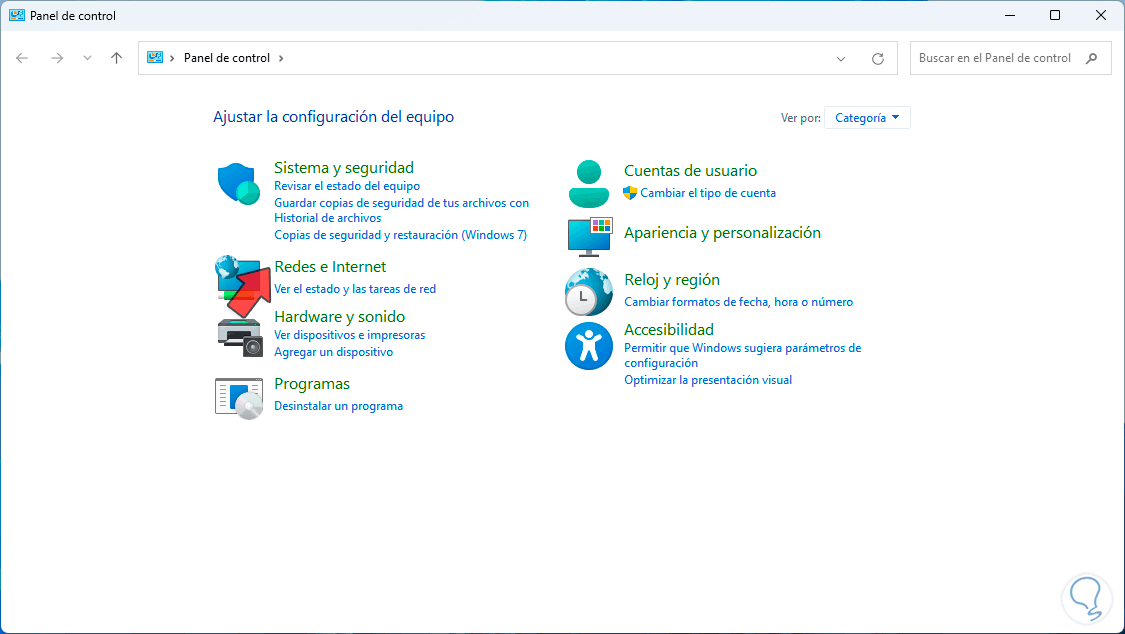
This is one of the simplest ways we can check the speed of our network adapter, in it we determine the maximum amount supported even when our service does not reach that usage limit. To use this method we access the Control Panel from the menu Start:
Step 1
We click on “Networks and Internet” to see the following options:
Step 2
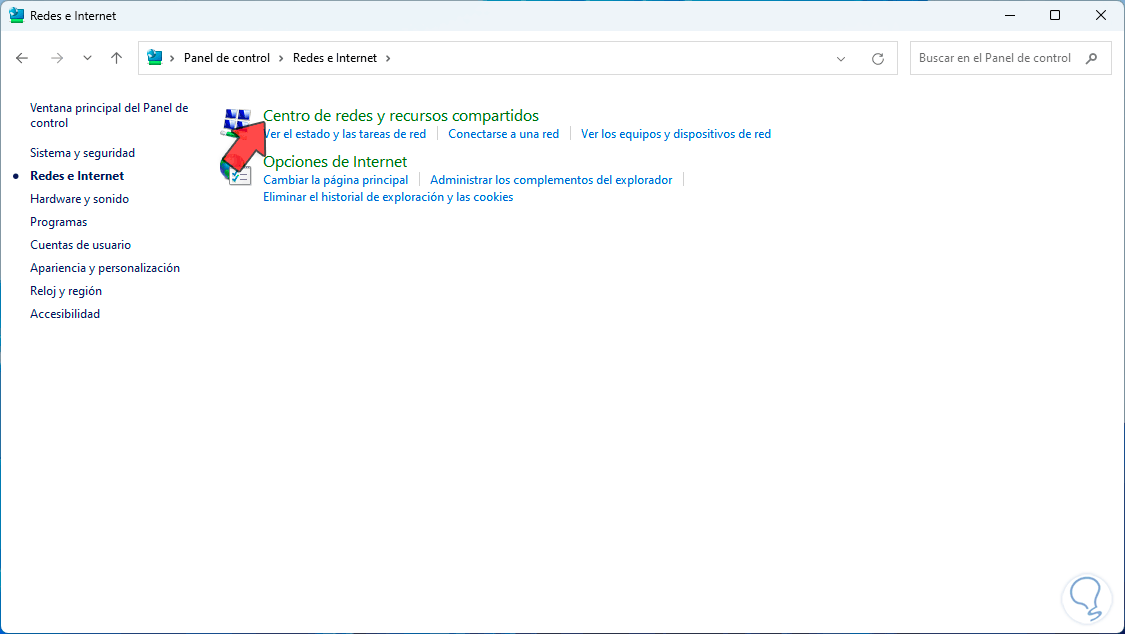
Here we will click on the “Network and Sharing Center” option so that the following is displayed:
Step 3
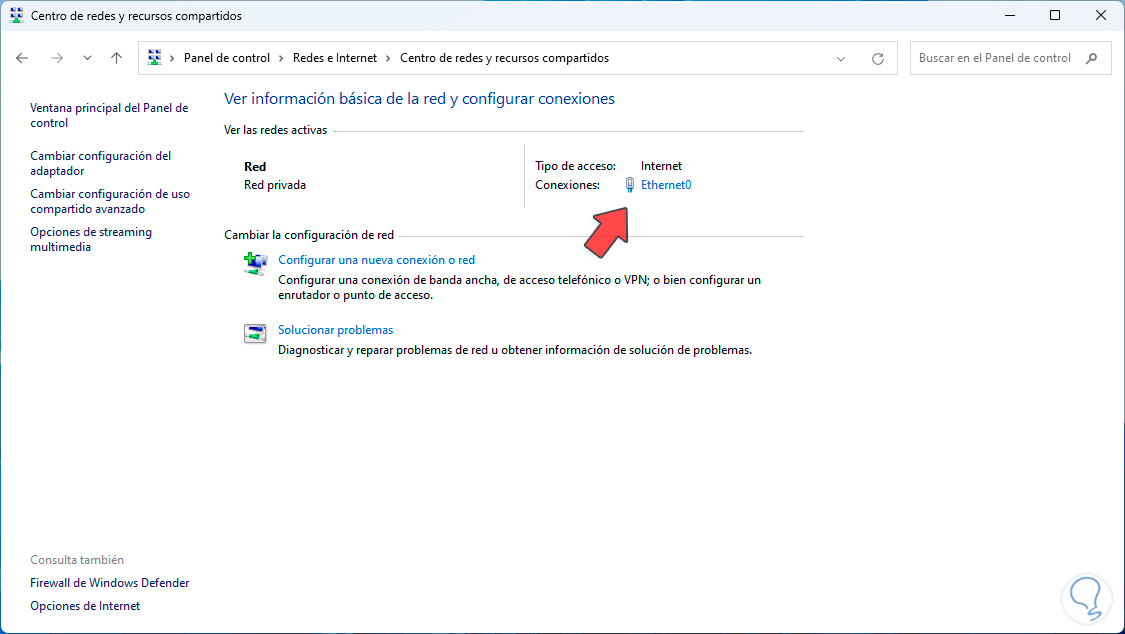
There we are going to click on the name of our network, this can be Wi-Fi or LAN, clicking there will open the following window:
Step 4
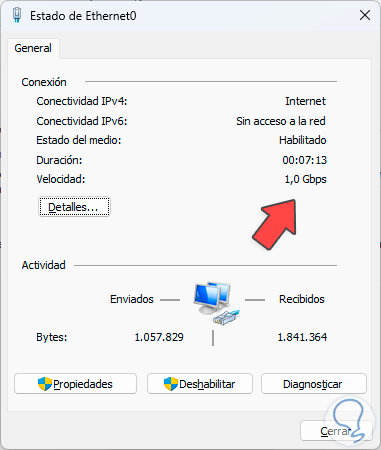
In the “Speed” line, we see the speed that the network adapter is capable of supporting, in this case we are talking about the maximum, which is 1 Gbps.
2 Measure network speed with application
Now, if we like using the console a little more to access this information, TechnoWikis has the application for you, we are talking about Iperf.
Iperf has been developed as a utility that allows us to measure the maximum bandwidth that is allowed in local networks that work with the IP protocol. Iperf gives us the possibility of adjusting the synchronization parameters, buffers and protocols such as TCP, UDP, SCTP with IPv4 and IPv6 to access specific details.
Step 1
Its download is available at the following link:
Iperf
Characteristics
Among its characteristics we find:
- Create a report with MSS/MTU size and read sizes detected on TCP
- Has support for TCP window size using socket buffers
- The client is able to create custom bandwidth UDP flows
- Iperf is capable of using multicast
- Can handle multiple connections to avoid sudden shutdown
- Iperf can be used on Windows, Linux, Android, MacOS X, FreeBSD, OpenBSD, NetBSD, VxWorks systems
- The client and server can make use of multiple simultaneous connections
- You can ignore TCP slow start
- Can you run the server as a daemon
- Iperf is able to perform disk write tests
- Allows you to set the destination bandwidth for UDP and TCP
- Can run for a specific time
- Allows us to establish a congestion control algorithm
- It has output in JSON format
Step 2
By accessing the mentioned URL we will see the following:
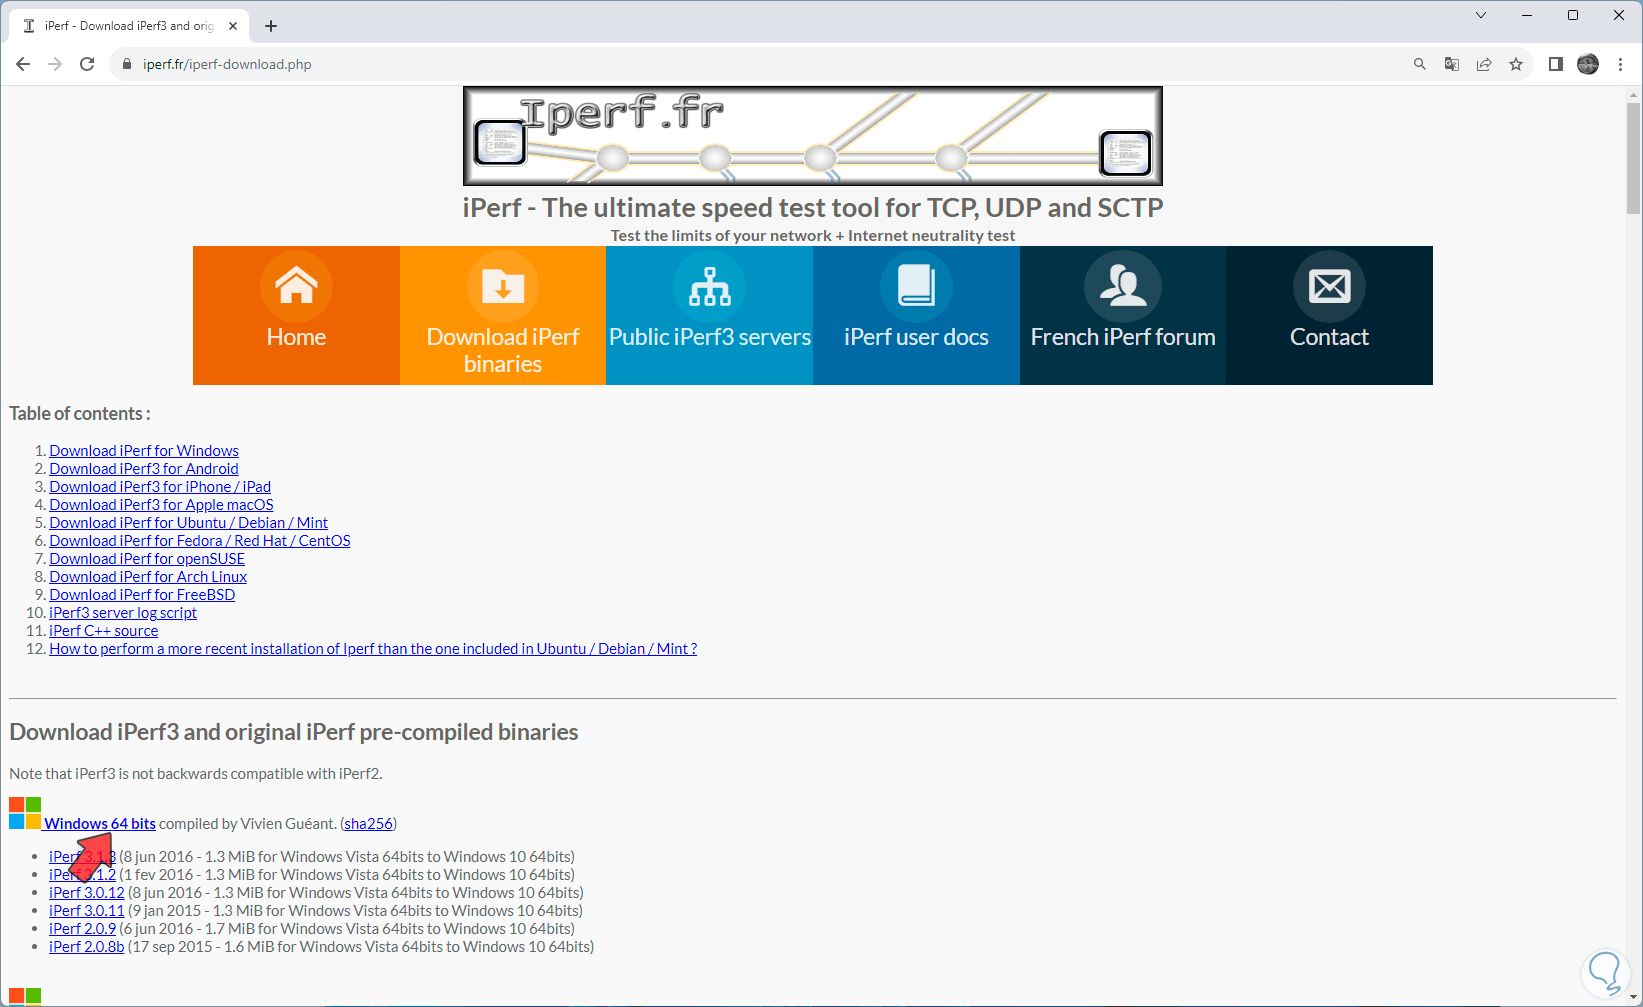
Step 3
There we download the Windows version, then we access the download library to see the file:

Step 4
We select the compressed and click on “Extract all”, we define where it will be extracted:
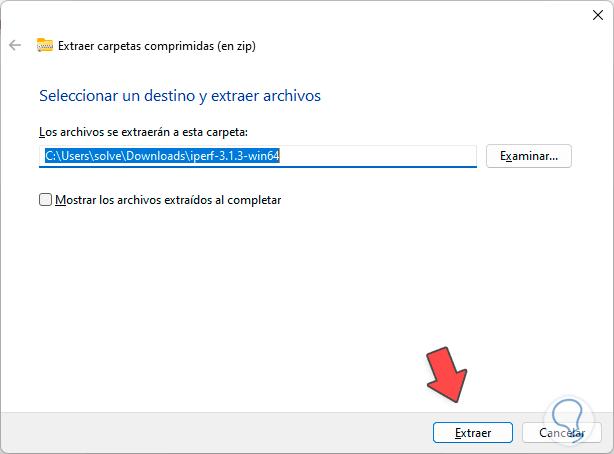
Step 5
We click on “Extract” and then we access the folder:
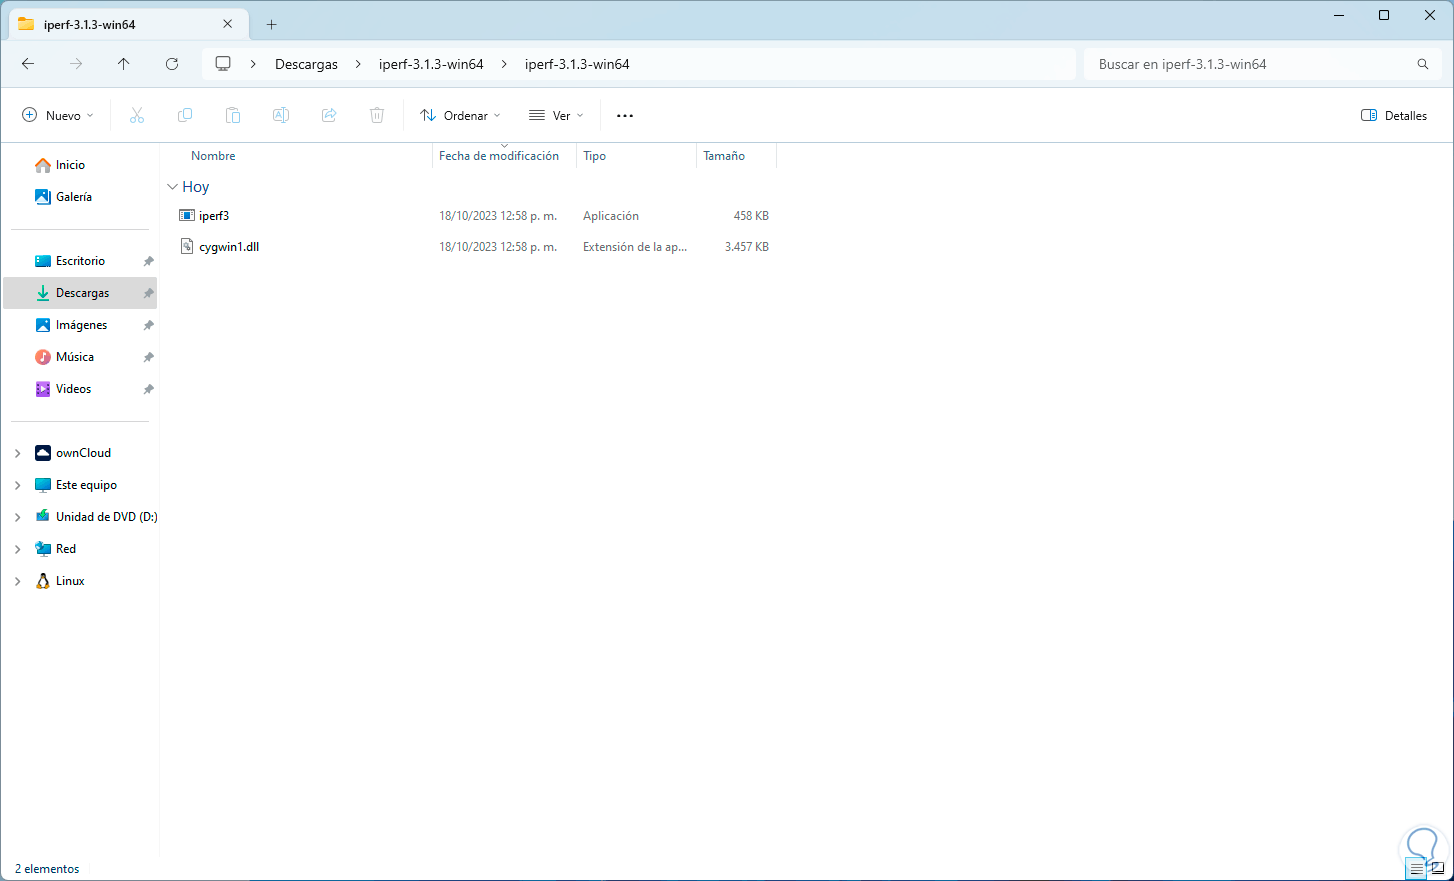
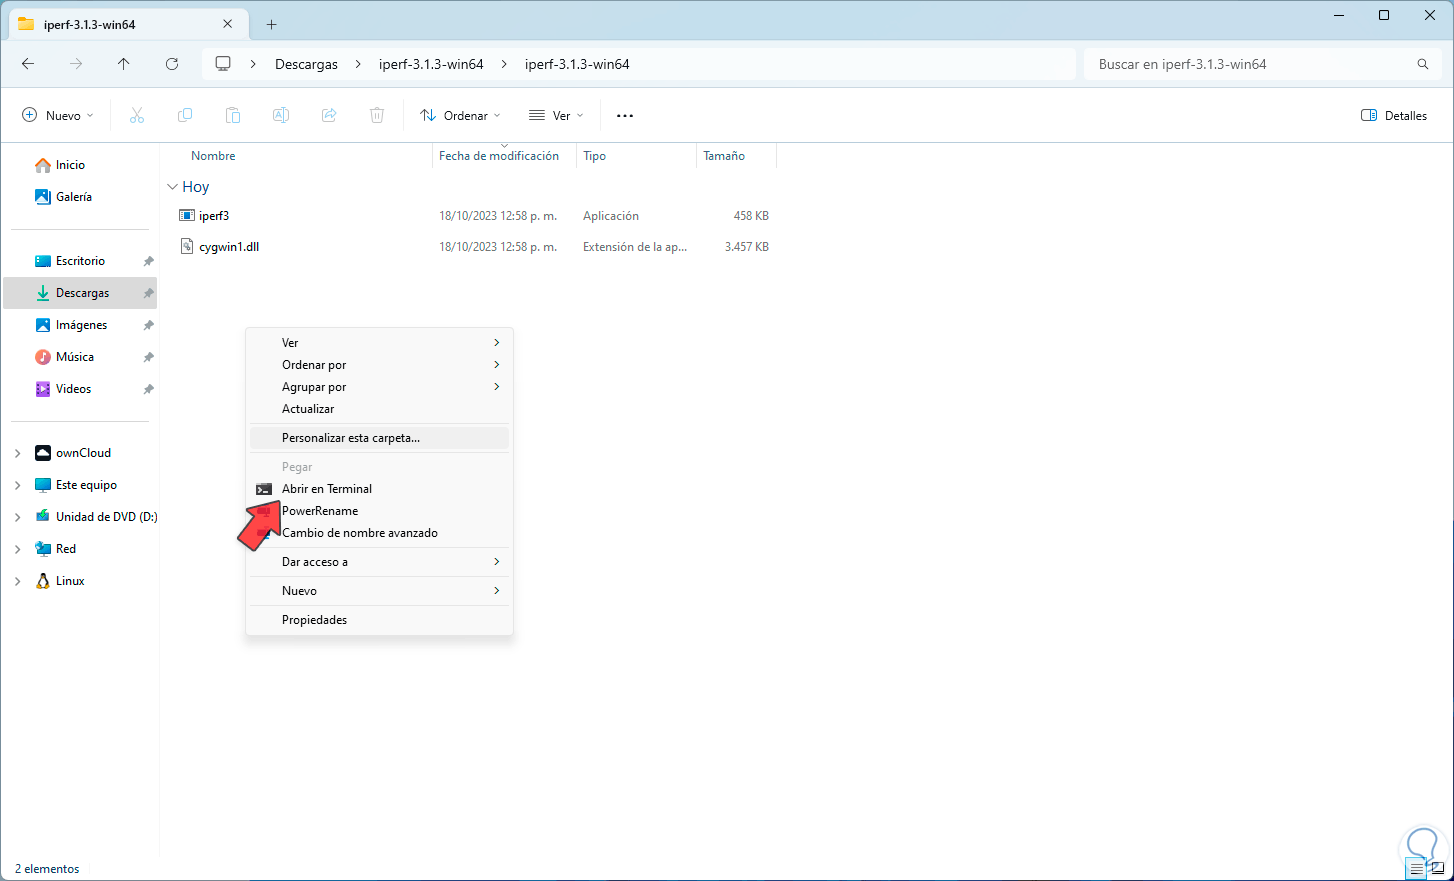
Step 6
Here, we will right click somewhere free and select “Open in Terminal”:
Step 7
The terminal will open in this path:
Step 8
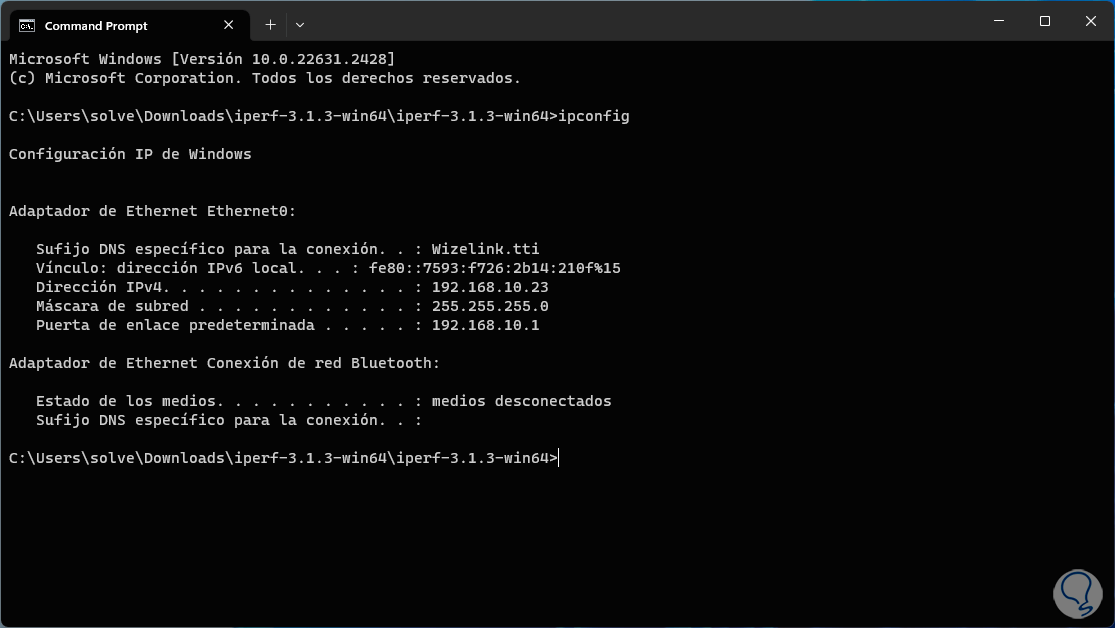
First, we execute the “ipconfig” command to find out the IP address of our computer:
Step 9
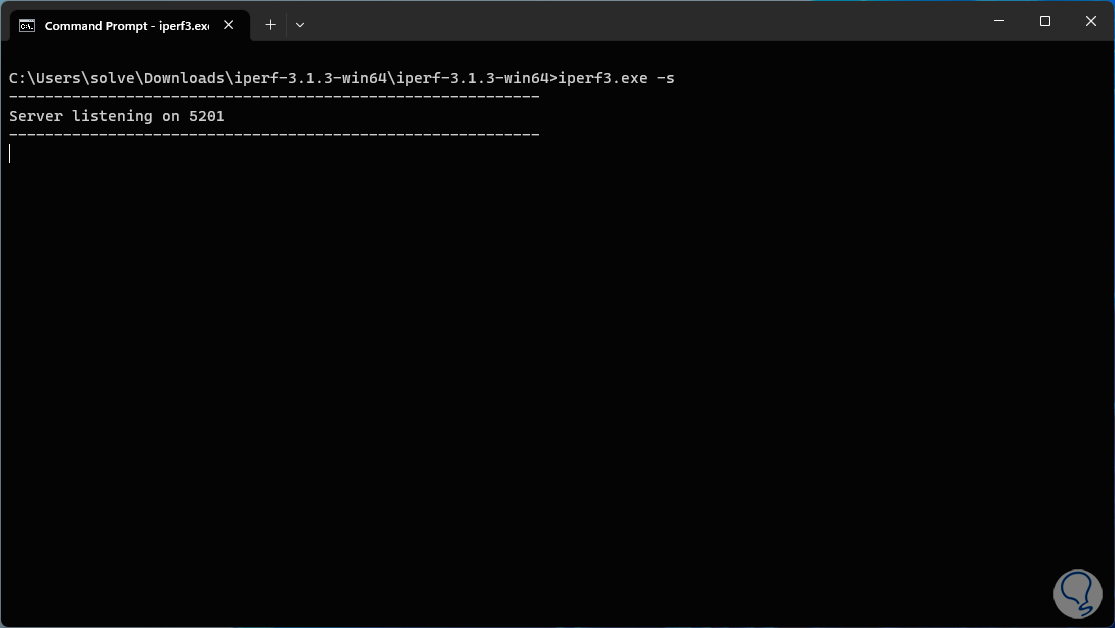
Now, to enable the listening port so that other computers can have access to ours (for analysis purposes), we execute the following command:
iperf3.exe -s
Note
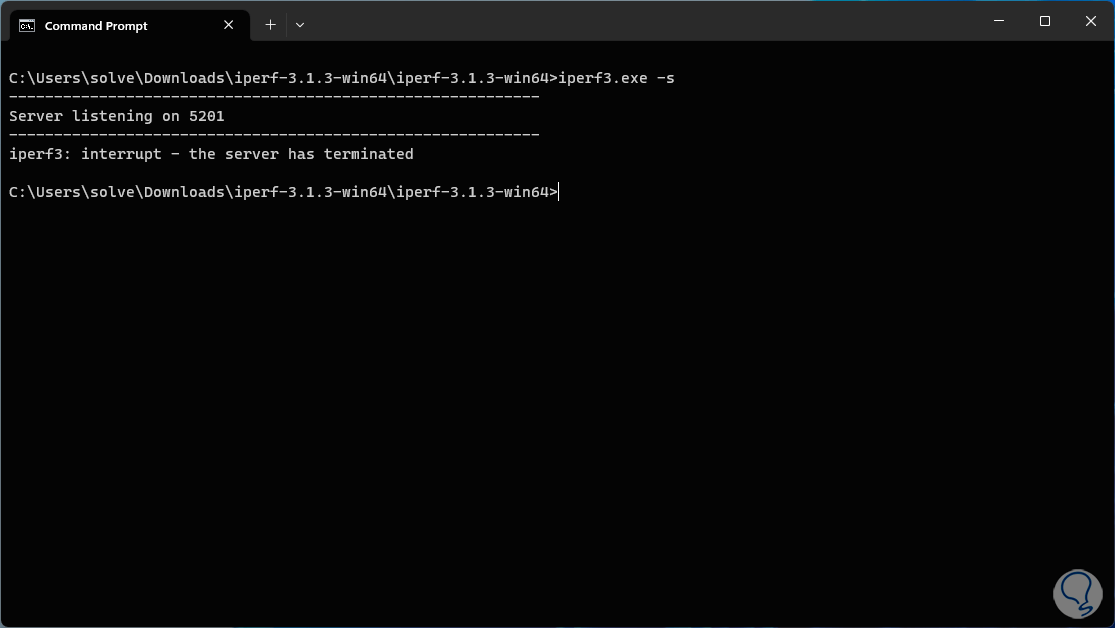
To cancel this process we use the keys:
Ctrl + C
Step 10
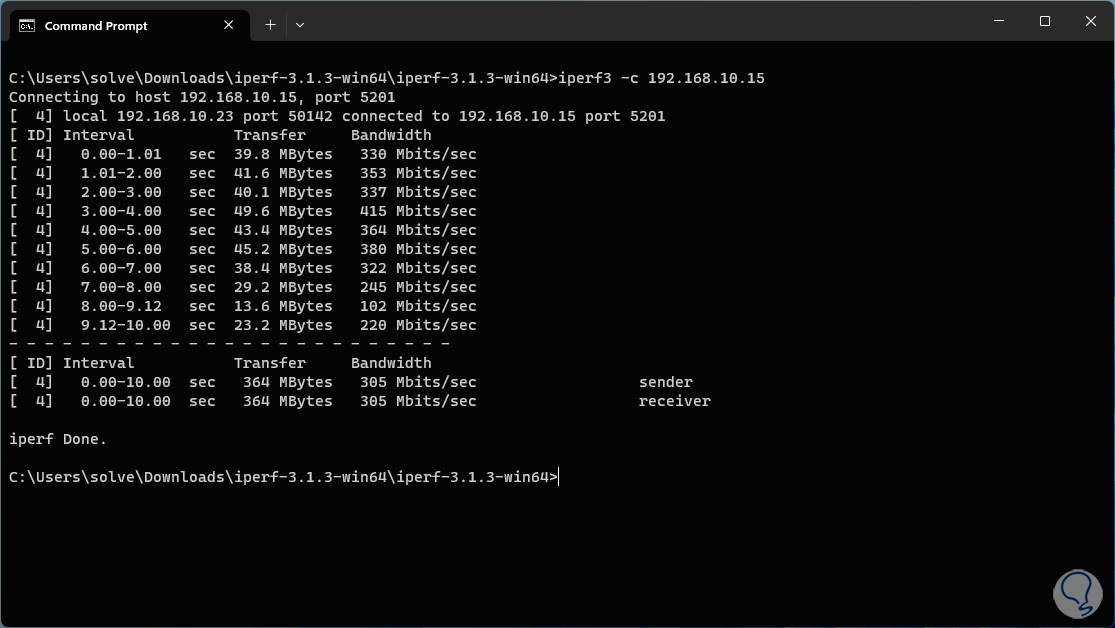
After this, we will use the following syntax to measure the speed of the local network:
iperf3.exe -c IP_address
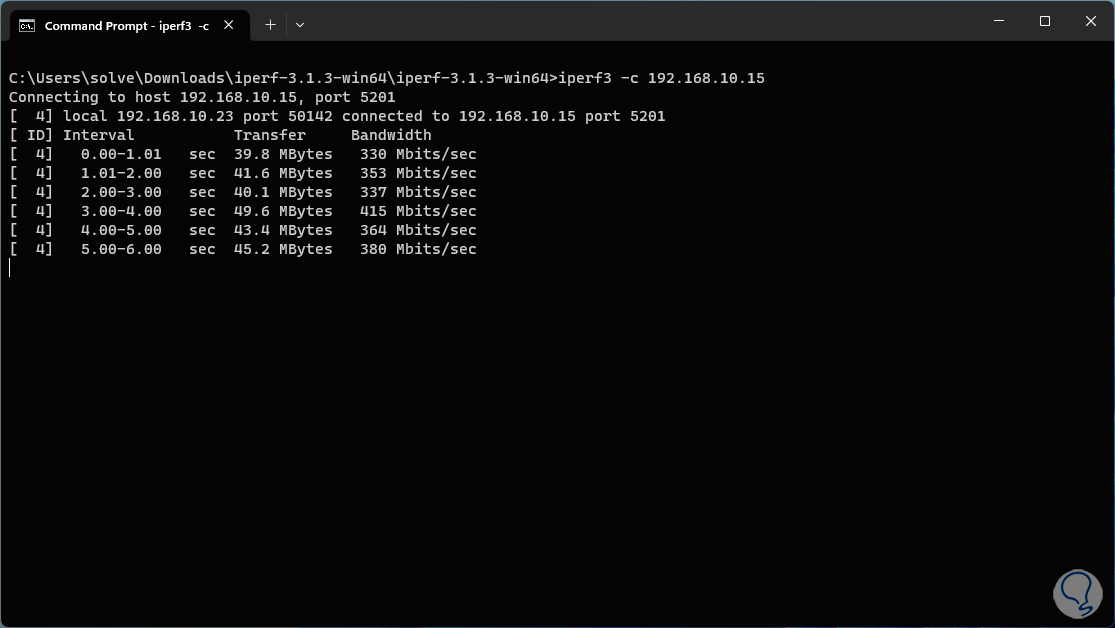
Step 11
We can see that a series of metrics is carried out with the speed in real time, at the end we will see the following:
Step 12
We found details like the following. We see these data for both sending and receiving in the summary.
- Time intervals used
- Transfer rate
- Bandwidth
Parameters
Some parameters that we can use with Iperf are:
- -p, --port #: indicates the port number of the server to listen and/or connect
- -f, --format [kmgKMG]: is the result format which can be Kbits, Mbits, KBytes, MBytes
- -i, --interval # – is the number of seconds between periodic reports for bandwidth
- -B, --bind <host> – Allows binding to a specific interface
- -V, --verbose: show more verbose output
- -J, --json: Create output in JSON format
- -d, --debug: Allows you to skip debug output
- s, --server: Iperf is executed in server mode
- -D, --daemon: Run the server as a daemon
- -I, --pidfile: Allows writing the PID file
- -c, --client <host>: Runs in client mode, connecting to <host>
- u, --udp: makes use of UDP instead of TCP
- -b, --bandwidth #: Specifies the bandwidth in bits/sec
- -t, --time #: is the time in seconds to transmit, its default value is 10 seconds
- -n, --bytes #: is the number of bytes to transmit
- --cport <port>: Allows to be bound to a specific client port
- -R, --reverse: Executes in reverse mode, that is, the server sends and the client receives
- -w, --window #: Allows you to set the size of the window or socket buffer
- -M, --set-mss #: Set the maximum TCP/SCTP segment size, default MTU - 40 bytes
- -4, --version4: only use IPv4
- -6, --version6: only use IPv6
- -Z, --zerocopy: makes use of the zero copy method to send the data
- -get-server-output: Get results from the server
- --udp-counters-64bit. Makes use of 64-bit counters in UDP test packets
With these two methods we are fully able to know the speed of our local network and thus see what activities or tasks we can execute..