There are some components that we may never hear, or rarely hear, in Windows 10/11 but that perform special tasks in the background so that both the applications and the system itself can work in an integral way, and one of these is the .NET Framework..
.NET Framework is a runtime environment in which we find a group of libraries developed by Microsoft which allow creating and managing an environment for the development and execution of applications in the C# programming language, Visual Basic.NET and other languages. .NET compatible.
Components
The .NET Framework is made up of two main components which are:
- Common Language Runtime (CLR): It is the execution environment of the .NET Framework and it contains services for memory management, garbage collection, exception handling, security, and more.
- .NET Class Library (BCL): Refers to a collection of predefined classes, interfaces, and types to provide features for application development such as file management, cryptography, network communication, and many more.
A problem at present is that the .NET Framework may suffer failures, for which it will be necessary to repair it. TechnoWikis has a series of options to correct and repair the .NET Framework in Windows..
To stay up to date, remember to subscribe to our YouTube channel!
SUBSCRIBE ON YOUTUBE
1 Repair NET Framework using repair utility
Step 1
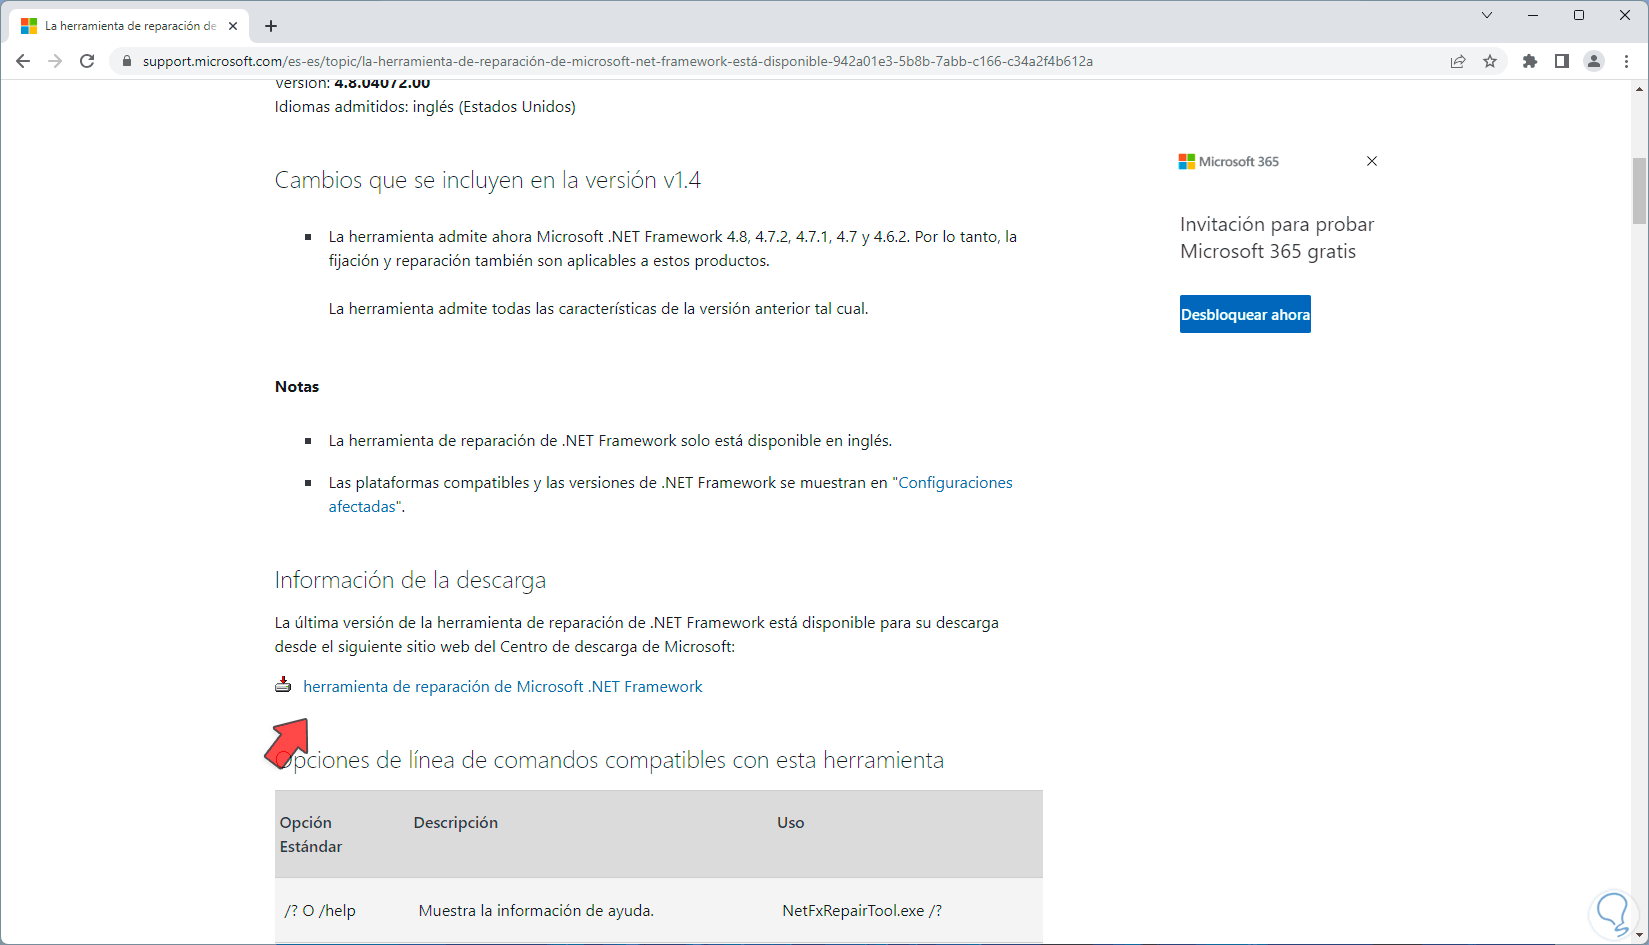
This is a tool developed by Microsoft and is available at the following link:
.NET Framework Repair Tool
Step 2
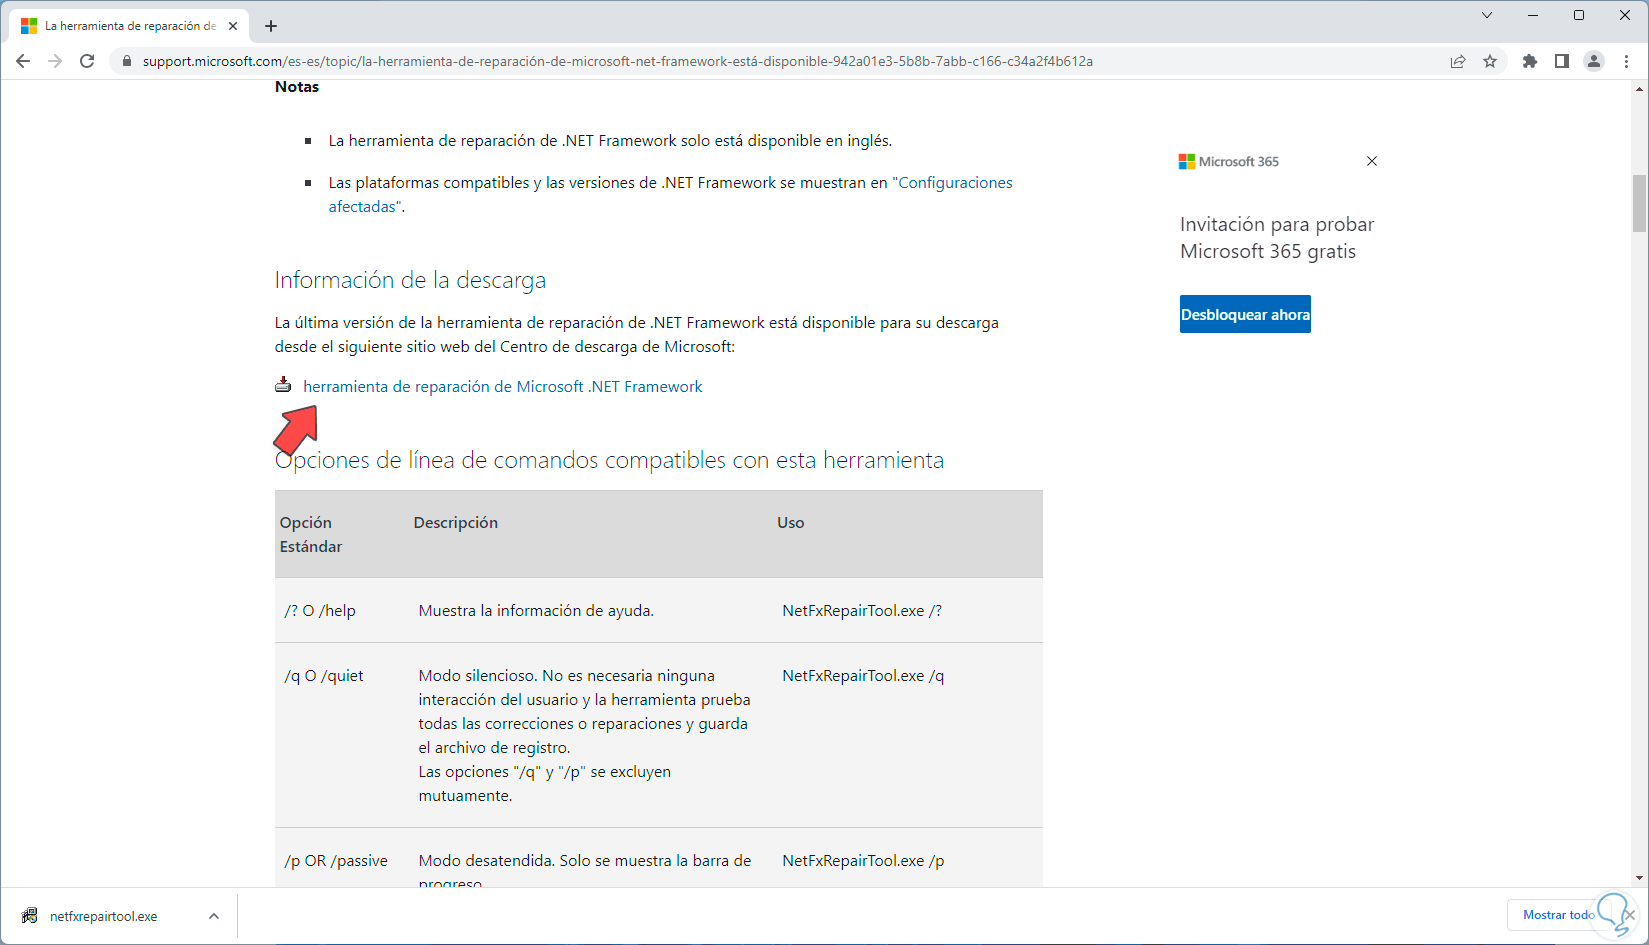
Its basic task is to find and correct errors that are related to updates or the installation of Microsoft .NET Framework in the system, its operation consists of automatically repairing the error or using compatible versions of the .NET Framework to provide a solution to the current problem .
We click on the download of the Microsoft .NET Framework repair tool and once it has downloaded we will click on the file to proceed with the execution of the wizard:
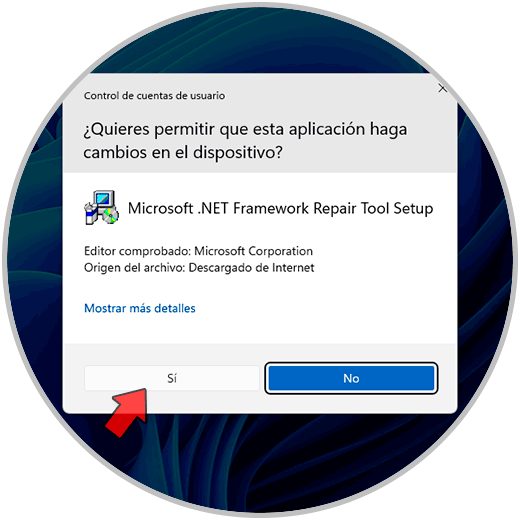
Step 3
We must accept the UAC permissions:
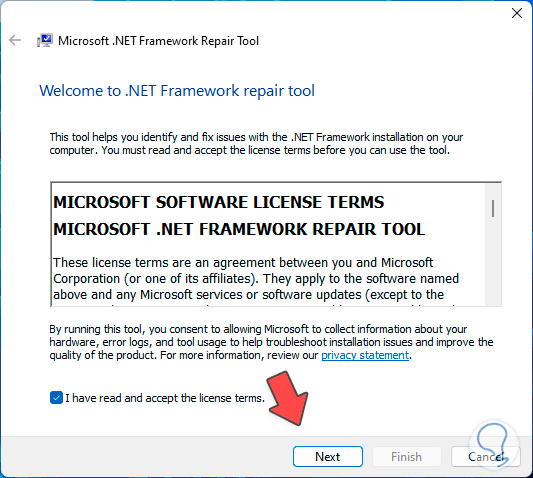
Step 4
The wizard will open and we must accept the license terms:
step 5
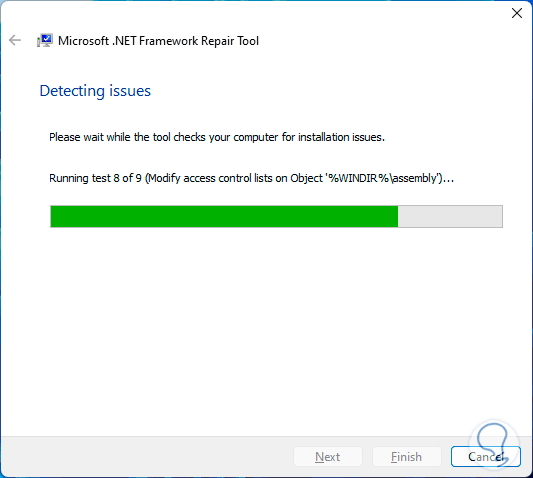
We click on "Next" for the wizard to carry out the task of performing some .NET Framework tests:
step 6
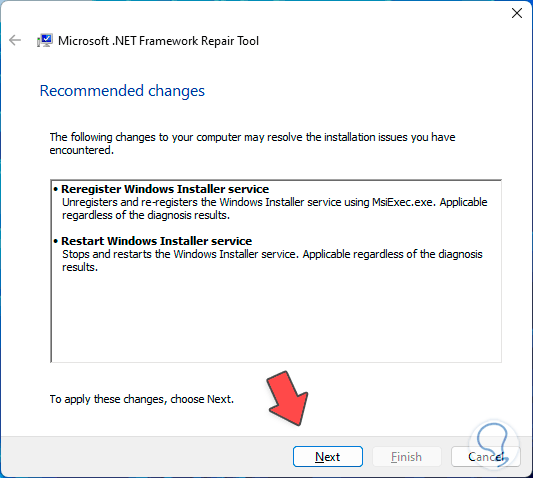
At the end we will see the following. There we see the actions that will be executed to correct the error, clicking on "Next" will carry out the execution of these actions:
step 7
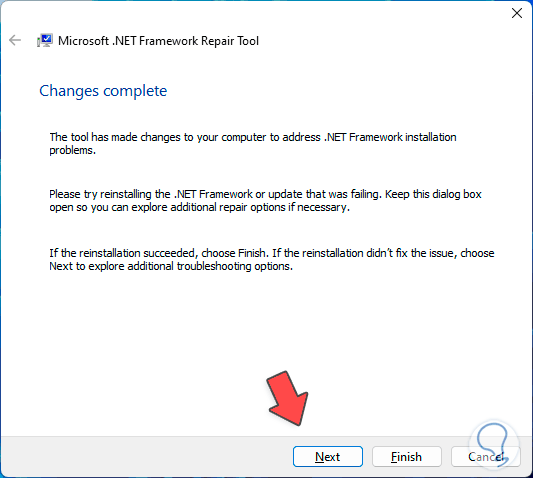
We click on "Next" again to see the events of the task that has just been executed with the wizard.
step 8
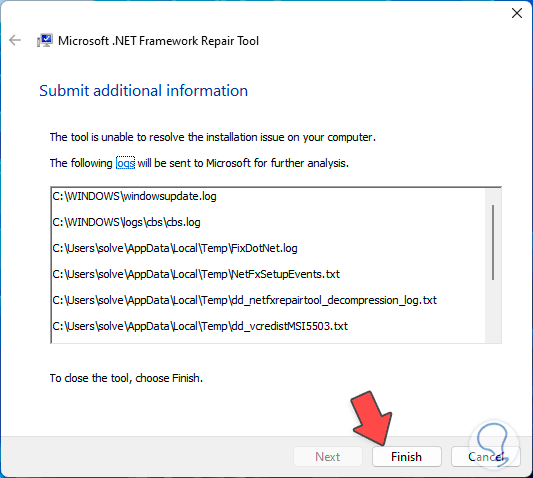
We click on "Finish" to exit the wizard and .NET Framework will be fixed.
2 Repair the NET Framework by re-enabling the .NET Framework
Step 1
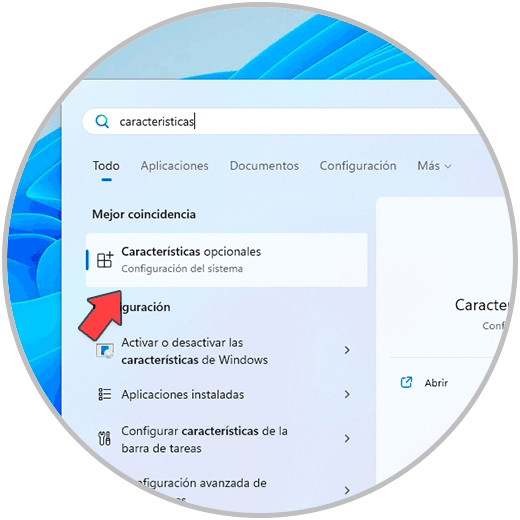
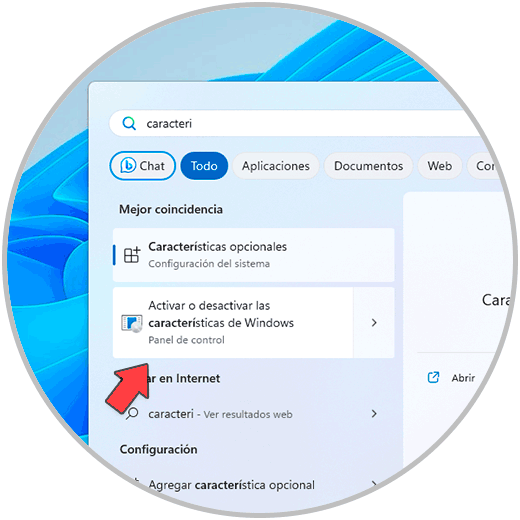
The .NET Framework is in Windows 10/11 as a system feature, so if it fails, it will be possible to disable it and then enable it again, for this, in the Start search engine, we are going to enter the word "features" and in the results we click on “Turn Windows features on or off”:
Step 2
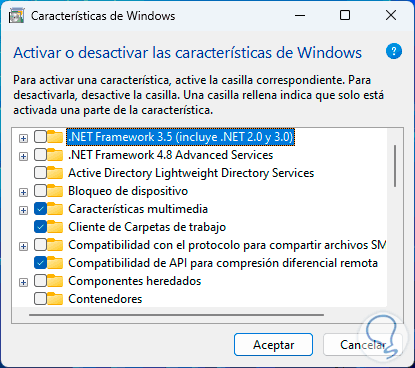
In the pop-up window we will see the following:
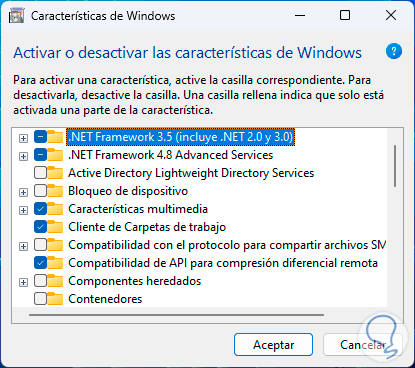
Step 3
In this window we will deactivate the following boxes:
Step 4
We click "OK" to start the process:
step 5
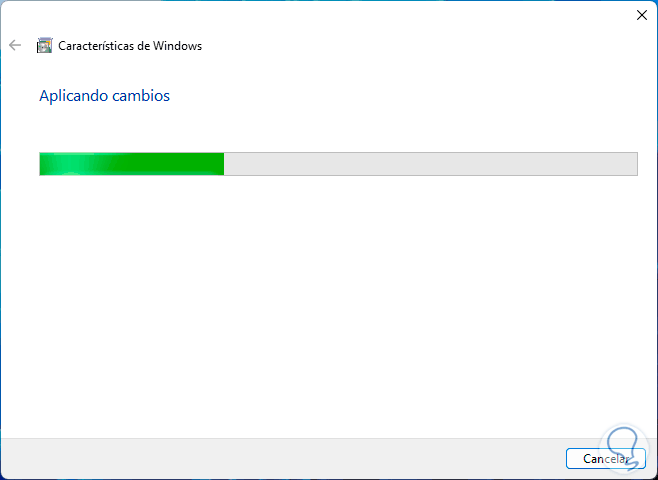
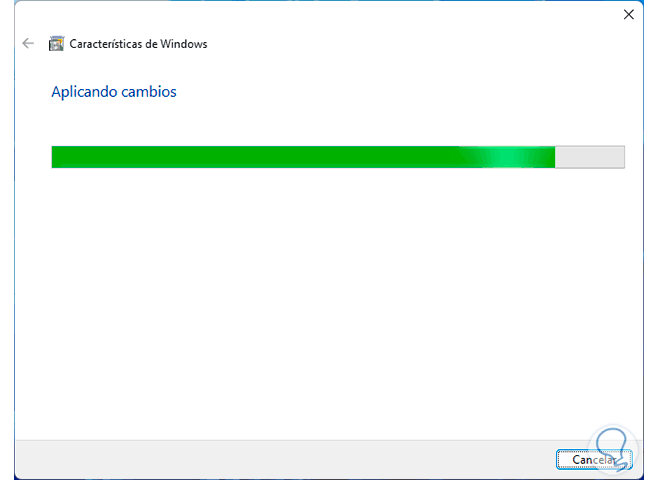
The changes will be applied:
step 6
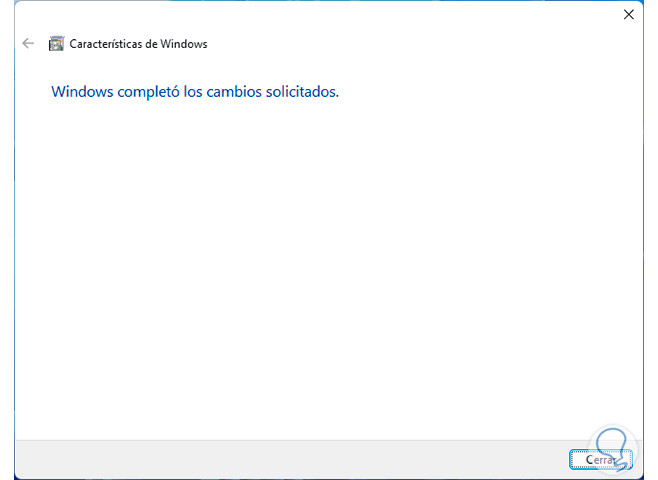
We hope it reaches its end:
step 7
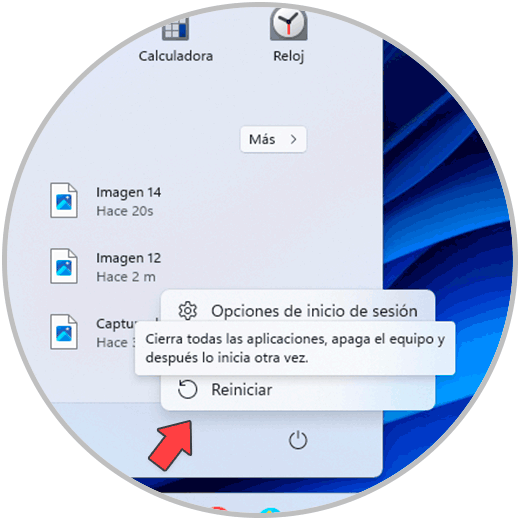
We close this window and now we are going to restart Windows so that the changes are applied:
step 8
Windows will restart:

step 9
We expect it to load:

step 10
Once we log in, from the search engine we enter the word "feature" and in the results we click on "Turn Windows features on or off":
step 11
We will see the following:
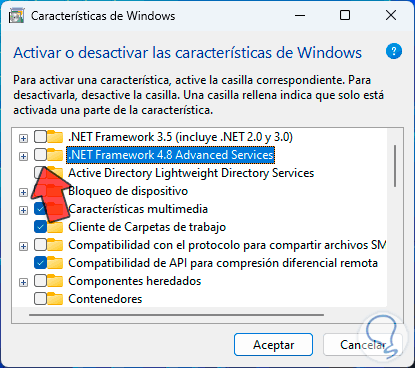
step 12
Let's activate the boxes: Clicking on "OK" will open the following window:

step 13
We must click on "Let Windows Update download the files for you" so that everything required is downloaded:

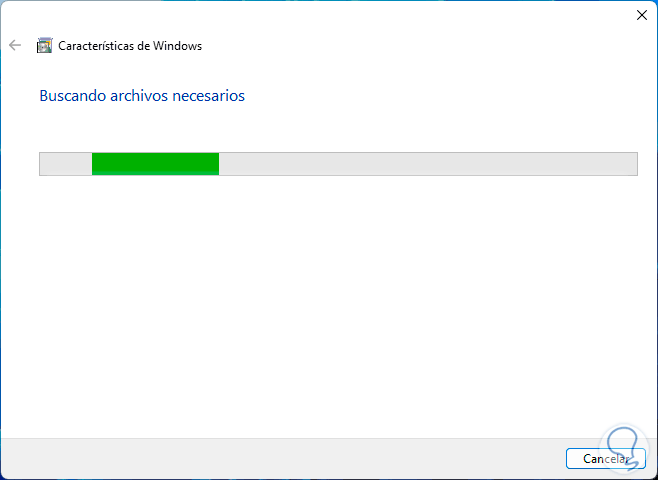
step 14
We wait for this process to finish:

step 15
After this the changes will be applied:
step 16
Again we are going to restart Windows so that the process is completed and the .NET Framework works:
step 17
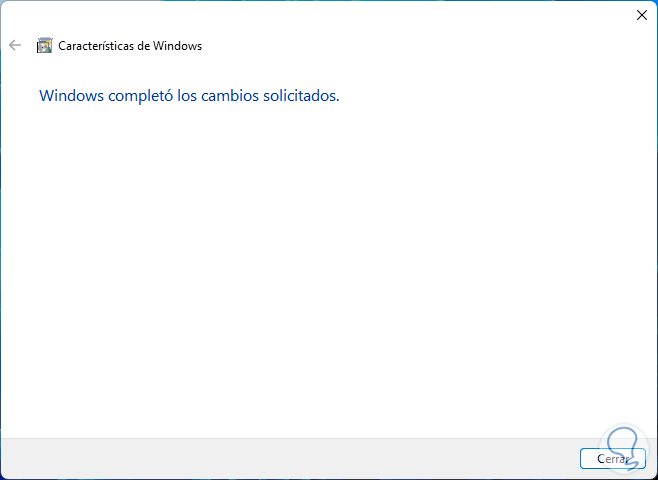
The process will be completed:

3 Repair NET Framework from Console
In this case TechnoWikis will teach you how to use PowerShell or the terminal in case of errors, this will depend on the version of Windows used since the command may work incorrectly in one or the other-
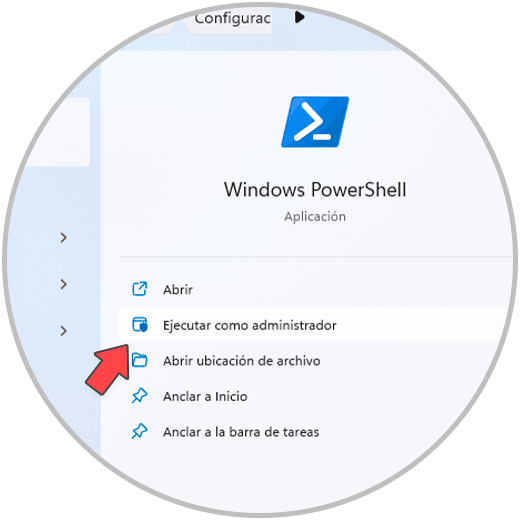
Step 1
In the Start search engine we enter the word "powershell" and we will open it by clicking on "Run as administrator":
Step 2
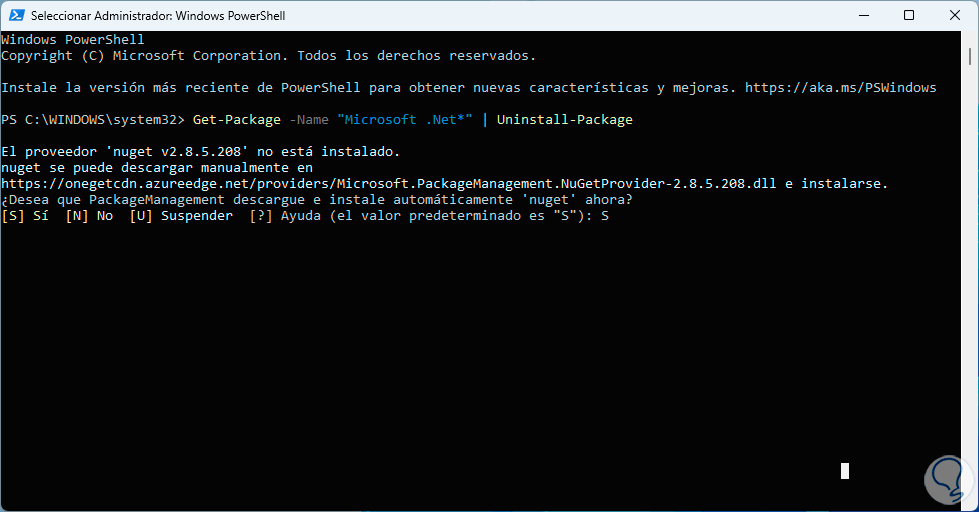
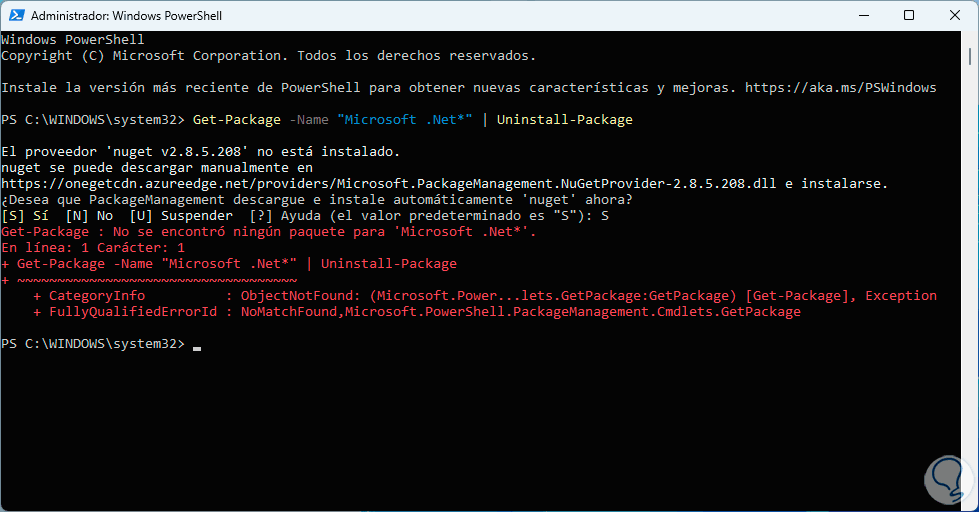
In the terminal we will execute the following:
Get-Package -Name “Microsoft .Net*” | uninstall-package
Step 3
We enter the letter S to confirm the process, this will only be correct if a version of the .NET Framework has been downloaded directly from its official website but not through Windows Update:
Step 4
After this we are going to search for the packages related to the .NET Framework using the following command:
winget search Microsoft.DotNet
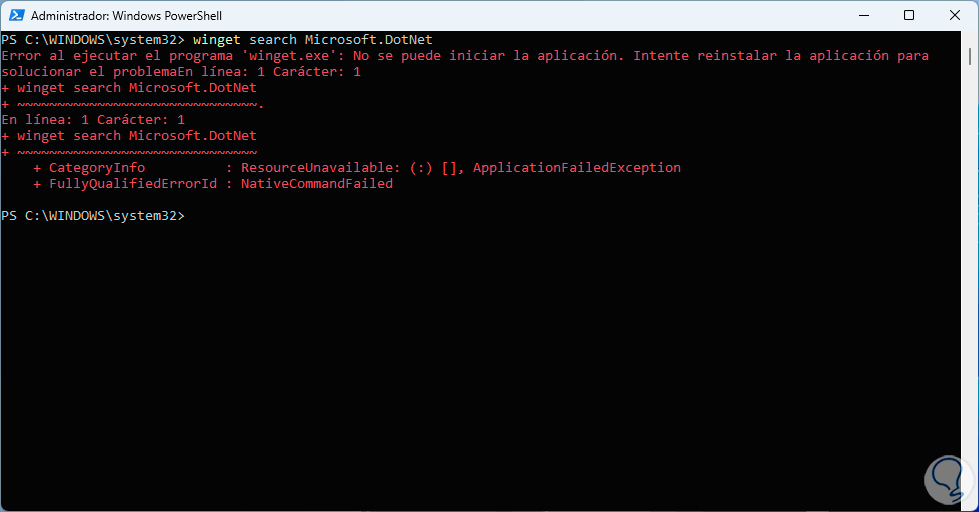
step 5
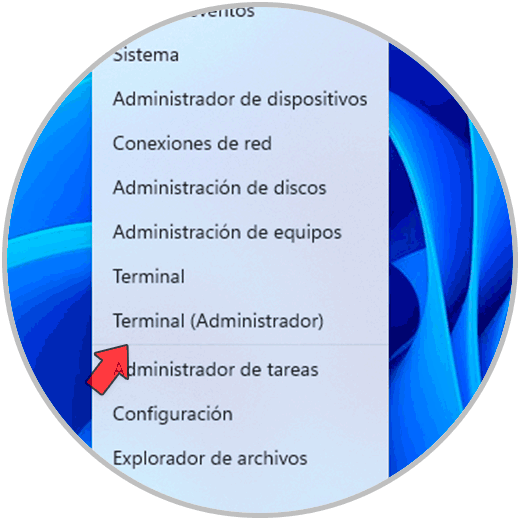
As we can see, a winget error occurs, for this we are simply going to open the Terminal by right clicking on the Start menu and then clicking on Terminal (administrator):
step 6
Now it's time to search for packages associated with the .NET Framework with the command:
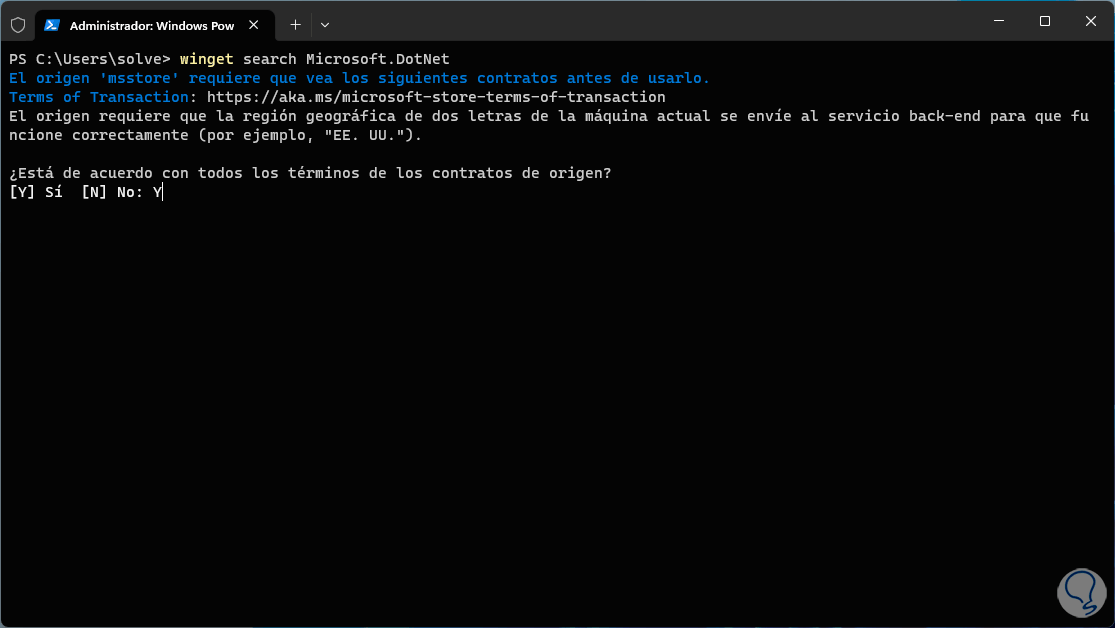
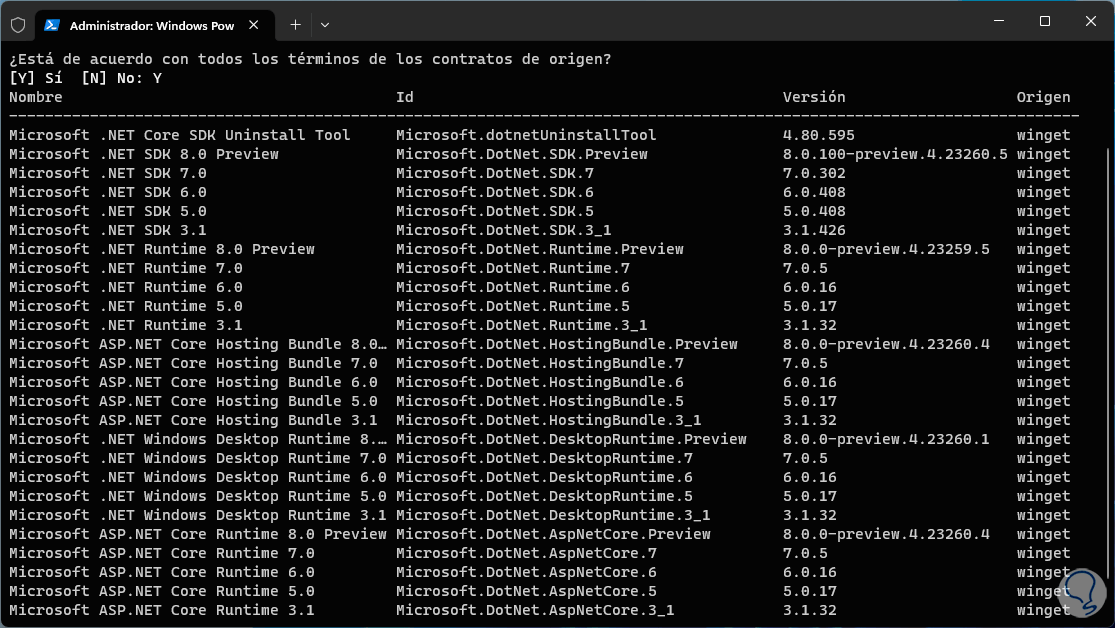
winget search Microsoft.DotNet
step 7
There we enter the letter Y to confirm and we will see all the results associated with .NET:
step 8
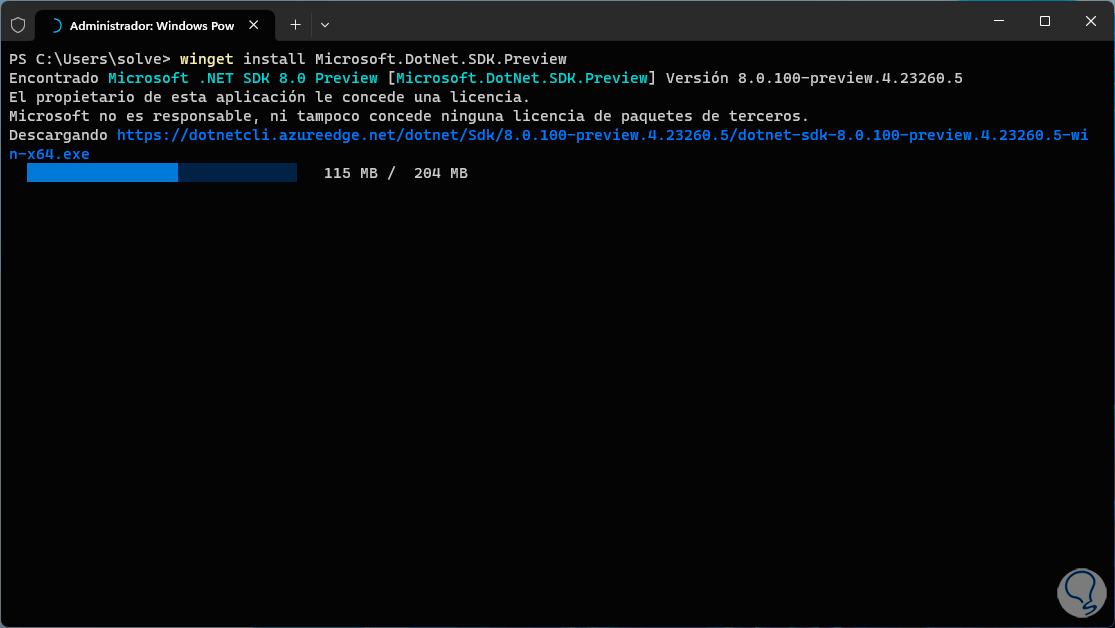
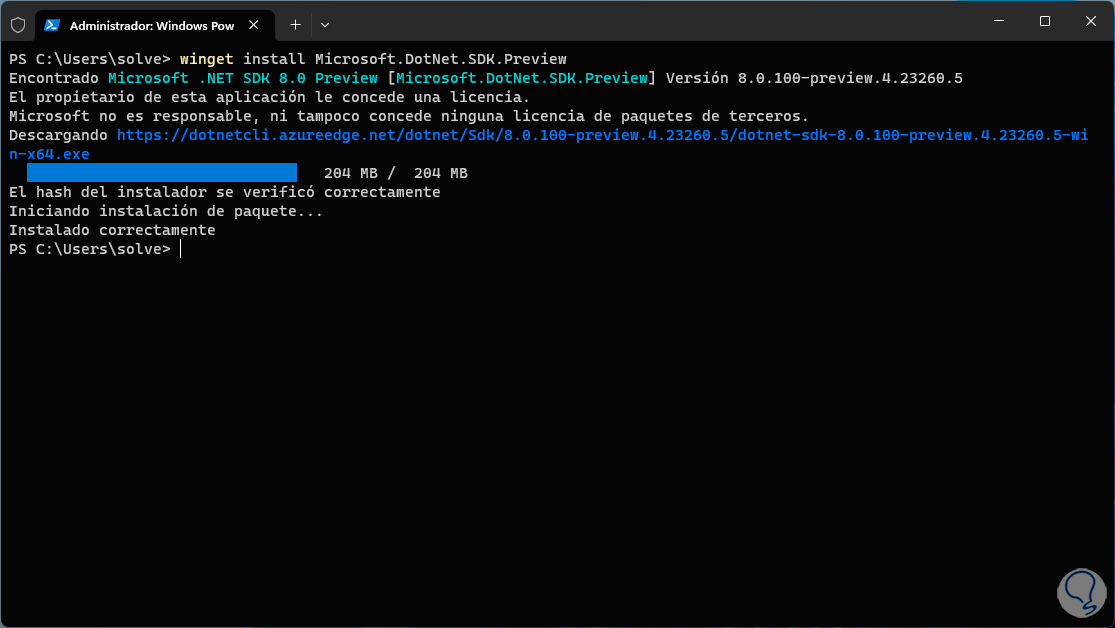
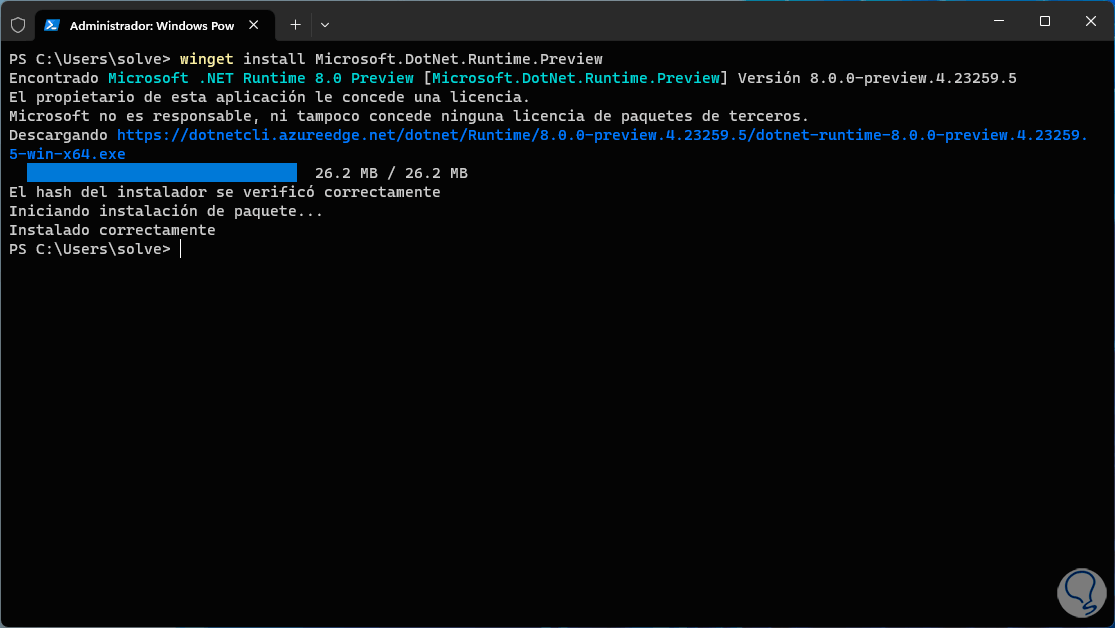
To install .NET we are going to execute the following syntax:
winget install [ID]
step 9
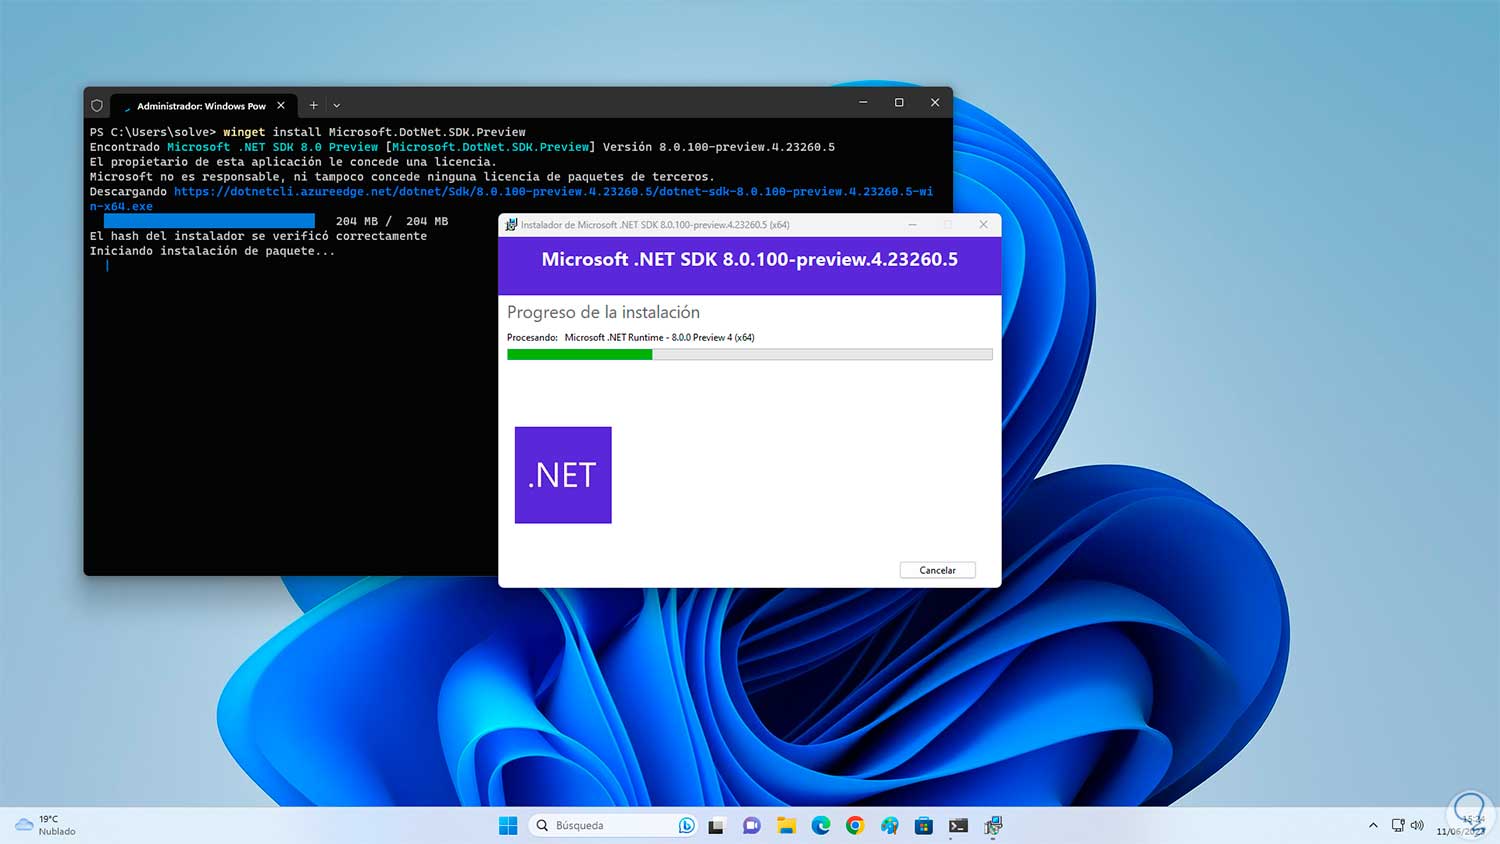
In a moment the installer will open:
step 10
There then we will see that everything was successful:
step 11
We repeat this process with the versions that we want to install:
4 Repair NET Framework by resetting the PC
Step 1
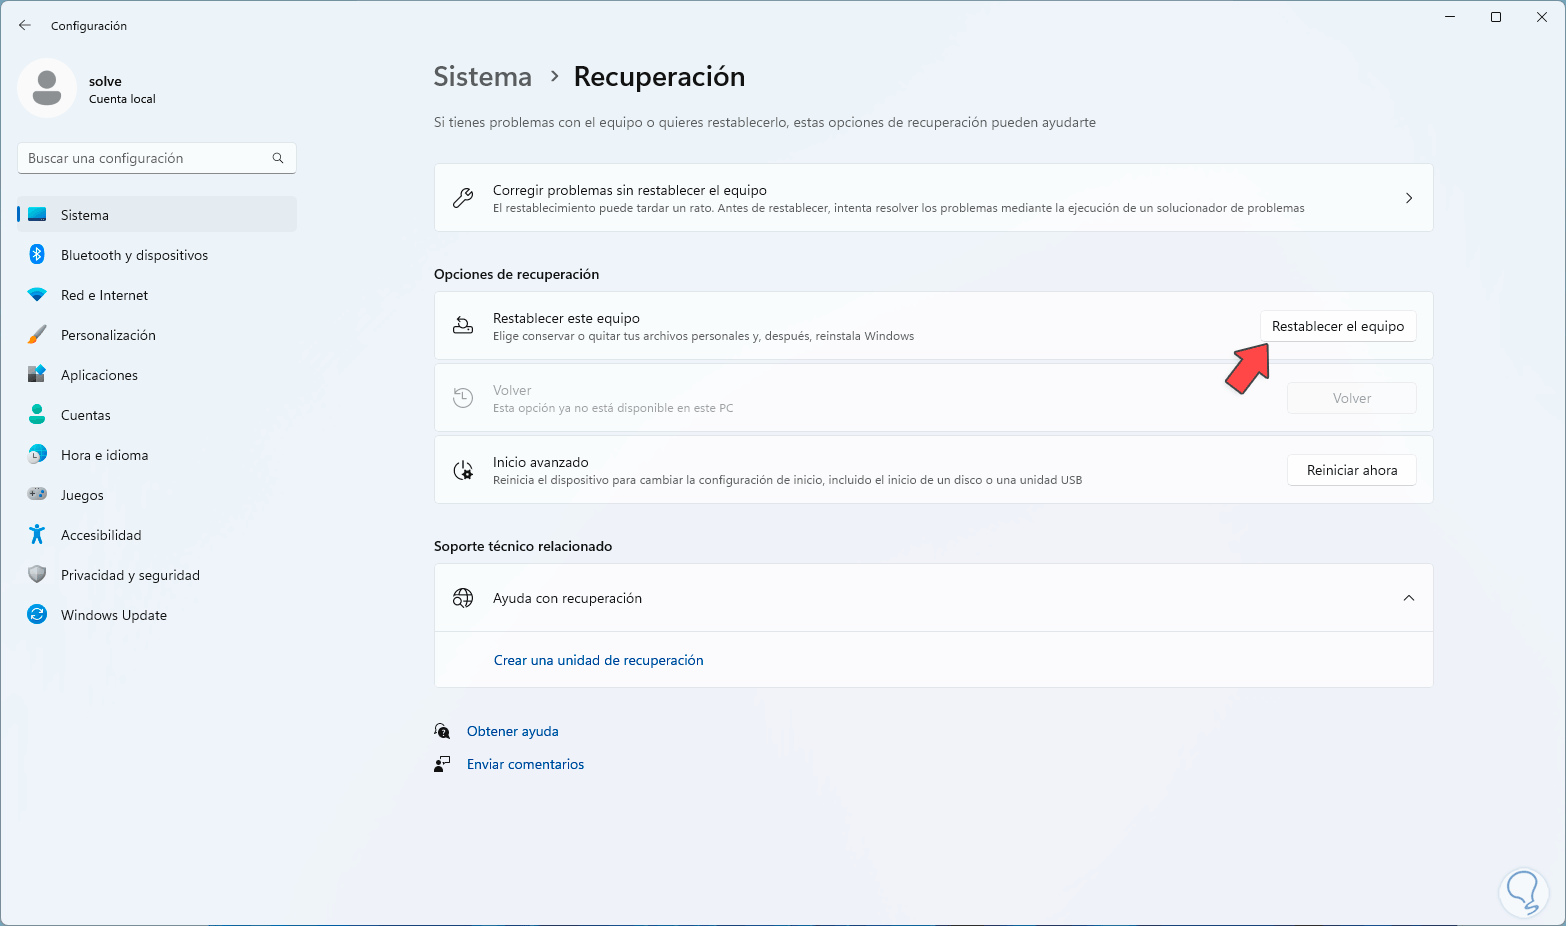
Finally, if none of the solutions correct the error, we can restore the PC to its original values, for this we go to the route:

Step 2
Now we click on the "Reset the device" option:
Step 3
By clicking there we will see the following:
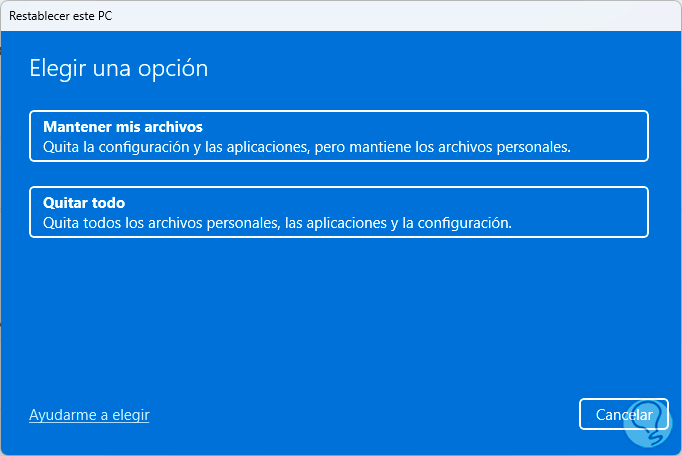
Step 4
It is time to select whether or not to keep the files, then we define the installation mode to use local or in the cloud:
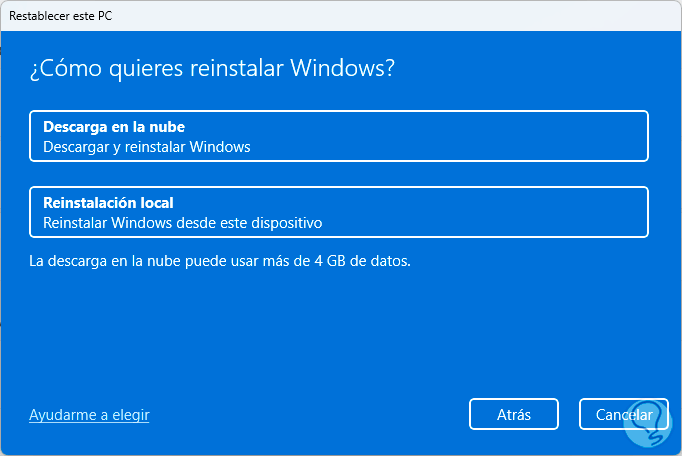
step 5
You will have a small summary of the action to be taken:
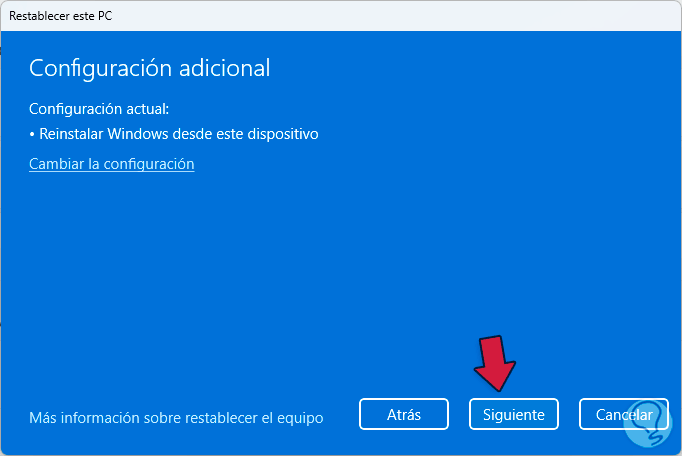
step 6
We click Next to start the process:

step 7
Then at the end of this we will click on the "Reset" button:
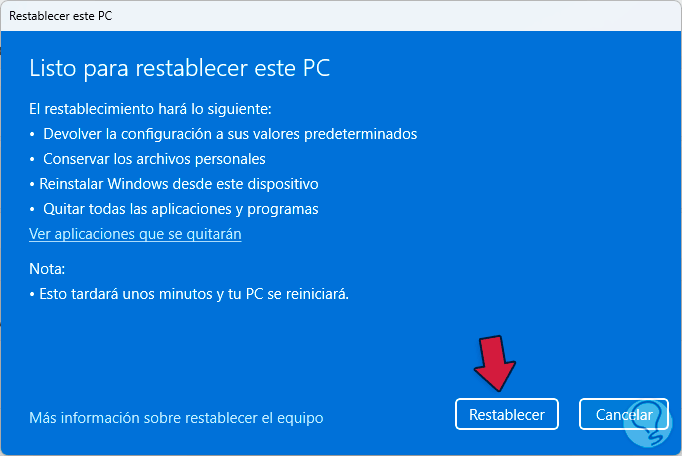
step 8
We must wait for the process to be completed to have the .NET Framework functional.
These options will help us to recover the correct functioning of the .NET Framework in Windows and with it an optimal execution environment.