Windows 11 can suffer errors at any time and one of the most critical is when the error is associated with the well-known blue screen or in Windows 11 in some cases black, since the causes for this error are frequent. But one advantage is that when seeing this error we can find a code that indicates the cause of it. For administrators and support staff it is essential since it helps to determine the origin of the error and the possible solutions to implement..
One of these errors is the IRQL_NOT_LESS_OR_EQUAL error which is accompanied by the blue screen of death (BSOD) and is an error that alerts us to a problem with system memory or with the drivers of the device used, the error has its cause when a controller or a hardware component tries to access a memory address using an IRQL (Interrupt Request Level) that is not correct, other causes of this error can be:
Causes error
- Windows registry corruption
TechnoWikis brings a series of options that will help you correct this error and have the full functionality of Windows 11.
To stay up to date, remember to subscribe to our YouTube channel!
SUBSCRIBE ON YOUTUBE
1 Update Windows 11 graphics driver
As we mentioned, one of the causes of the IRQL_NOT_LESS_OR_EQUAL error occurs due to failures in the u driver and one of the most natural is that it is out of date.
Step 1
This will cause a large number of failures and to update the driver we are going to open the Device Manager from the Start menu:
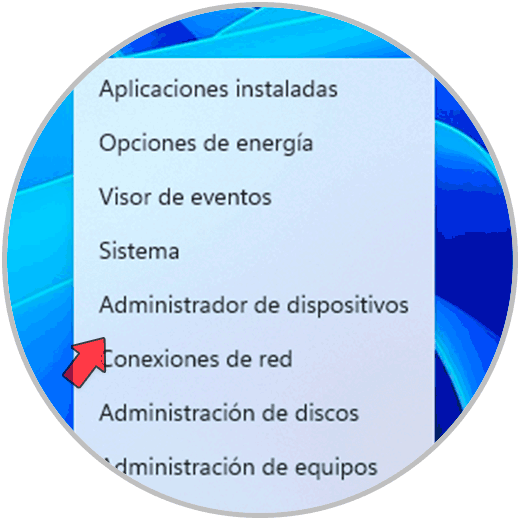
Step 2
In the Administrator we are going to select the option "Display adapters" and there we are going to right click on the display driver and then click on "Update driver":
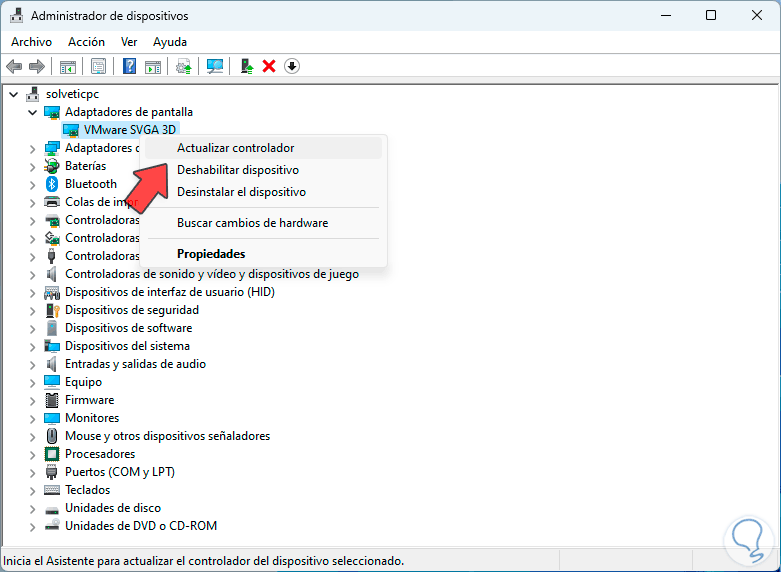
Step 3
We will see the following options. We are going to click on “Search for drivers automatically”
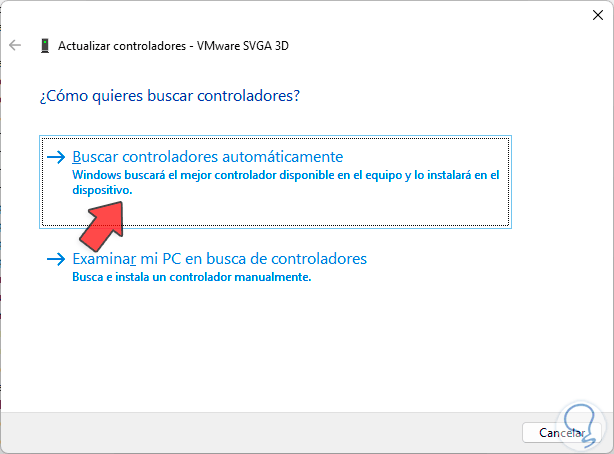
Step 4
and we hope that the process is completed. To complete this process we are going to click on "Search for updated drivers in Windows Update"
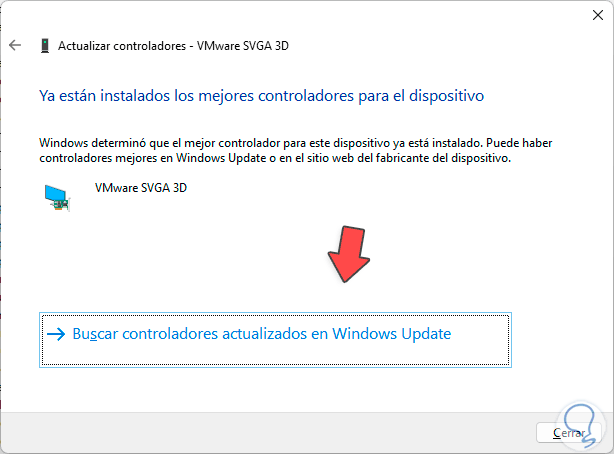
step 5
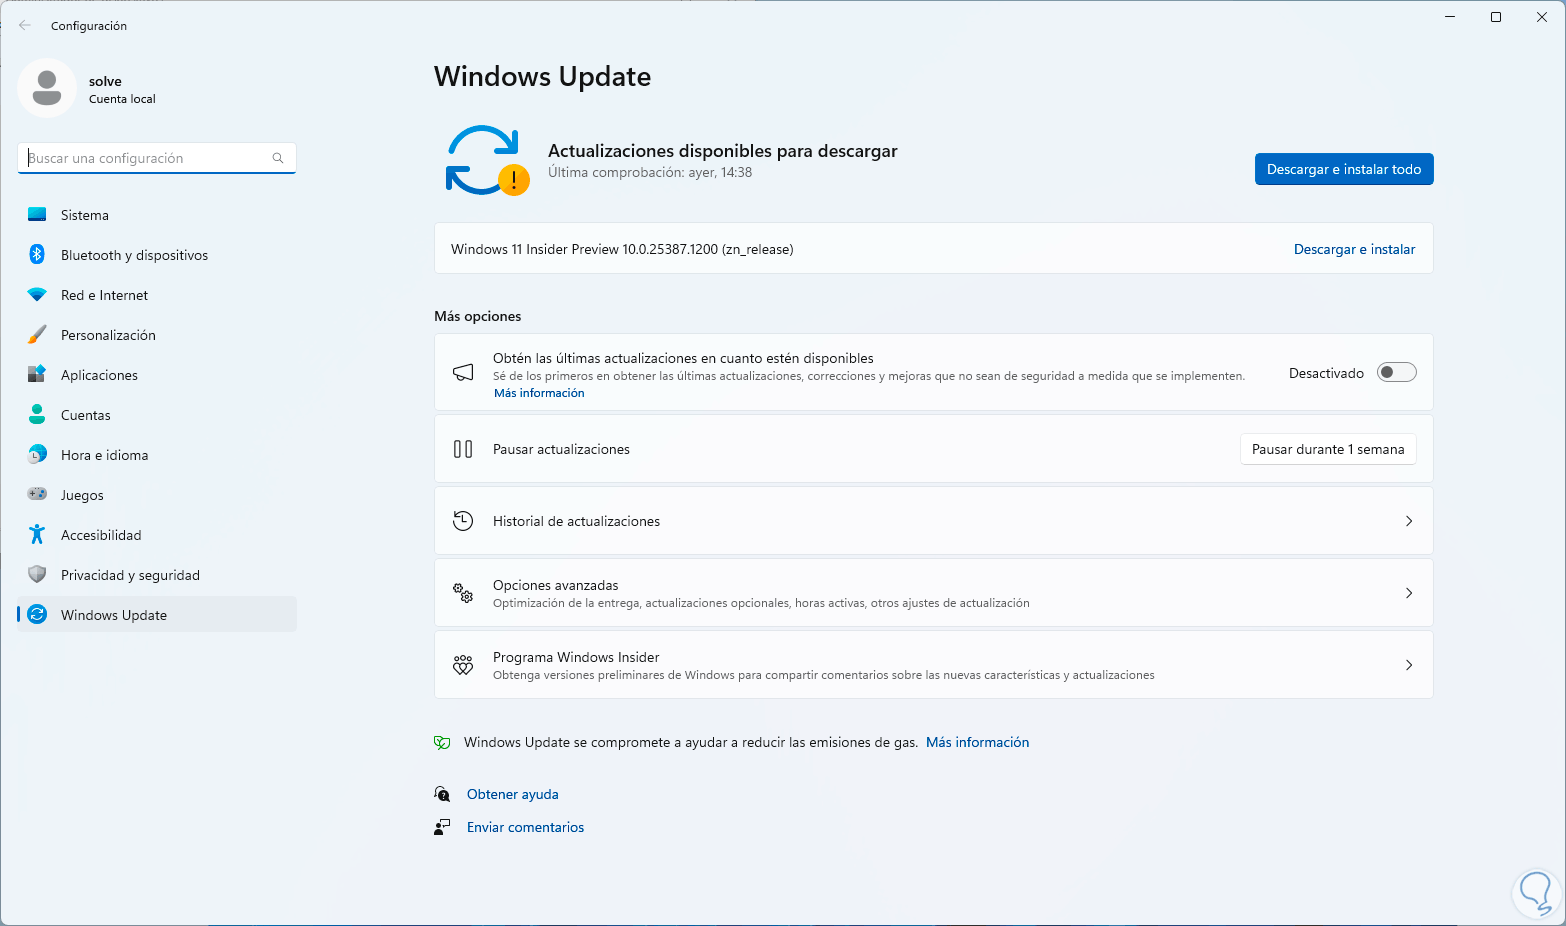
and in Configuration we are going to verify if there is or not any screen update:
2 Analyze hard drive Windows 11
Errors in the hard disk will be the cause of this blue screen error, so we can carry out an analysis on it, this happens because over time and the frequent use of data, little by little, the performance and functionality of the disk is affected. .
Step 1
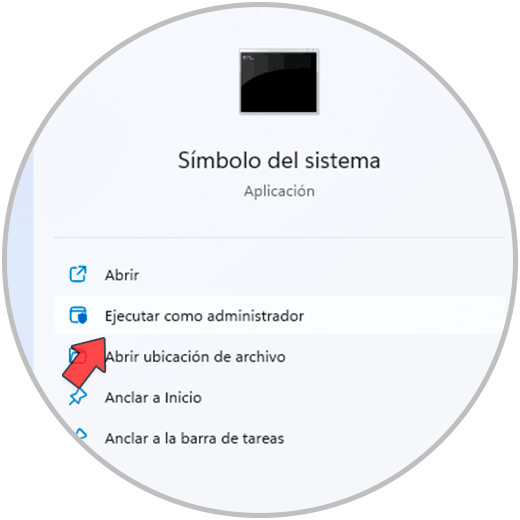
To repair it, we open the CMD console as administrators from Start:
Step 2
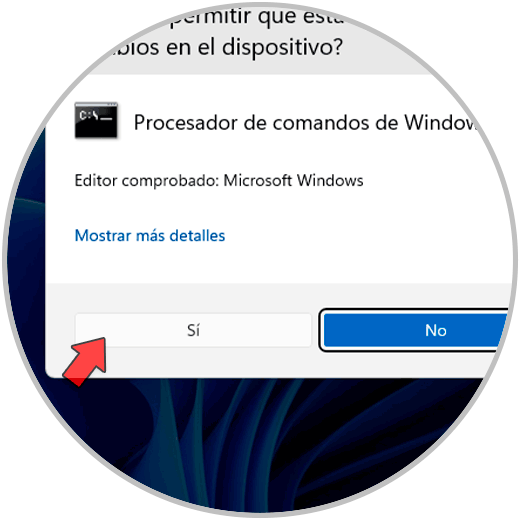
We must accept the permissions in the pop-up window:
Step 3
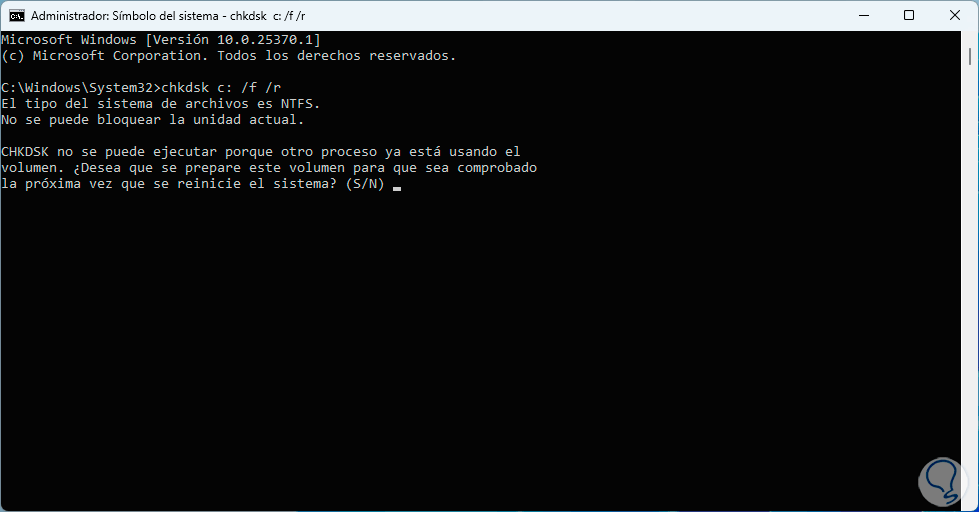
To repair the hard drive we are going to execute the following command:
chkdsk /f /r
Step 4
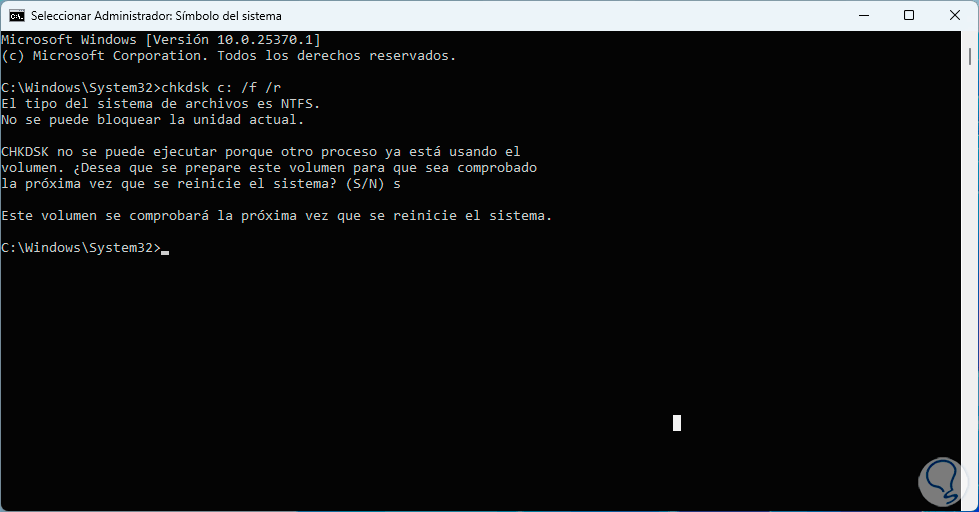
We are going to accept that this process is carried out with the following system reboot using the letter S:
step 5
The chkdsk (Check Disk) command is a command created to check and repair file system errors on the hard drive, this command will focus on looking for bad sectors, files with cross links or corruption of the file system associated with the hard drive, the Parameters used have been:
- /f: is responsible for correcting errors on the disk and for this the hard disk must be blocked
- /r: is responsible for locating bad sectors and recovering readable information from those sectors
step 6
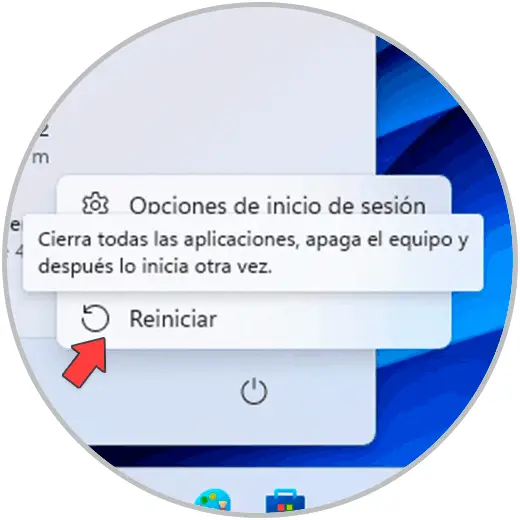
After this we are going to restart Windows 11:
step 7
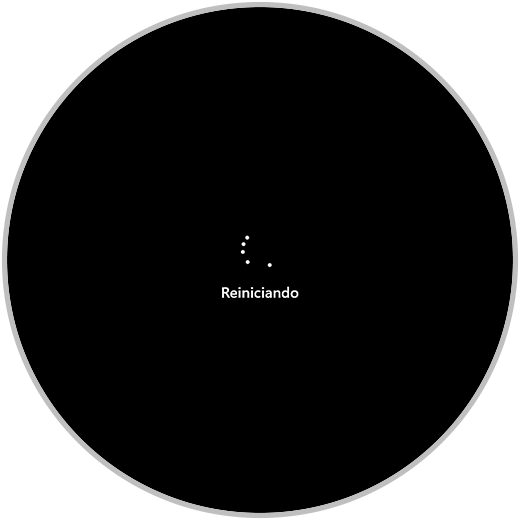
The system will be rebooted:
step 8
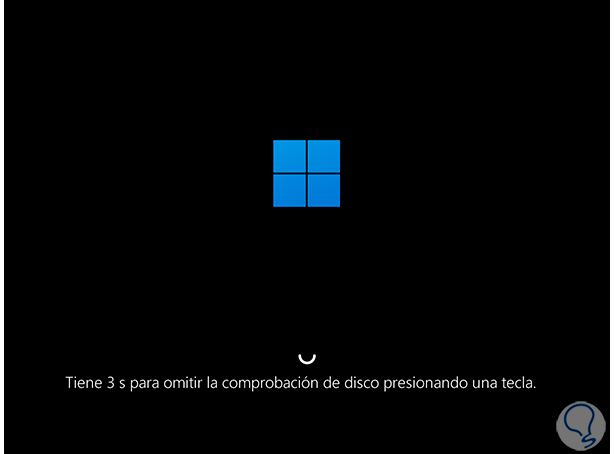
We must wait for the analysis of the hard disk to be carried out based on the executed command:
step 9
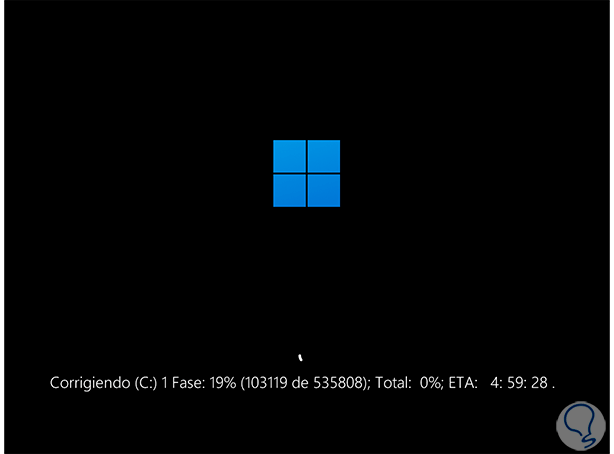
The hard drive scanning process comprises several scanning phases. The system will restart automatically to verify that everything opens correctly.
3 Free up space Windows 11
If the hard disk is full, it may be the cause of the error since the reading and writing processes will be affected.
Step 1
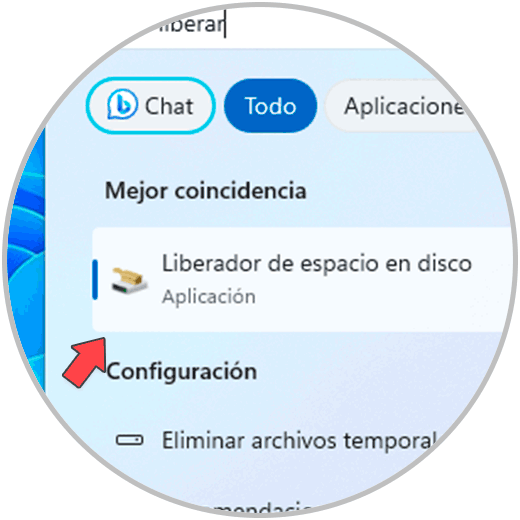
To free up space in the Start search engine, we are going to enter “free up” and we are going to click on the “Disk Cleanup” option:
Step 2
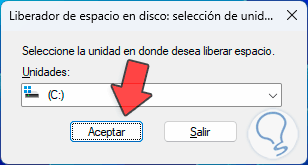
A small window will open where we select drive C:
Step 3
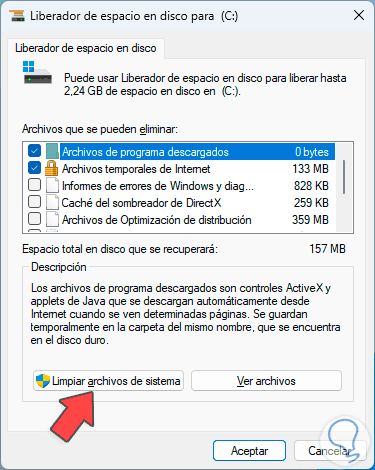
After the details are loaded, we are going to click on the “Clean up system files” button:
Step 4
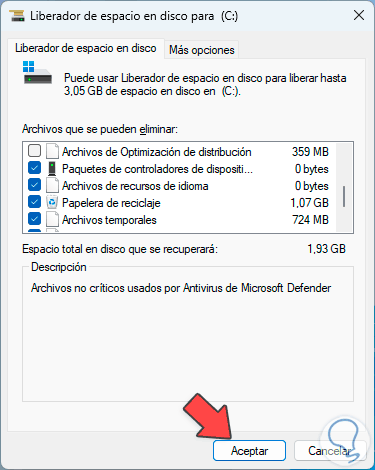
We select drive C again and we will see the following. We are going to select the boxes to delete and click on “OK”,
step 5
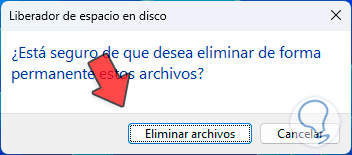
We will see a message indicating that we must confirm the action: We click on "Delete files" to carry out this process.
4 Analyze Windows 11 File System
In Windows 11 NTFS is an essential and fundamental part for all Windows processes to work in a coordinated manner but if something happens with the file system we are simply exposed to many errors, to analyze and repair NTFS we are going to use the SFC command.
Step 1
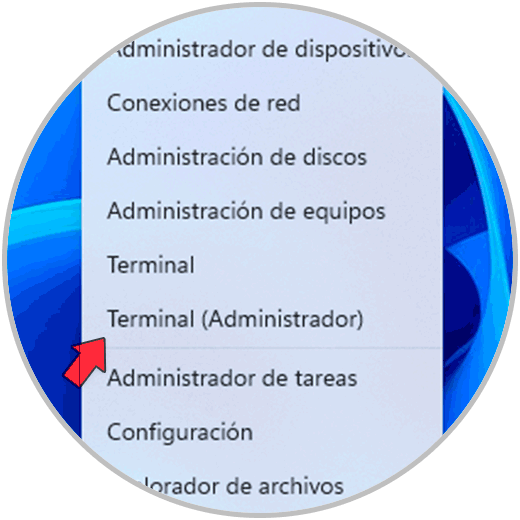
First we open the terminal as administrator:
Step 2
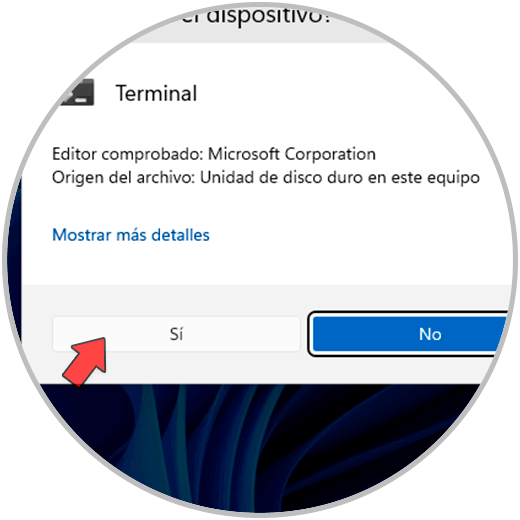
We accept UAC permissions:
Step 3
In the console we execute the following command:
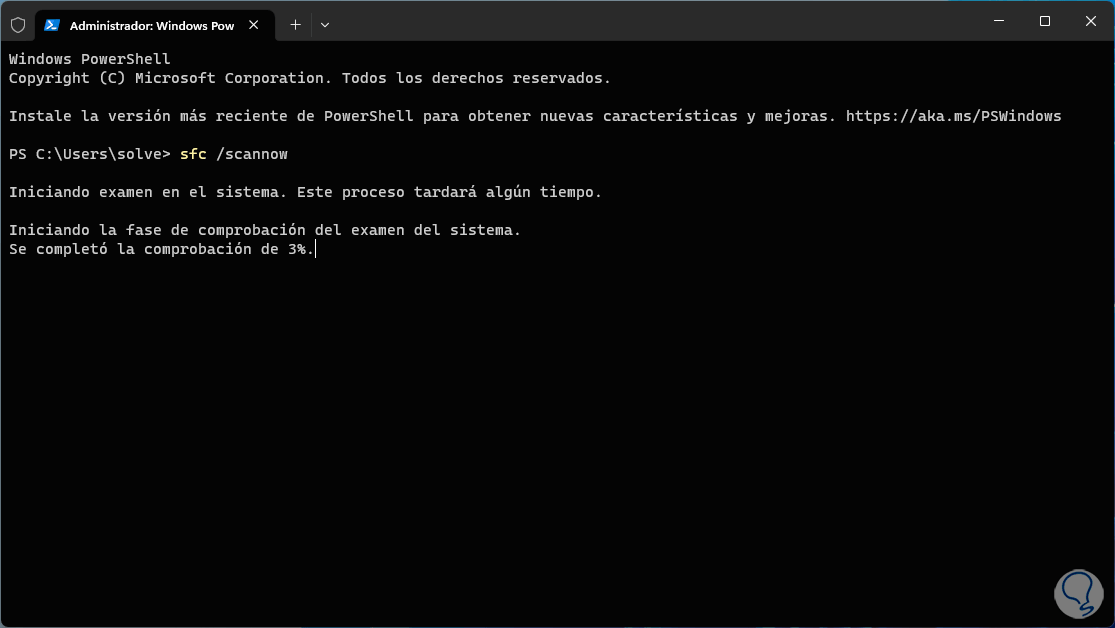
sfc /scannow
Step 4
We look forward to this process coming to an end:
step 5
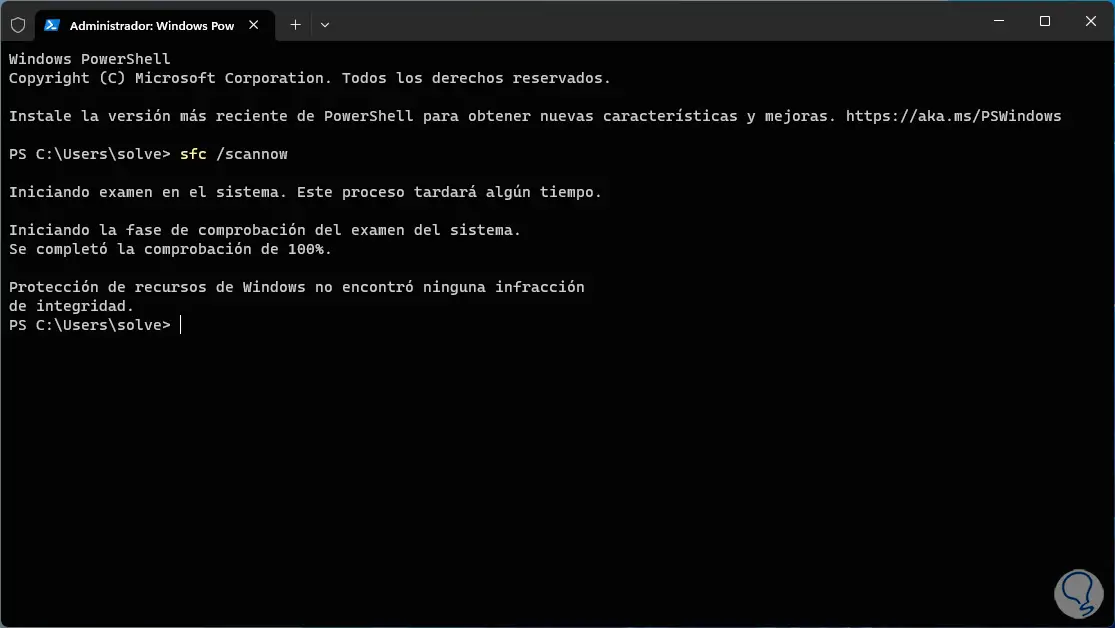
SFC is in charge of analyzing each part of the file system to detect anomalies and correct them if necessary. The messages that we can receive are:
- Windows Resource Protection found no integrity violations
- This means that there are no system files that are damaged or missing.
- Windows Resource Protection could not perform the requested operation
5 Validate Windows 11 libraries
In Windows 11 there are key libraries, especially the DLL libraries, and if any of them fails it may lead to other errors in the system including the BSOD error in question, this library is ieframe.dll, this library is related to Internet Explorer but sometimes at the same time it integrates code and resources that allow rendering web pages, displaying elements of the user interface and managing browser functions so that if the impact fails it can generate the error.
Step 1
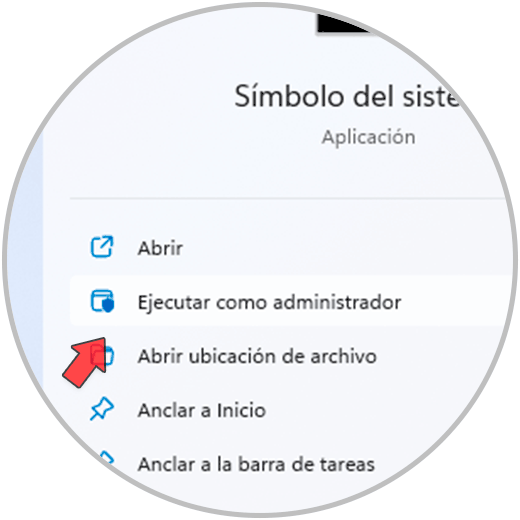
To check the status of this library we are going to open CMD as administrators:
Step 2
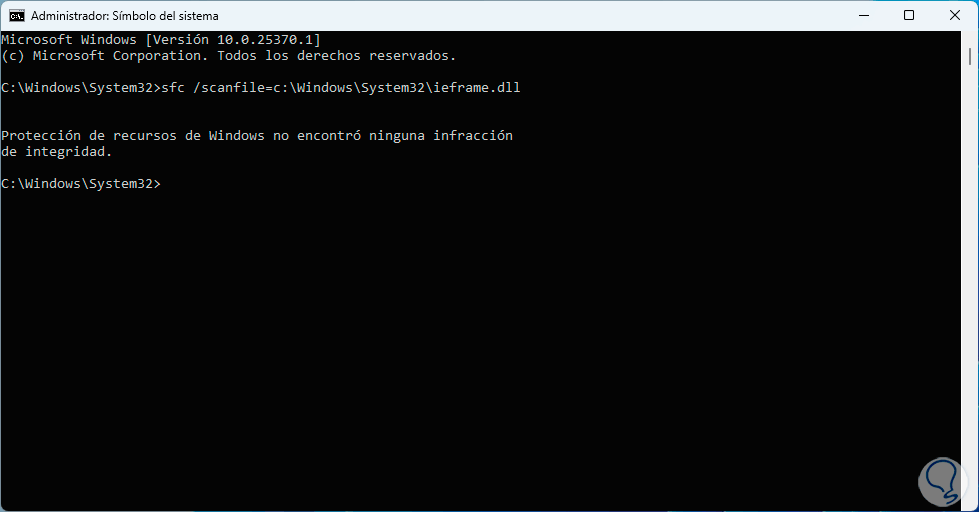
Now it's time to run the following command to parse the ieframe library:
sfc /scanfile=c:\Windows\System32\ieframe.dll
Step 3
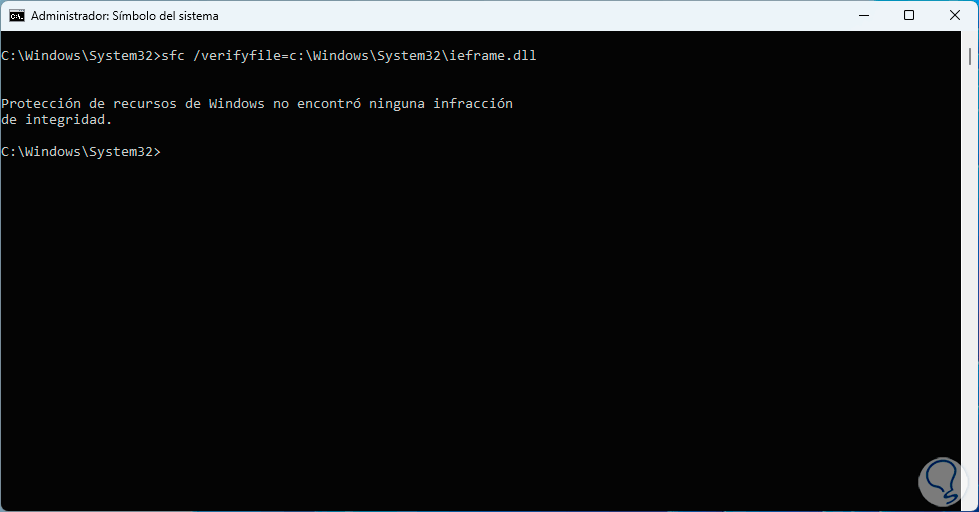
Now we are going to execute the following command to validate the state of the ieframe library:
sfc /verifyfile=c:\Windows\System32\ieframe.dll
6 Scan for Windows 11 viruses
Step 1
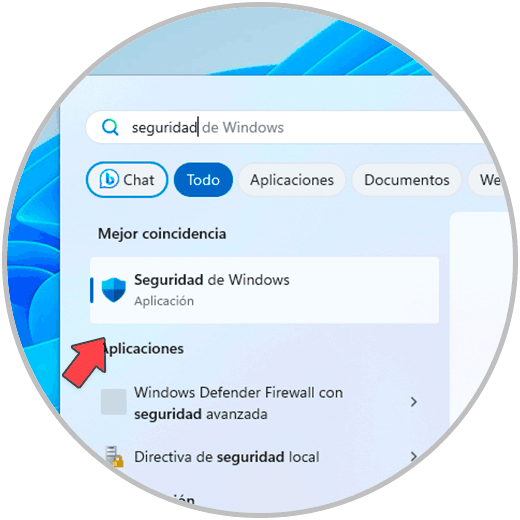
Another cause for this error is the presence of some type of virus or malware on the computer that generally affects the entire operation and giving rise to the BSOD error, we can perform an examination to rule out this, we open Windows Security from the Start menu :
Step 2
Let's go to the "Antivirus and threat protection" section:
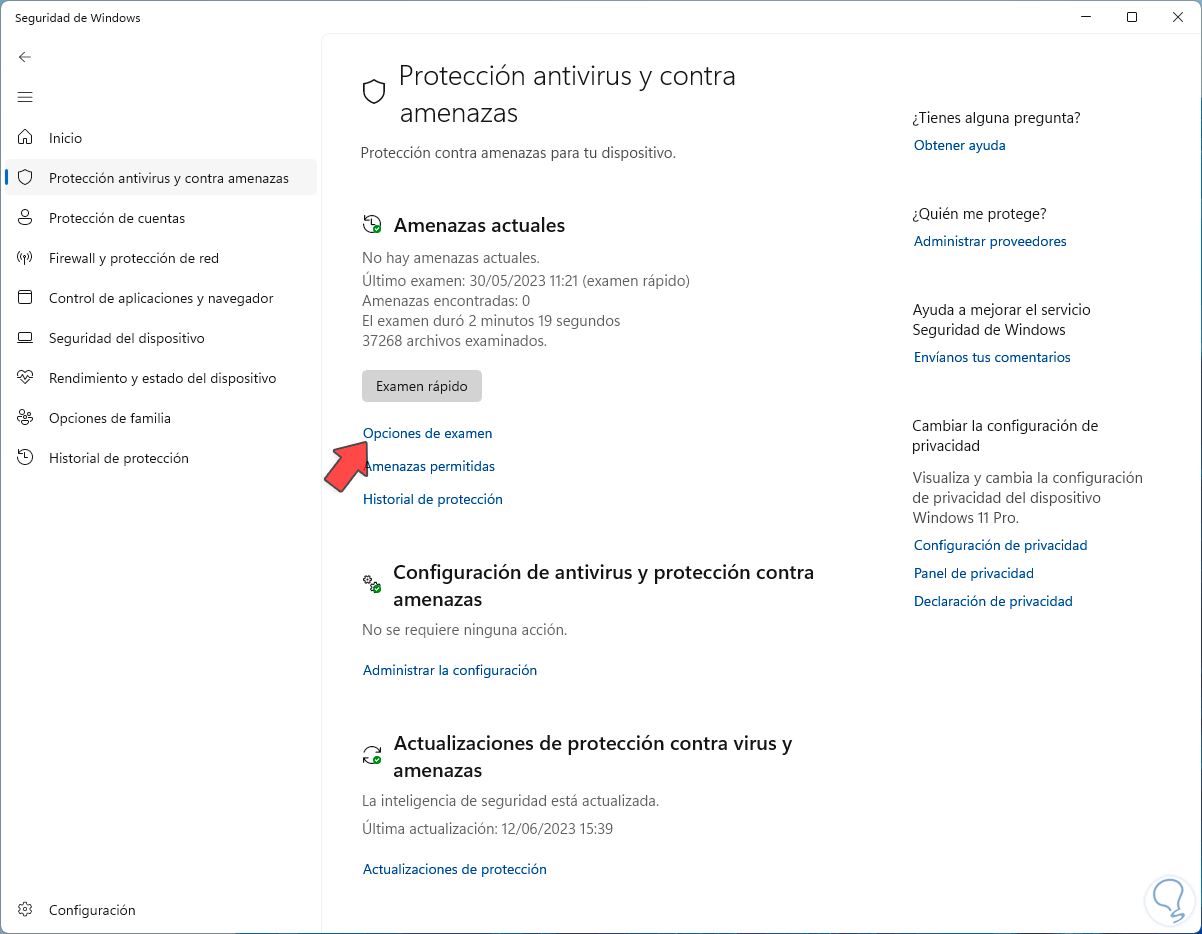
Step 3
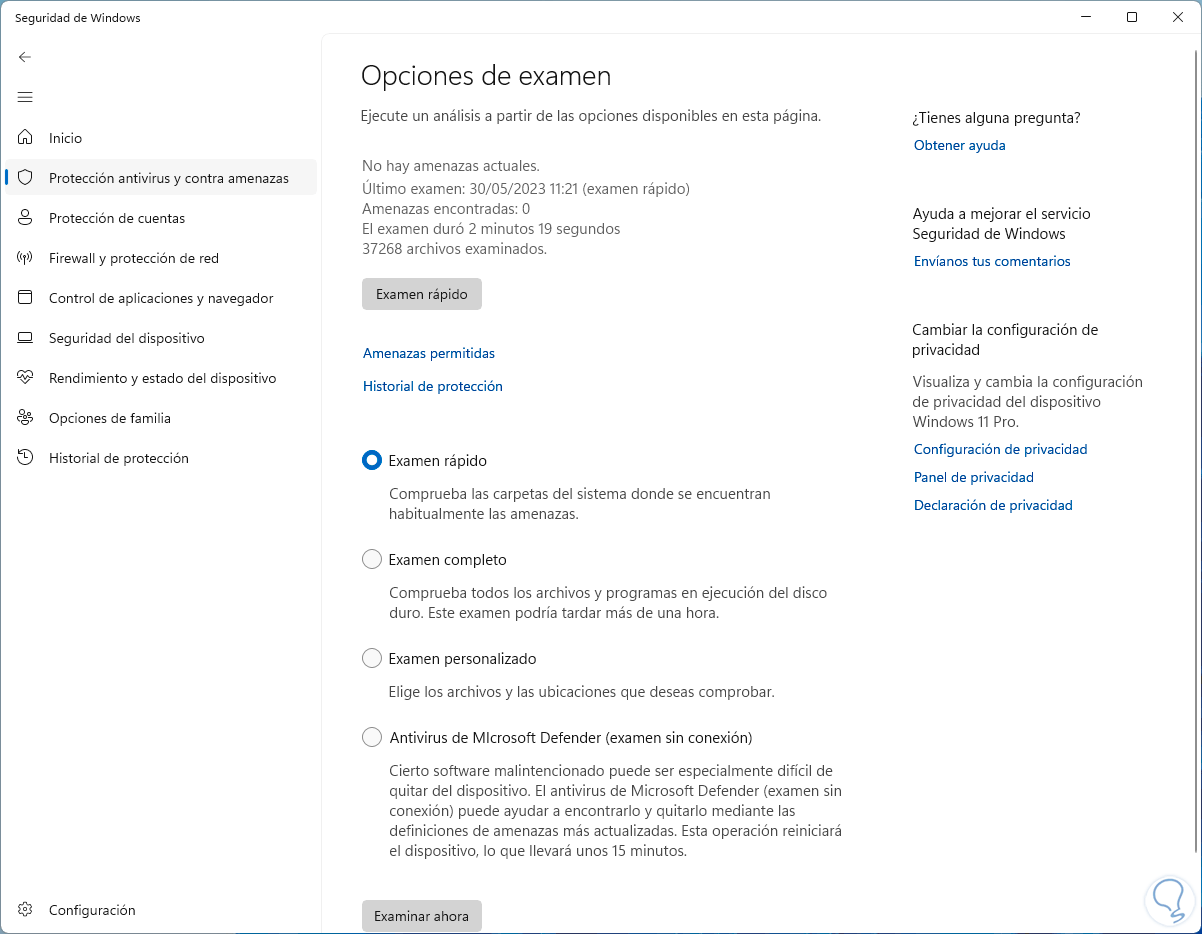
We click on "Exam options" so that we have various options to use:
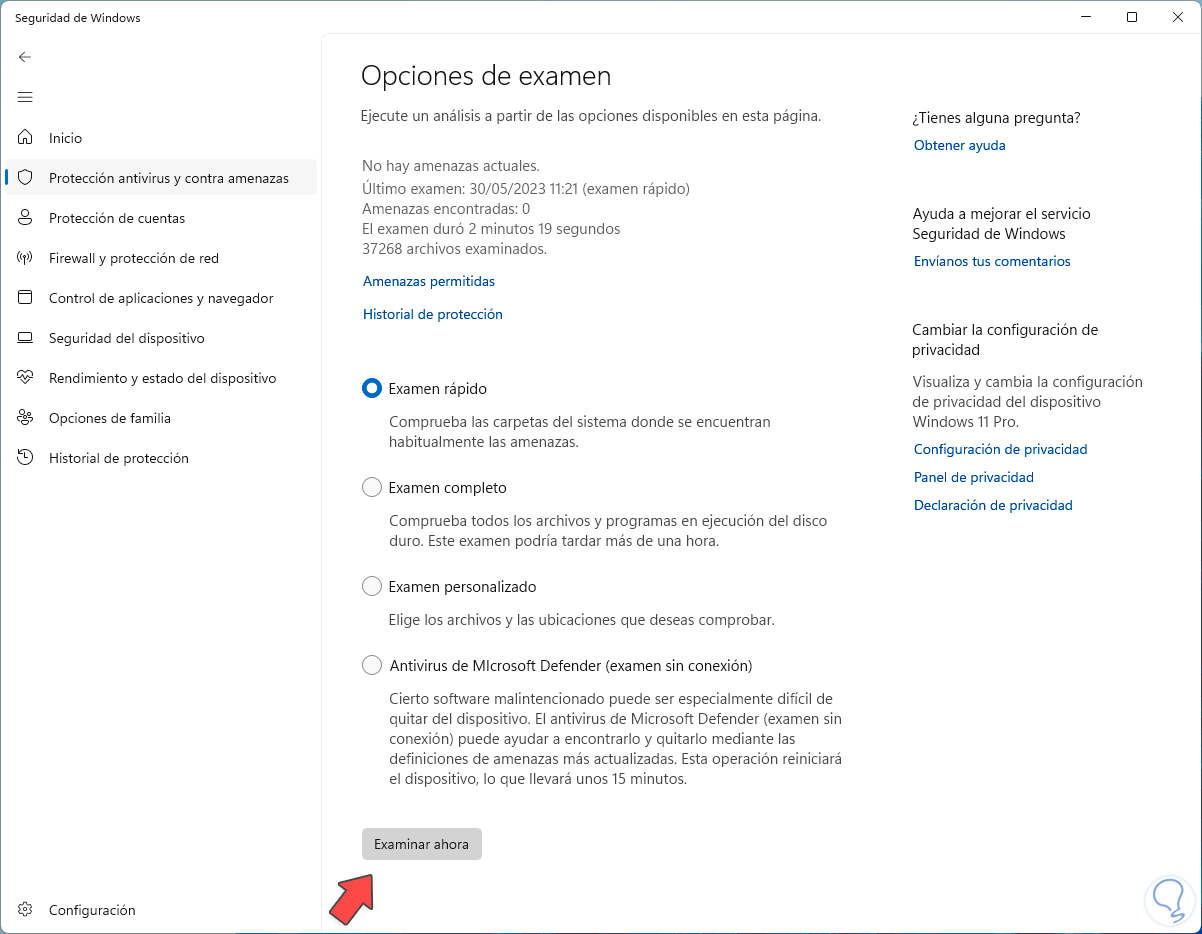
Step 4
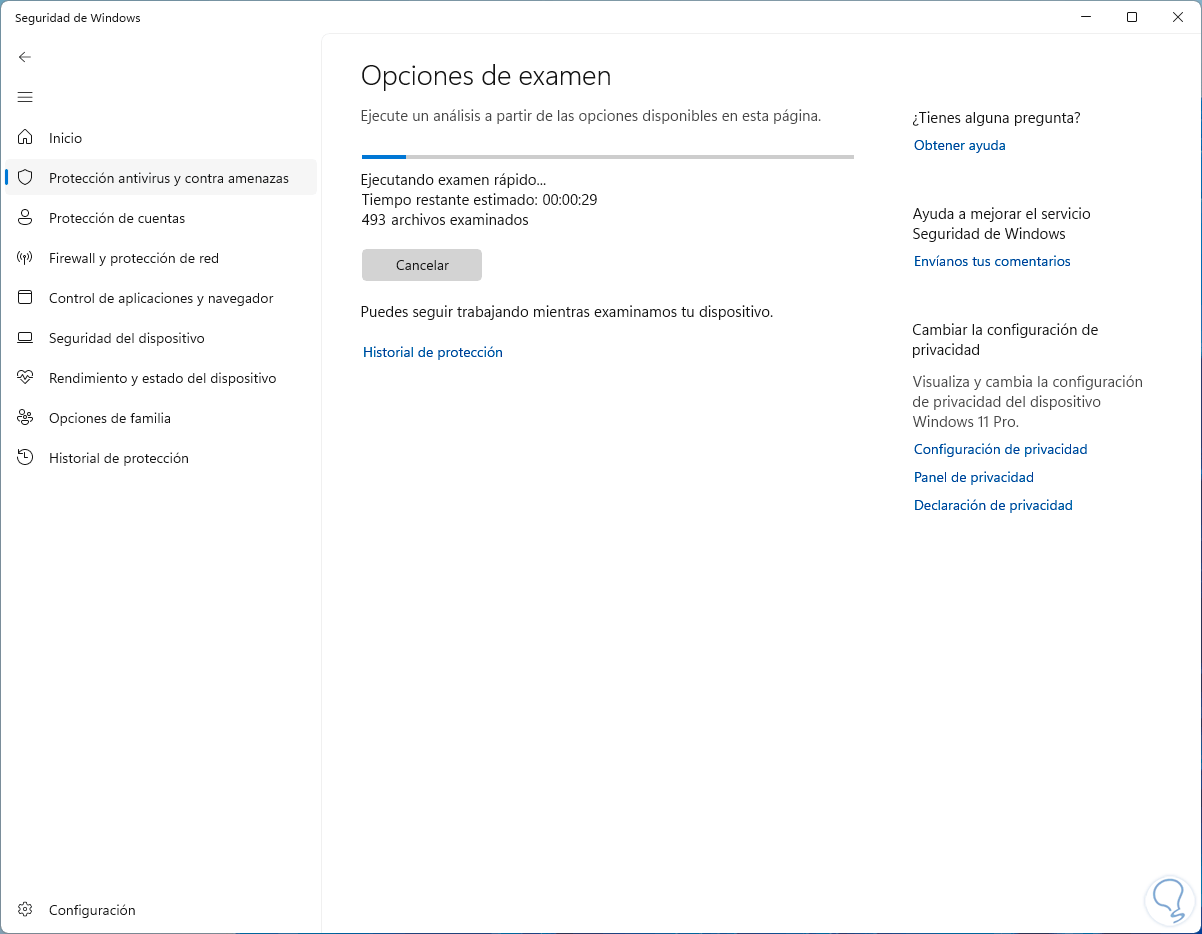
Once the desired exam is selected, click on "Examine now" and the analysis will begin:
step 5
We wait for the analysis to finish:
7 Check monitor errors Windows 11
With this option it is possible to technically review the cause of the error and work on its correction.
Step 1
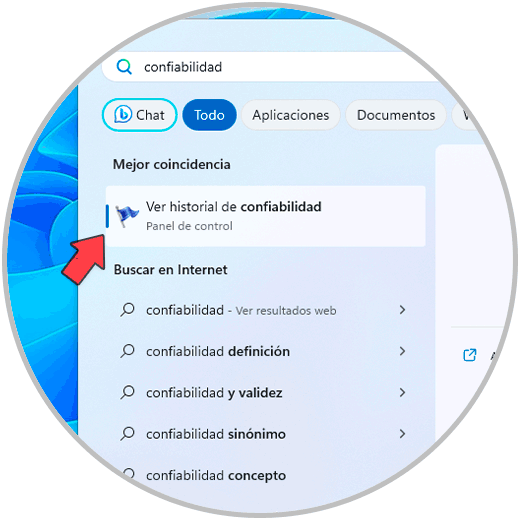
From the Windows 11 search engine we enter the word "reliability" and open the option "View reliability history":
Step 2
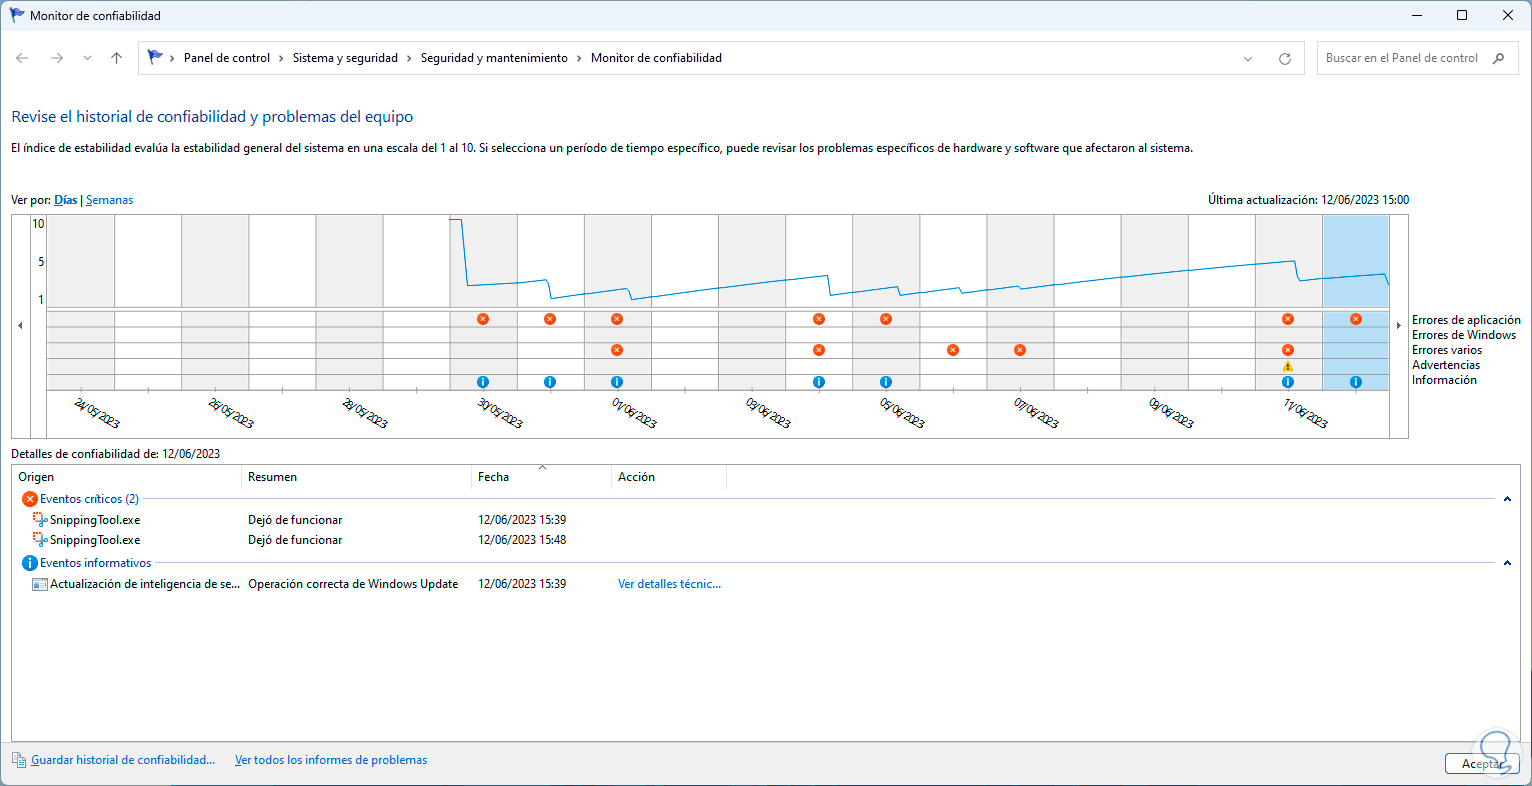
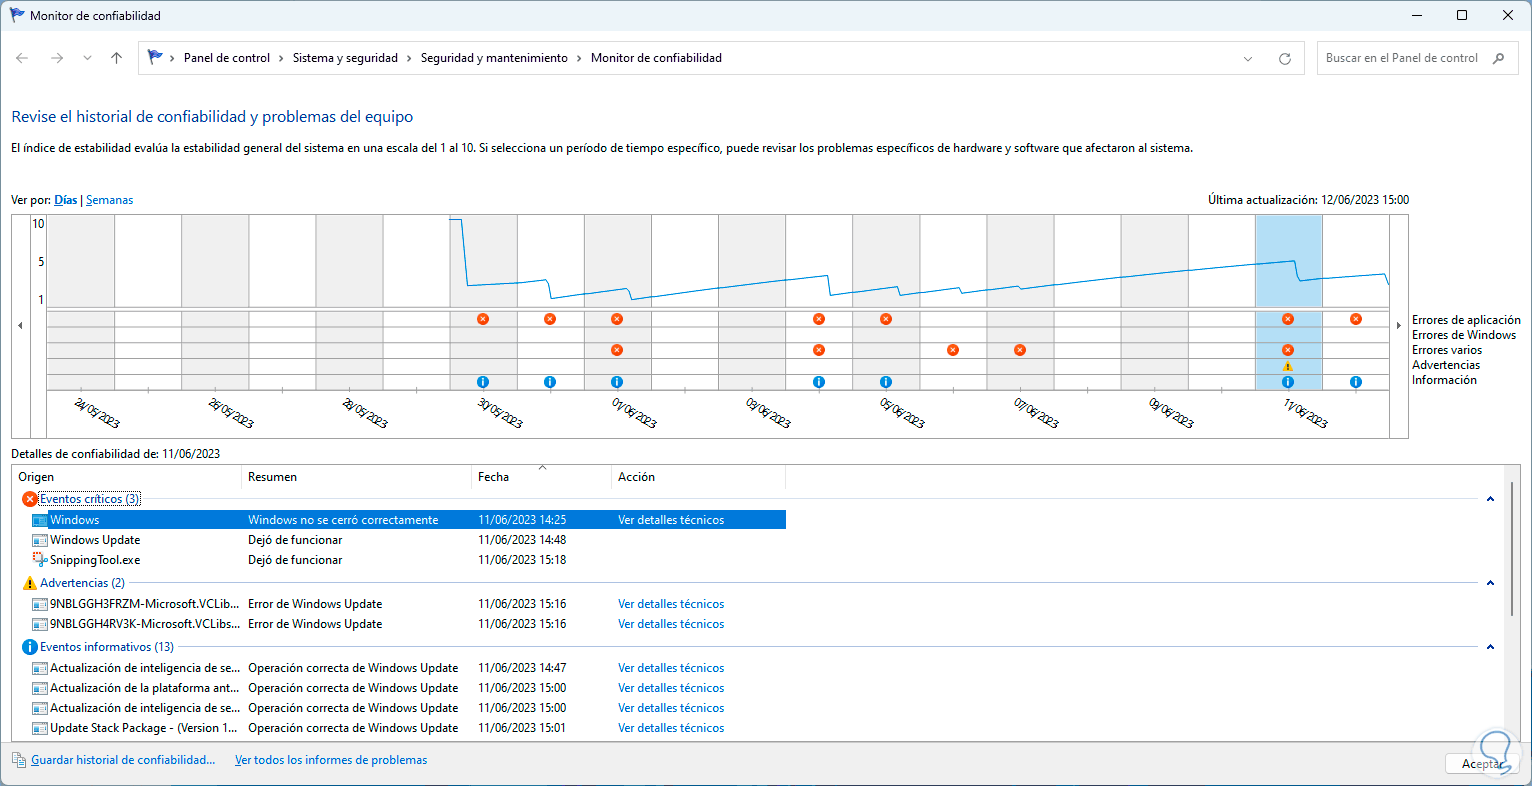
After the information is collected we will see the following:
Step 3
There we can see the data by day or week, on the side we find the available legends that are:
Step 4
The advantage of this utility is that we see the daily record of what happened and with specific details of date and time, we click on the desired error and then click on "See technical details":
step 5
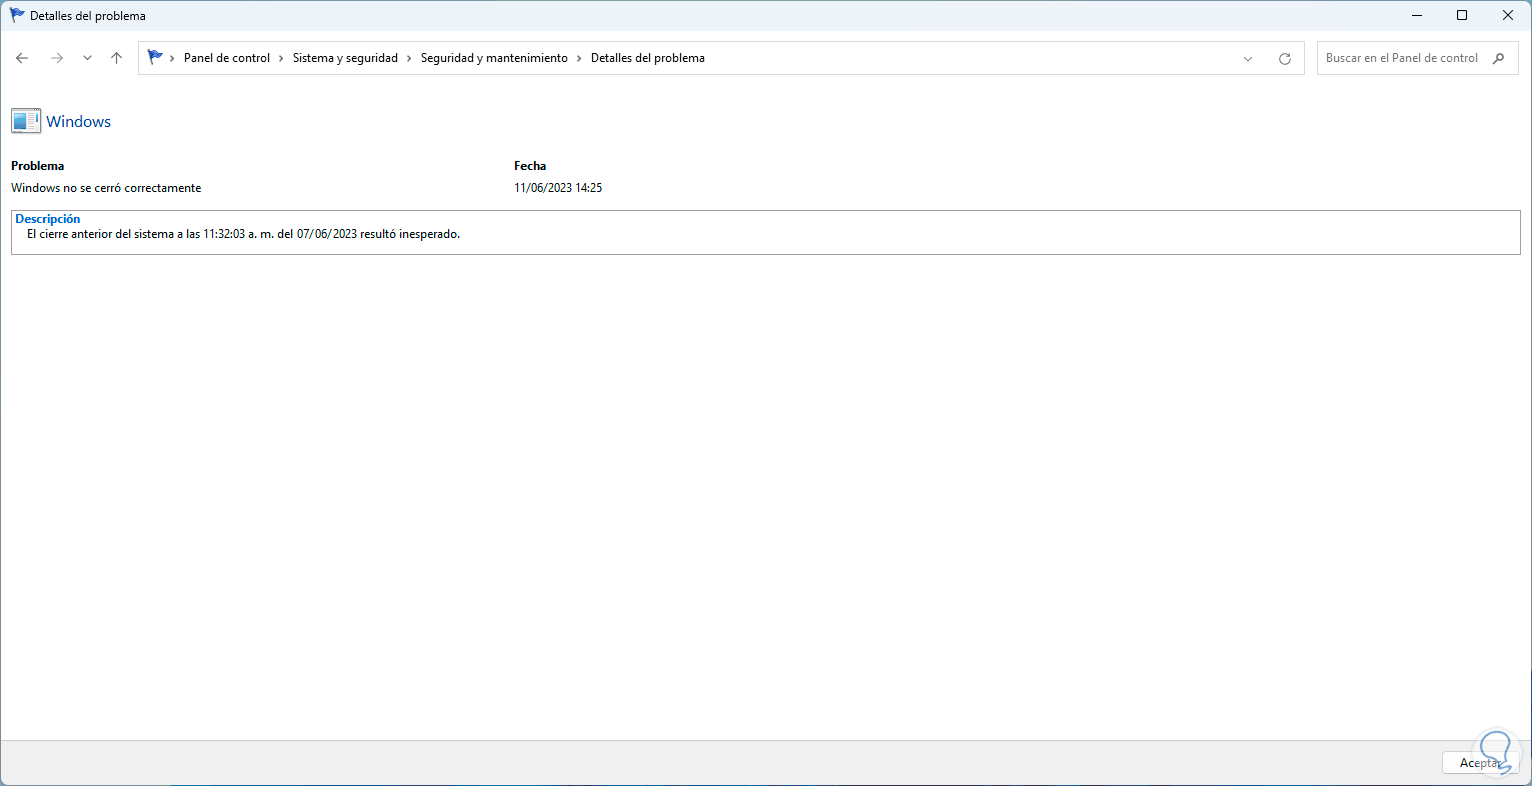
This opens a summary about the cause of this error. From there we can define if this causes the IRQL_NOT_LESS_OR_EQUAL error.
These solutions offered by TechnoWikis are practical to allow Windows 11 to work comprehensively..